Yellow A4 Skyhawk Project – #4

Jay has finally found a moment to download some more pictures for me. Let’s see what we’ve got!

A4 With Wings and Tail
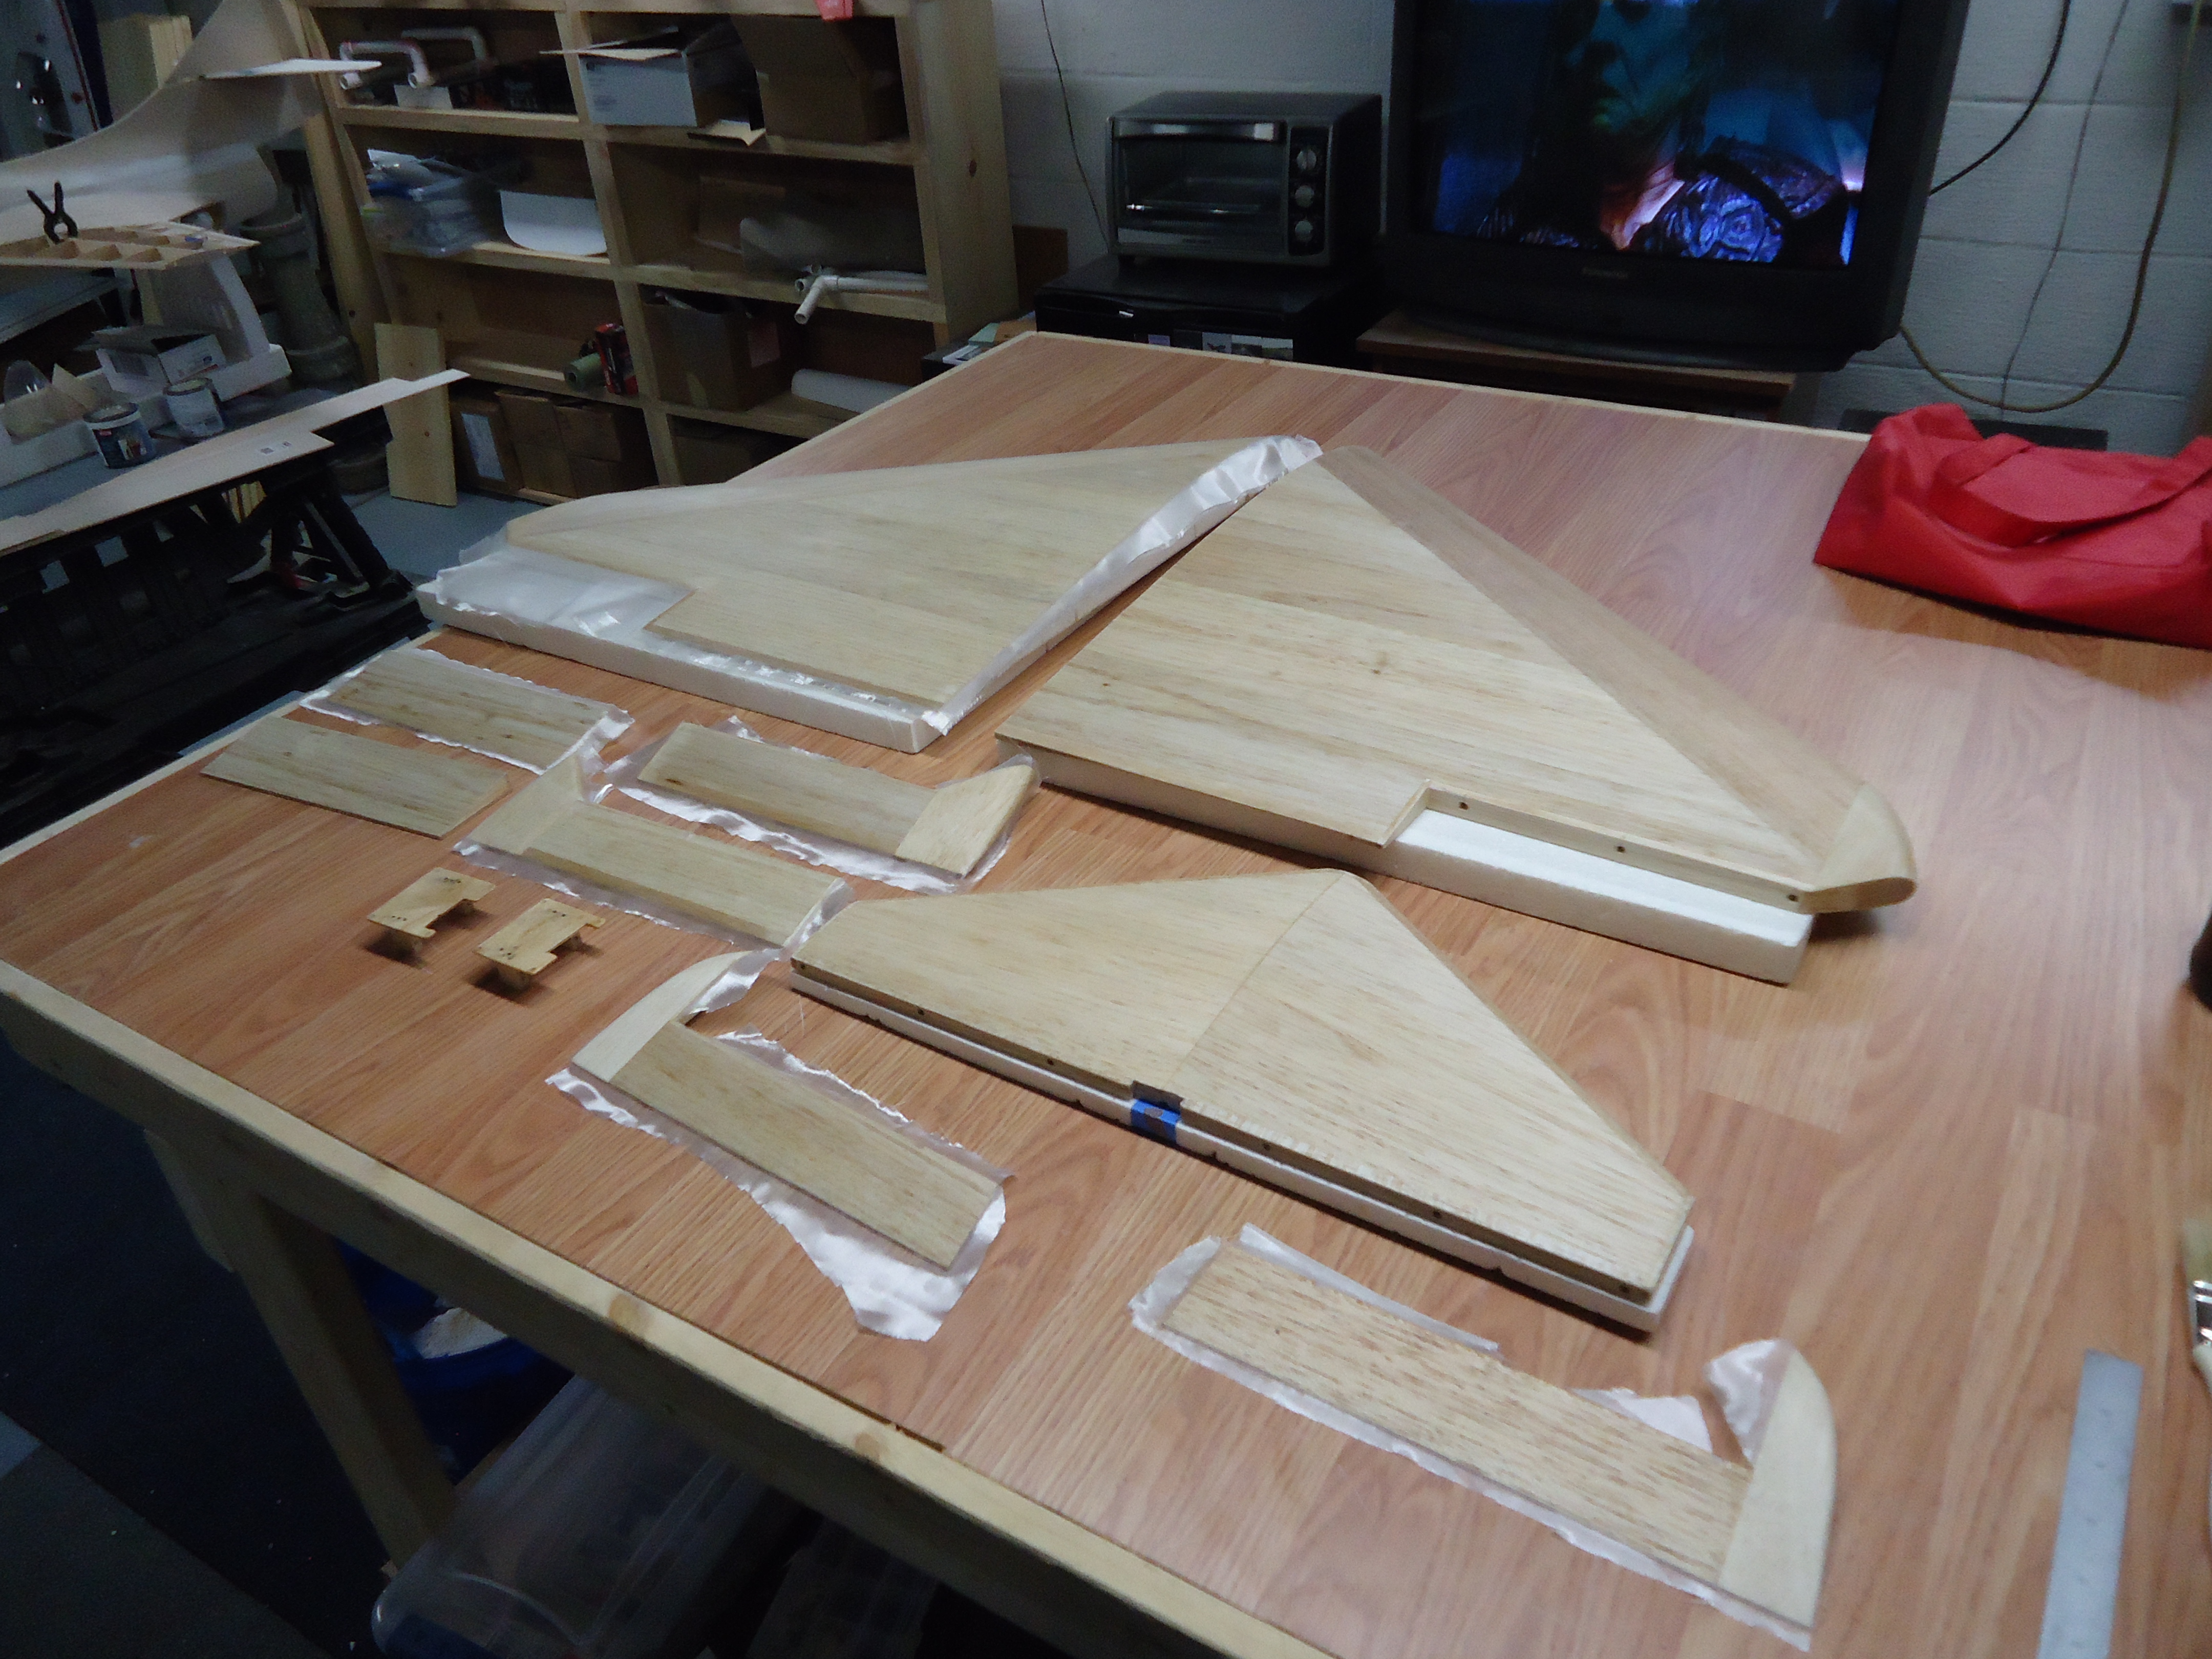
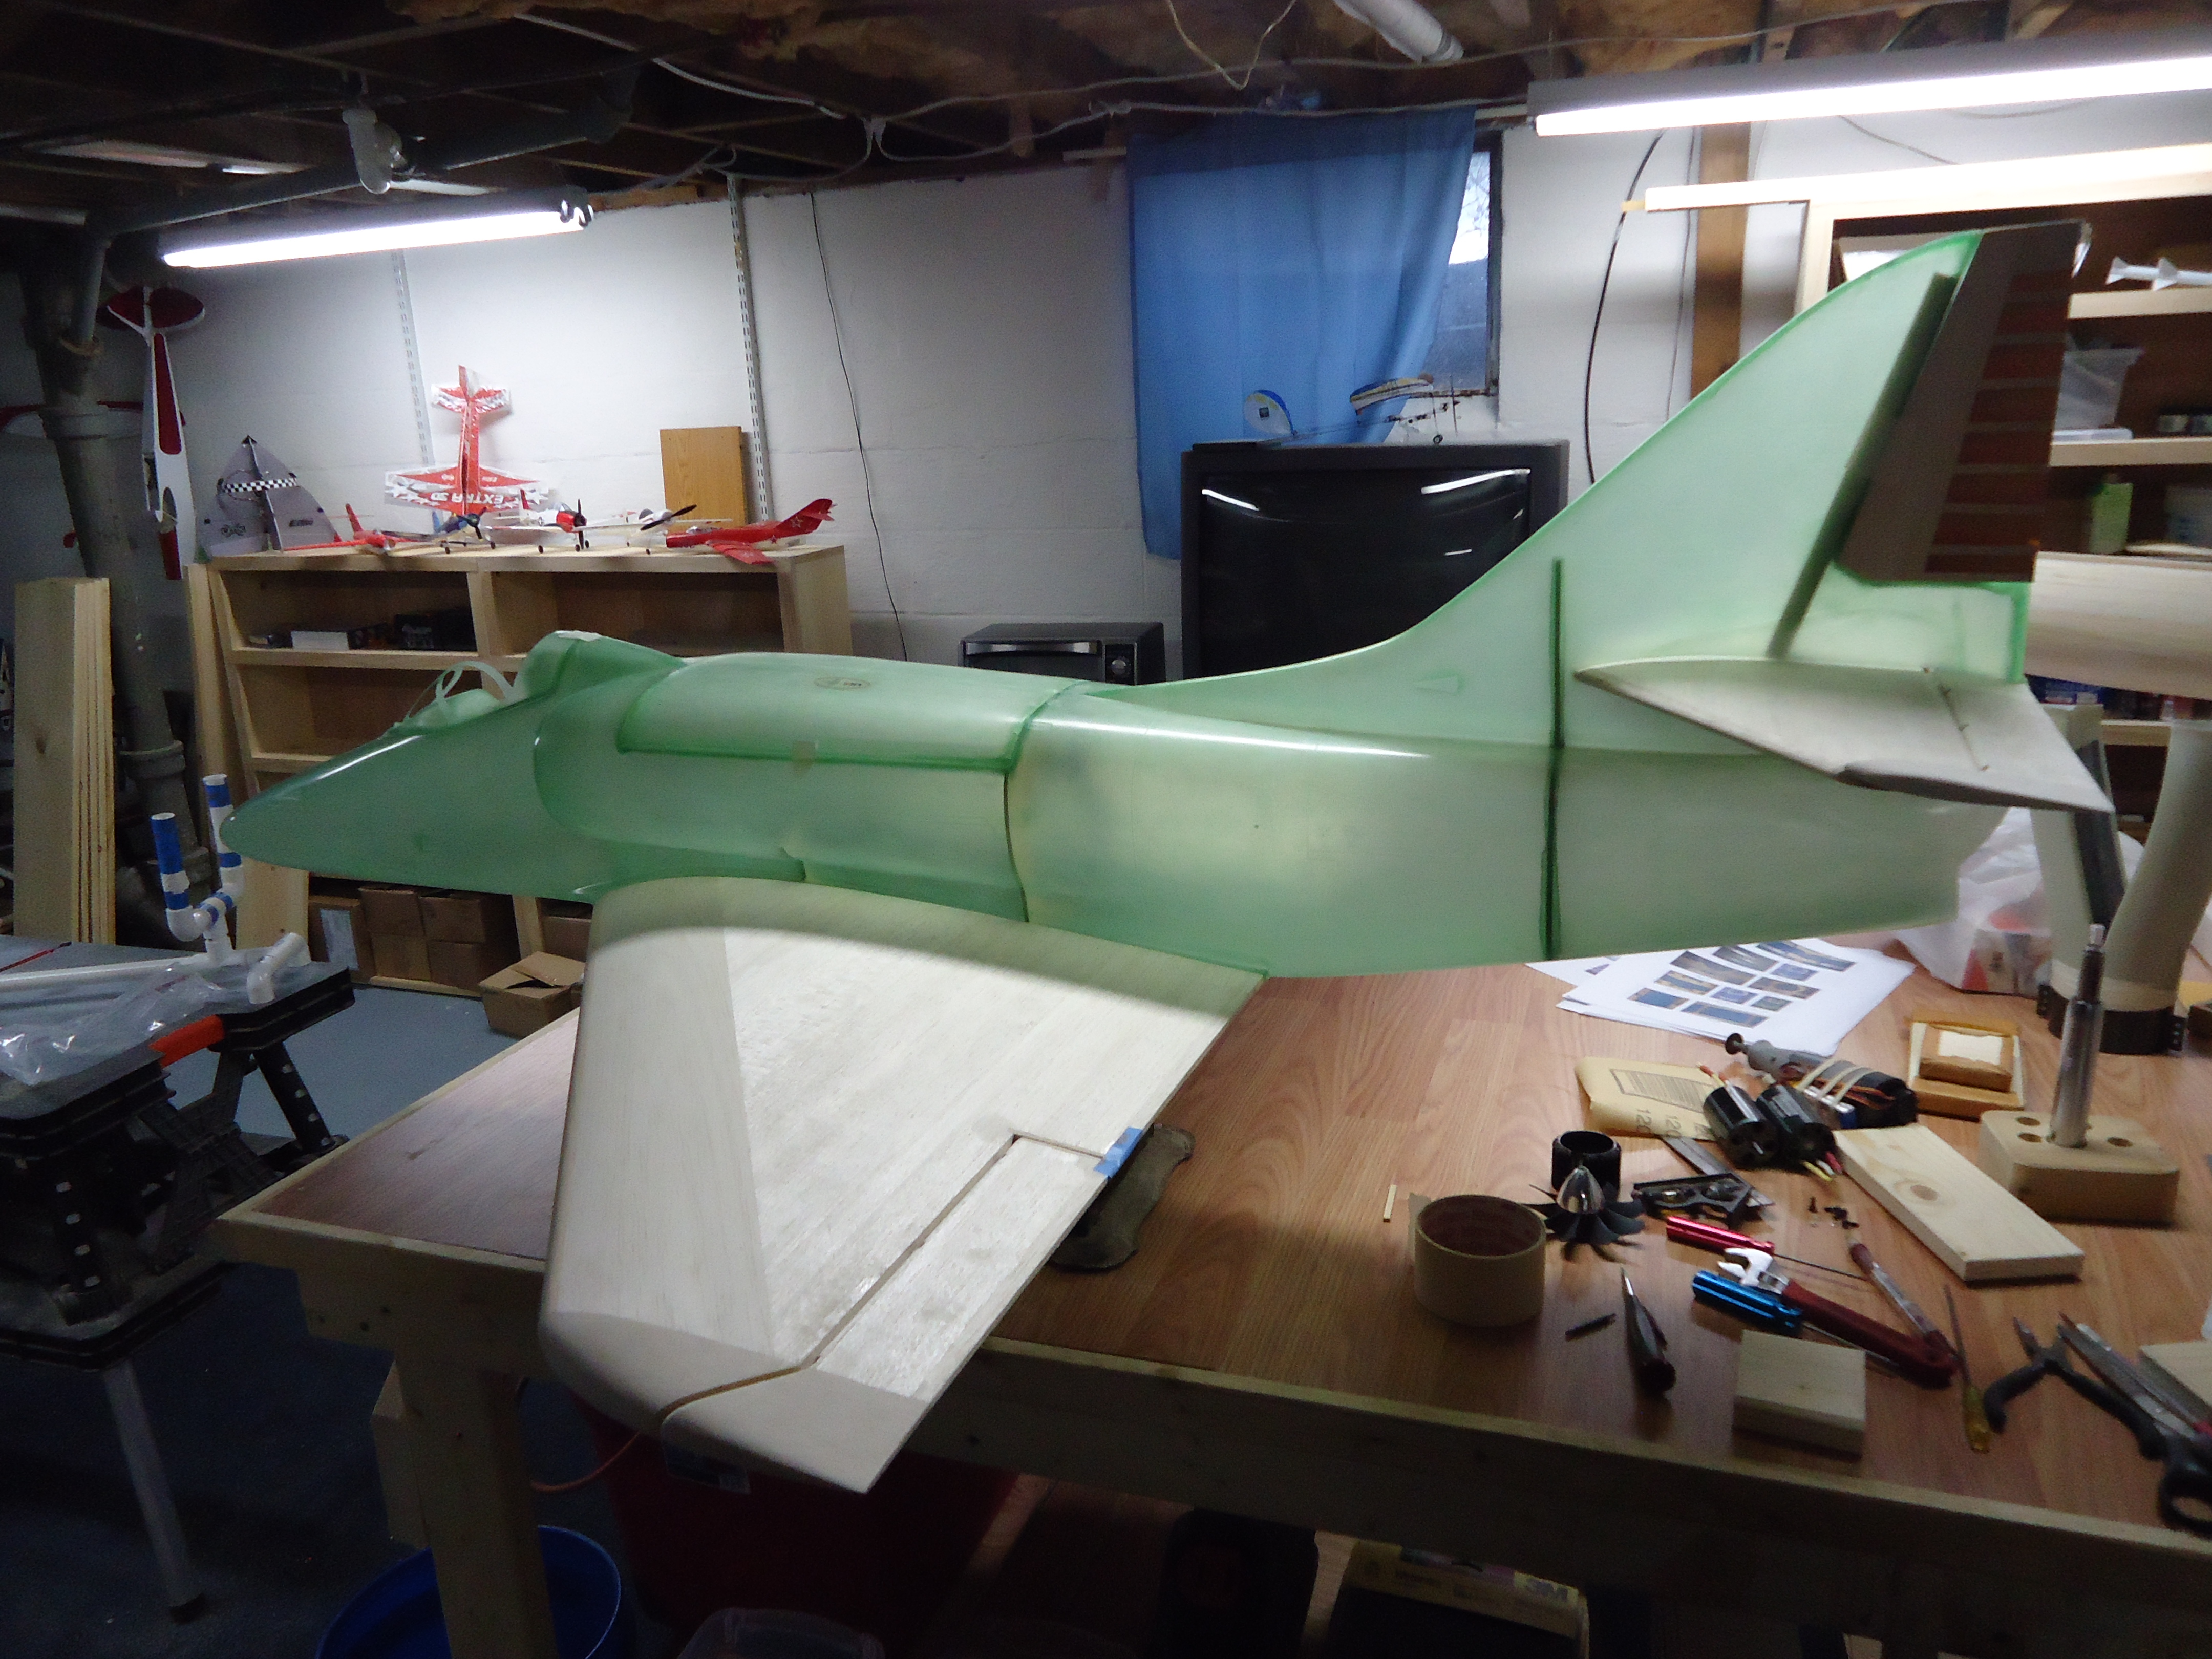
This is how we left the A4 in the last post. Things were being fitted and prepped for the next step.


I’m so excited! What could be next?


A4 Lung Holder
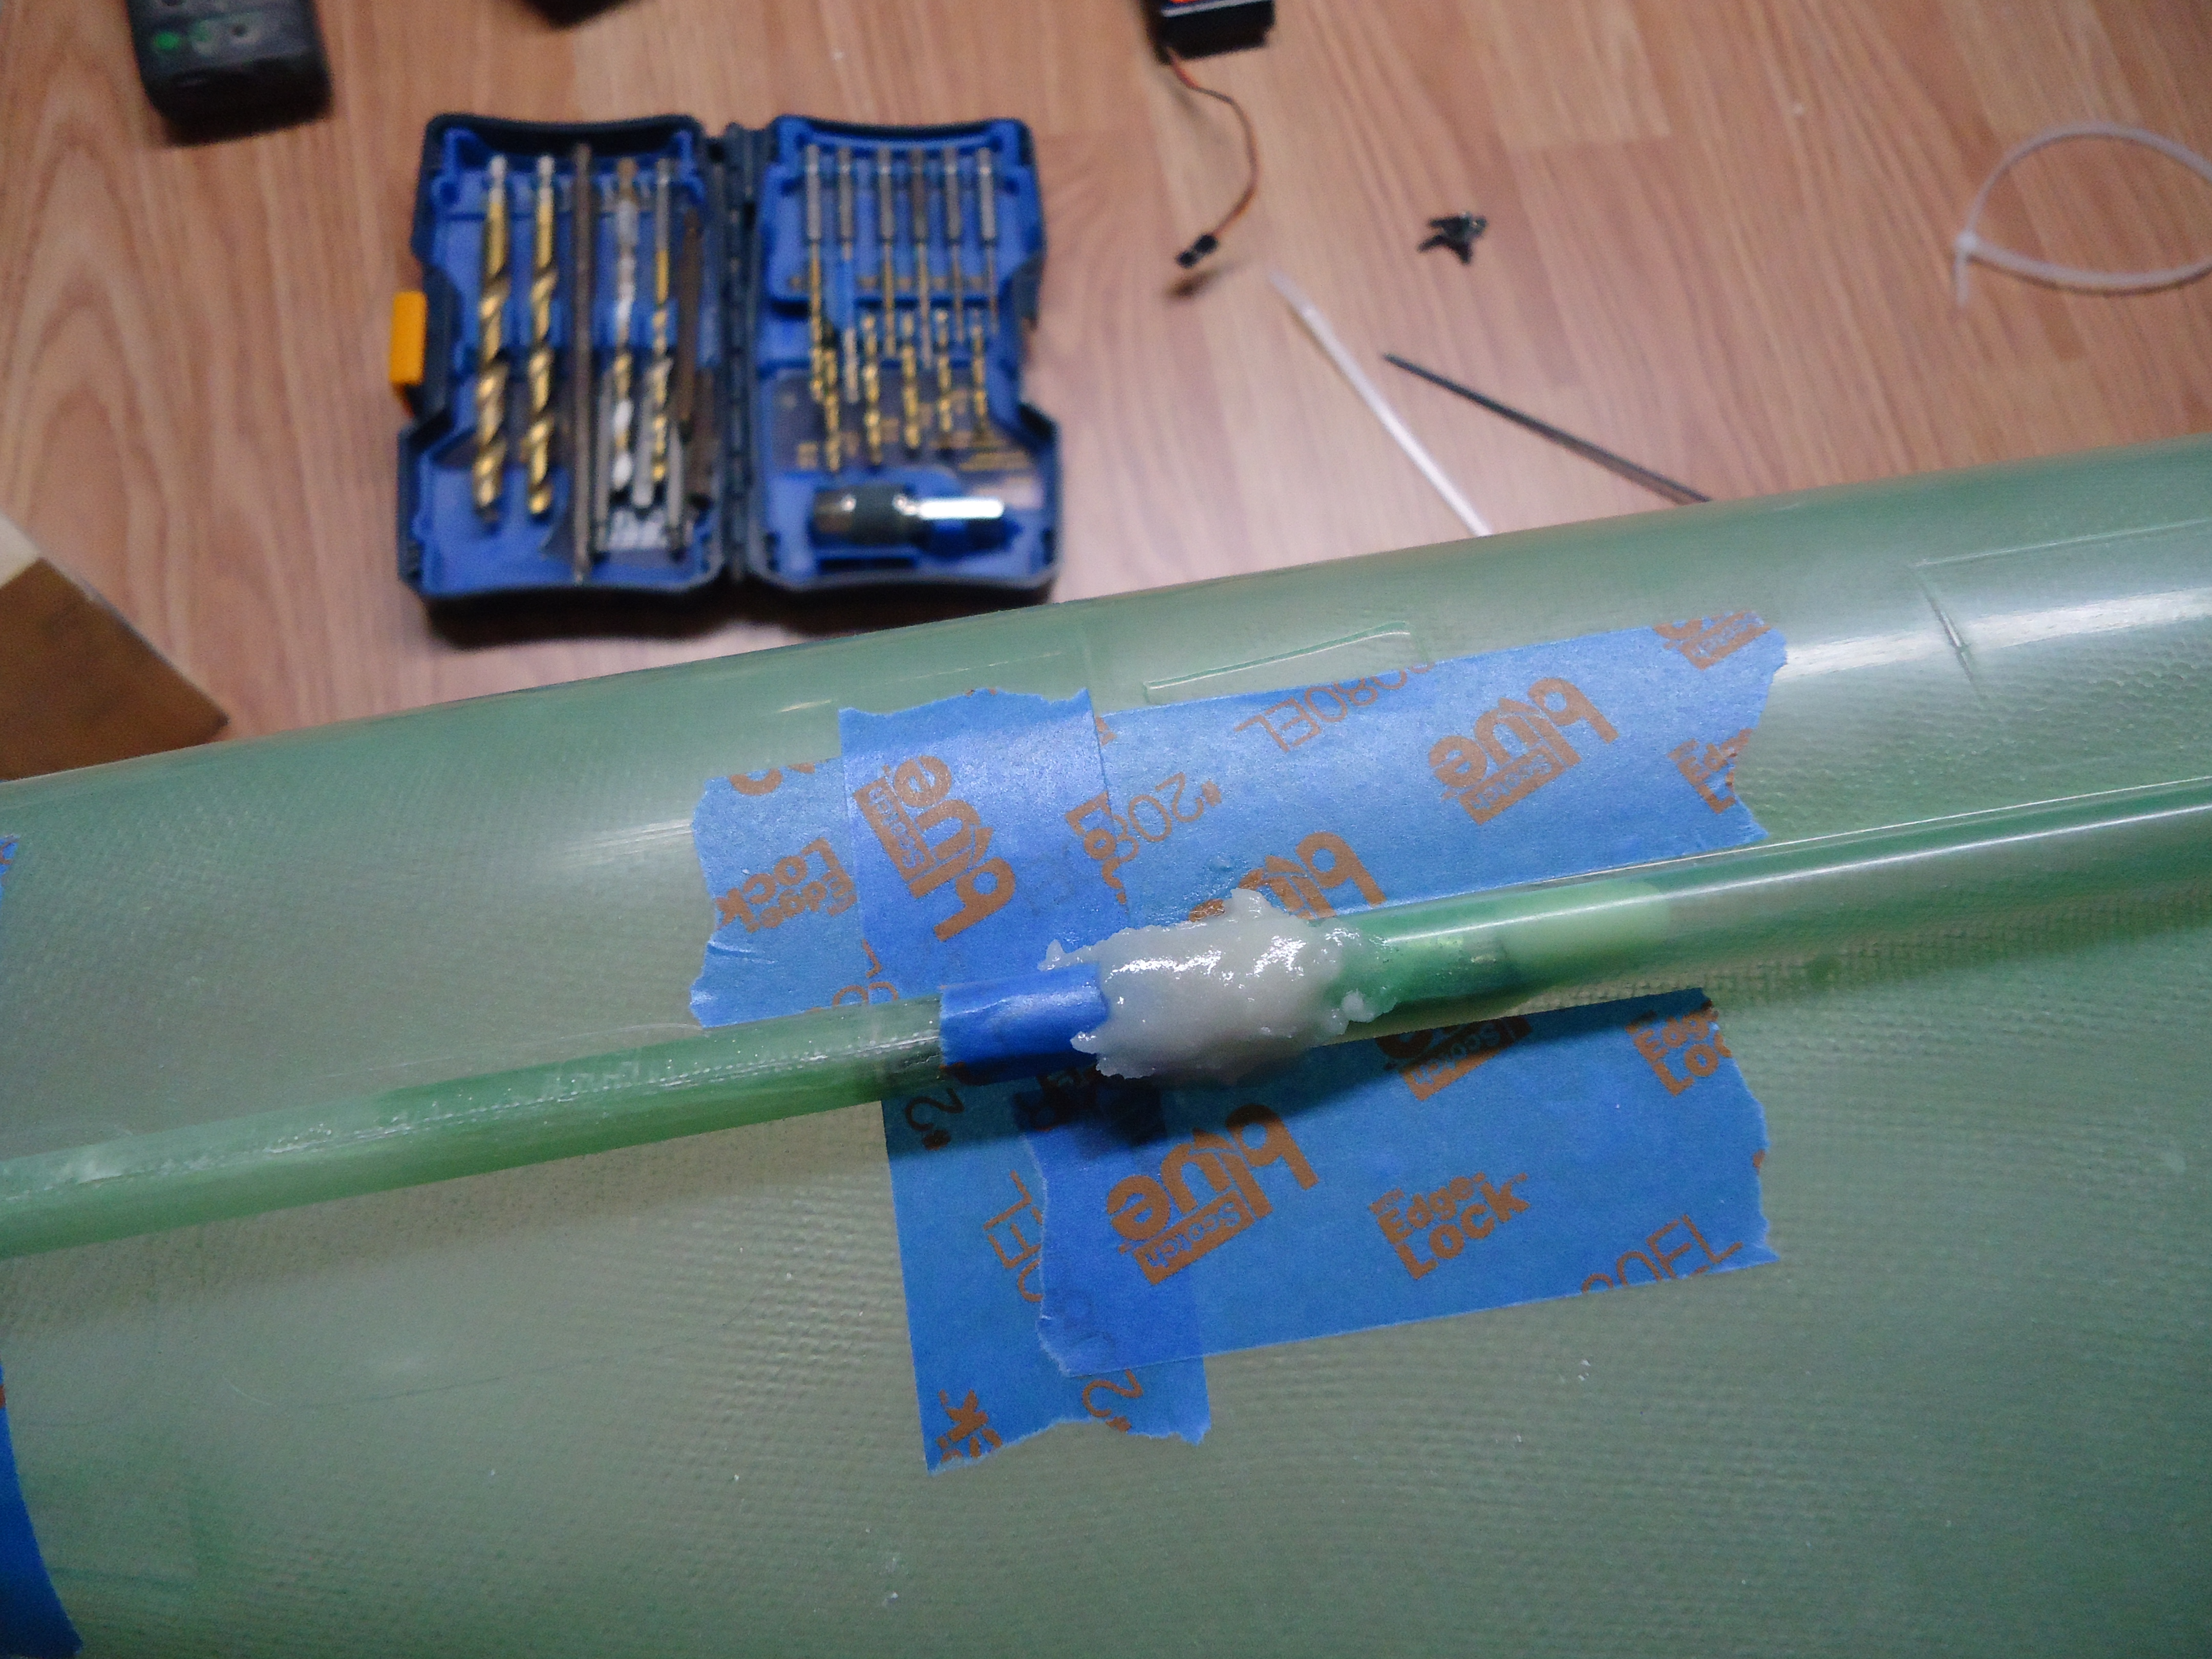
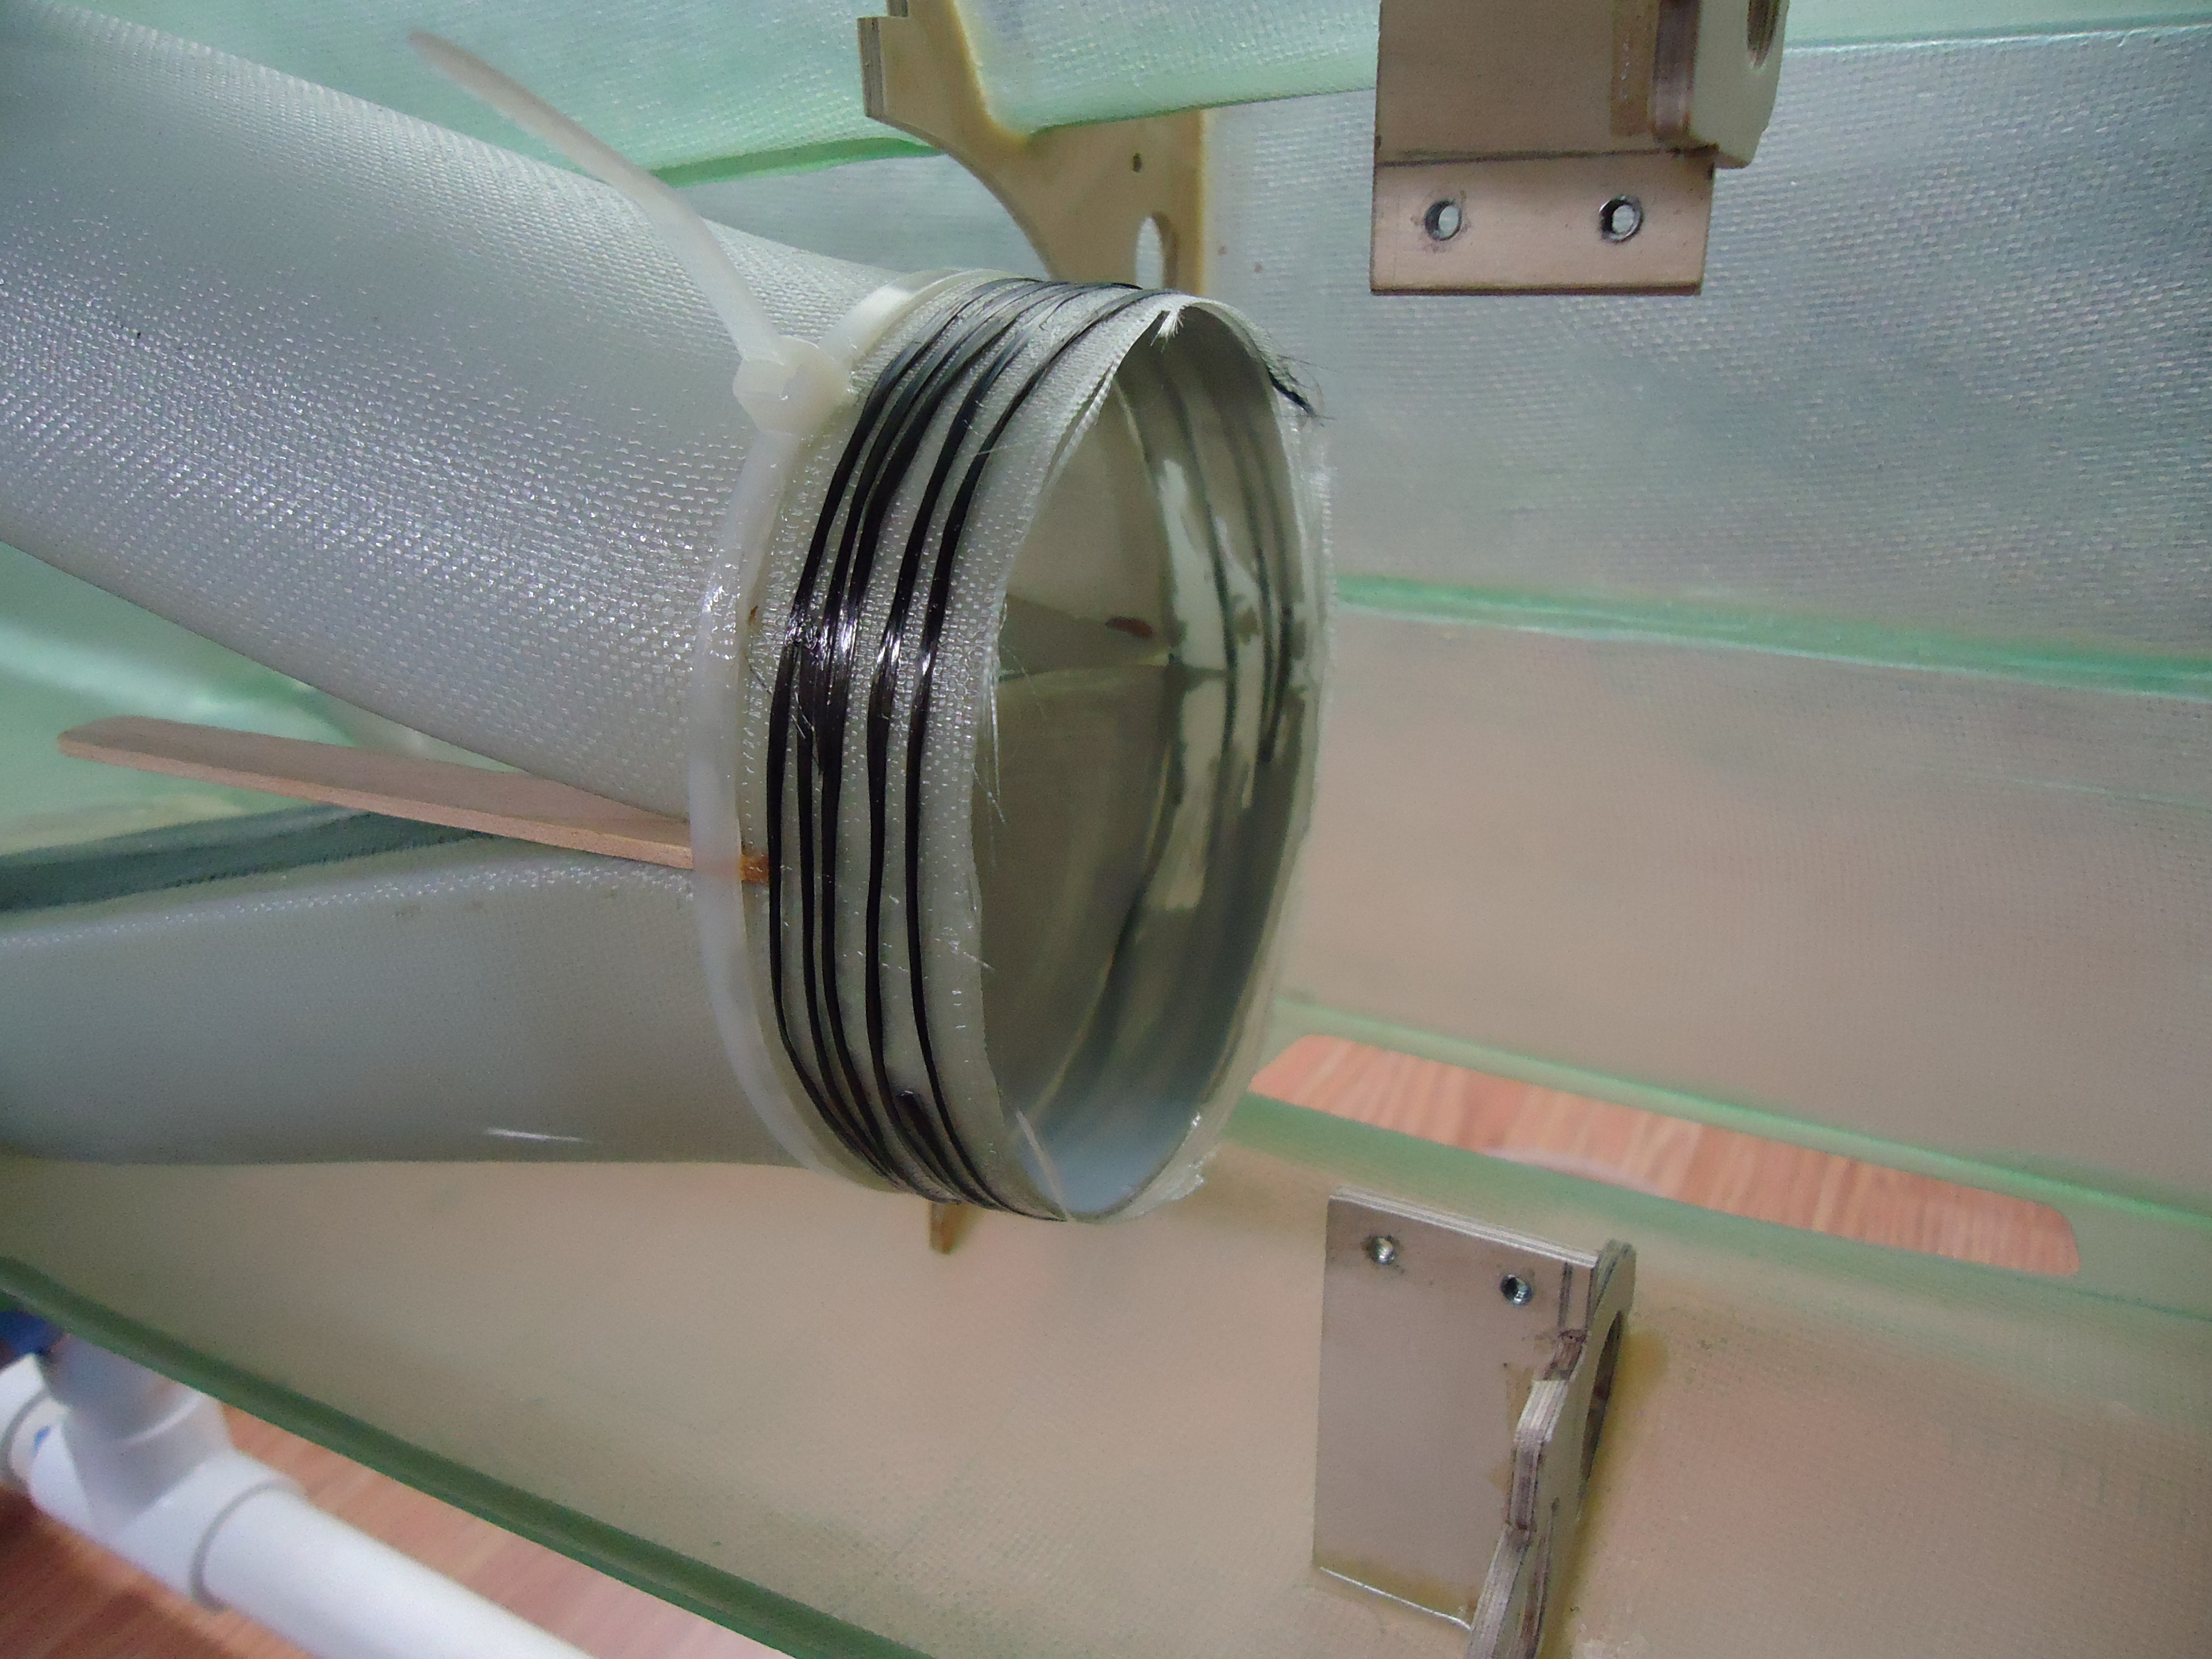
It seems that we have to keep the lungs together by using black dental floss. I’ve heard of cinnamon dental floss, but apparently the best tool for this job is black licorice-flavored dental floss. This will help to keep the lungs from flying apart when the jet is wheezing after a good flight.


A4 Fan Installed
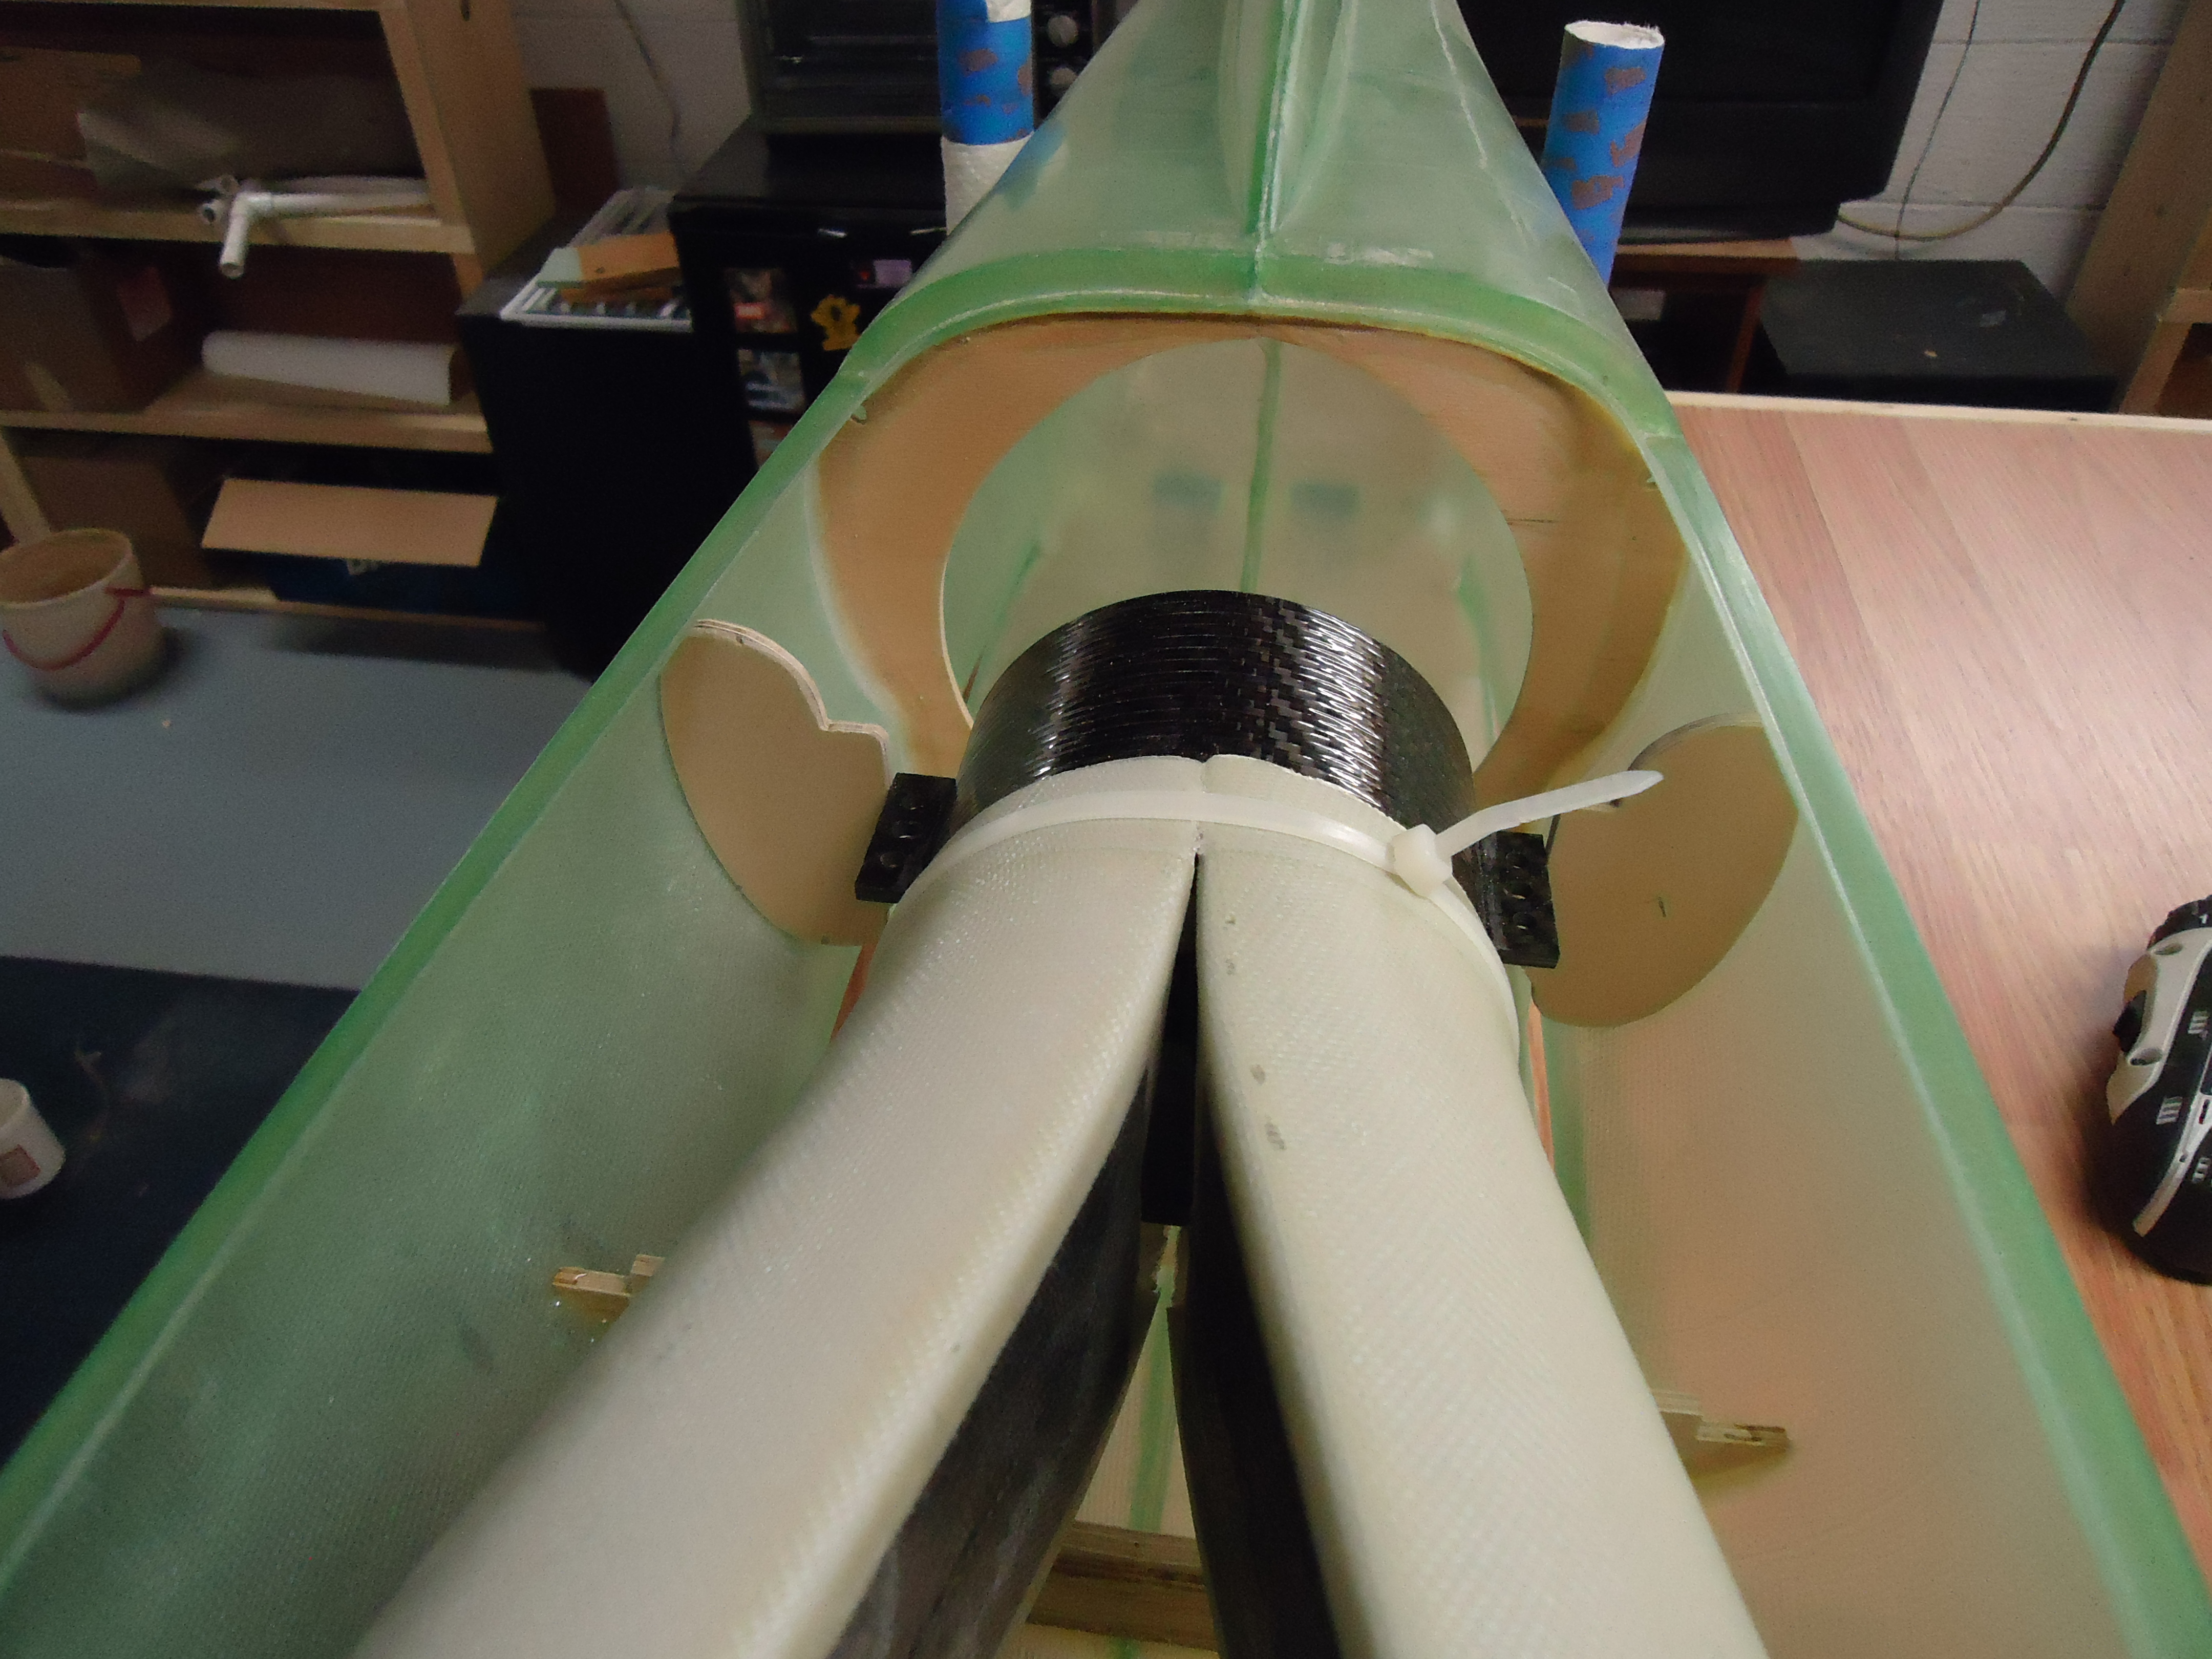
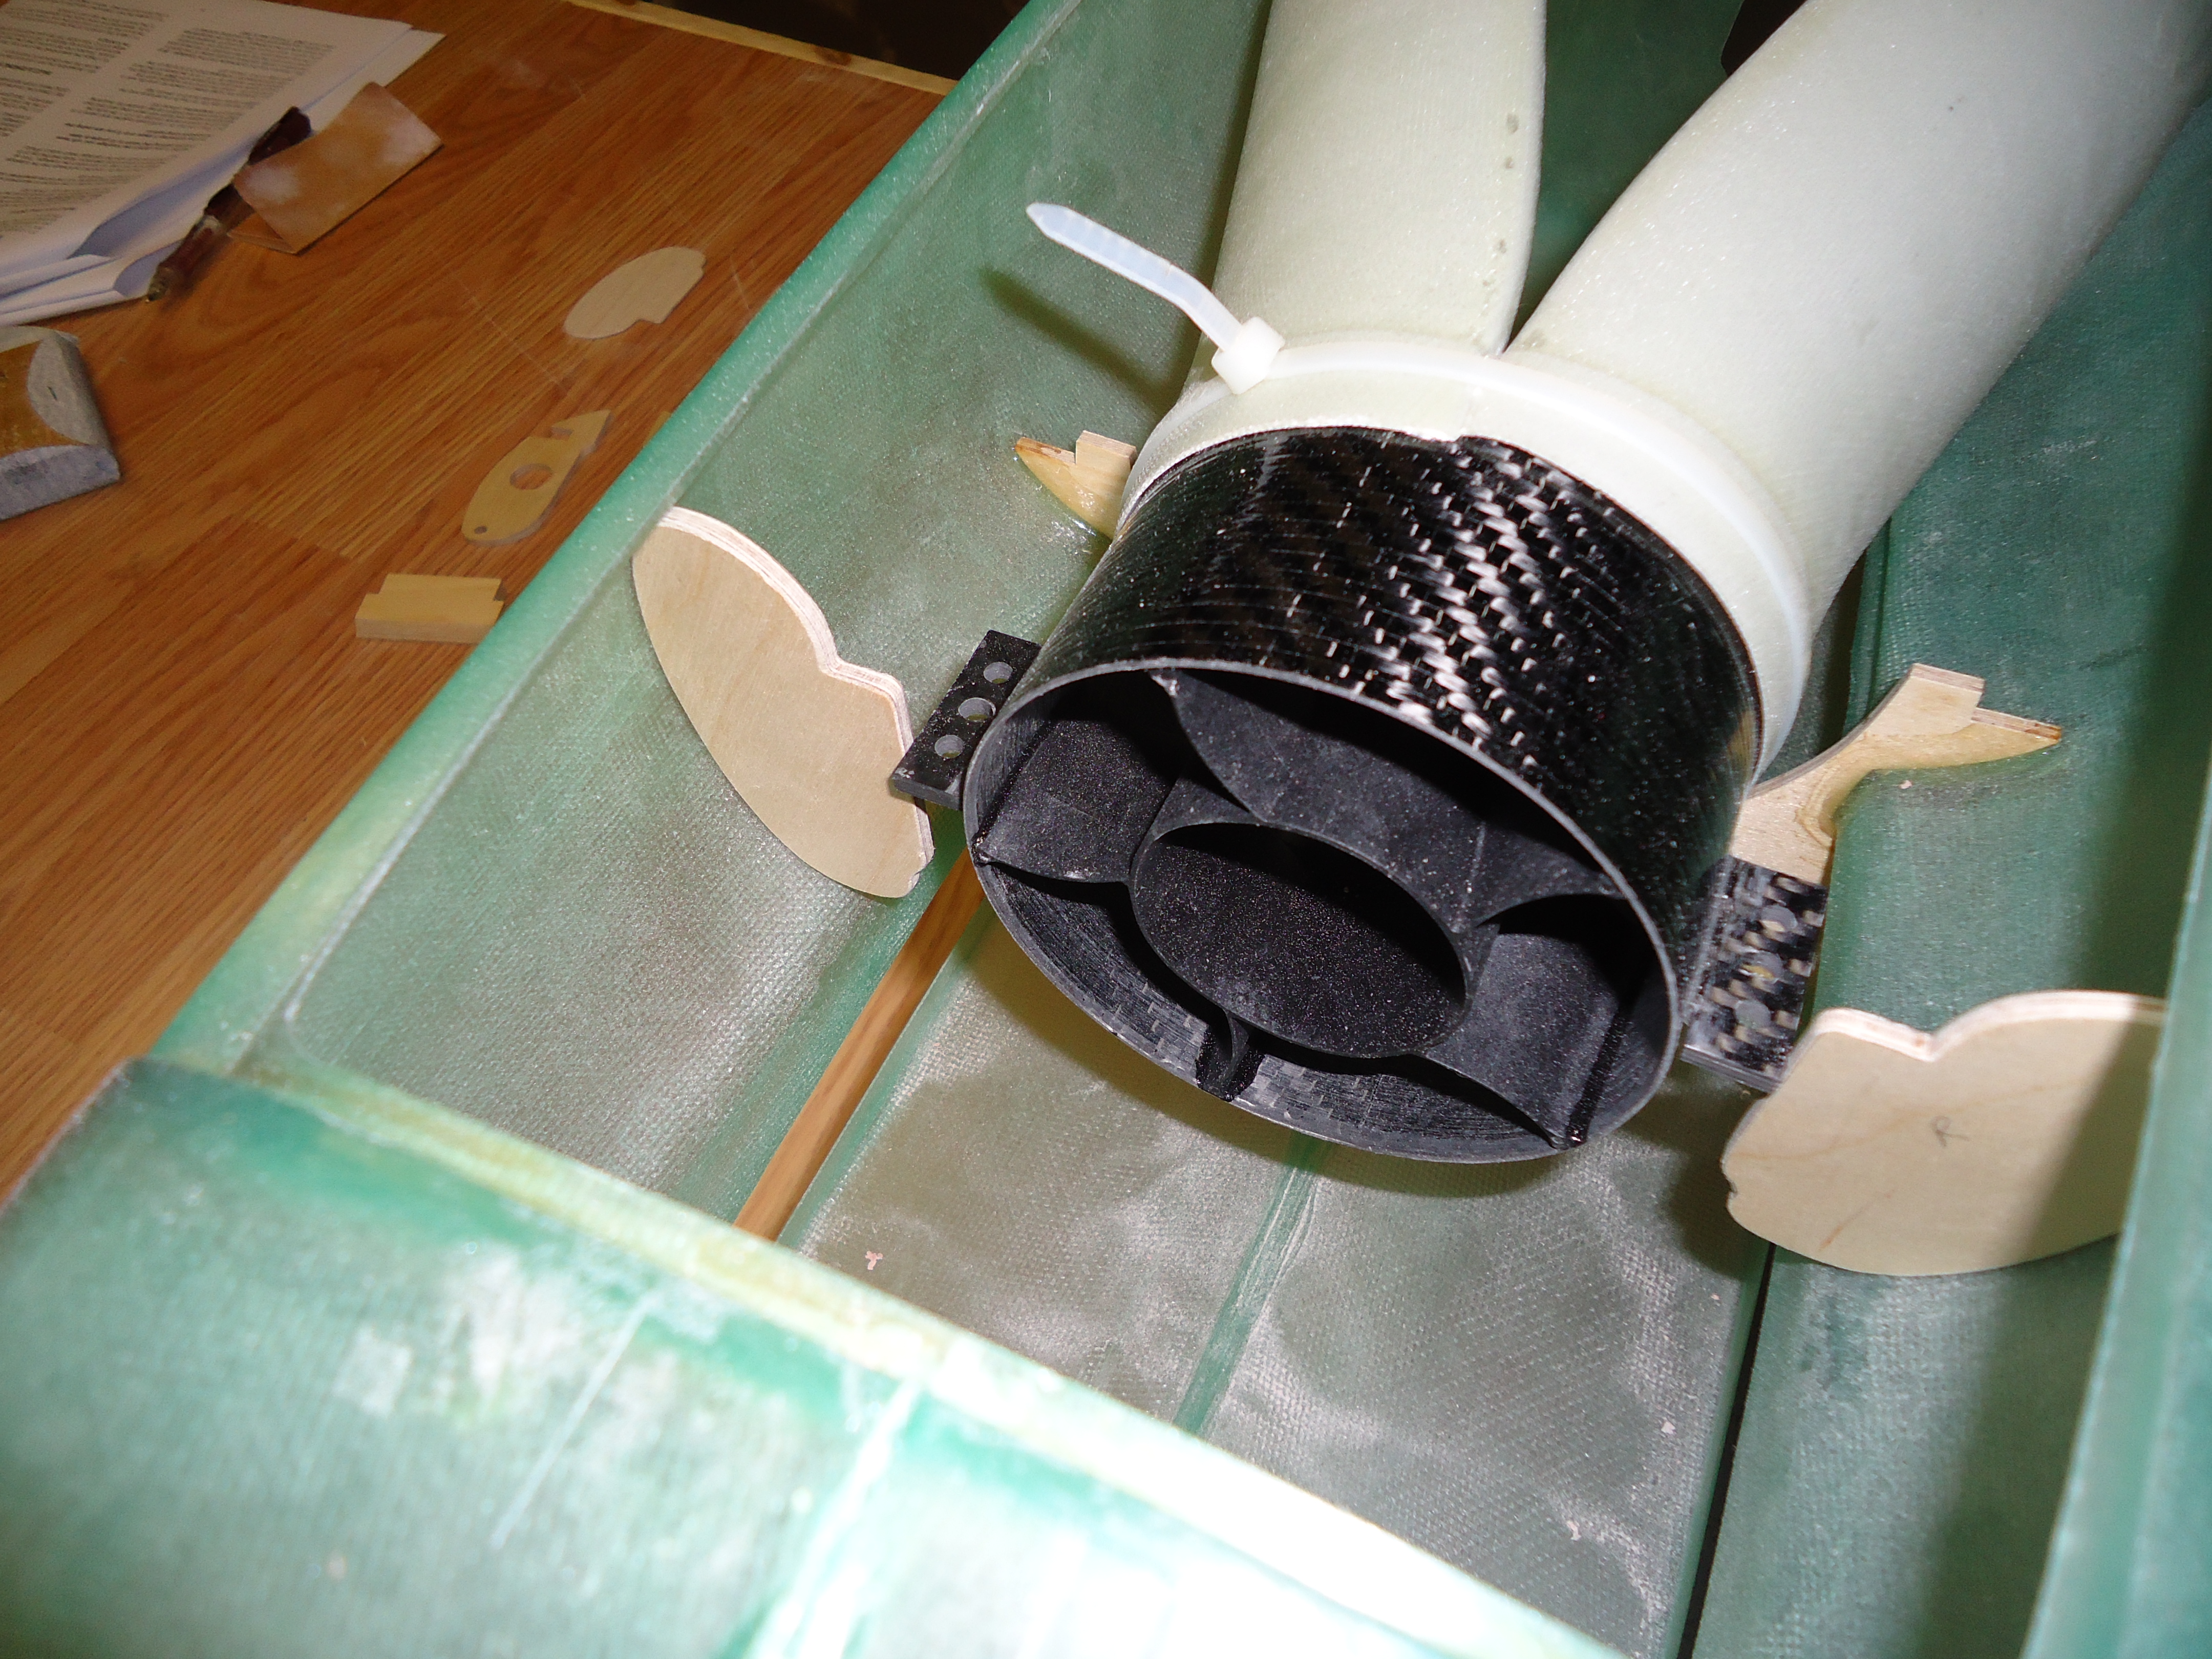
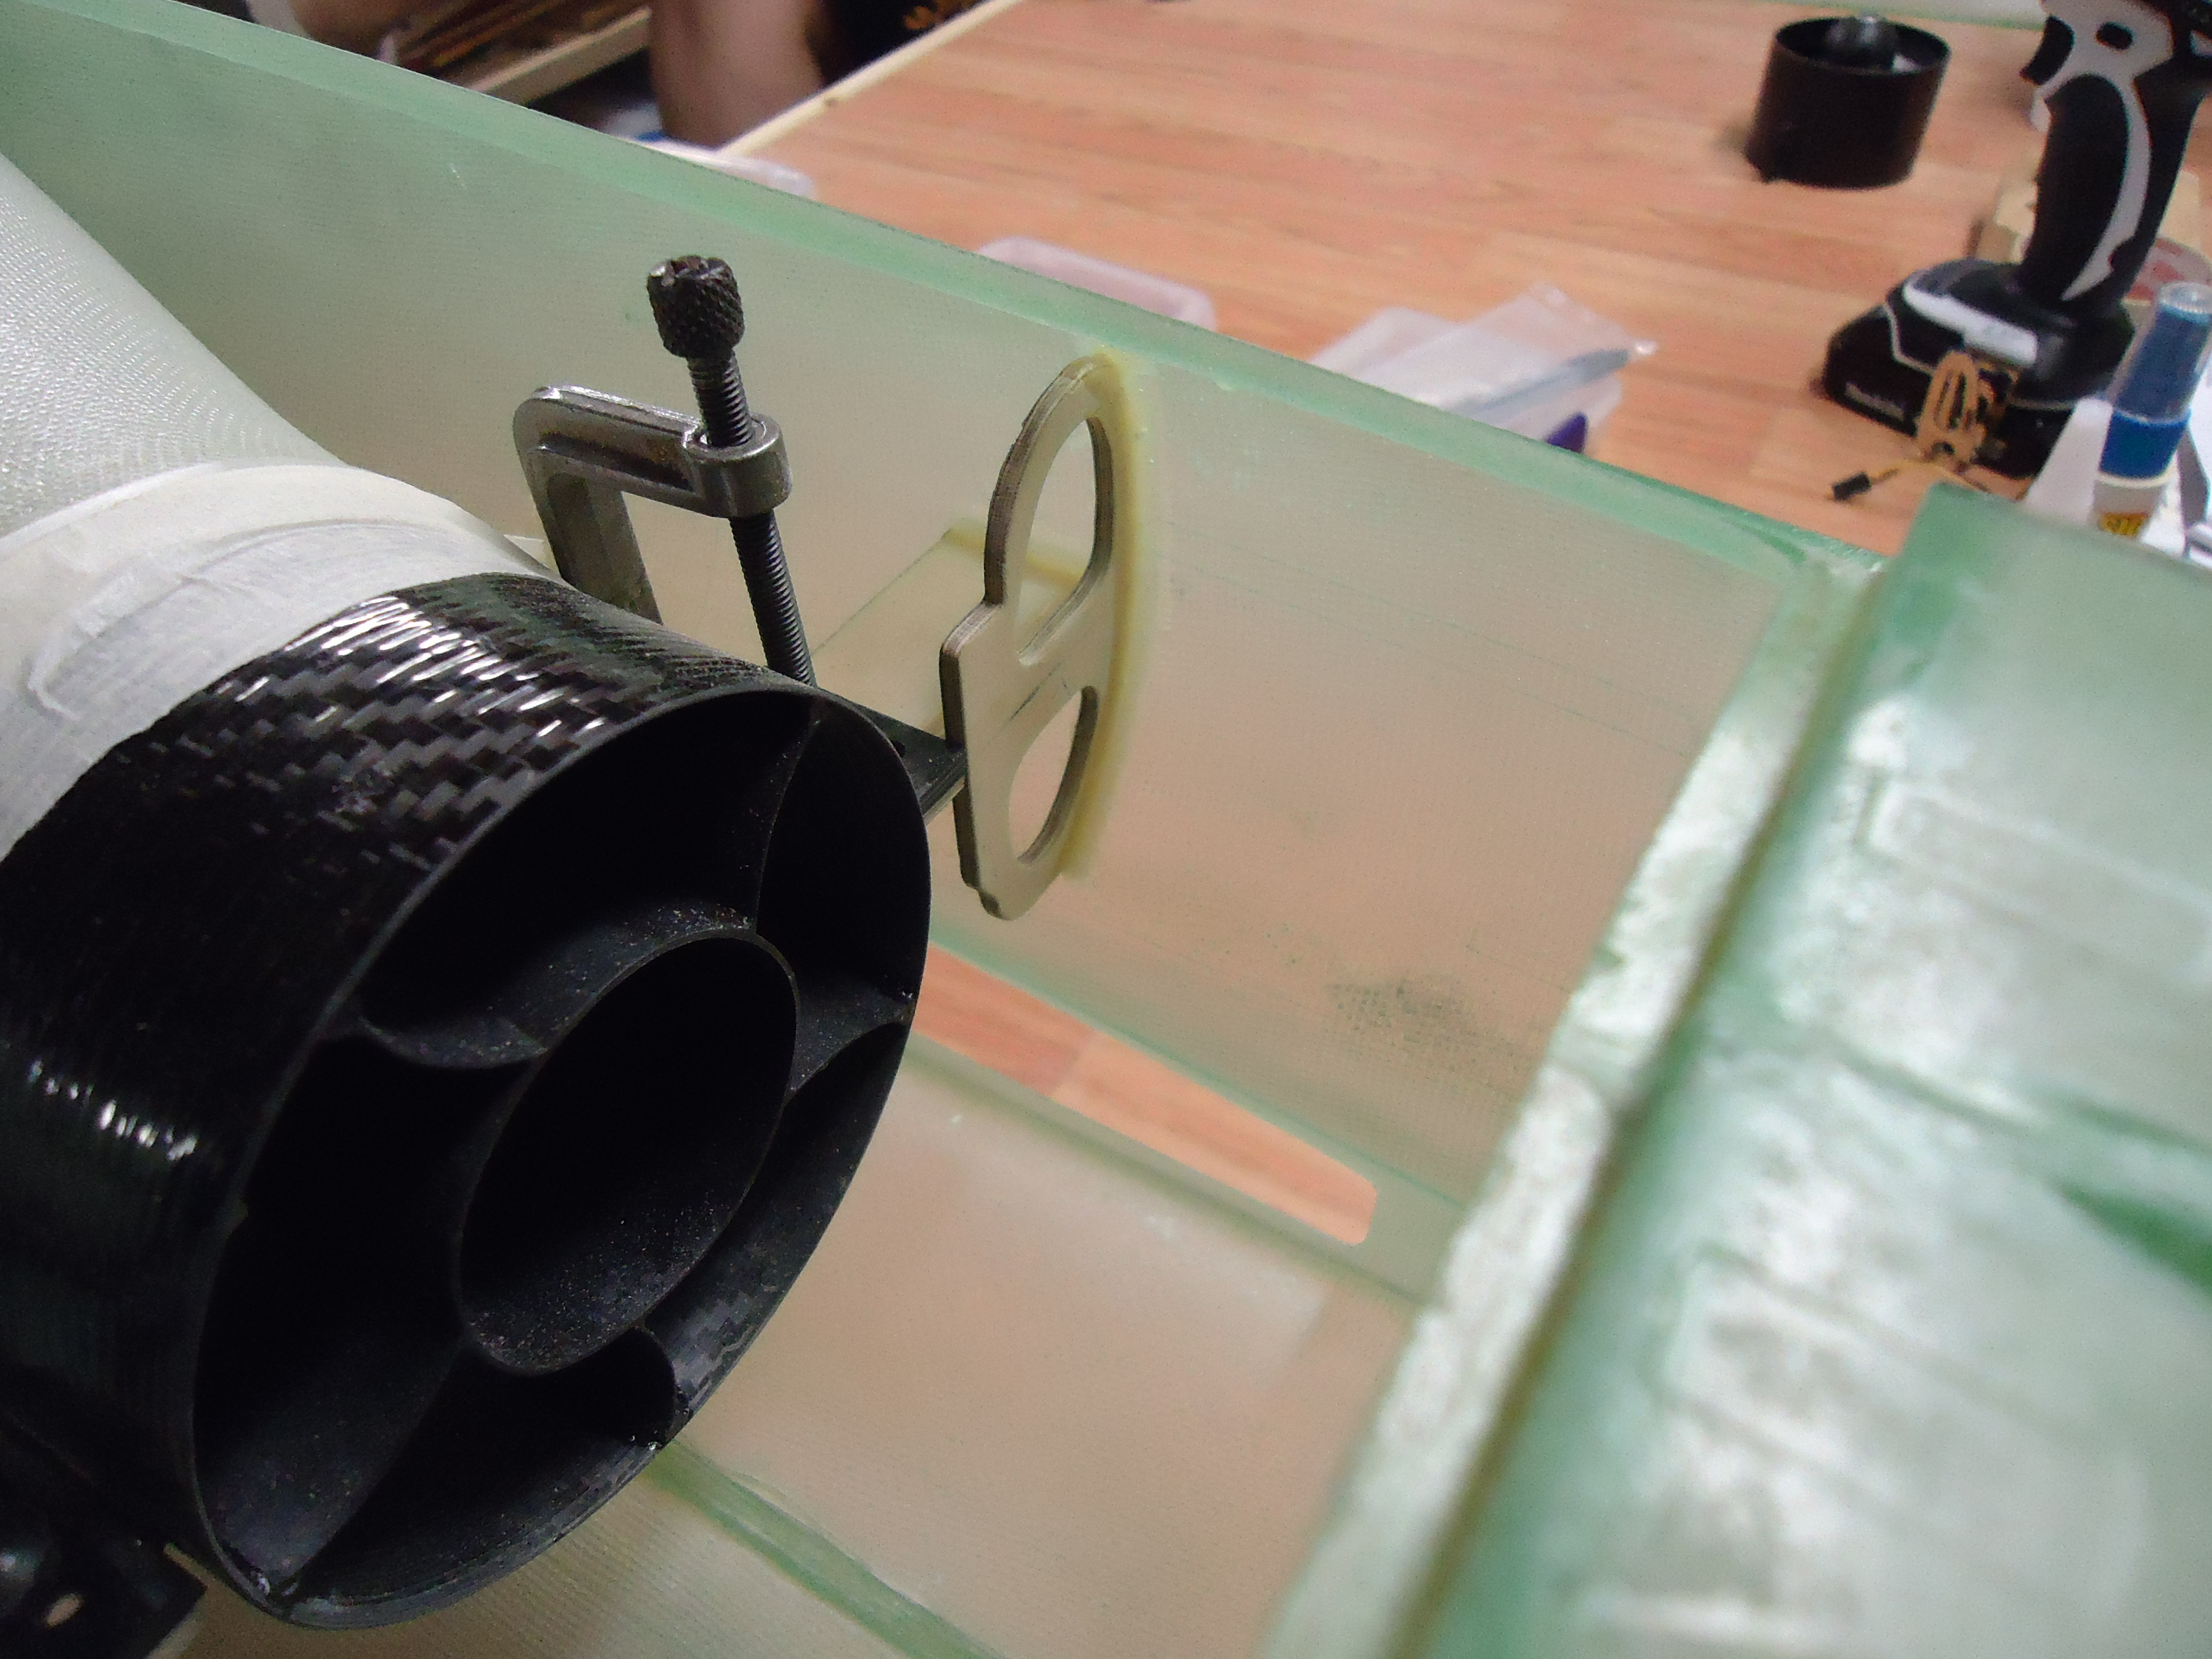
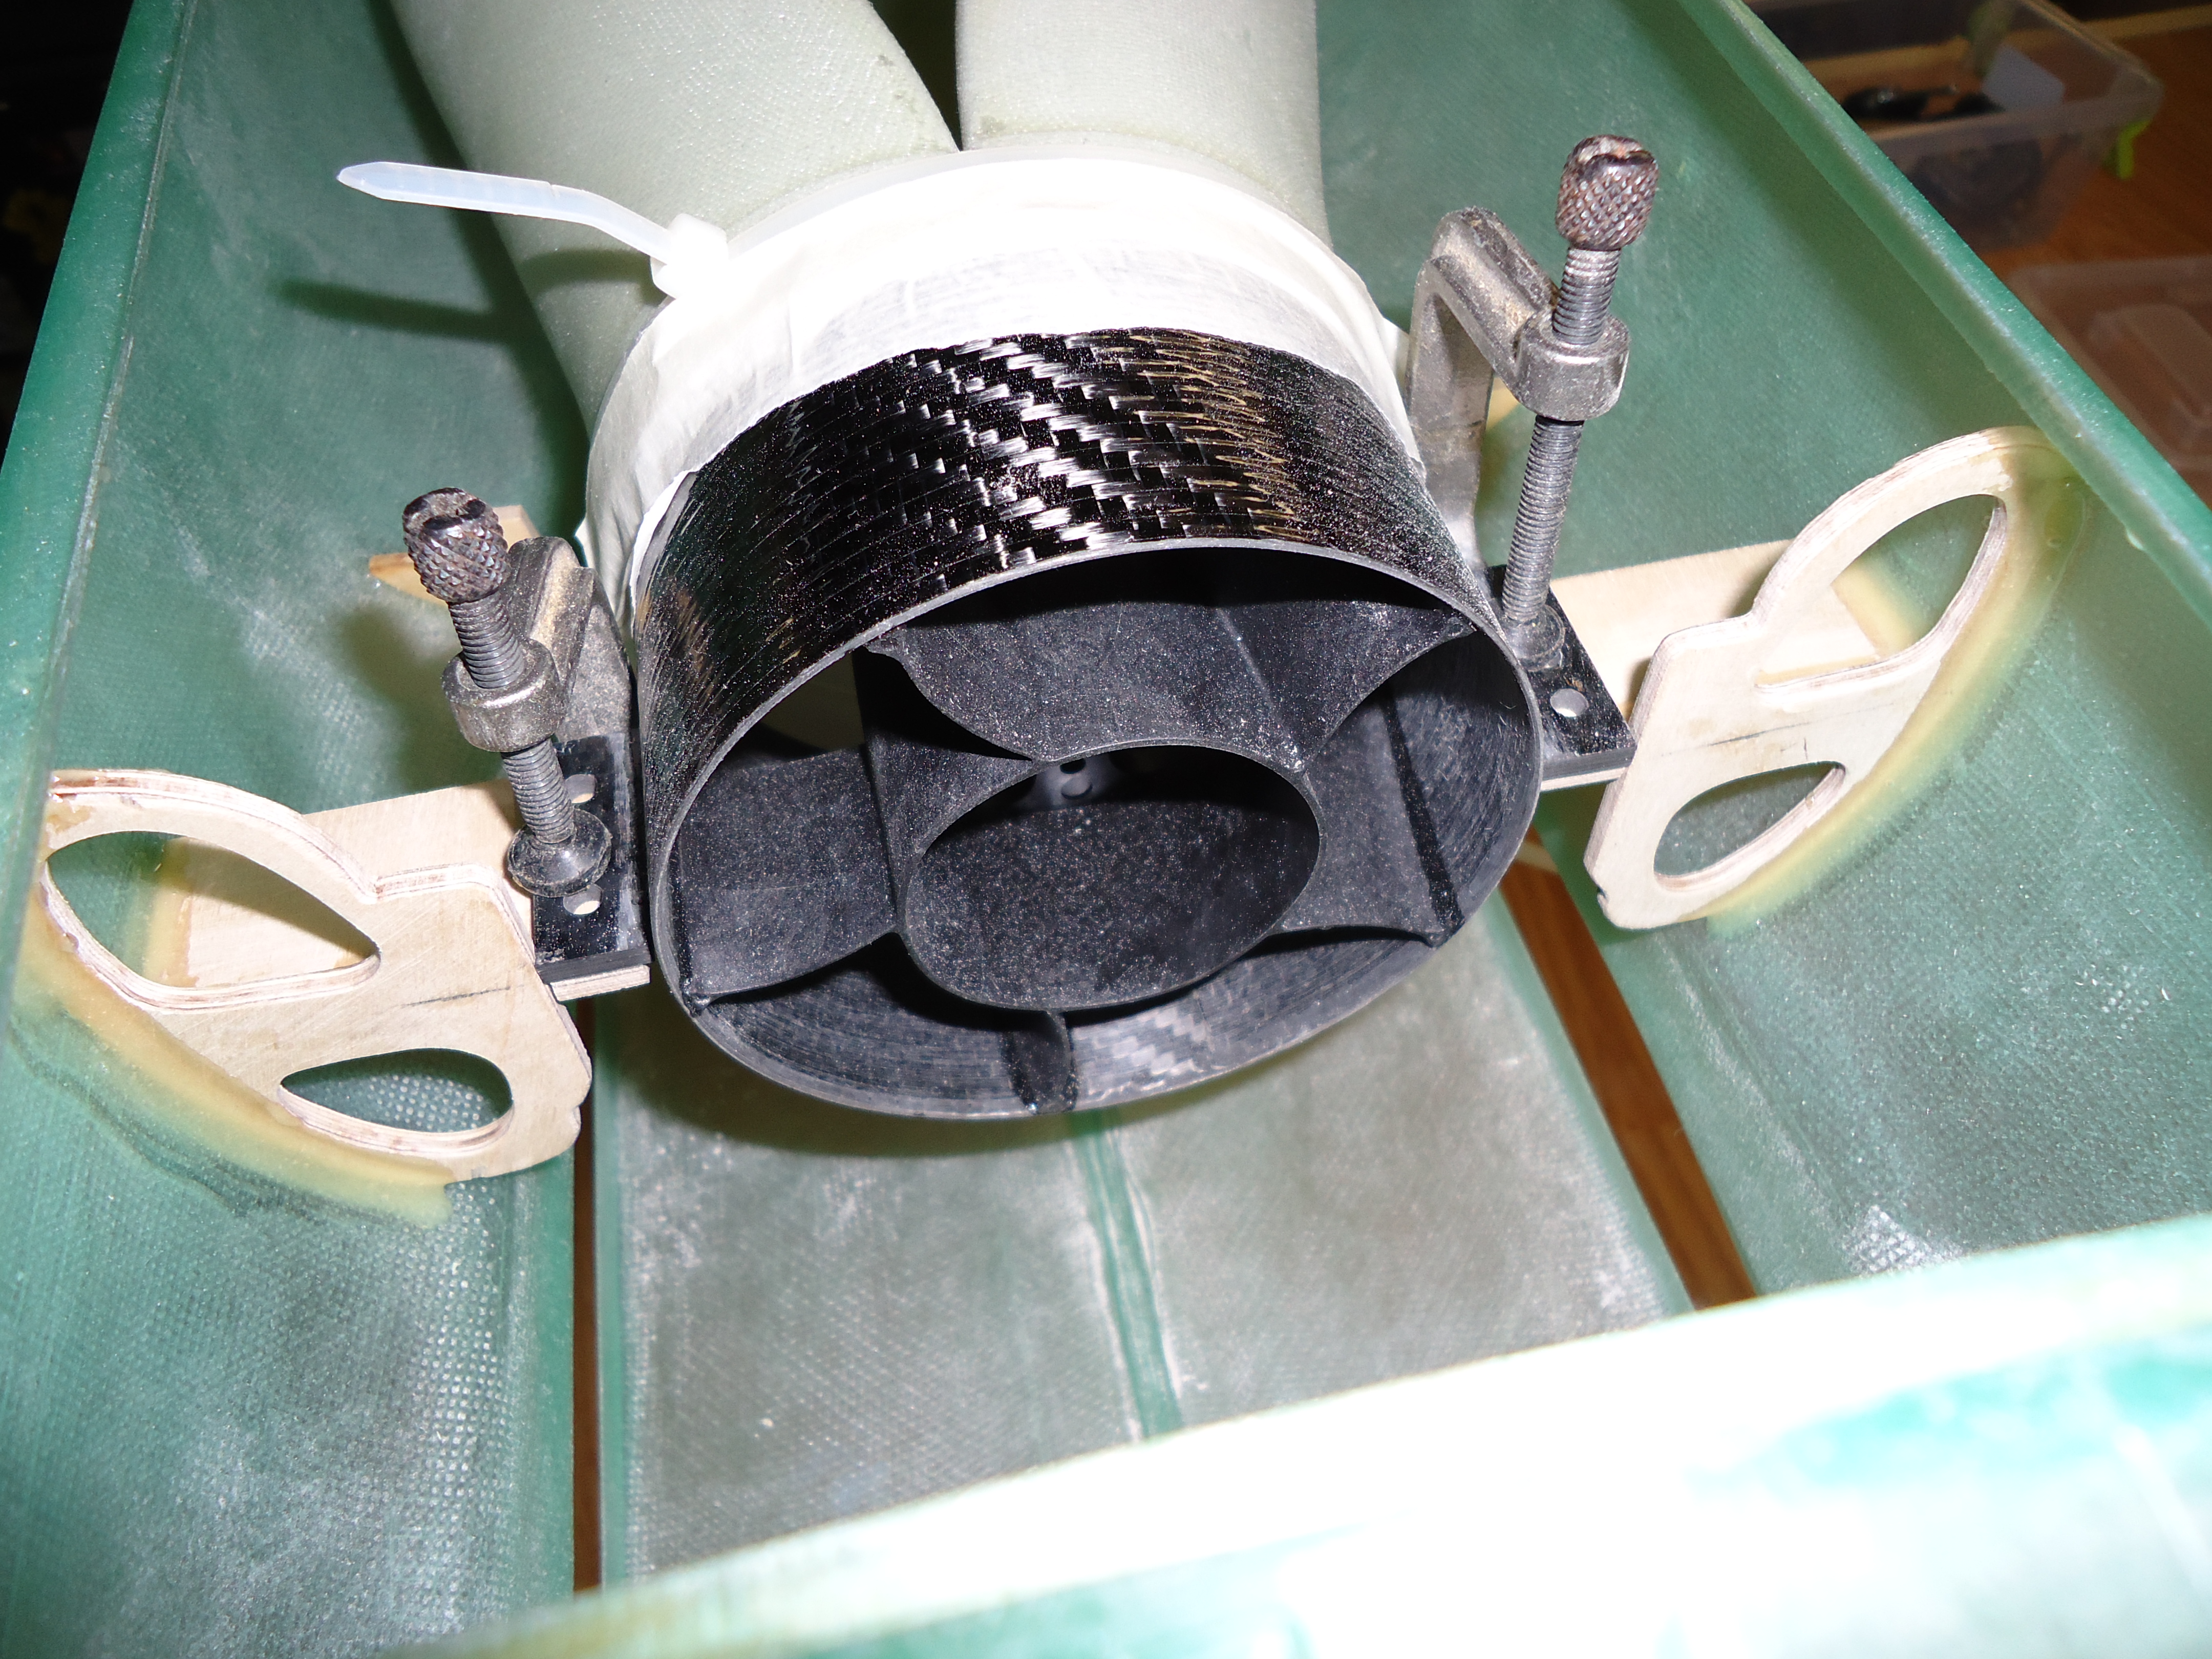
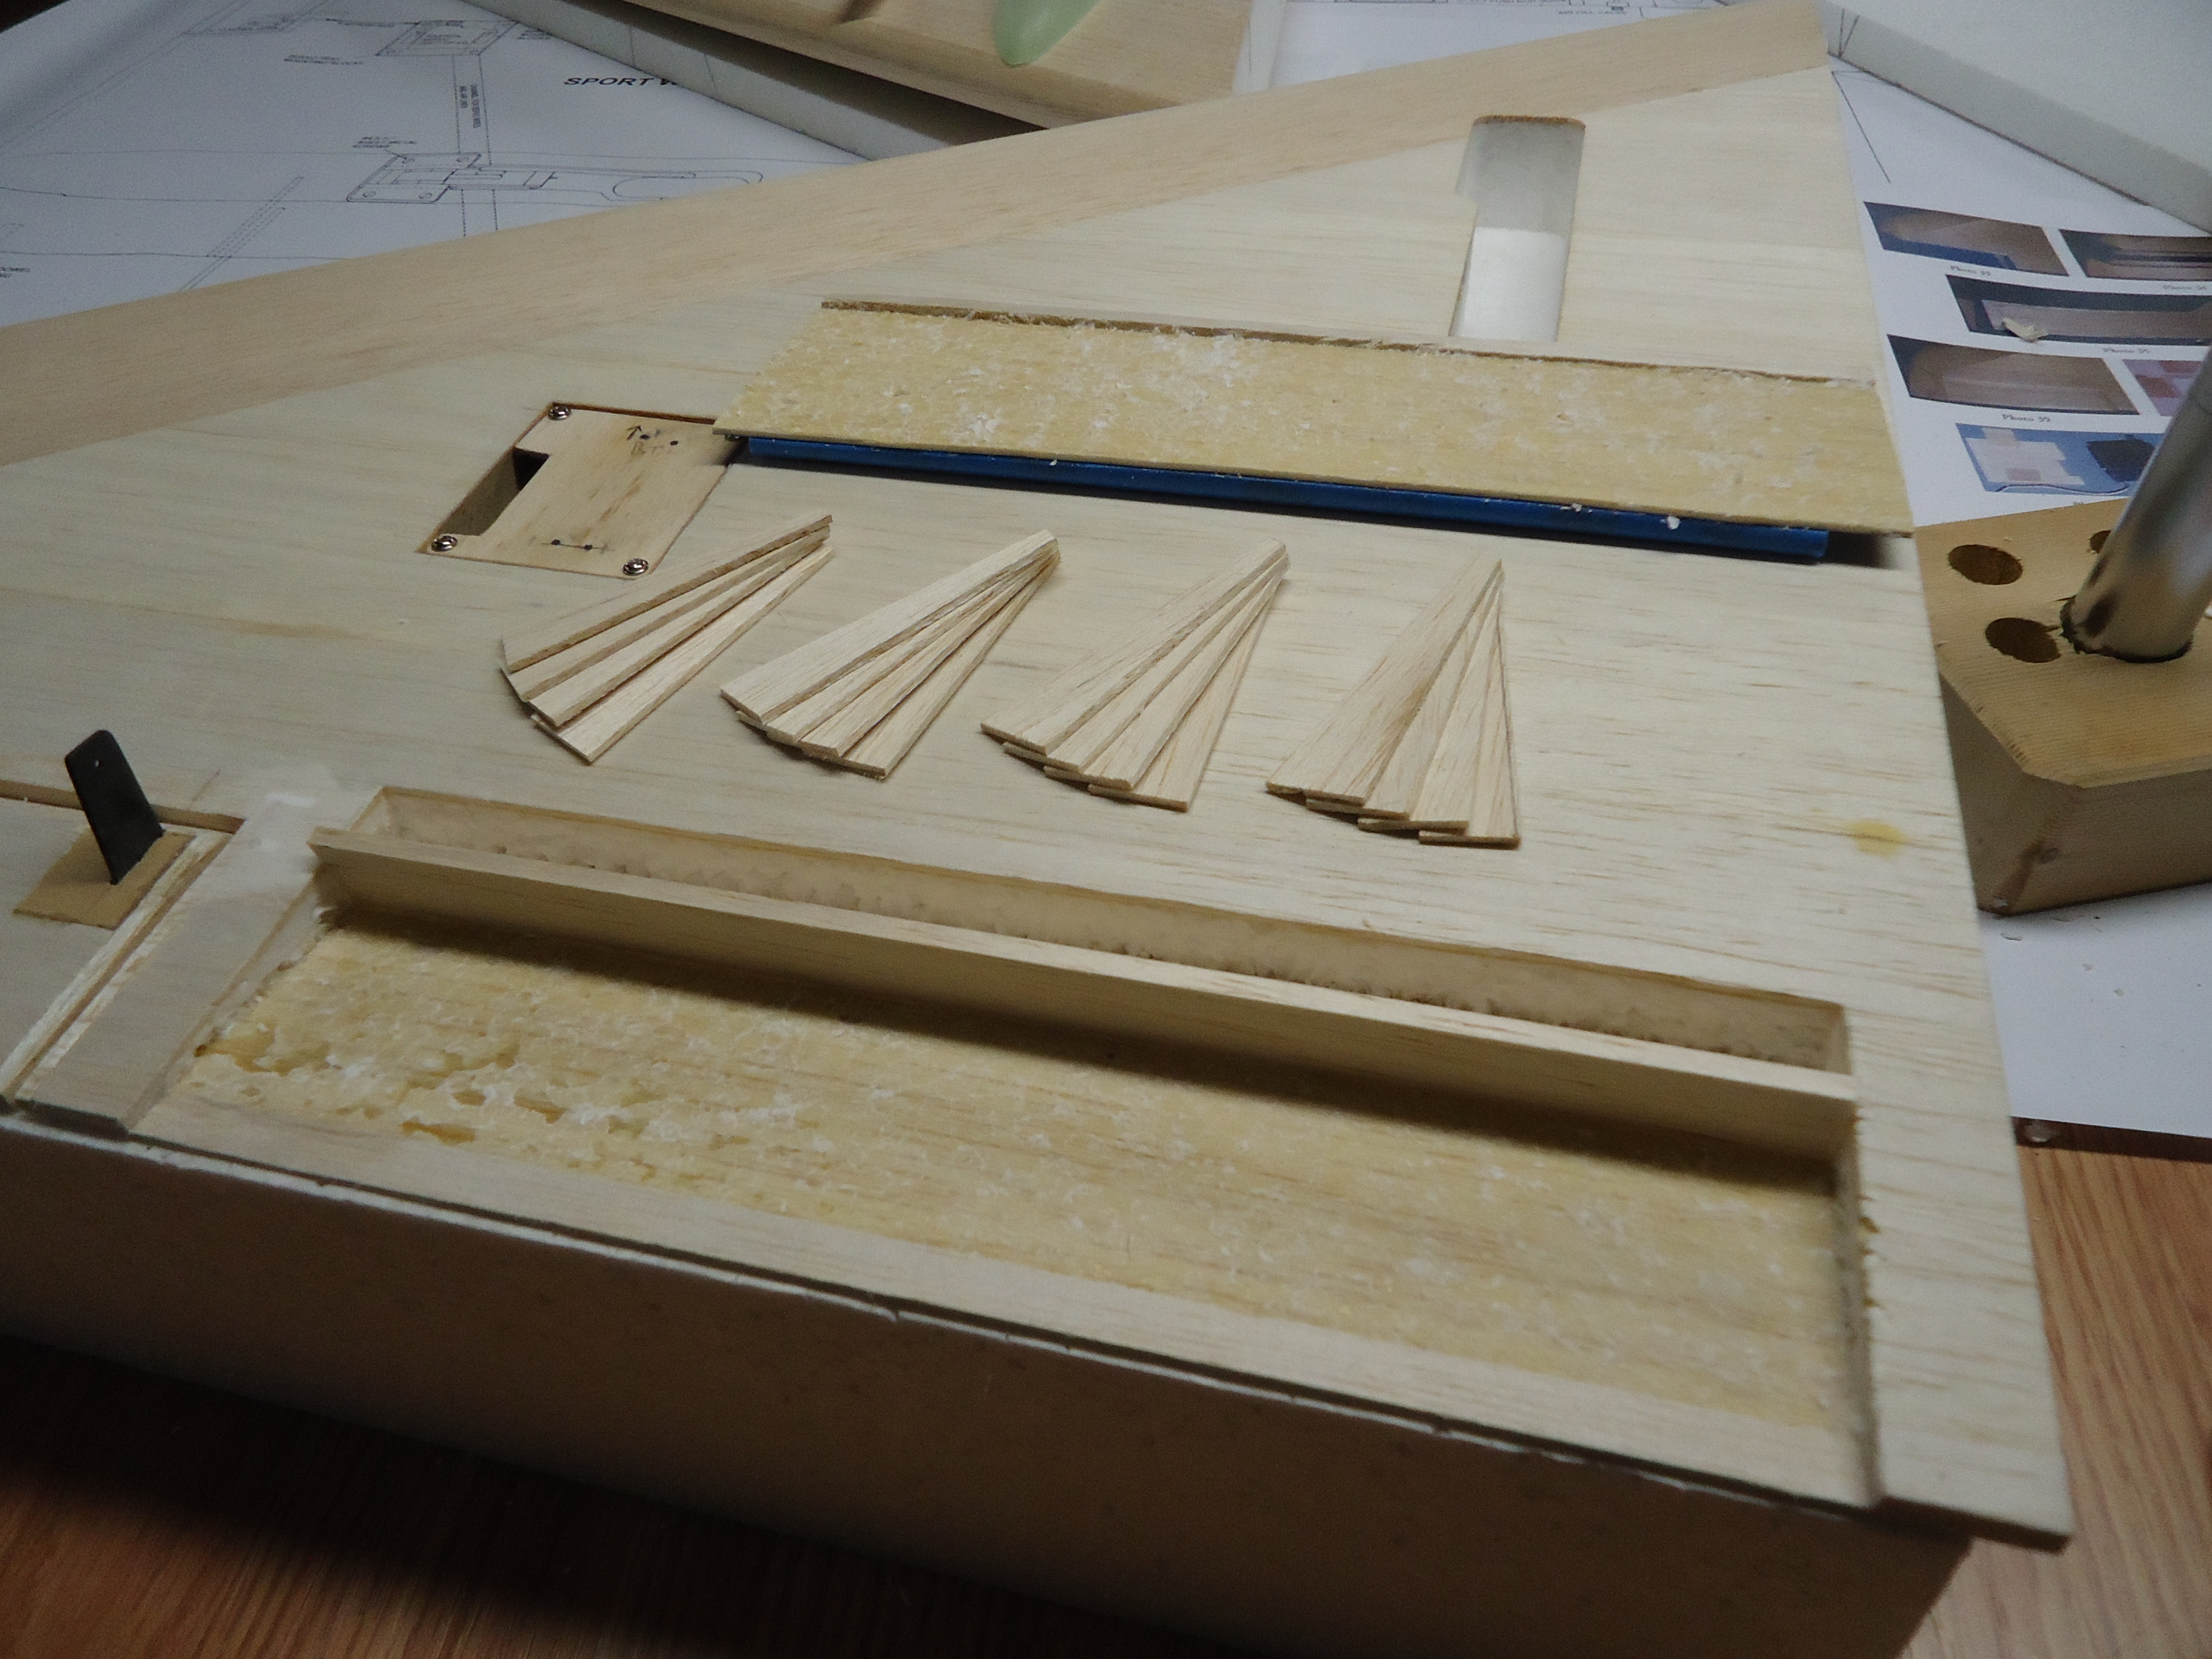
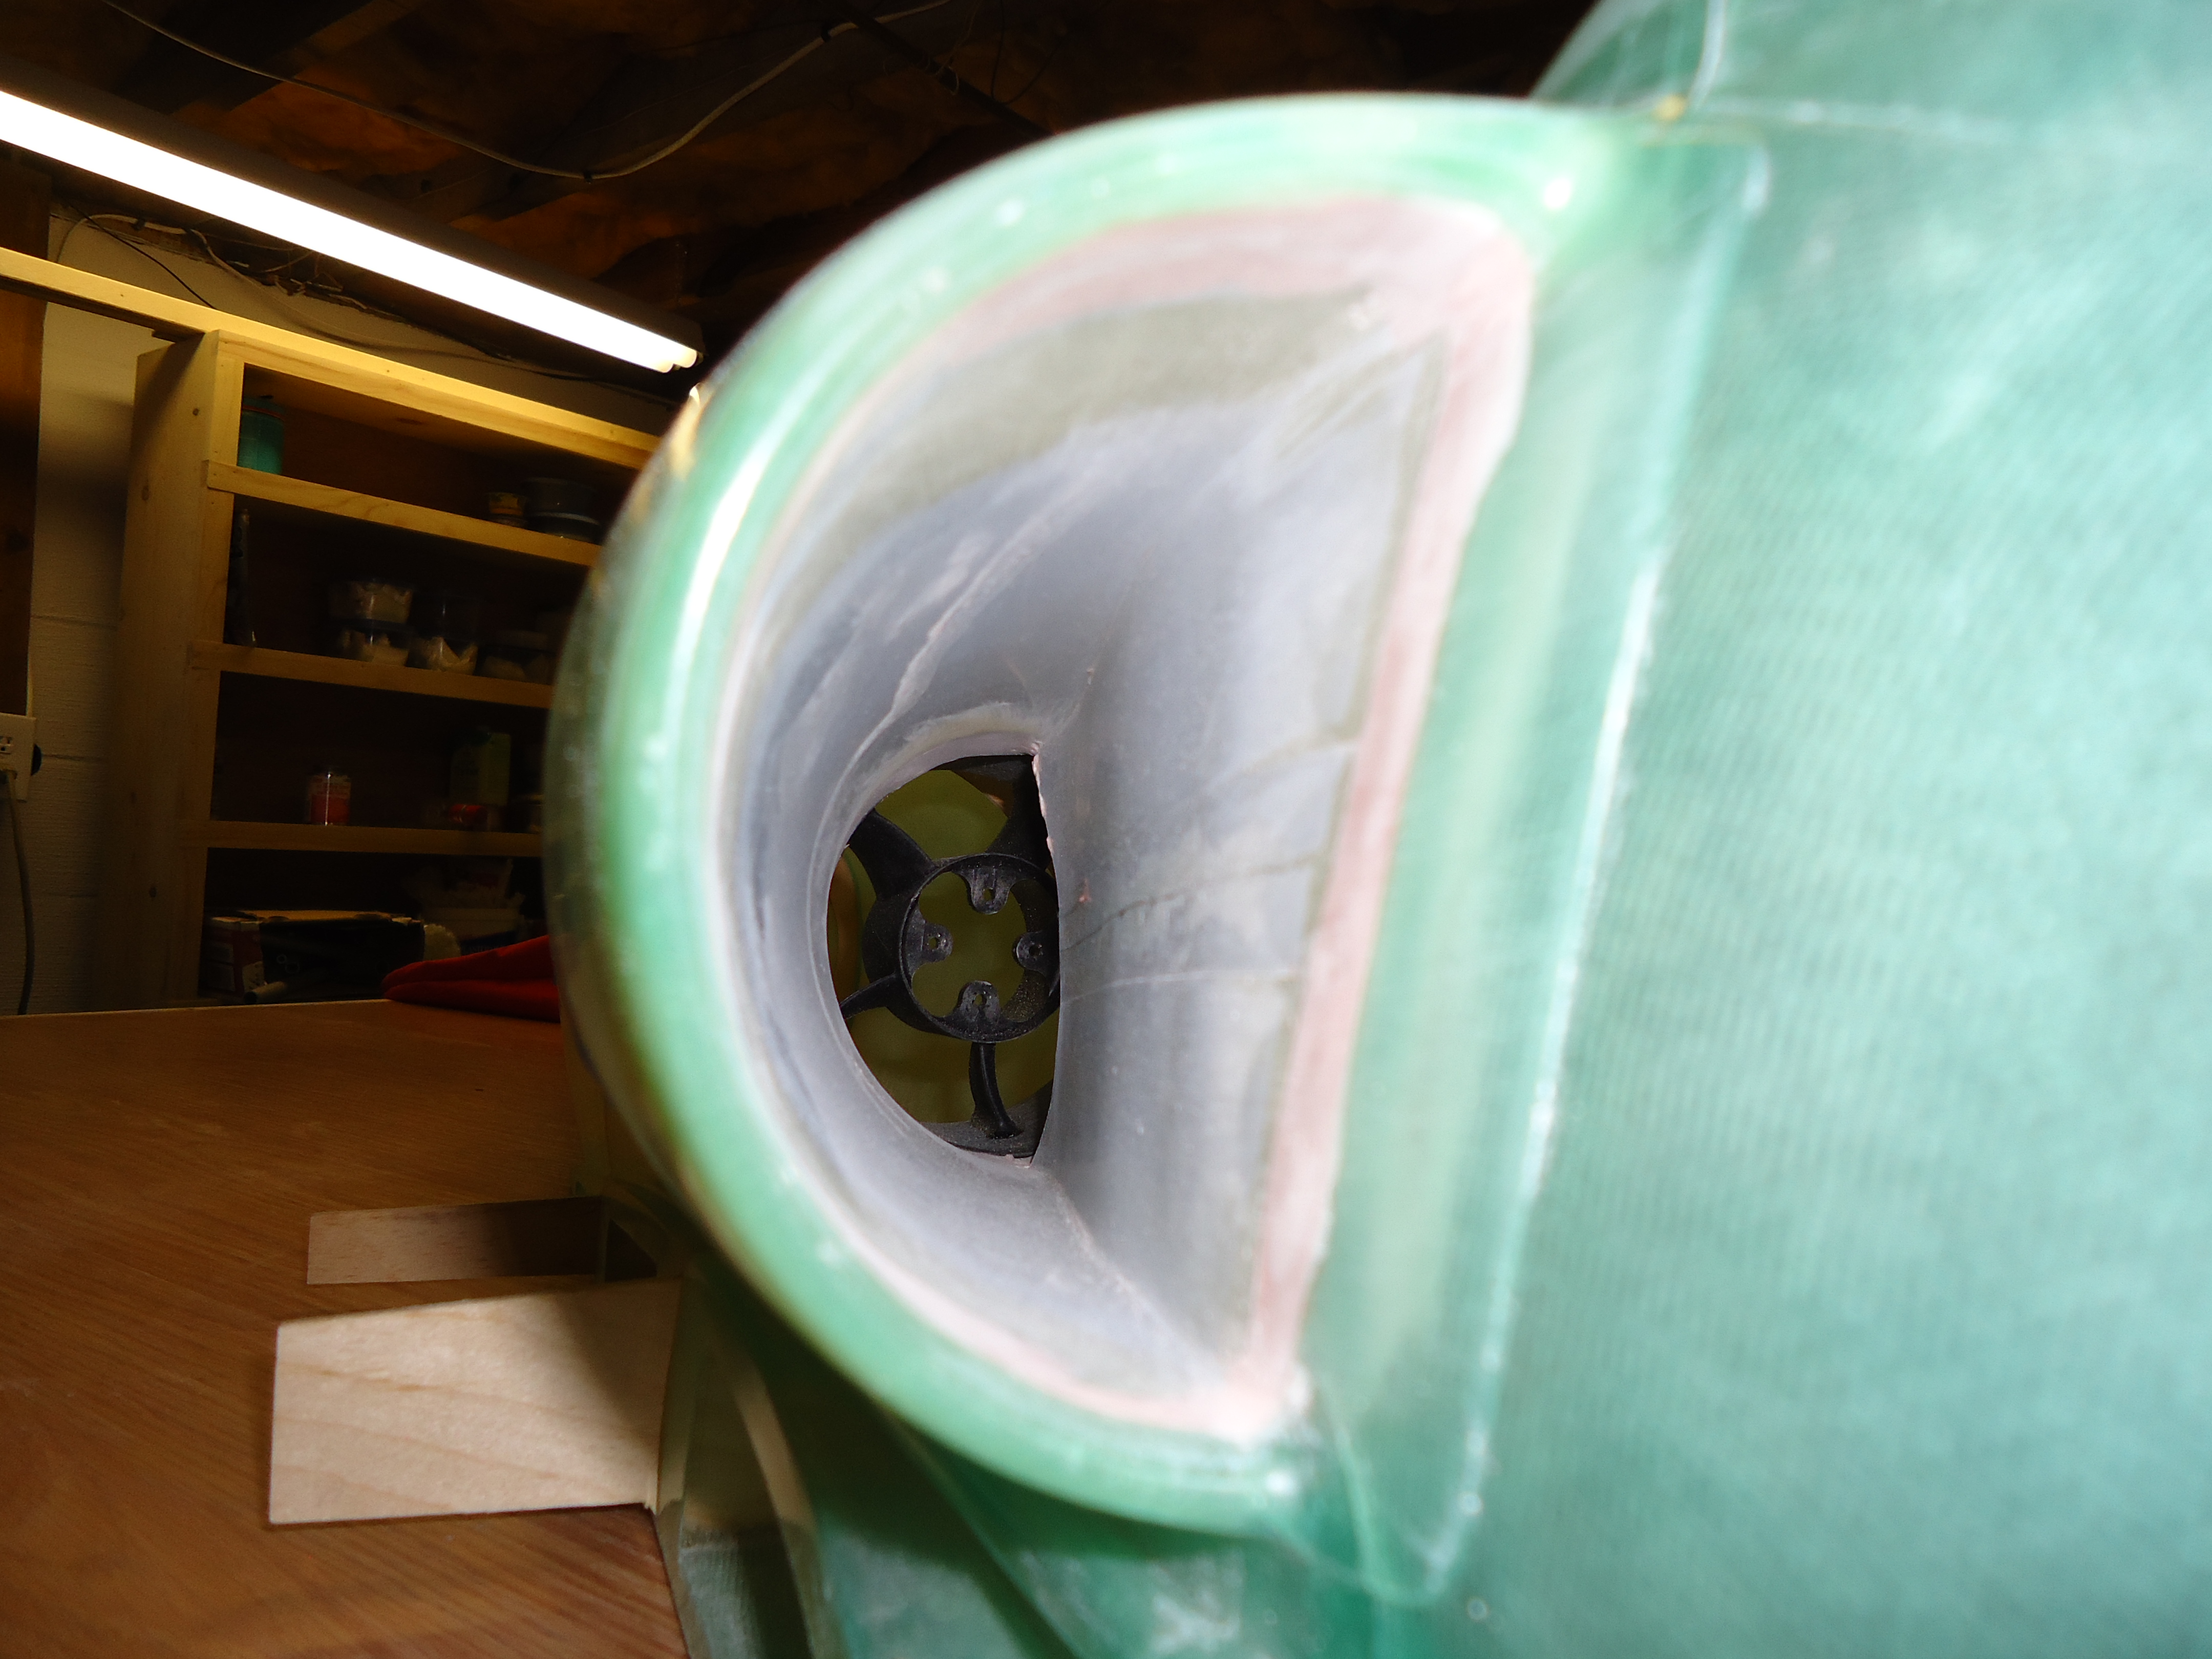
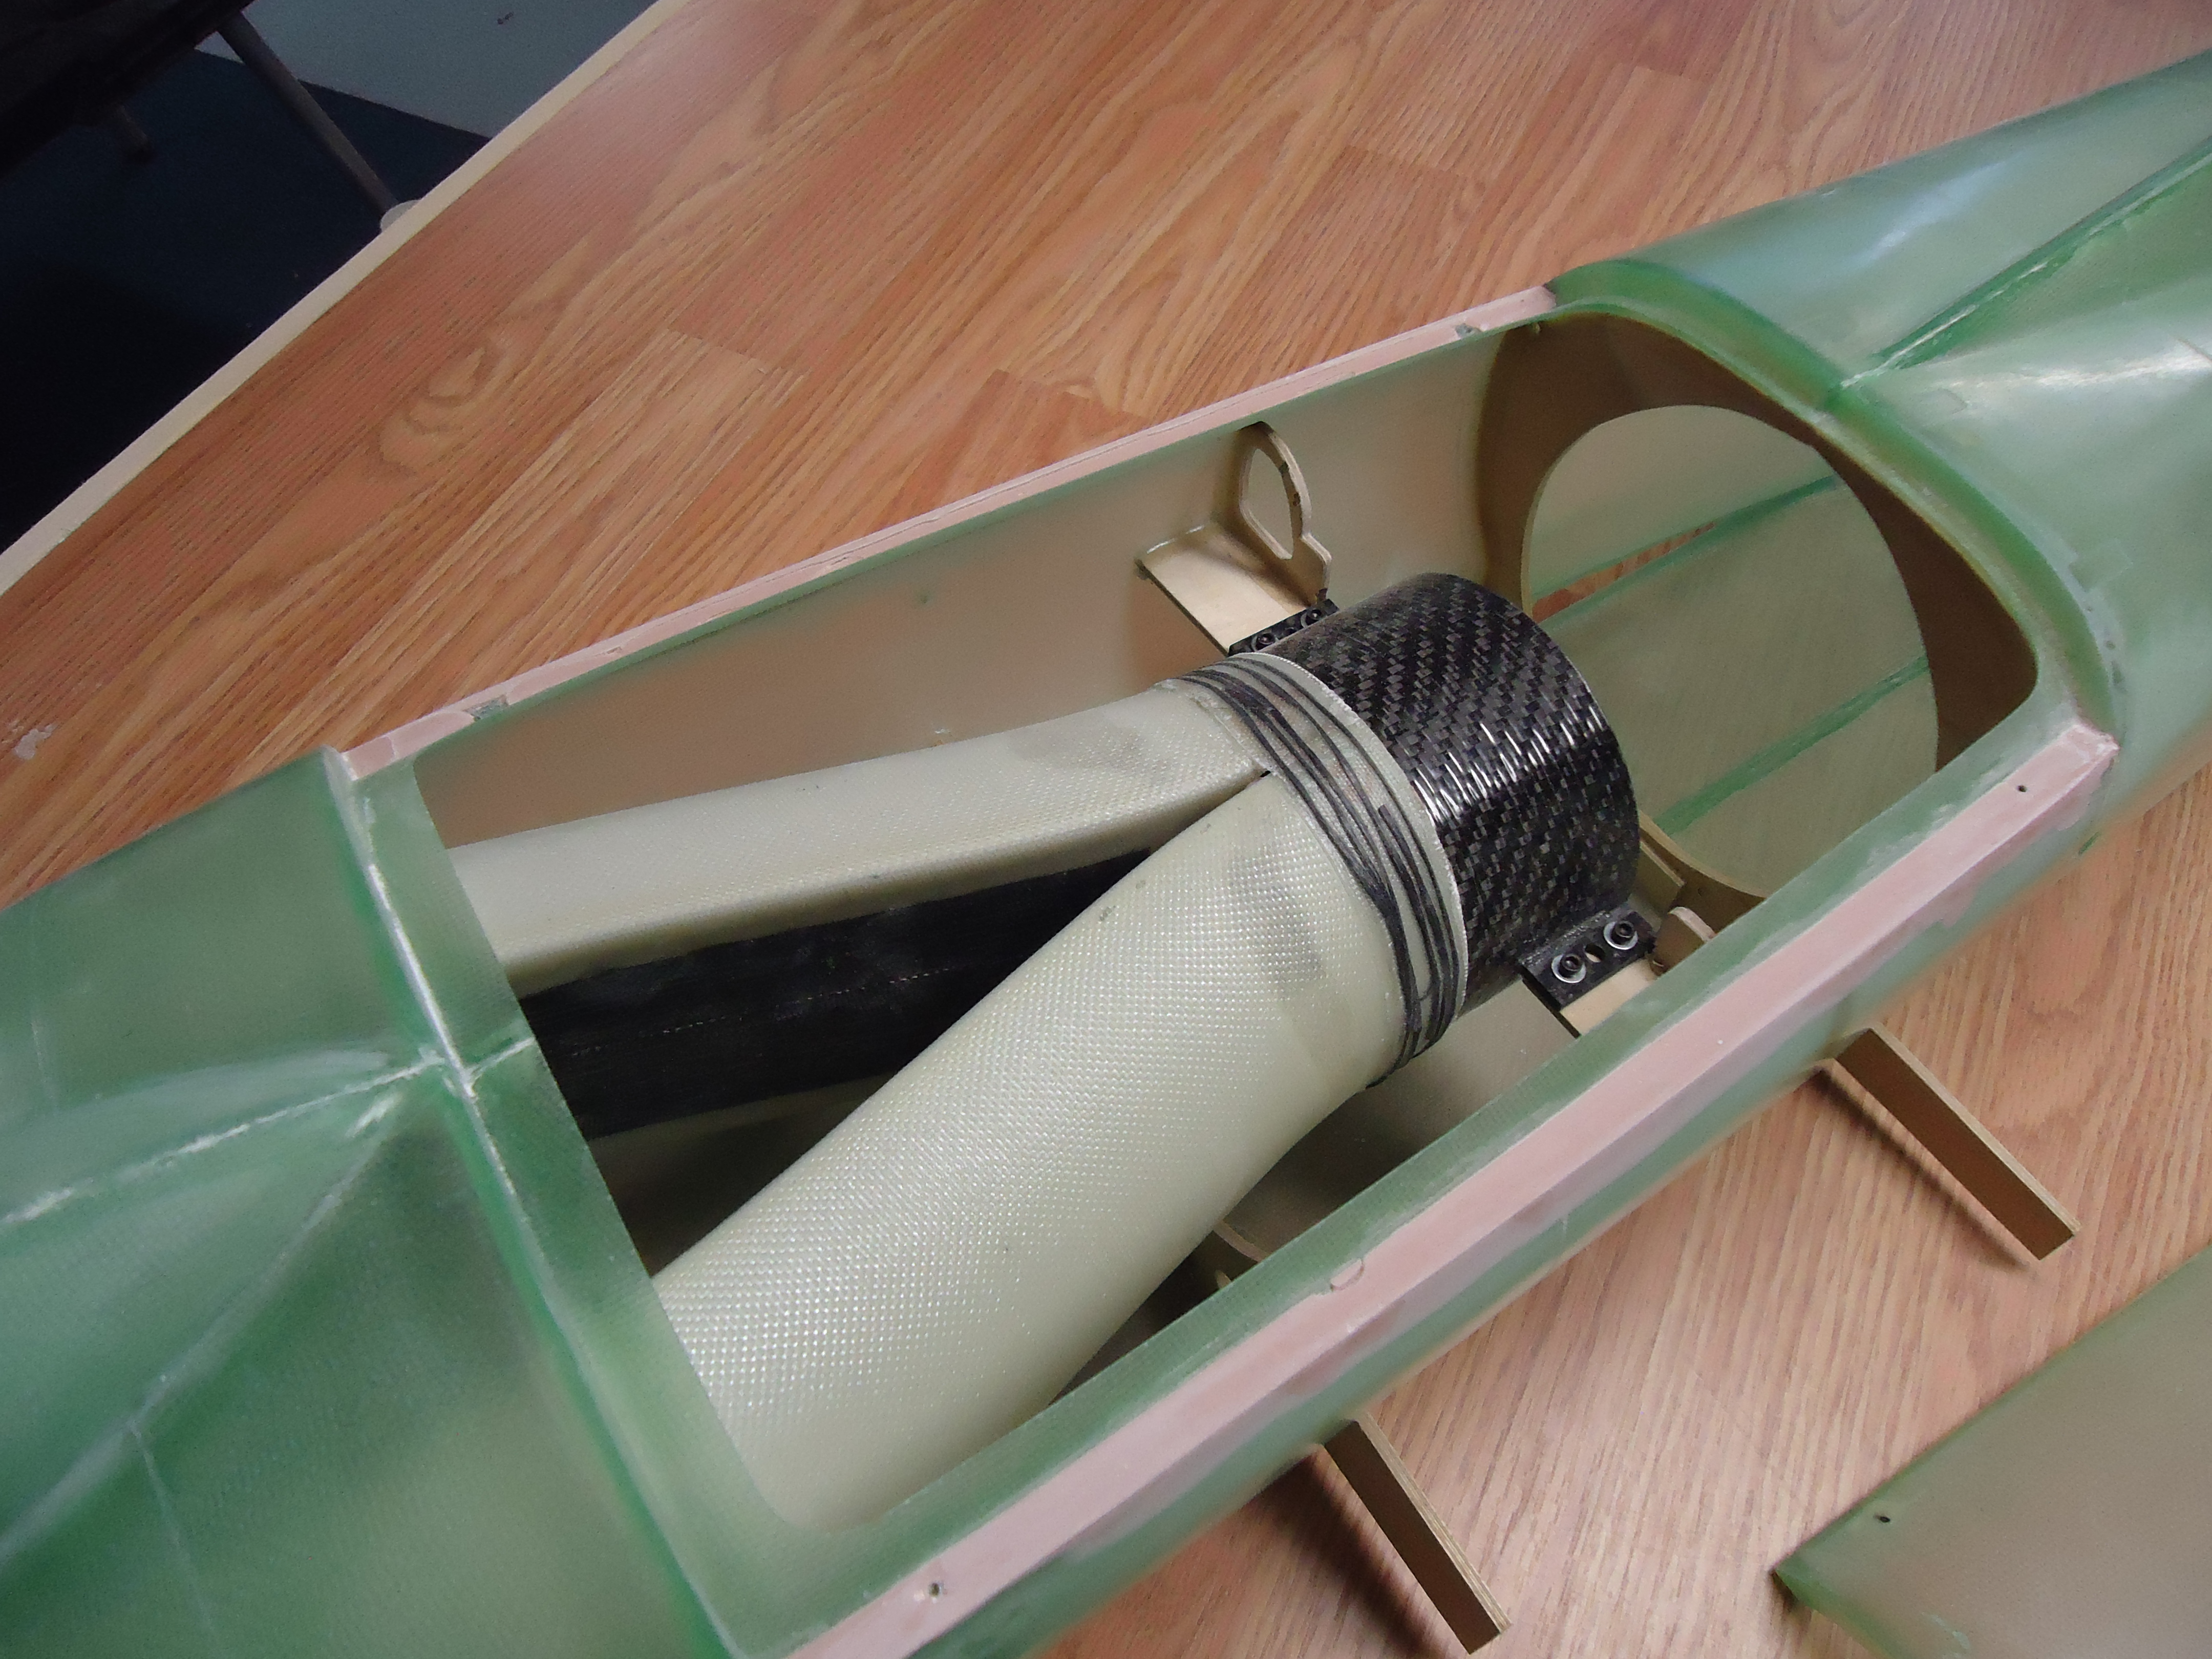
Now that the dental floss is wrapped around the lungs we can mount the pretty carbon fiber fan. Make sure that you actually screw the fan into place so that it doesn’t become dislodged during your first flight!


A4 Hatch Latching
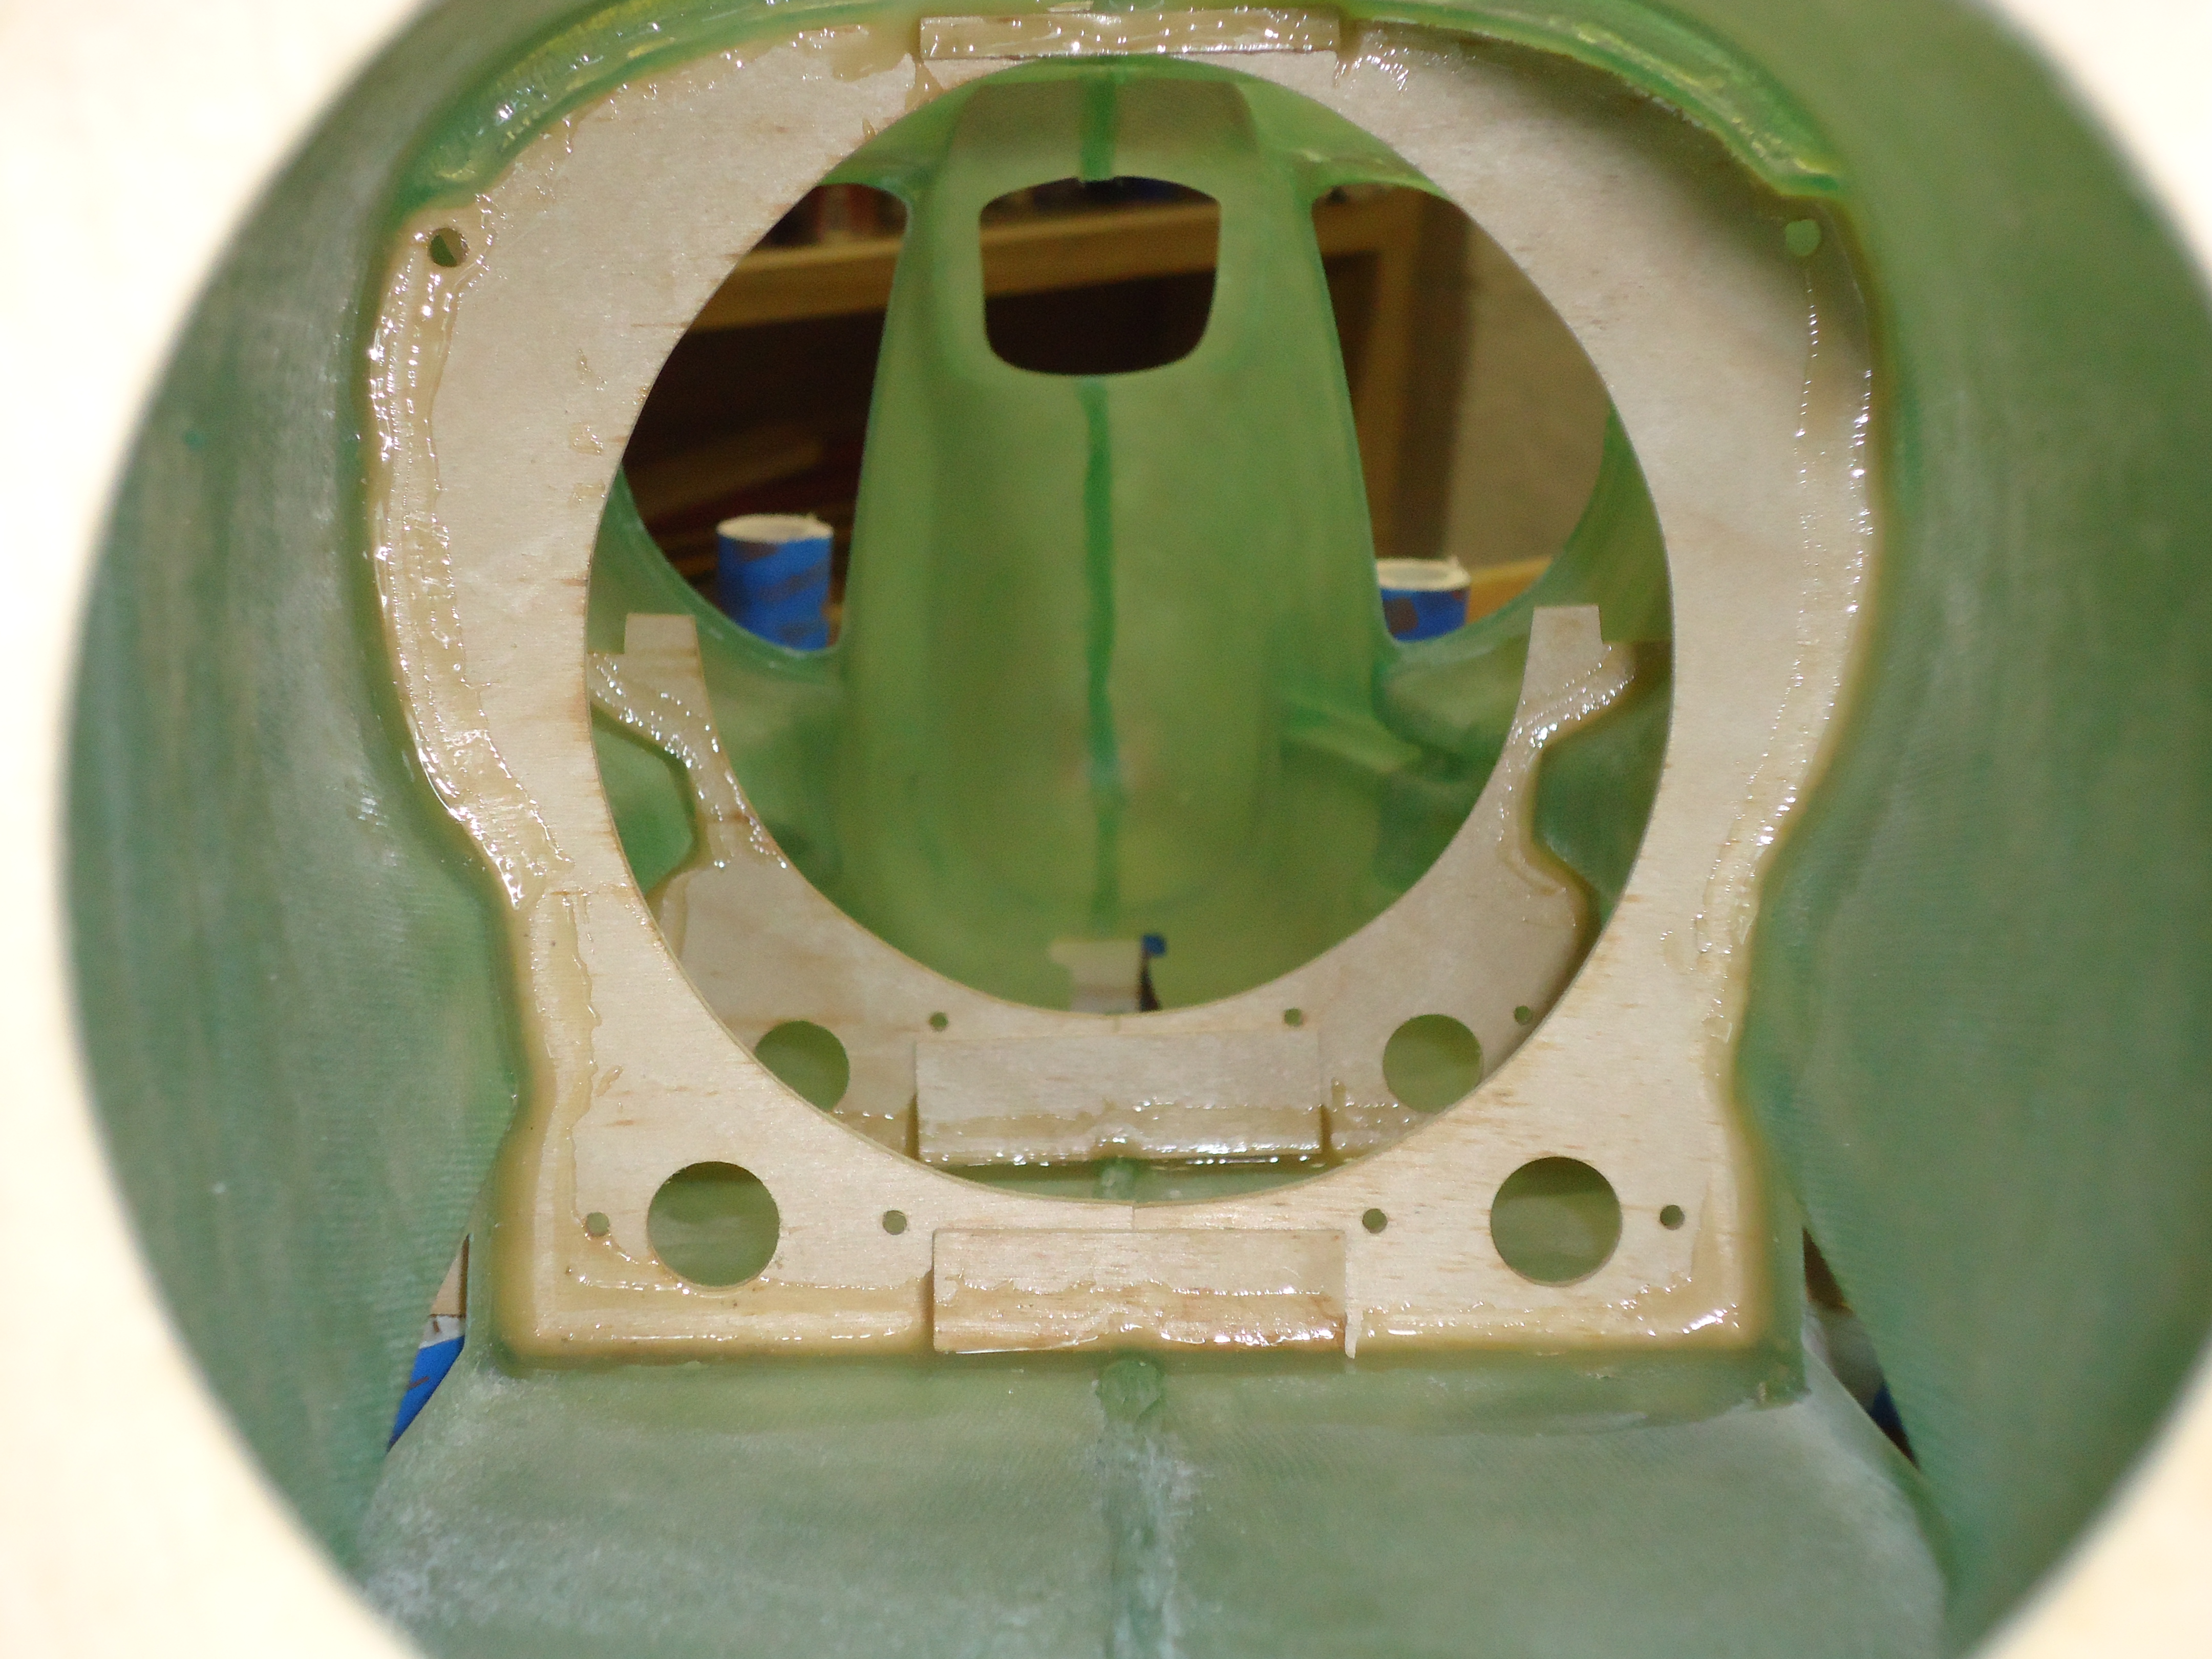
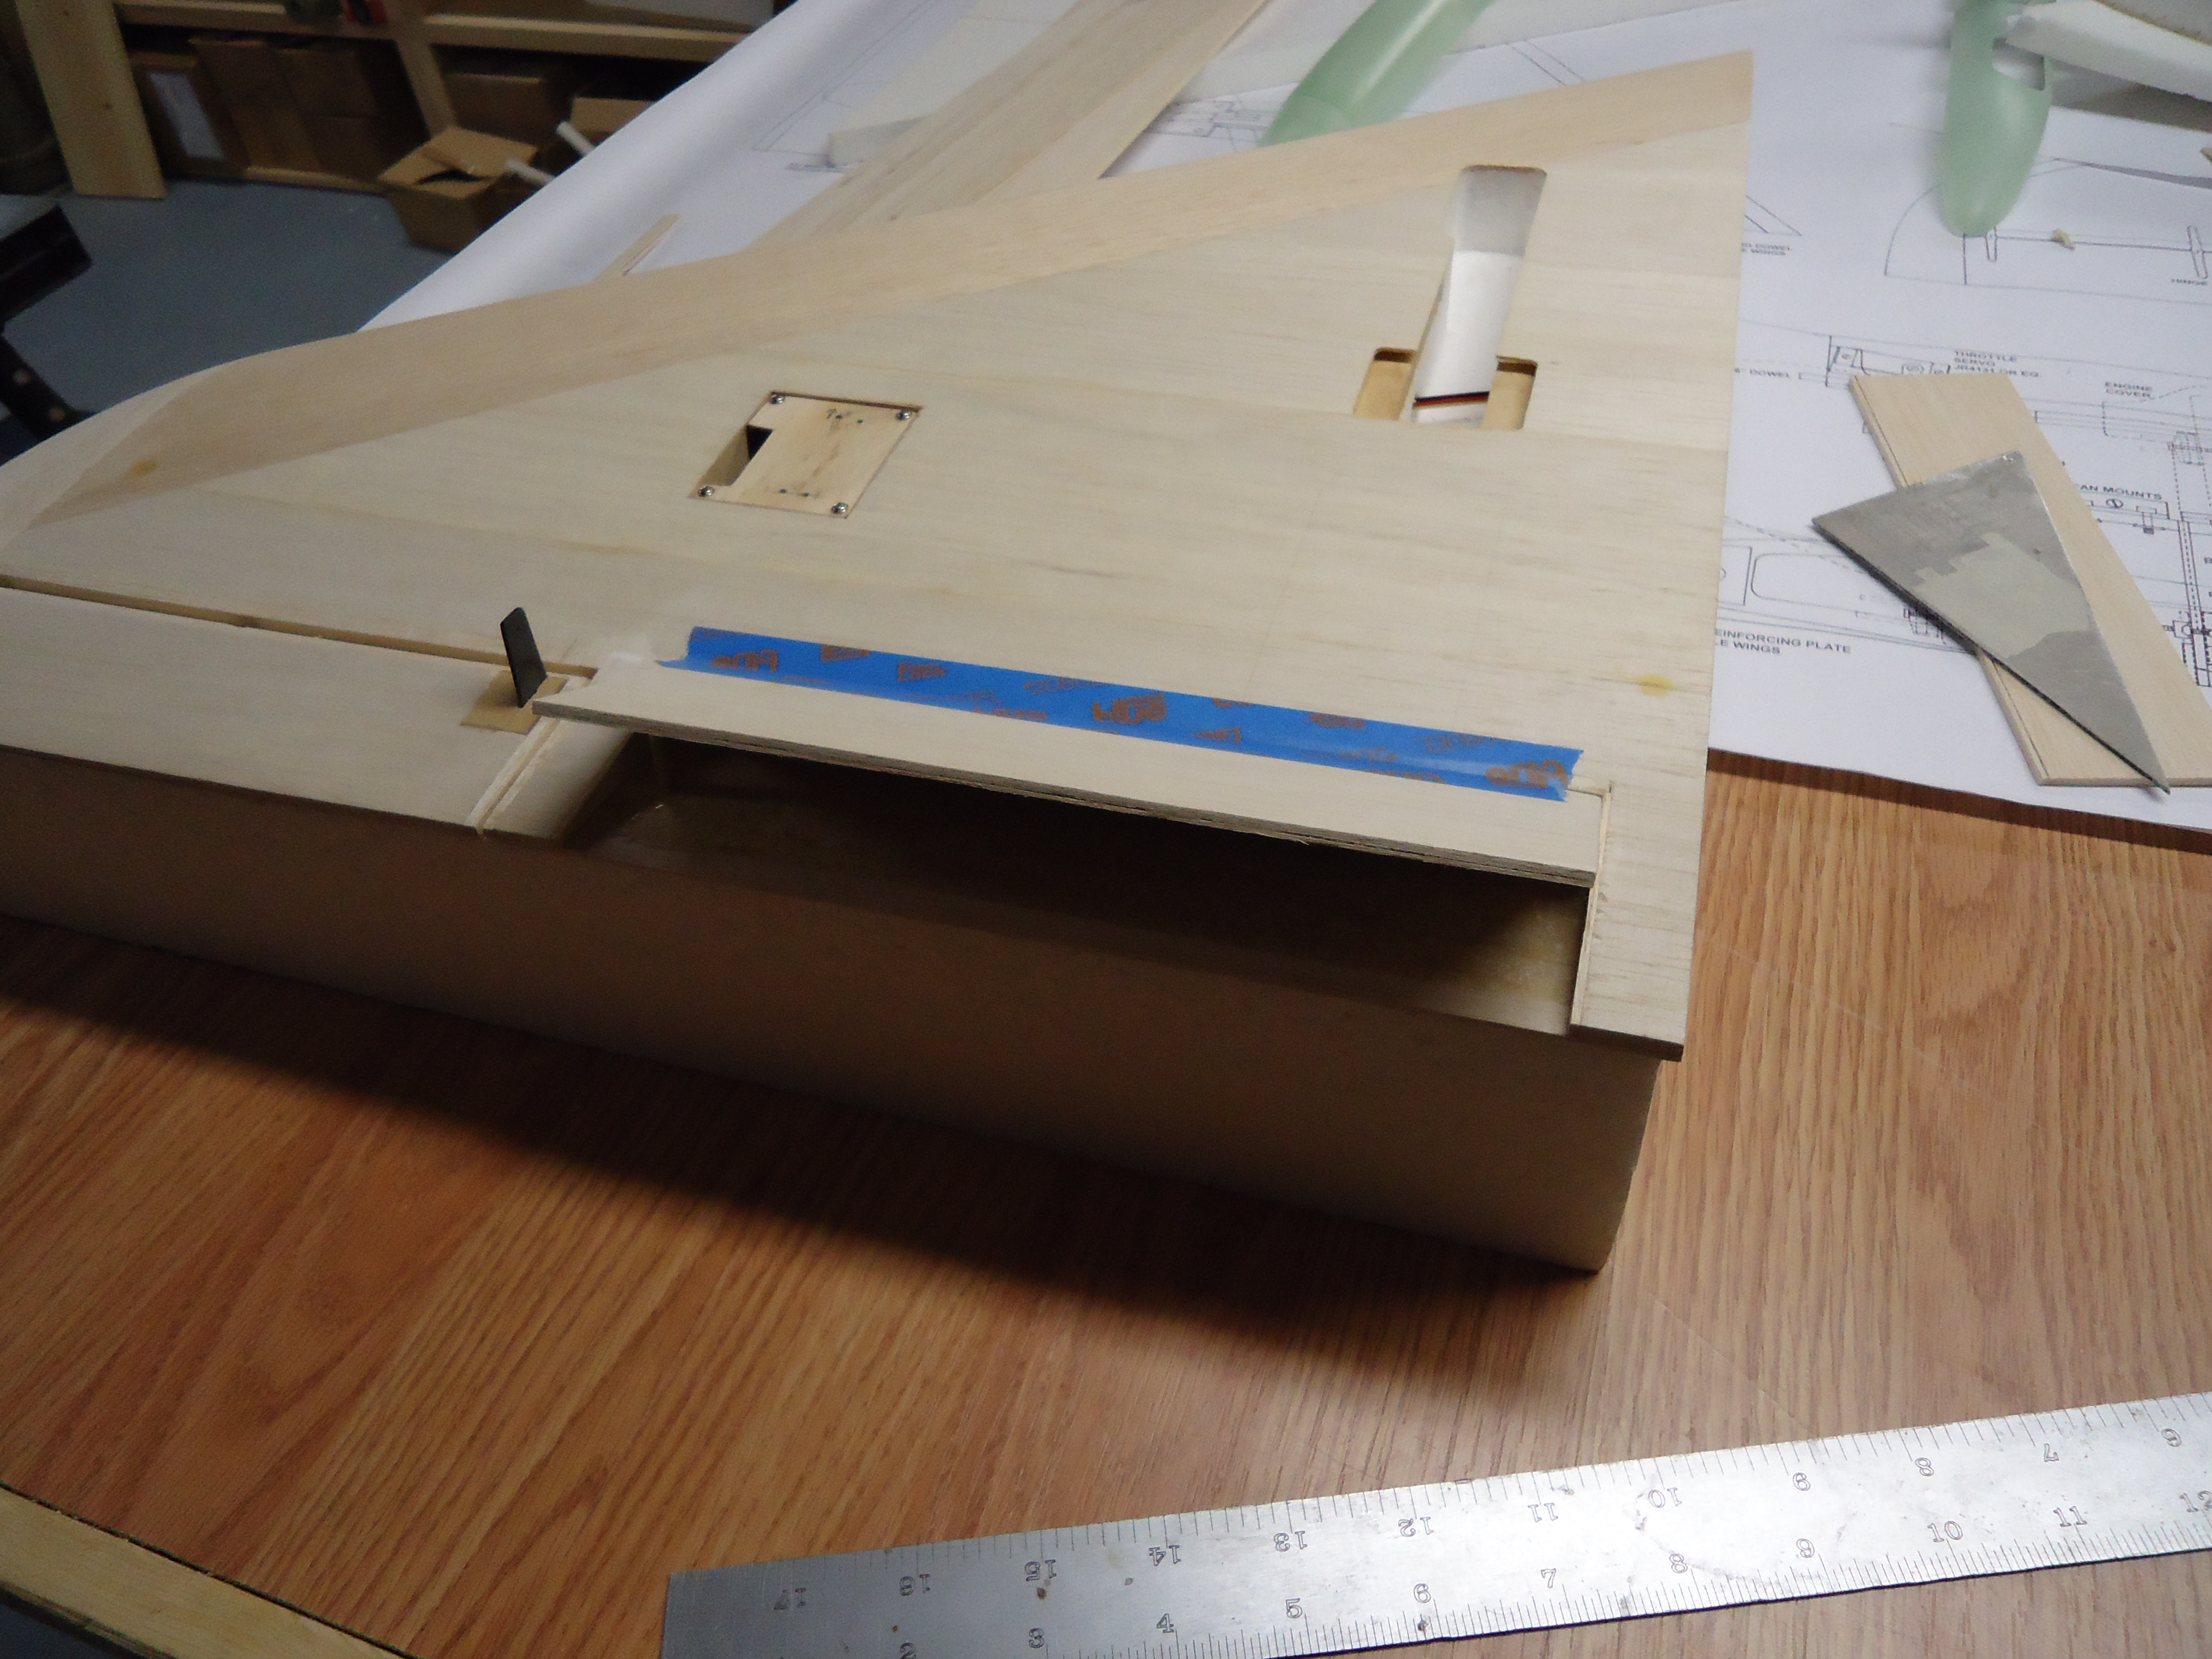
Once everything is assembled inside you can put the back hatch on, figure out how to affix it properly, and then do some filling to smooth out the skin. There’s nothing worse than people pointing and laughing at your back crack…


A4 Gum DepositoryEwww! Why would Jay take a picture of the loogie that he hocked onto the jet? Man… I just don’t understand guys…


A4 Rudder
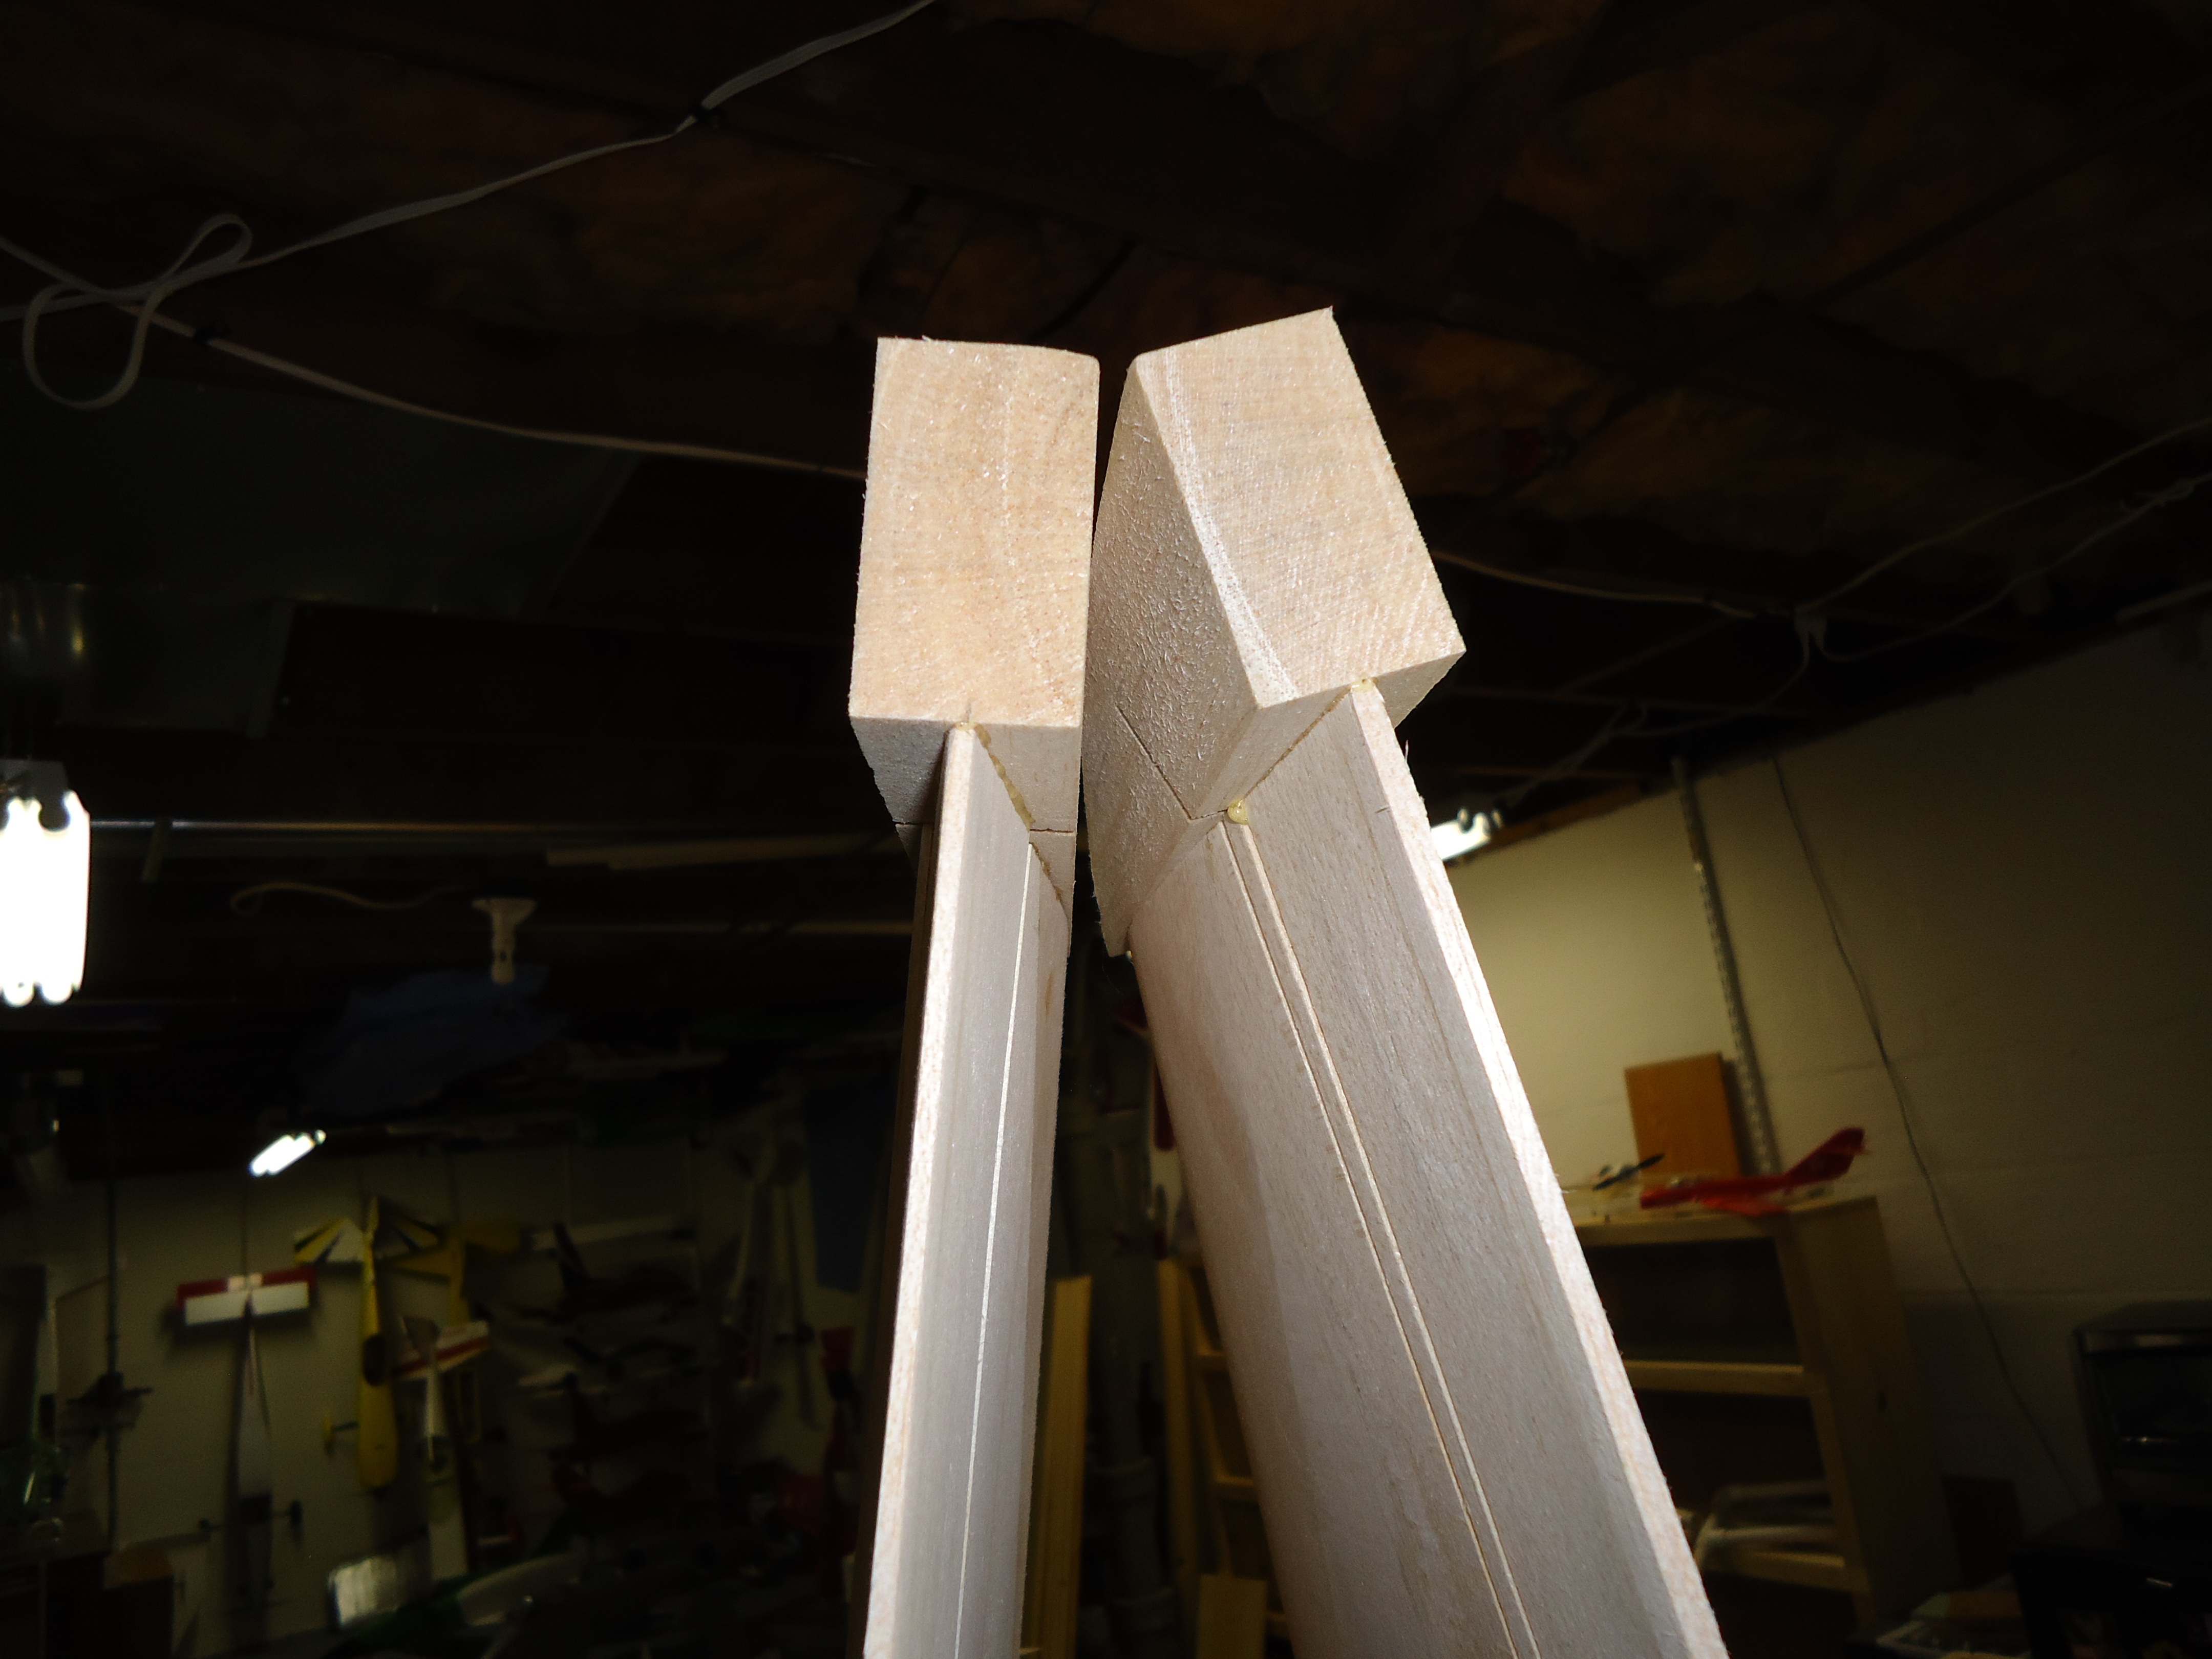
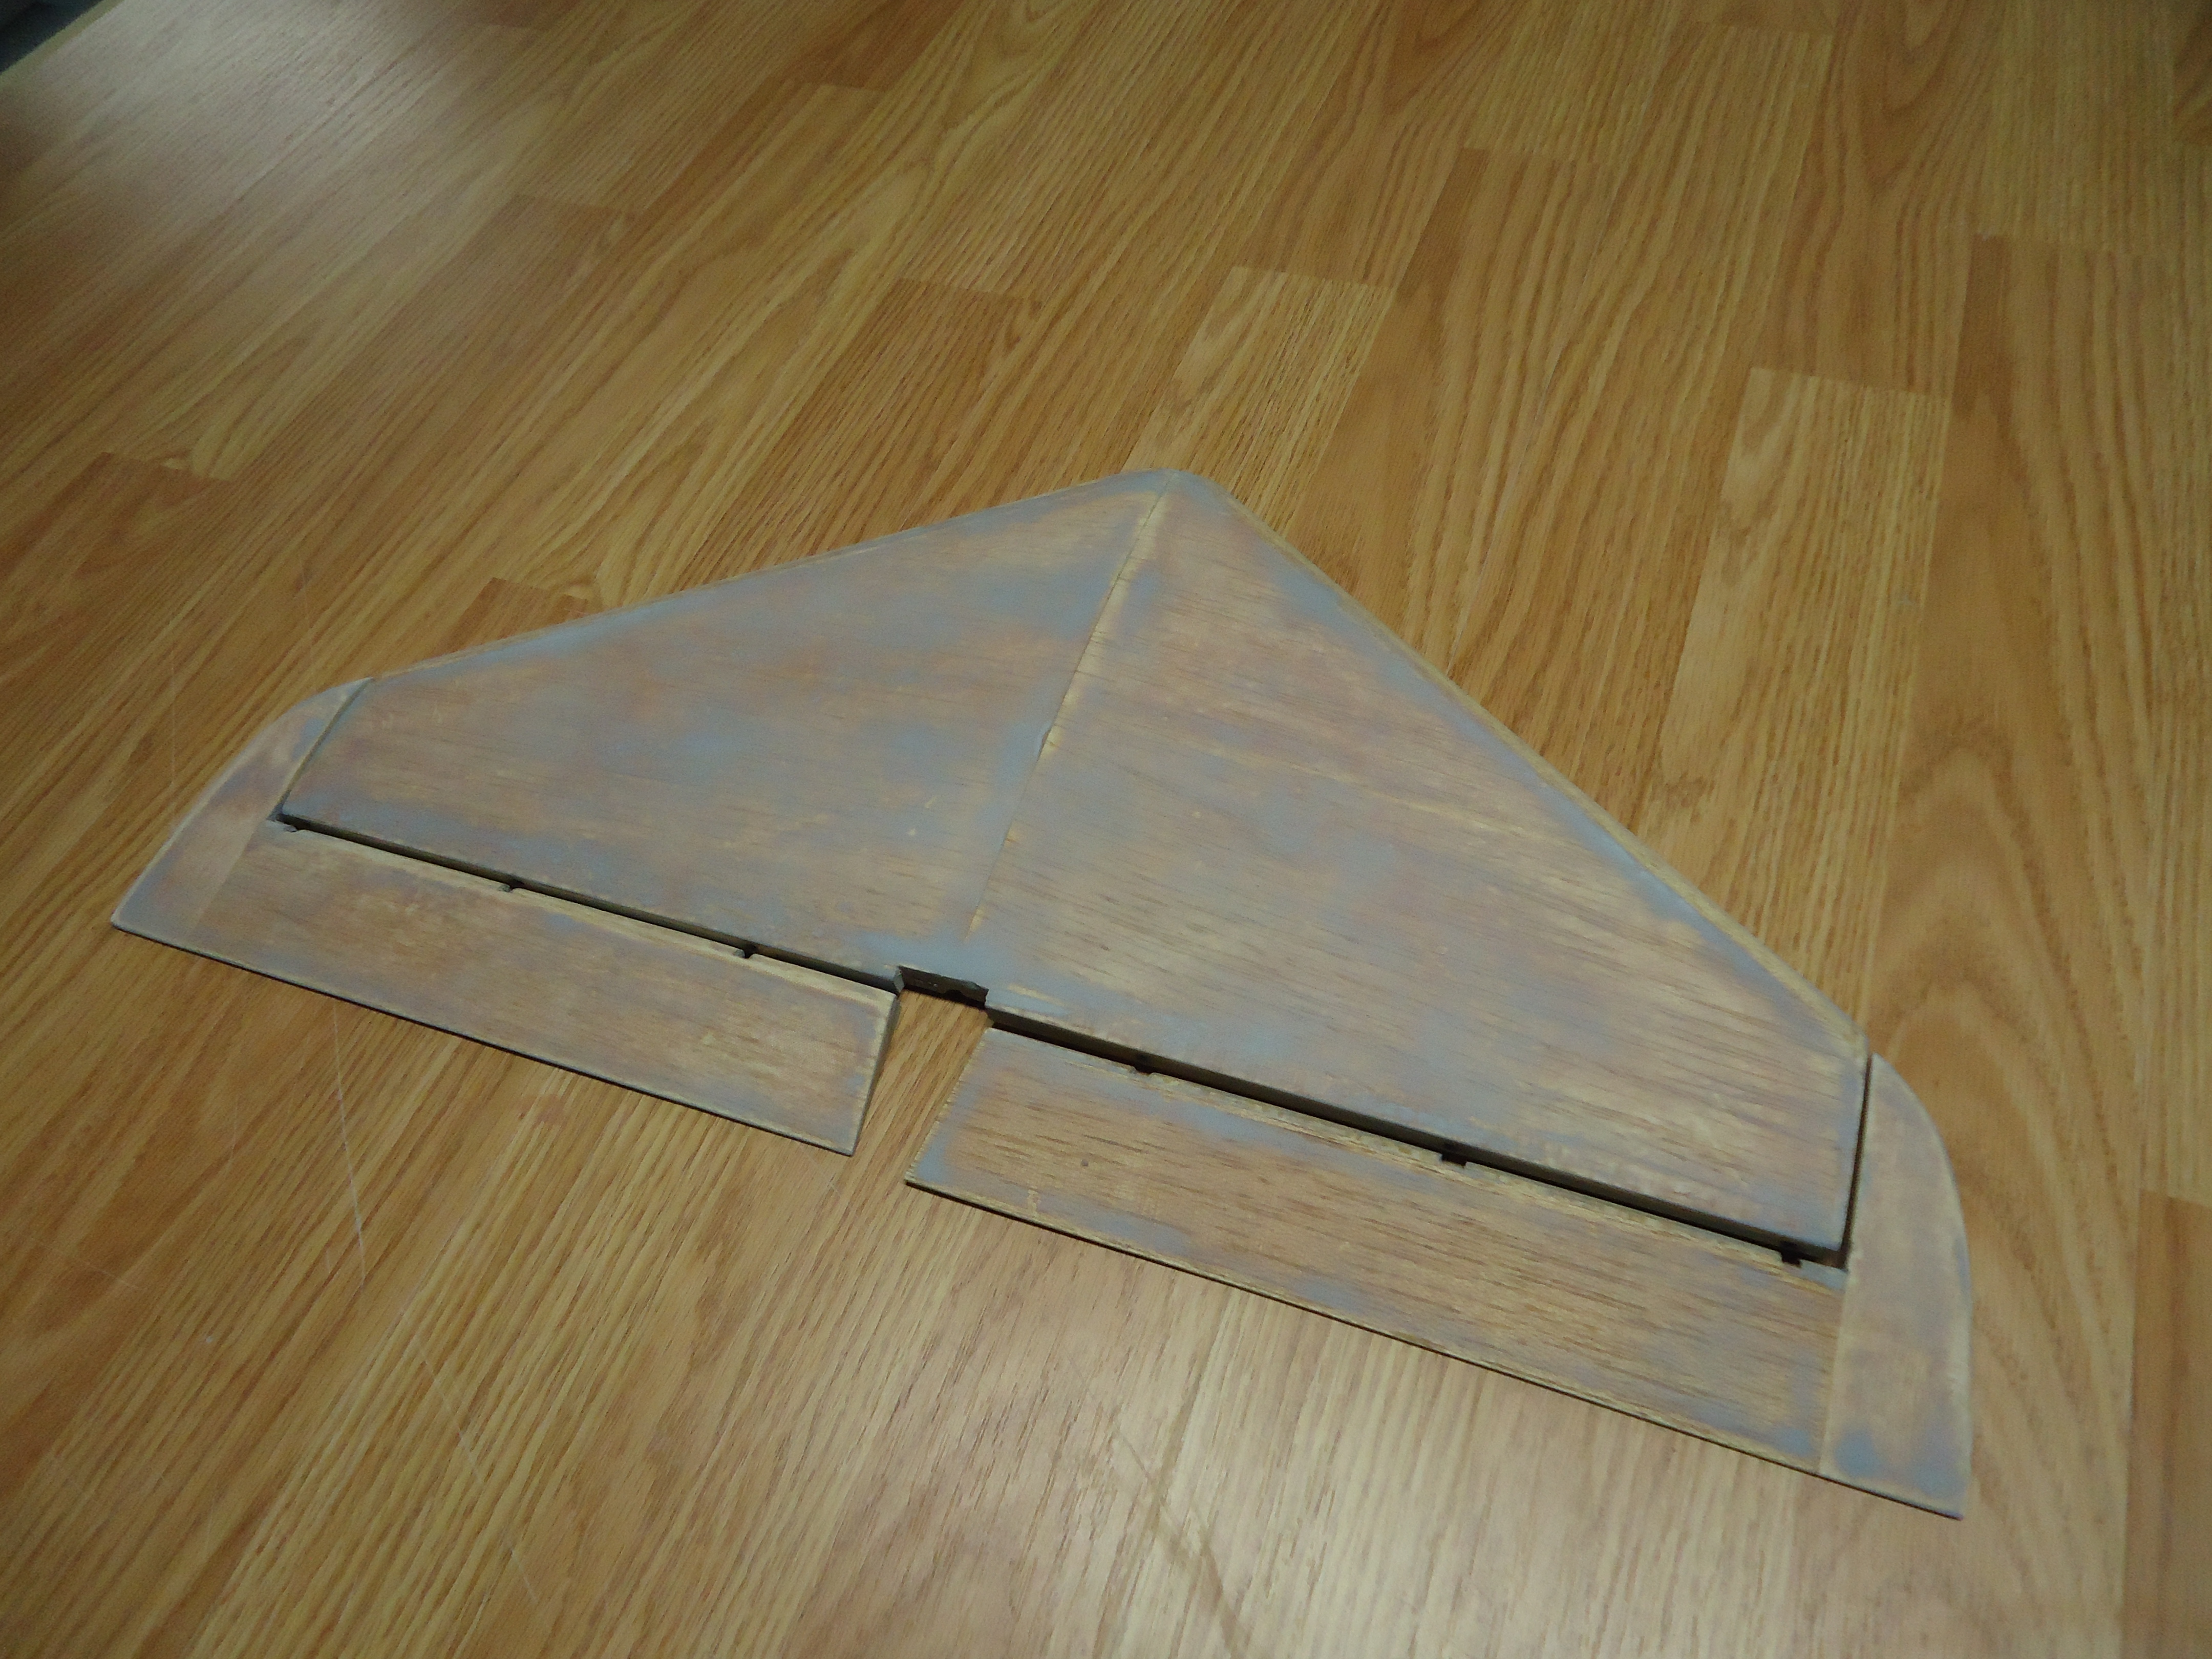
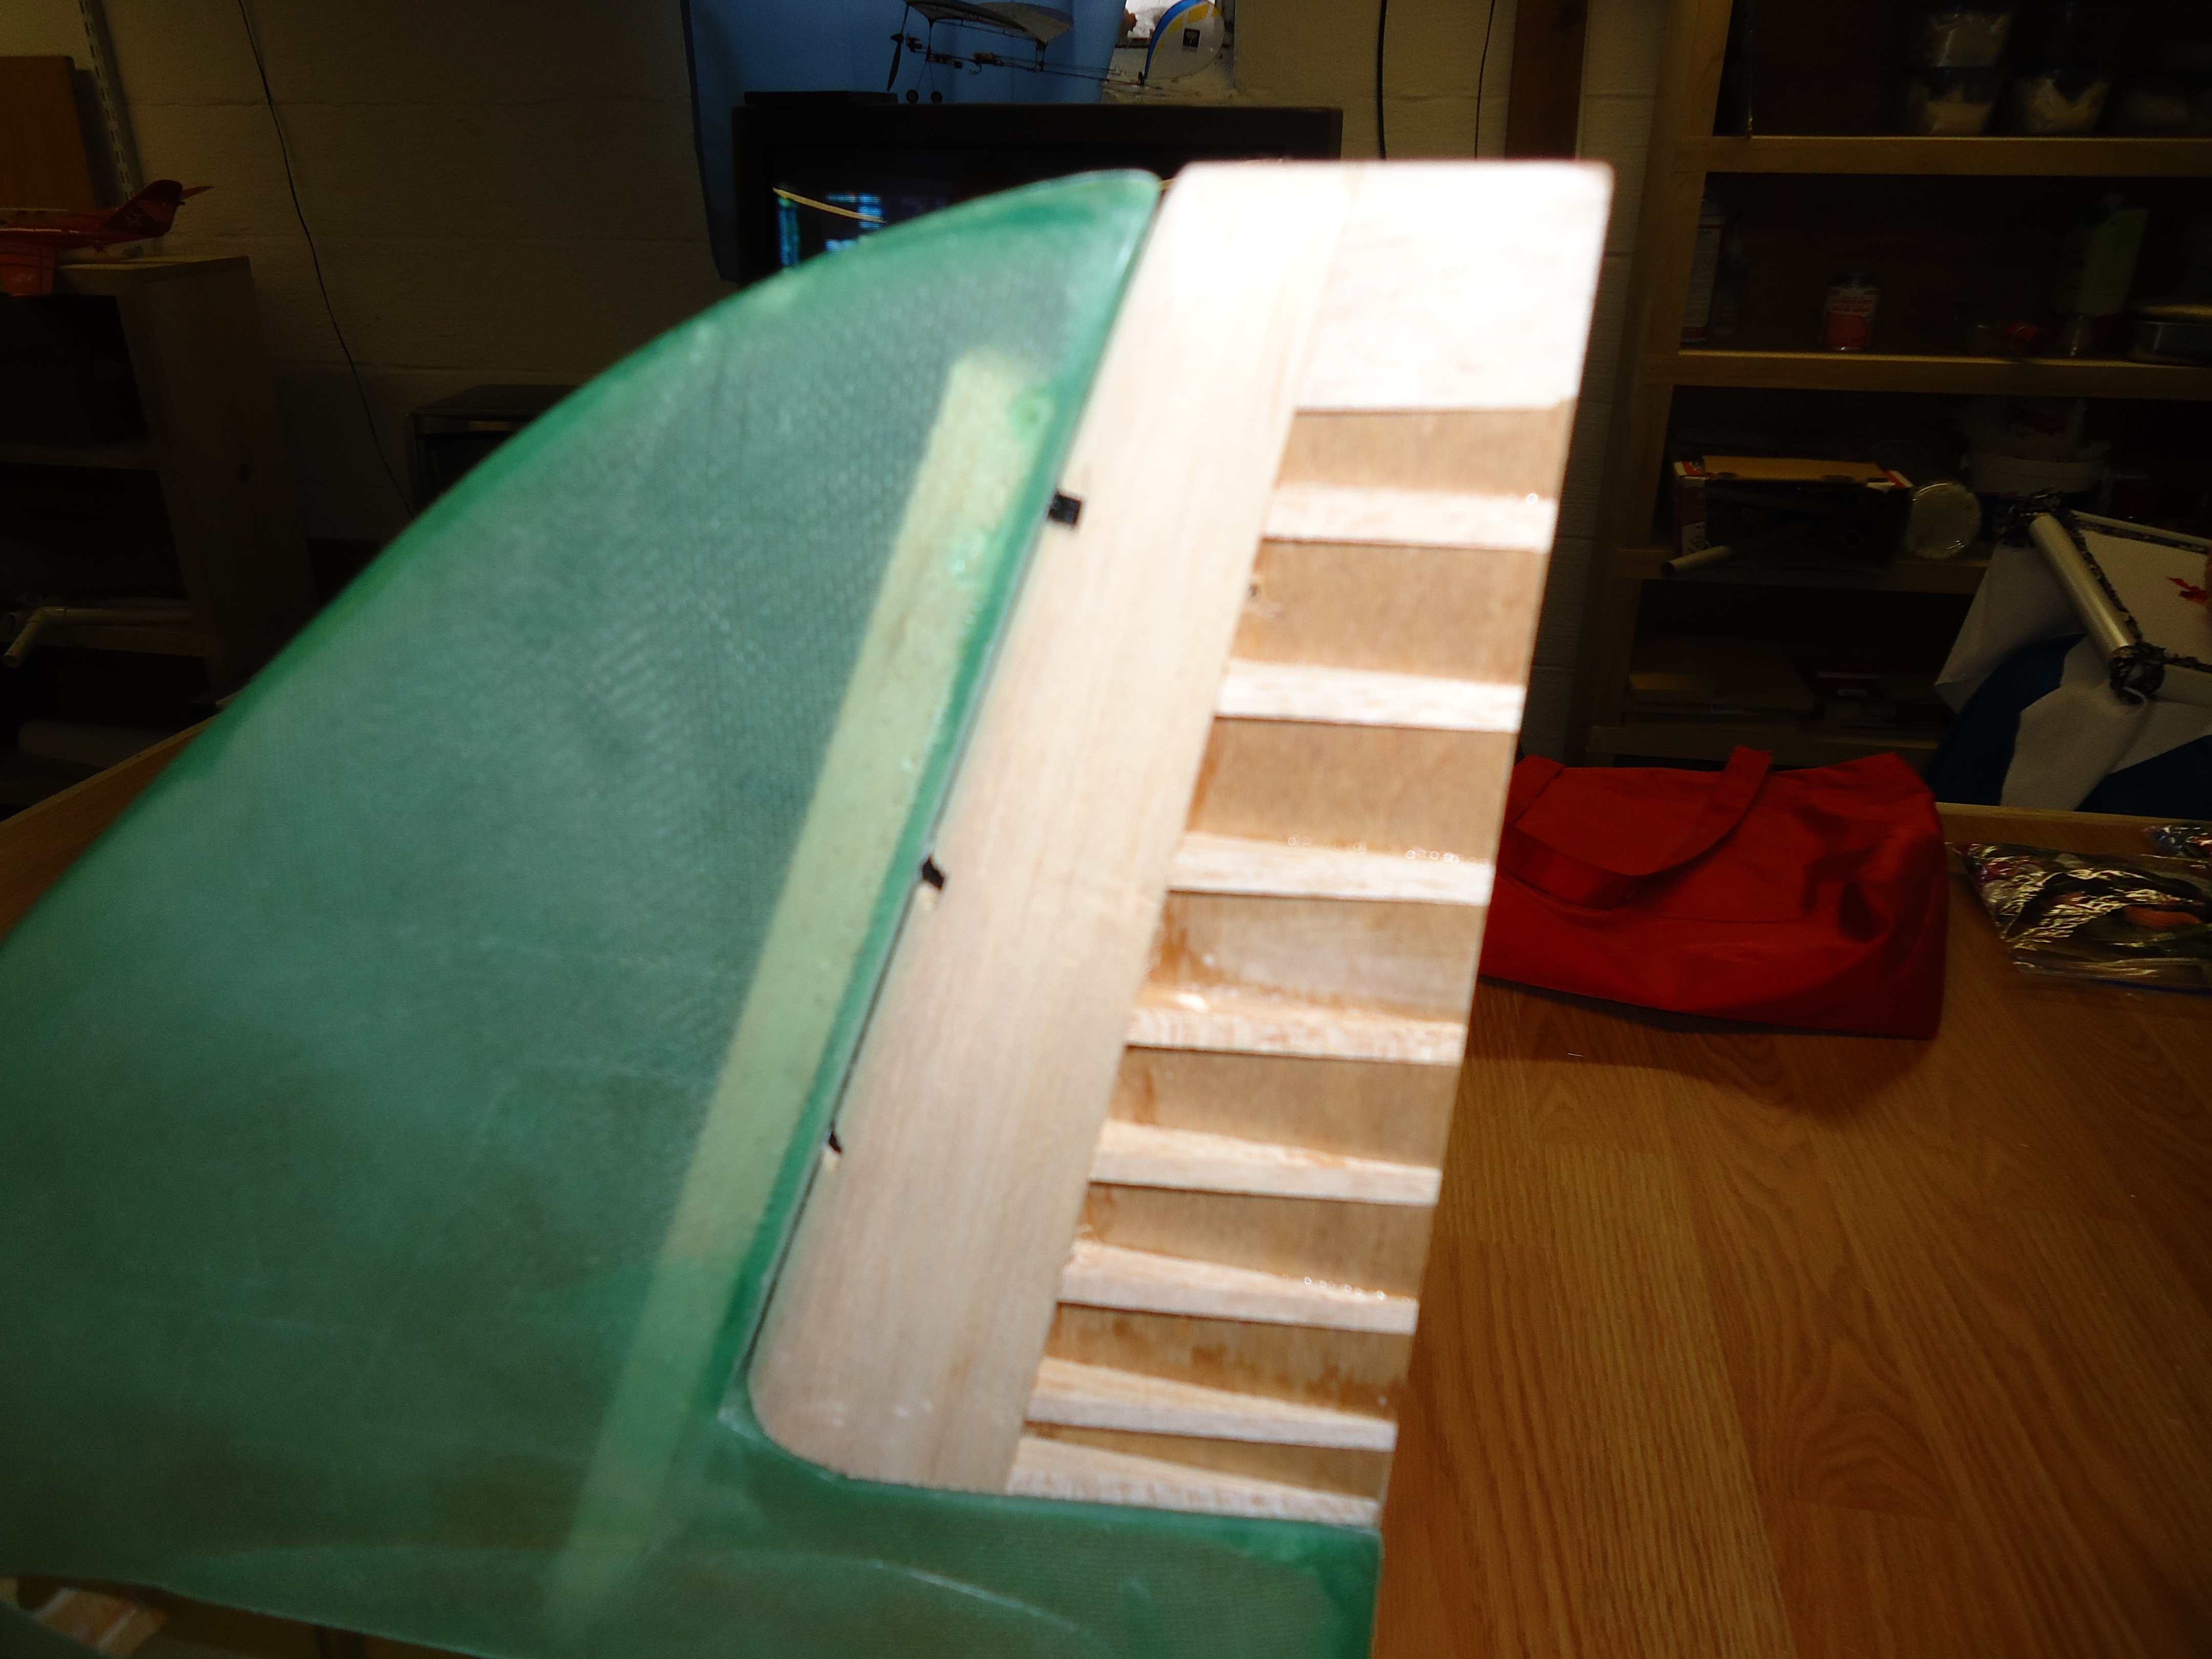
Now it’s back to the rudder. You need to line up the holes for the hinges. You don’t want your tail to be askew!


A4 Hinged Rudder Fit
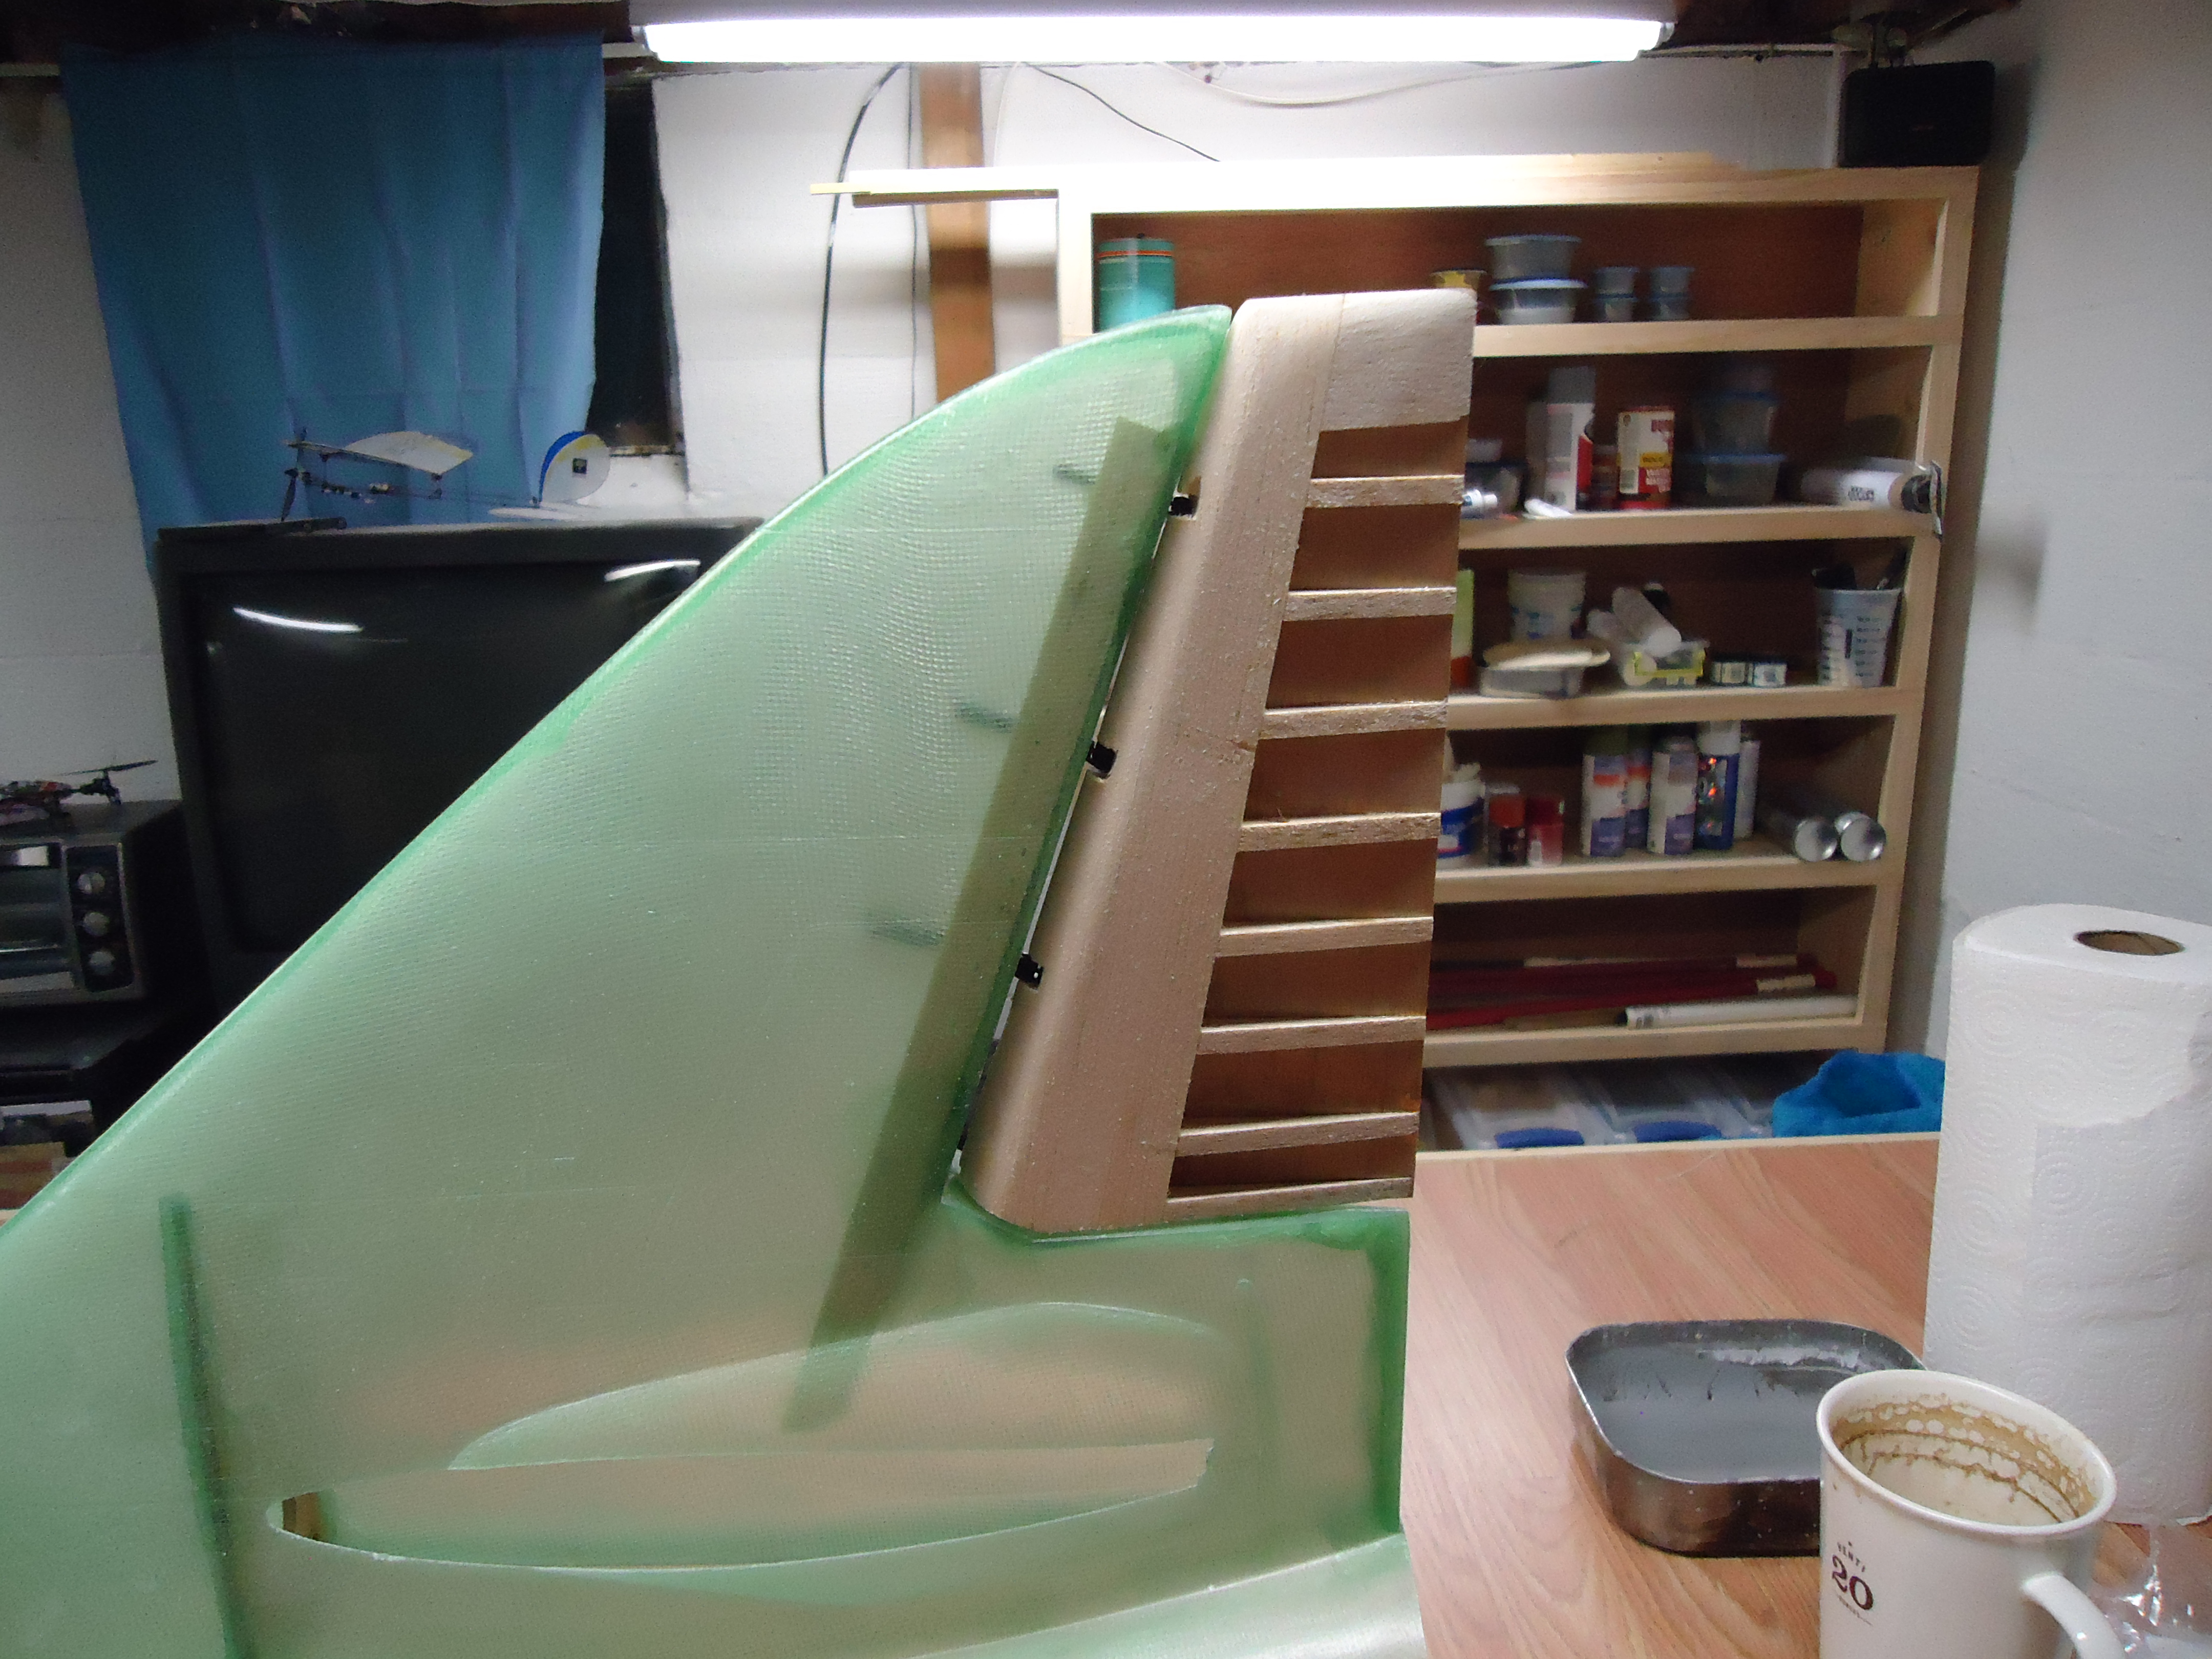
Ta-Da!! A hinged rudder! It’s really strange, though, that the rudder looks like a hair comb. Maybe the A4 is more fashion-forward than I thought! It carries a comb in its back pocket.


A4 Fiberglassing
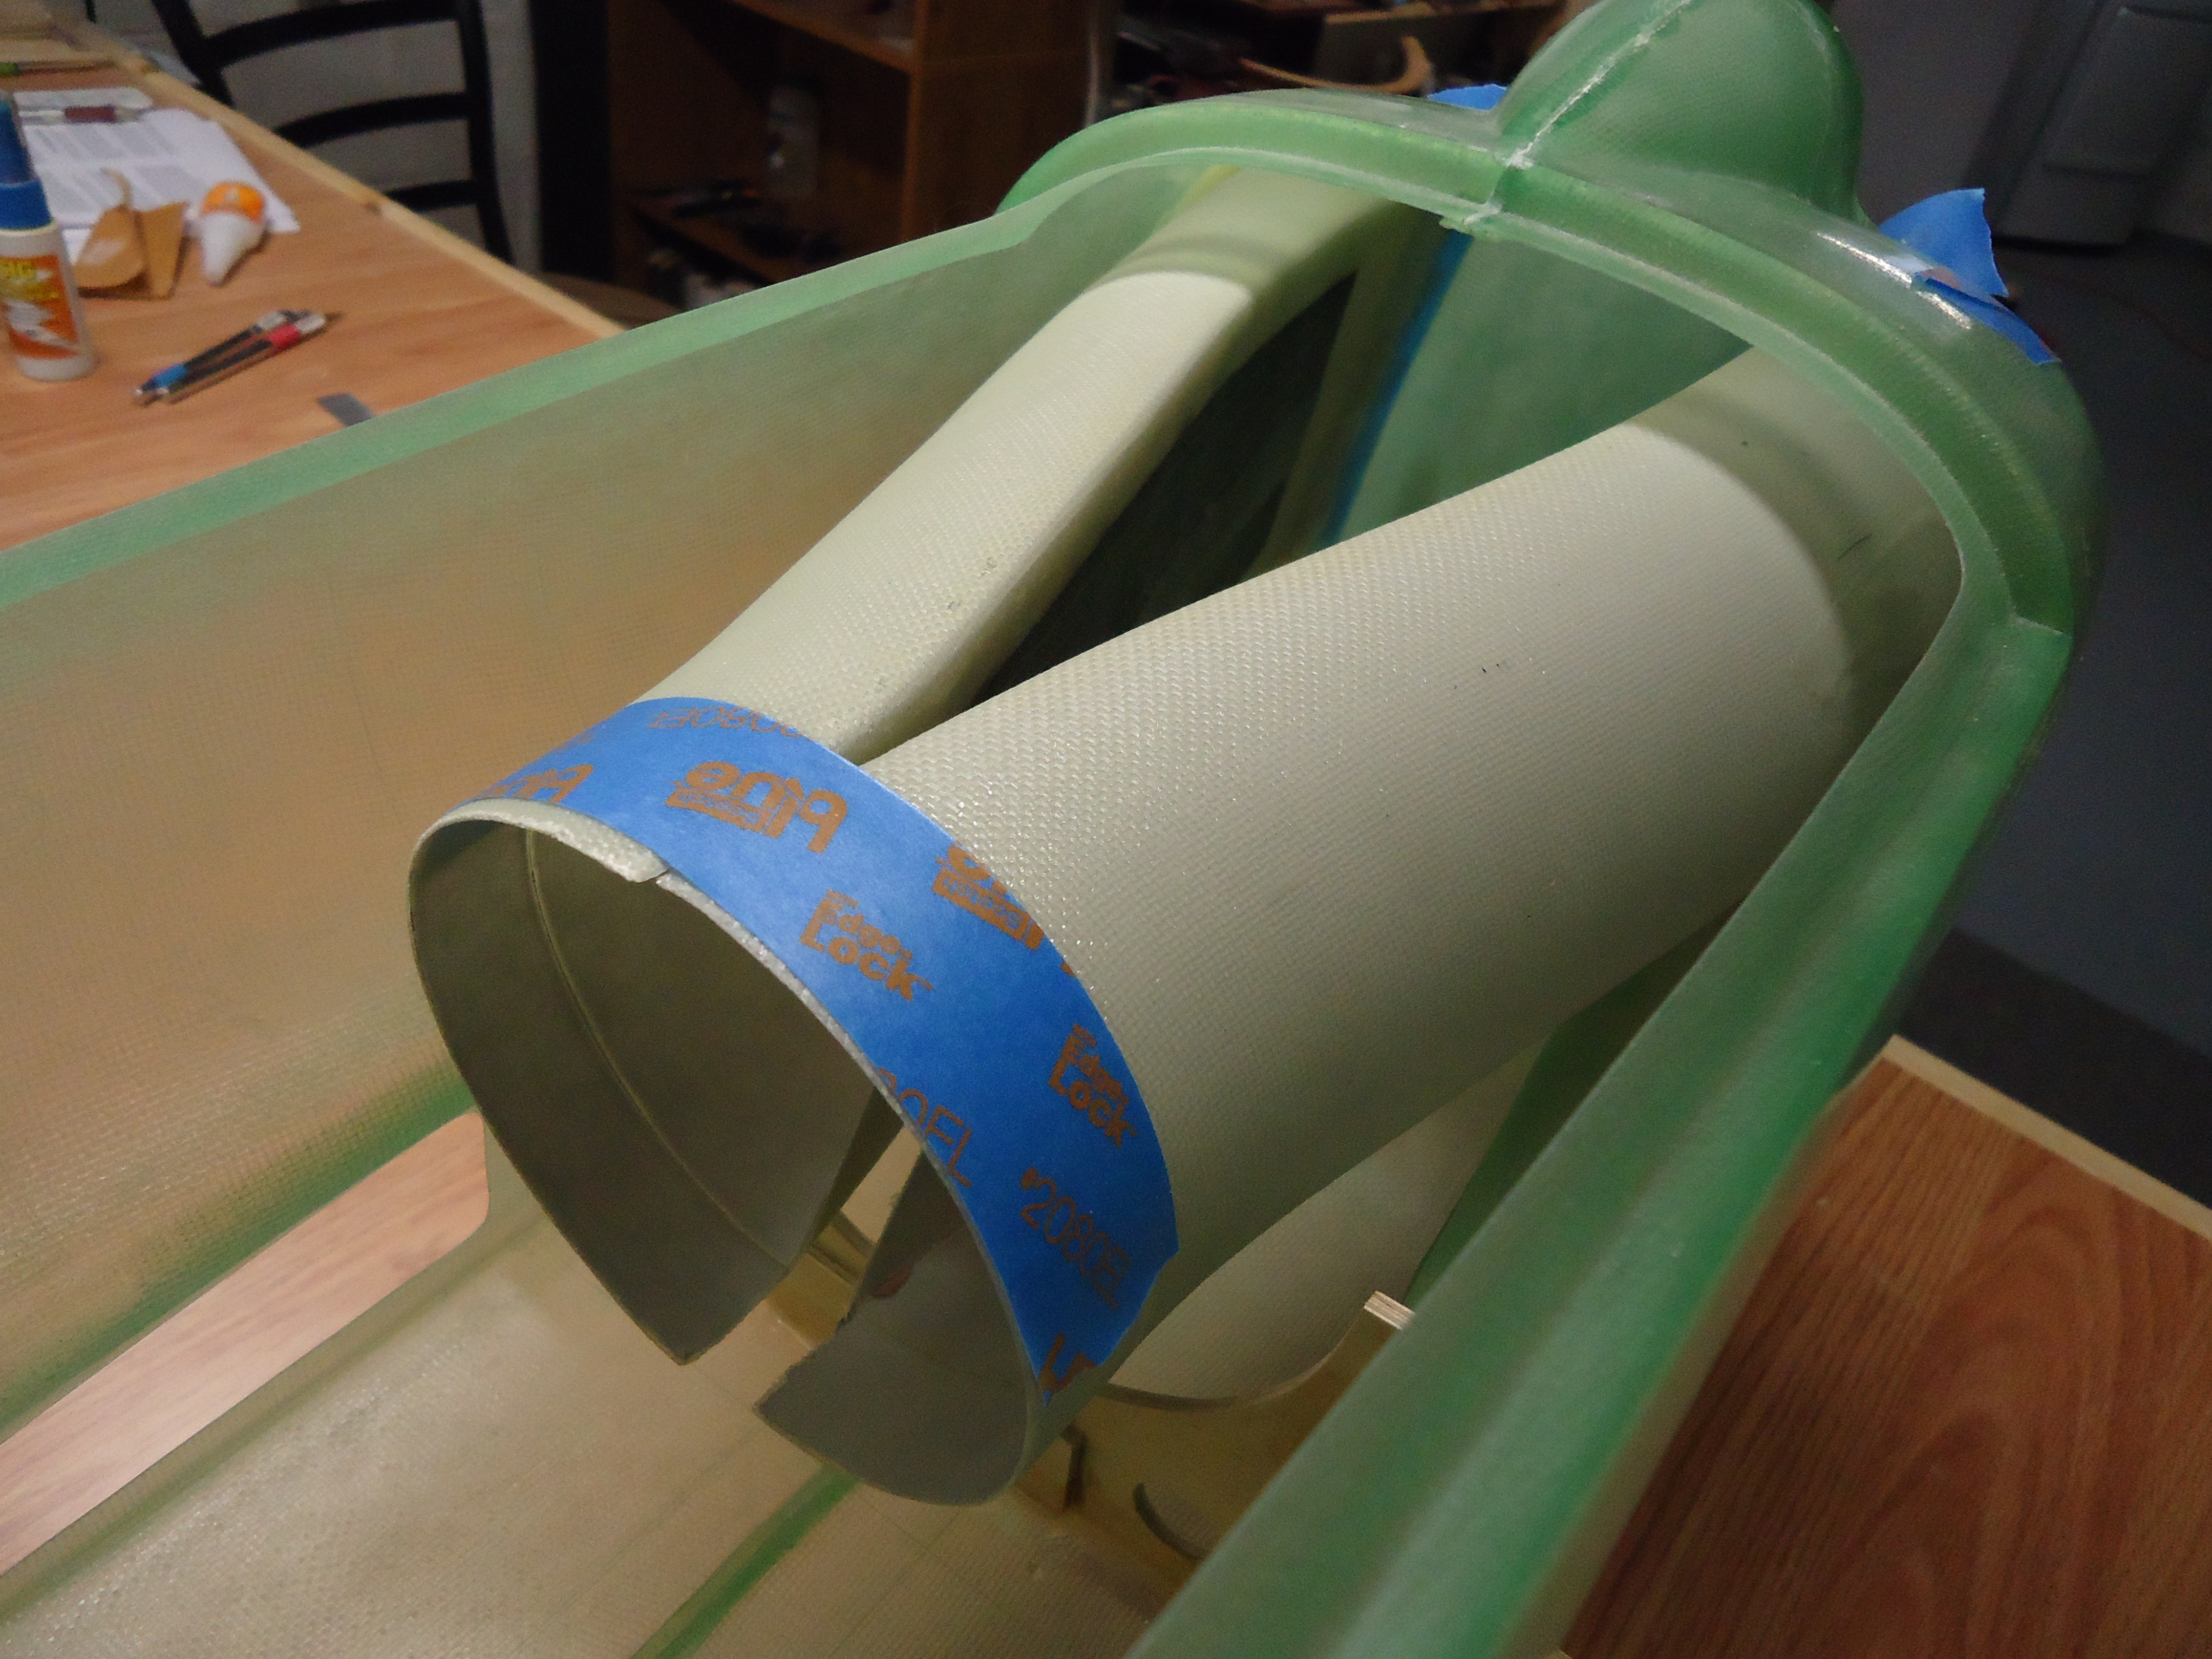
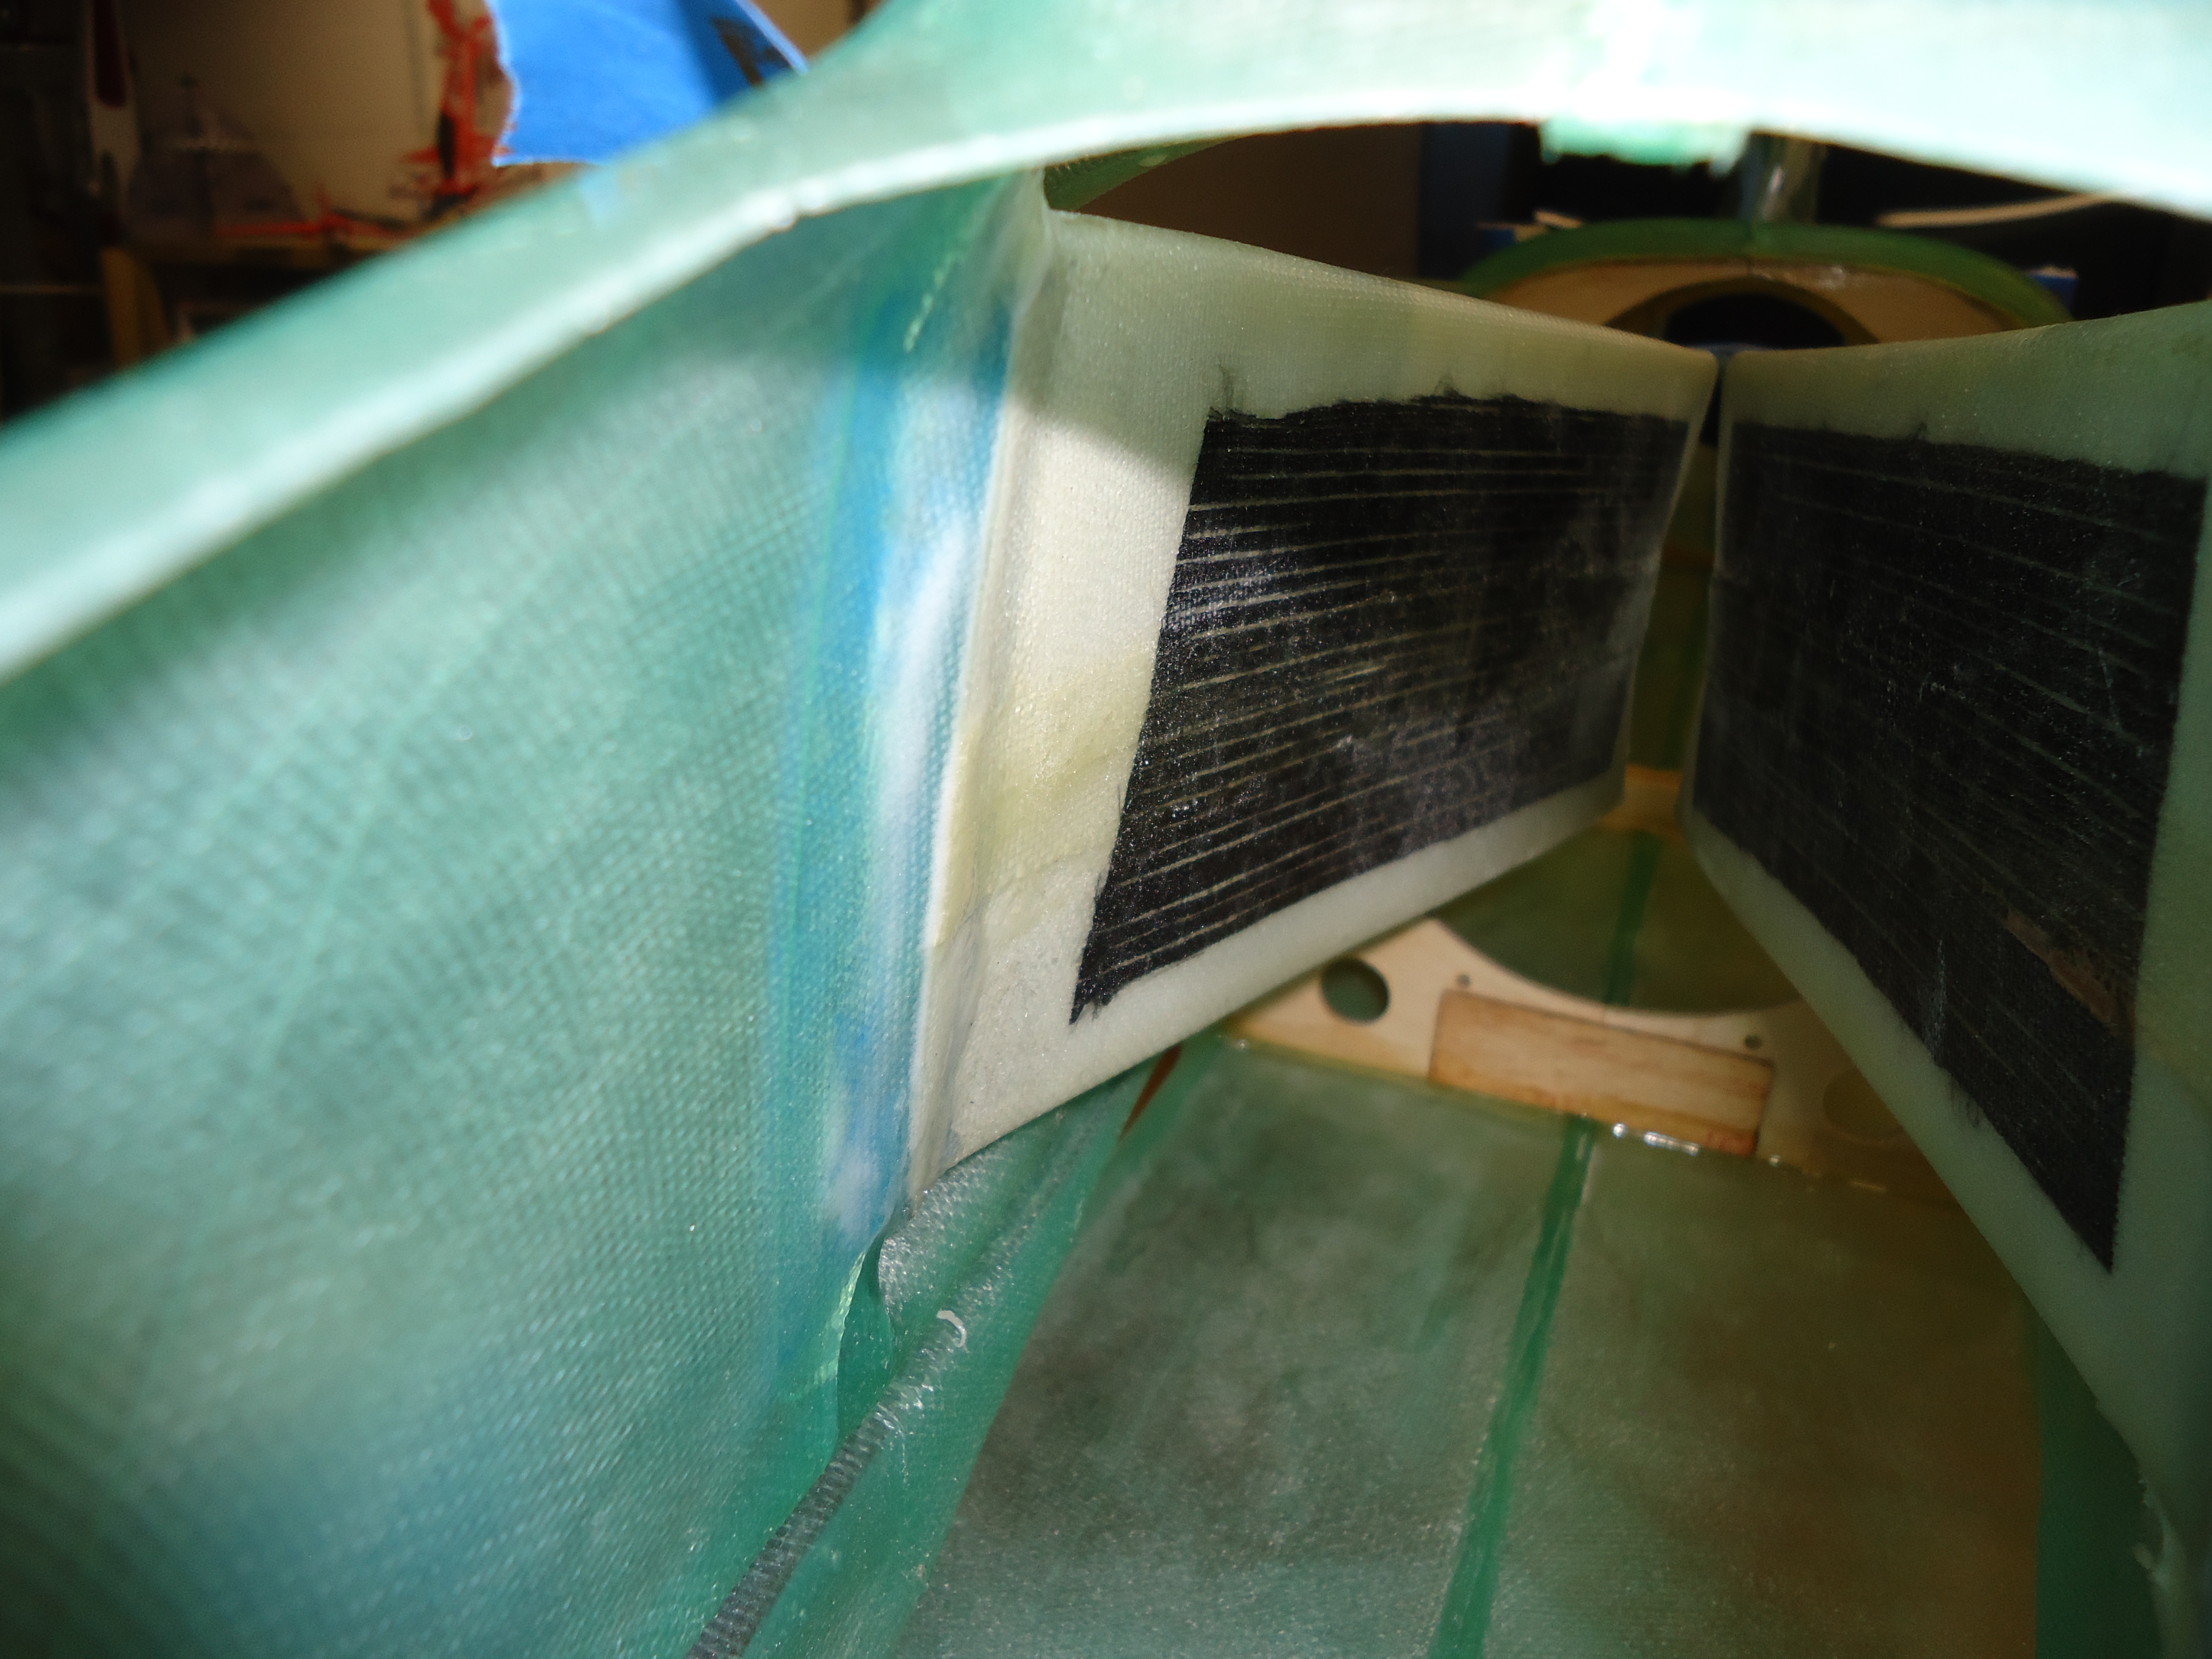
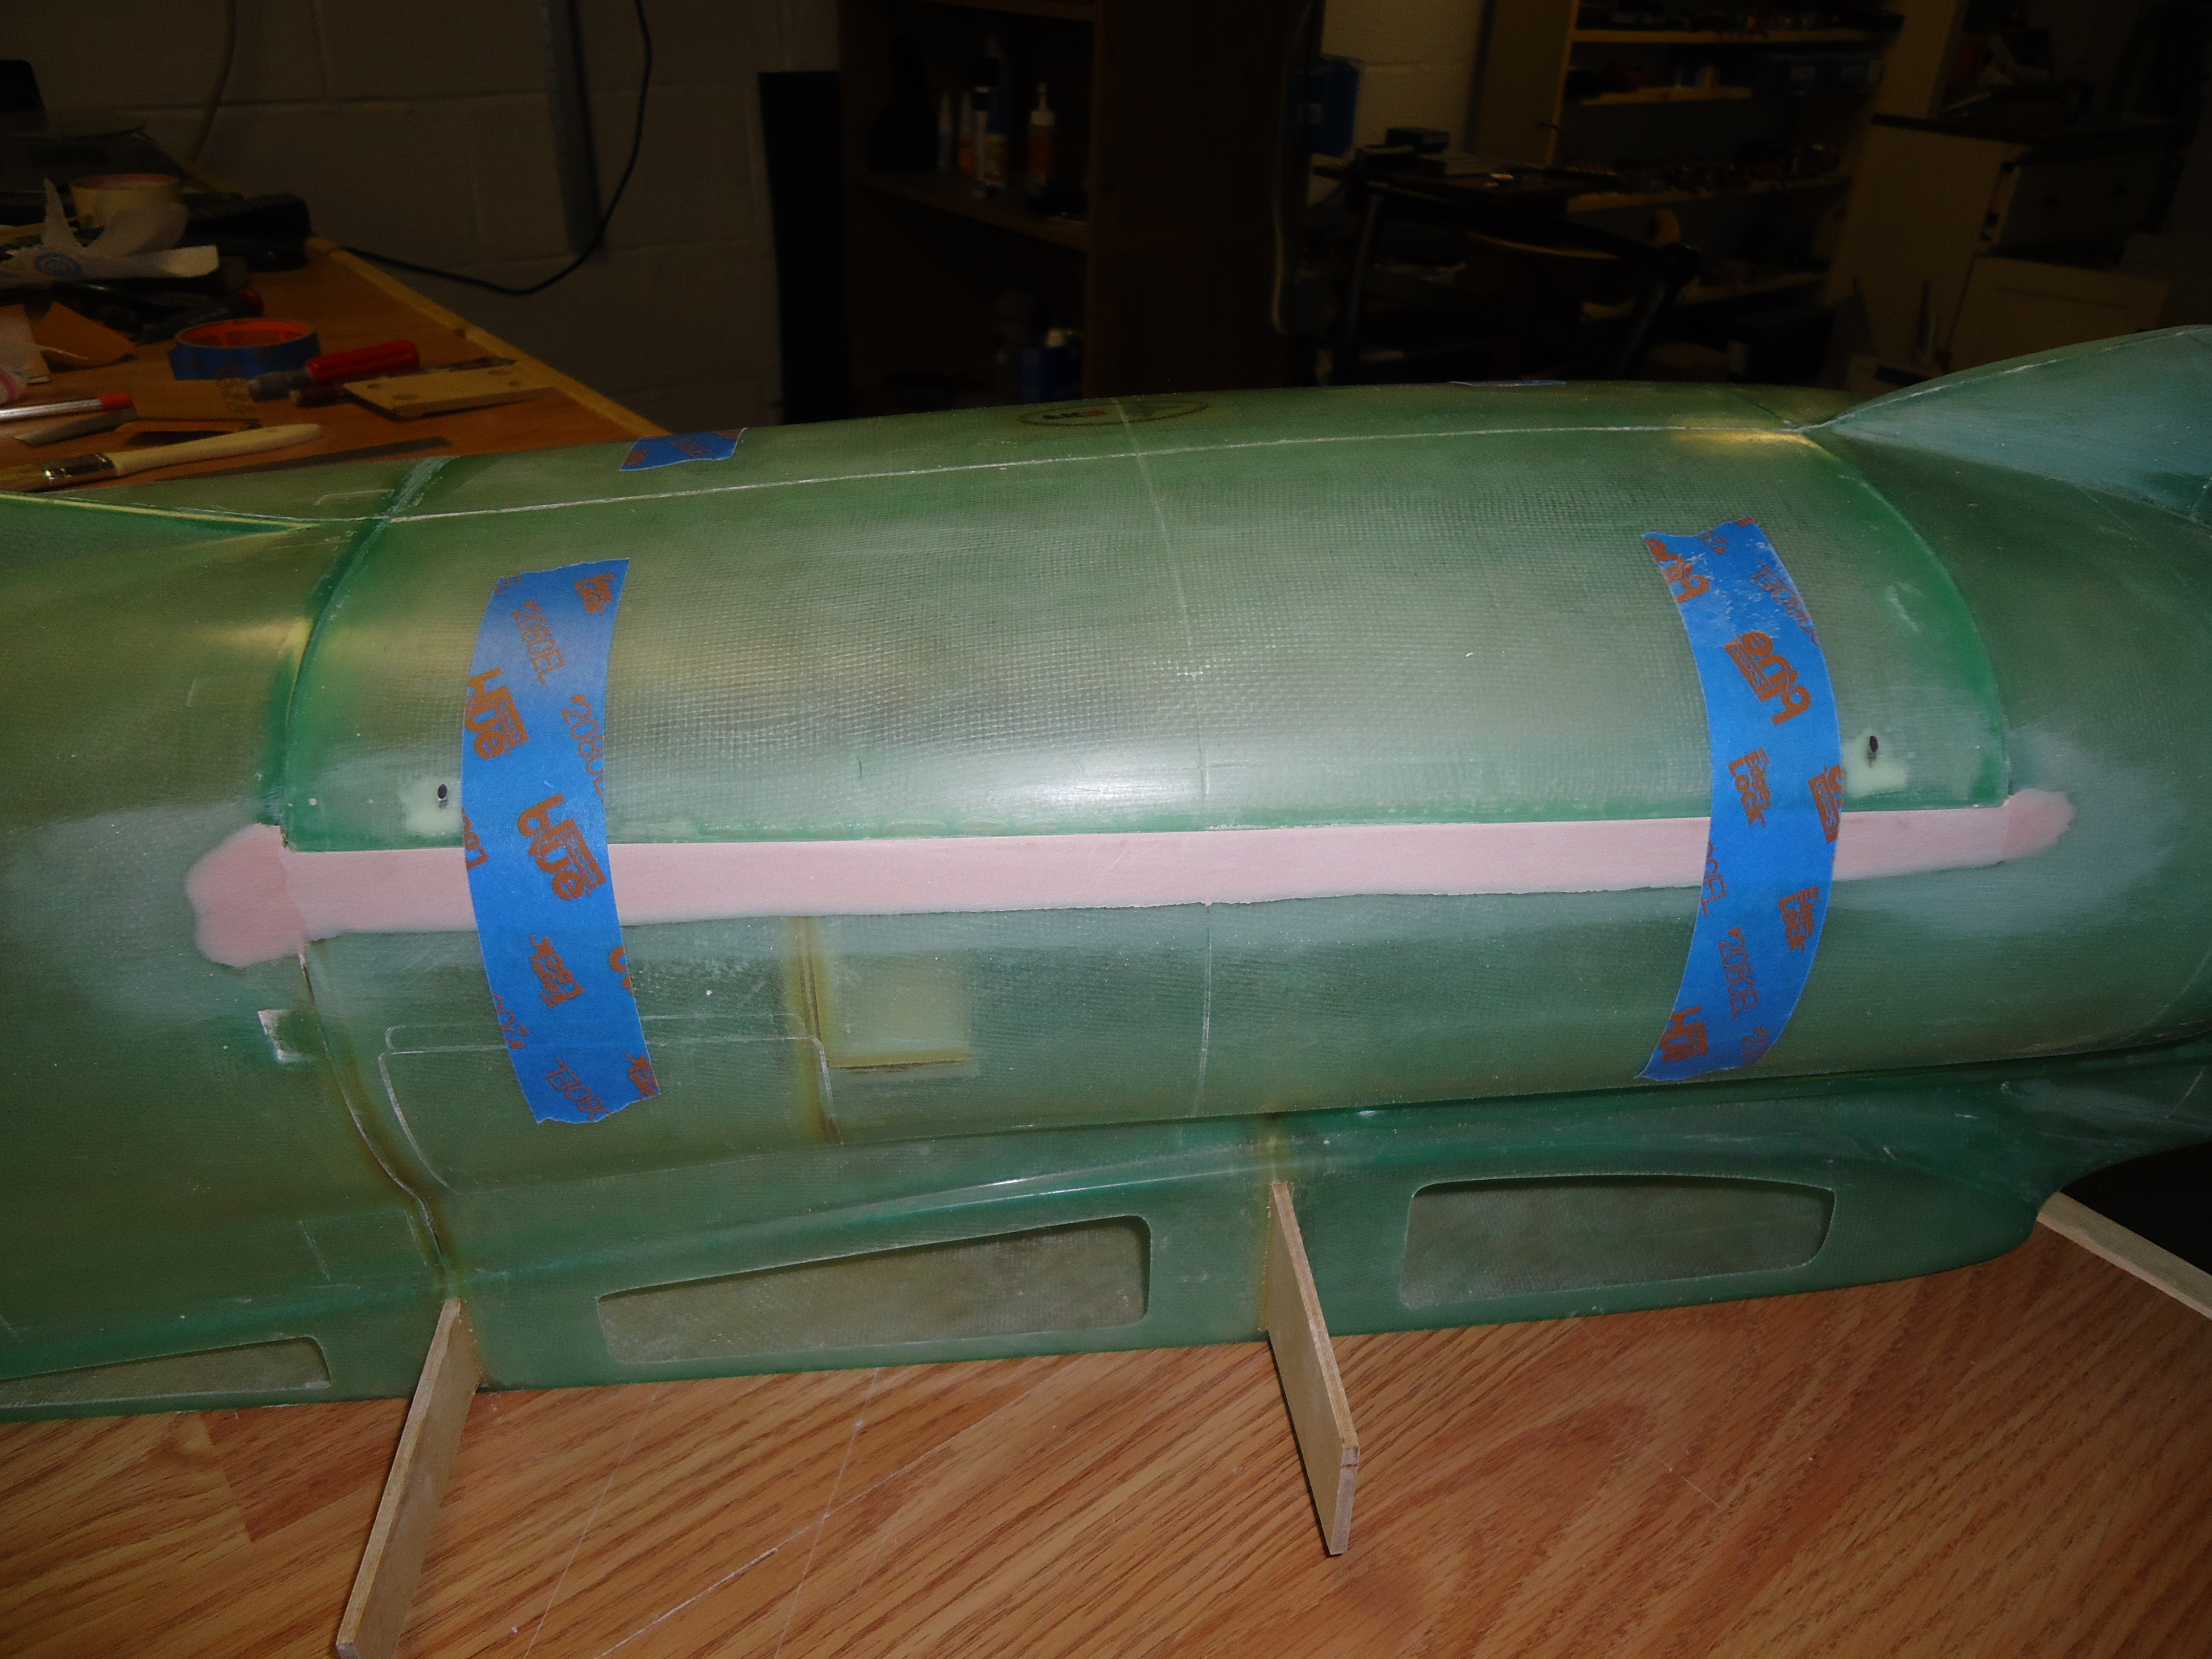
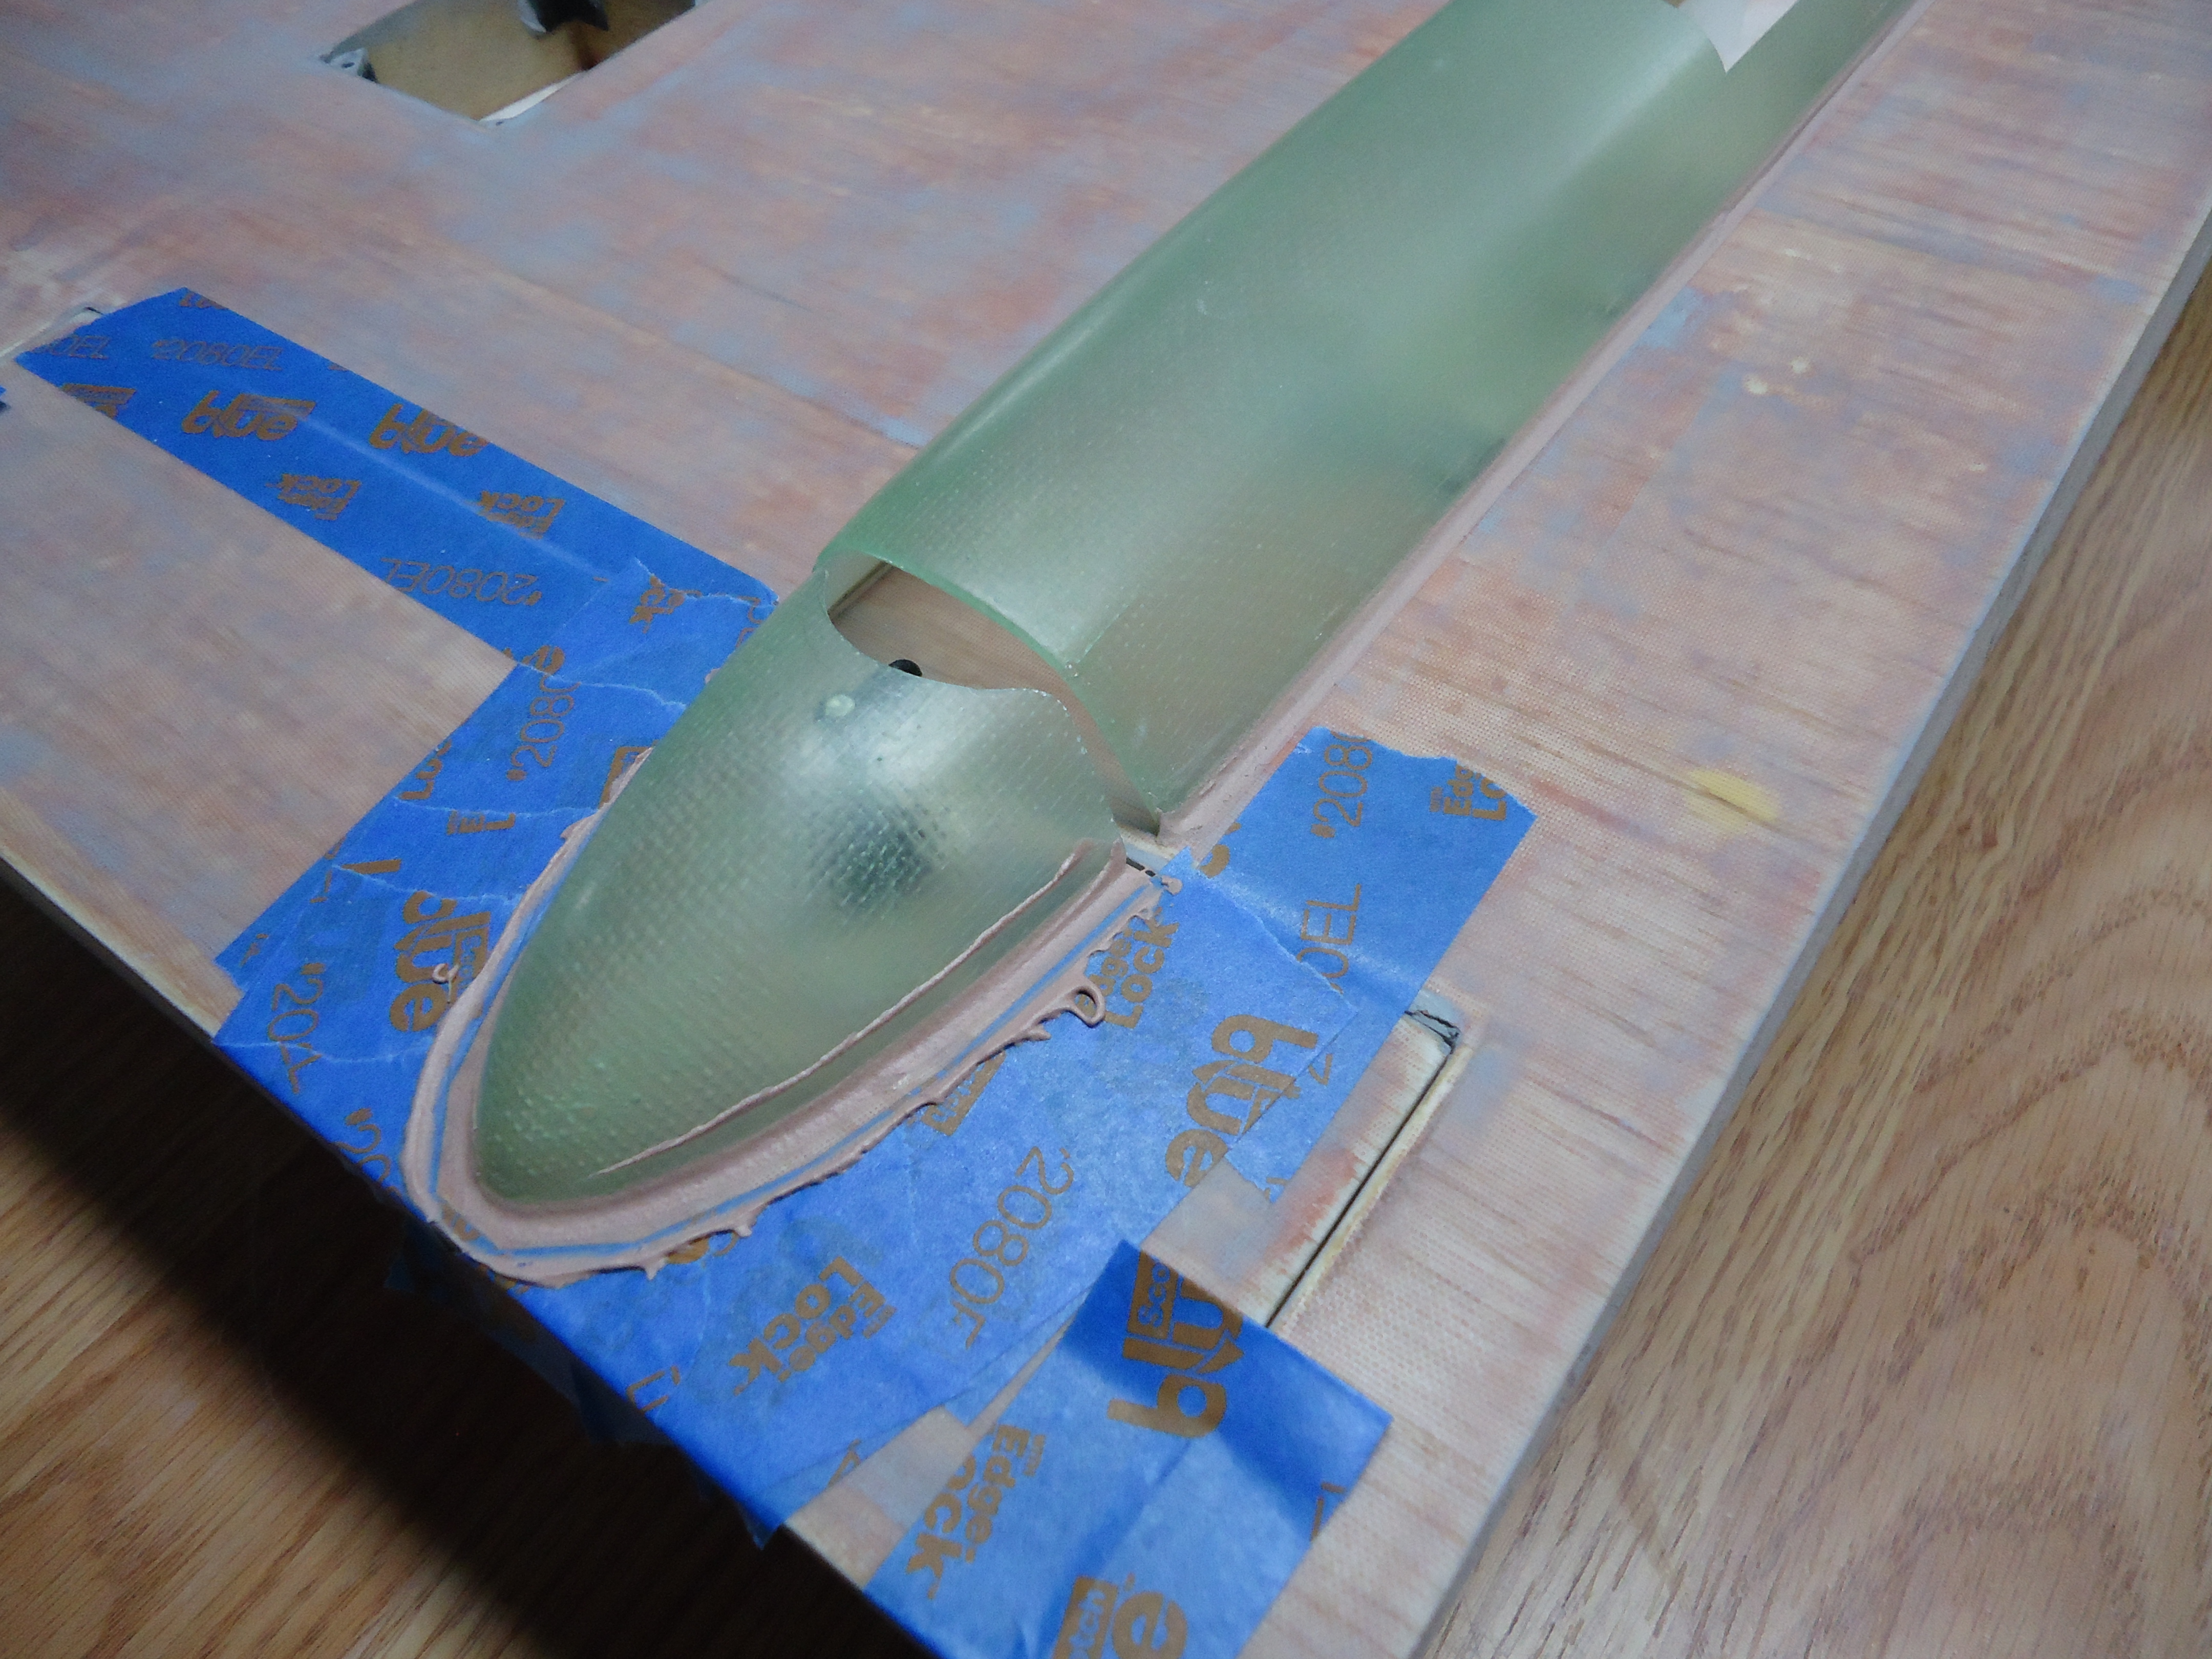
Now it’s time to fiberglass! This is Jay’s favorite part. He LOVES the process of glassing, filling, sanding, and filling some more. There’s nothing like red dust in the morning…


A4 Ear Wax Check
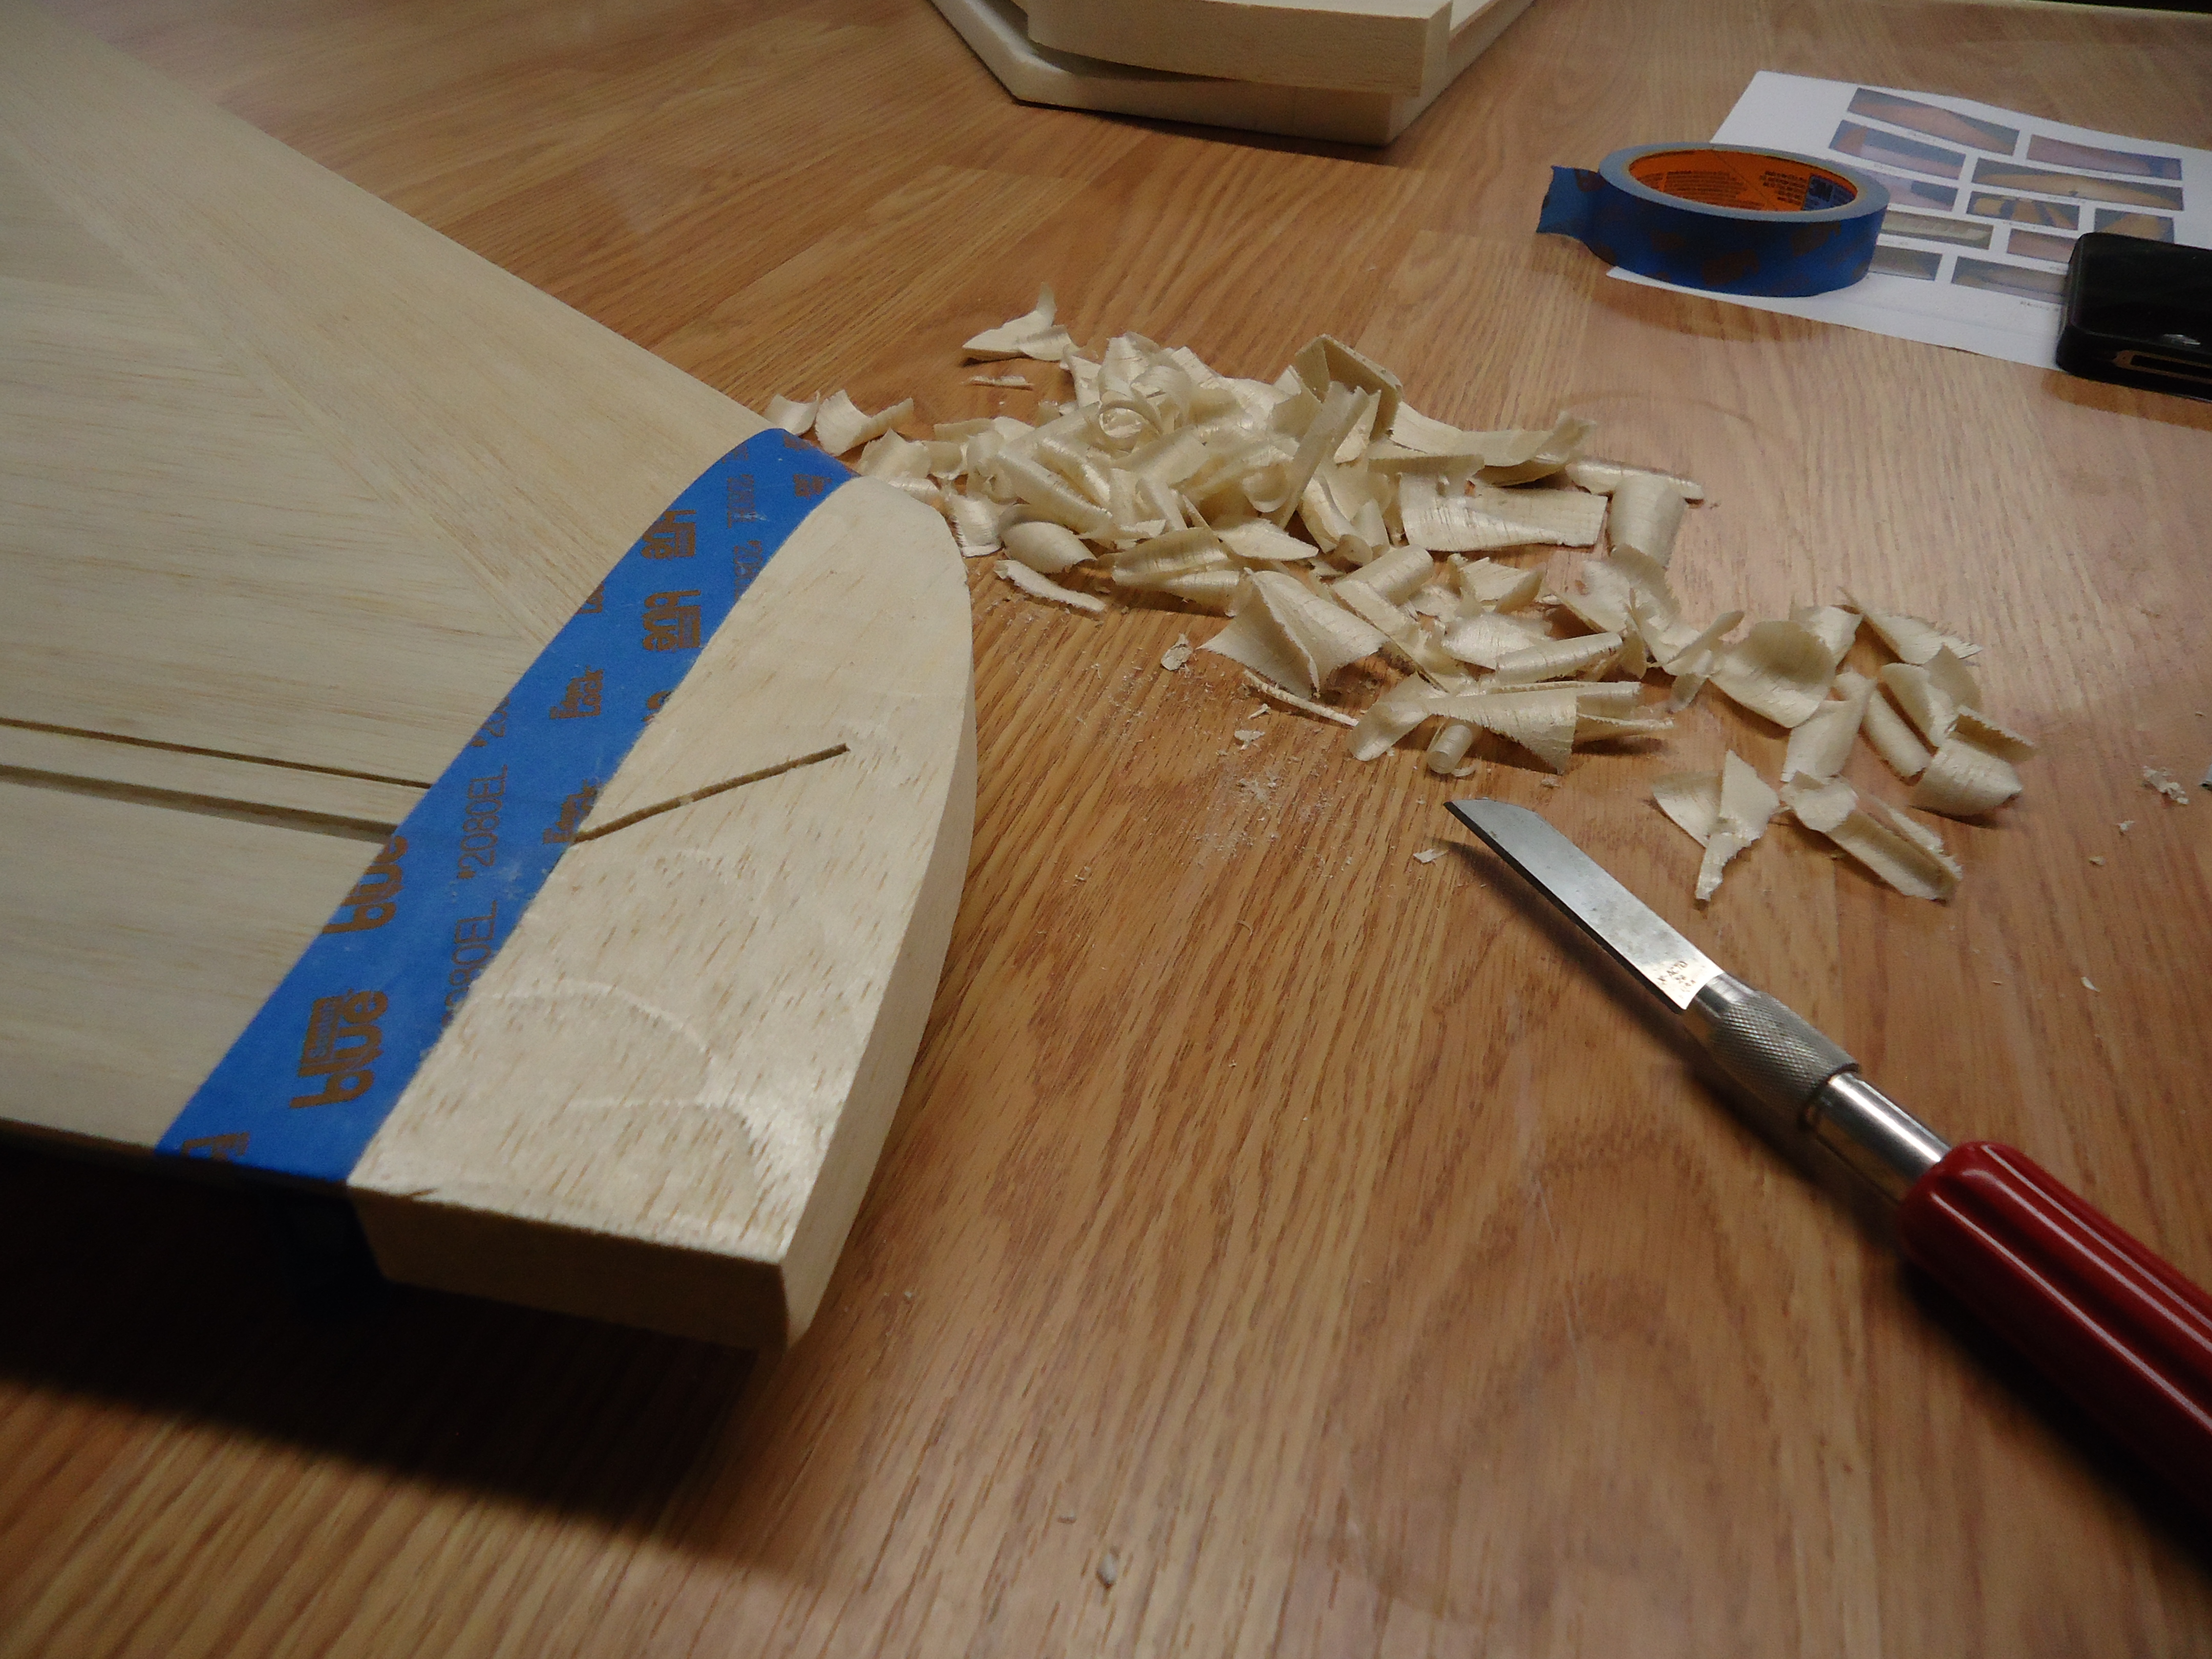
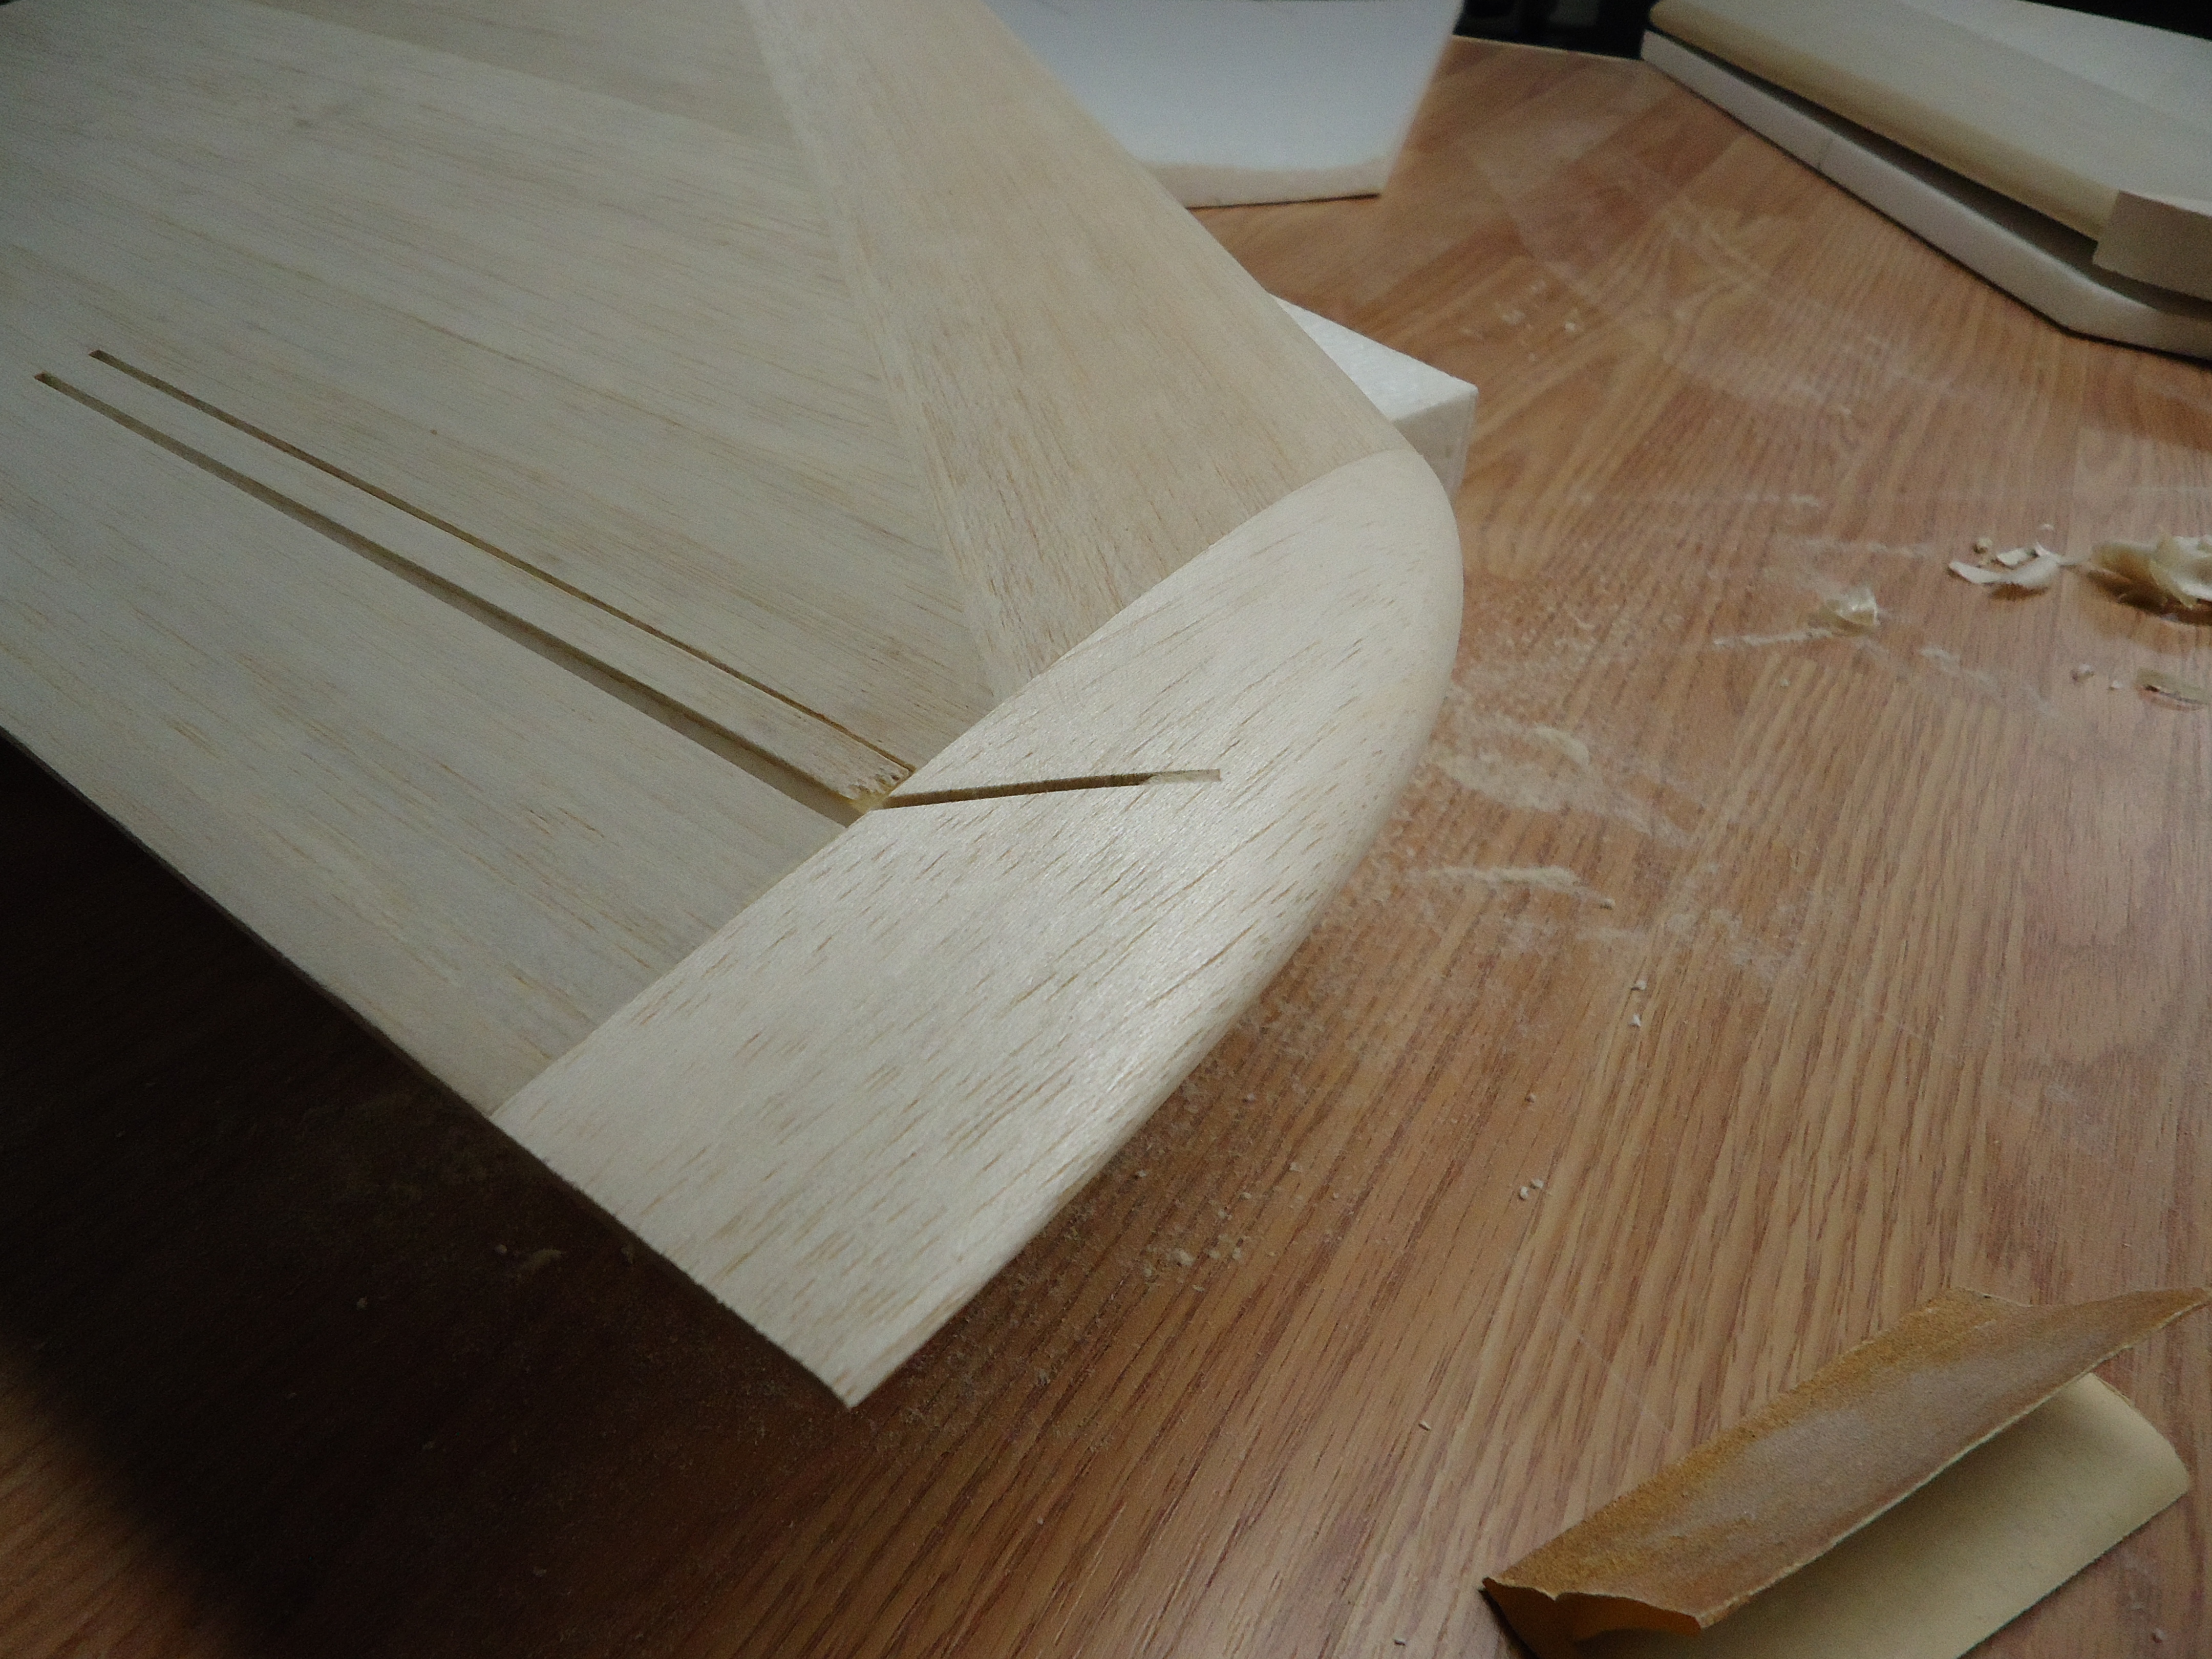
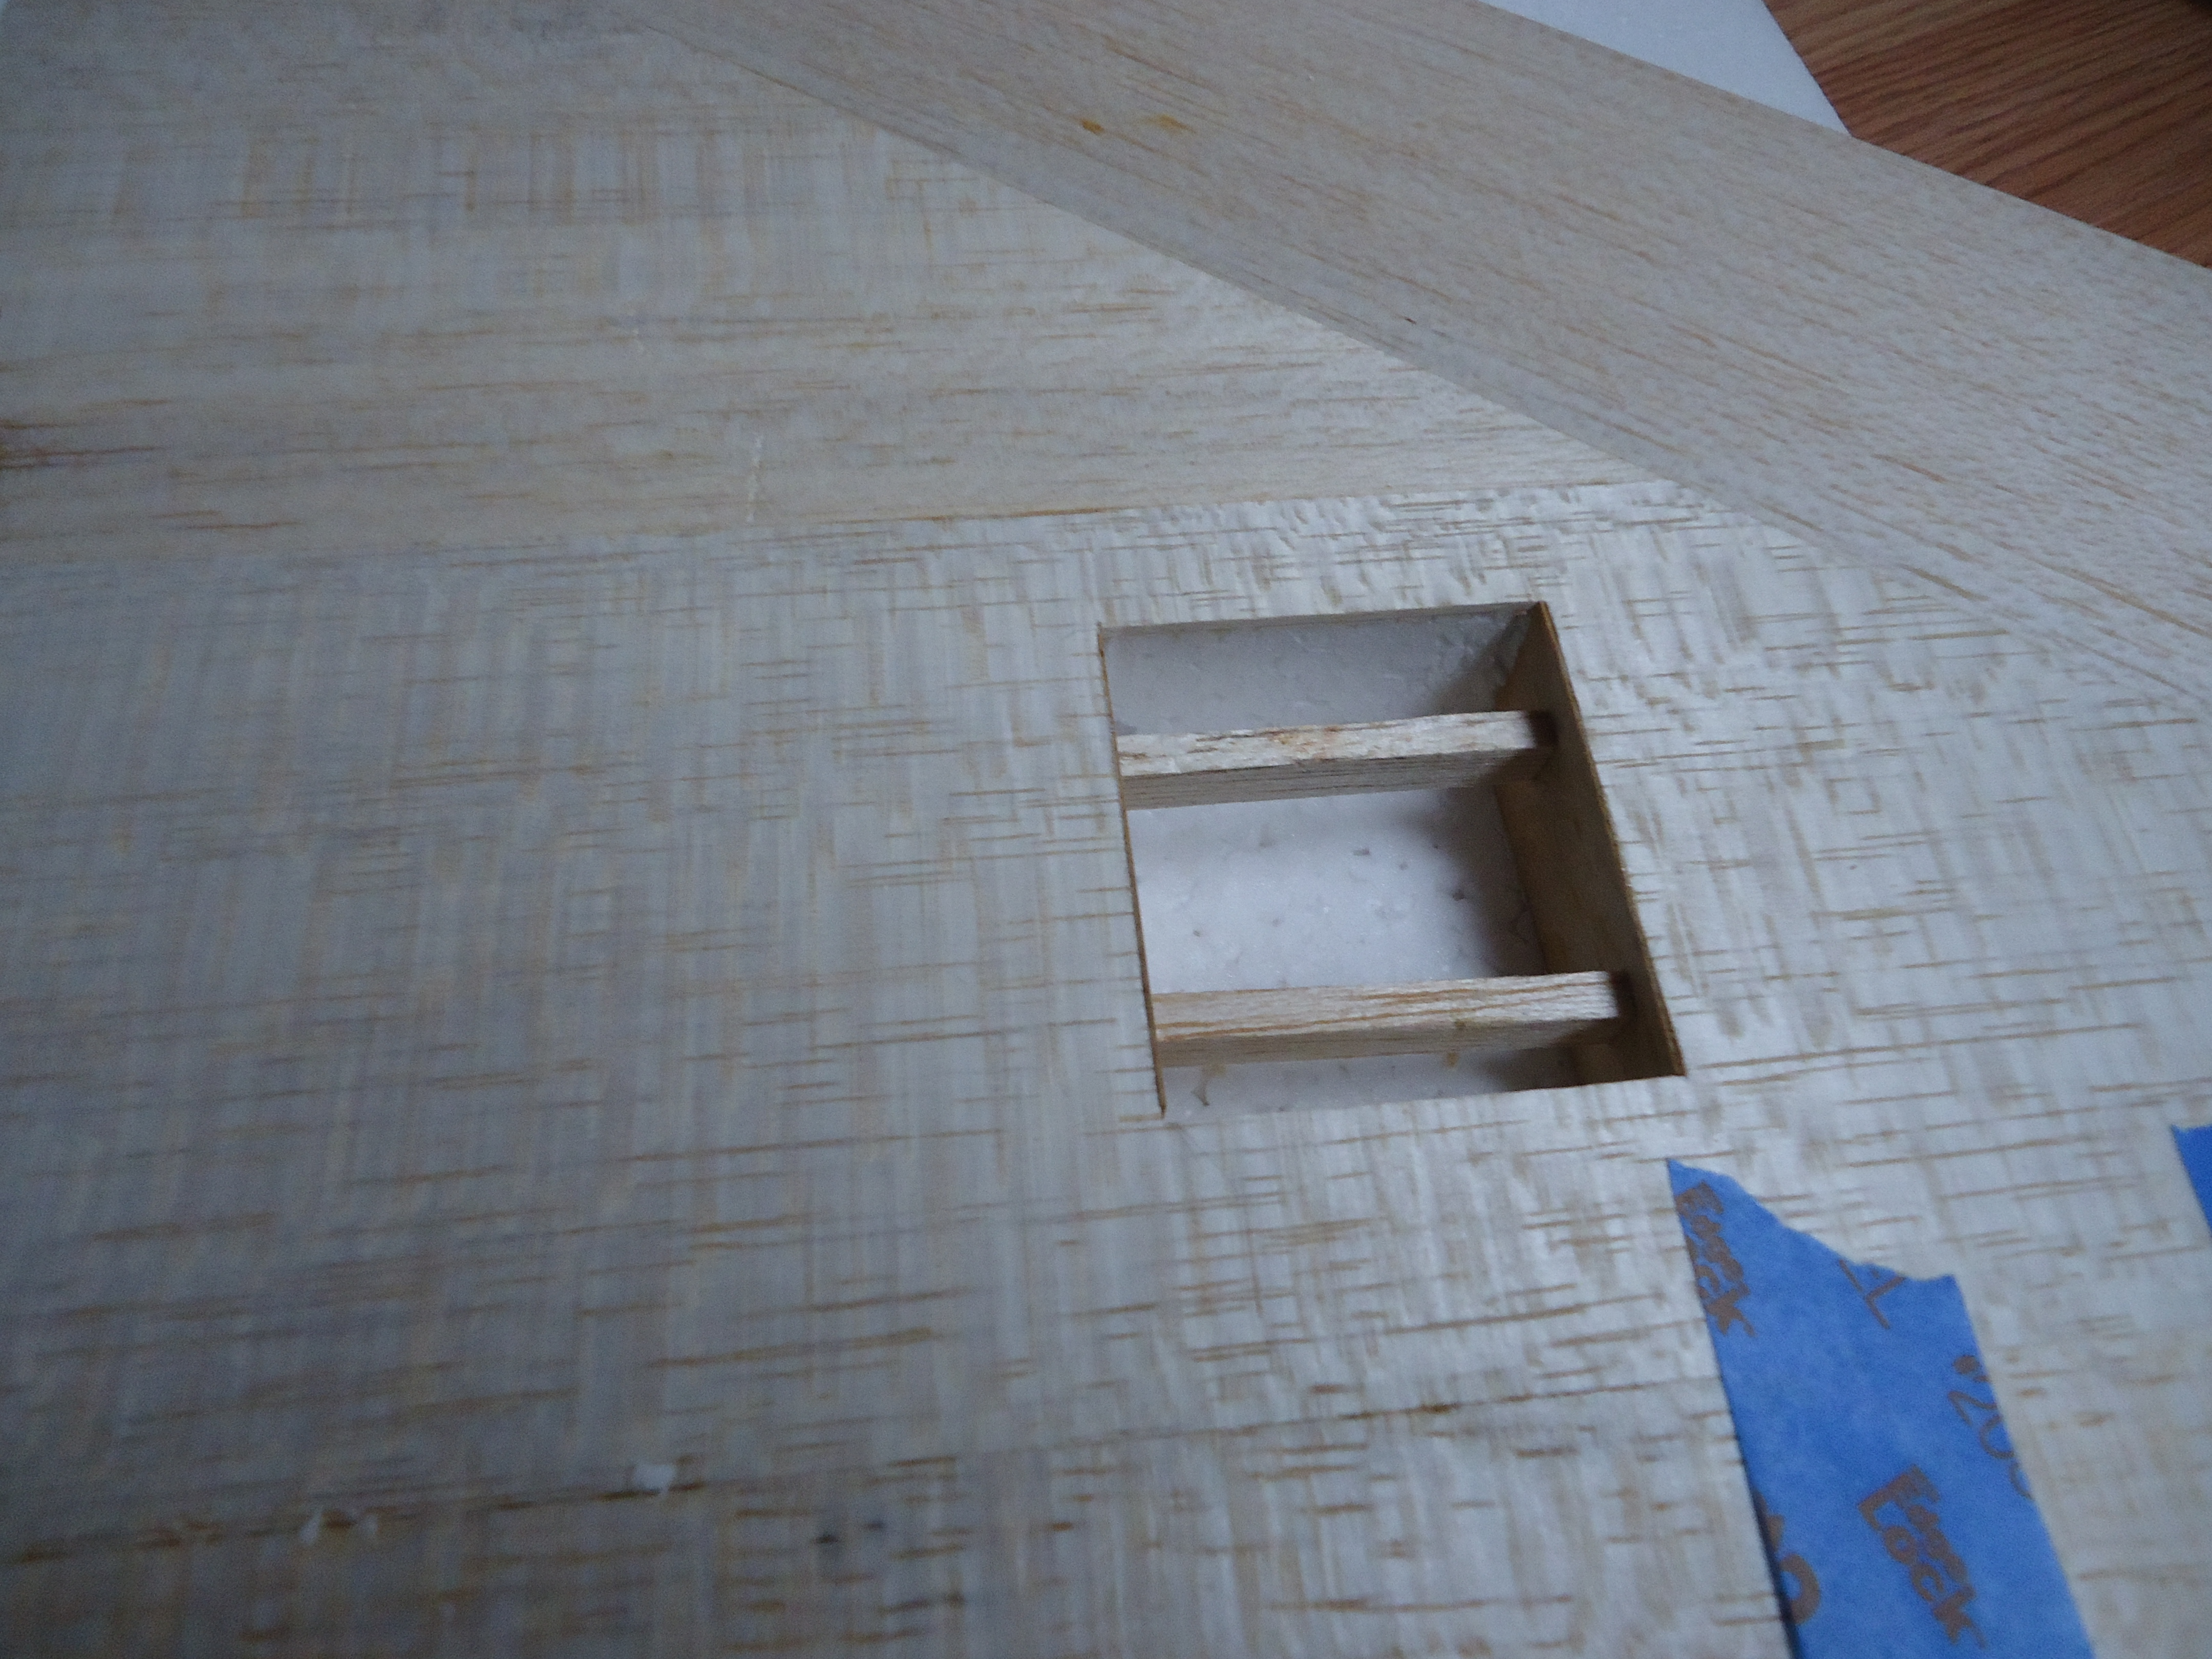
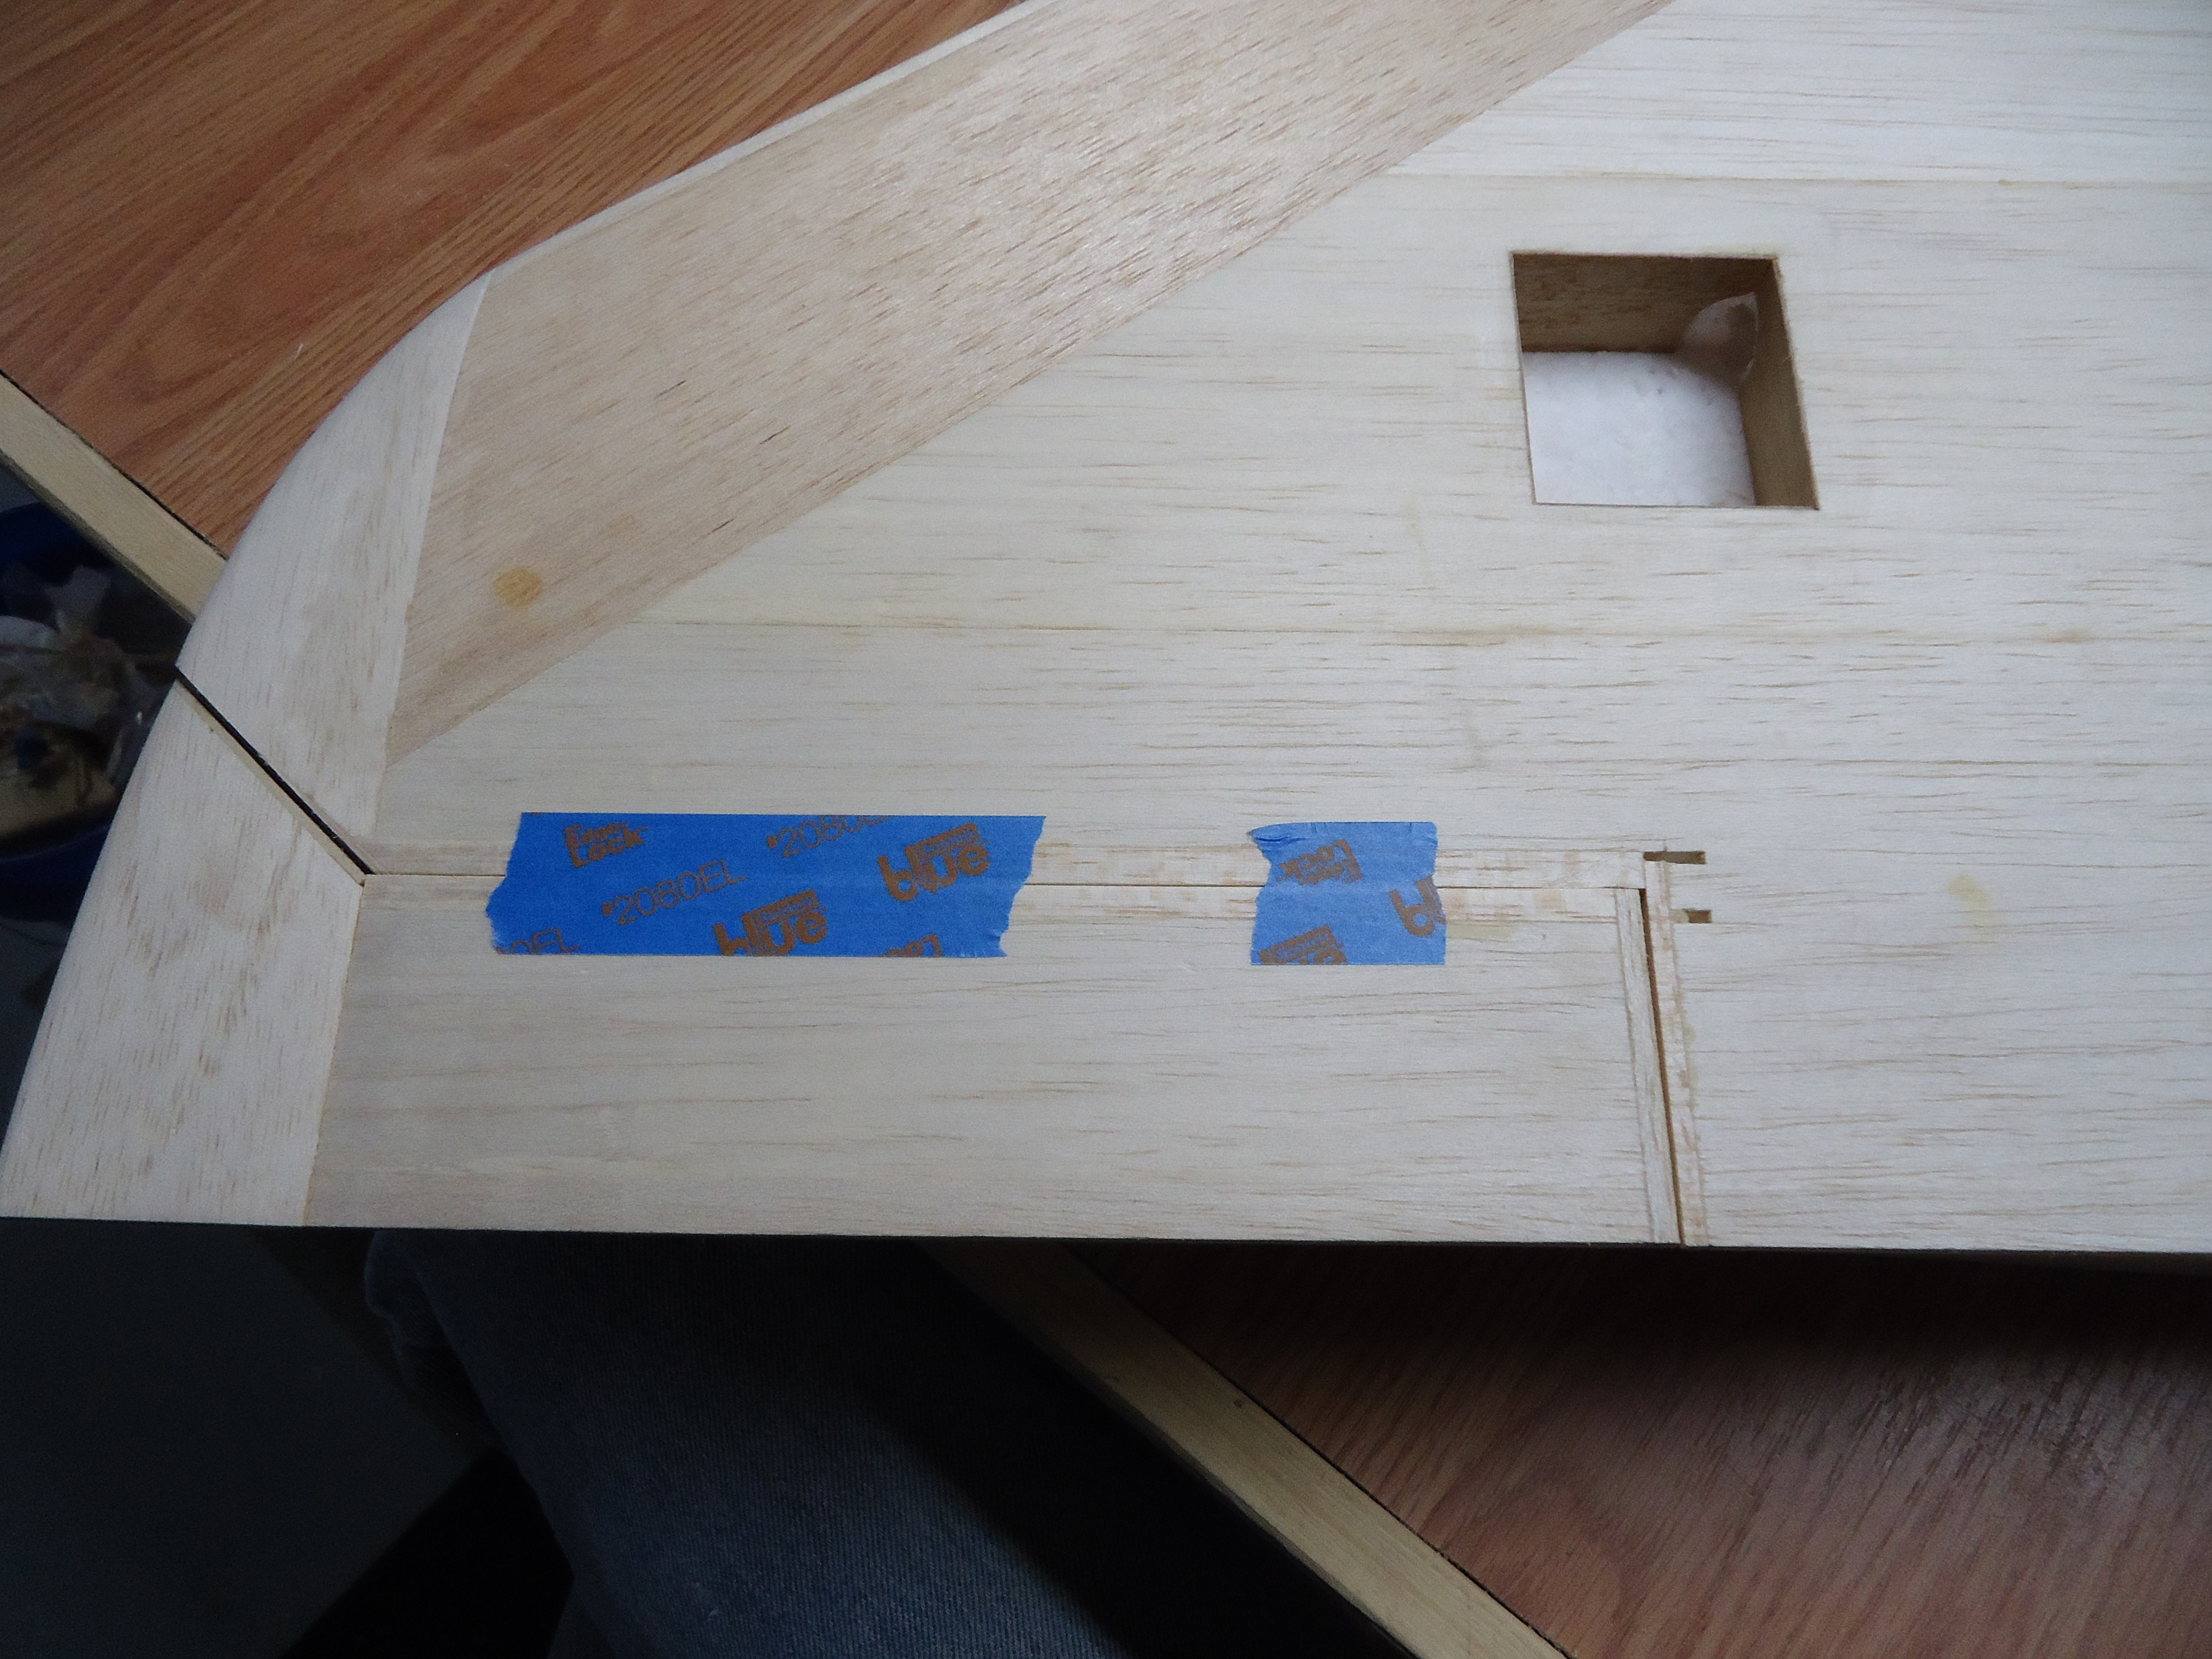
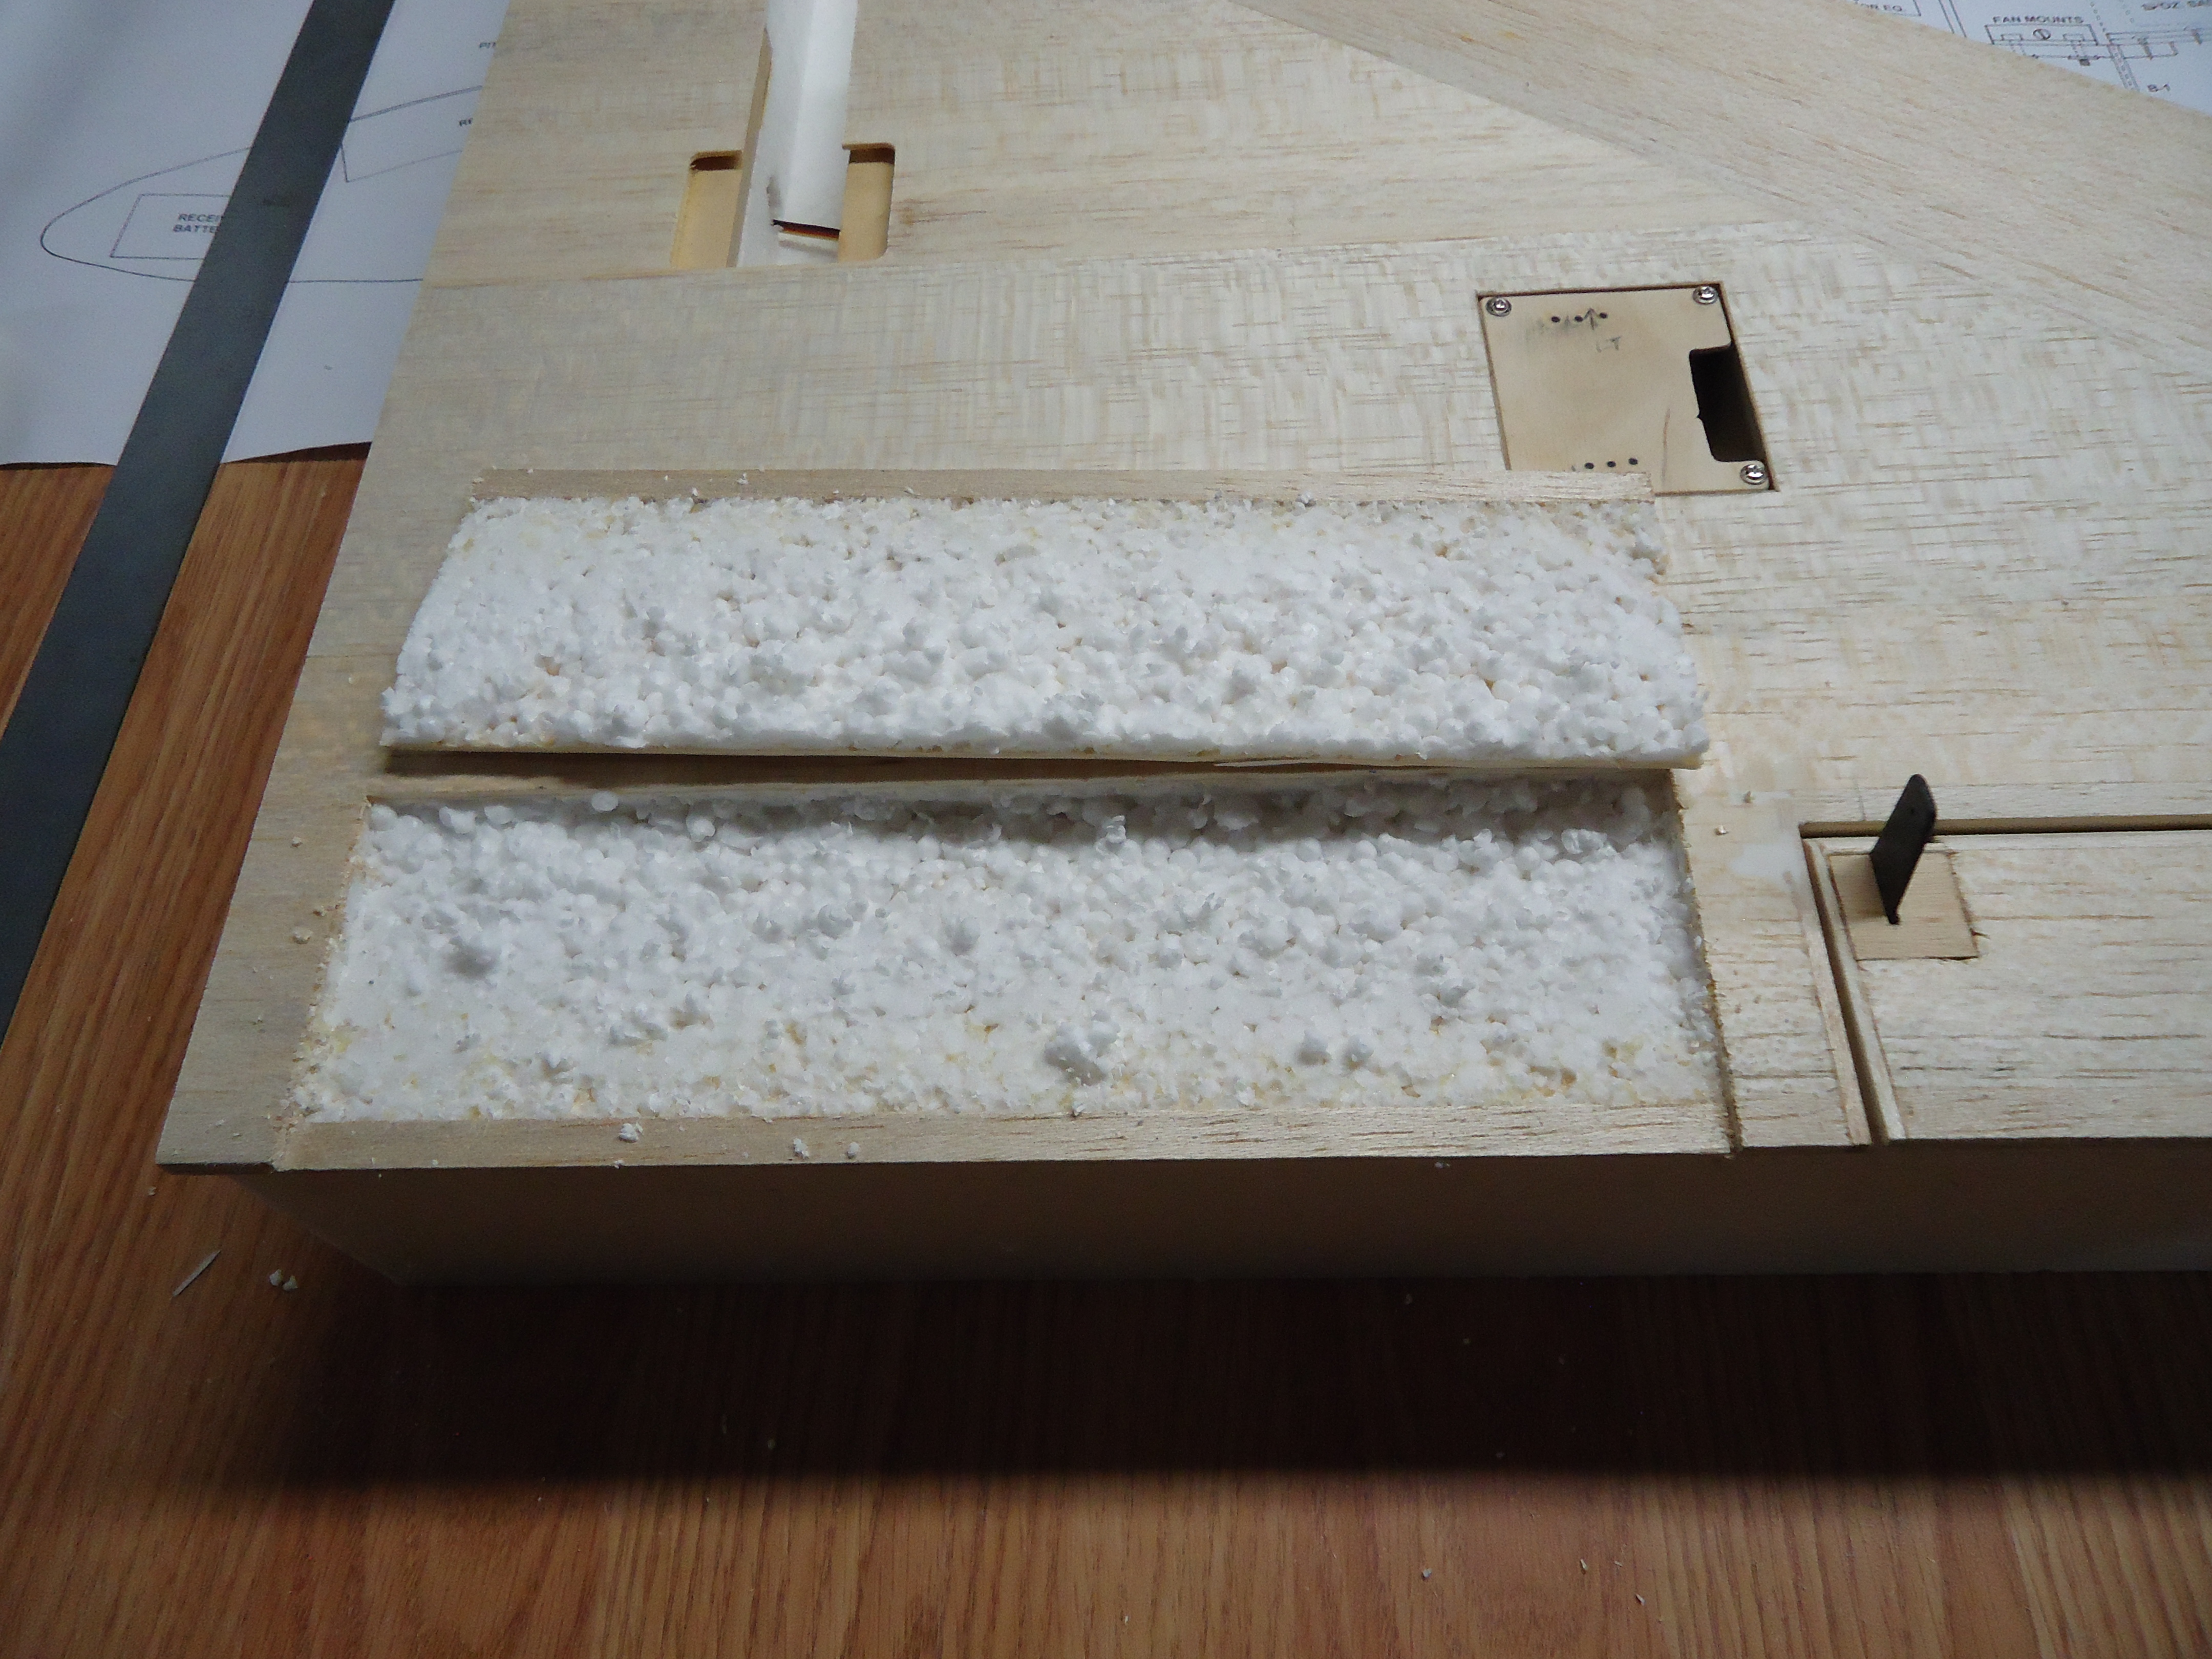
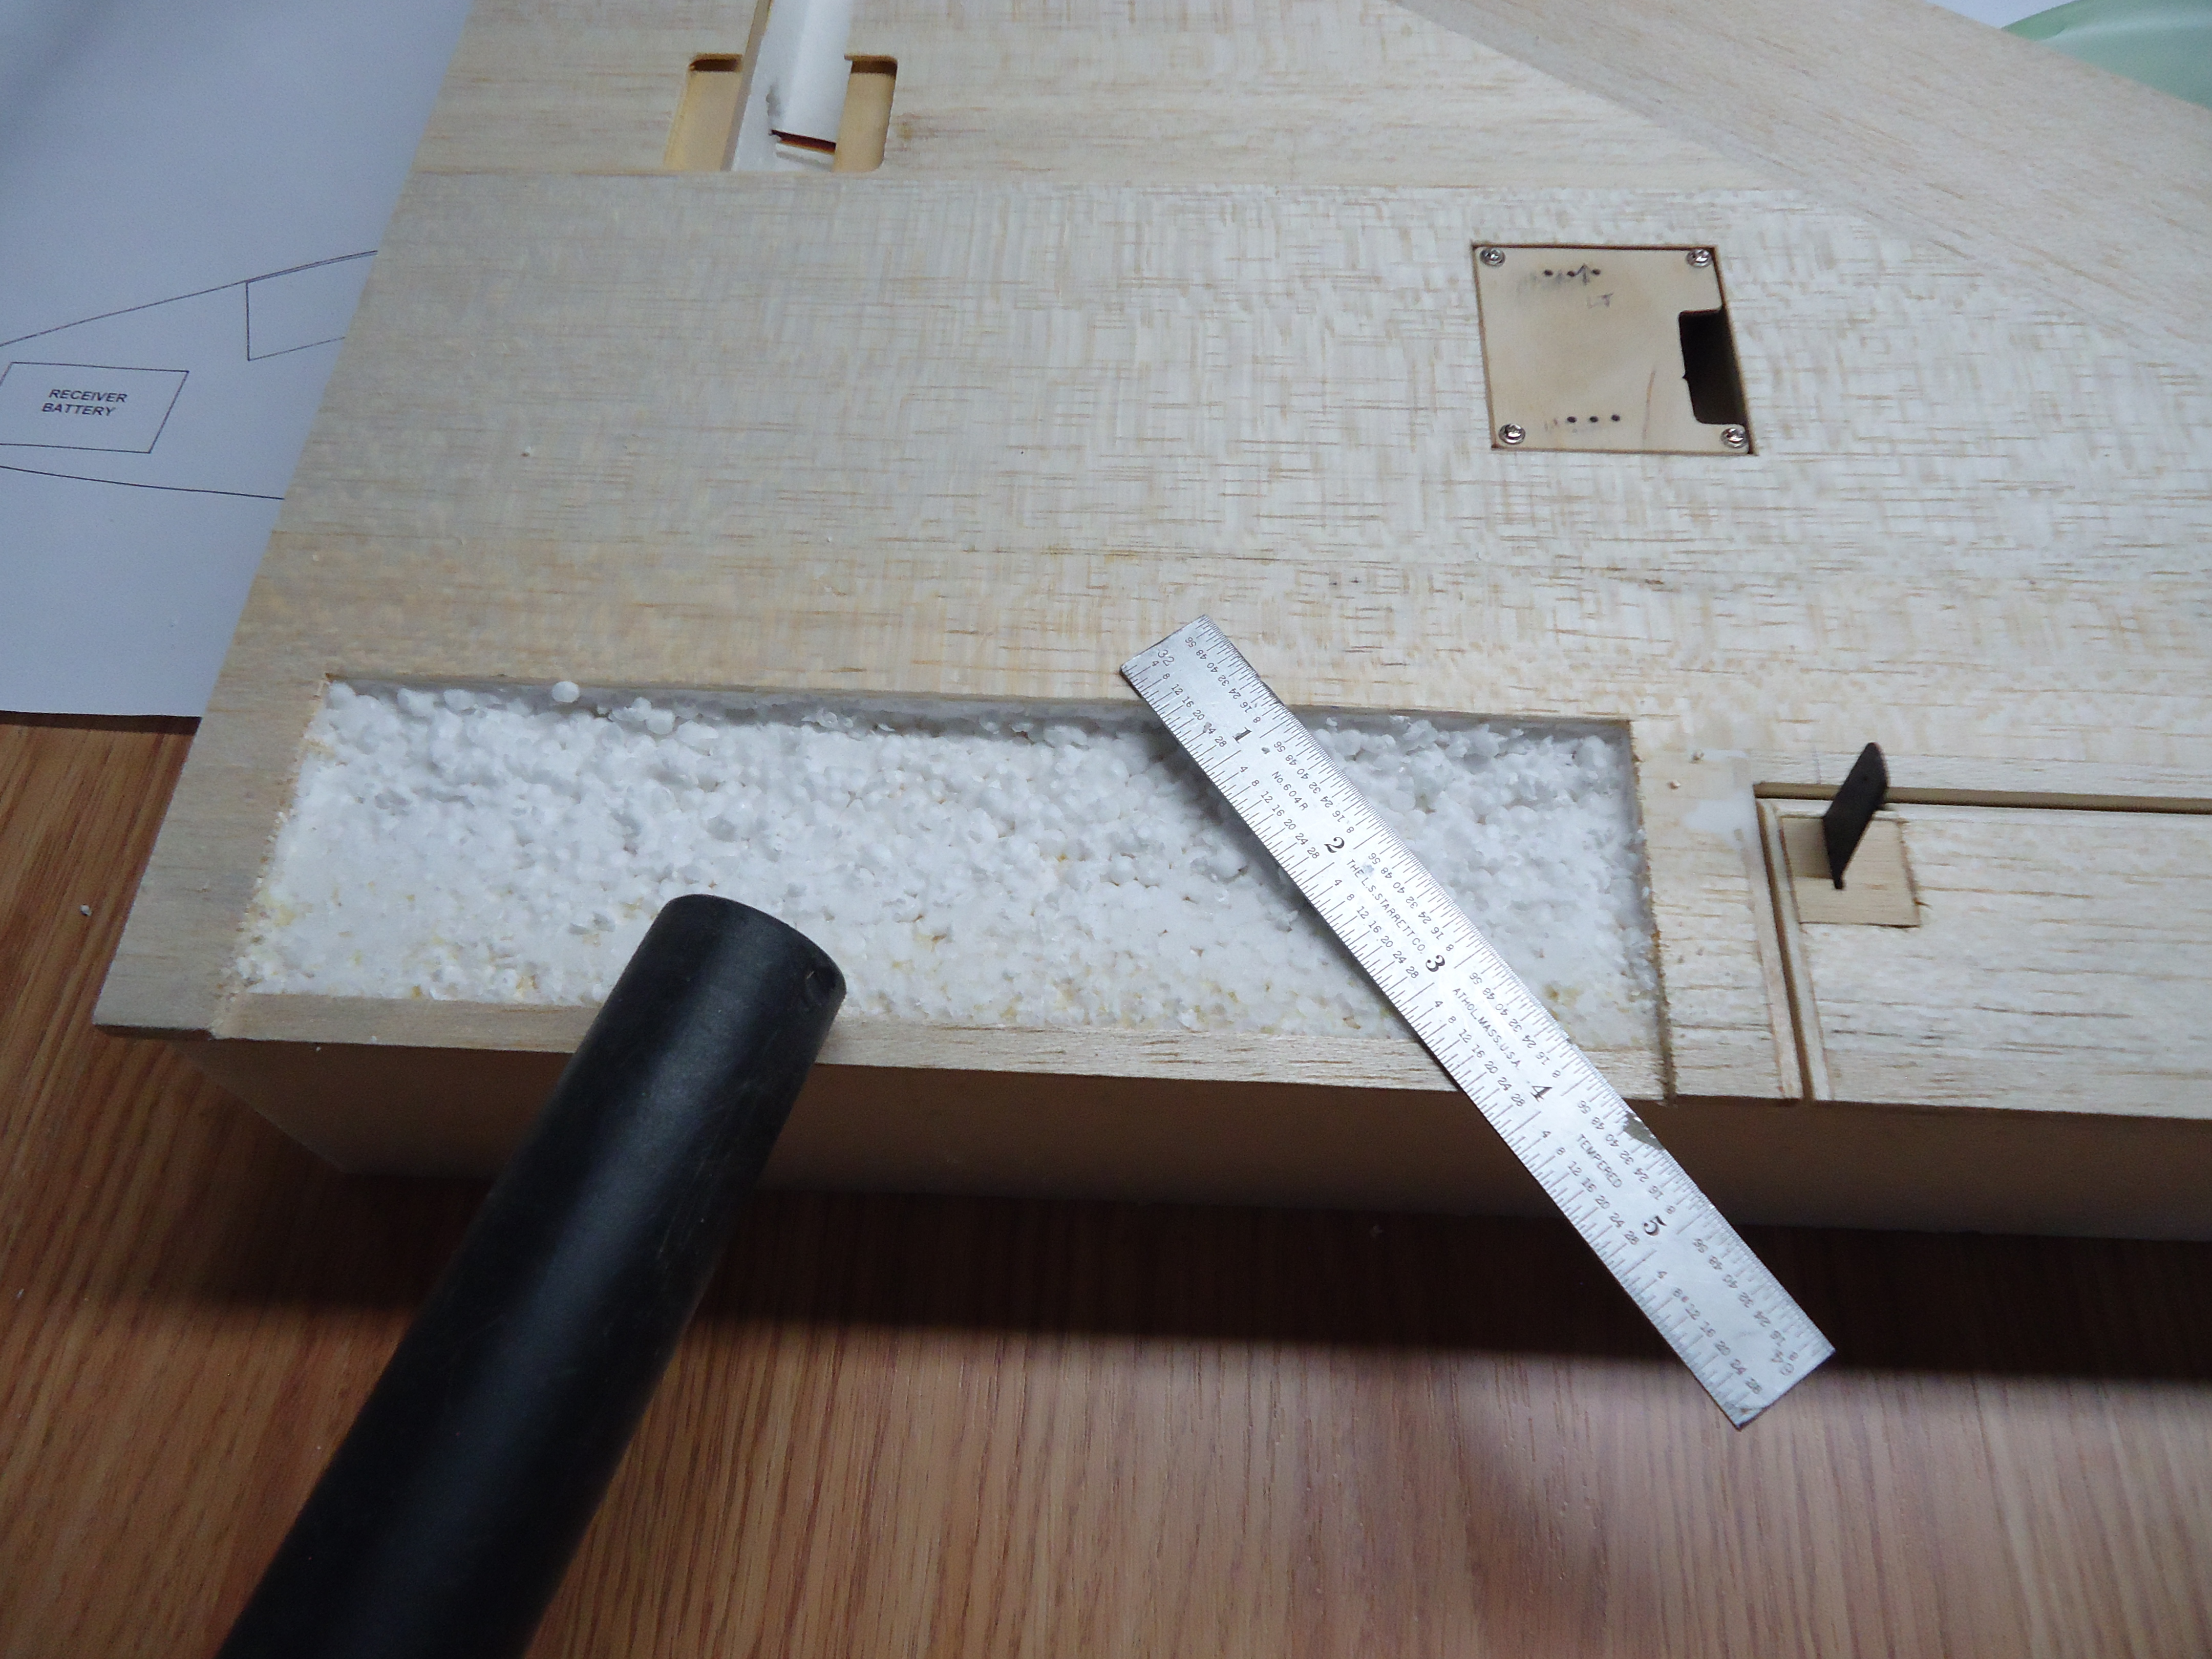
Oh no! We almost forgot to check the ears for ear wax buildup.

Phew! All clear…


A4 Tail Ready for Primer
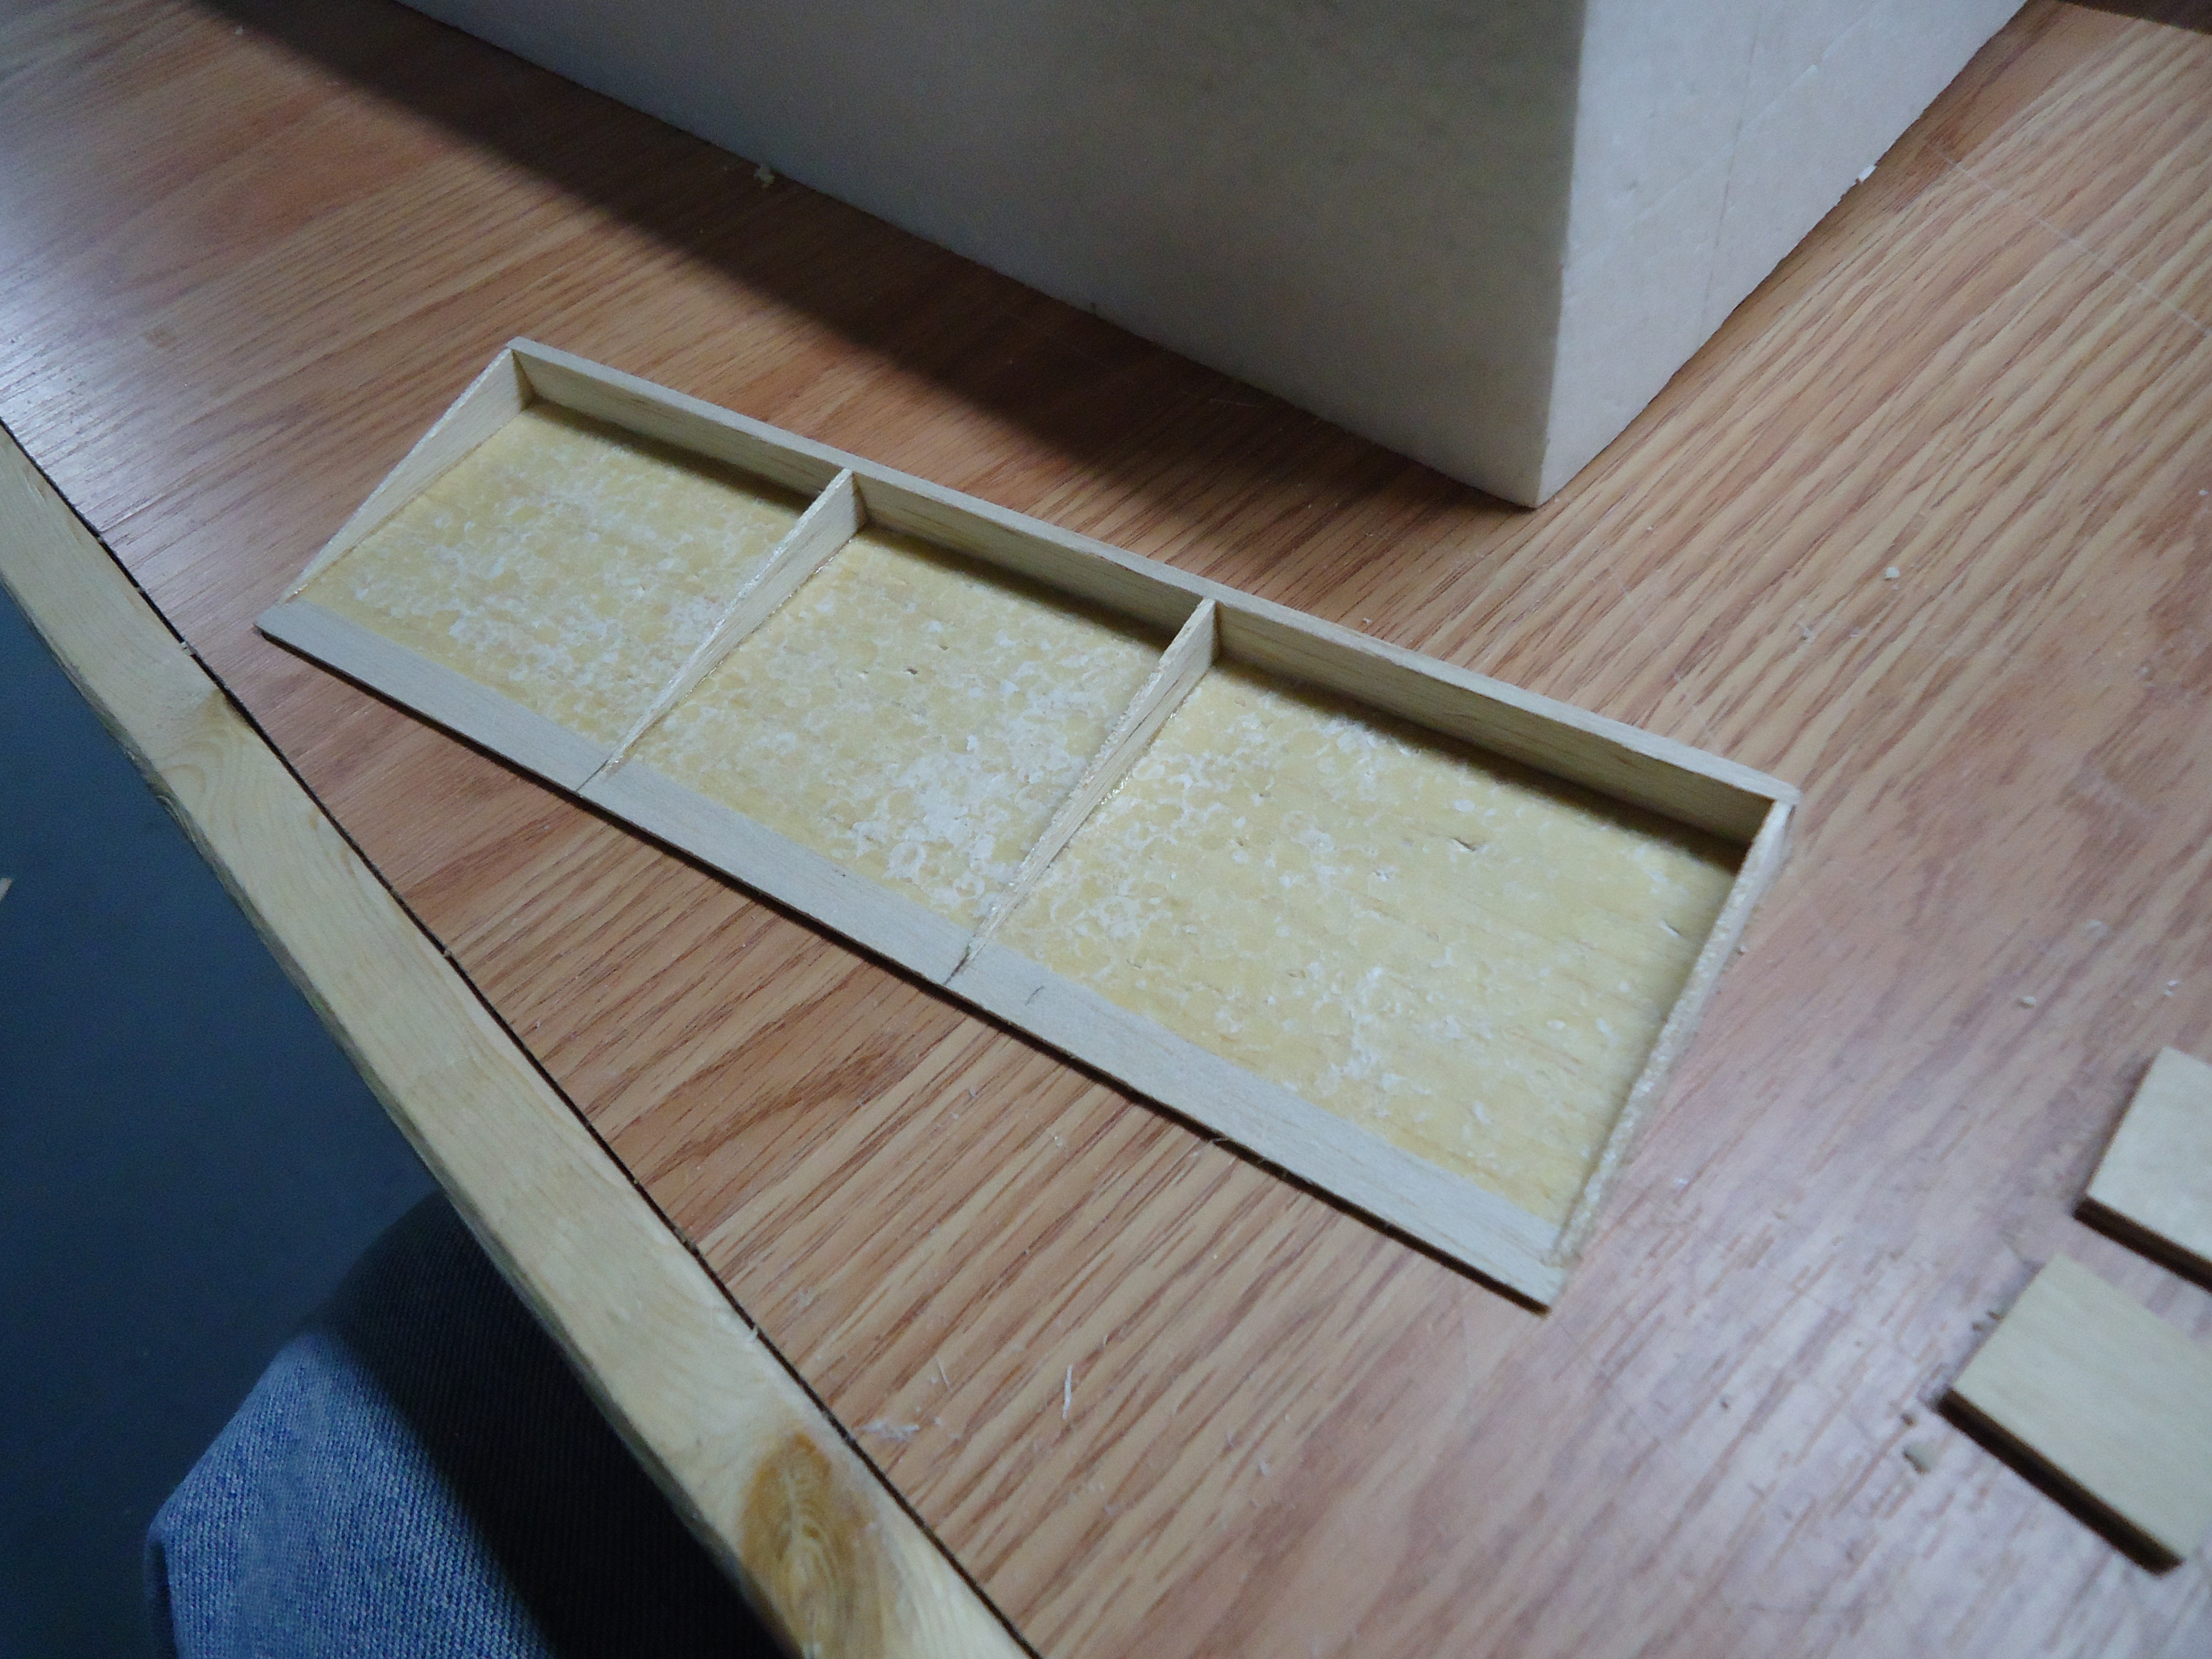
Now that the filler is dry we lay the pieces somewhere to collect a whole bunch of dust.

Wait…

I think that this was primed. And then Jay wet sanded it all off. I’m not sure. All I know is that there was a bunch of water on the bench and he kept sanding off the stuff that he had just put on. Maybe to prolong the building experience? Maybe he wants it to have a weathered whale-skin look? Hmmm….

A4 Kayaks Installed
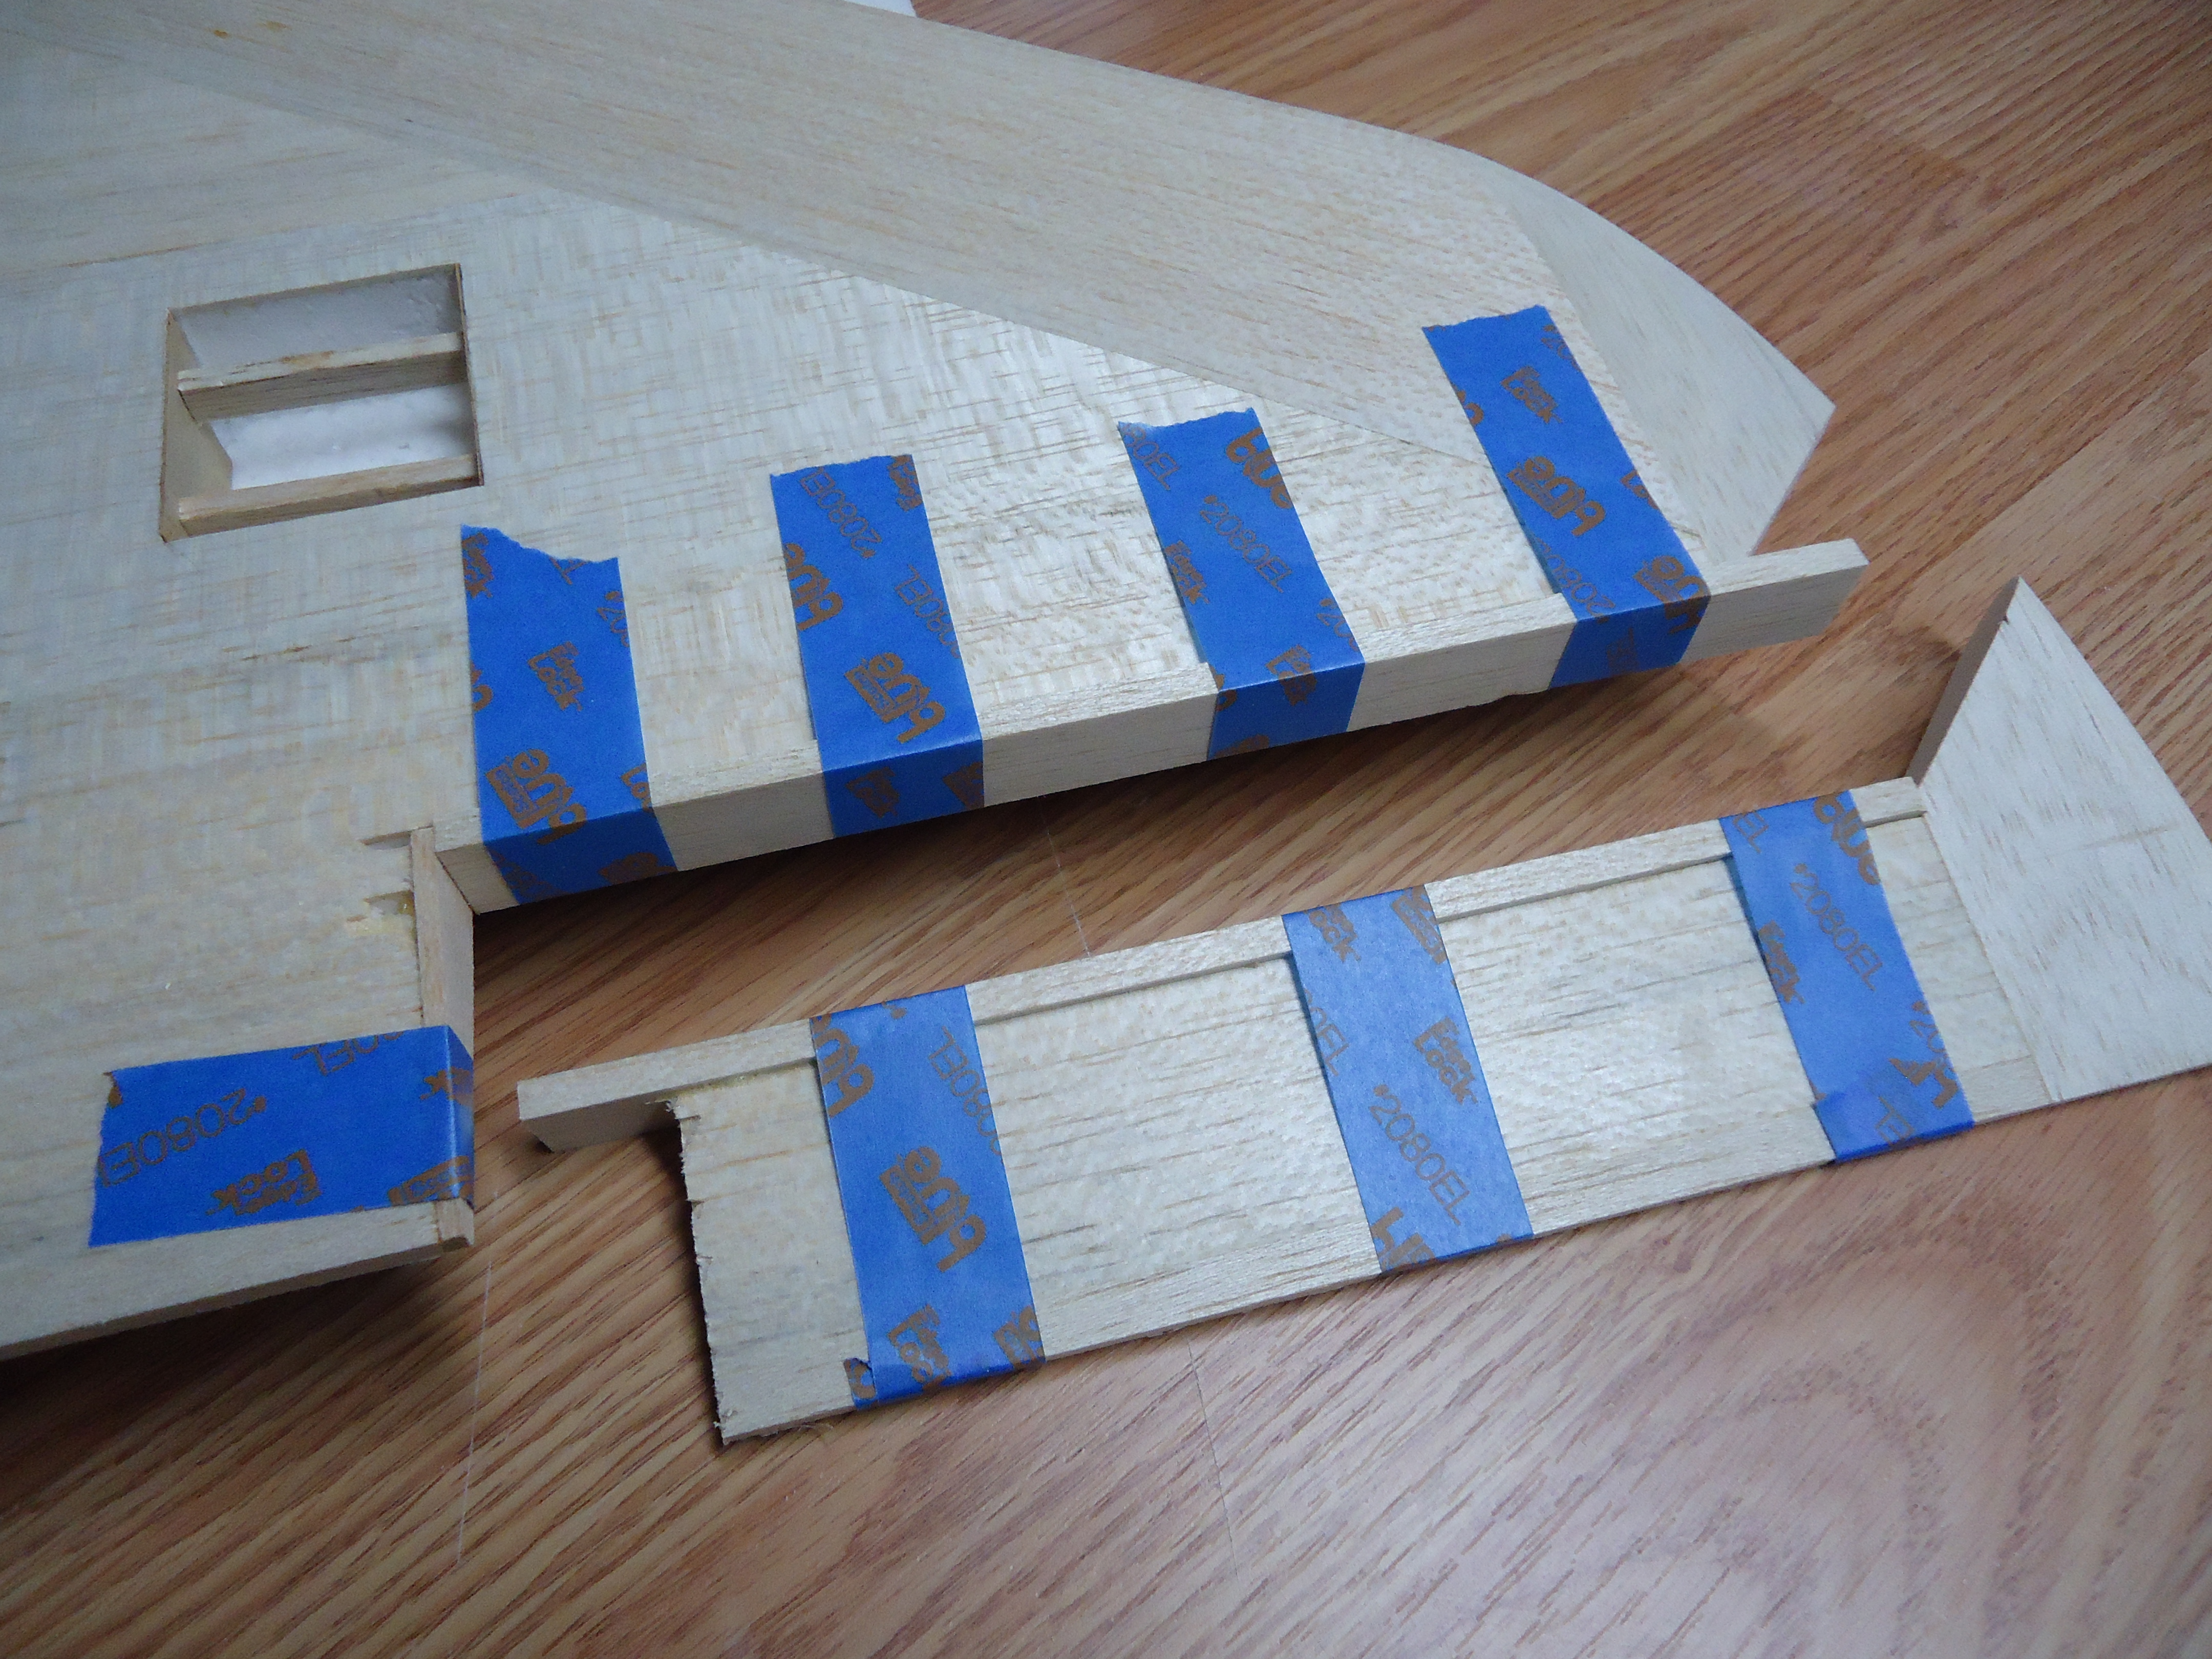
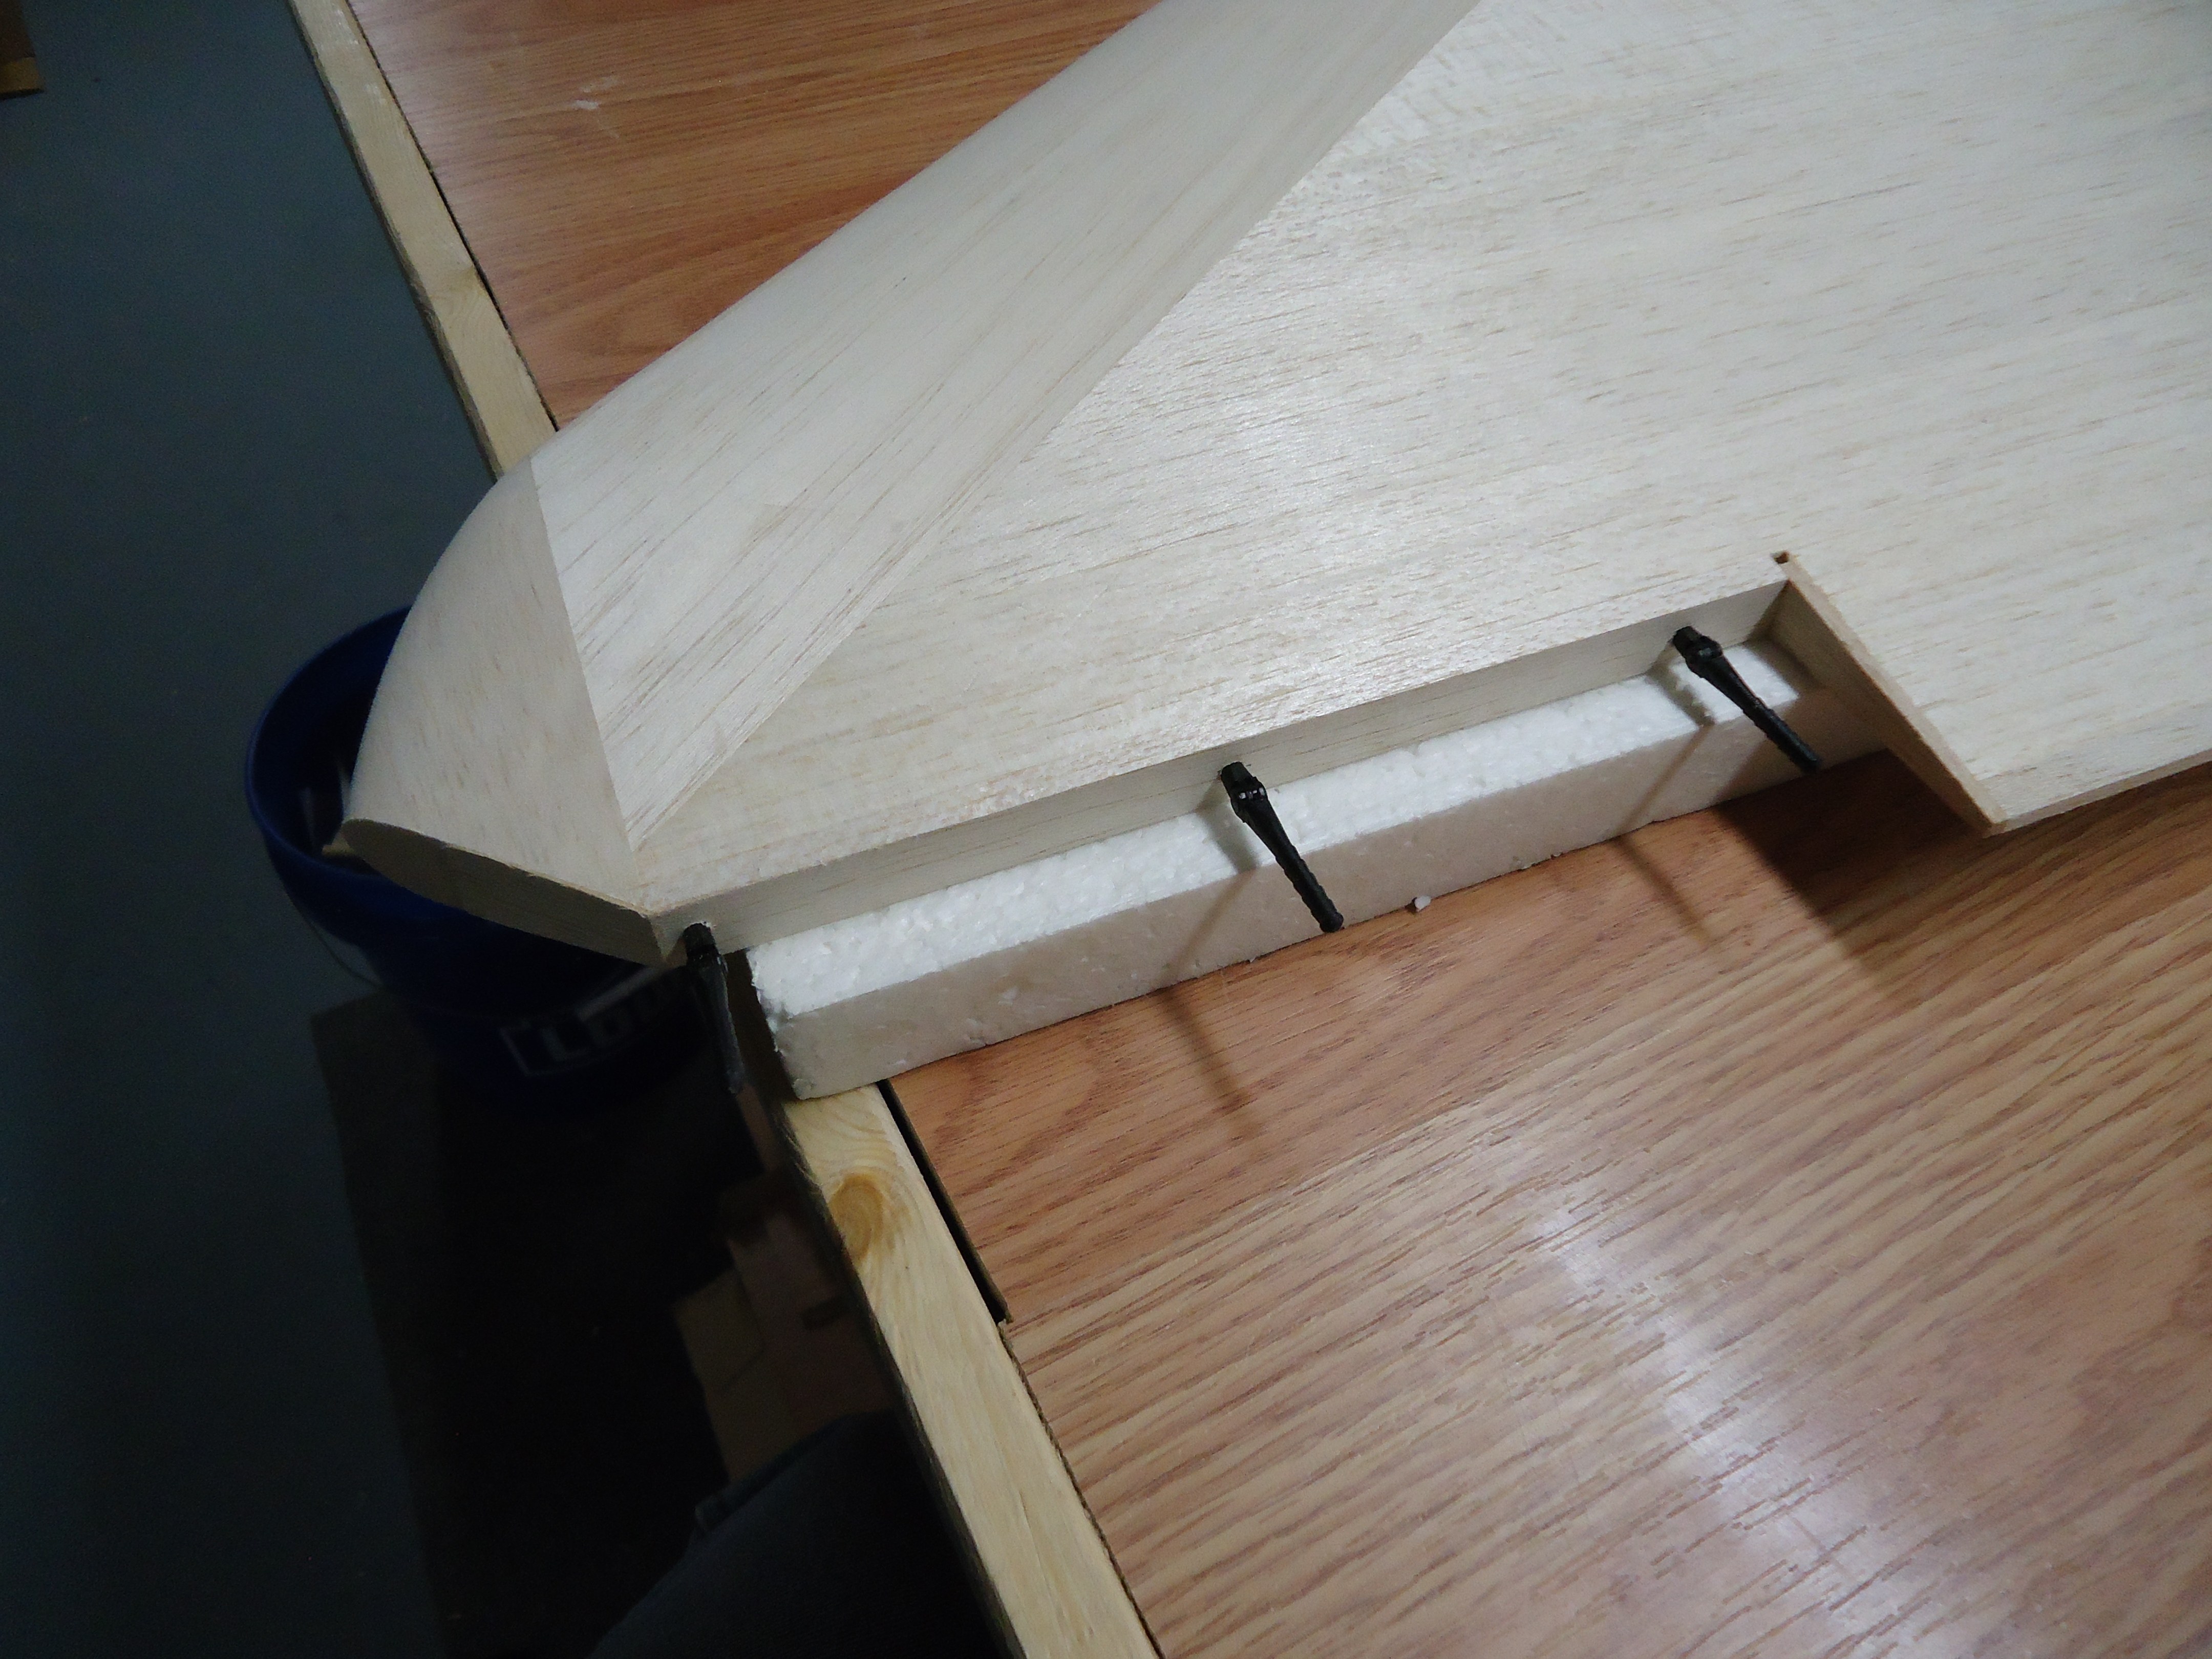
Once you have finished playing in the water and paint you get to move onto the kayaks. I believe that these go on the fins… I mean wings, as decoration. At least on this model they do. They don’t serve a functional purpose except to add a few more words to my blog post.

These get glued on right where Jay added the flaps to the wings. Because this wasn’t part of the instructions that came with the jet he had to modify the kayak so that it would allow the flap to move freely. You can see where he notched it out and is gluing the notched part to the flap.

A4 Wings Glassed with Kayaks
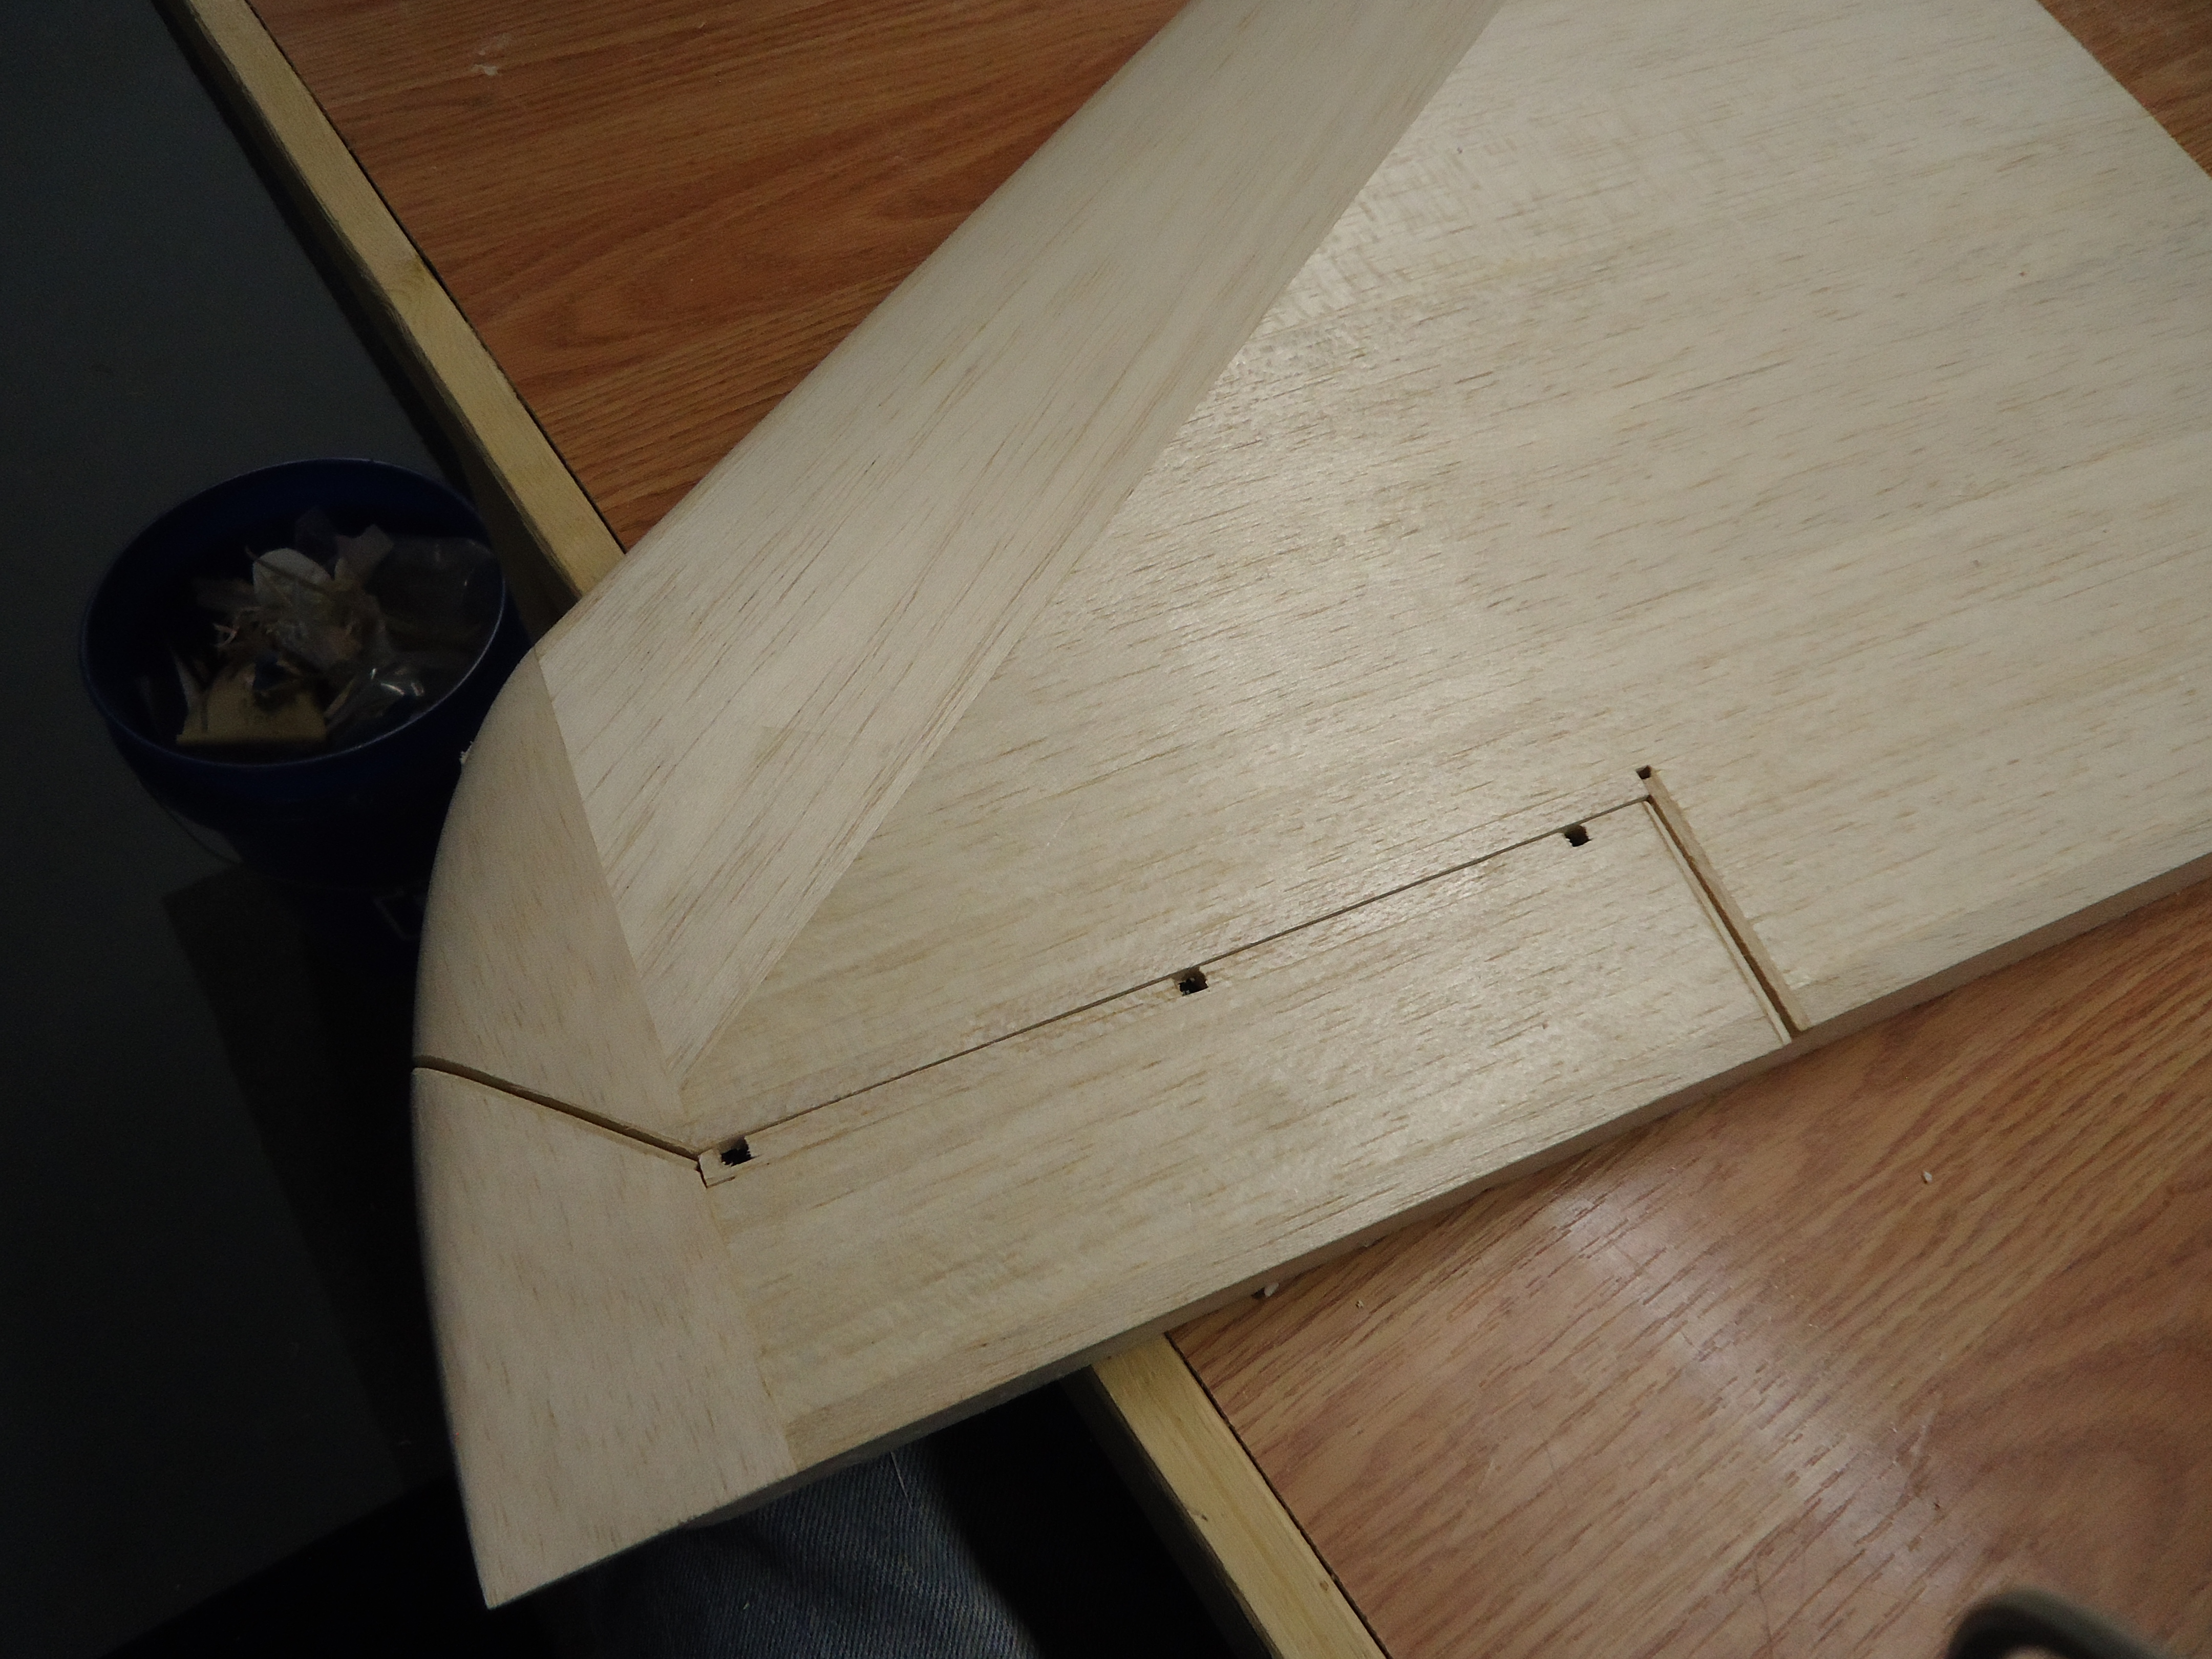
You will want to do this on the bottom of both wings. Don’t forget to also cut out the part of the kayak where the landing gear will live.


A4 Wings and Fuselage
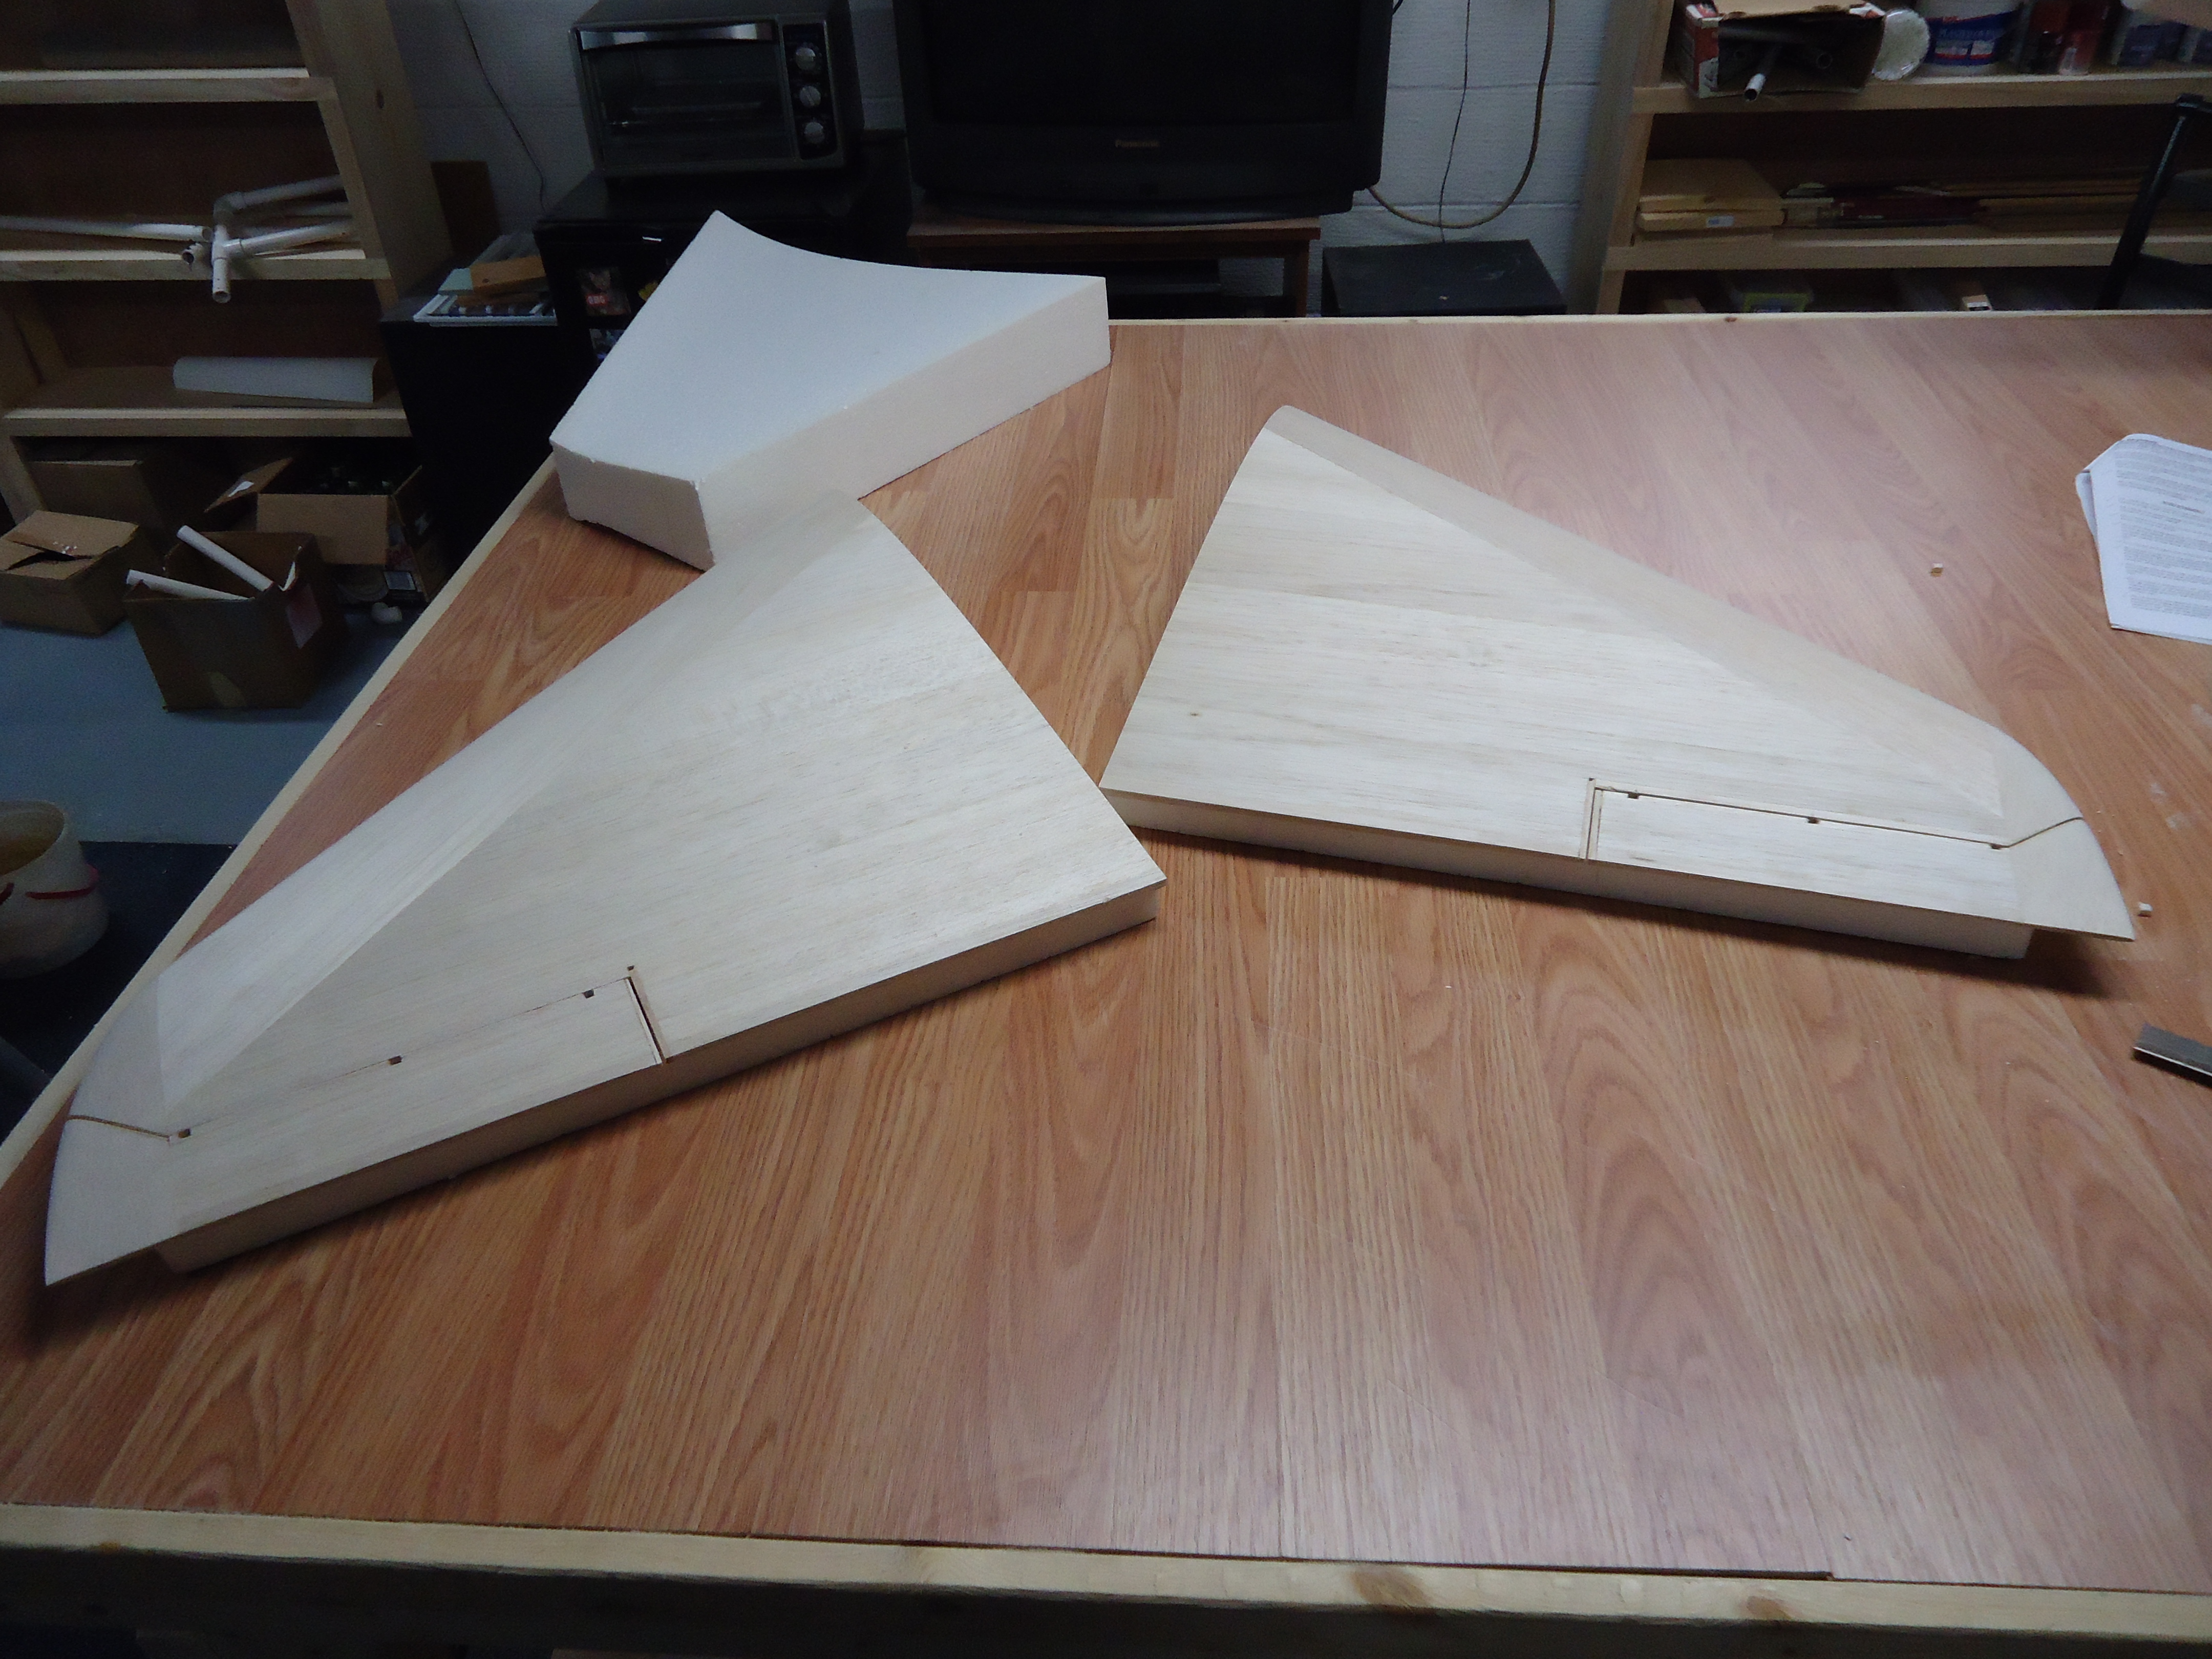
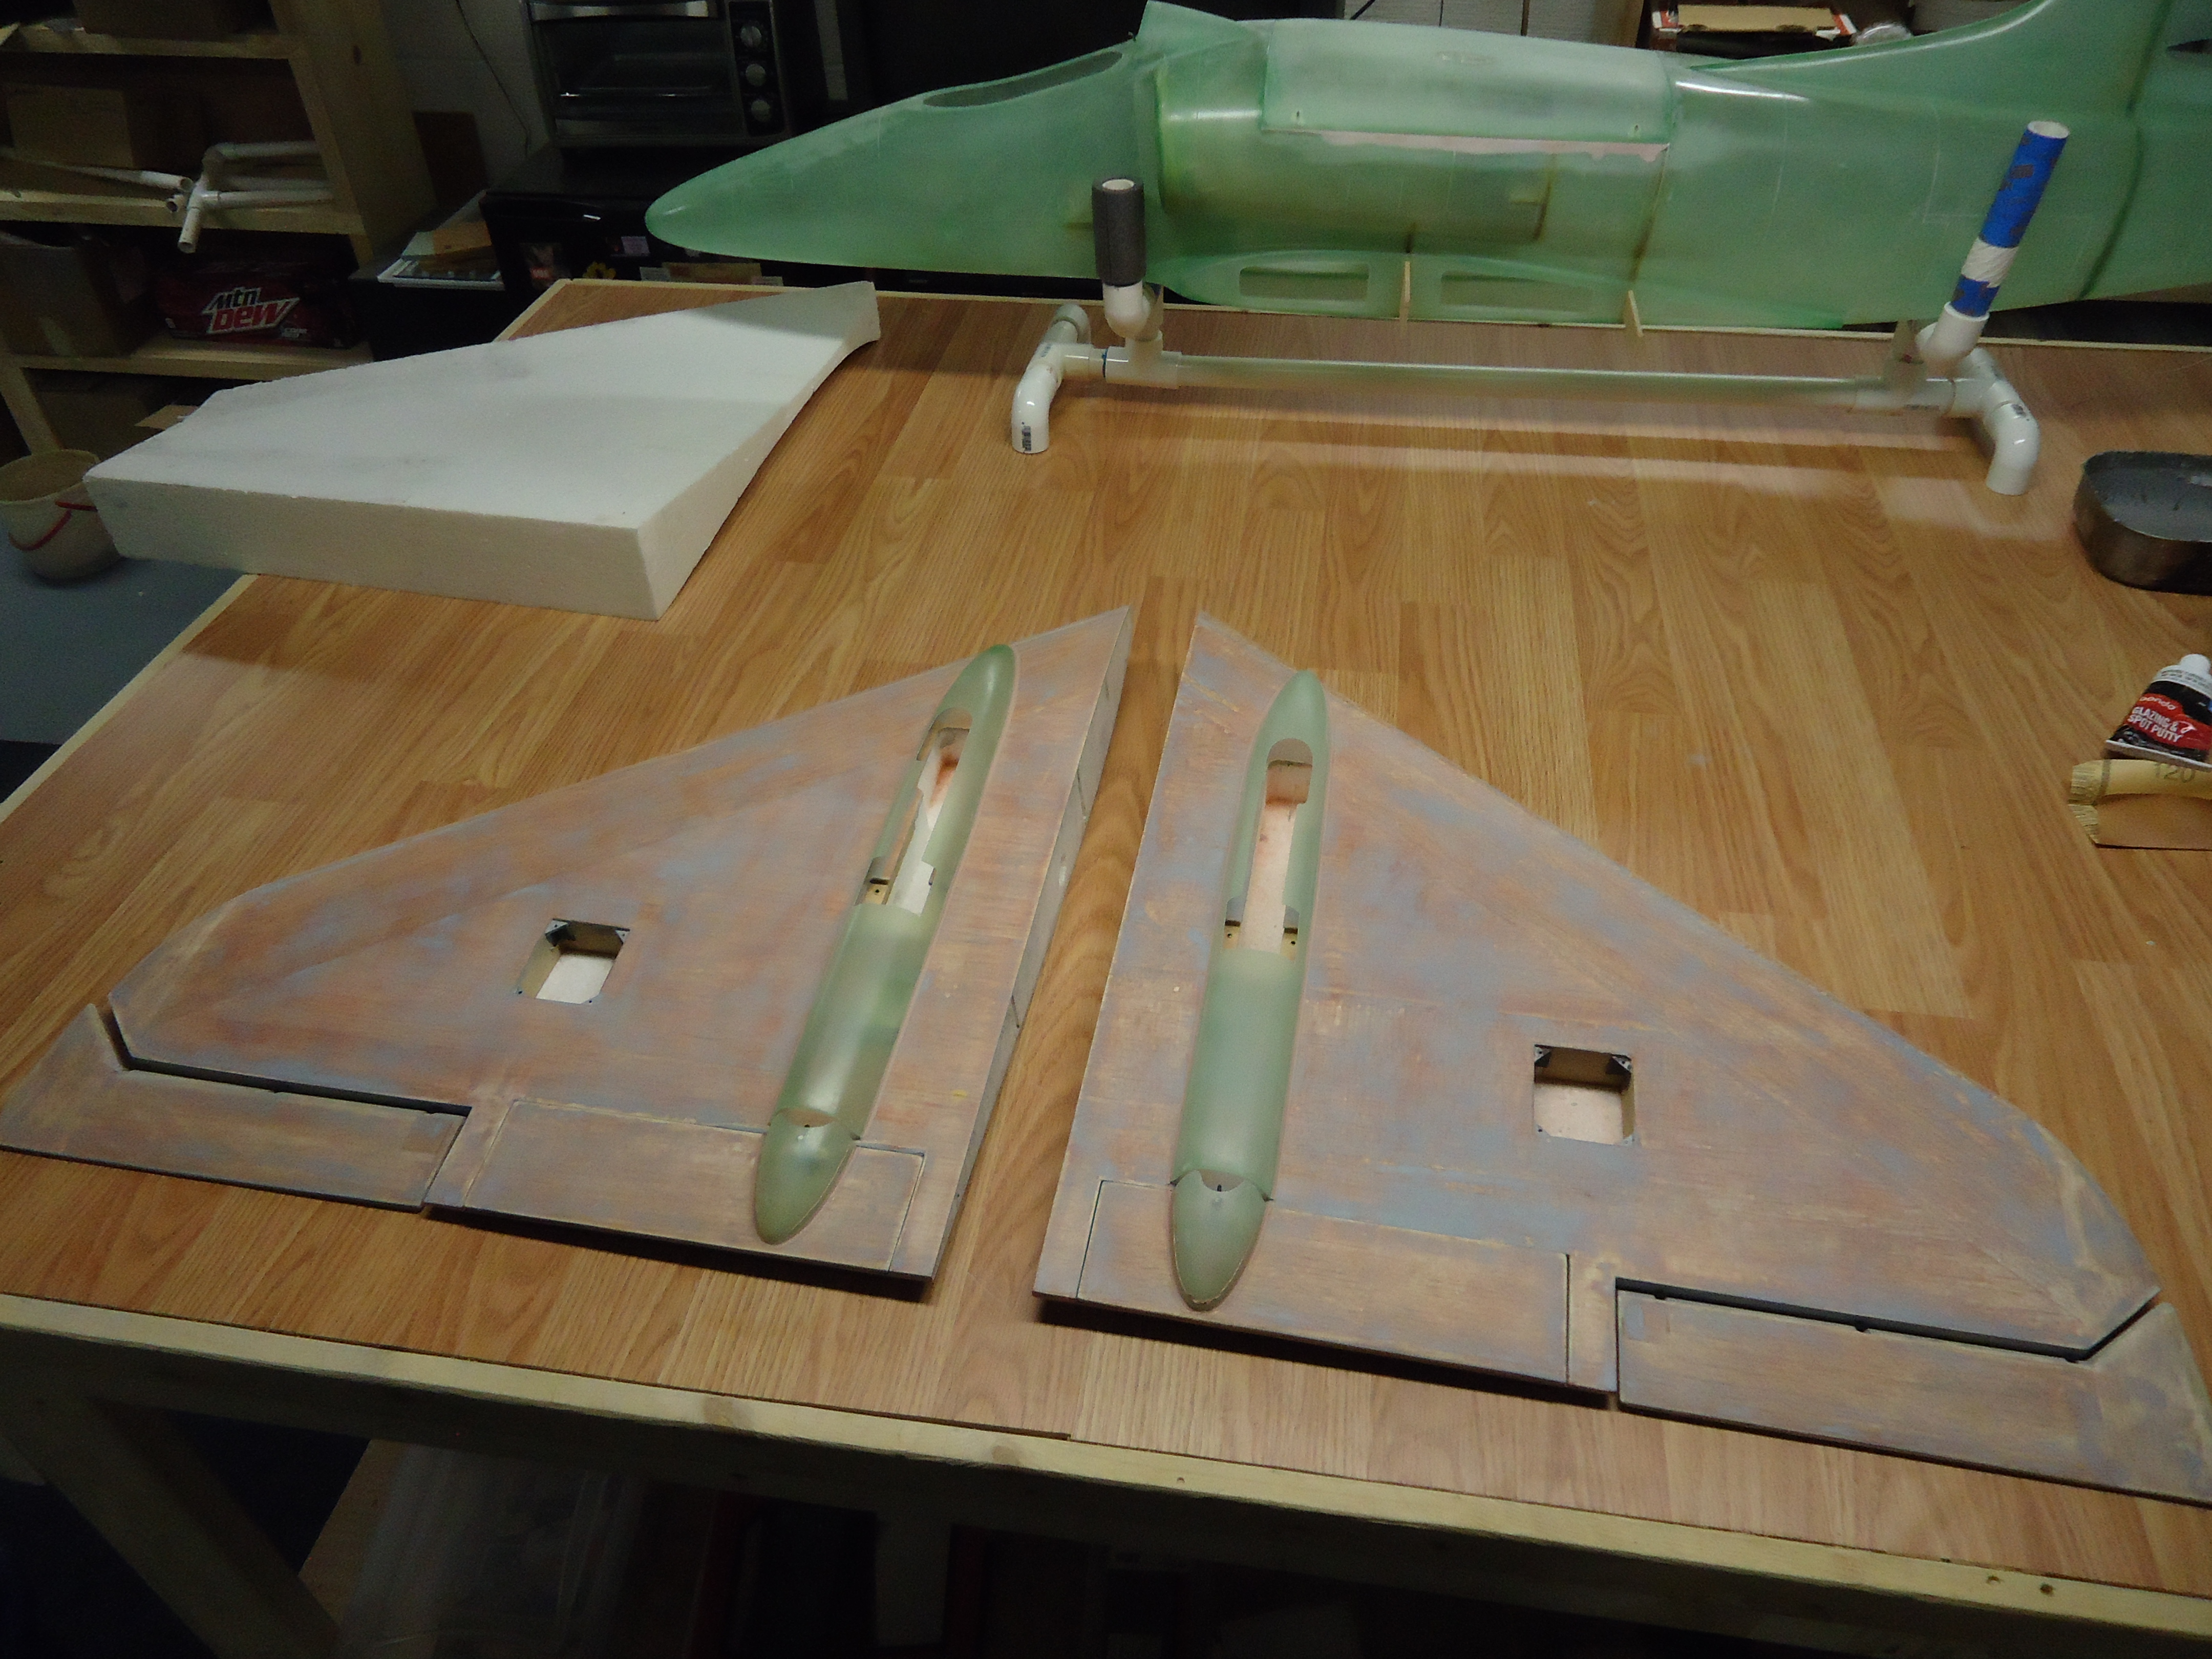
Yeah! Matching wings with their kayaks firmly affixed.


A4 Weight With Glass
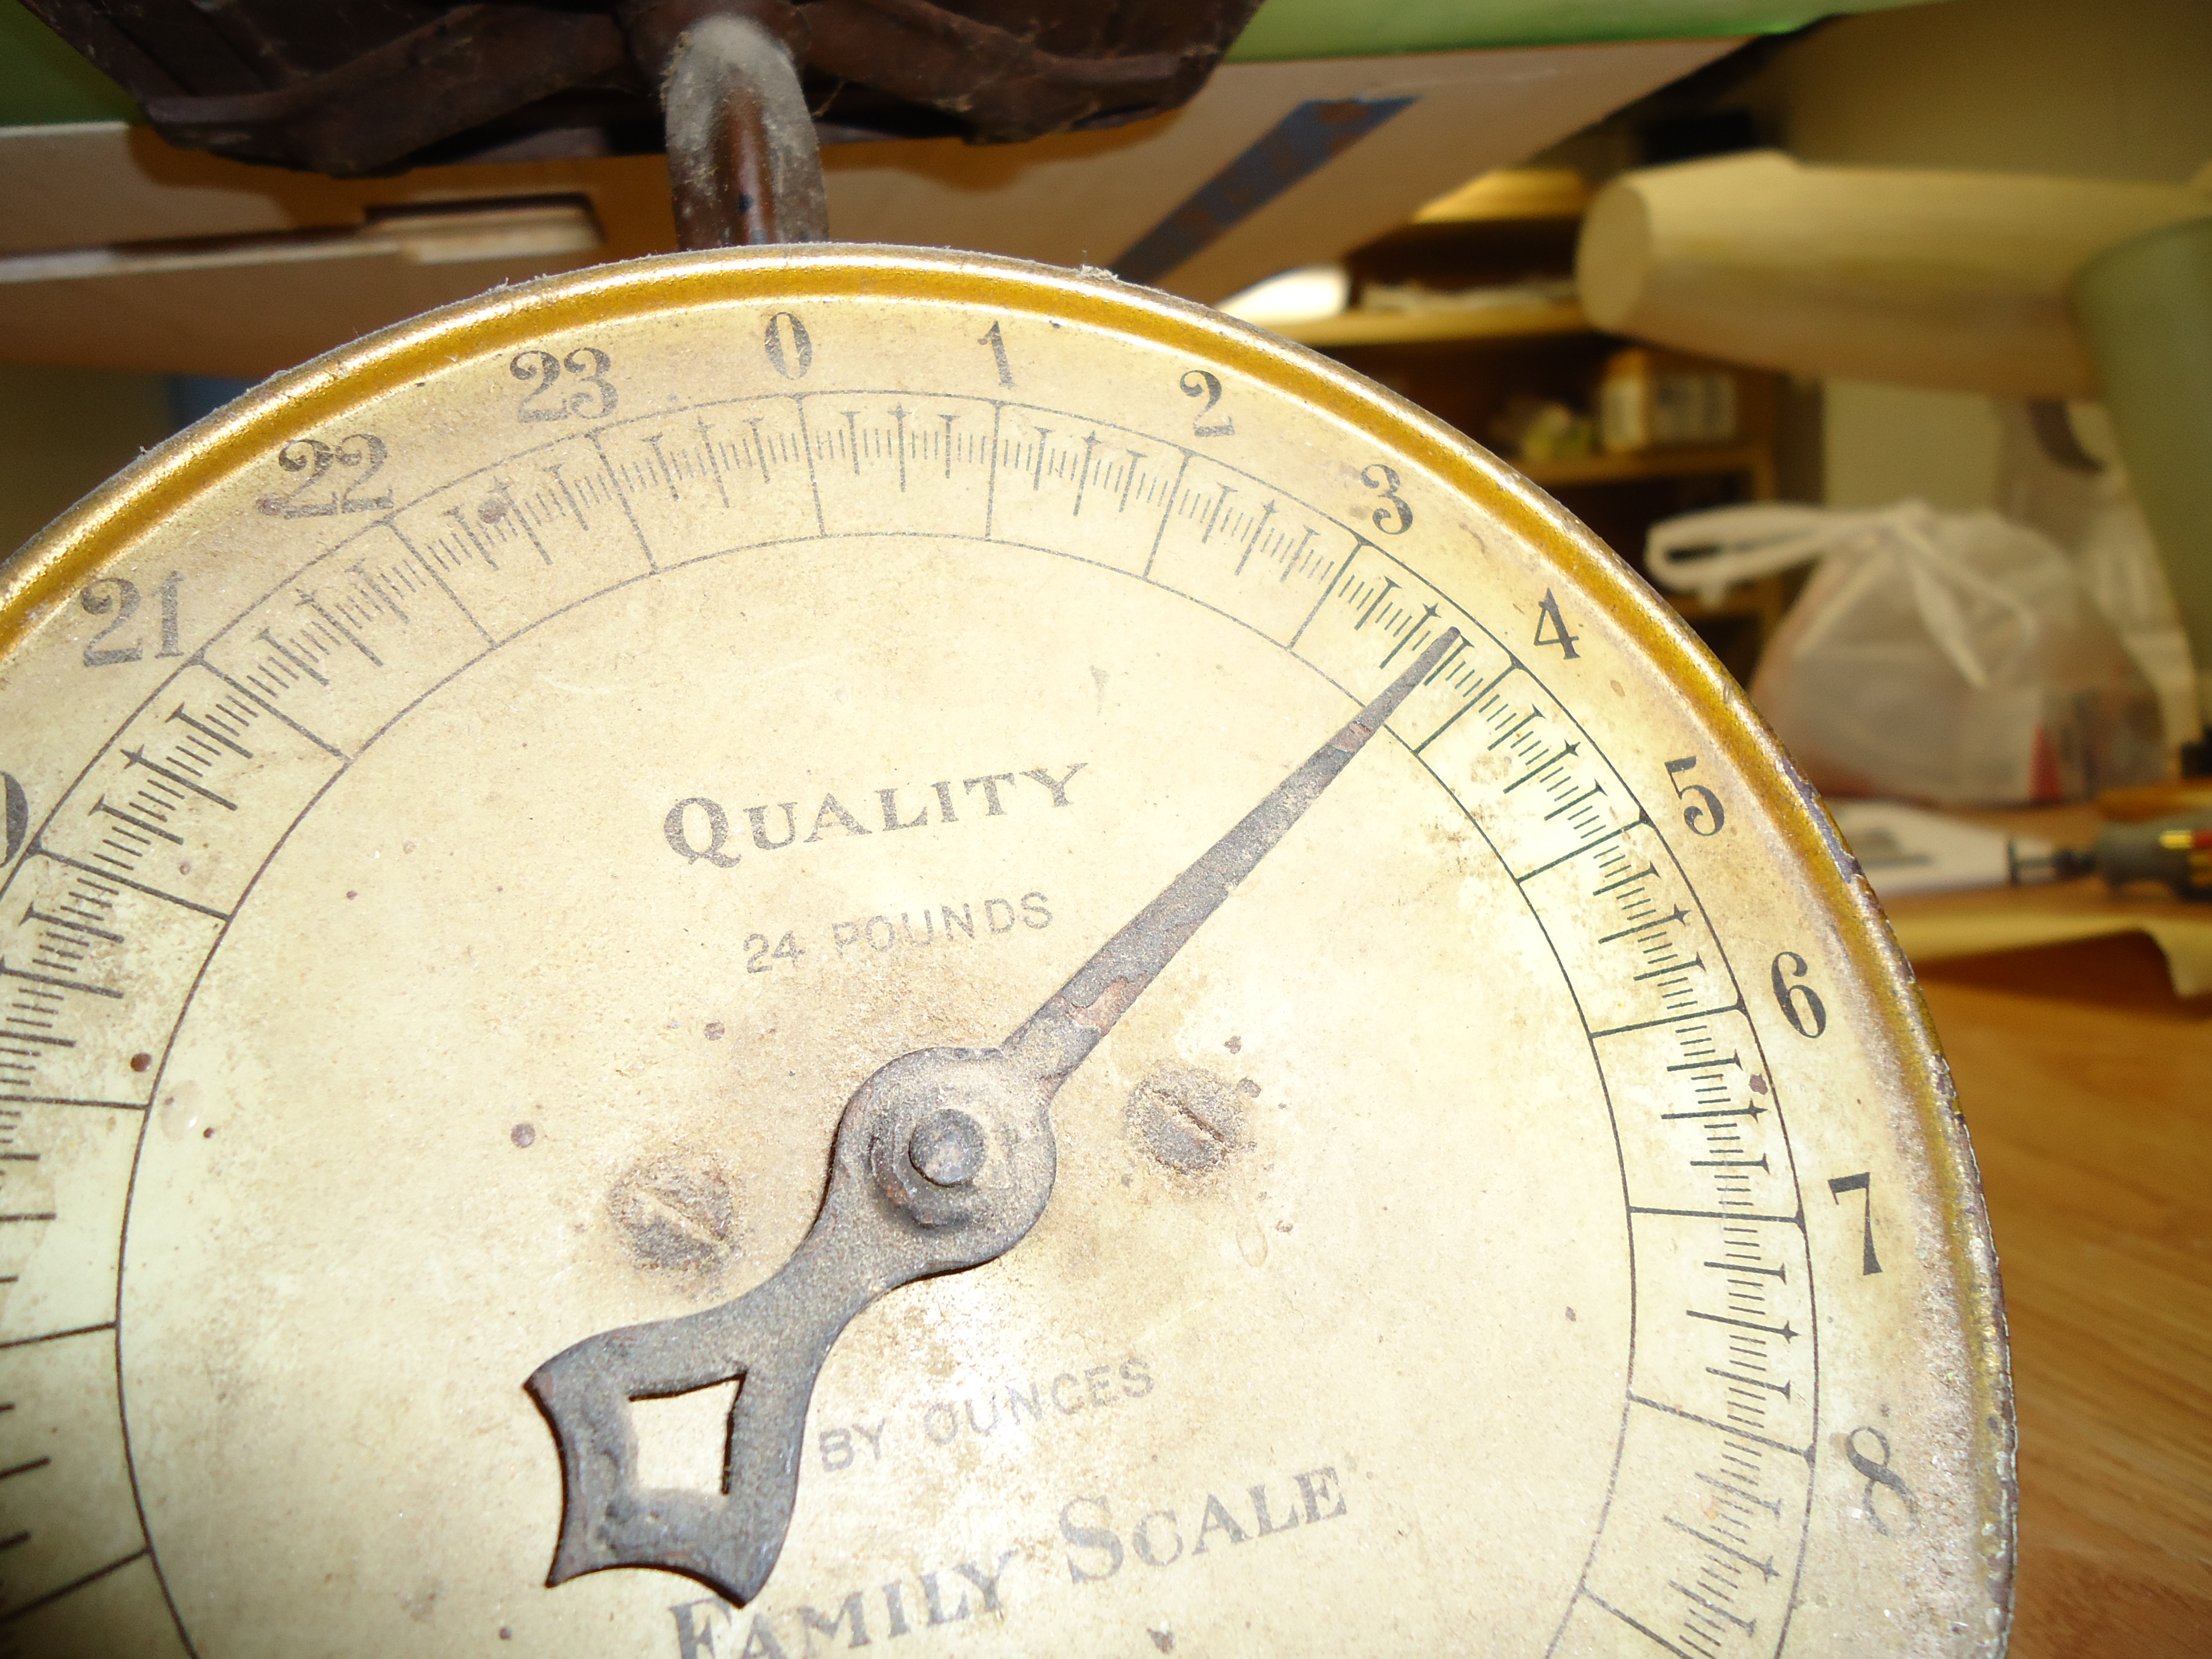
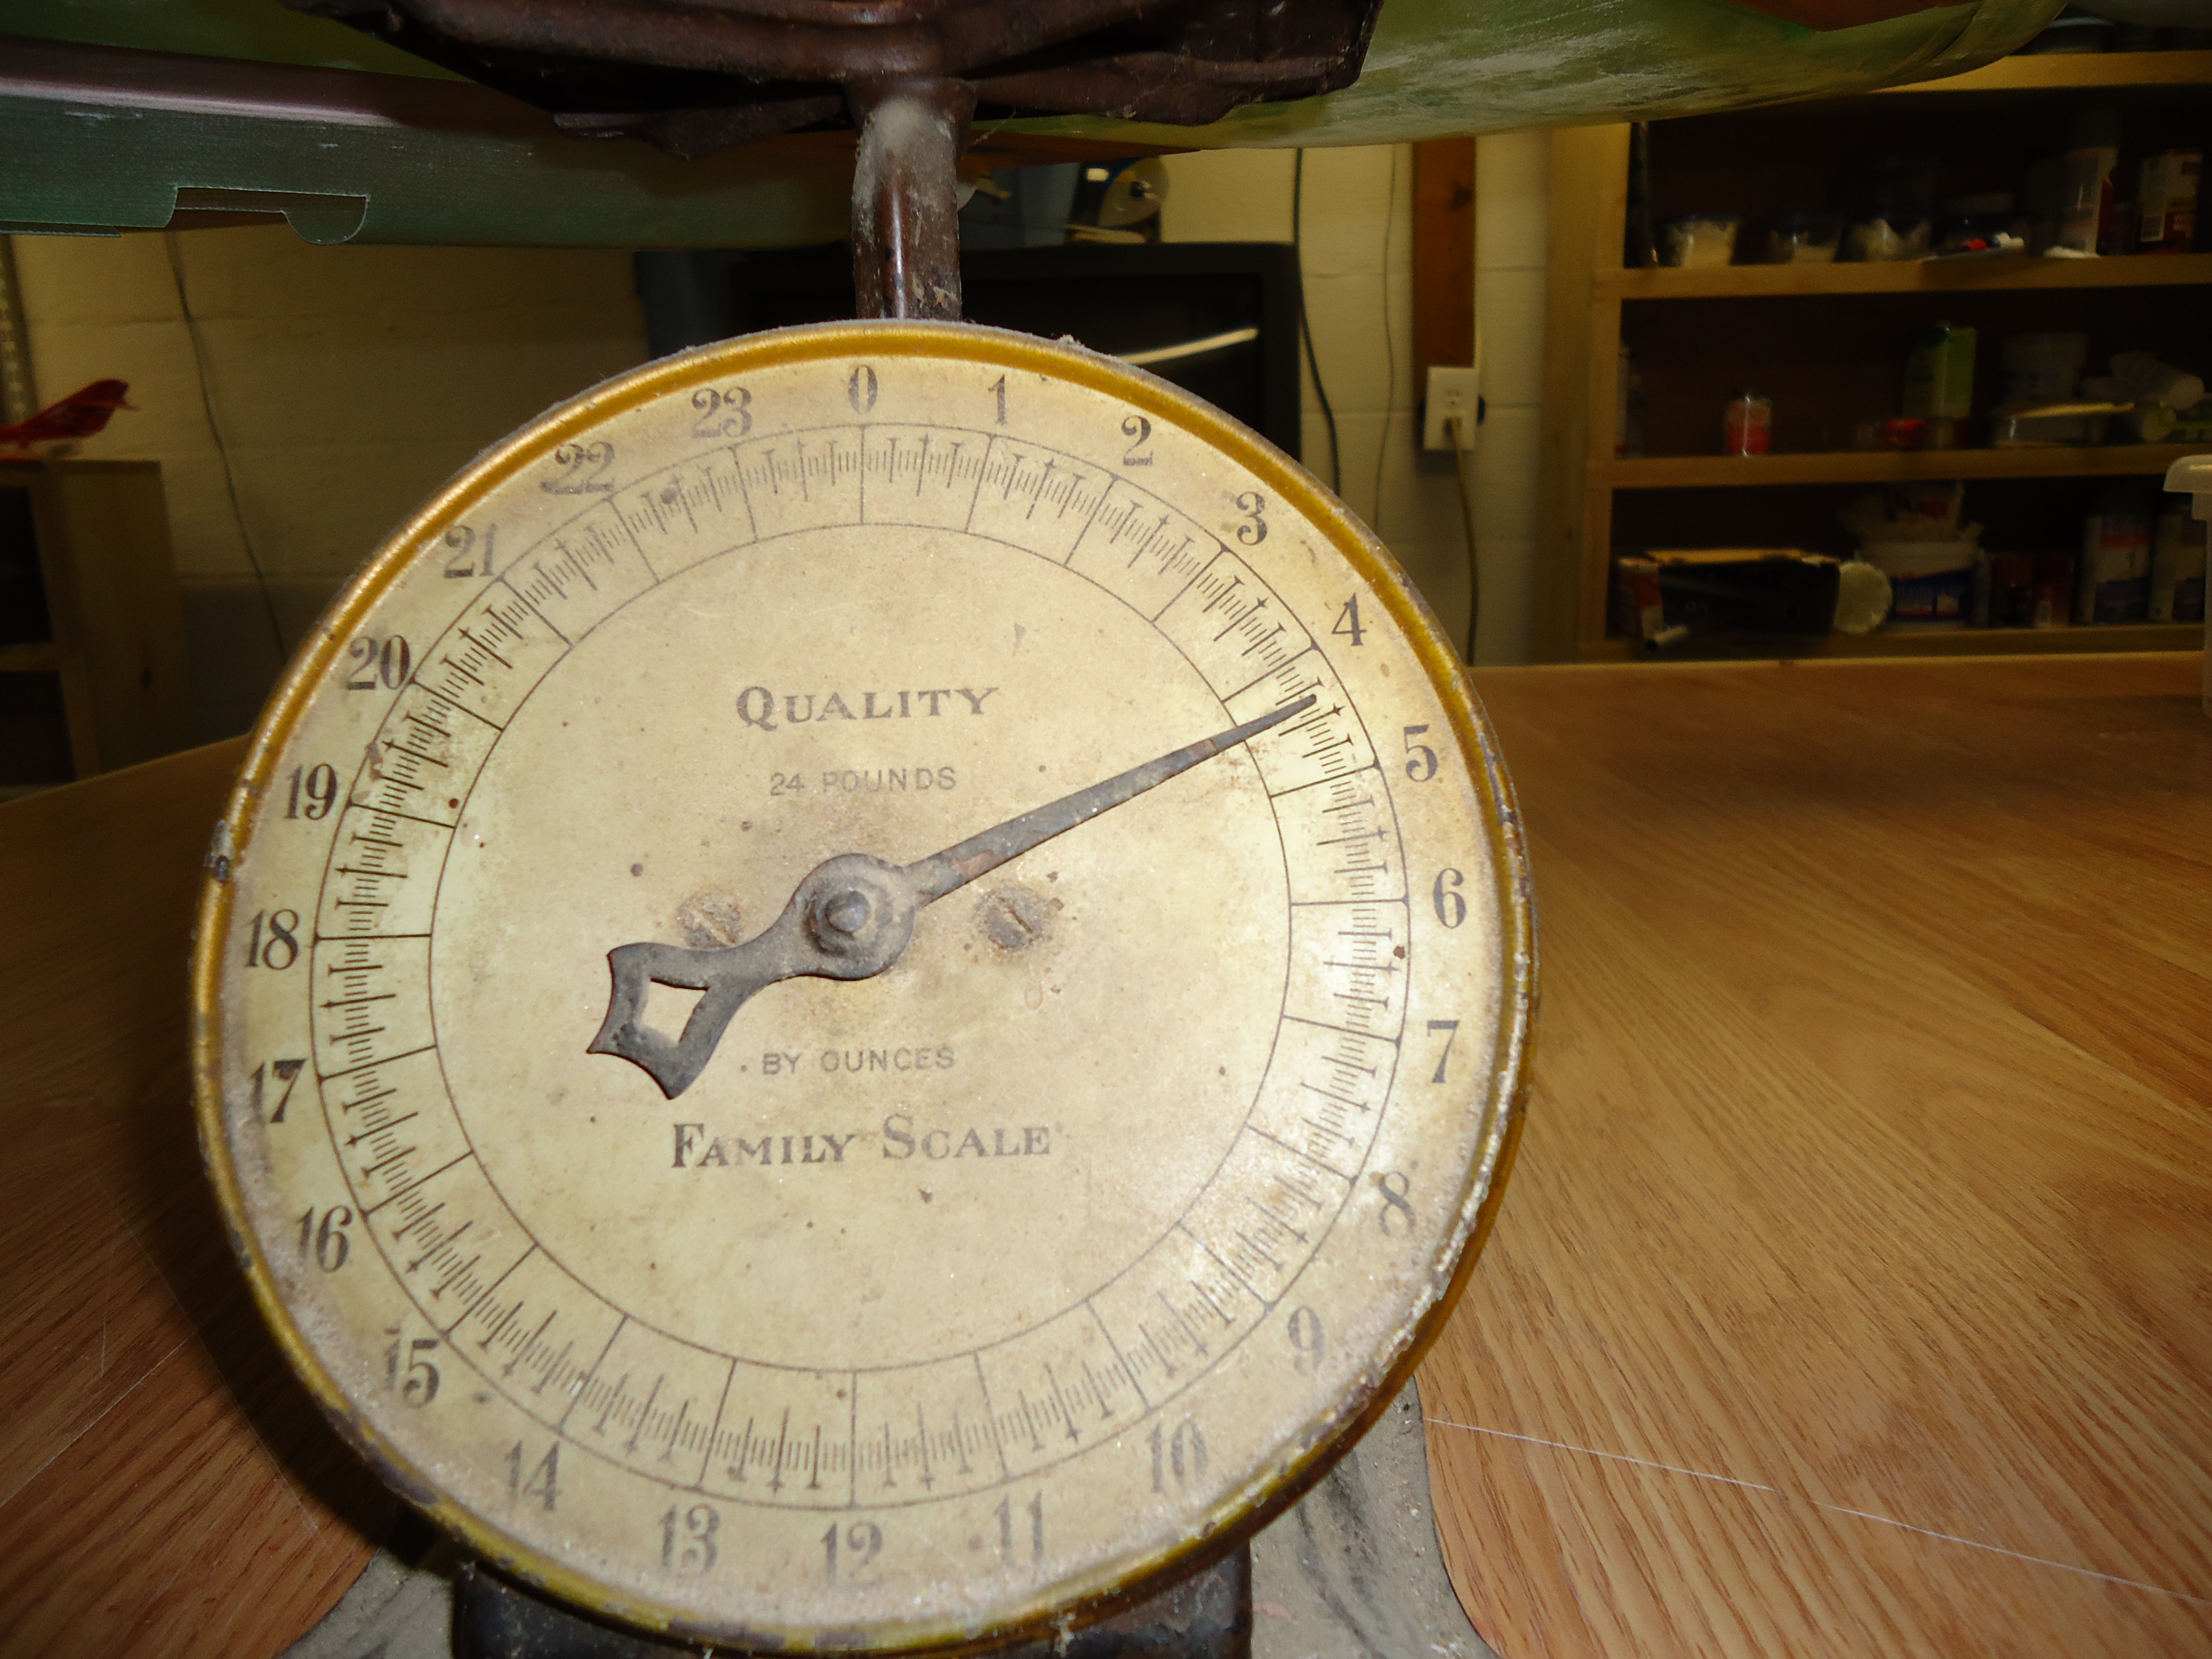
It’s weigh-in time again…

Not bad! Considering we’ve added the fan, the fiberglass, the epoxy, the filler, the primer, removed the primer, and the kayaks we’re still looking good.

In our next post we will take a look at the process of gluing things in place. Different things. Not the things that we’ve already glued together.

See you then!


Posted in A-4 Skyhawk, EDF, Jets, RC Planes | Tagged , , , , | Leave a comment

Please Help These Neglected Cats

(This post requires some mood music. Please imagine Sarah McLachlan singing “Angel”. Thank you)

I apologize ahead of time for the horrible neglect you are about to witness. However, in order to help these poor, unloved, abused and neglected cats I feel that their story has to be told.

Embroidery FlossIt all became clear after I finally found the skein of embroidery floss that had disappeared. The one on the right should look like the skein on the left. Why doesn’t it? Because the poor, neglected cats who live in my house have to find things to use as toys. Scraps of lace or fabric from the sewing room… the polishing wheel for Jay’s Dremel… a pony tail holder… all of these are turned into toys by cats who have nothing else with which to play…


Cats' Toy BoxLook! How can they be expected to be entertained with this miserly little collection of toys? It’s inhumane! *sobs*


Chester's Box“Please, sir, can I have a bed?” Chester seems to be asking. This neglected little cat must use an old cardboard box to sleep in, just like a homeless person on the street…


Chester's FutonShe tried the futon, but it’s a bit lumpy and not anywhere near a heat register.


Bob's BedShe has tried Bob’s bed, which is near the register, but it was overcrowded with the pathetic ‘toys’ that she is expected to play with. Not to mention that this bed is much too low and open…


Cat Nap AreaThe quilt on the couch is passable, when it’s bowl-shaped, but even that has its limits…


Cats' Living RoomThus Chester is left with very few options…

The small empty box…

The crinkly paper on the rug…

The tall box with crinkly paper…

Or the rocking chair (which is currently occupied by Bob)…

How can a poor little defenseless creature be expected to thrive in such an environment?!

But that’s not the worst of it…

Bird Watching AreaThere is only one fleece blanket on the coffee table for these pitiful little cats to lay while watching the bird feeder outside…


Cats' DishesThe water fountain sometimes runs out of water and goes a full minute before it’s refilled by the humans…

And what a poor attempt at making it look like they are well fed!

Can nobody help these defenseless kitties? Is there nobody who is willing to stand up and care for them?


Cat FoodIs there not one brave soul who can feed them canned food more than twice a day? Or who would willingly fill ALL of the cupboards with canned food instead of just one measly little shelf??

*Wails* Oh the humanity!!!


Poor Bobs!Look at this little face. Won’t you help him? Can you dig down deep in your heart and find the courage to stop the cycle of abuse? As you’ve just seen, these cats live in a house where they are expected to play with regular toys (not the polishing wheel for the Dremel!), sleep in boxes, and only eat canned food twice a day. Please help these kitties to finally get the life they feel they deserve.

Thank you.

Posted in Cats | Tagged | Leave a comment

Dresses for Missions

A few months ago I told Jay that if I decide to volunteer for anything else that he needs to stop me. I have managed to get involved in enough things that my amount of ‘free’ time has become limited. Then our church put out the yearly service groups sign-up booklet. *sigh* I already belong to the choir (music ministry), the casserole club (it supplies frozen homemade casseroles to a halfway house that we have in our diocese), and currently I am involved in the Adult Education program so that I can be baptized and convert to Catholicism. That’s just the church-related stuff that I’ve managed to sign up for.

So what happened when I looked at the services booklet this year? I saw that they had added a new ministry – Dresses for Missions. This caught my attention. I’ve always been a girly-girl and have some sewing skills. It said that they would create simple dresses for girls ages infancy through teenage years in developing countries. There was a little announcement done for it at the end of mass one day (which I didn’t get to hear since I get kicked out before communion). Right now they are looking to make these dresses and send them to Haiti. There are still a LOT of people who have nothing after the earthquake devastated their country a few years ago. Can you imagine that? Many of the little girls are more vulnerable to abuses because they don’t have a lot of clothing available to them, so it is our hope that by providing them with some clothing that it will help. At the very least, I’m hoping that it might bring a smile to the face of a little girl who doesn’t have a whole lot to smile about.

I went online and did some research on the pillowcase dress that they had mentioned during the presentation. I discovered that the pattern I was told about is used for a program called Little Dresses for Africa. The mission of this group is essentially the same as the group that was getting started in my church. After reading some of the testimonials and seeing pictures of the little girls in their new dresses I knew that I had to be part of this. My family didn’t have a lot when I was growing up so my mom would make a lot of my dresses and skirts. I still remember the thrill of seeing a new dress that my mom had made for me, decked out in lace and ruffles. I wanted to be able to give that same thrill to some other little girl.

Dresses for Missions #1This was my first attempt. I was disappointed that it took me 2.5 hours to make this. I always set my expectations of my abilities way too high. I figured that it should only take me an hour and a half at most to make a dress.

I used regular cotton material for this one. They need all sizes and pillow cases pretty much make only the smaller sizes. I comb through the red tag fabrics at JoAnn’s and Wal-Mart. I bought spools of lace, ribbon, and various trims. I am also going through a lot of bias tape.


Dresses for Missions #2Here is the second dress that I made. This one took a little longer because I had to make the ruffle and sew it to the dress (but so far this one is my favorite).

When I showed my mother-in-law the lace and ribbon that I had purchased I think she imagined that I was frilling these dresses up to the nines. She was concerned because these are supposed to be somewhat plain in order to make them quicker to put together. I told her I was just adding a little here and there. Besides, there was no way that I could send a ‘plain’ dress to a little girl! Even Jay agreed that any dress I made would have to have at least a little bit of lace on it.

Dresses for Missions #3This one was actually made out of a pillow case that my mother-in-law had given to me. Isn’t it cute? There’s a matching pillow case so I will be using that, but this time I think that I’m going to trim it in purple.

I really enjoy sewing these. They aren’t difficult so I don’t get frustrated. It gives me a chance to sit at my sewing machine and get more time in on that. Plus, I get to look at it and figure out what trimming I want to do. I just hope that the little girls enjoy them.


Dresses for Missions #4This is my latest, and is from another pillowcase. I’m not a pink person, and in fact try to avoid the color at all costs when it comes to my own personal stuff, but there’s just something about pink on a little girl. And I love the lace around the hem.

I haven’t been cross stitching a lot lately because during my free evenings I spend time in my sewing room. The group wants to have as many as possibly by March 18th so that they can ship them to Haiti for Easter. I have a large stack of material that I hope to use up by then. I would love it if I was having to search for coupons to save even more at Hobby Lobby or JoAnn’s when I go to buy more material for dresses.


Dresses for Missions 1-4  2-23-14

Posted in Dresses for Missions, Faith, Sewing | Tagged , , | Leave a comment

Winter Cross Project 2-1-14

I am still working a lot of extra hours so my only stitching time is at night. I haven’t even done much stitching on the weekends because I’ve been fighting sinus issues. You can’t really sit with your head bowed down over stitching when you already feel like you need a little tap installed in your head so that you can open it up to relieve the pressure. *sigh*

Winter Cross 1-22-14Here is the cross on January 22nd. This represents the left arm of the cross. I had just started to work on the words that make up the background of this piece.


Winter Cross 2-1-14And here we are as of February 1st. Not a whole lot done. This is as far up as I’m doing the words for now because I want to finish the top of the cross on this side before continuing with the words. In the meantime I am going to do as much backstitching on this arm as I can. Perhaps the next time you see it there won’t be as much done, but it will look sharper with all of the outlining done. We’ll see!

Posted in cross stitch, Faith | Tagged , | Leave a comment

Finished Dresser & House Projects

Dresser 11-28-13This dresser was quite the challenge for me! It took me from August until November to strip all layers of paint and varnish off, sand it down, and restain it. The biggest issue that I had with it was I wanted it to be perfect. Every step of the way I was afraid that I would do something and make it less than beautiful. I knew the potential that this dresser had, but I was afraid that I couldn’t bring it out.

This poor dresser has been sitting since November, waiting for the hardware to finish it up. Finally, last Saturday, I spent two hours searching all over the internet for the ‘perfect’ hardware. It shouldn’t be difficult to find, should it? Now, to be fair, I was fighting a lot of sinus issues while doing this so I wasn’t exactly feeling my best. Here are the issues that I ran into while doing this:

1) I didn’t want to spend an arm and a leg on the hardware because I was going to need six handles and three key hole covers.

2) I wanted the hardware to look like it was placed on there right after the dresser was originally built.

3) I have all of that beautiful carving on the front and I didn’t want to pull the attention away from it due to the hardware.

4) I wanted the key hole covers and handles to match so that it looked like they actually were a set.

5) I just wanted to find something that I would be happy with and wouldn’t regret picking.

I’ll let you judge. Here are the final results…

Refinished Dresser 2-1-14

What do you think? Can you tell that the hardware was a recent purchase? Does the hardware overshadow the carving?

Completed Dresser

I have to admit that I am happy with the results. I think that I have done this dresser justice and that it’s a piece I’m proud to have in my home. This dresser used to belong to my grandma, but I’m not sure what the story was behind it. I don’t know if it was in the family for a long time or if it was a piece that she picked up along the way just because she liked it. My grandma and I weren’t horribly close, though she did make it to every recital and chorus concert that I ever had. I was also the only granddaughter who was named after her. The other day, though, I found myself wishing that she could see this dresser. It sounds silly, but I would like her to see that I’ve taken something she owned and made it into a beautiful piece of furniture. I think that she would be really happy with it, too.


In other house news, Jay and I finally replaced our basement windows.Jay's Outside Entrance

You can somewhat see what they used to look like in this picture. They were a single pane window that let all kinds of wind through them. Two of them had plastic placed over them to help cut the wind, but it really wasn’t working very well. I also didn’t care for them because if somebody had wanted to break into our house they would have been the perfect way to do it. One pane of glass would be easy to break and the windows are large enough that a person could easily crawl through them.

After we installed the furnace we knew that the next step would be replacing the windows. We called up the guy who tore our bathroom apart for us because he does the glass block windows. He had measured them previously so when we called him up on a Friday he said that he would be over on Monday to install them. Wow!

New Basement Window 2-1-14They turned out really nice! We had him put vents in them so that we can open them in the summer, if we want, and they fit into the openings nicely.

Also, you could tell the difference as soon as you walked down the stairs. In my area of the basement it used to be VERY cold and drafty, but this improved it drastically.


Dryer Basement Window 2-1-14Even the window that has the dryer vent in it turned out really nice!

Jay and I calculated how much we’ve spent on home improvements this year and it’s a bit disturbing. Yet, I think that you can really tell the difference.

The driveway is wonderful in the winter and makes shoveling so much easier! Except… when you break the shovel. Yes, I broke another shovel. I let my temper get the better of me and I used a little too much pressure to try to break apart a clump of icy snow. If you’re keeping track, this is the second shovel that I’ve broken. *sigh* I am no longer allowed to do any unsupervised shoveling.

Posted in My House, Remodeling | Tagged , | Leave a comment

Winter Cross Project 1-22-14

Cross Stitching AreaI’ve been working a lot of extra hours at work, so when I’m home at night this is where I have been parking my butt.

Before I get into the cross stitch, have I told you about my LED bulb?? I LOVE IT! It’s insanely bright and I definitely can’t hide when the drug deals are going down at the house across the road from me, but I love this bulb! It’s supposed to be equivalent to a 60W incandescent bulb, but it’s WAY brighter than that. And zero heat. I can sit under that light for six hours and the bulb will be cool to the touch. LED’s are definitely the way to go.

Anyway…….

Winter Cross 1-6-14This is what my project looked like on January 6th. You can see a poinsettia and a plum. Perhaps a little bit of greenery.


Winter Cross 1-22-14I told you that I had been spending a lot of time in my rocking chair!

This completes the entire left hand ‘arm’ of the cross. In order to give me more of a sense of accomplishment I have decided to fill in the background words. Then I will go back and backstitch as much of this portion that I can. Once I have that part done I will move my frame and begin stitching on the top part of the cross. Yeah!

Posted in cross stitch, Faith | Tagged , | Leave a comment

Yellow A4 Skyhawk Project – #3

A4 With Wings and TailHere we are… all winged up and nowhere to go! Of course, it might help if they were attached.

I apologize for not updating my blog sooner. I’ve been working overtime at work so by the time that I get home the last thing I want to do is look at another computer.


A4 Weight with wings tail and rudderIt’s impolite to ask a lady how much she weighs, but that rule does not apply to jets. The Skyhawk was a little uneasy knowing that his weight was going to be posted, but I assured him that I would let you guys know that this is just his STARTING weight… when everything is installed he’s going to carry a more commanding and intimidating figure.


A4 RibsPeeling back the top hatch we can see inside. Hmmm… nice ribs. I don’t see a missing one so there must not be a female version of this jet.

This jet was designed for a bigger fan than what Jay is going to install. You see, bigger isn’t always better. And sometimes you have to work with what you’ve got. Luckily we’re just talking about jet fans here…

A4 Glued RibsGluing in the ribs…

Do you think that this is how Jonah felt in the belly of the whale? This is kind of how cartoons make the inside of a whale look like. Despite the fact that you would be in the stomach you always see the ribs… silly cartoonists!


A4 Tam InletsNow that we’re done tickling the ribs for a bit, let’s take a look at the lungs. These are special lungs. They were built by Tam. I am not sure who Tam is, but I know that he makes a lot of RC plane accessories that are fairly pricey (but worth it, according to what I’ve heard). These lungs are special due to the fact that they are made to fit a smaller fan. Also, they have a nicer curve to them so that the air flows a lot more naturally. There’s nothing worse than a jet having to stop in the middle of a flight to take a shot on the inhaler because his lungs aren’t quite functioning as efficiently as they should.

A4 Inlets“I think that I’m getting the Black Lung, Pop.”

A4 Bondo'd Inlets


To finish off the installation of the lungs you want to make sure to fill in any gap/crack where it connects to the gills. Make sure that it’s nice and smoooooooth….


A4 Fan Ears


You need to do some dry fitting to make sure that your alterations are going to work. Since we are installing a smaller fan than what it was designed for (and thus the structural pieces that come with the kit) we have to make our own fan mounts.


A4 Fan MountsOooo…. carbon fiber fan housing…

A4 Glued Pretzel EarsIf you run out of balsa feel free to use gluten-free pretzels. They are sturdier and will last longer than the balsa. If you crash this jet you know that the one thing you will find in tact is the gluten free pretzel that is holding your fan in the belly of the Whale.


A4 Glued Fan MountsNow that our gluten free pretzels are glued in we can do some more dry fitting.


And accessorize your fan with some pretty C-clamps.

A4 Mounted Fan


Oooooo…. we get a good look at the jet anatomy here… the ribs, the pretzels in the belly, and the ends of the lungs… all from the view up the tail pipe….


Well, I’ve run out of pictures. I’ll bug Jay to download some more, so I’m not sure where we’re going next….. I love a good mystery!

Posted in A-4 Skyhawk, EDF, Jets, RC Planes | Tagged , , , , | Leave a comment

Winter Cross Project 1-6-14

Winter Cross 12-28-13Well, shut down is over and I’m back to work. That means I will keep this project in my cubicle during the week and won’t have as much progress done each week.

Despite the fact that I can’t get a lot of time in on this, I’m still REALLY enjoying it…


Winter Cross 1-6-14…. as you can tell.

I’m trying to decide if I want to work on the entire cross first and then go back and backstitch…. or do I backstitch as I go…. and when do I add in the words in the background?

Decisions, decisions, decisions!

Posted in cross stitch, Faith | Tagged , | Leave a comment

Yellow A4 Skyhawk Project – EDF – #2

A4 Watching FootballWelcome back!

In the previous post we watched as the whale tail took shape and was test fitted to the fuselage. We also worked on the rudder and began to shape it.

Now that the football game is over we can continue on to the next step.


A4 WingsThe wings. At first I was concerned because it looked like their mouths had been taped shut so that they couldn’t talk. That’s when I was reminded that wings don’t have mouths (even if it looks like it in this picture), and that we were taping the wingtips on while the glue dried.


A4 Uncarved WingtipsAh… Gotcha! Except… look at all of the carving that needs to be done! The edges of those blocks will end up being the same width as the trailing edges of the ailerons.


A4 Wingtip carvingOnce again you want to take your mourning dove-sized carving knife and remove a lot of the excess from the wing tips. Don’t forget to shape them as you carve.


A4 Carved WingtipOnce you have it shaped be sure to sand it smooth. You know that you’ve done a good job when you see the upturned edge of the smile. A beautifully-shaped wing tip is a happy wing tip!


A4 Ailerons RemovedNow that the wingtips are carved it’s time to actually detach the aileron from the wing. Being a silly girl I had to ask why the aileron wasn’t detached prior to this step. It’s much easier to match the shape of the wingtips all the way down if you do it while the ailerons are still attached. I think that somebody just doesn’t want a challenge!

Once you’ve cut the aileron off using the smile lines that are on the wing you want to line the gums with balsa to give it a nice clean edge. Again, tape the balsa to the gums while the glue is curing so that you don’t end up with an overbite.

A4 Wing Servo CutoutWhile the gums are curing you can begin work on the spots where  the servos will be sunk into the wings. This is a fun little hide-and-seek game that the manufacturer sets up for you. Here is how you play: The manufacturer creates nice little areas where they carve out the foam for you to install your electronics, etc. Then they cover it all up with balsa wood. It’s your job to find and uncover them. Good luck!

A4 Finished AileronNow that the gums are dry you can trim off the extra bits and dry fit the aileron into its new spot. You want to make sure that it fits together properly so that you don’t have any issues when you insert the hinges.


A4 Aileron HingesBegin by drilling your holes for the hinges into the wing. Make sure to leave room for them to move freely.


A4 Hinged AielronThen with a bit of magic you can install the aileron onto the other end of the hinges. Make sure to sink the knuckles of the hinges in enough that they aileron fits nicely to the wing. After all, you don’t want your A4 to look like a dork with a giant gap in its wing. You might as well put a flannel shirt on it with a piece of straw hanging out of the intake.


A4 Hinged WIngsTa-Da!!! You now have two wings with the ailerons hinged perfectly on them.

Now that we’ve finished that we must be done with the wings for now, right?

Nope.


A4 Servo CoversYou need to keep your servos from falling out of their sockets. There’s nothing worse than trying to fly a plane with your servos showing. The other planes whisper among themselves and surmise that your parents definitely did not raise you right! Daddy A-10’s are covering their baby A-10’s eyes so that they don’t see the promiscuity being flaunted in front of them.


Now that the servos are demurely covered we are done with the wings. Right?

*flips through instruction booklet* Umm… yep. There isn’t anything else written about the wings.

Jay 6-16-12

Jay: “Jets need flaps!”

Me: “But the instructions don’t have anything in them about building flaps!”

Jay: “Instructions?! We don’t need no stinkin’ instructions!”

A4 Flap Building 1After figuring out where you want your flap to go, use your straight edge to cut into the wing. Remember to only cut into the top layer of balsa and the foam underneath it. Should you cut too far then you will have to go find a Kleenex to dry your tears of frustration when you realize all of the extra work you’ve created for yourself. And grab a beer. You’ll probably want to drown your sorrows for a bit.

A4 Flap Building 2Don’t forget to cut the trailing edge so that you can cleanly remove the top layer of balsa. You should be able to peel this off like the rind off of an orange, except without the sticky residue.

Set the top layer of balsa aside for now.


A4 Flap Building 3You will need to clean the foam out of this cavity that you are creating. There are probably many ways of doing this, but if you don’t want to spend the next three days finding little pieces of foam stuck to you in various places then use your shop vac. Have it turned on while you use something with an edge to clean it out.


A4 Flap Building 4Make sure to also clean off the piece of balsa that you set aside earlier.


A4 Flap Building 5Use extra pieces of balsa that you have sitting around to line the sides of the cavity where the flap will rest when it’s not deployed.


A4 Flap Building 7On the piece of balsa that you cut off use your building skills to box it in and trim it to size. If you don’t have any building skills and have followed up to this point… refer to the bag of kindling in the previous post. You might want to use it now.

Oh, and don’t forget to add the reinforced spot for your control horn.


A4 Flap Building 10You can dry fit it and tape it into its place. We are done working with the flaps for now (at least, I assume we are since I don’t have any more pictures for them…)


A4 With Wings and Tail

Your A4 is beginning to take shape! With smiling and happy wings, a whale tail, and kindling-rudder you can almost hear the wind whistling over the surfaces as it does an inverted low pass….

Hmm… turns out the sound you hear is the whistling of wind through the empty fuselage. Not to fear! We will soon remedy that! If you’ve always wanted to be a proctologist, now is your chance. In our next post we will be taking it up the pipe….


Posted in A-4 Skyhawk, EDF, Jets, RC Planes | Tagged , , , , | Leave a comment

Winter Cross Project – 12-31-13

Winter Cross 12-24-13We have been on shut down at work, so I’ve had a lot of time at home to just relax and stitch. I could get used to not working!!

I have really been enjoying this pattern. When I first looked at the pattern I saw a LOT of color changes in small areas and was unsure of how I would like that. Typically I prefer to work in big sections so that I don’t have to constantly change out colors.

Winter Cross 12-28-13This picture isn’t the best, but you can see what I mean about blocks of color. Oh, and Chester was helping me with the picture (her paw is at the top). It didn’t really look like much at first and I was still hesitant about how much I will end up enjoying this piece.


Winter Cross 12-28-13As you can see, I have been making a lot of progress in less than a week. This project will be worked on mostly when I’m on my lunch breaks during work so the small splotches of color will work out quite nicely. It will give me a sense of accomplishment after just a little bit of stitching time. Already in this picture you can see a plum (I think that’s what it is) and the end of a pine cone. Perhaps this project will progress a lot quicker than I had anticipated!


Cross Stitching AreaA big help at home, though, is the addition of a floor lamp in my stitching area. It was one of my Christmas gifts from Jay and I love it. I really like a lot of light on my stitching (especially since I prefer to do the tiny stuff) and this helps tremendously. We bought an LED bulb for it, too. I absolutely refuse to have any of those curly CFL bulbs in my house that the government is trying to force down our throats, and since I’m hoarding my stash of high wattage incandescent bulbs, I decided to try the LED. I used to work at a company that was a leading manufacturer of white LED forward lighting. This type of light is much easier on your eyes and doesn’t cause them to strain as much. It also is very energy efficient so you should be able to get more bang for your buck. This is a 60watt equivalent (daylight white) and it has a much better brightness than my 75watt bulbs that I usually prefer. The single LED bulb was pricey, but I think it will be worth it!

Posted in cross stitch, Faith | Tagged , | Leave a comment