
 Welcome back!
In the previous post we watched as the whale tail took shape and was test fitted to the fuselage. We also worked on the rudder and began to shape it.
Now that the football game is over we can continue on to the next step.
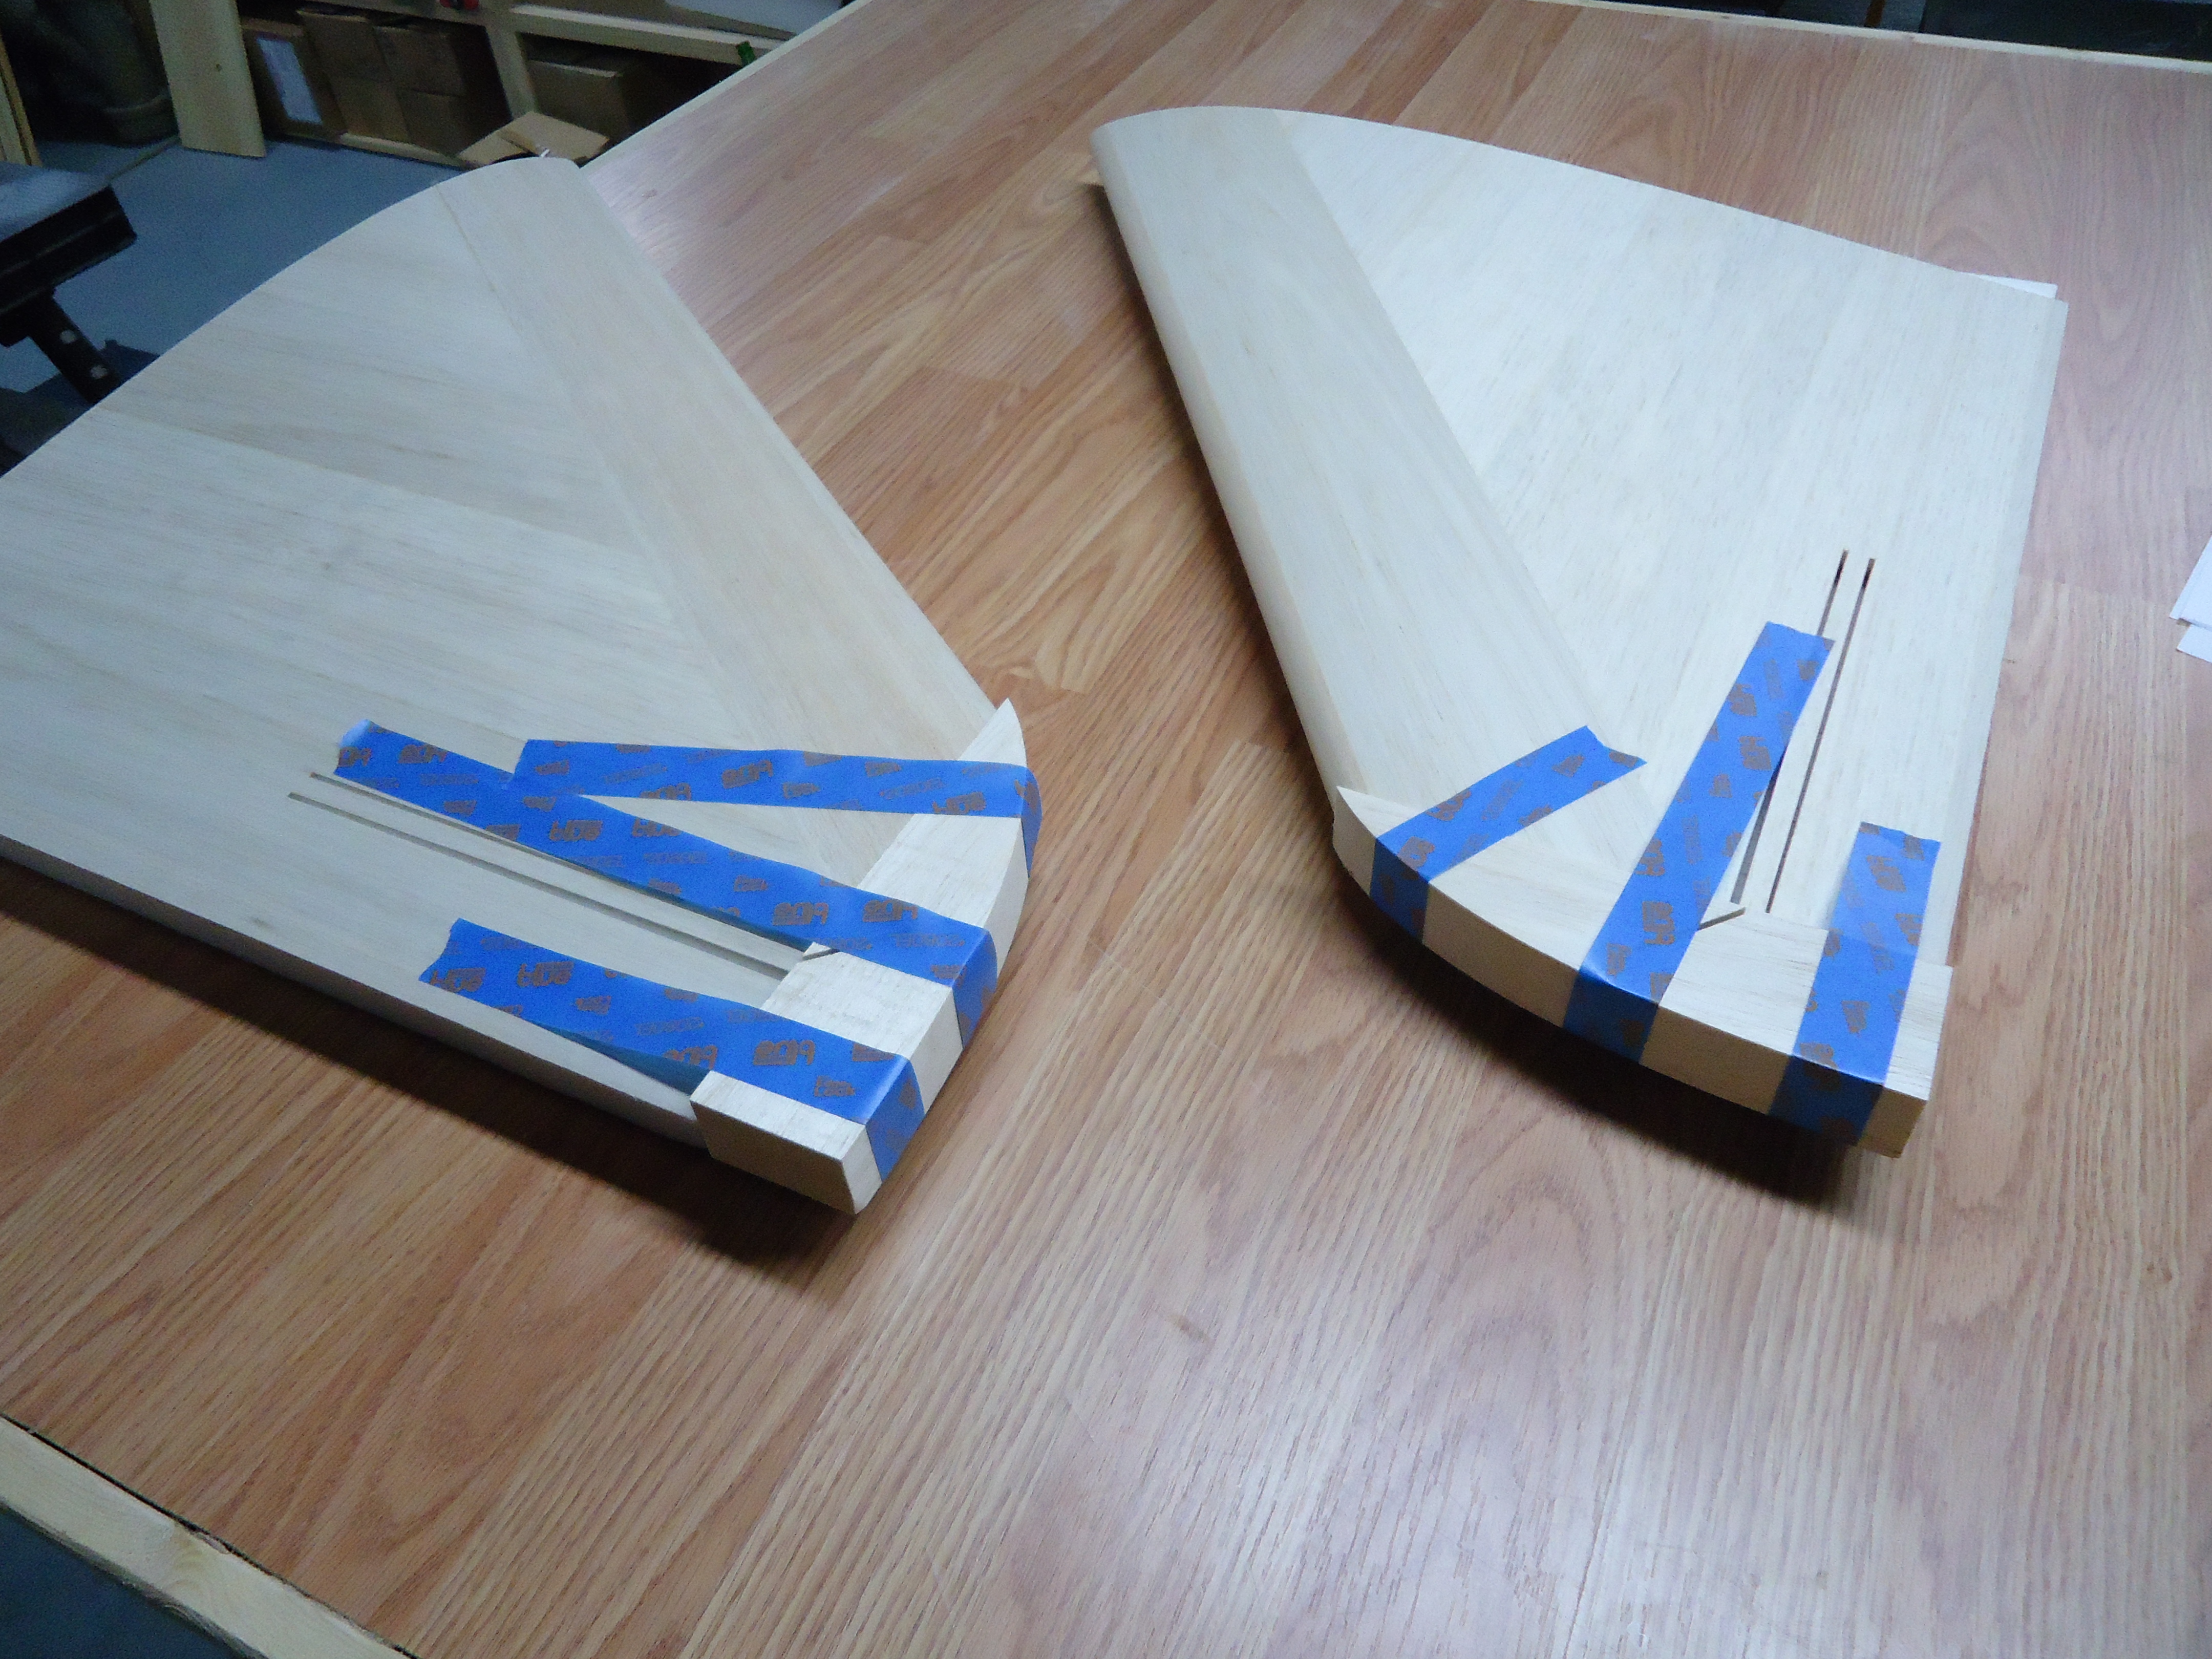 The wings. At first I was concerned because it looked like their mouths had been taped shut so that they couldn’t talk. That’s when I was reminded that wings don’t have mouths (even if it looks like it in this picture), and that we were taping the wingtips on while the glue dried.
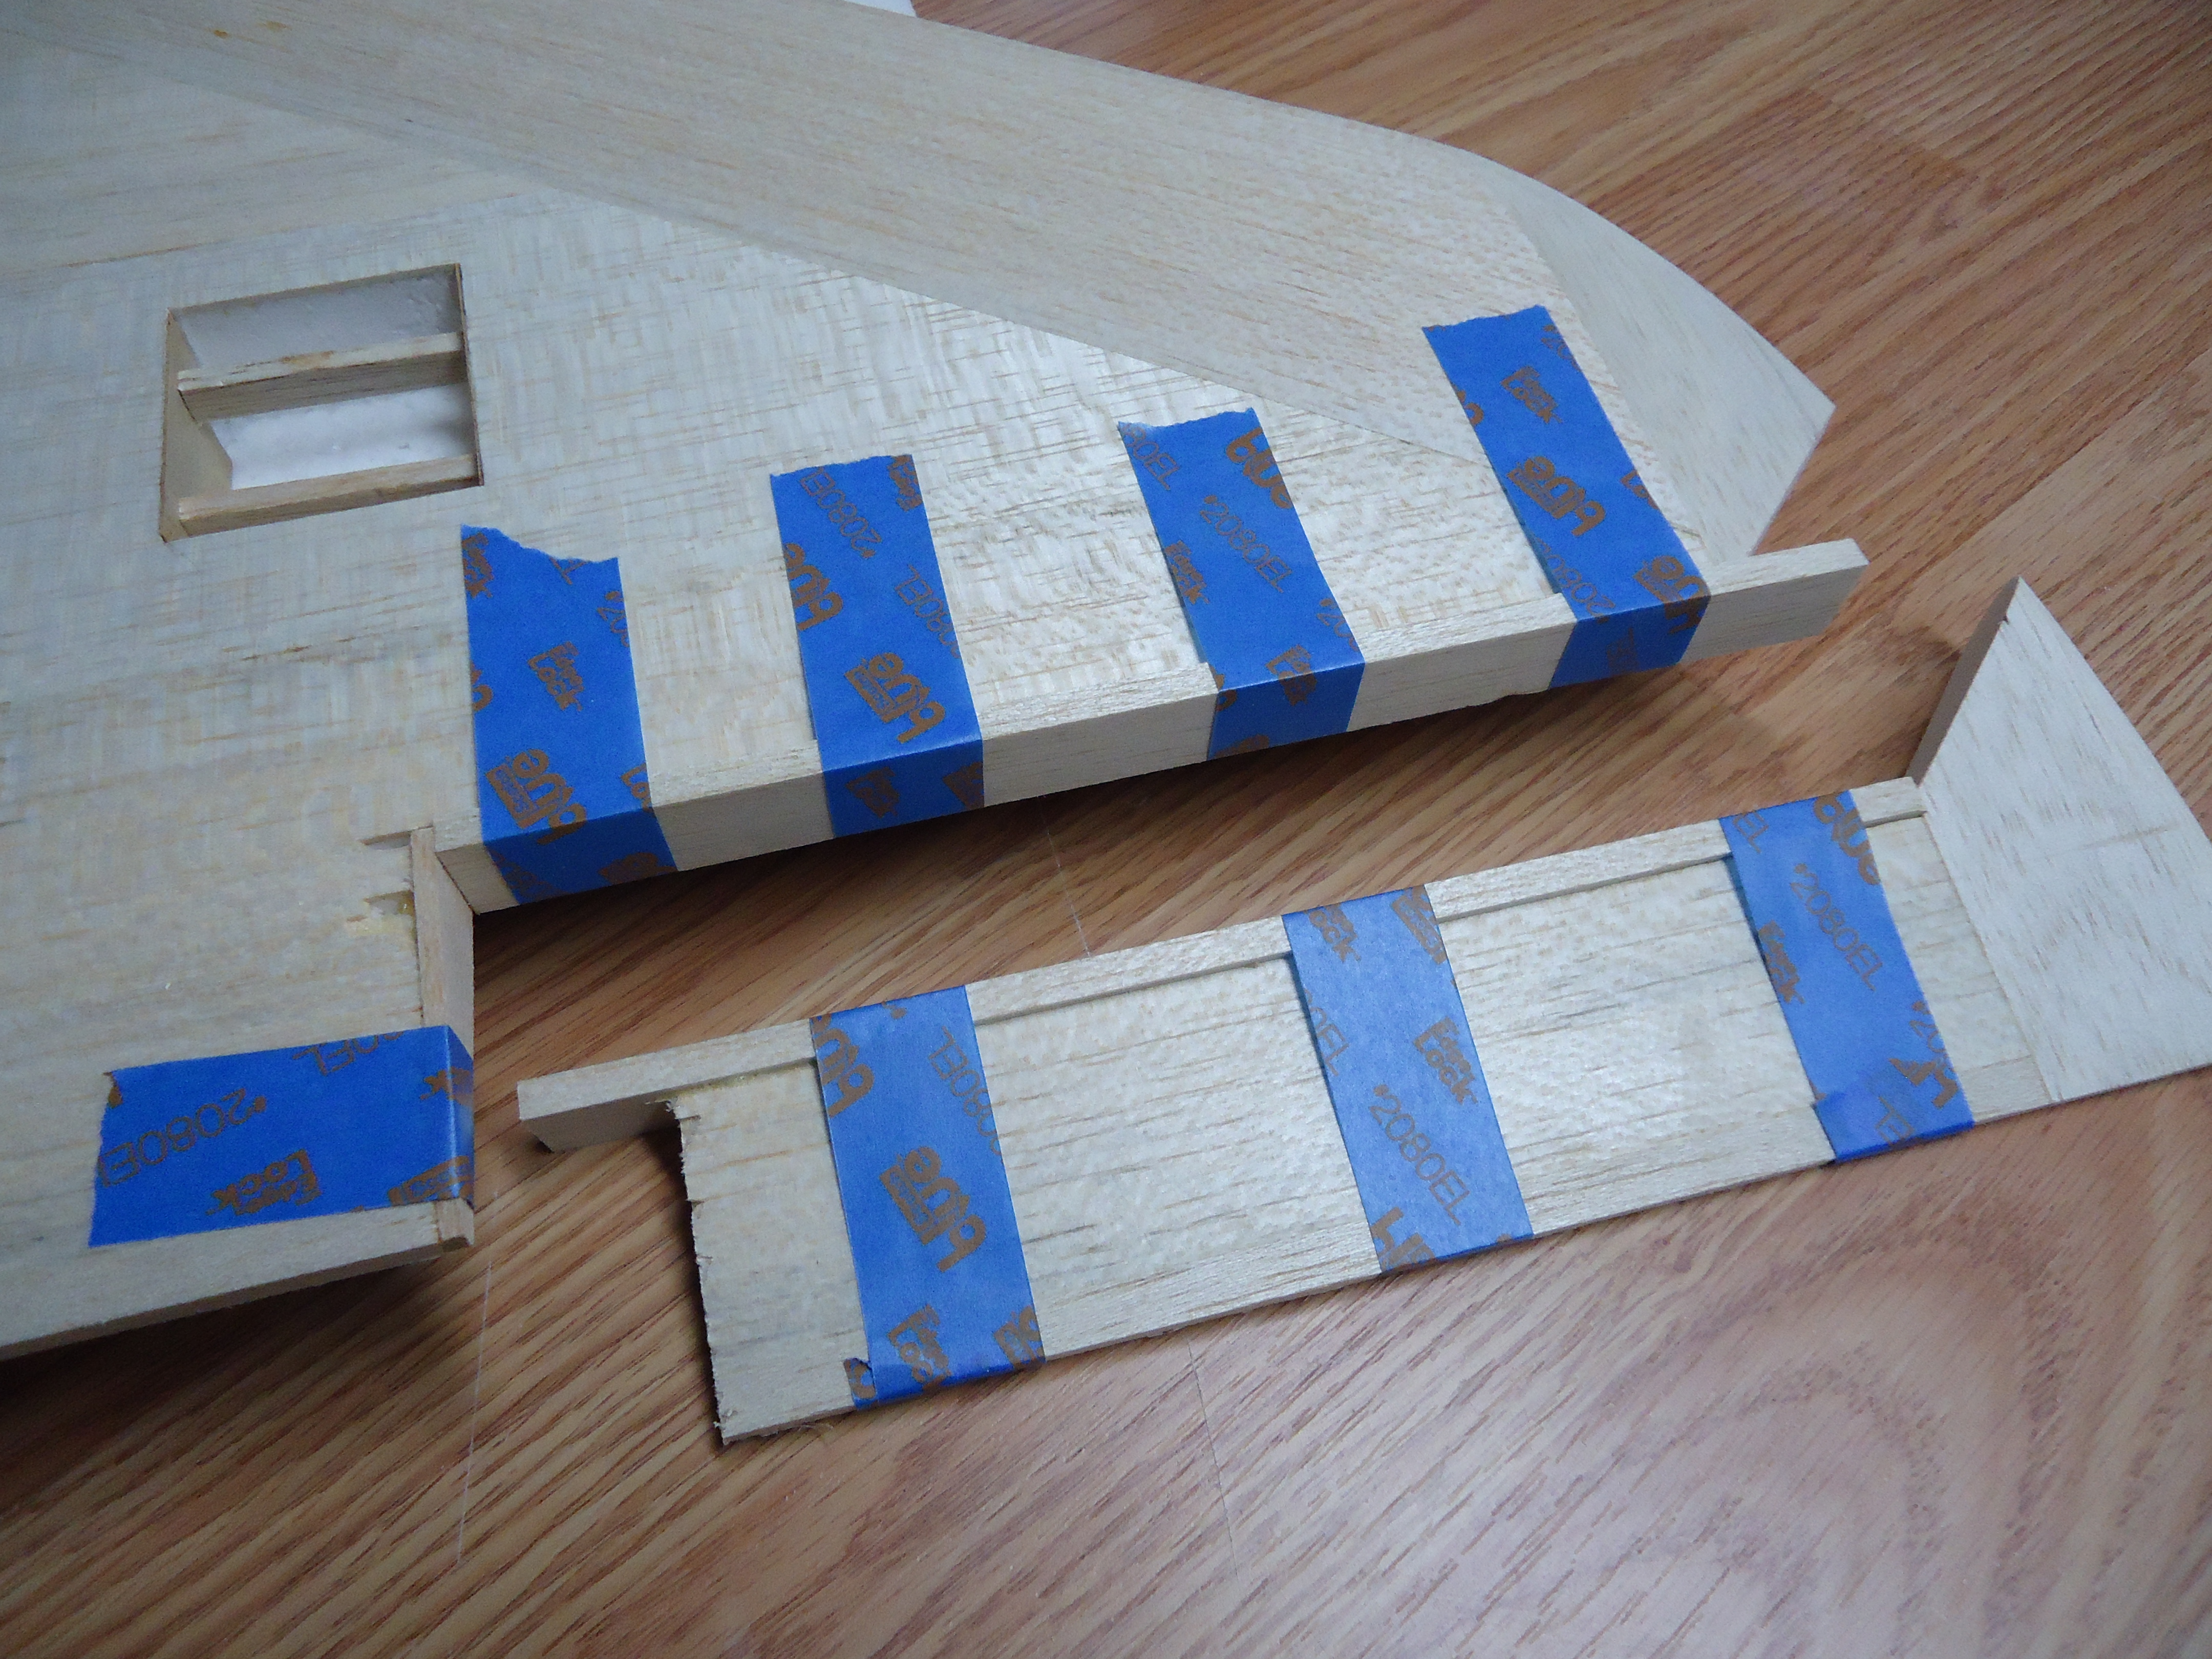
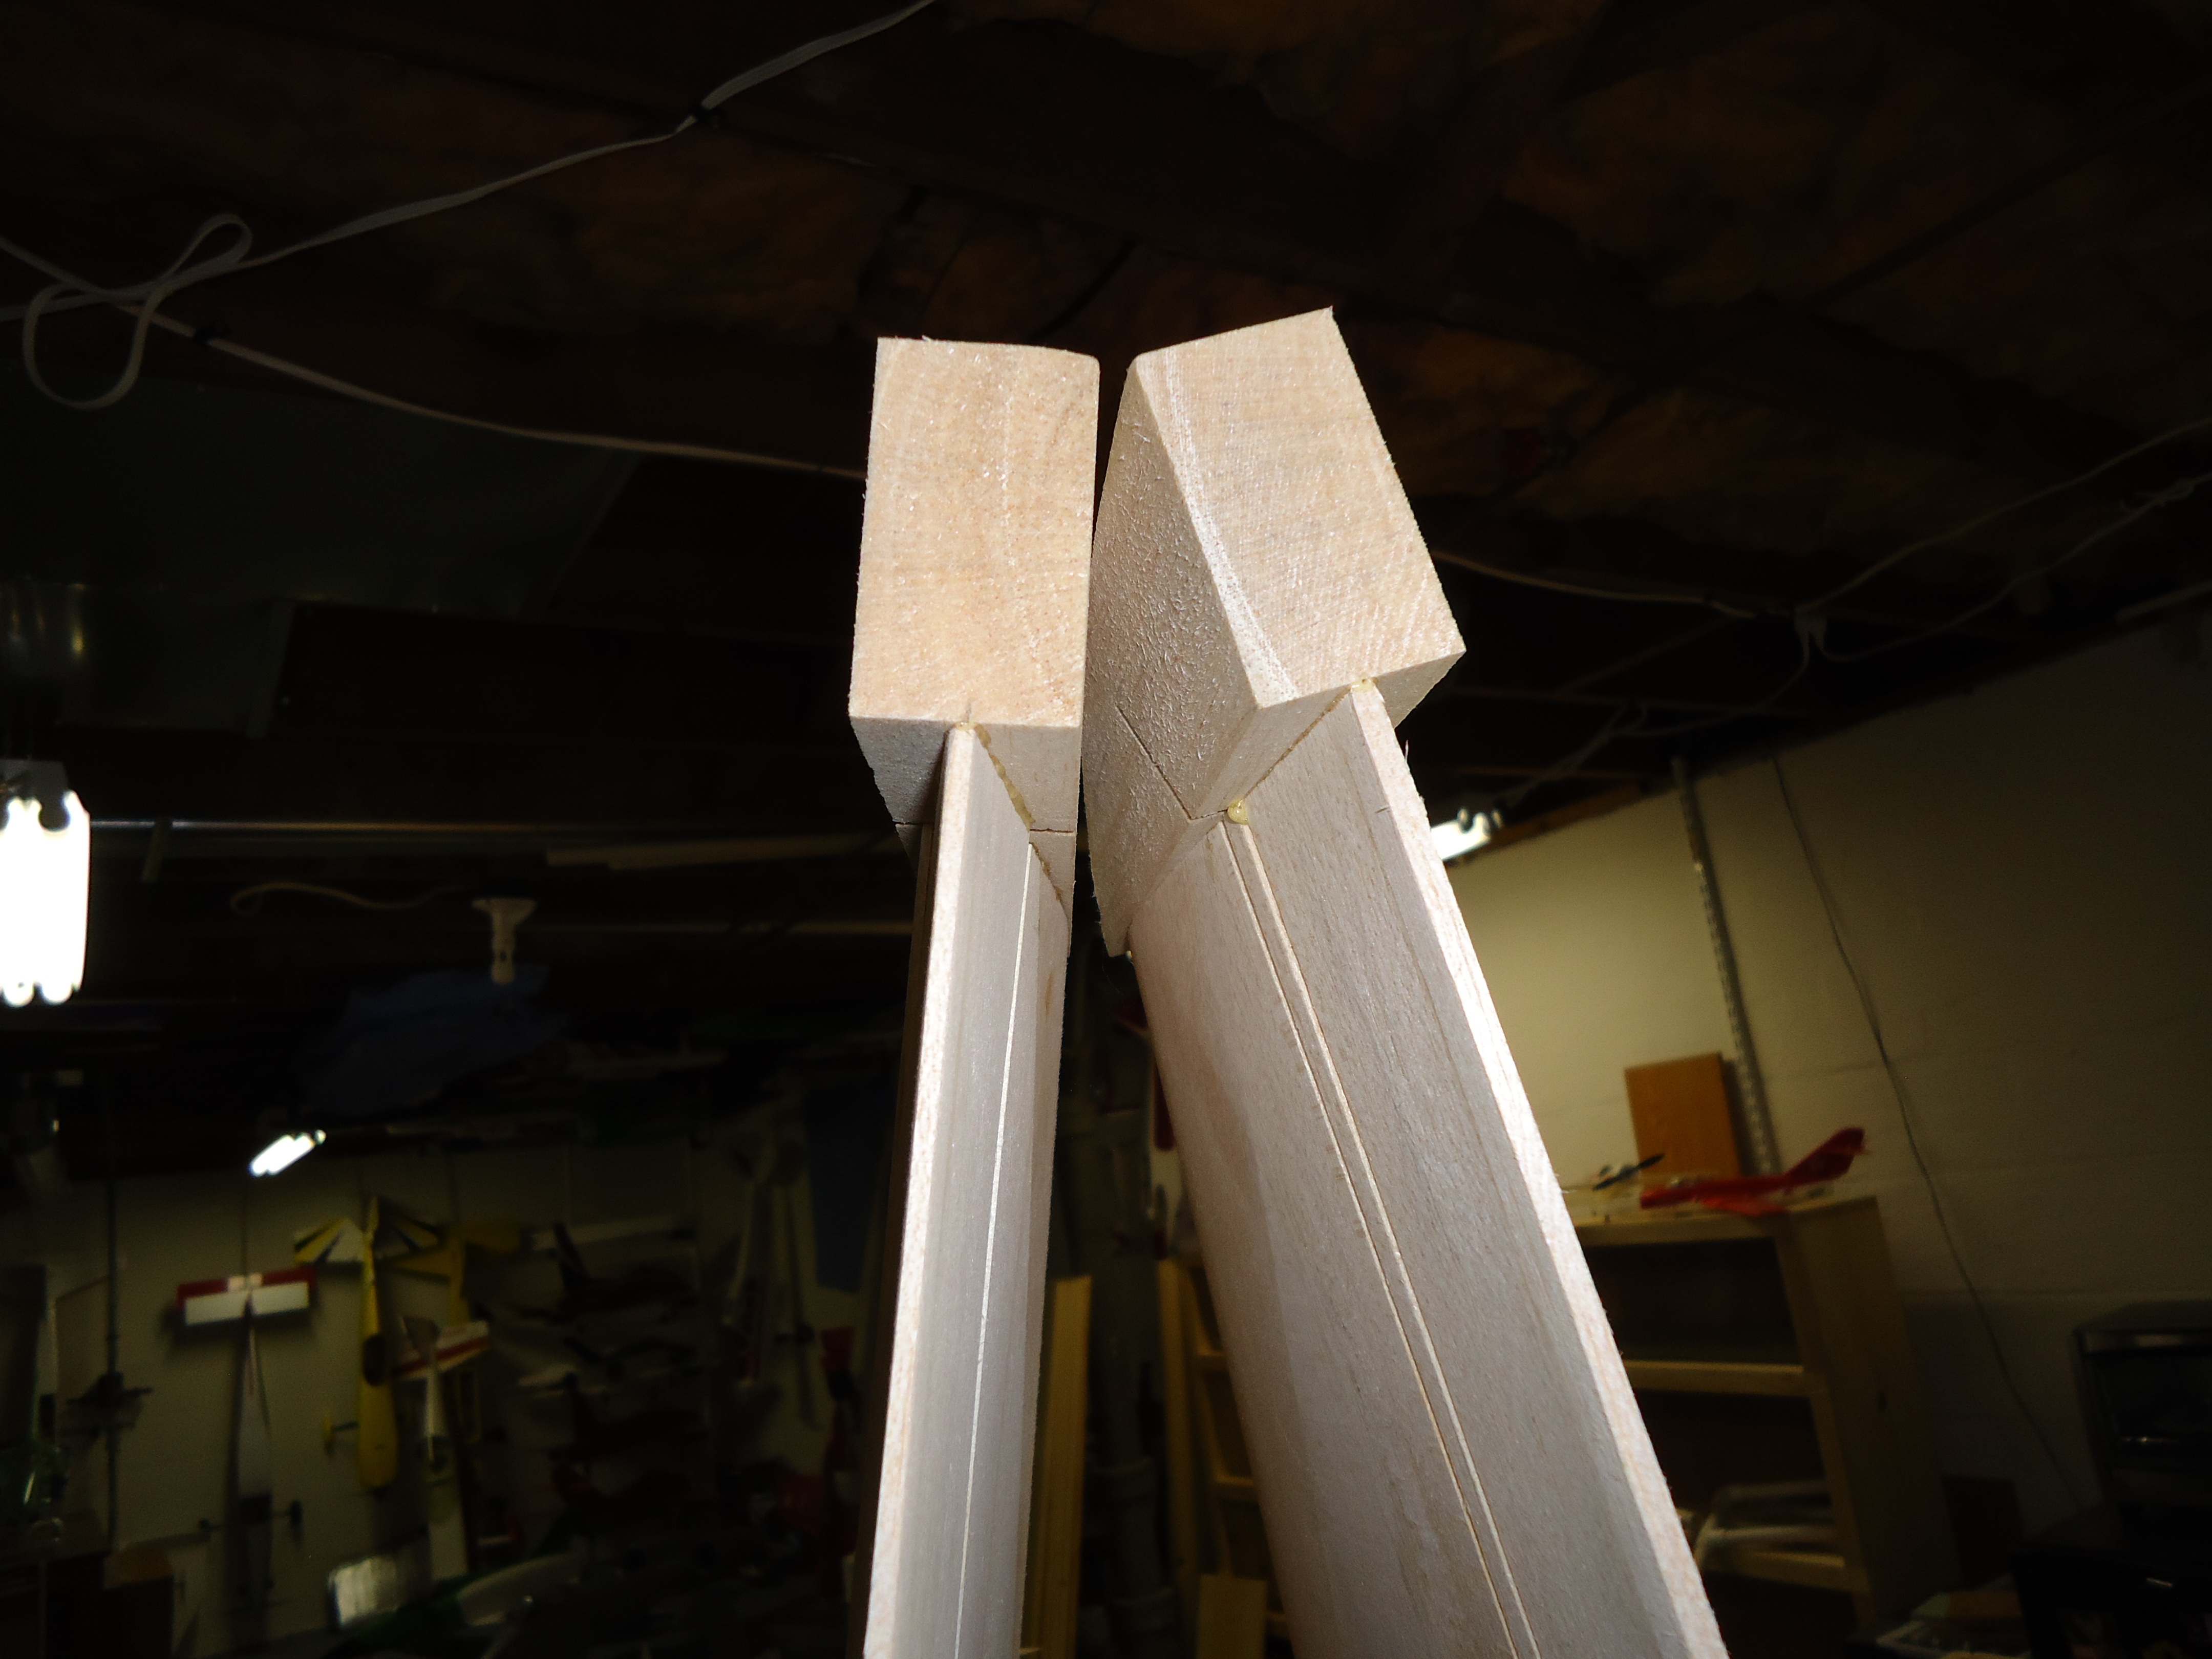 Ah… Gotcha! Except… look at all of the carving that needs to be done! The edges of those blocks will end up being the same width as the trailing edges of the ailerons.
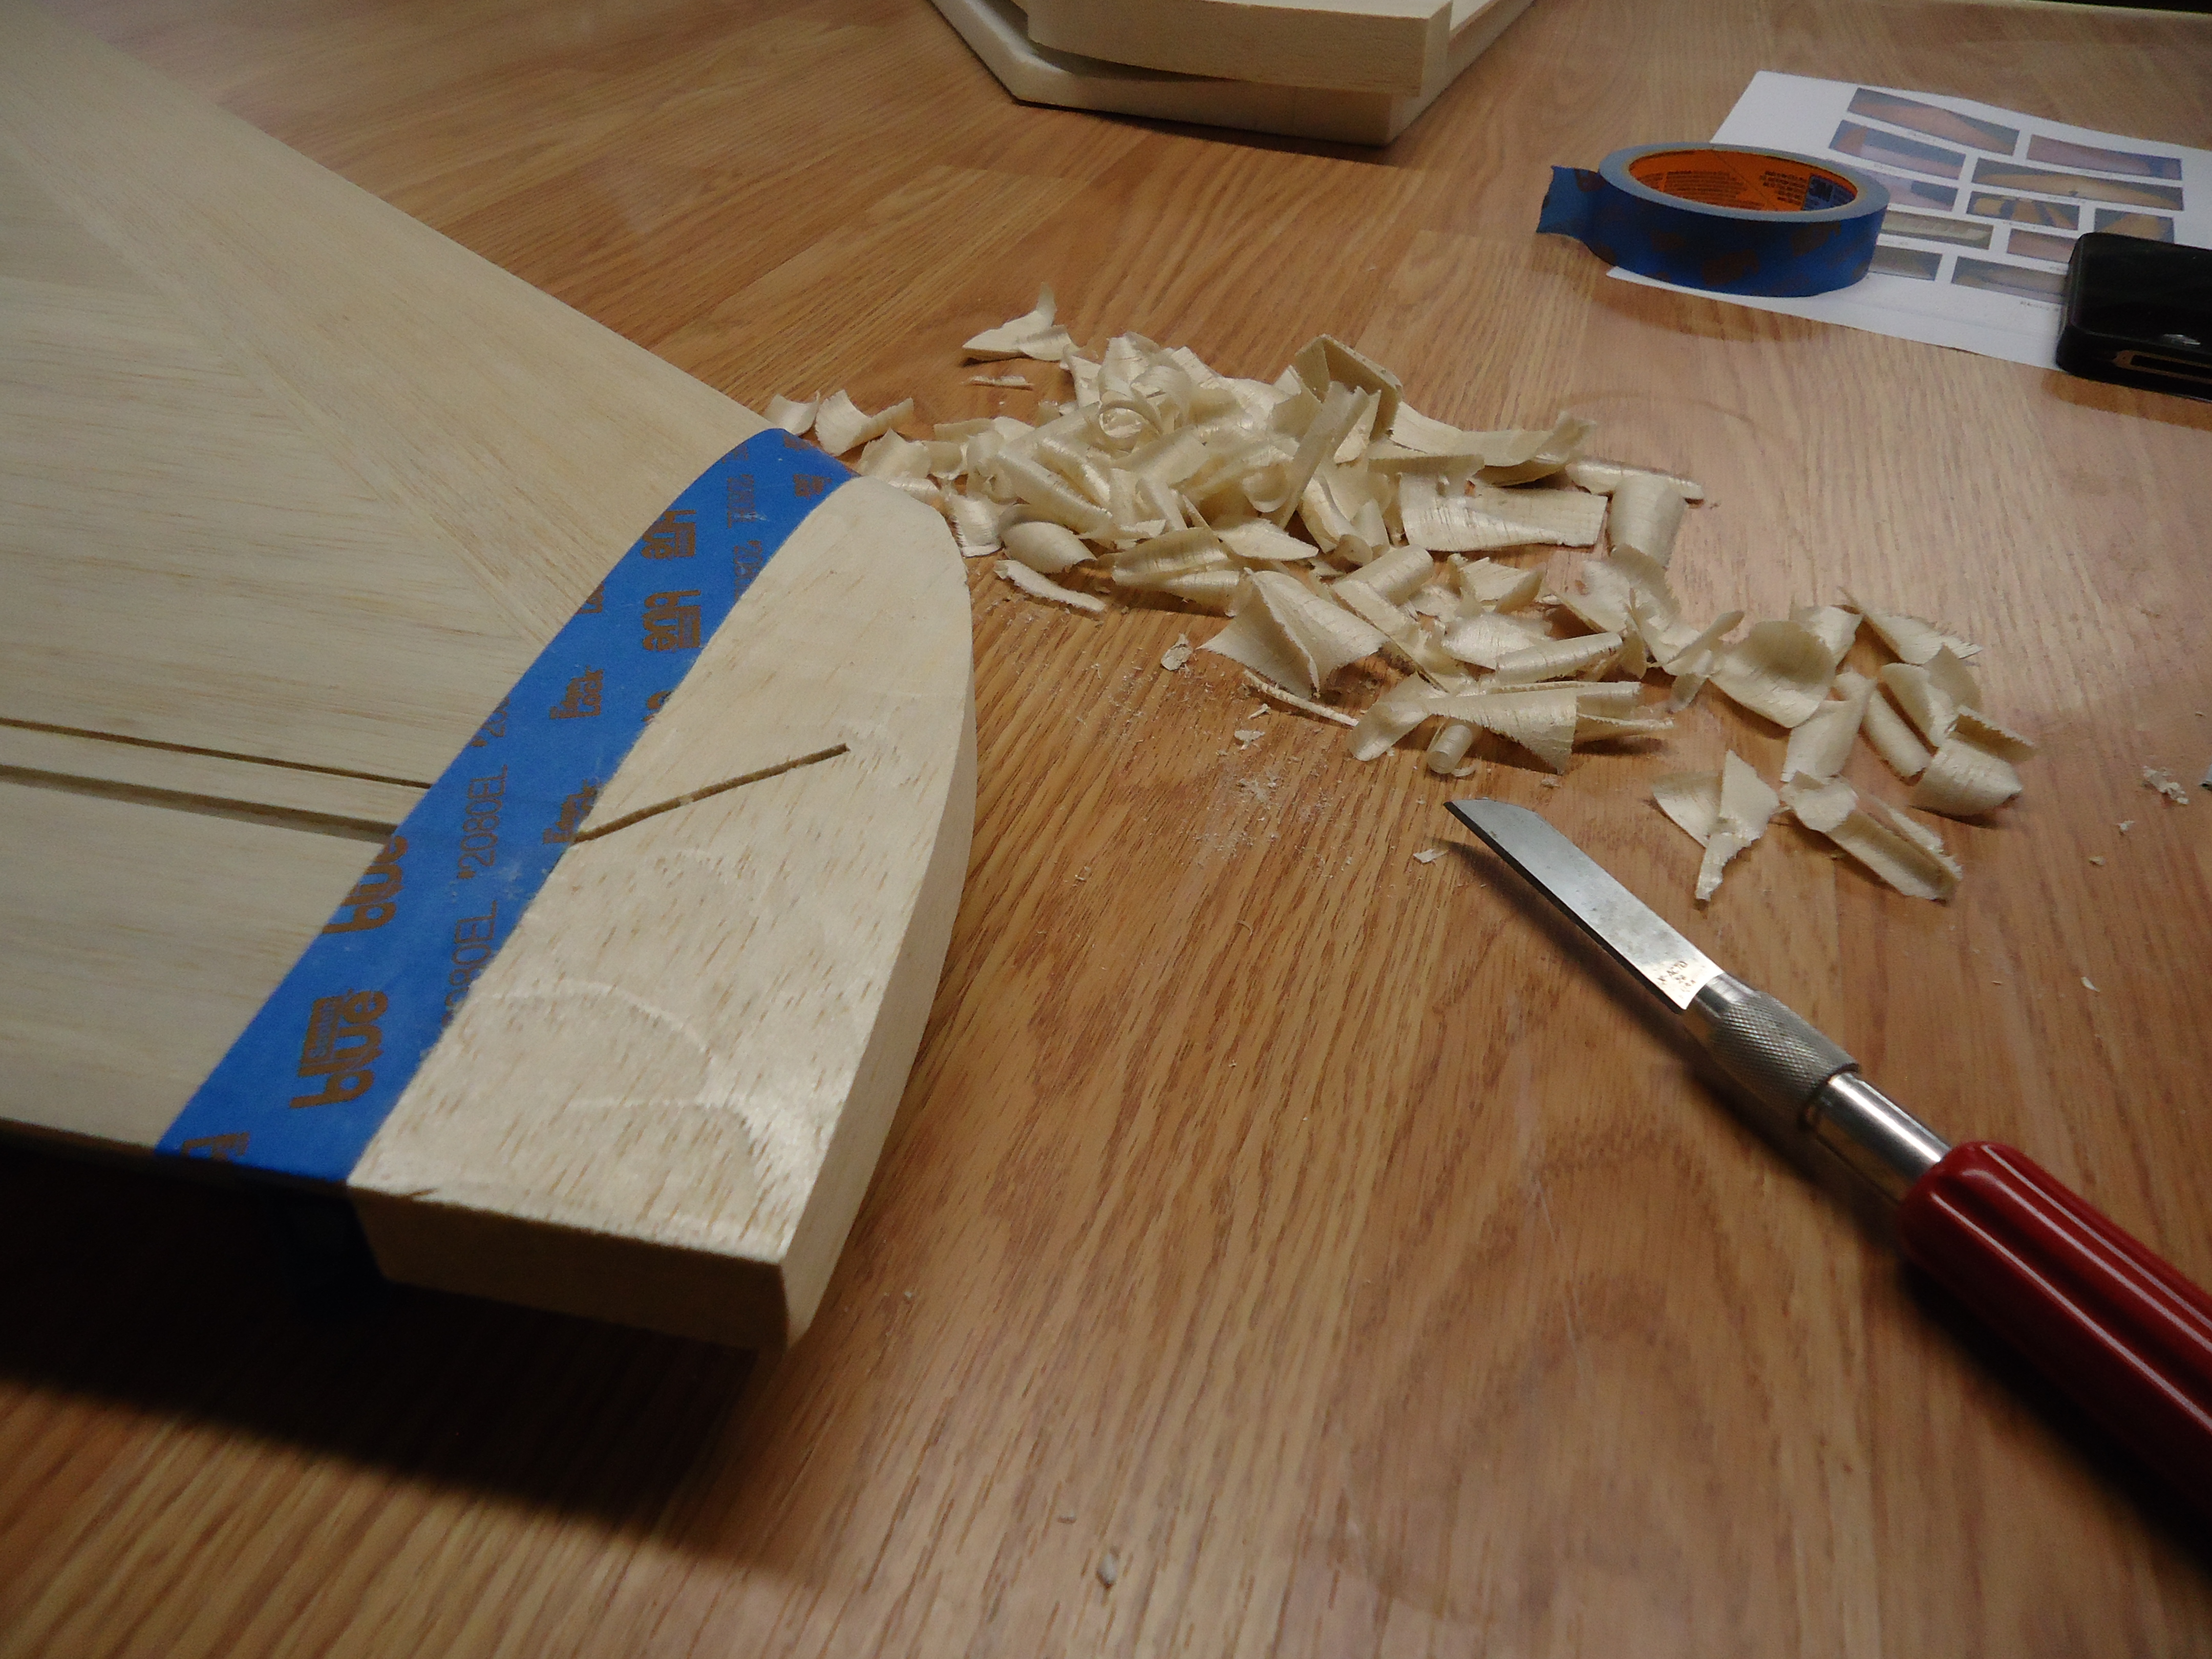 Once again you want to take your mourning dove-sized carving knife and remove a lot of the excess from the wing tips. Don’t forget to shape them as you carve.
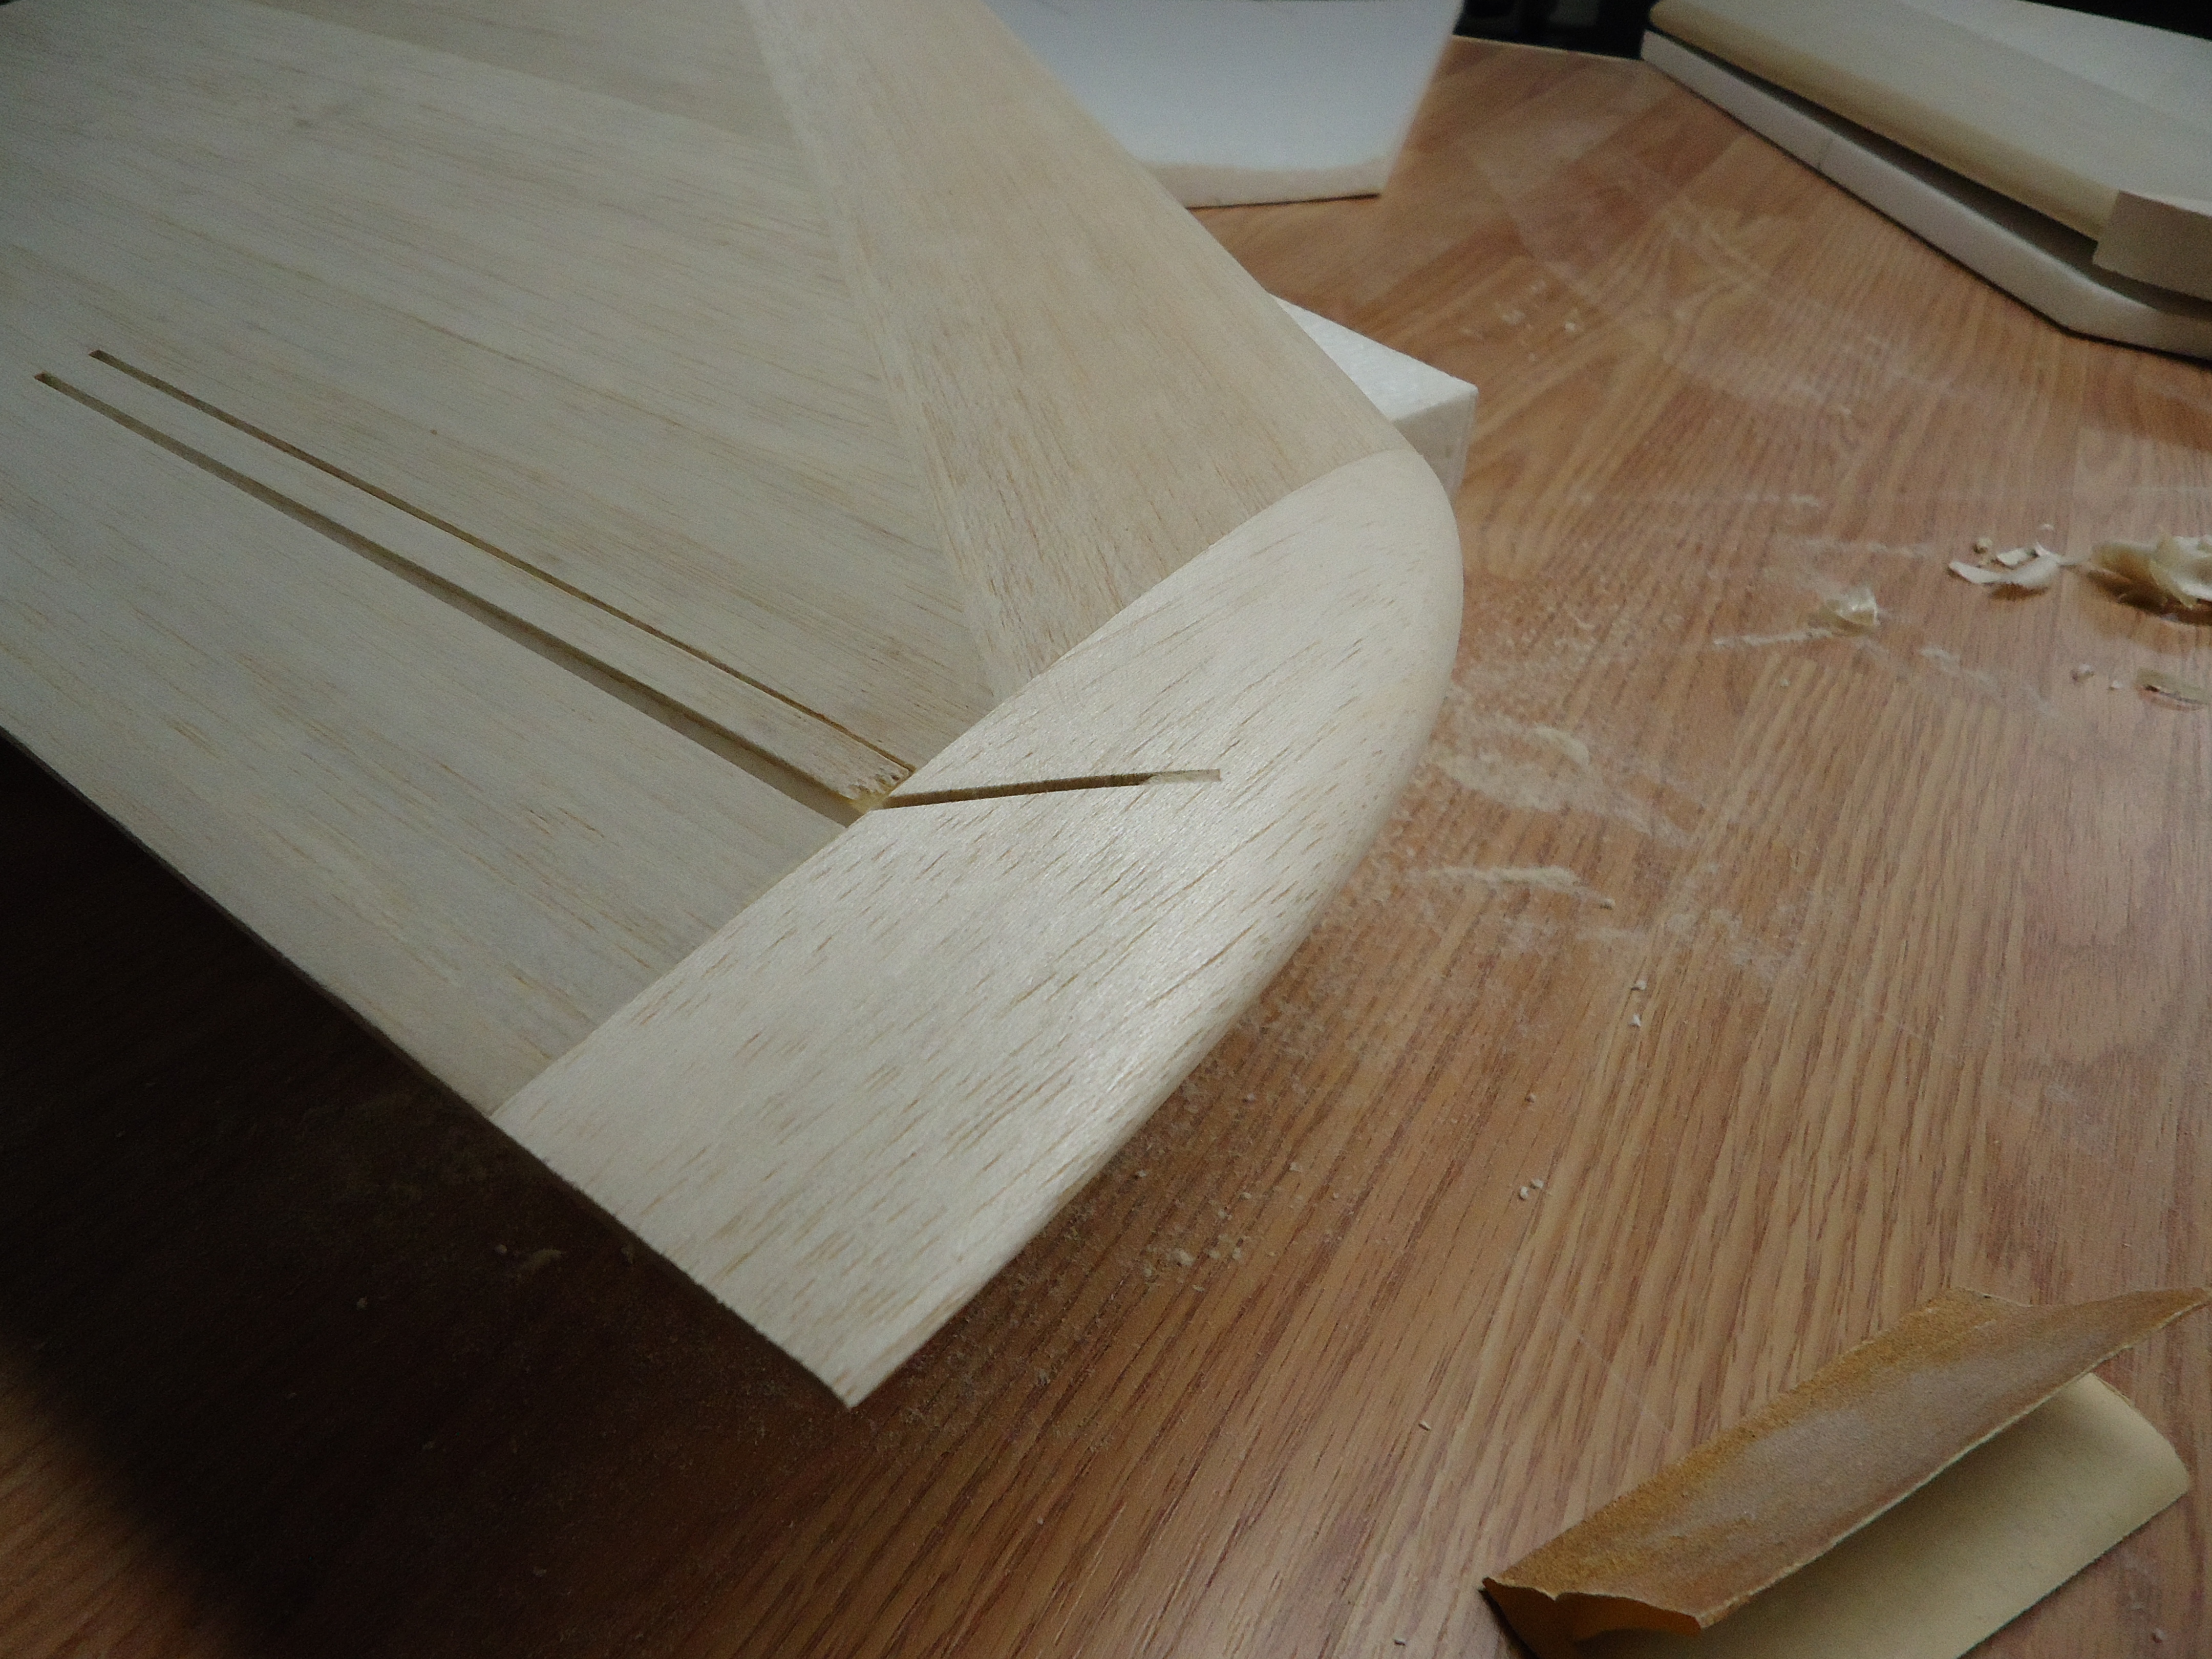 Once you have it shaped be sure to sand it smooth. You know that you’ve done a good job when you see the upturned edge of the smile. A beautifully-shaped wing tip is a happy wing tip!
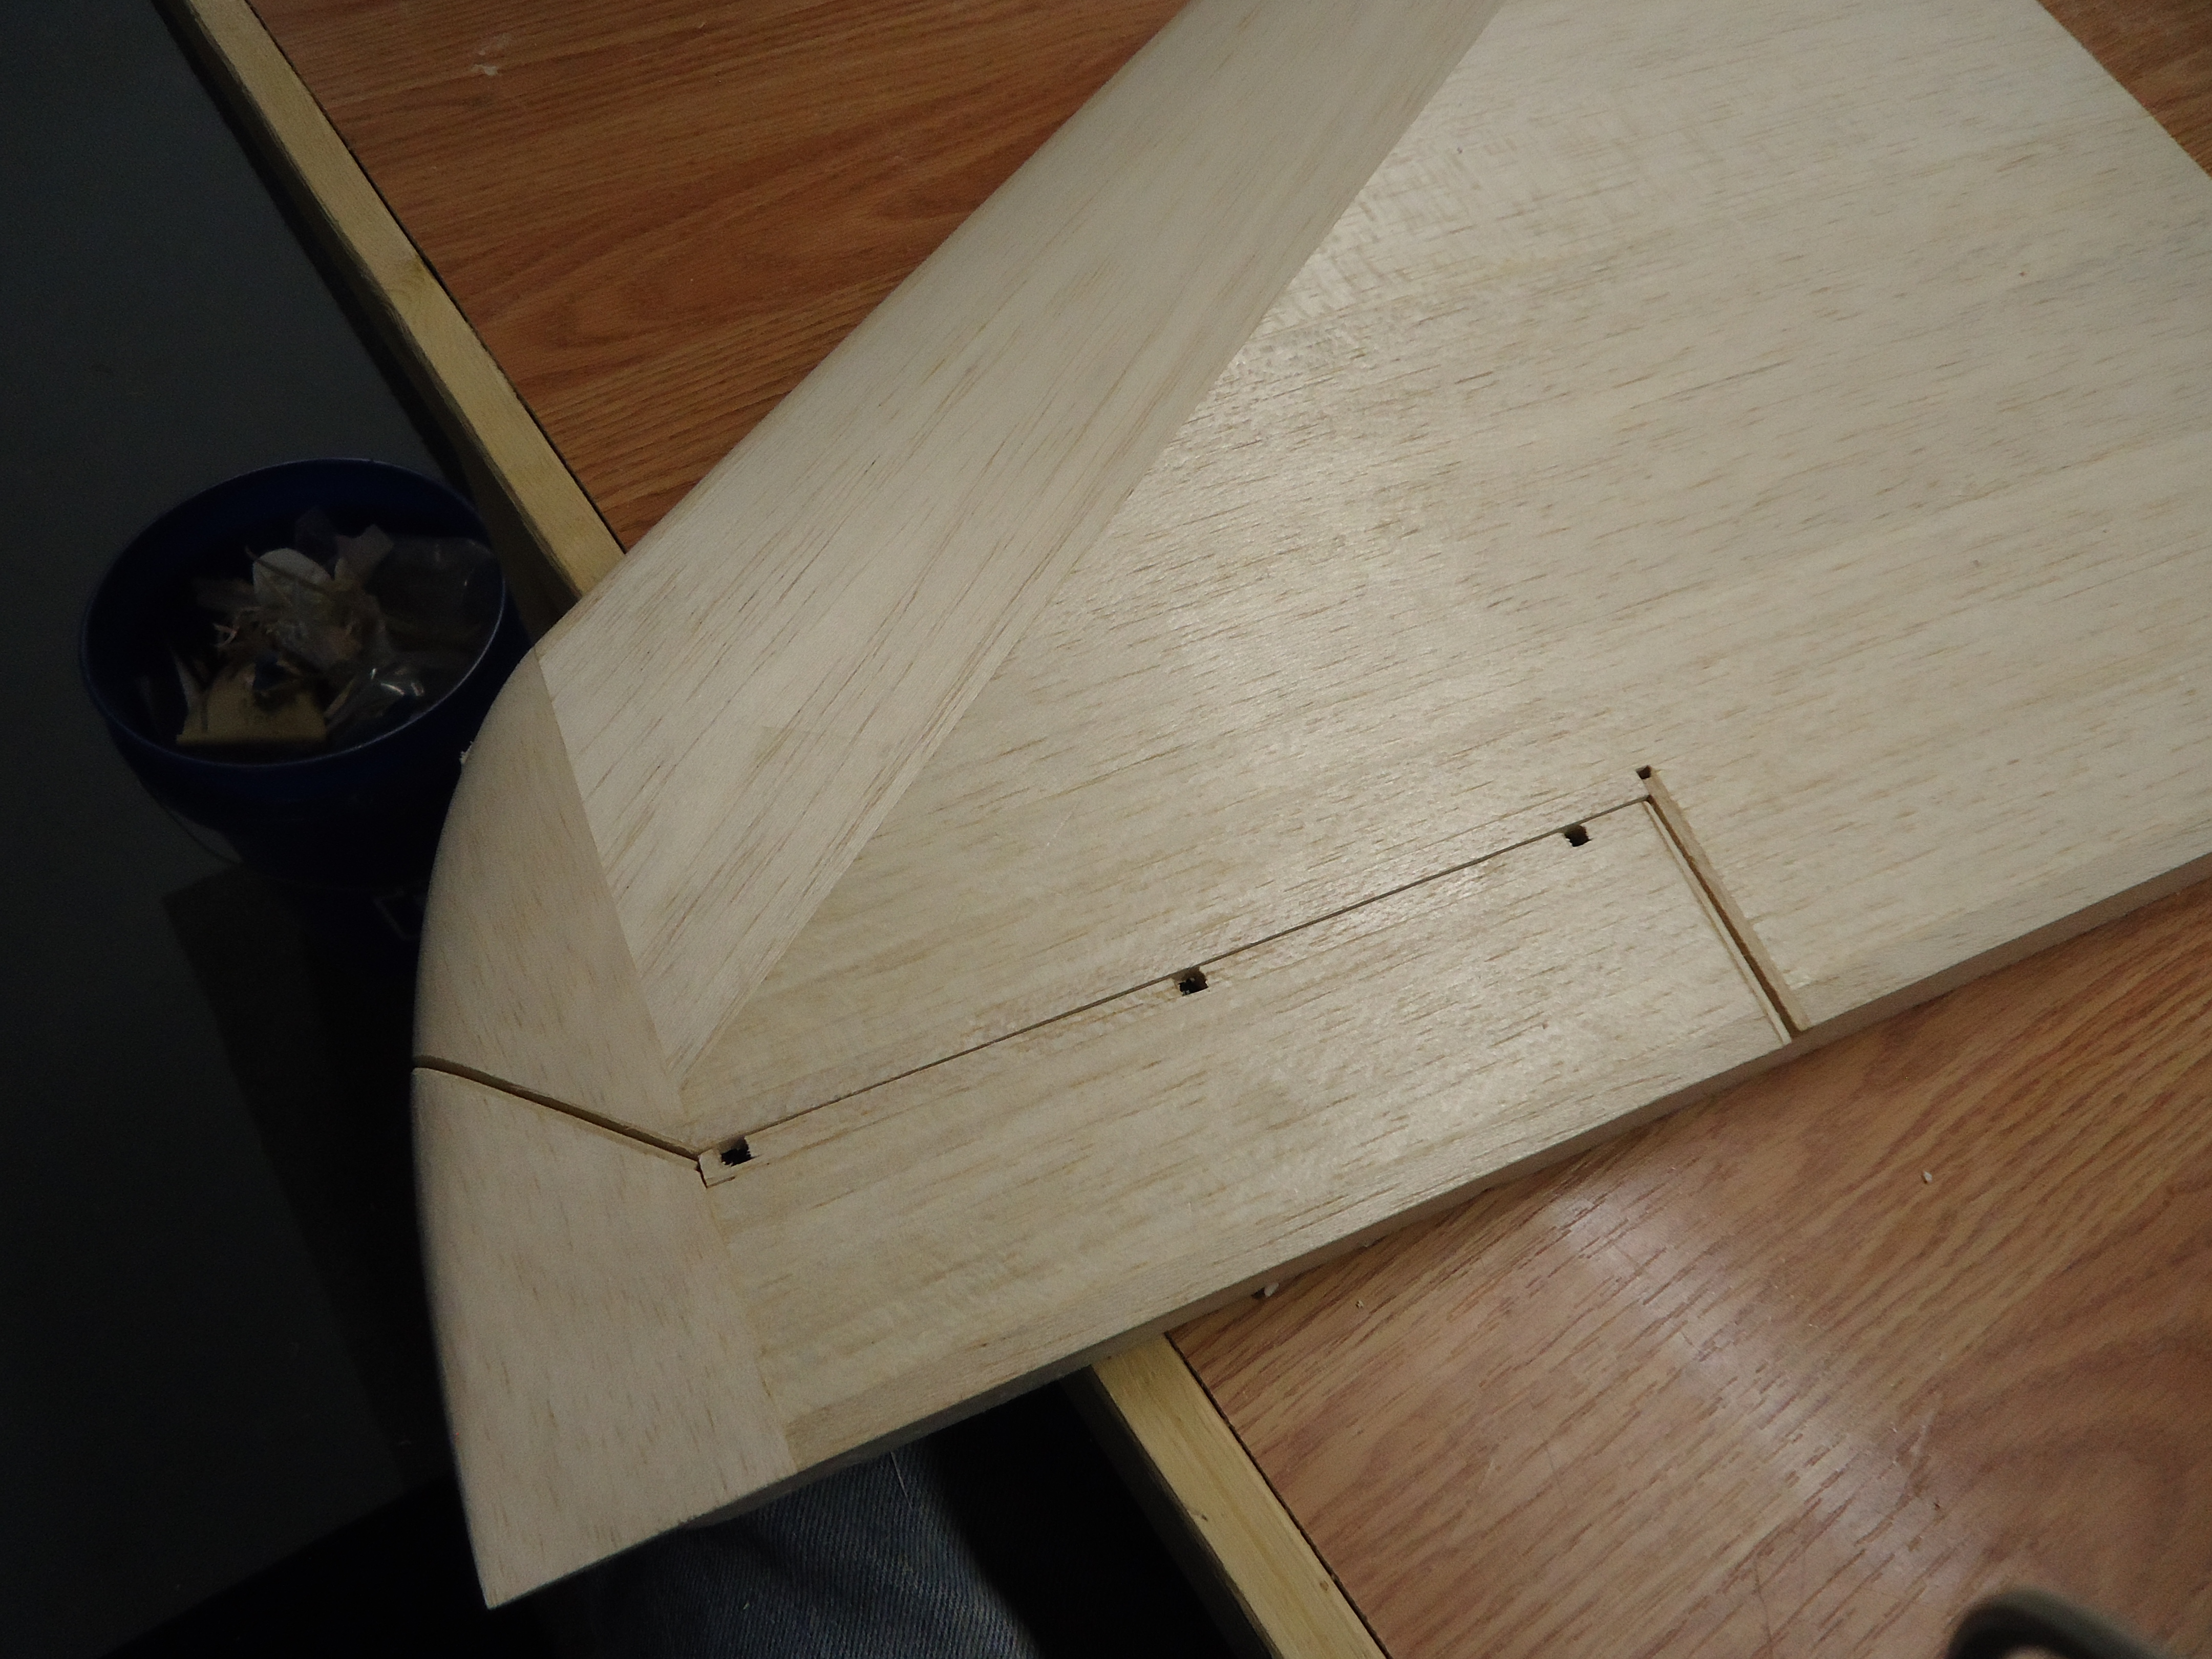
 Now that the wingtips are carved it’s time to actually detach the aileron from the wing. Being a silly girl I had to ask why the aileron wasn’t detached prior to this step. It’s much easier to match the shape of the wingtips all the way down if you do it while the ailerons are still attached. I think that somebody just doesn’t want a challenge!
Once you’ve cut the aileron off using the smile lines that are on the wing you want to line the gums with balsa to give it a nice clean edge. Again, tape the balsa to the gums while the glue is curing so that you don’t end up with an overbite.
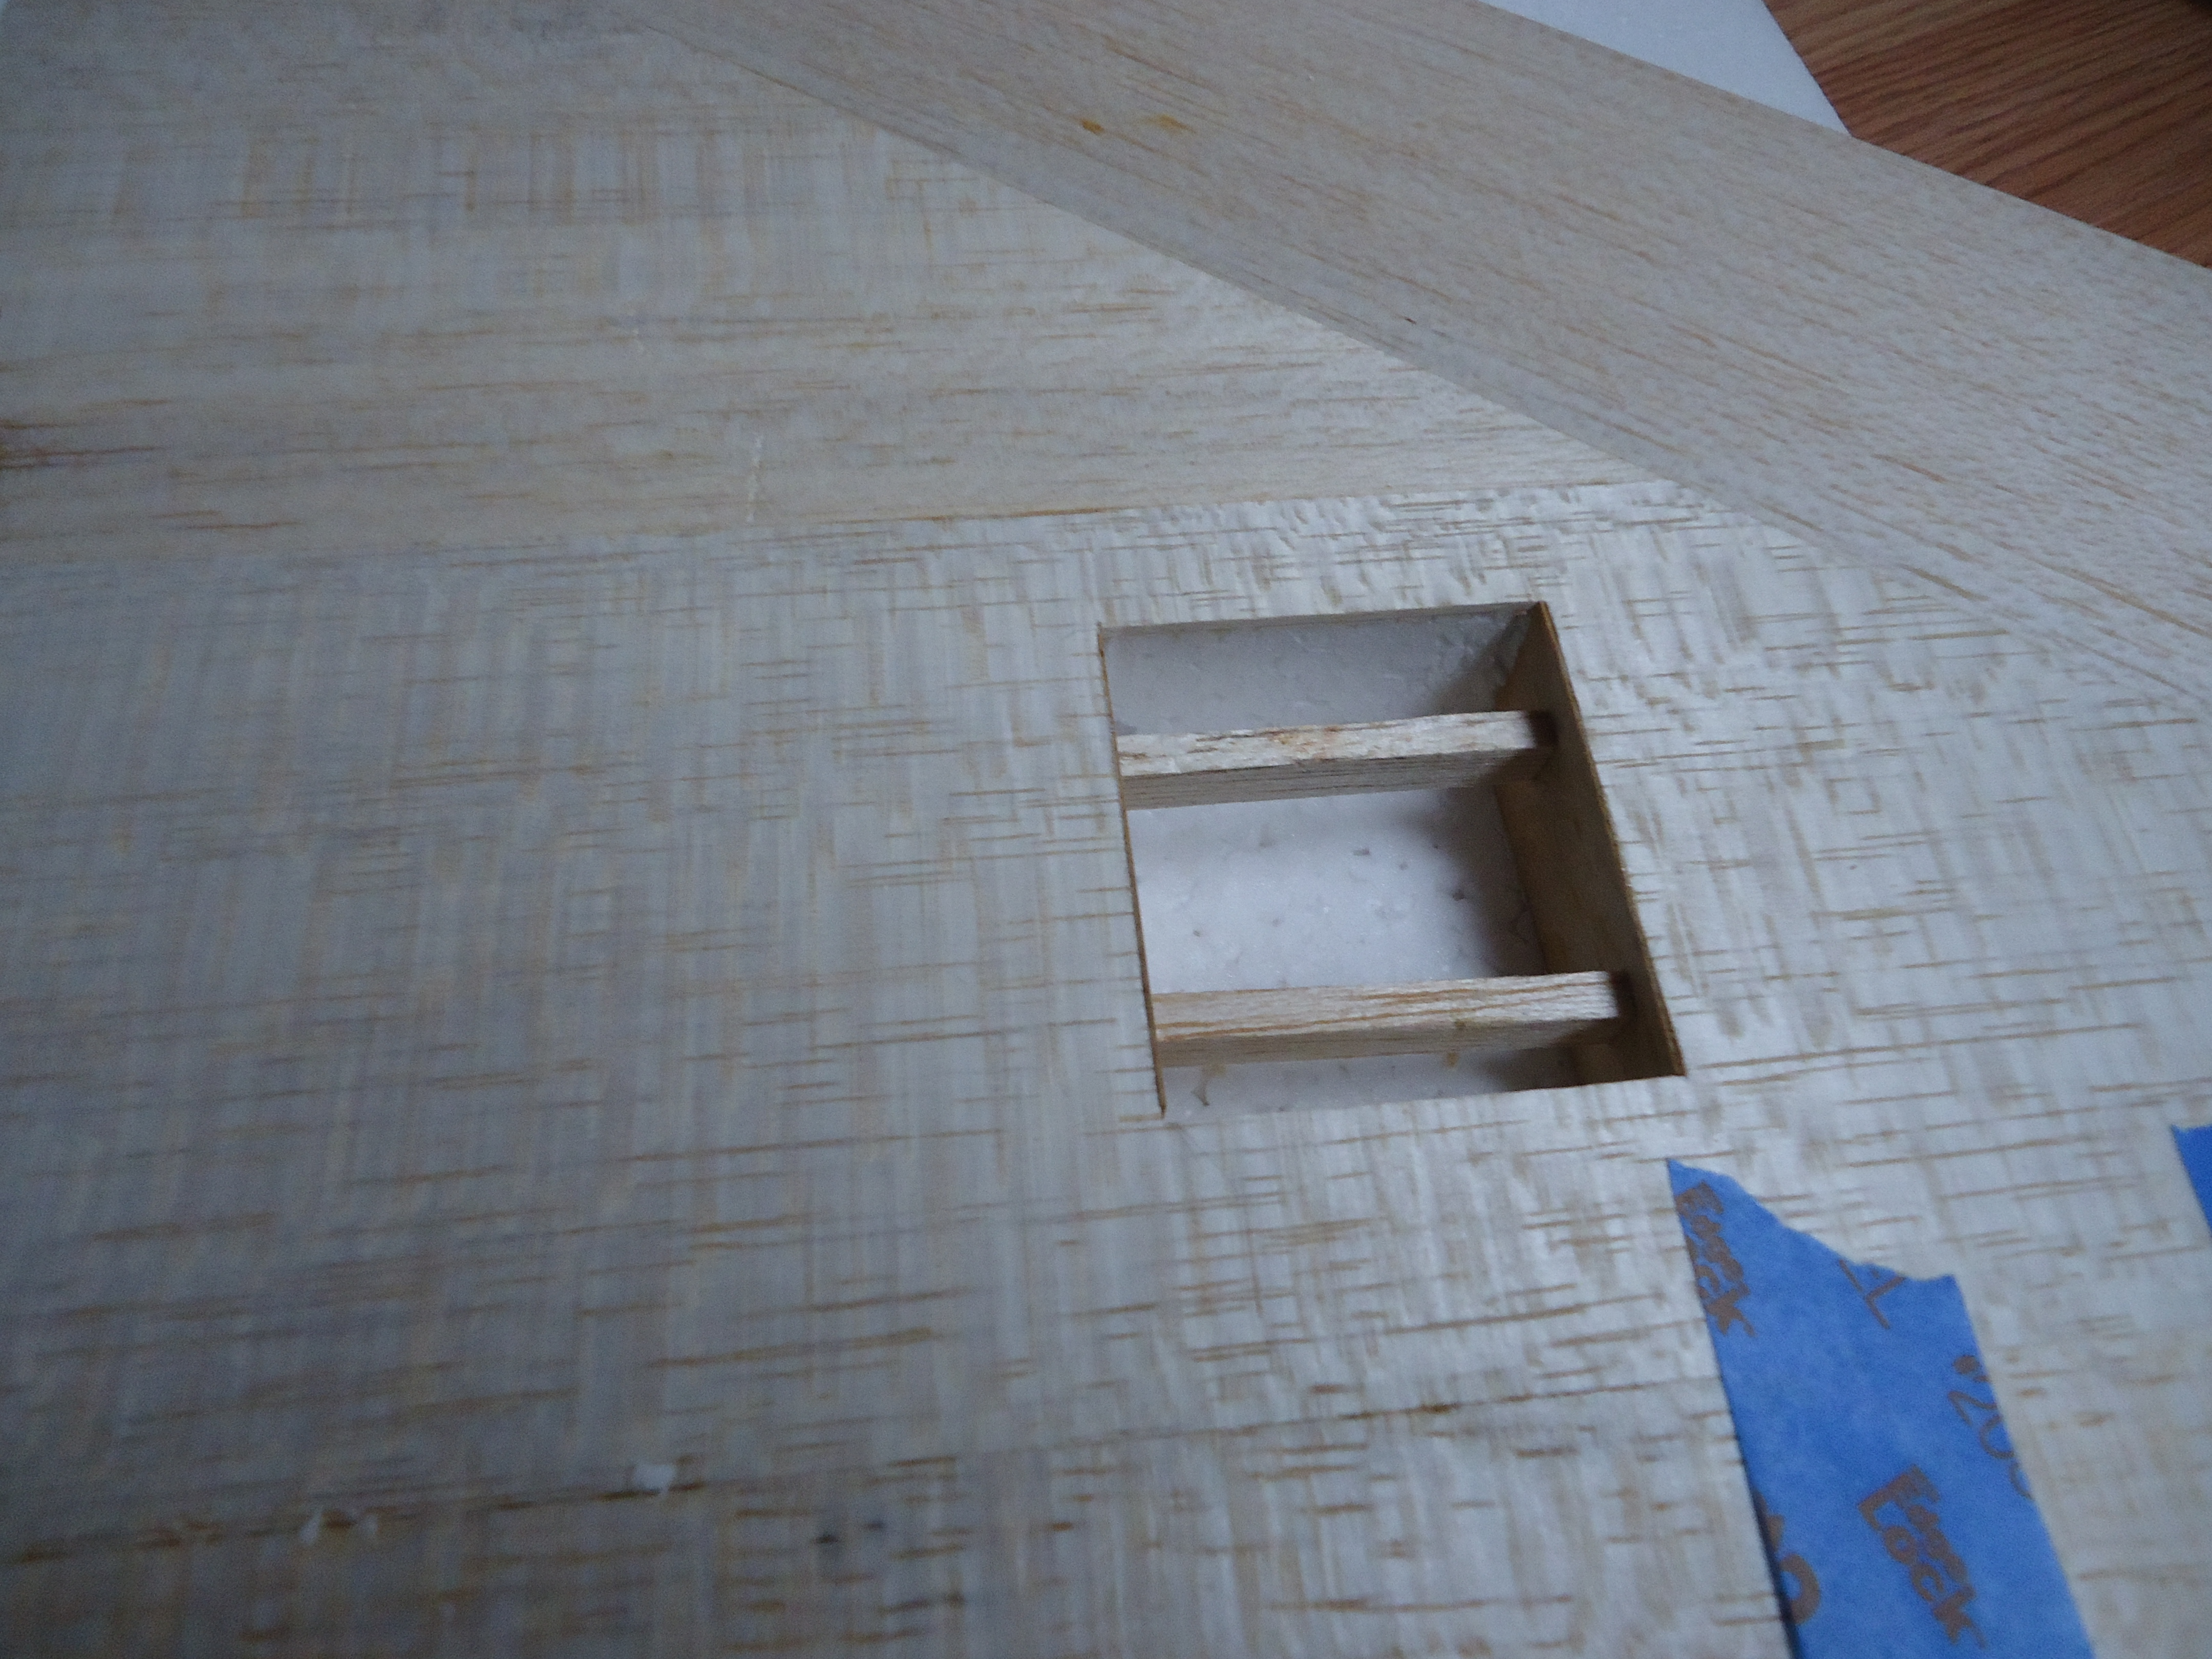 While the gums are curing you can begin work on the spots where the servos will be sunk into the wings. This is a fun little hide-and-seek game that the manufacturer sets up for you. Here is how you play: The manufacturer creates nice little areas where they carve out the foam for you to install your electronics, etc. Then they cover it all up with balsa wood. It’s your job to find and uncover them. Good luck!
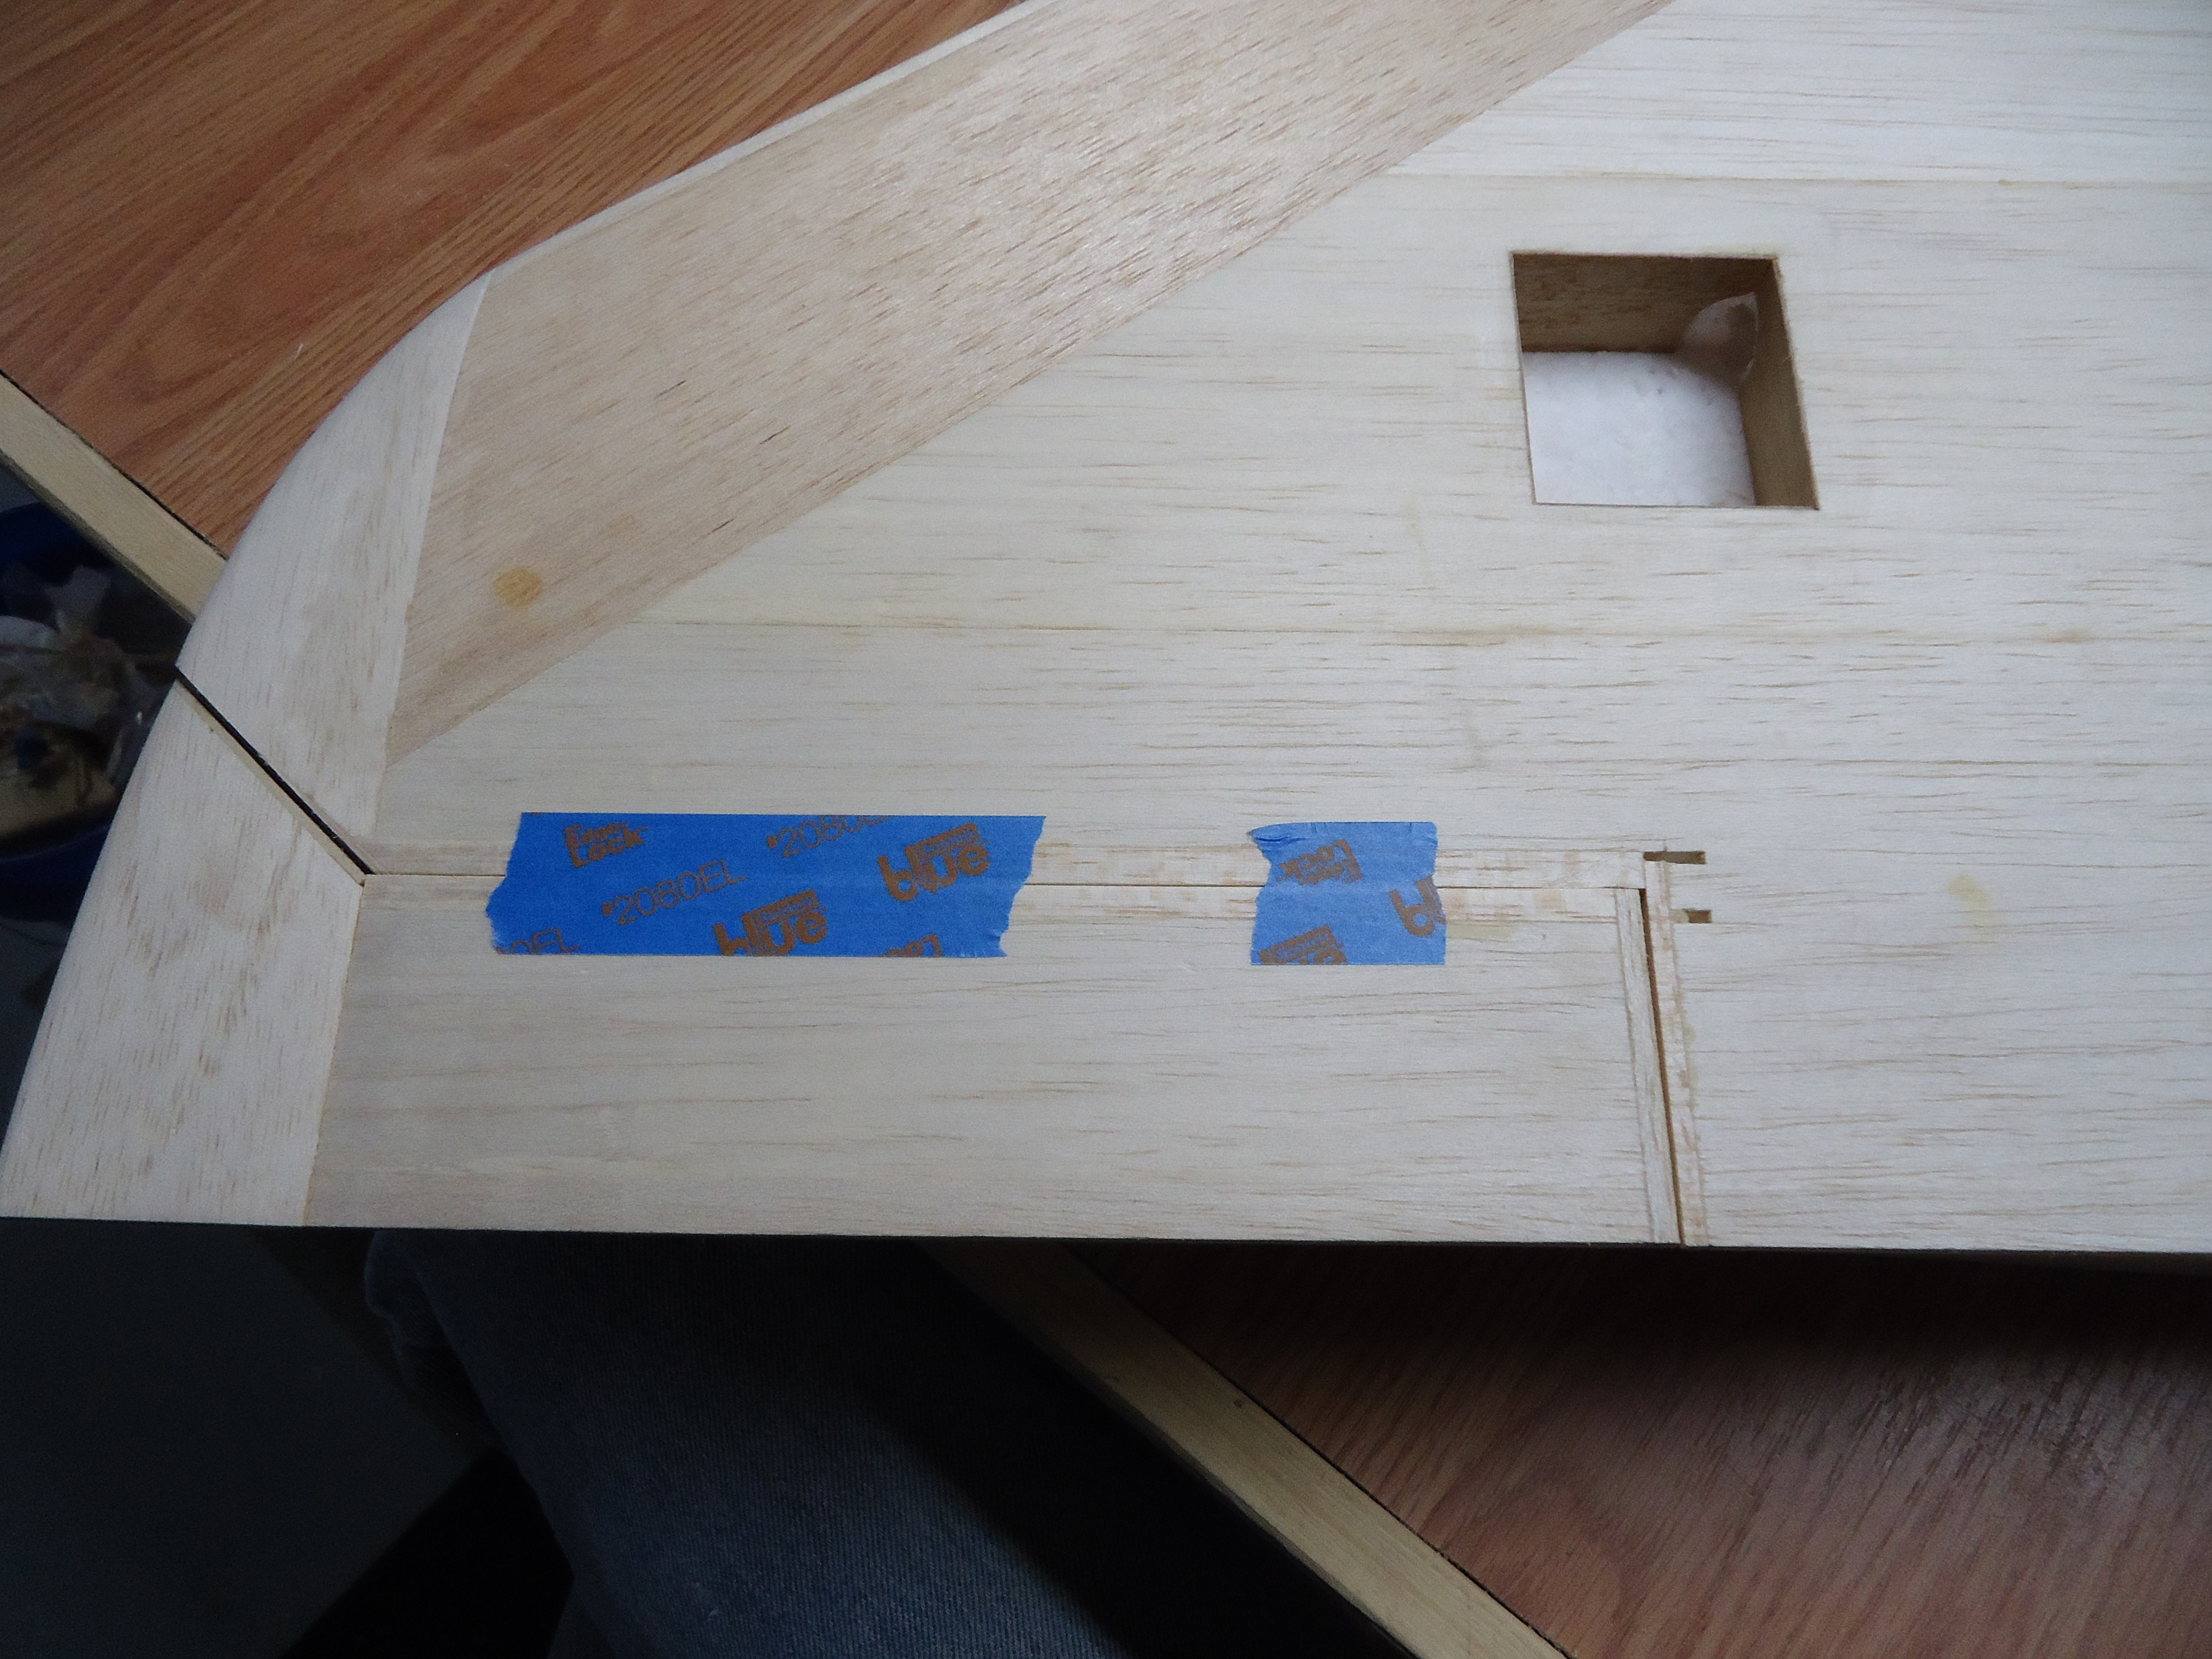 Now that the gums are dry you can trim off the extra bits and dry fit the aileron into its new spot. You want to make sure that it fits together properly so that you don’t have any issues when you insert the hinges.
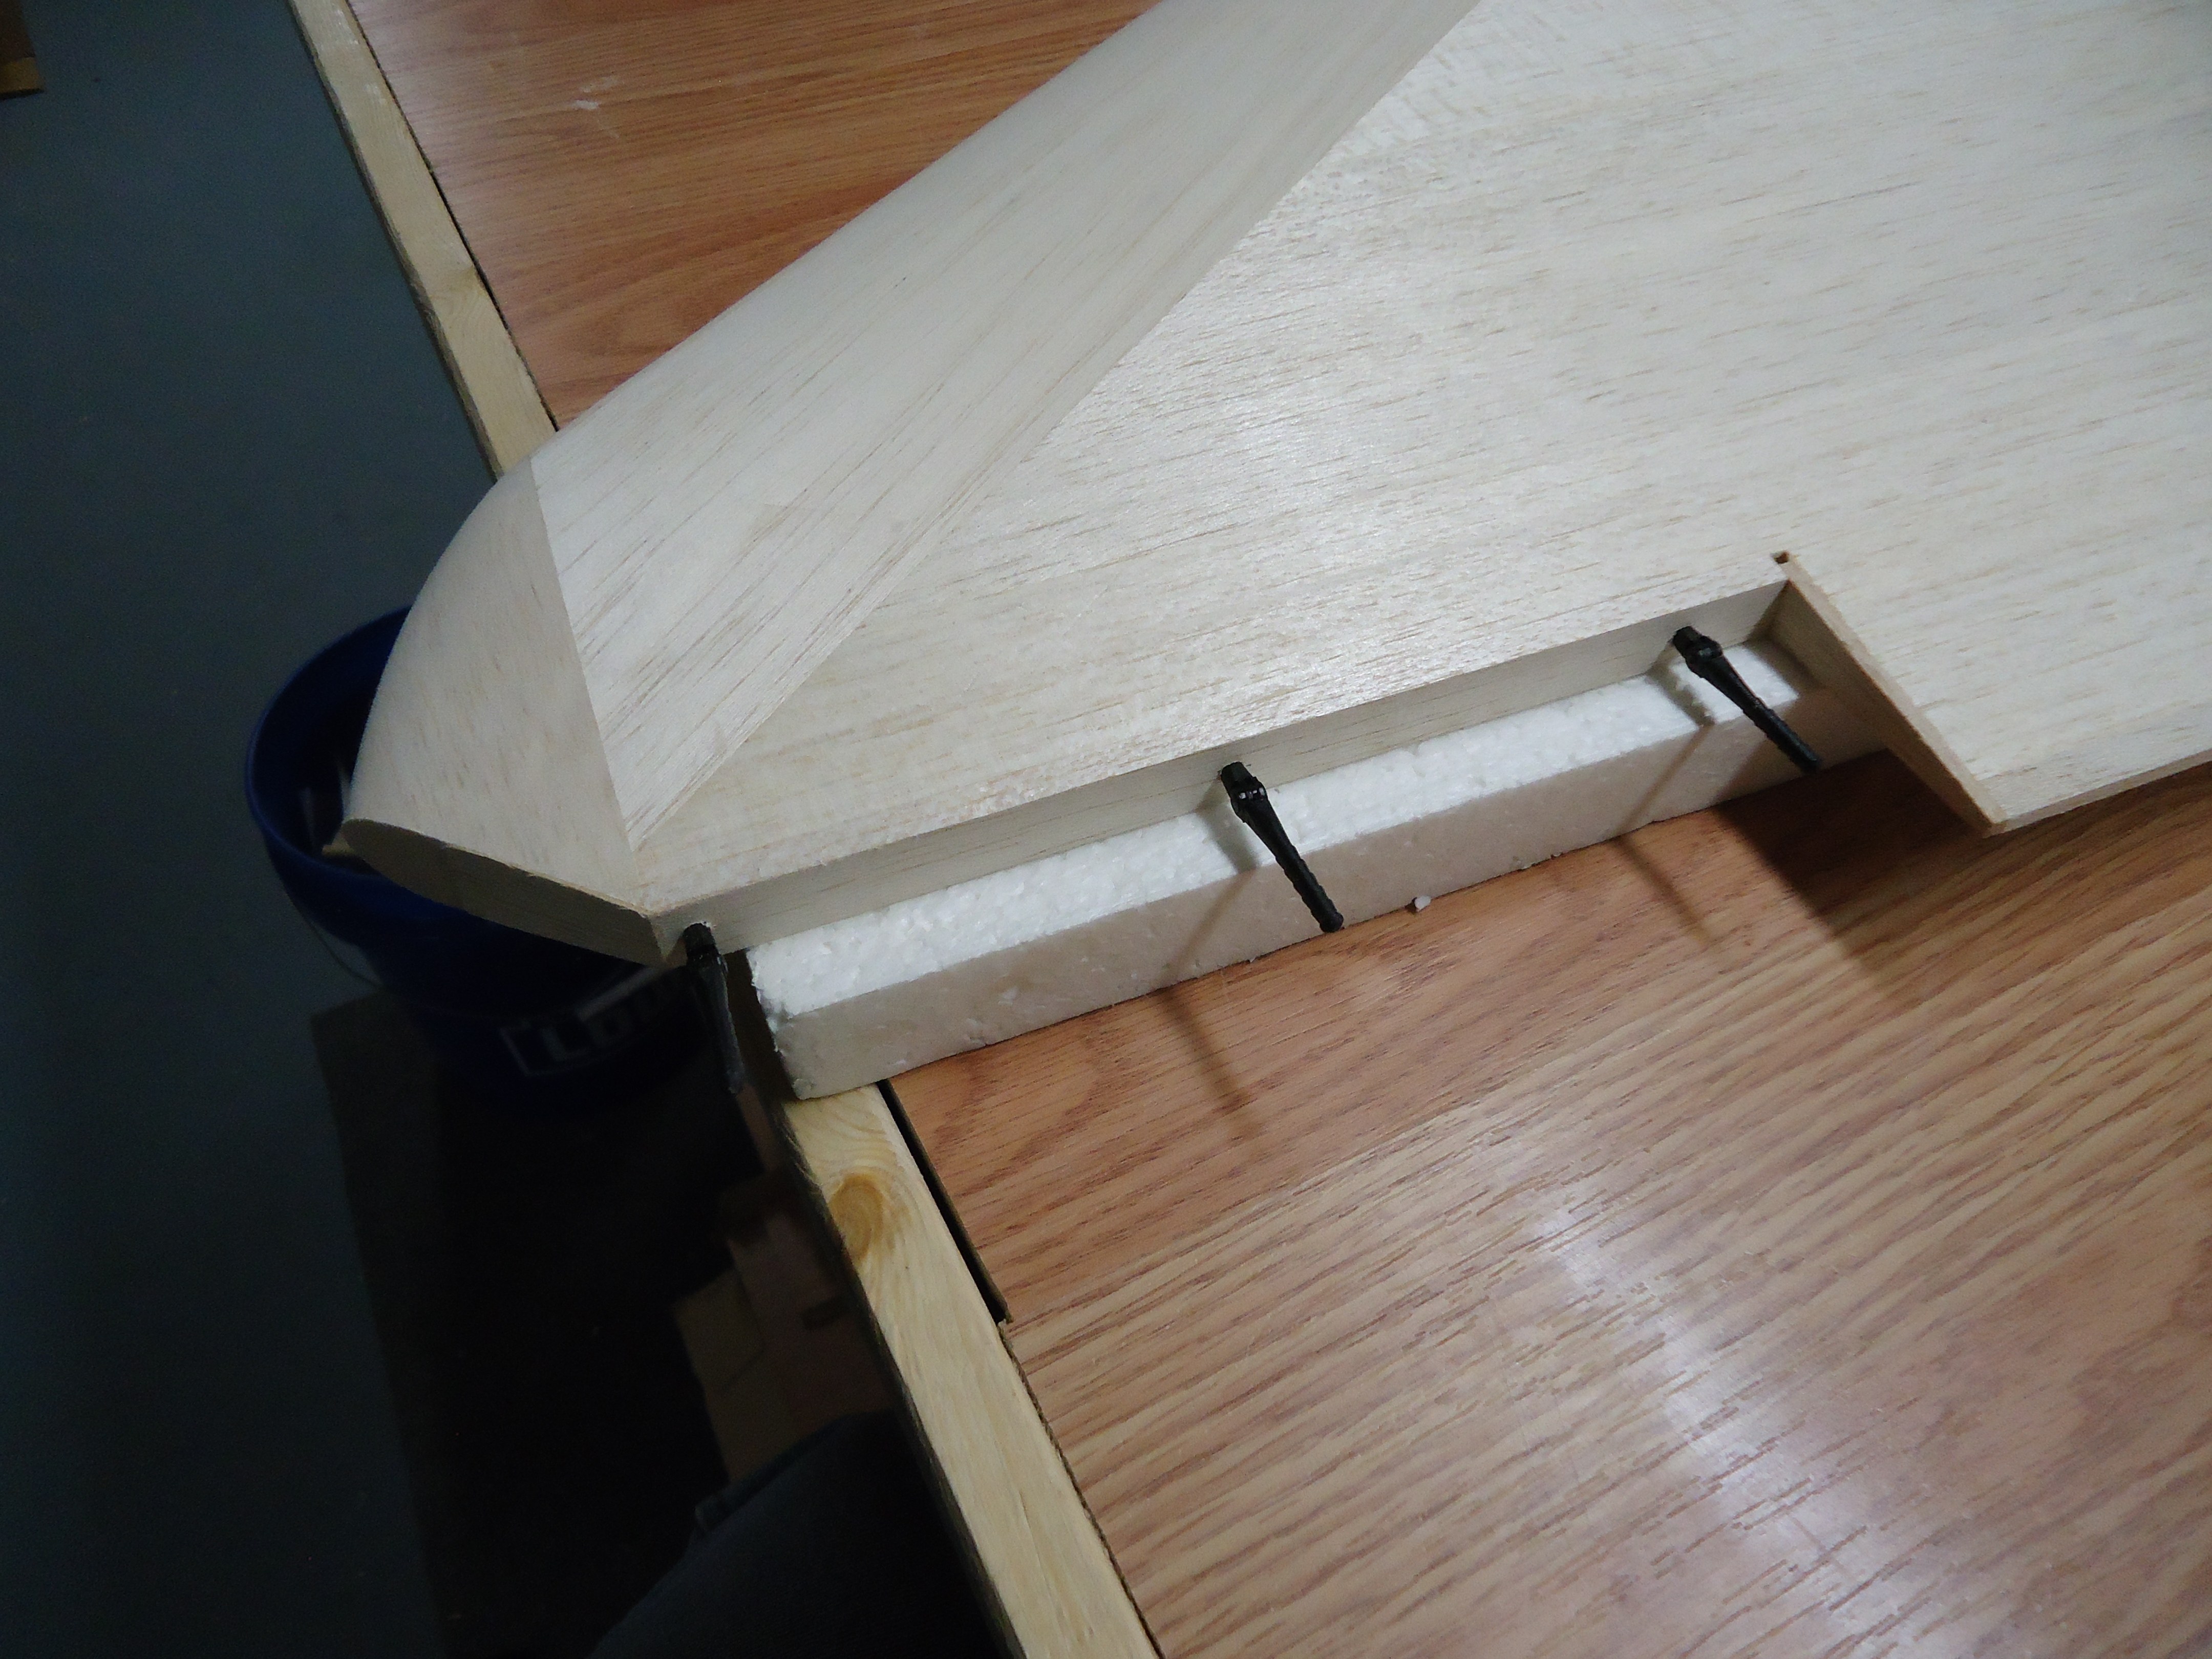 Begin by drilling your holes for the hinges into the wing. Make sure to leave room for them to move freely.
 Then with a bit of magic you can install the aileron onto the other end of the hinges. Make sure to sink the knuckles of the hinges in enough that they aileron fits nicely to the wing. After all, you don’t want your A4 to look like a dork with a giant gap in its wing. You might as well put a flannel shirt on it with a piece of straw hanging out of the intake.
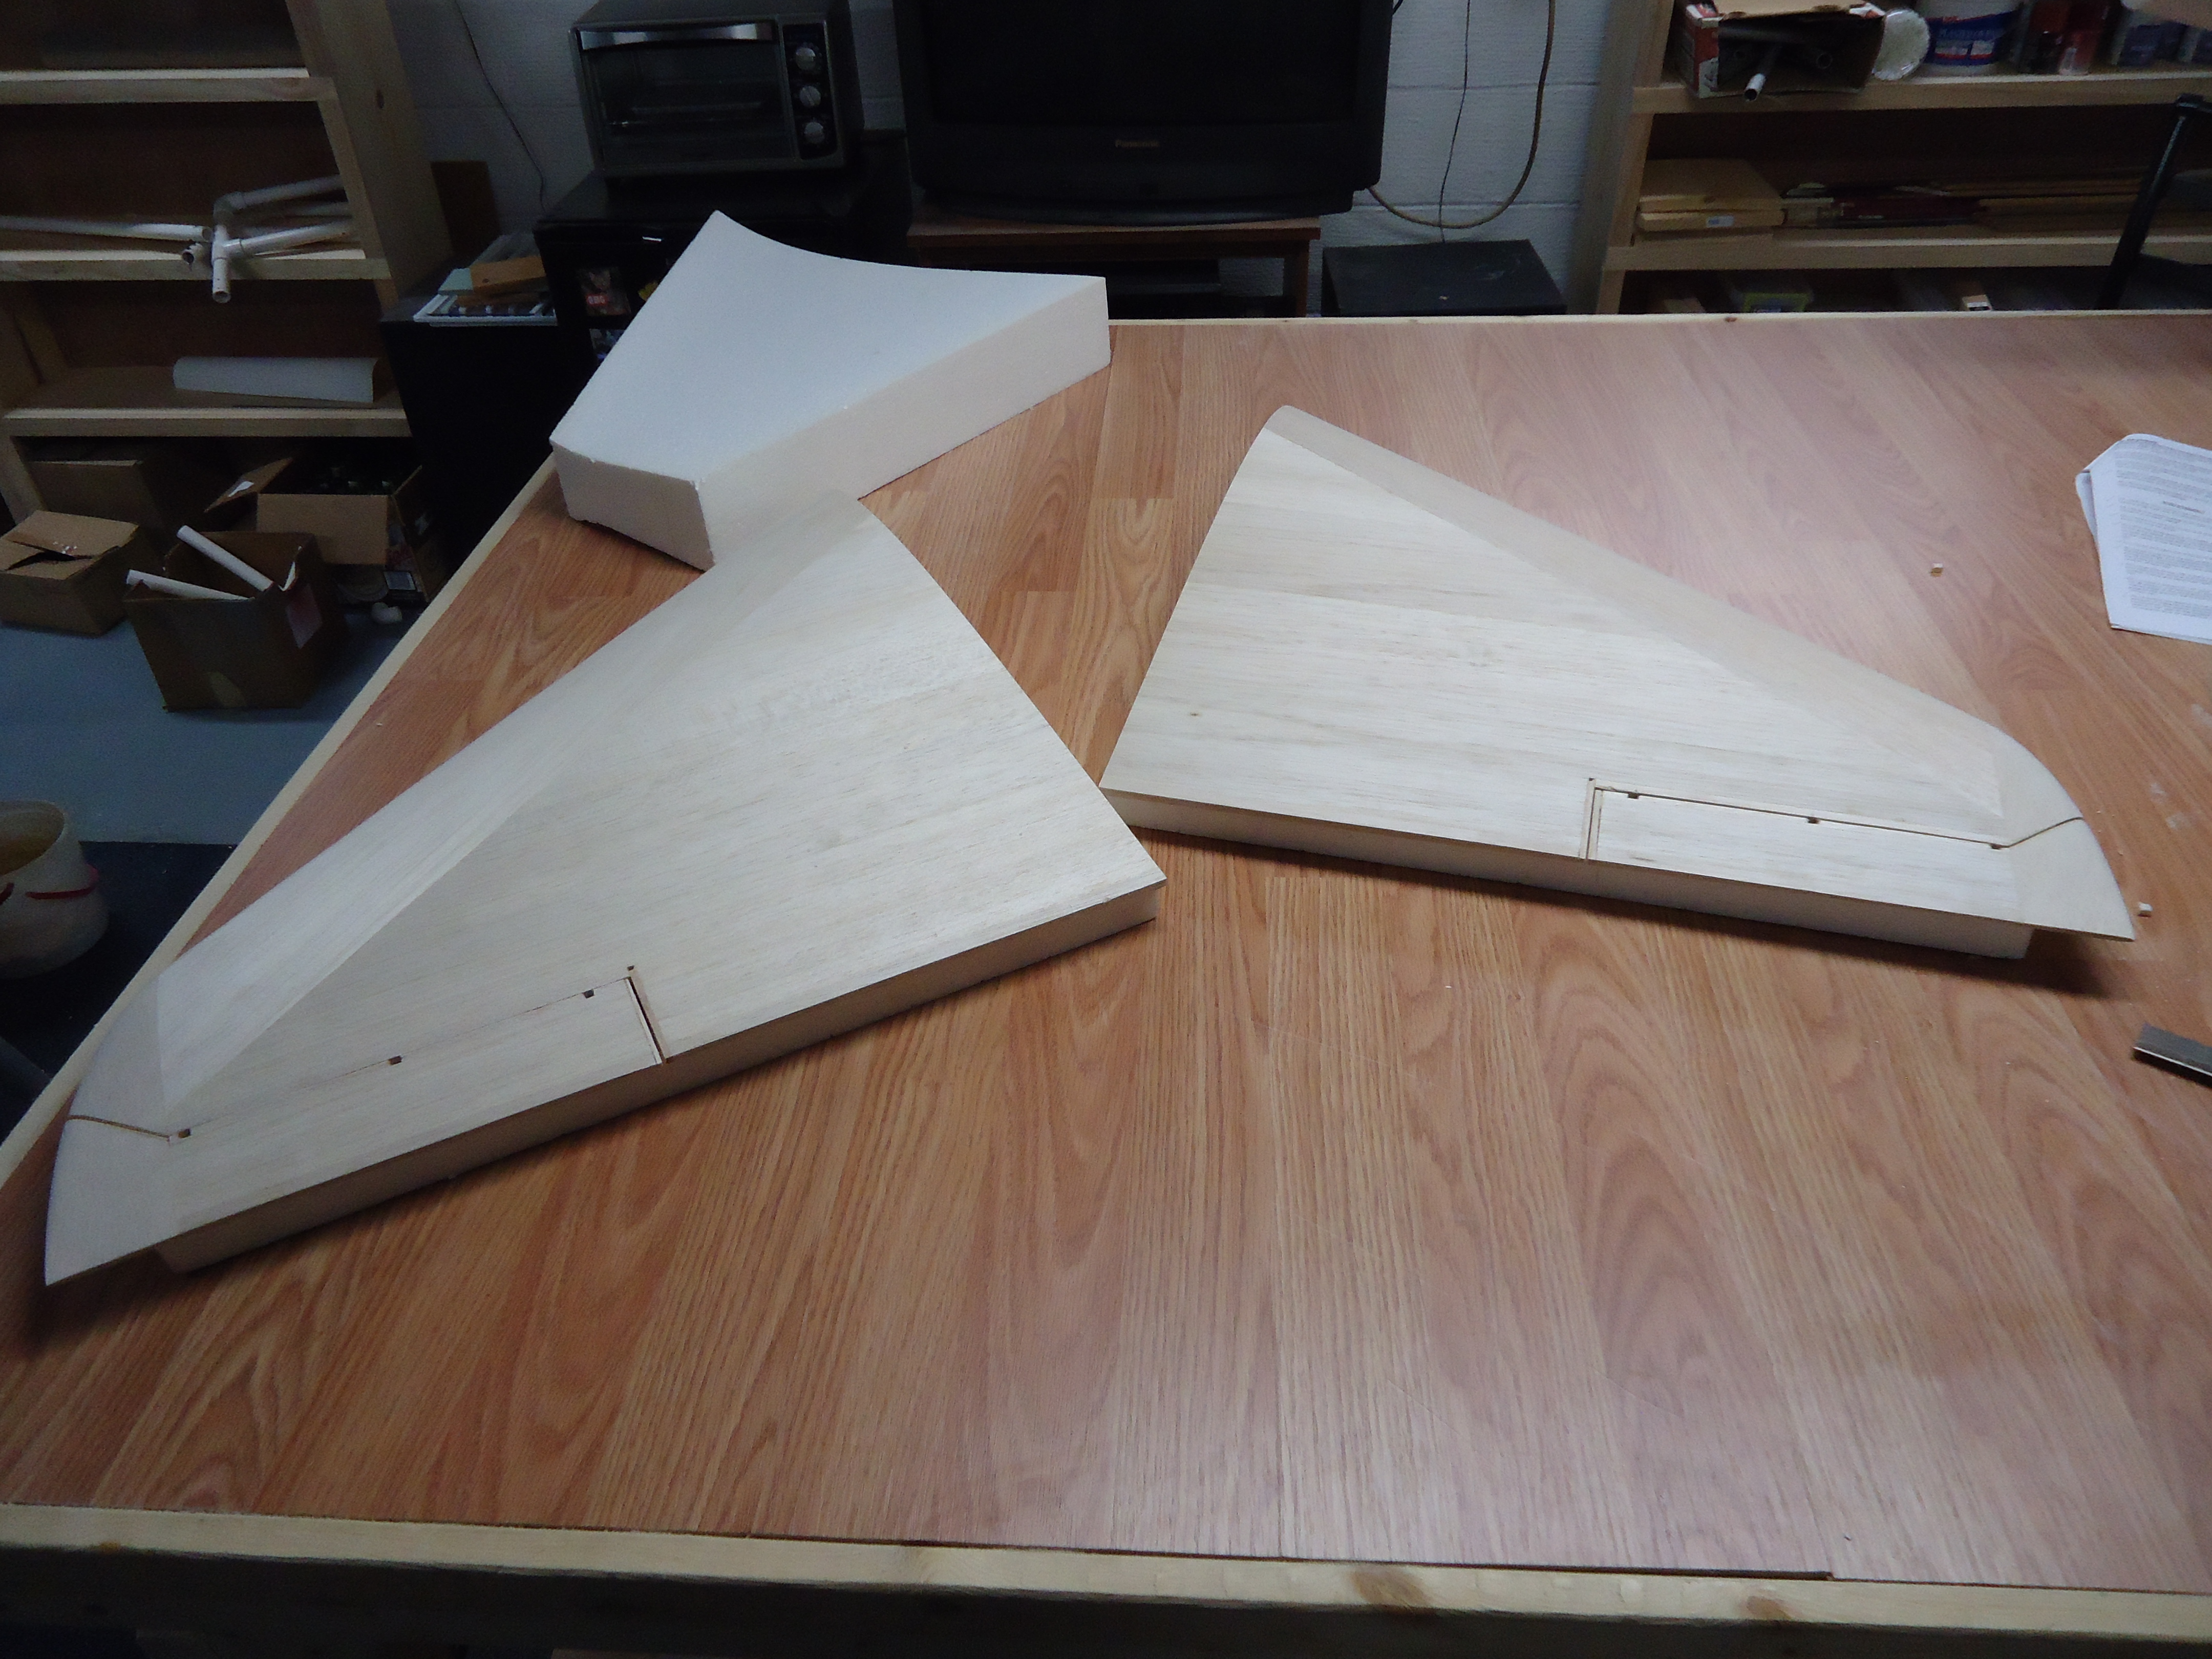 Ta-Da!!! You now have two wings with the ailerons hinged perfectly on them.
Now that we’ve finished that we must be done with the wings for now, right?
Nope.
 You need to keep your servos from falling out of their sockets. There’s nothing worse than trying to fly a plane with your servos showing. The other planes whisper among themselves and surmise that your parents definitely did not raise you right! Daddy A-10’s are covering their baby A-10’s eyes so that they don’t see the promiscuity being flaunted in front of them.
Now that the servos are demurely covered we are done with the wings. Right?
*flips through instruction booklet* Umm… yep. There isn’t anything else written about the wings.
Jay: “Jets need flaps!”
Me: “But the instructions don’t have anything in them about building flaps!”
Jay: “Instructions?! We don’t need no stinkin’ instructions!”
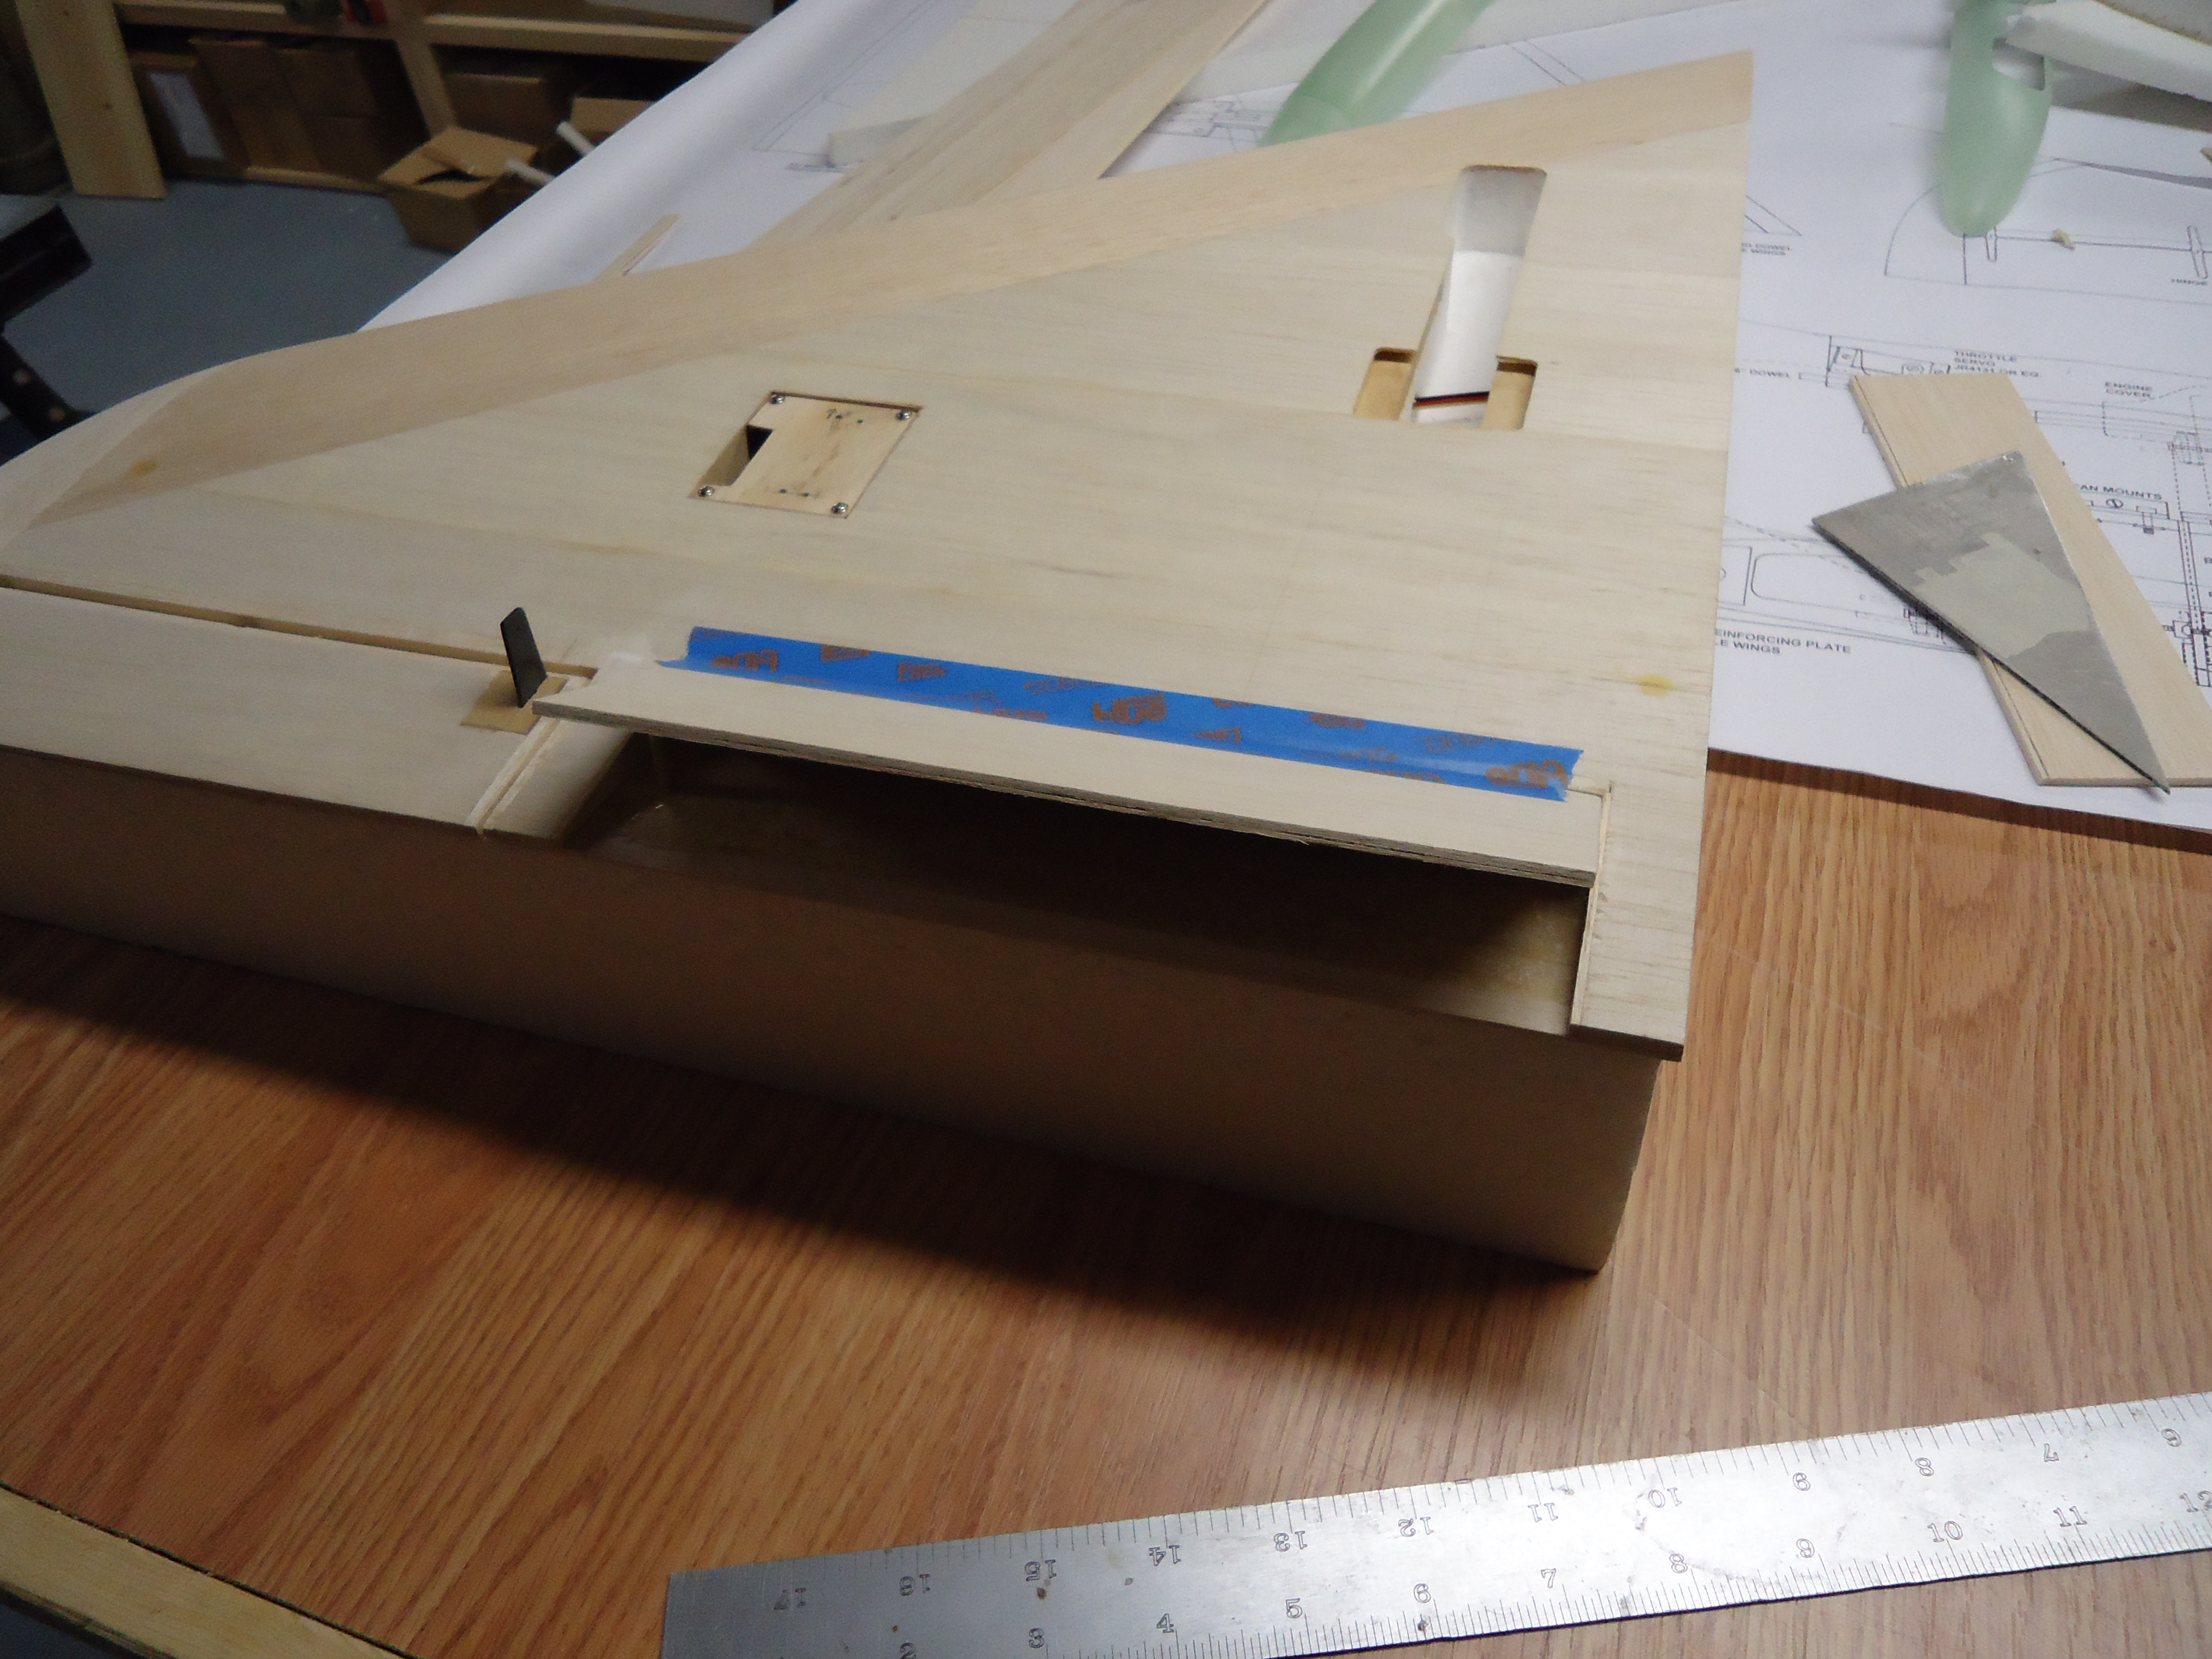
 After figuring out where you want your flap to go, use your straight edge to cut into the wing. Remember to only cut into the top layer of balsa and the foam underneath it. Should you cut too far then you will have to go find a Kleenex to dry your tears of frustration when you realize all of the extra work you’ve created for yourself. And grab a beer. You’ll probably want to drown your sorrows for a bit.
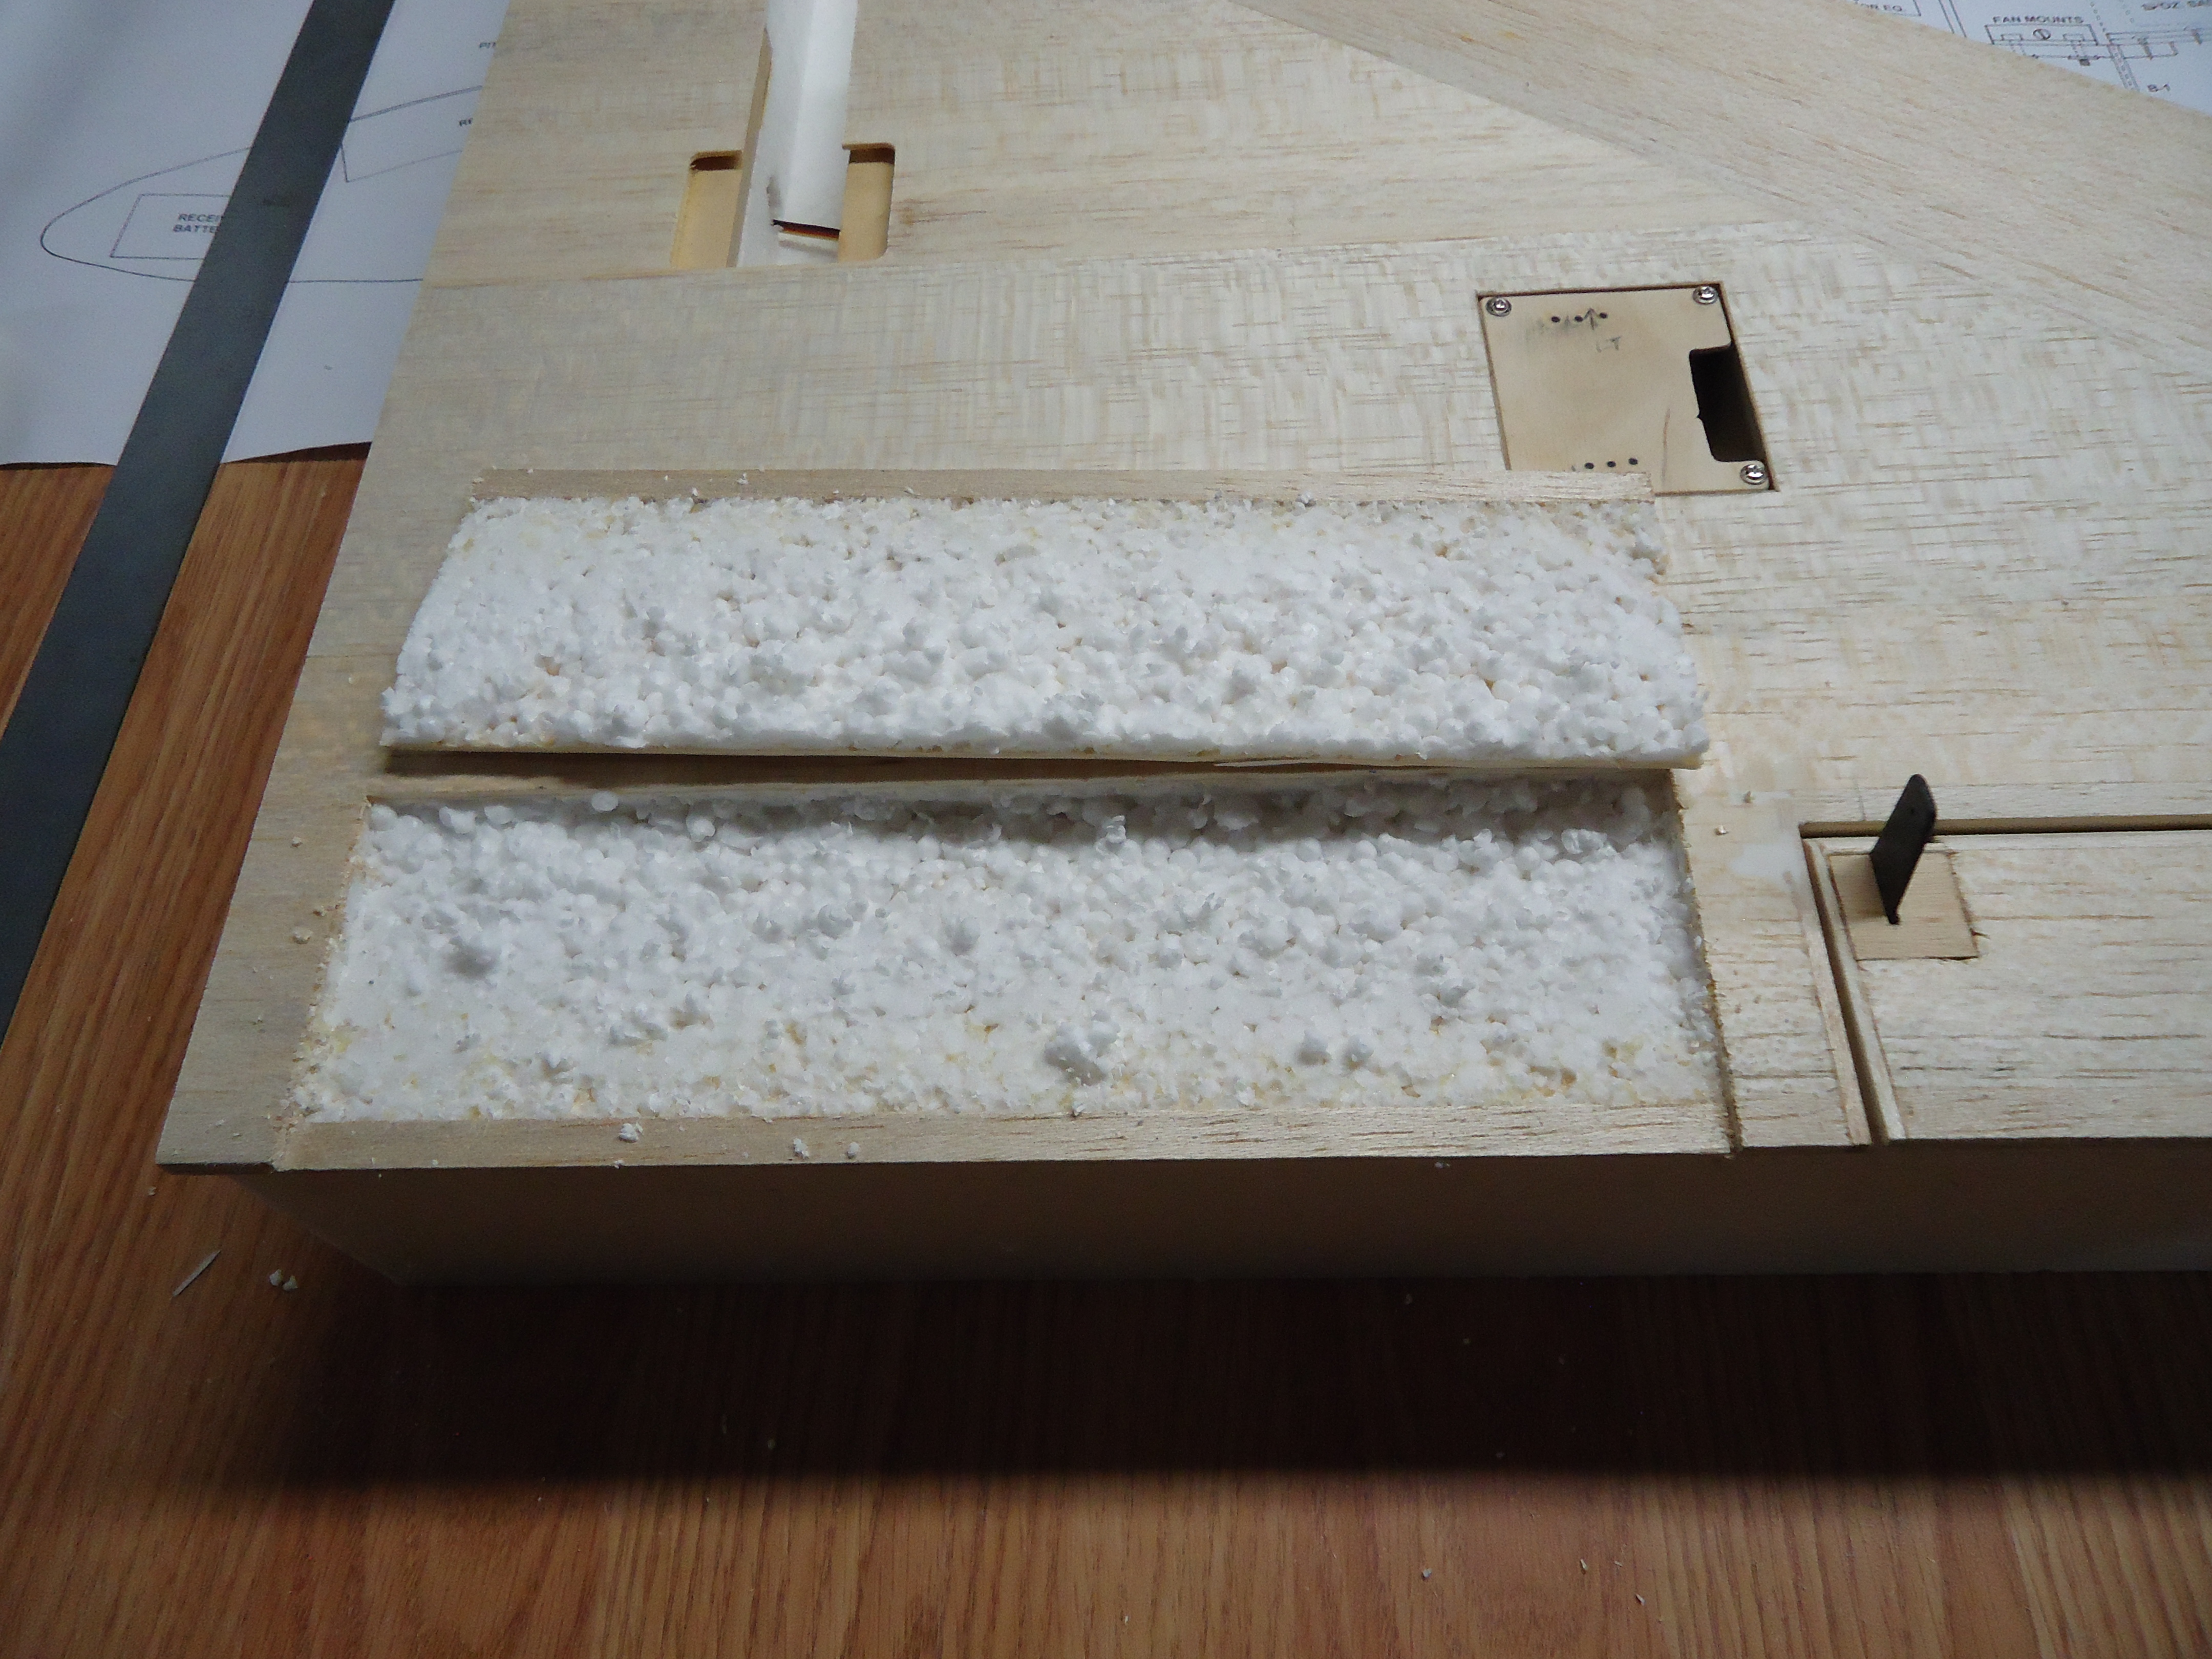 Don’t forget to cut the trailing edge so that you can cleanly remove the top layer of balsa. You should be able to peel this off like the rind off of an orange, except without the sticky residue.
Set the top layer of balsa aside for now.
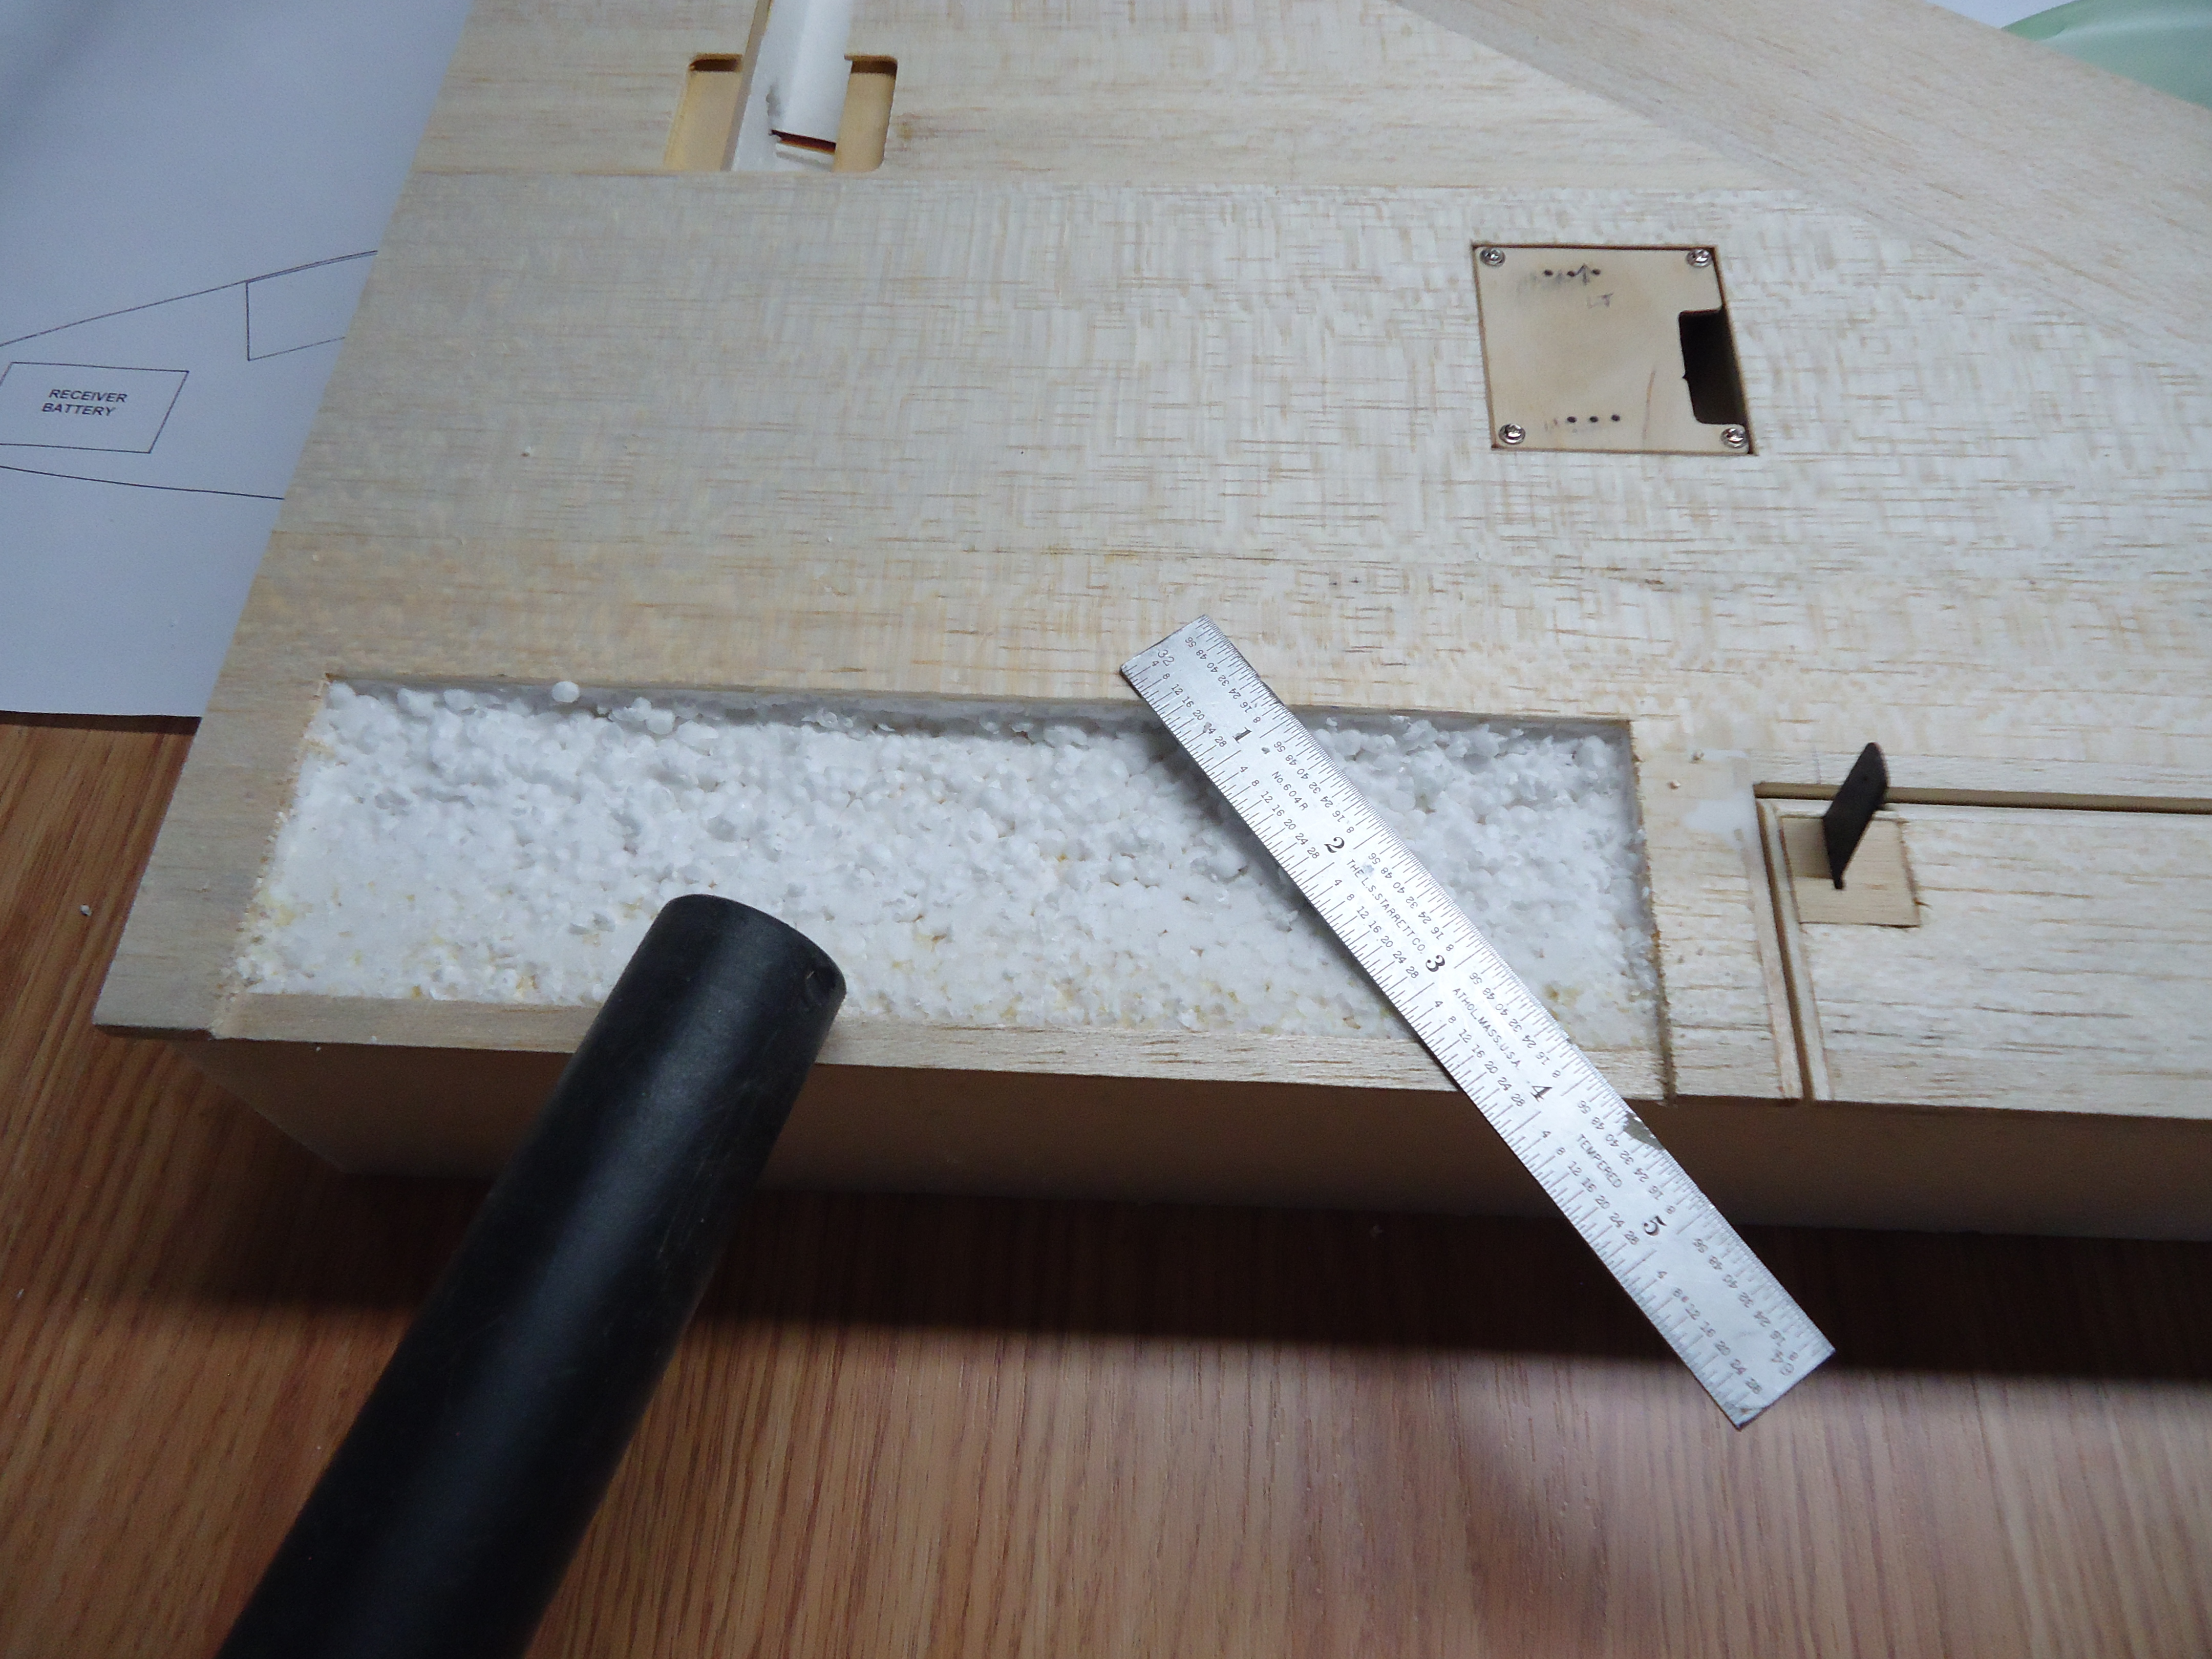 You will need to clean the foam out of this cavity that you are creating. There are probably many ways of doing this, but if you don’t want to spend the next three days finding little pieces of foam stuck to you in various places then use your shop vac. Have it turned on while you use something with an edge to clean it out.
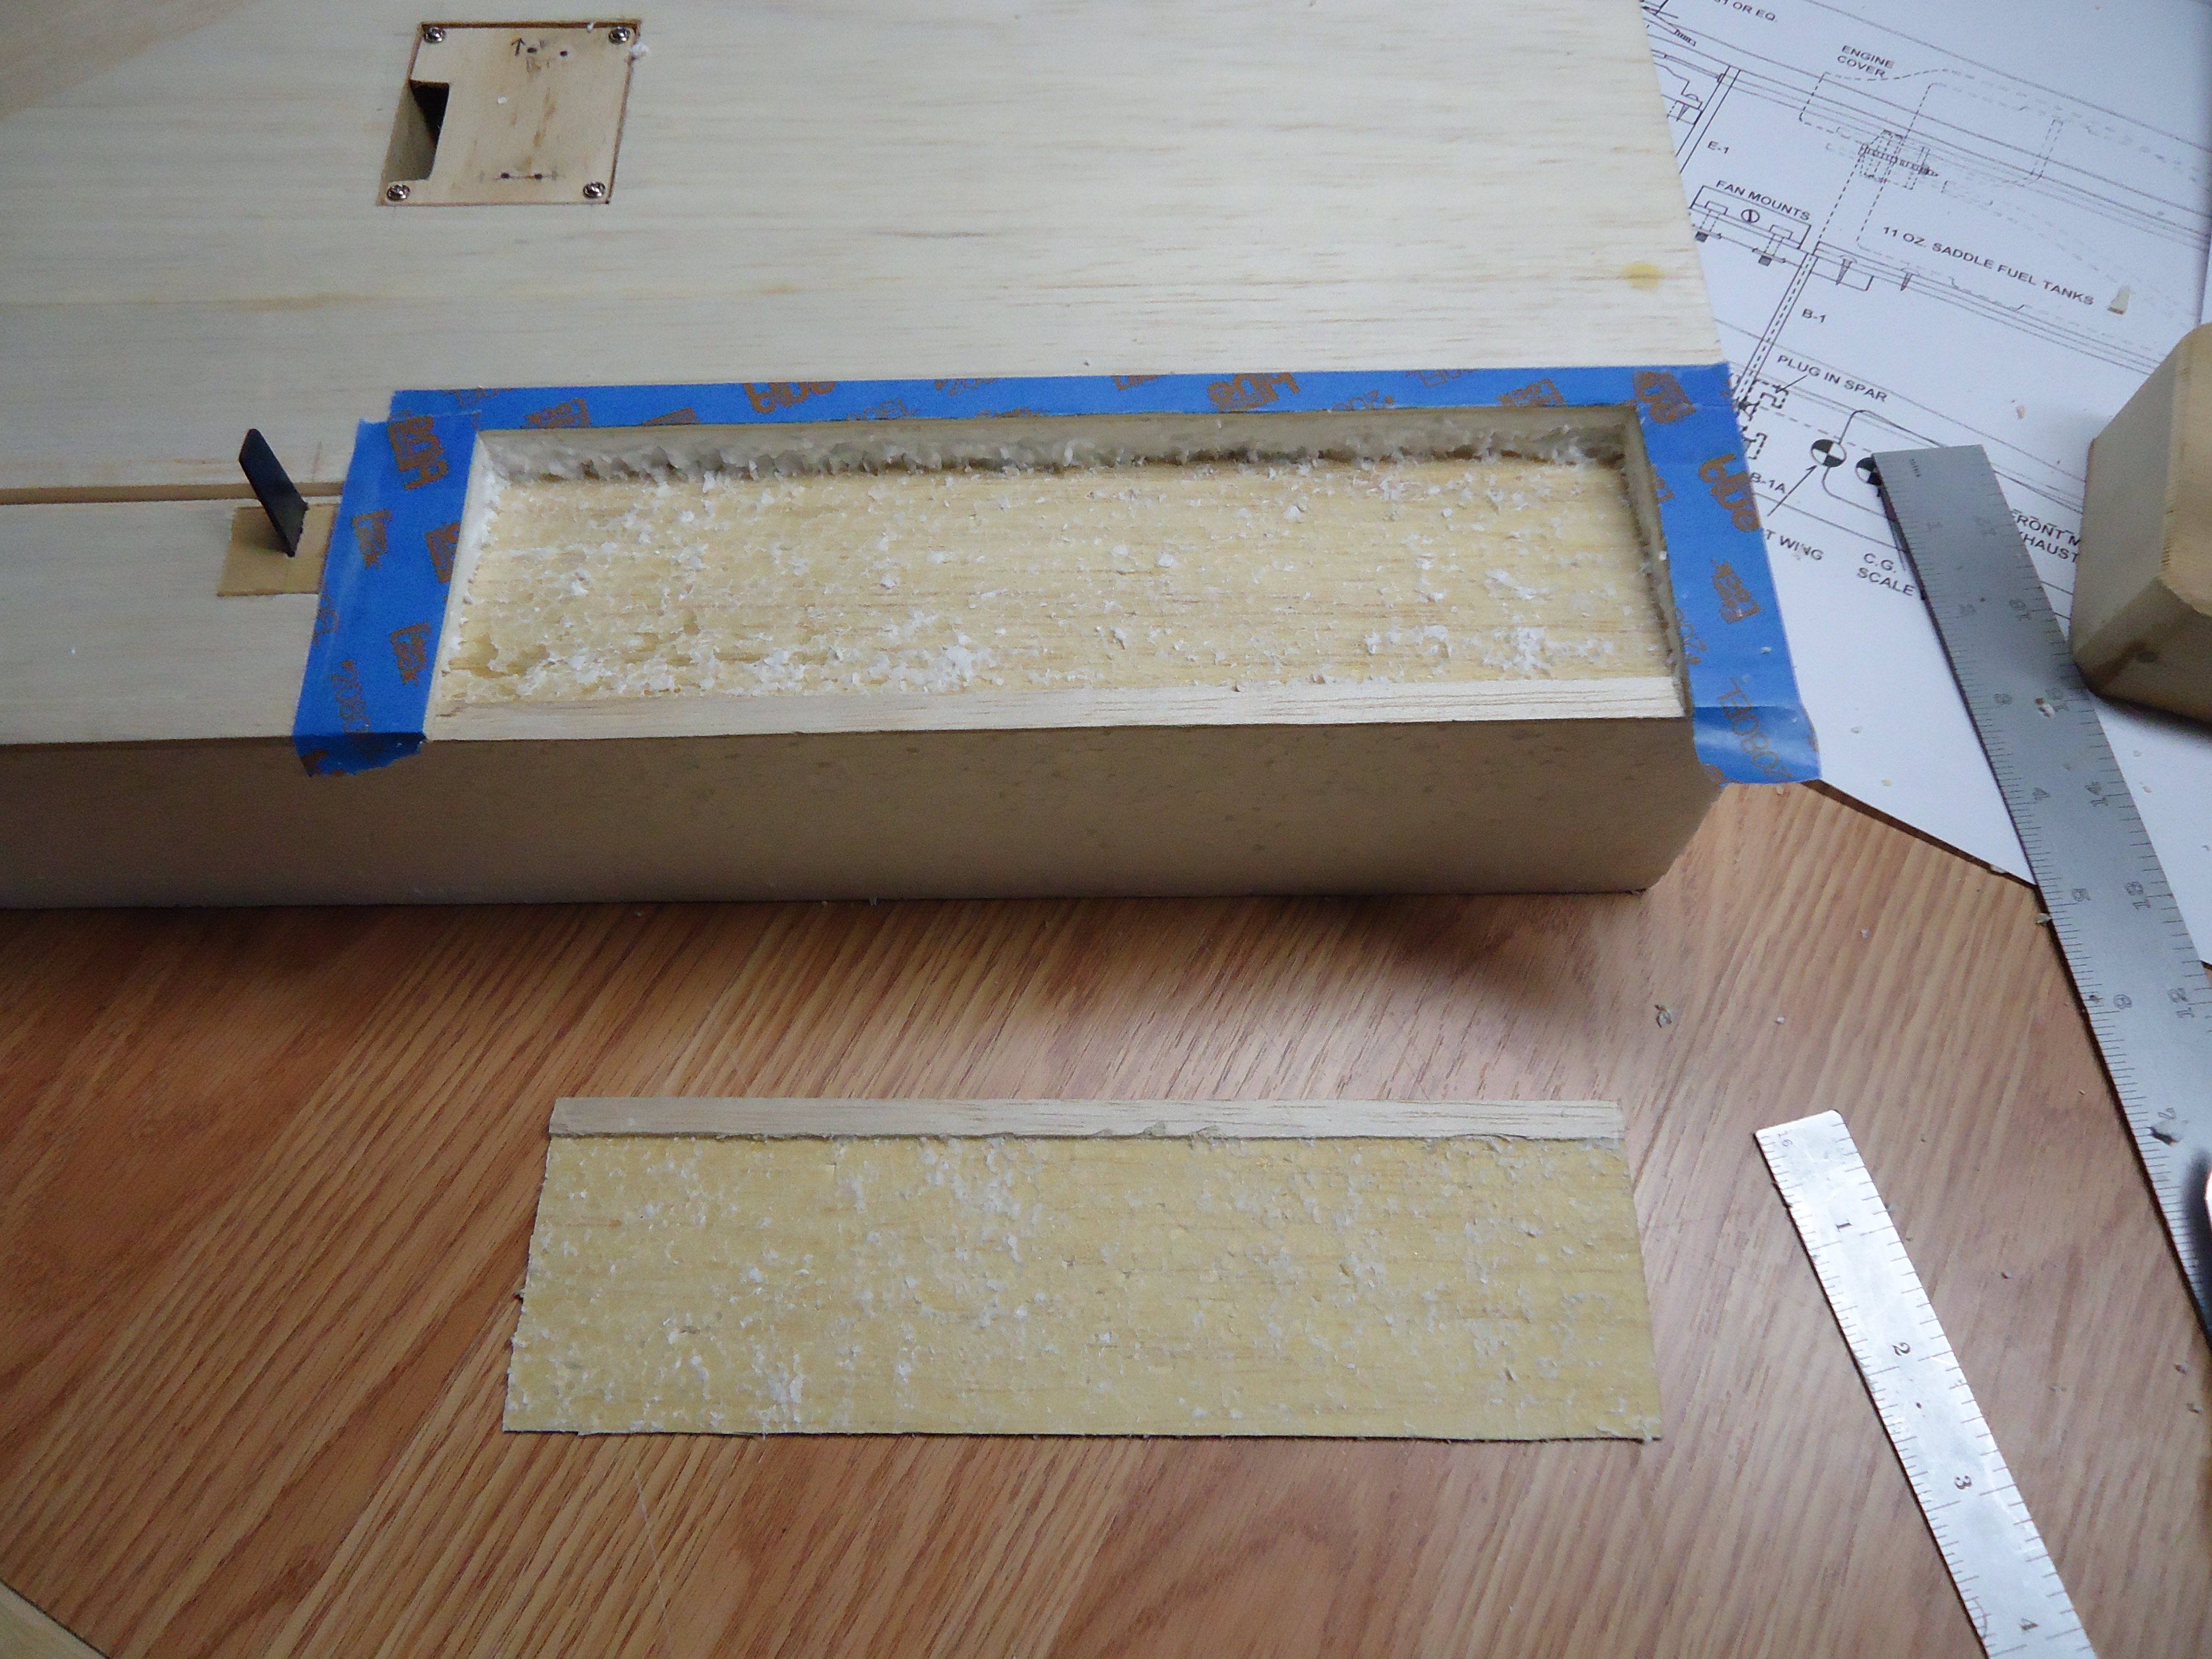 Make sure to also clean off the piece of balsa that you set aside earlier.
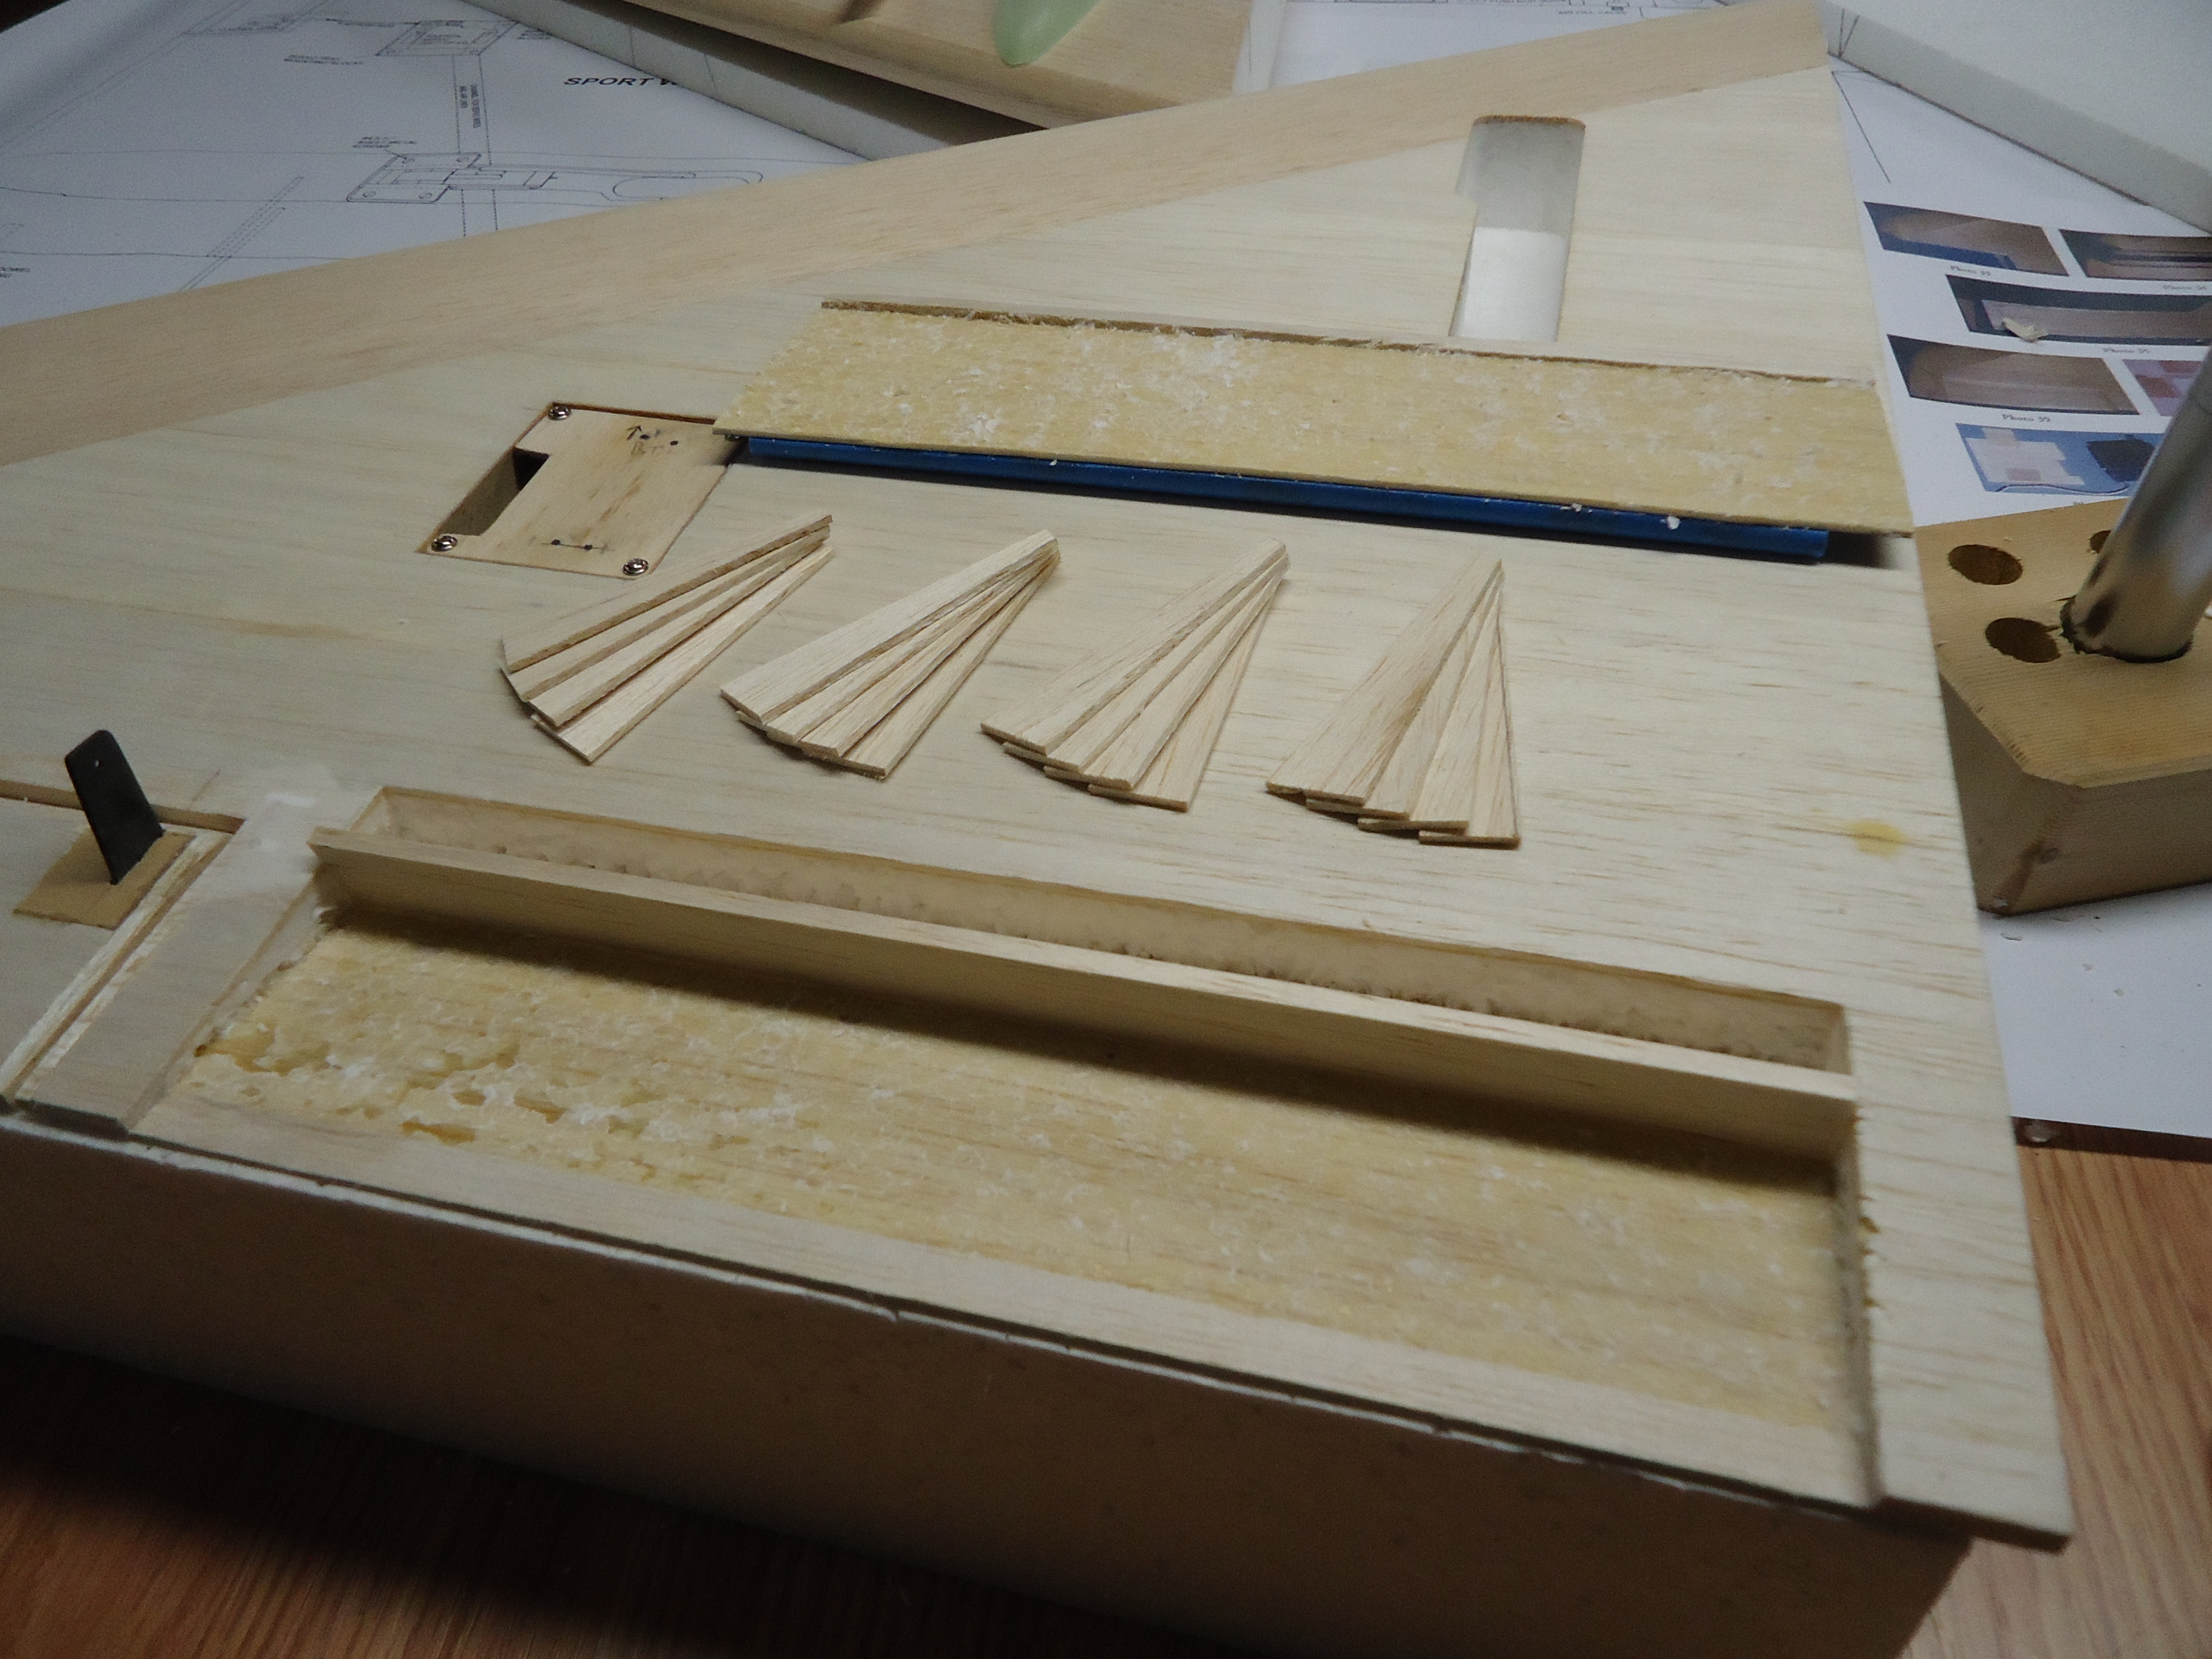 Use extra pieces of balsa that you have sitting around to line the sides of the cavity where the flap will rest when it’s not deployed.
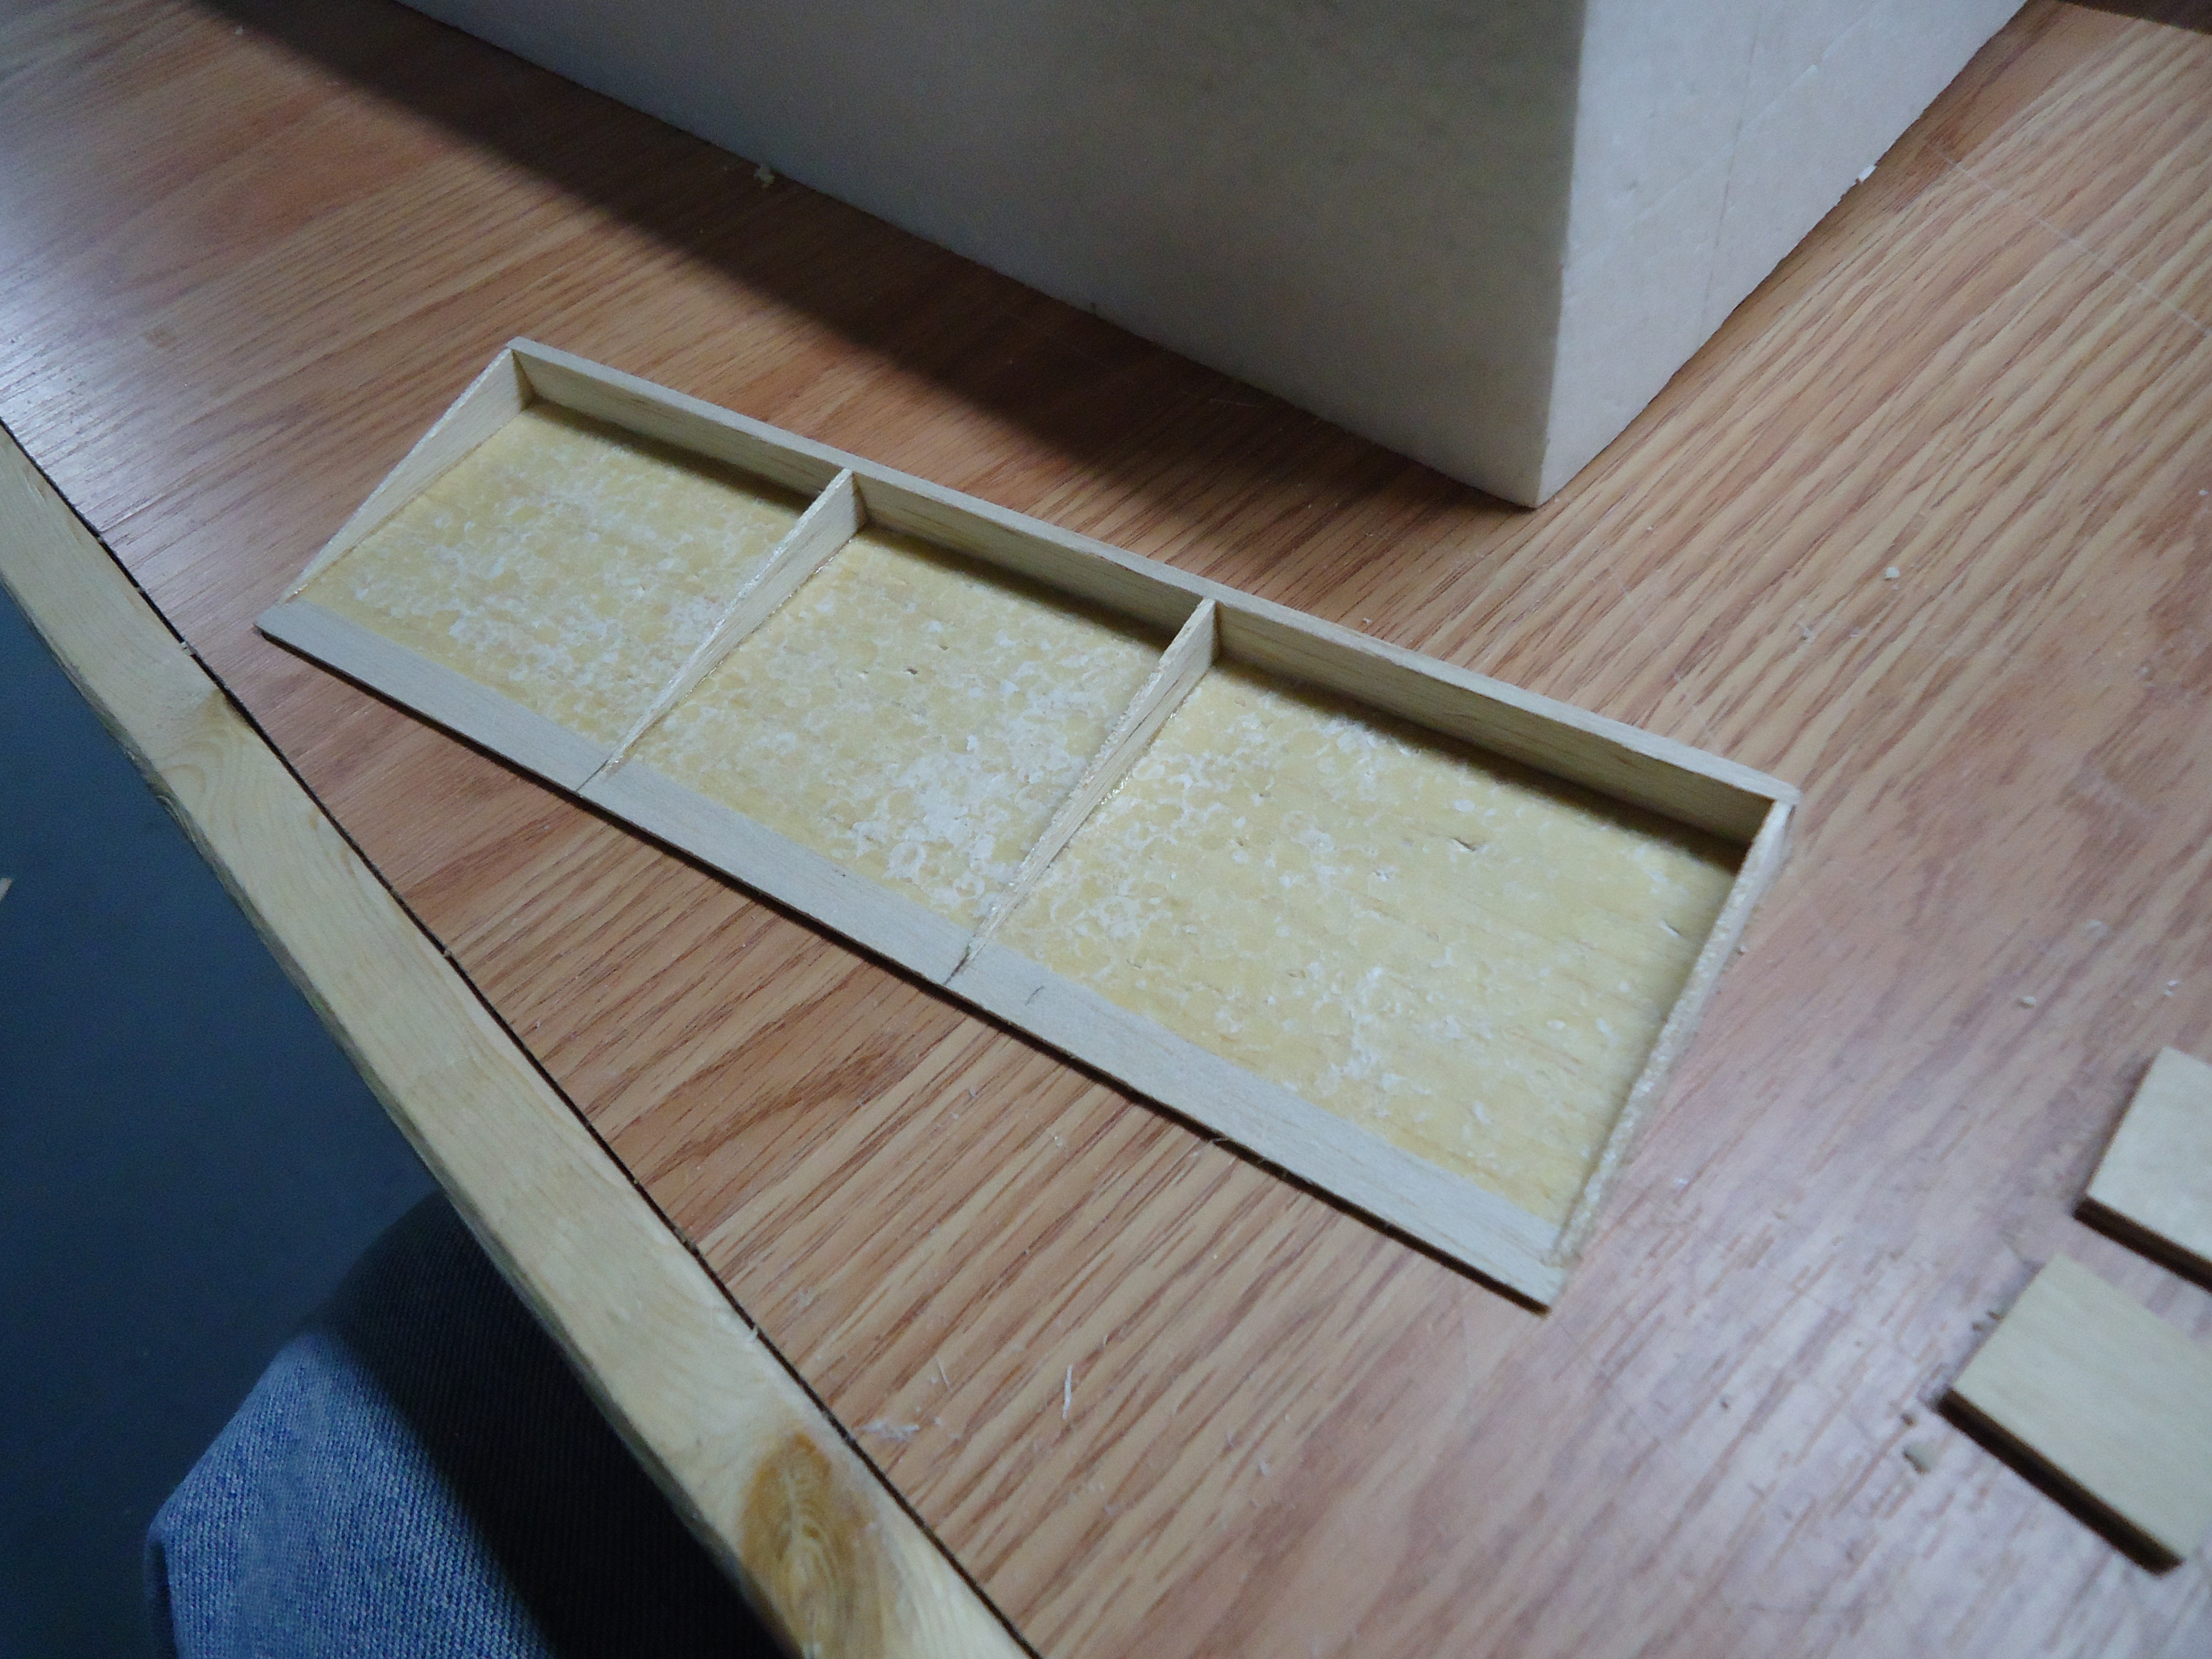 On the piece of balsa that you cut off use your building skills to box it in and trim it to size. If you don’t have any building skills and have followed up to this point… refer to the bag of kindling in the previous post. You might want to use it now.
Oh, and don’t forget to add the reinforced spot for your control horn.
 You can dry fit it and tape it into its place. We are done working with the flaps for now (at least, I assume we are since I don’t have any more pictures for them…)
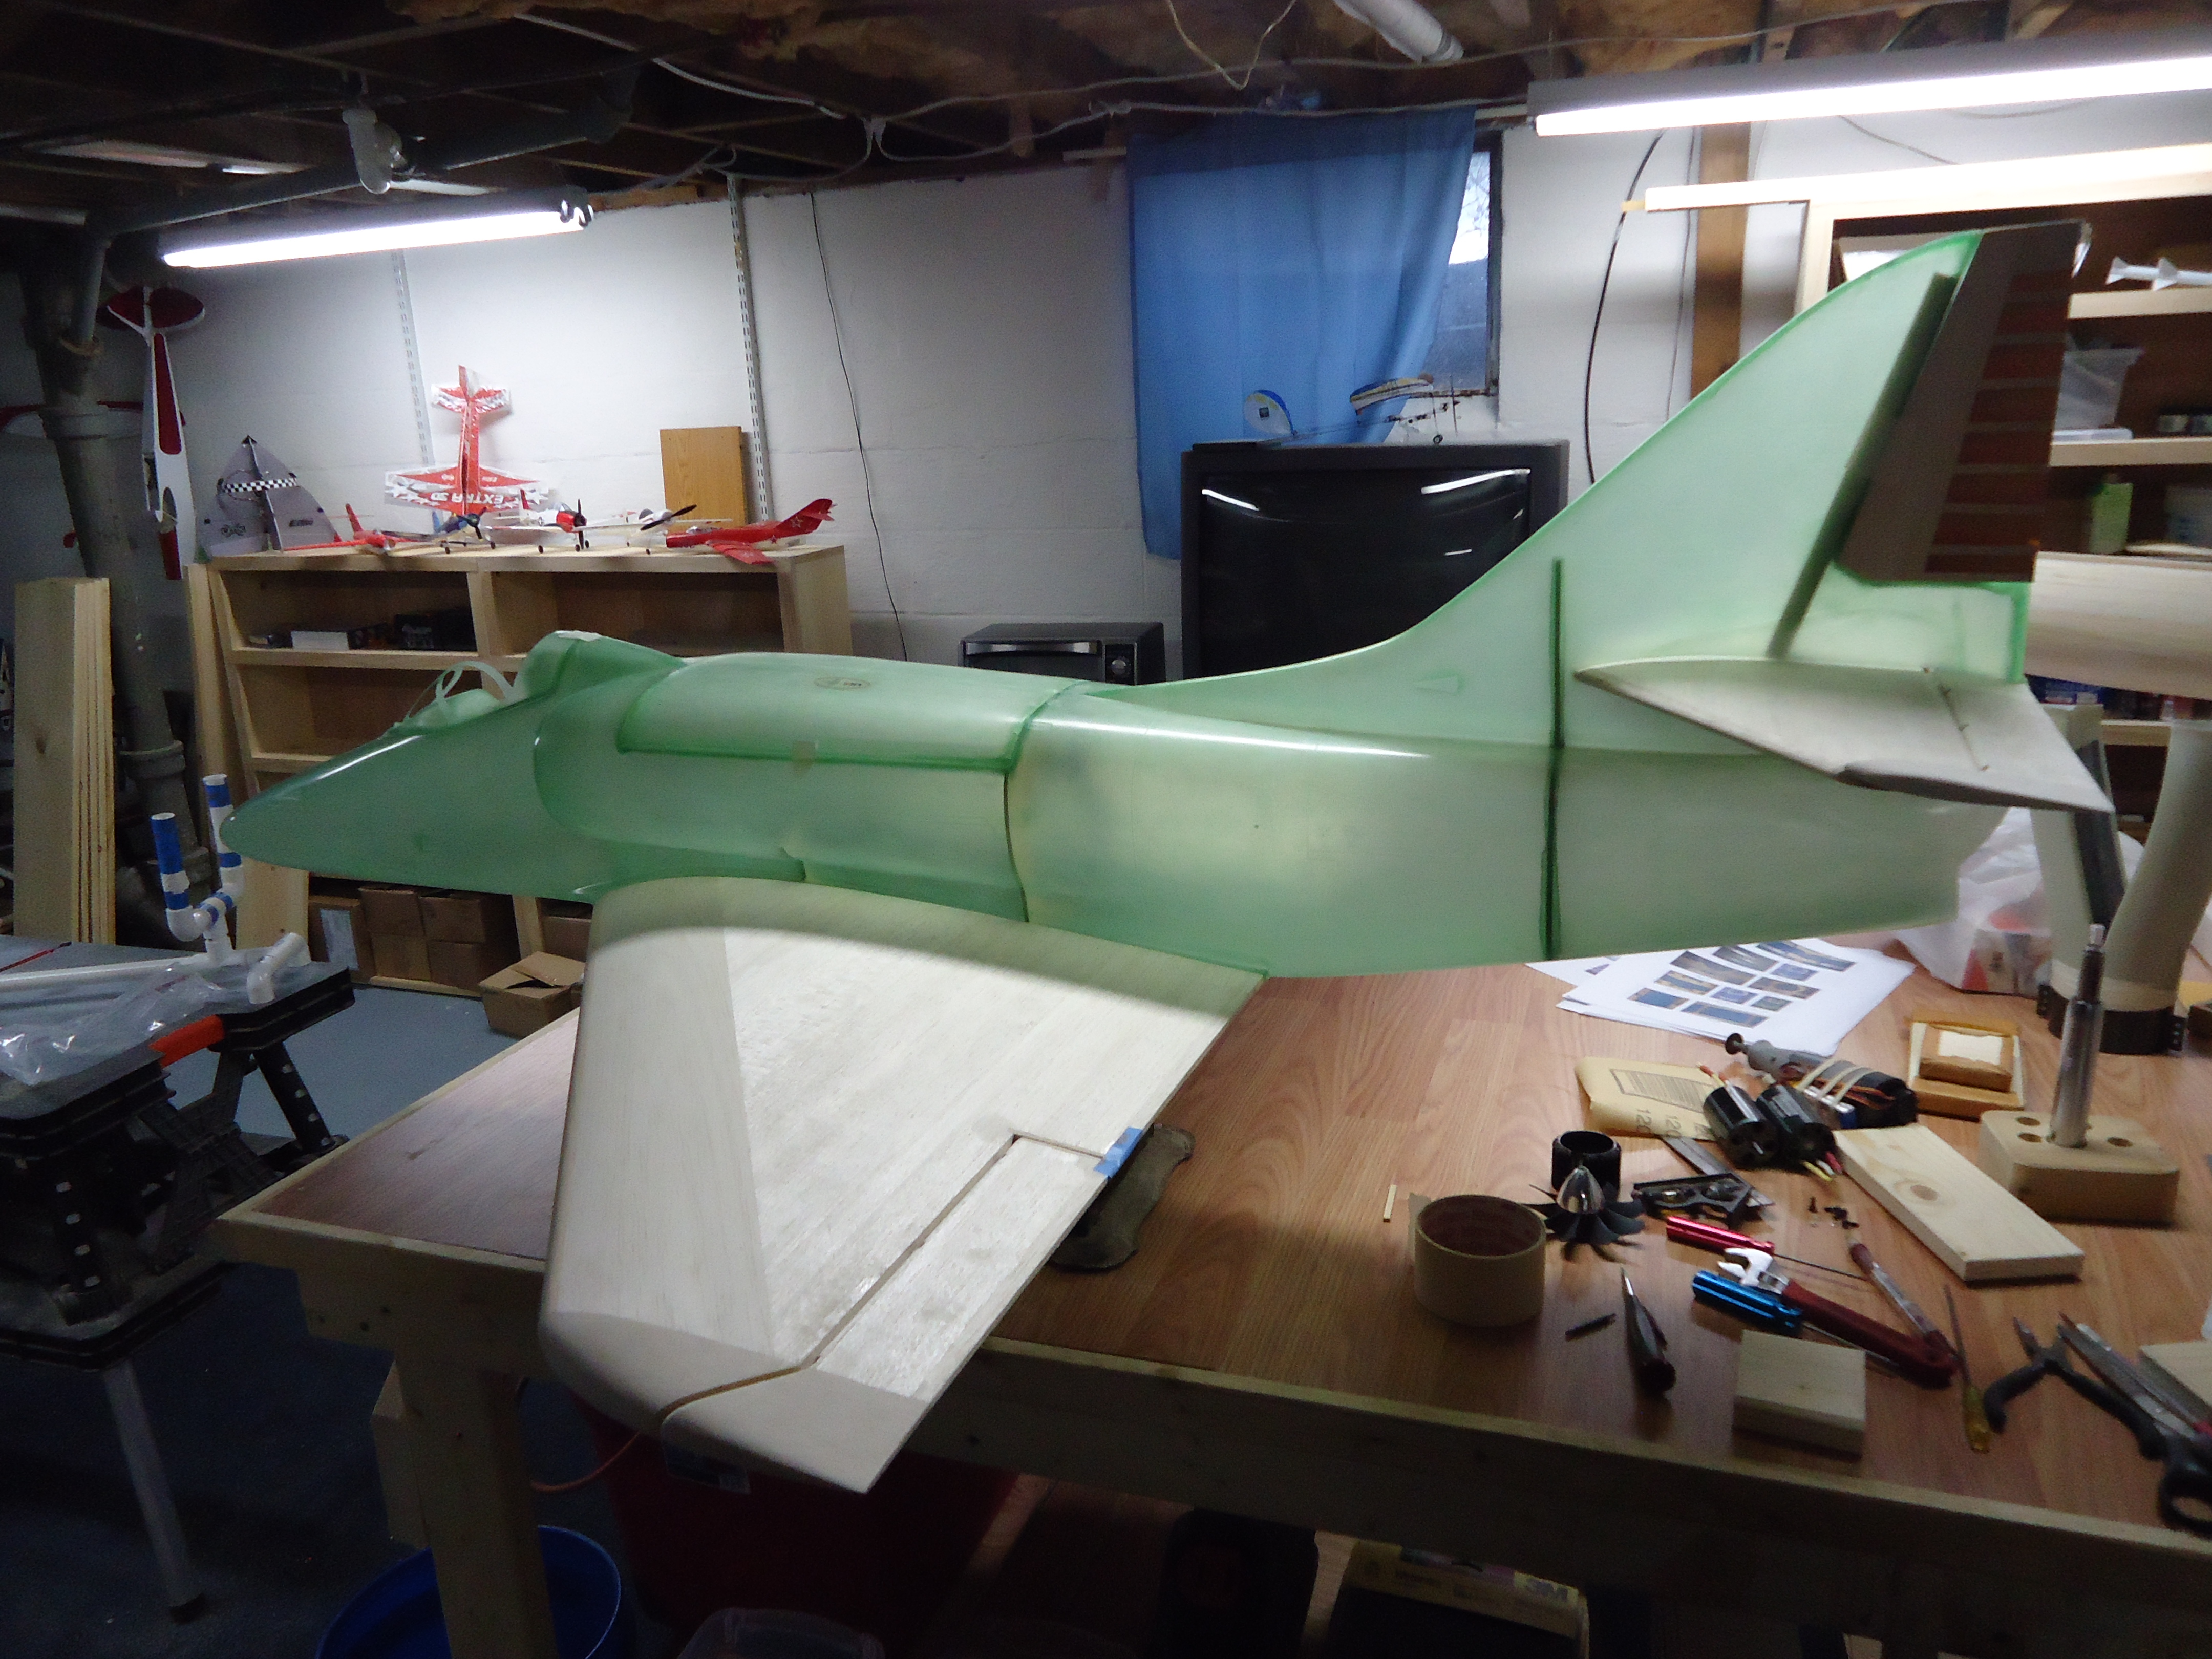
Your A4 is beginning to take shape! With smiling and happy wings, a whale tail, and kindling-rudder you can almost hear the wind whistling over the surfaces as it does an inverted low pass….
Hmm… turns out the sound you hear is the whistling of wind through the empty fuselage. Not to fear! We will soon remedy that! If you’ve always wanted to be a proctologist, now is your chance. In our next post we will be taking it up the pipe….
