Yellow A4 Skyhawk Project – EDF

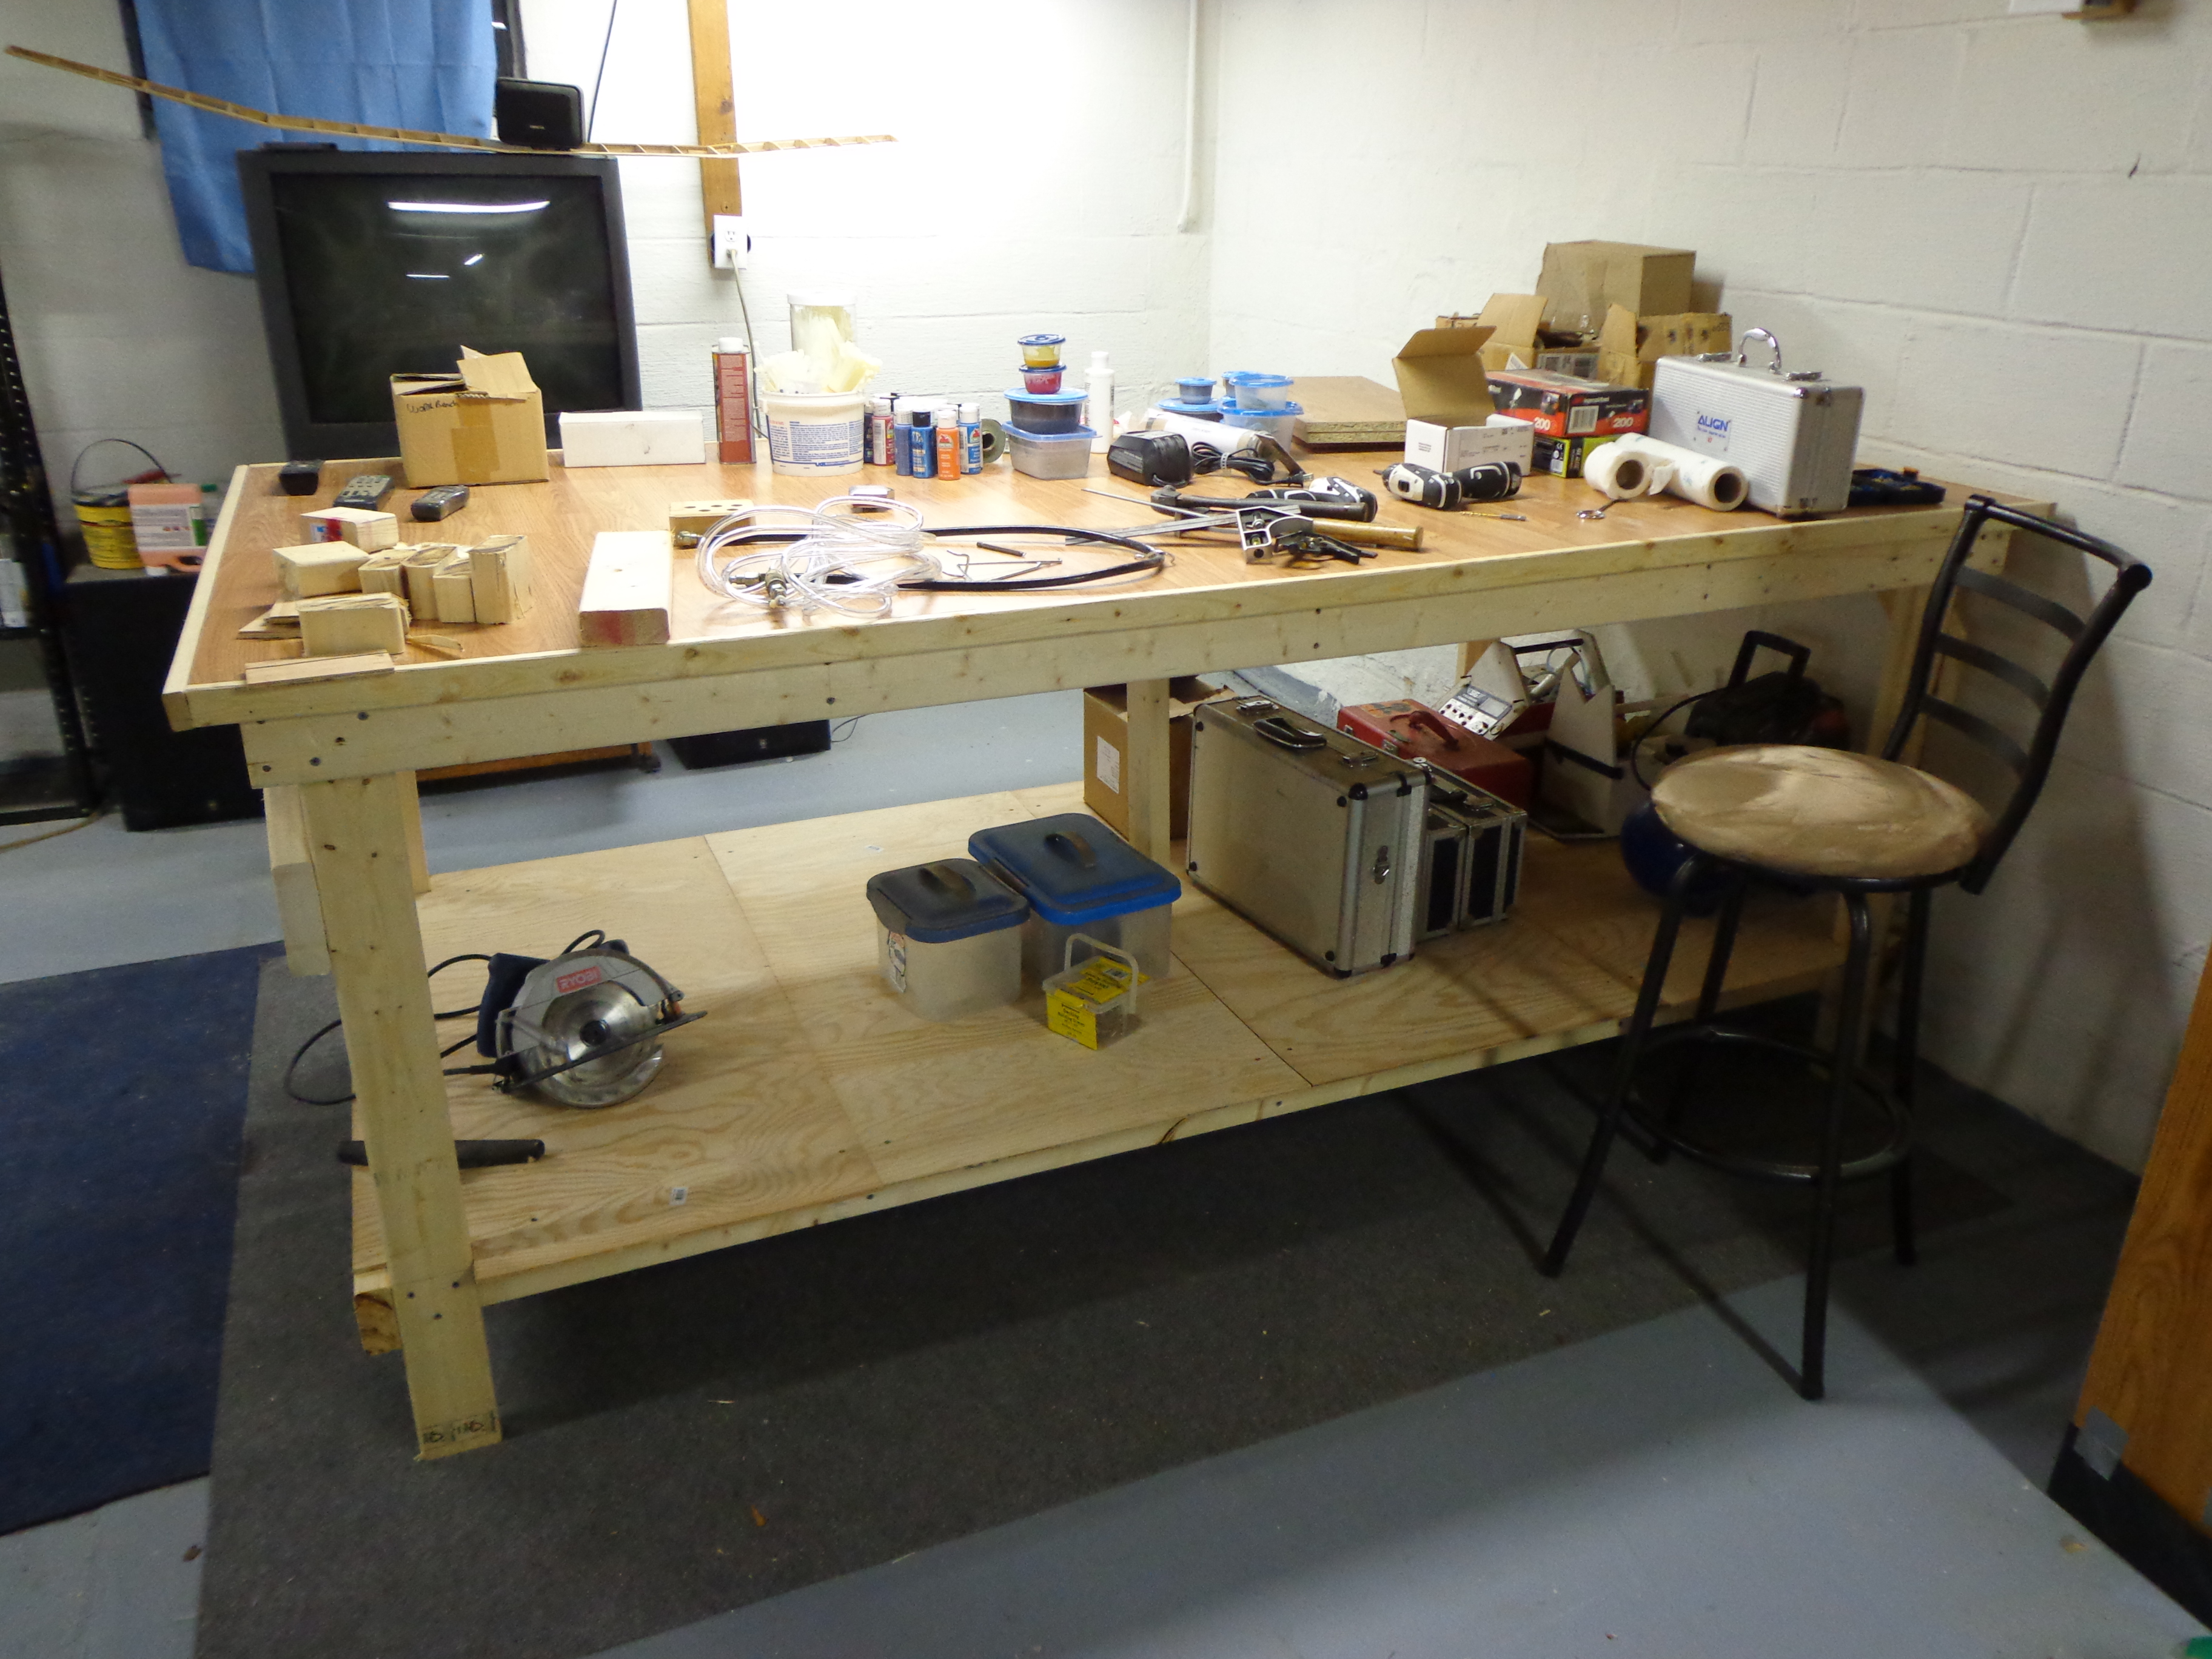
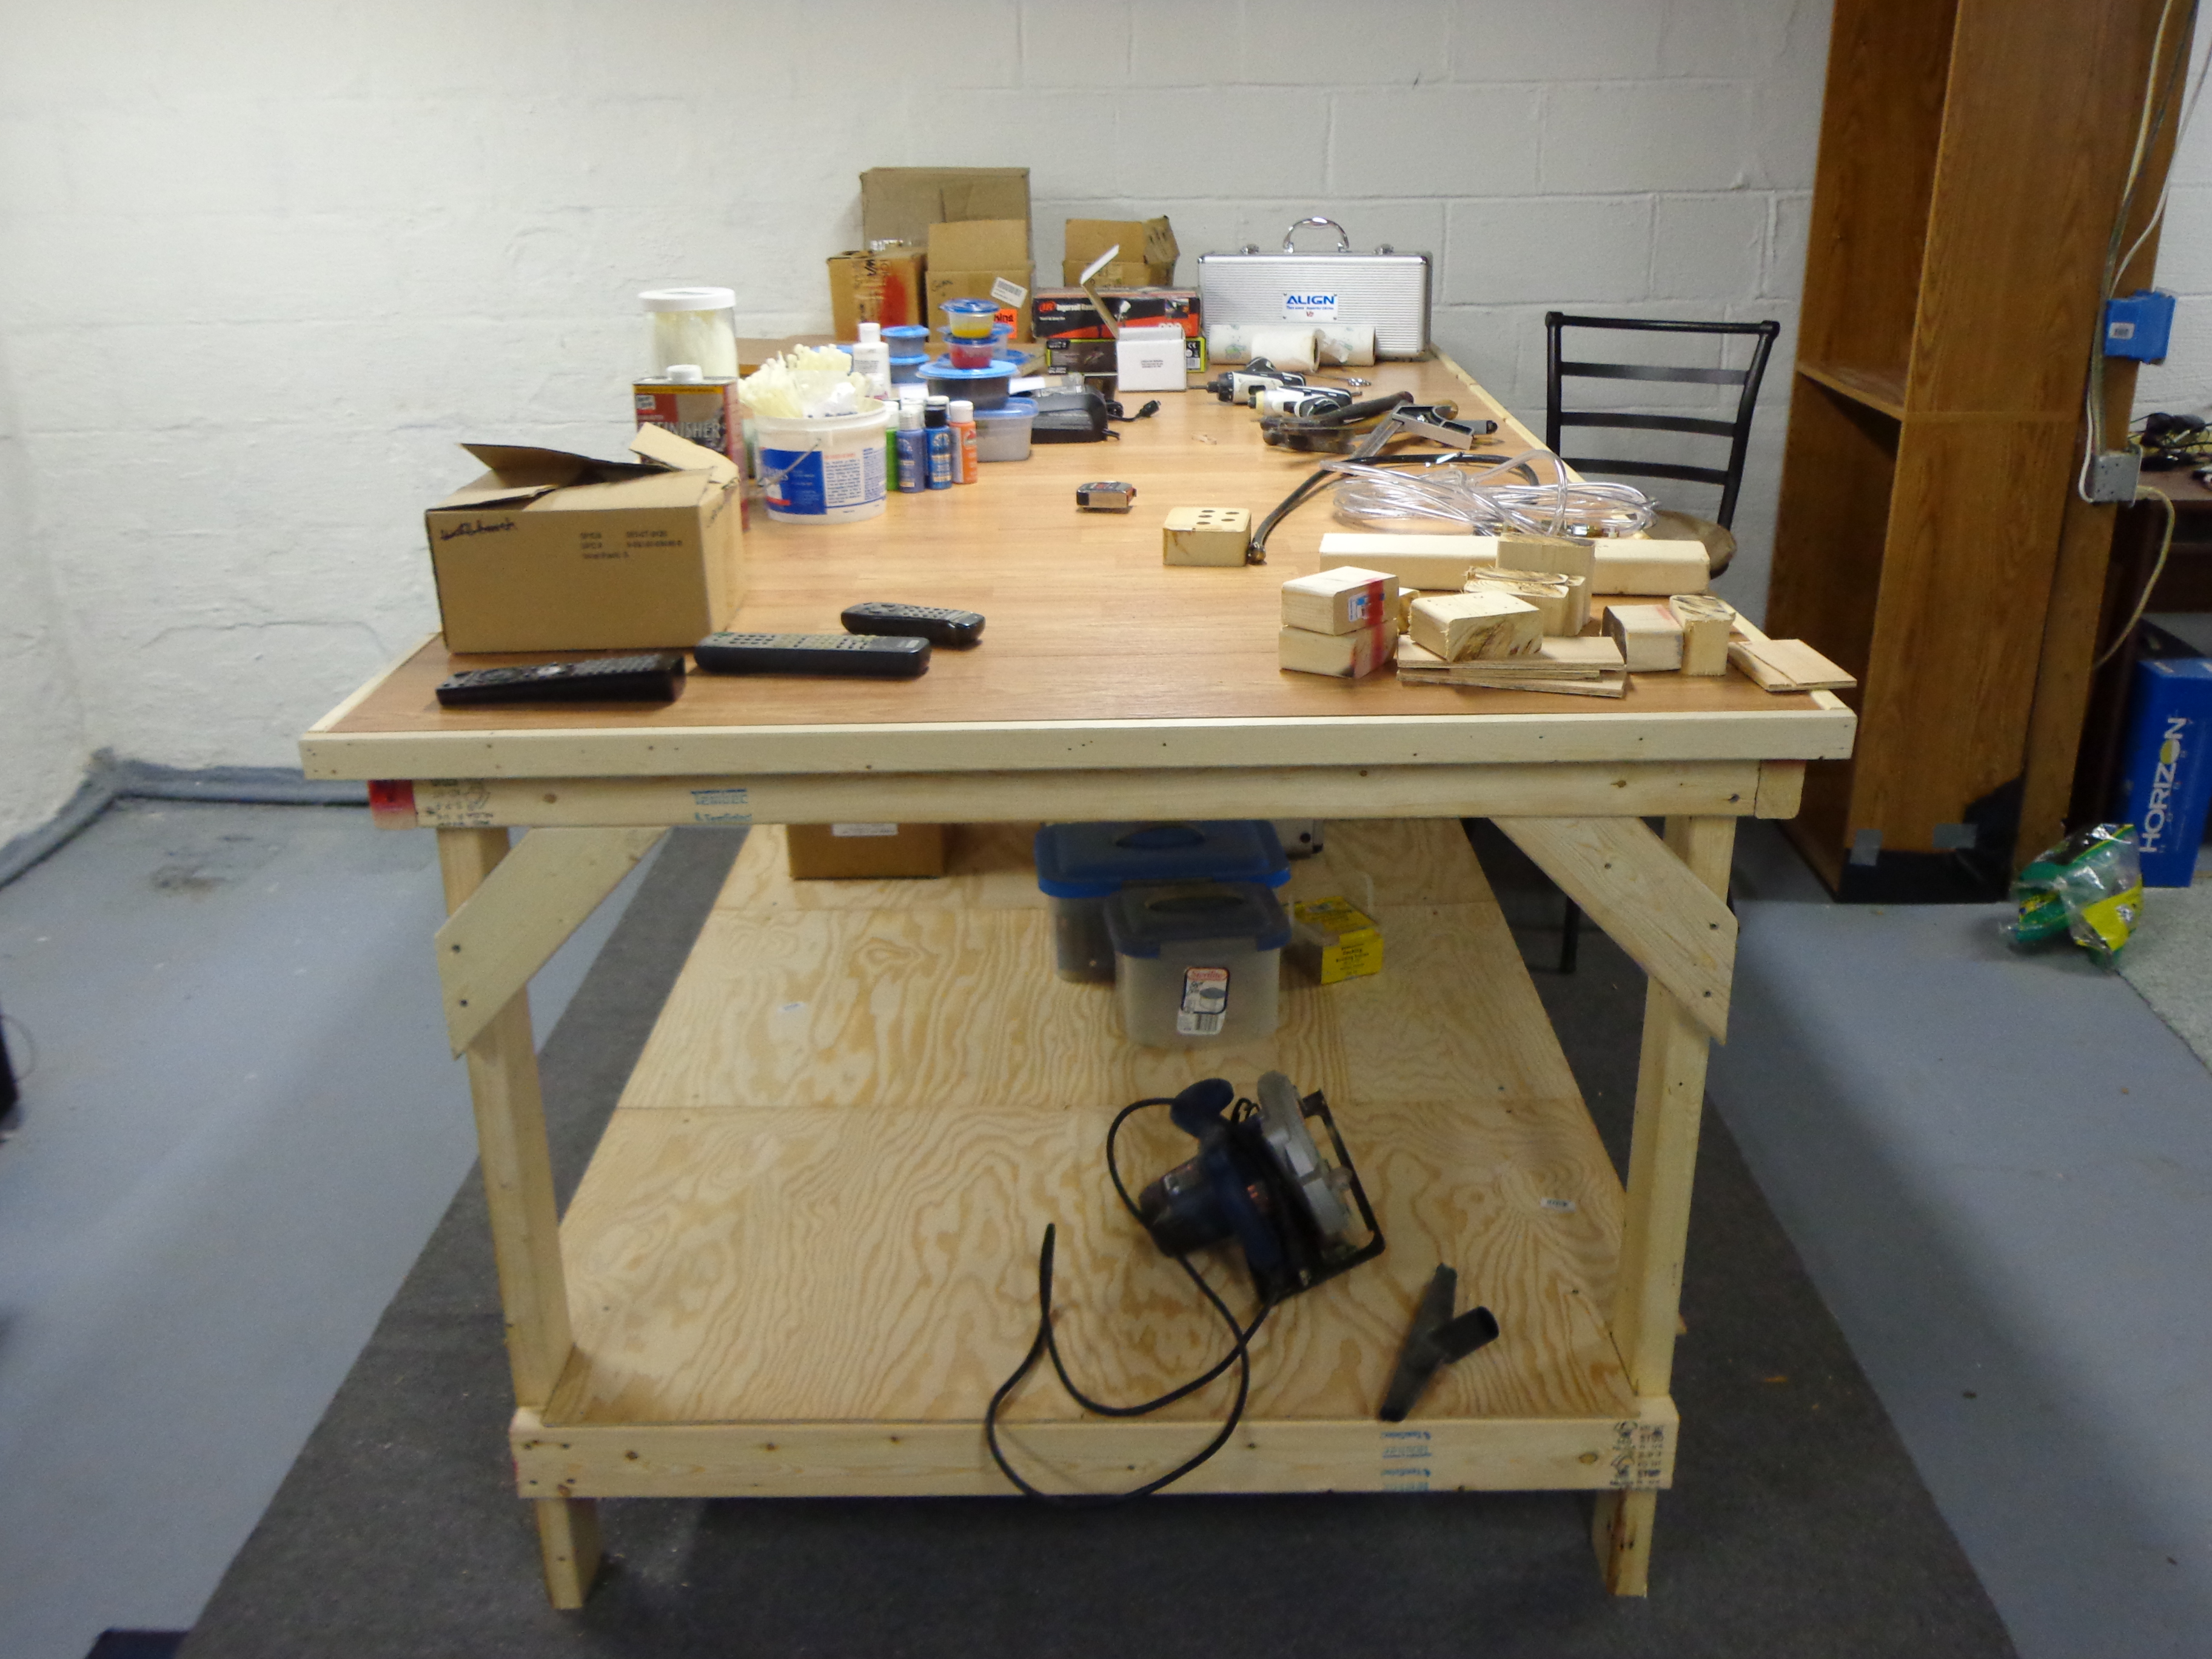
It is the peak of building season and Jay’s workbench has definitely not been idle. He is still plugging away at the Panther, but he purchased an early Christmas present for himself and started work on that right away.

A4 Arrives

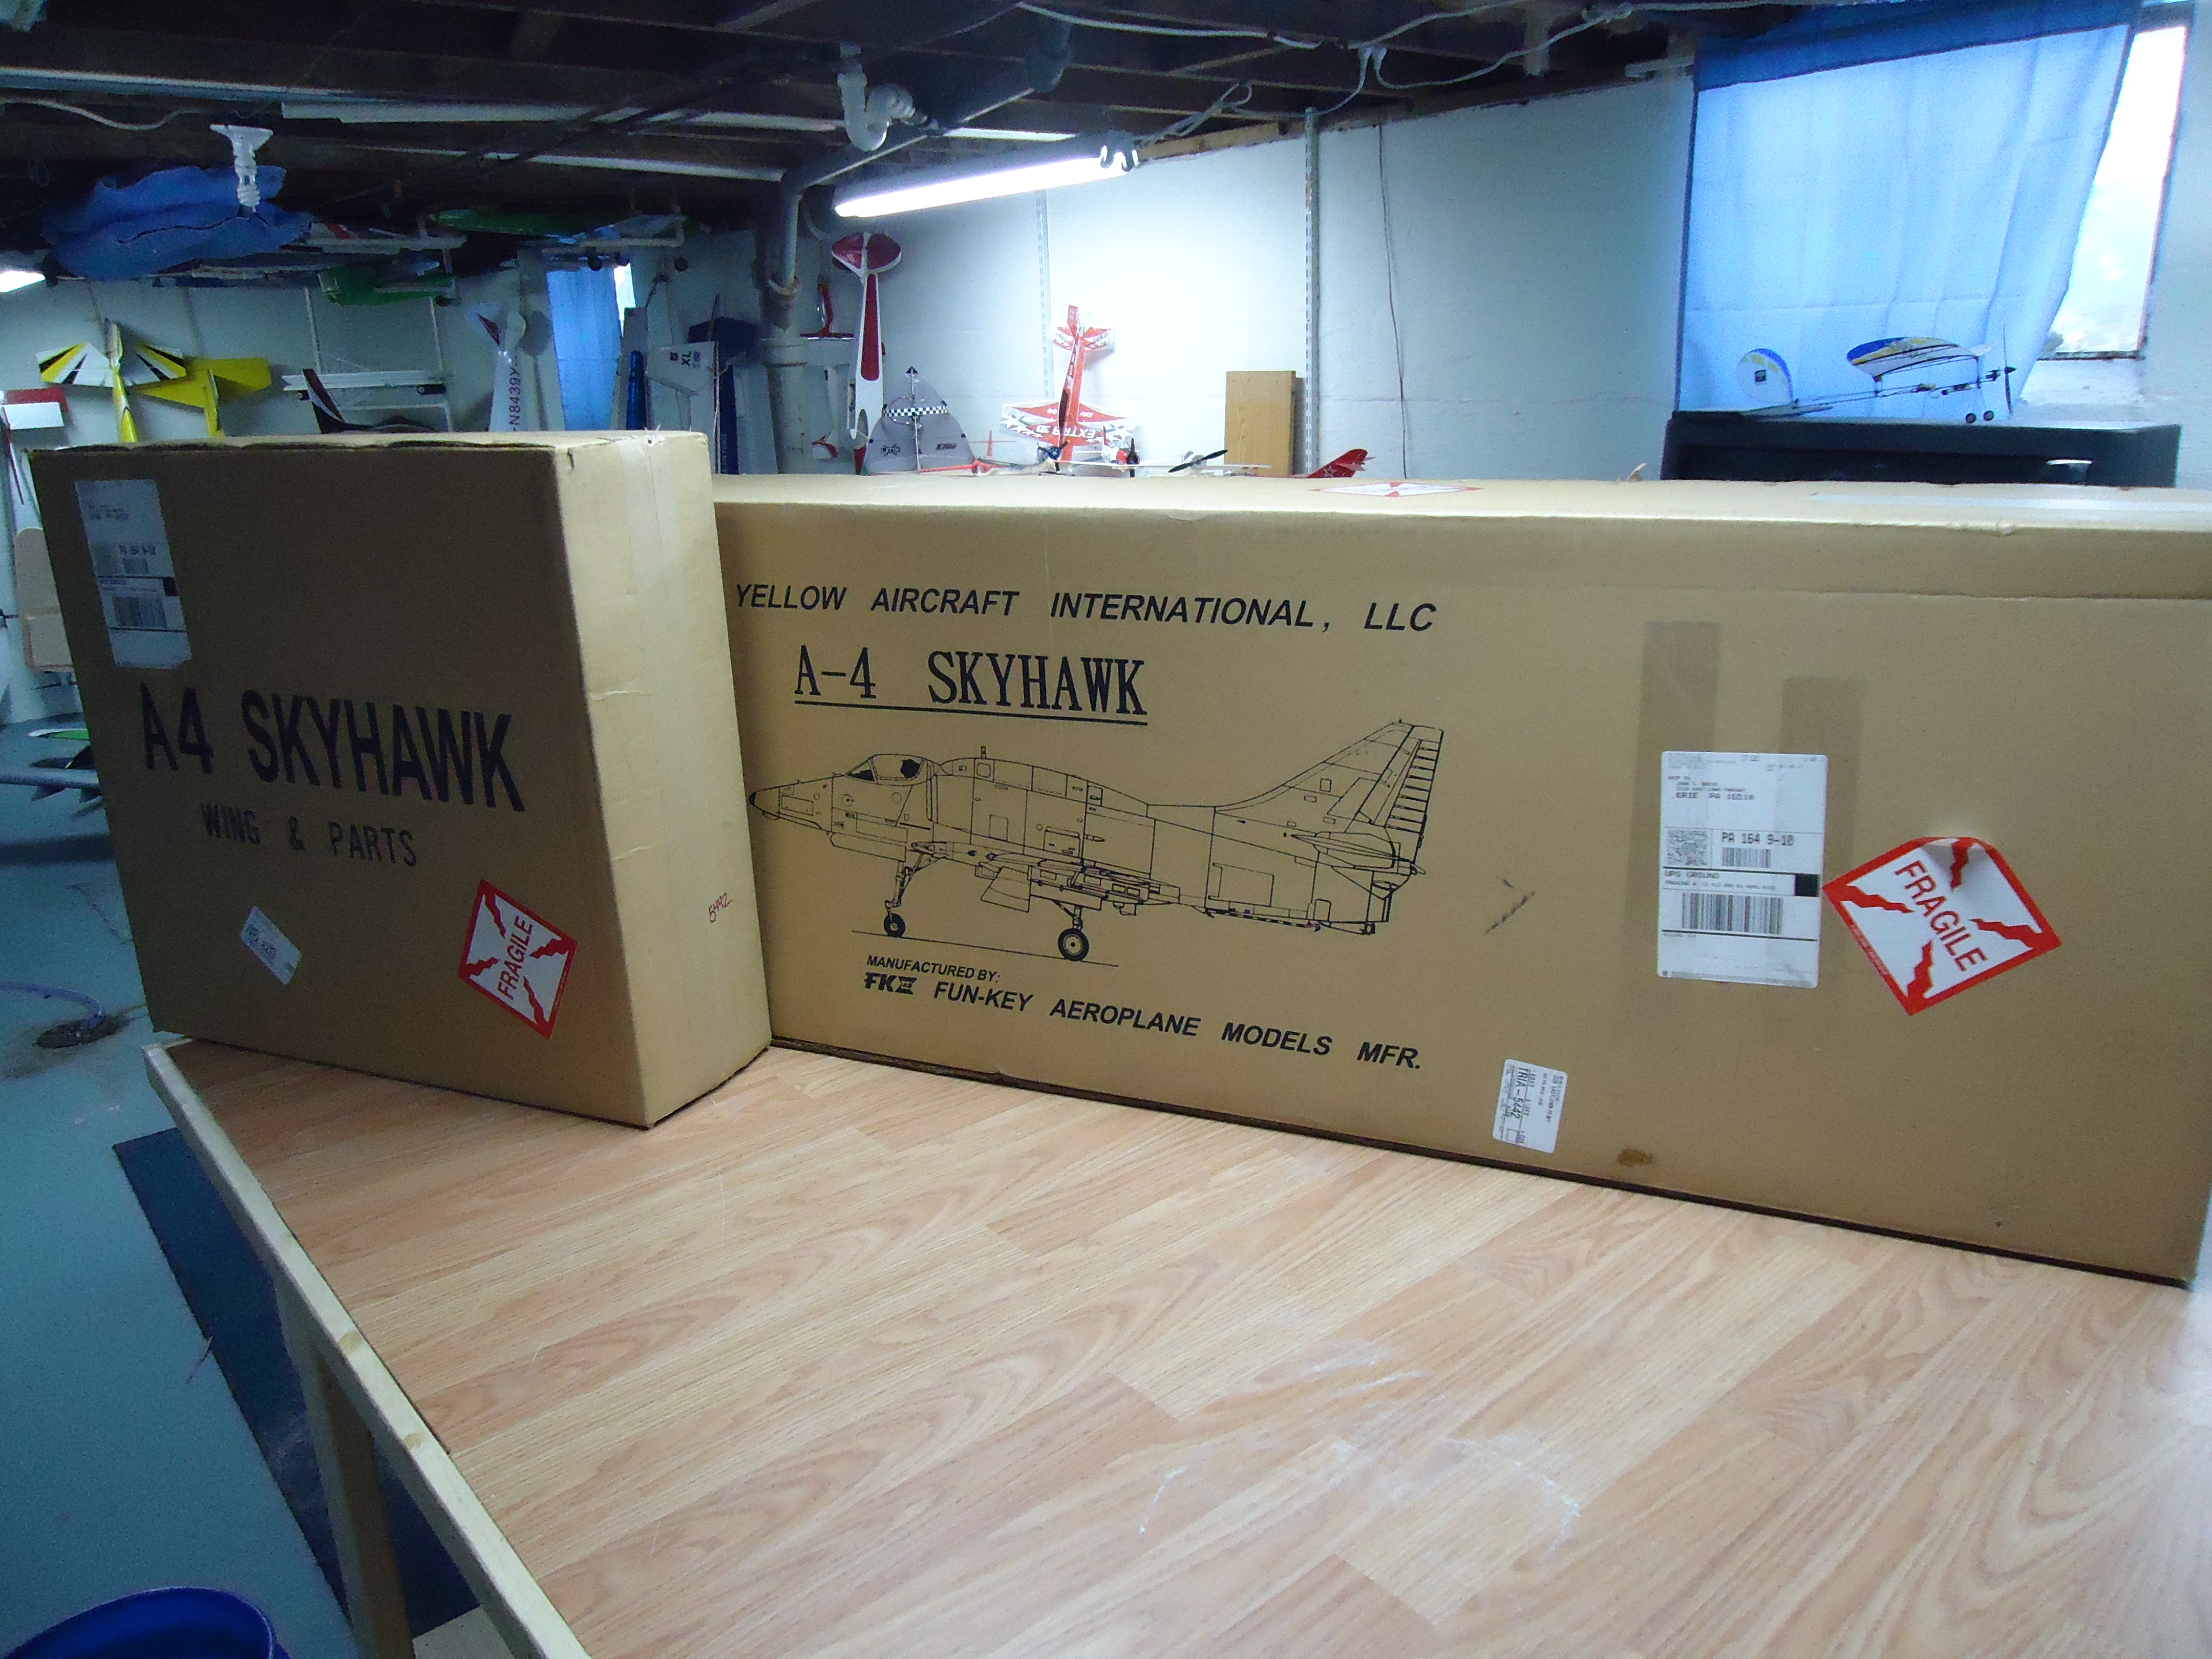
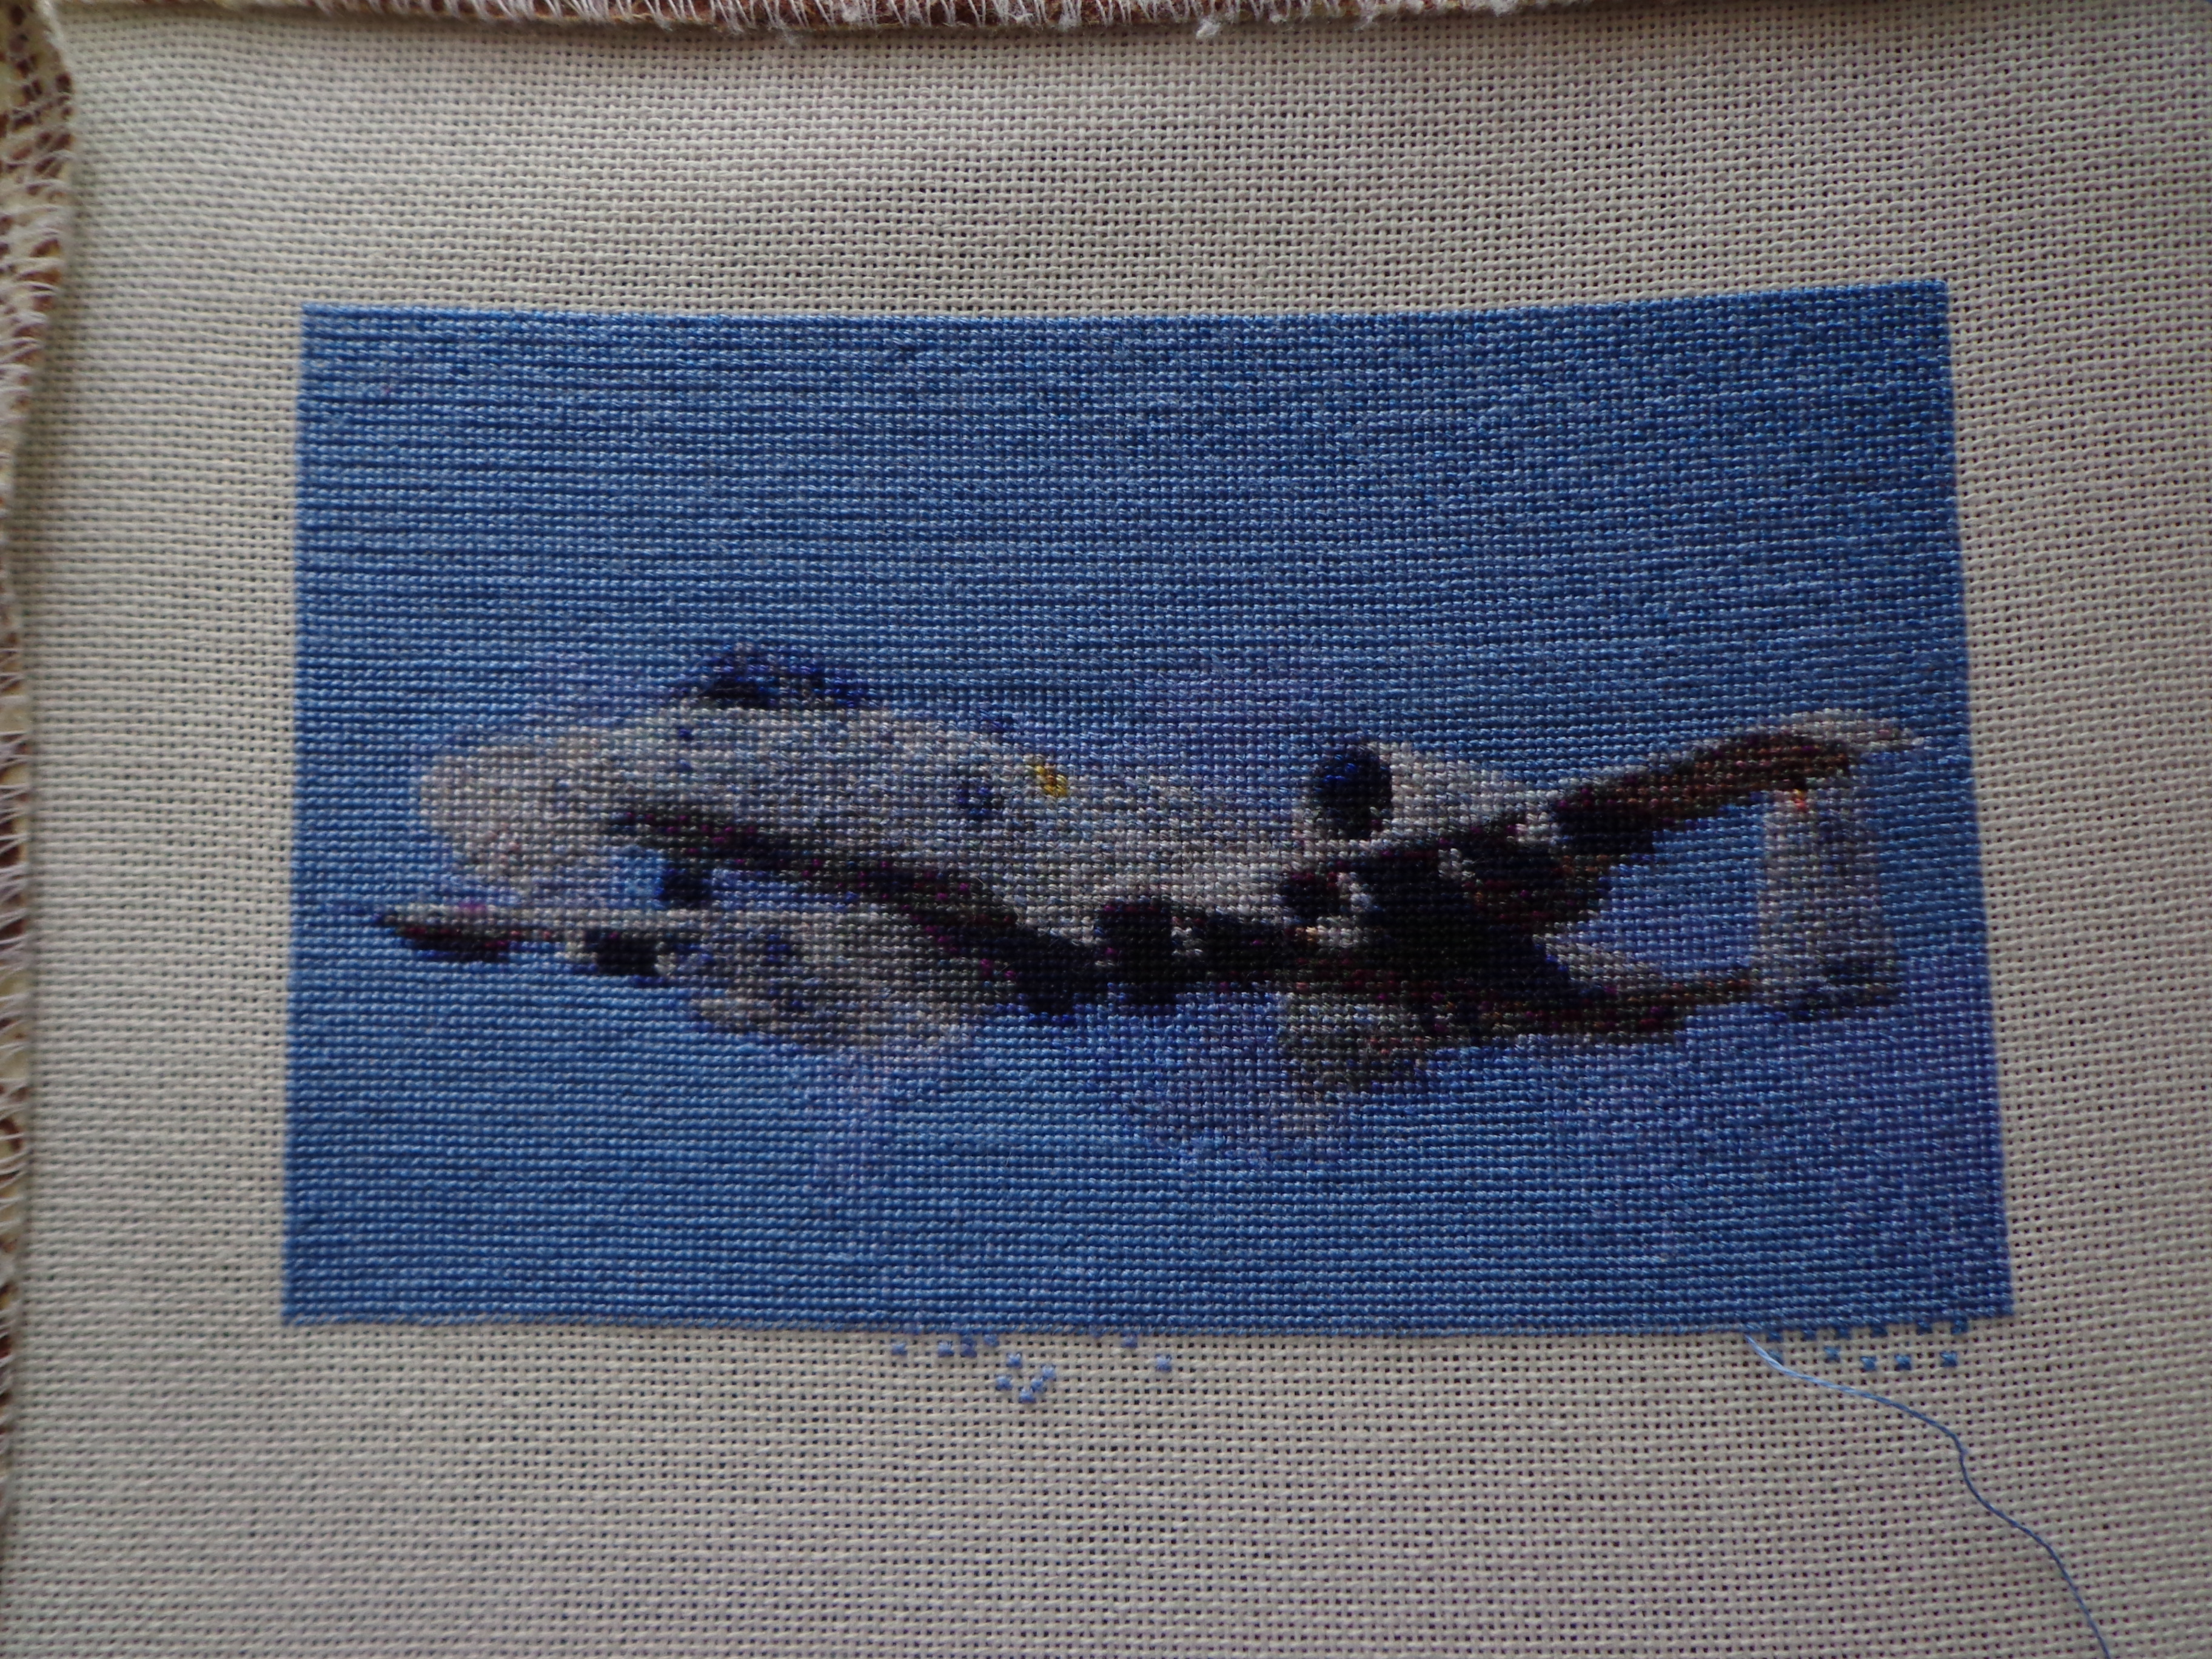
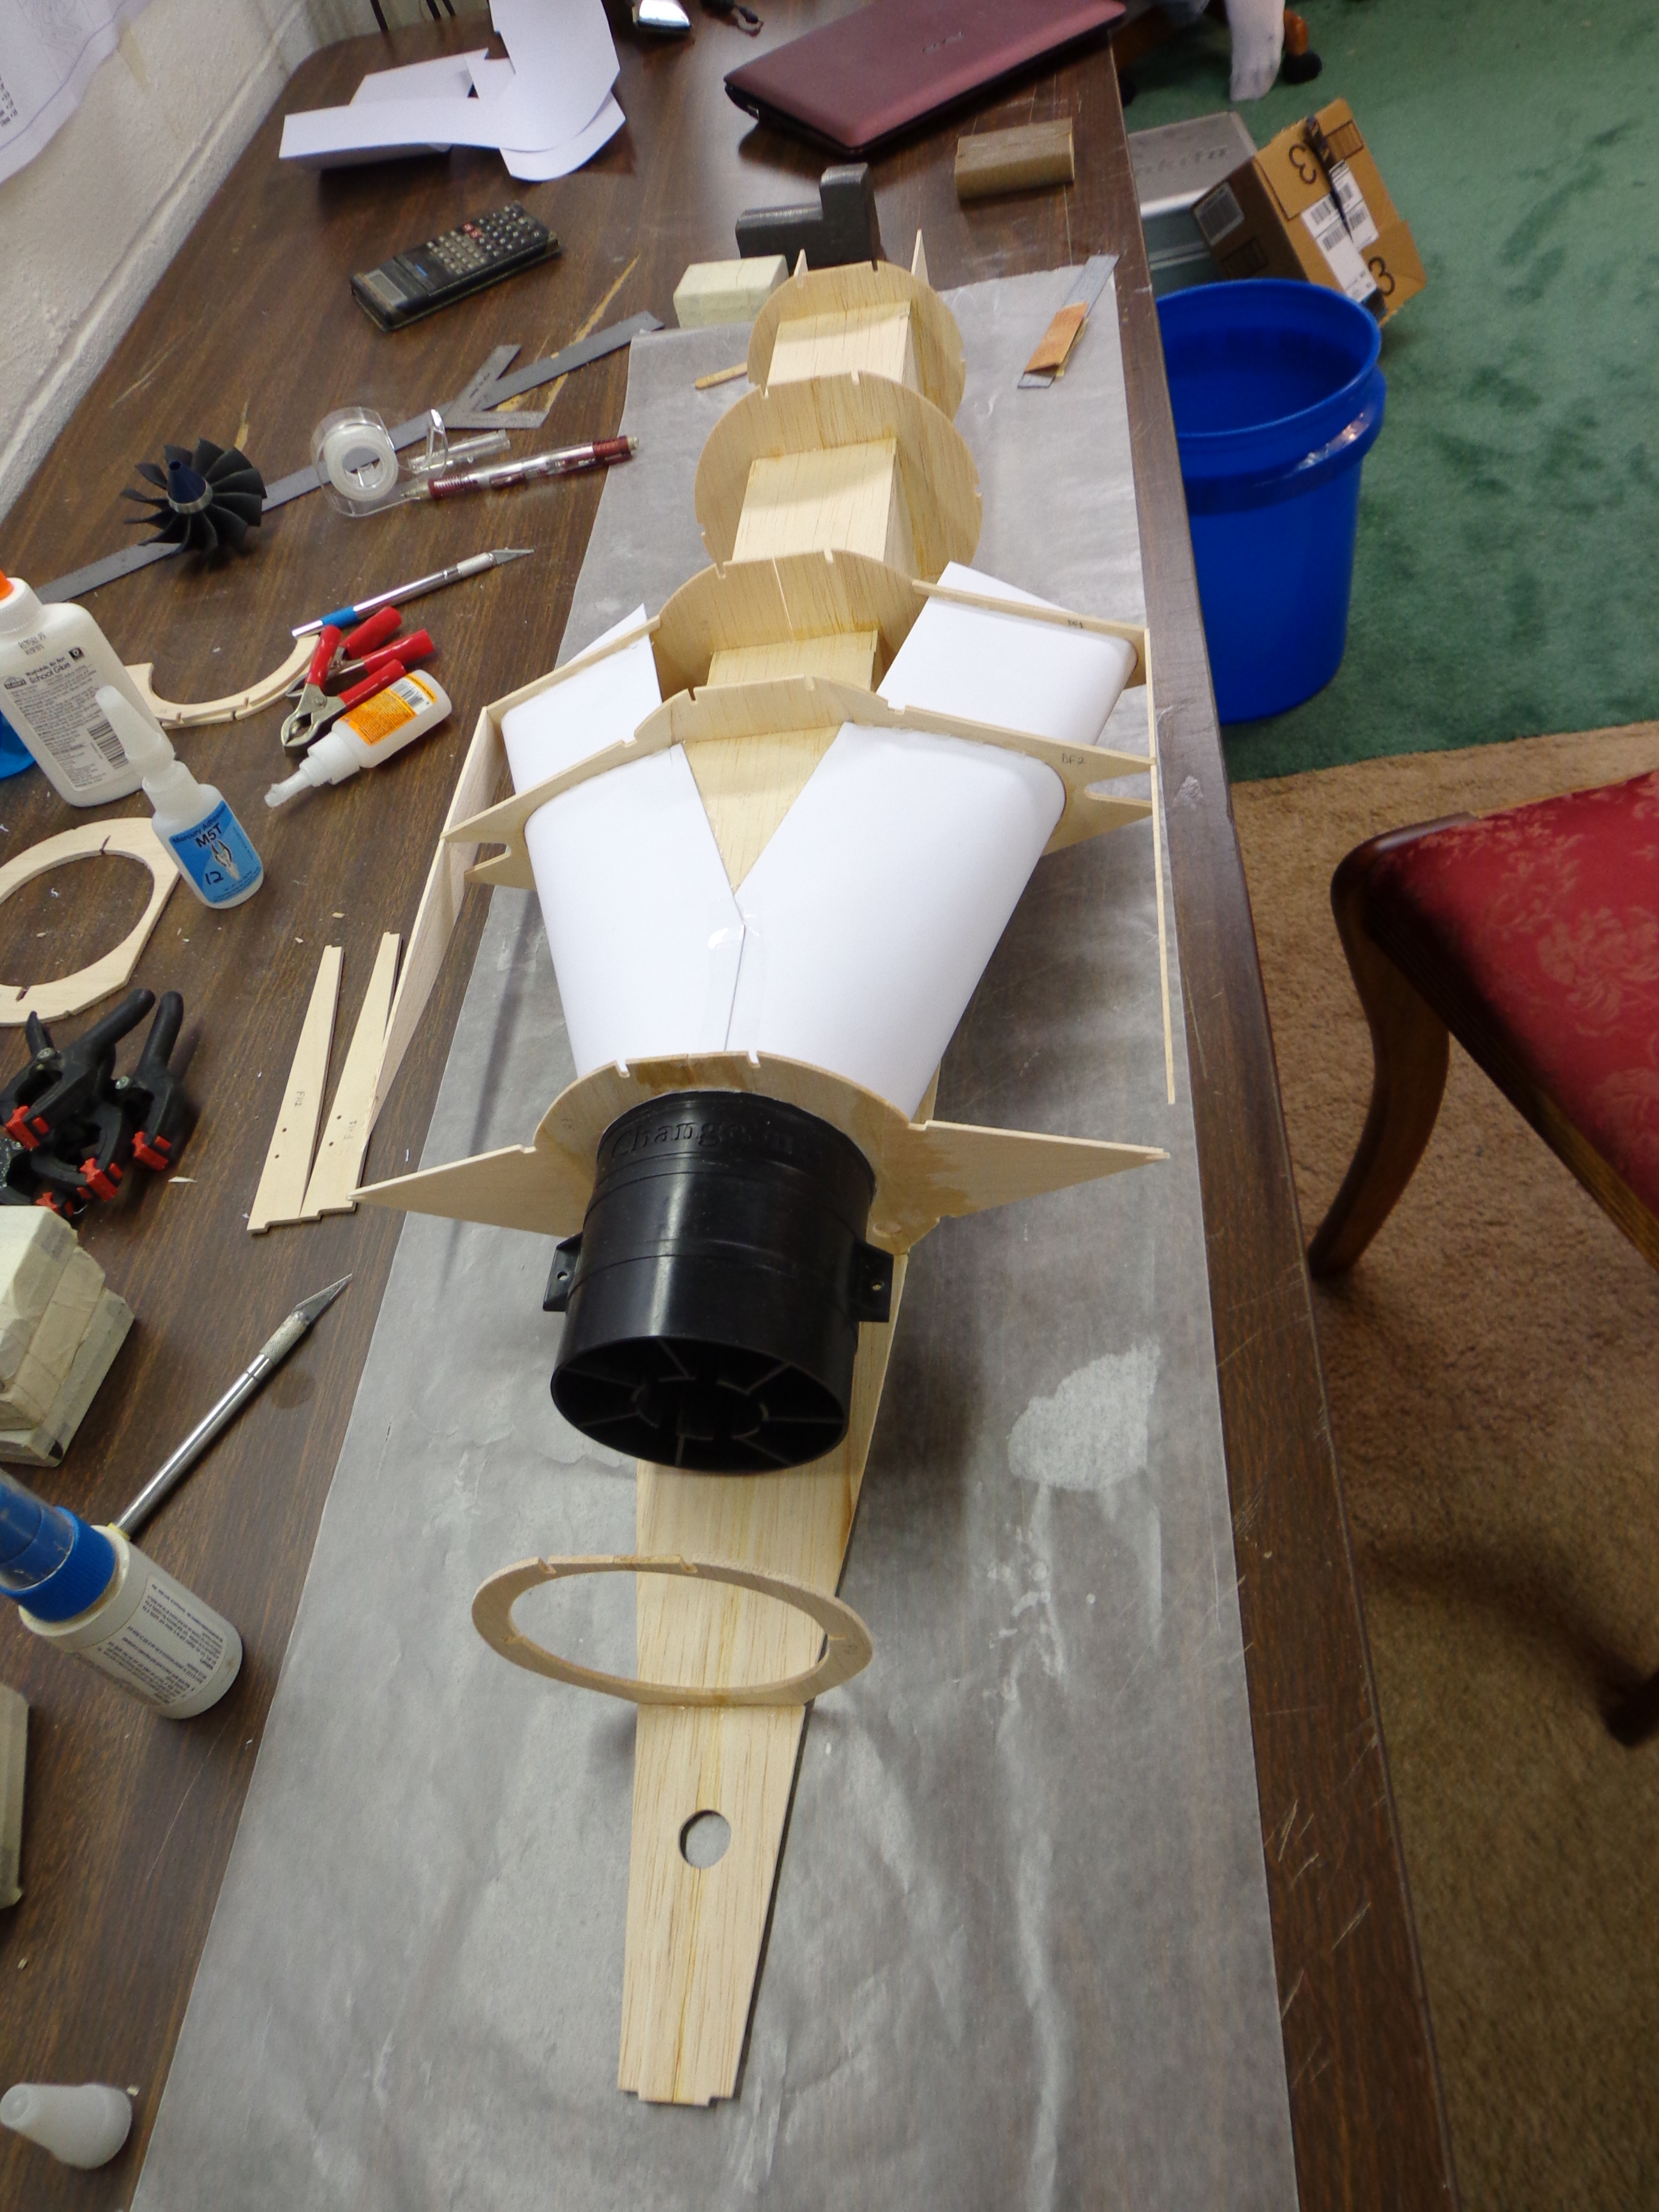
The A-4 Skyhawk as designed and manufactured by Yellow Aircraft. This picture is rather deceiving. You can’t tell just how large this jet is by looking at this picture. It’s huge. And when the boxes arrive all that’s in there are the fiberglass fuselage, foam cores for the wings and tail, and lots of balsa. This is a kit so Jay is really happy about that. He loves tinkering with these.

A4 Roughly Assembled
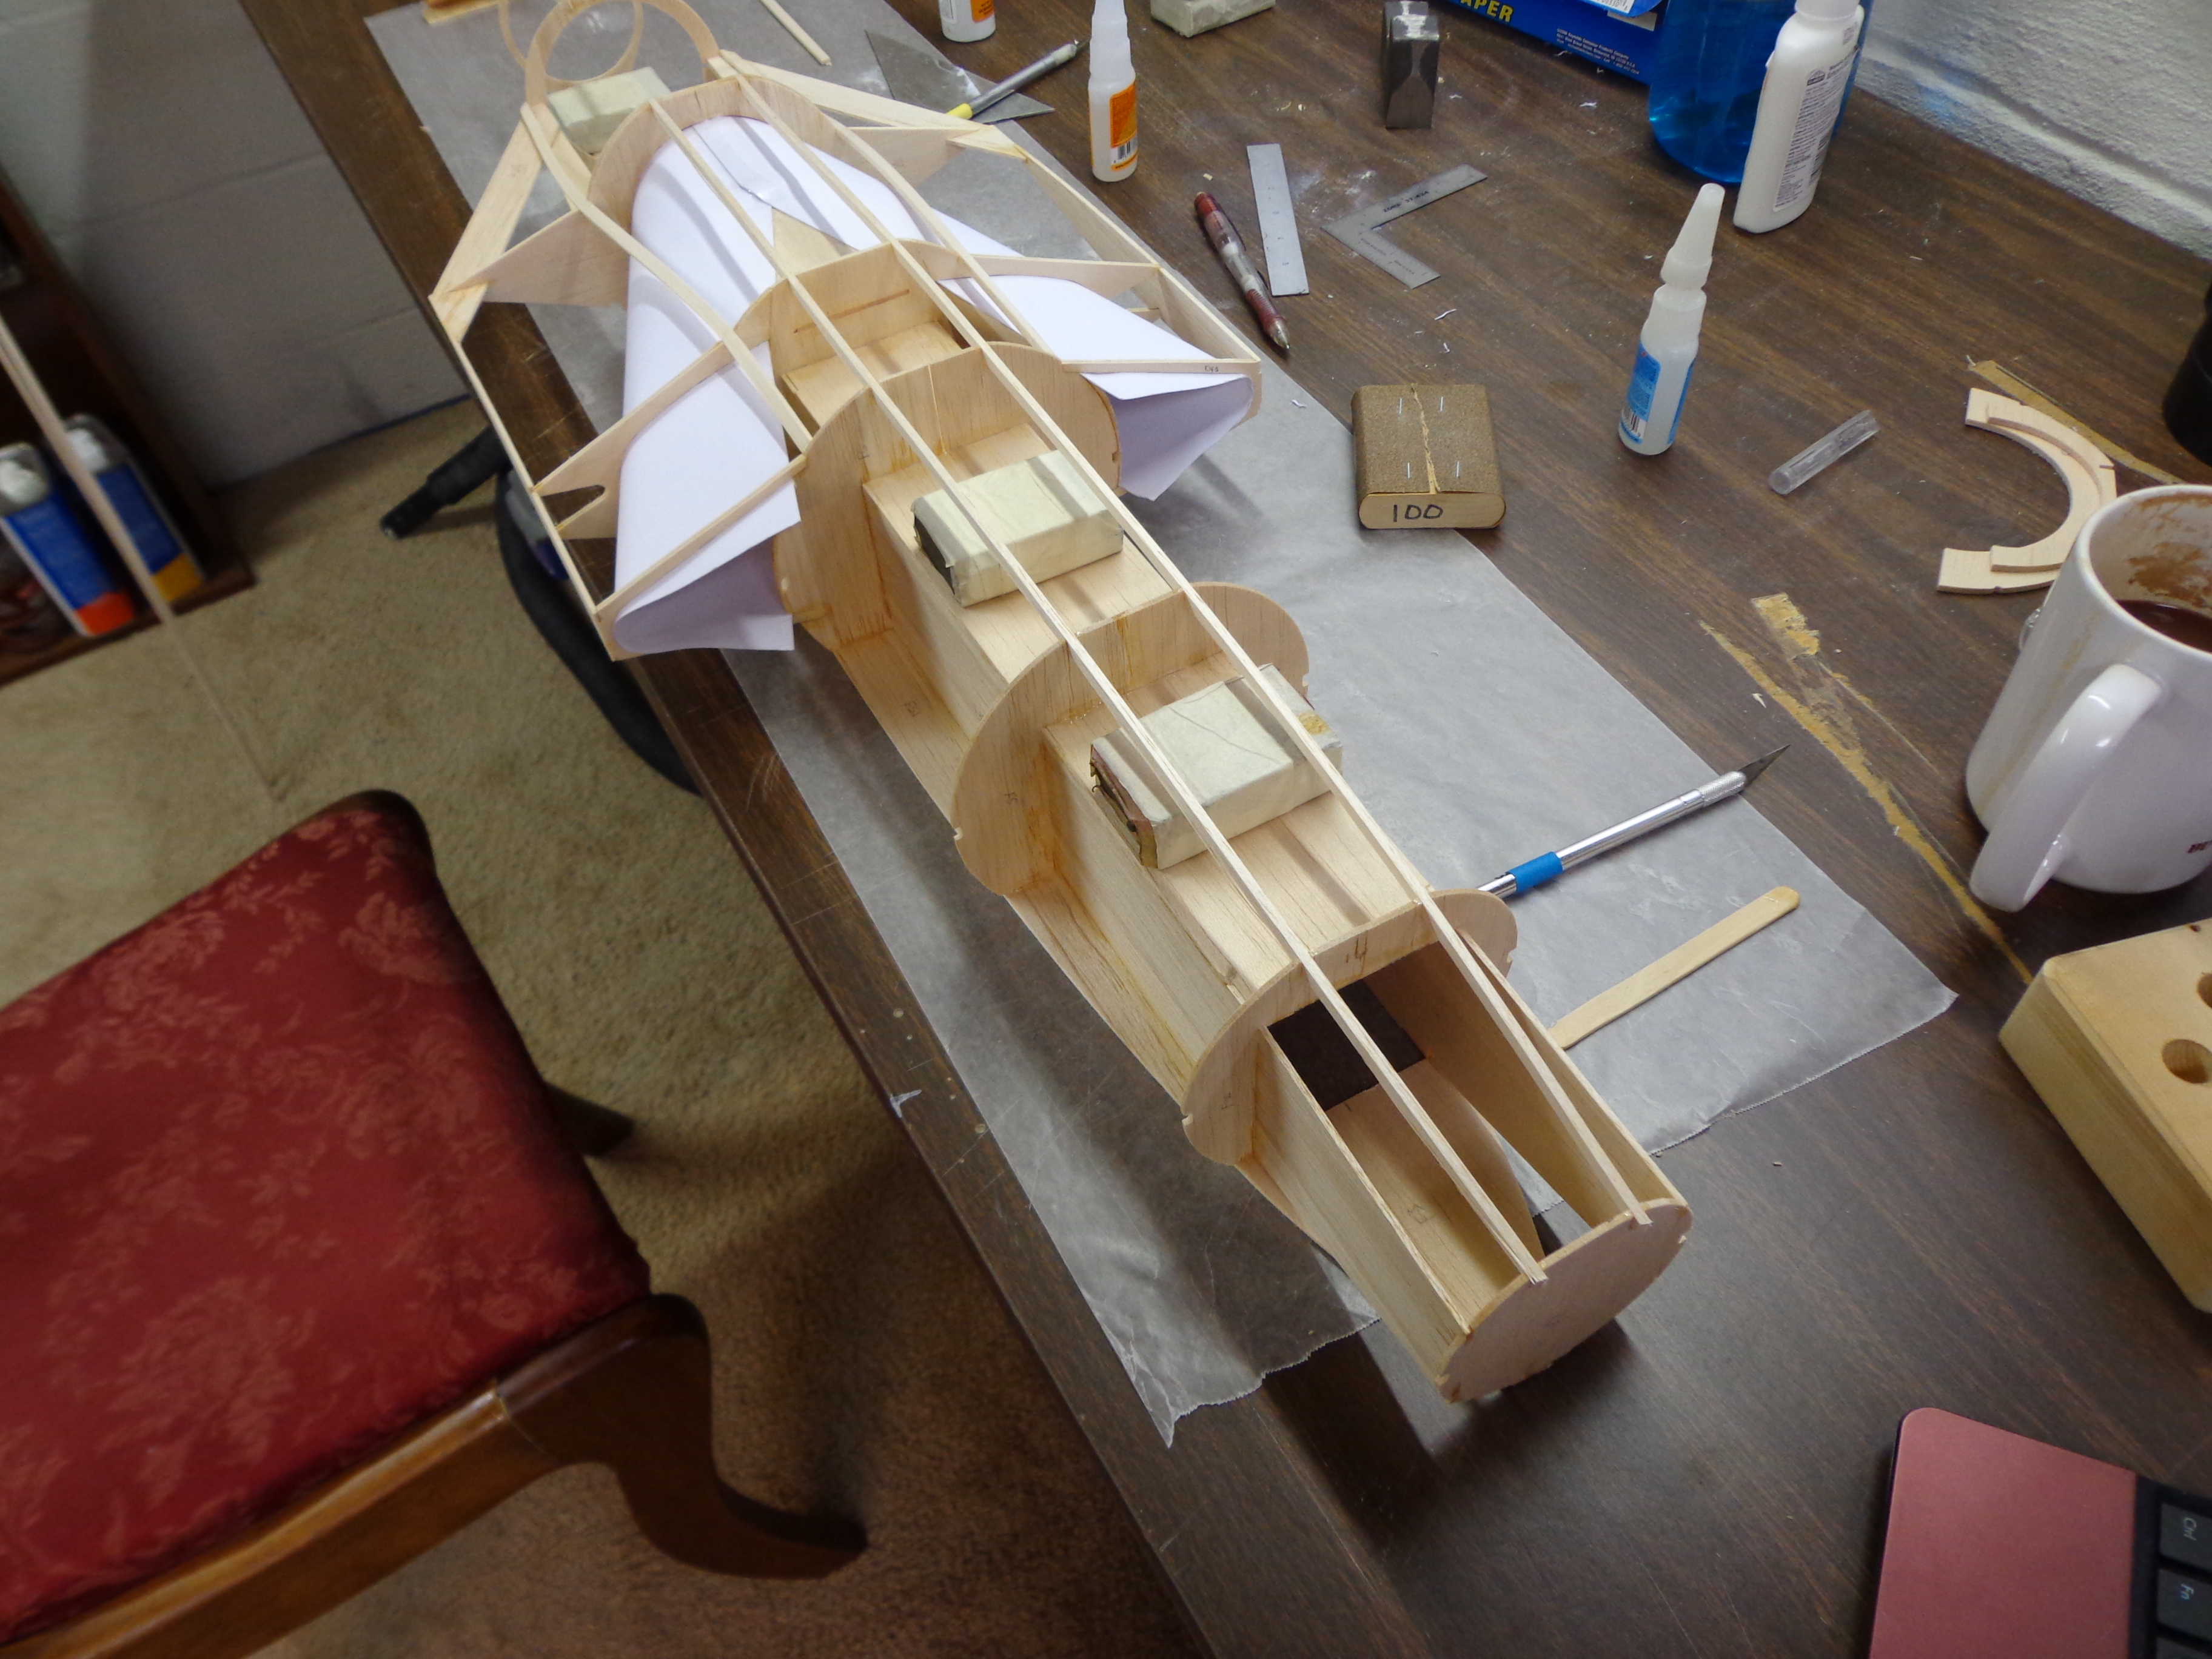
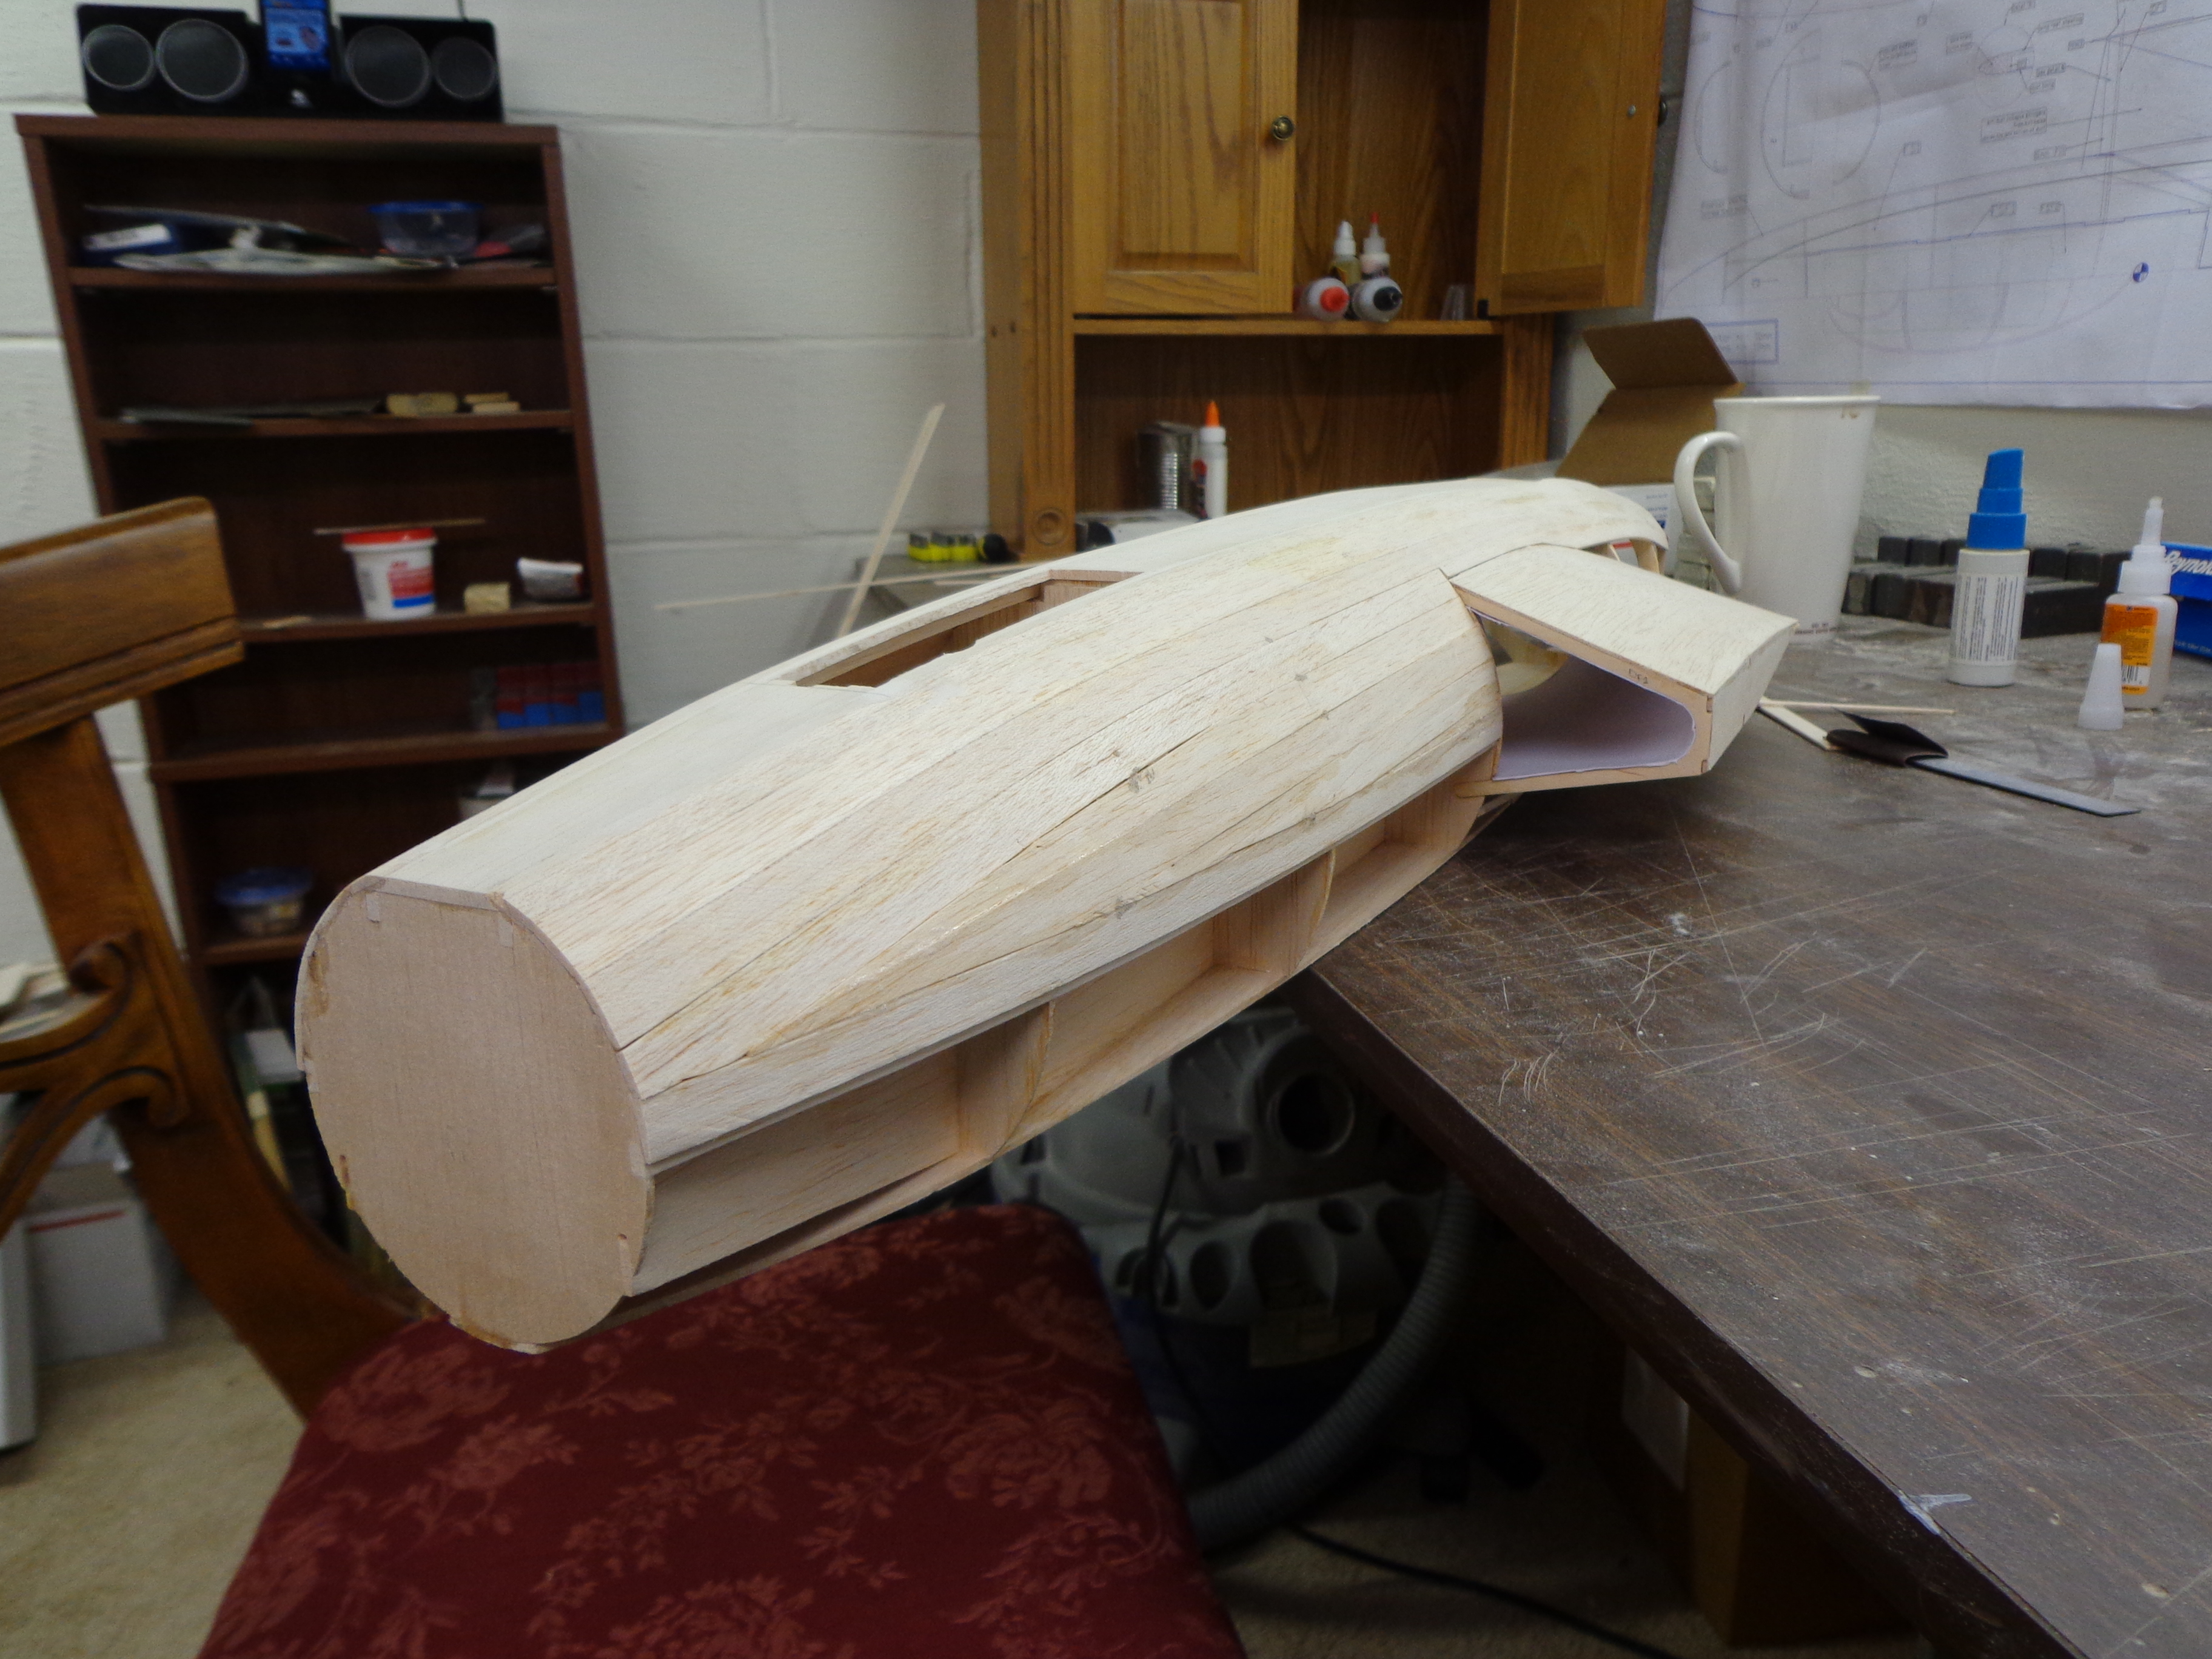
This gives you a little bit of an idea what is involved with the kit. Basically this is it. If you don’t know much about these kits (like me) you might think that there’s very little left to do. Maybe glue the wings and tail on and then you’re ready to fly. Woo-hoo!

Nope. Let me take you on a little journey called “Building an A-4 Skyhawk from a Kit”. The A4 posts will be slightly different from any other posts that I’ve done on Jay’s builds. This time I’ve asked Jay to take progress pictures and download them to the computer. Then I will interpret those pictures for you. This ought to be fun! Let’s go!

The first step that was taken on this jet was to work on the whale tail. No, that’s not the technical name for it. Technically it is called the horizontal stabilizer, but it’s my blog so I’m going to refer to it as the Whale Tail since that’s what it looks like to me.

A4 Precarved TailHere we have one side of the WT (Whale Tail if you aren’t following…). The elevator has been taped to keep it perfectly inline. You see, the edge of the WT needs to be carved to give it the beautifully rounded shape that helps it to displace the air in an efficient way while in flight. By taping the elevator in place and shaping the edge around it you will make it easier to trim out the elevator later when you go to fly it.


A4 TailHere is the other side so that you can see just how much really needs to come off of this edge. It’s not just a simple matter of rounding off some corners.


A4 Tail CarvingTo begin you use a carving knife to roughly shape it in. I wouldn’t recommend using the same carving knife that you use on your Christmas turkey because that would be WAY too much carving. Instead you want to use a size more suitable for let’s say… a mourning dove.


A4 Carved Tail
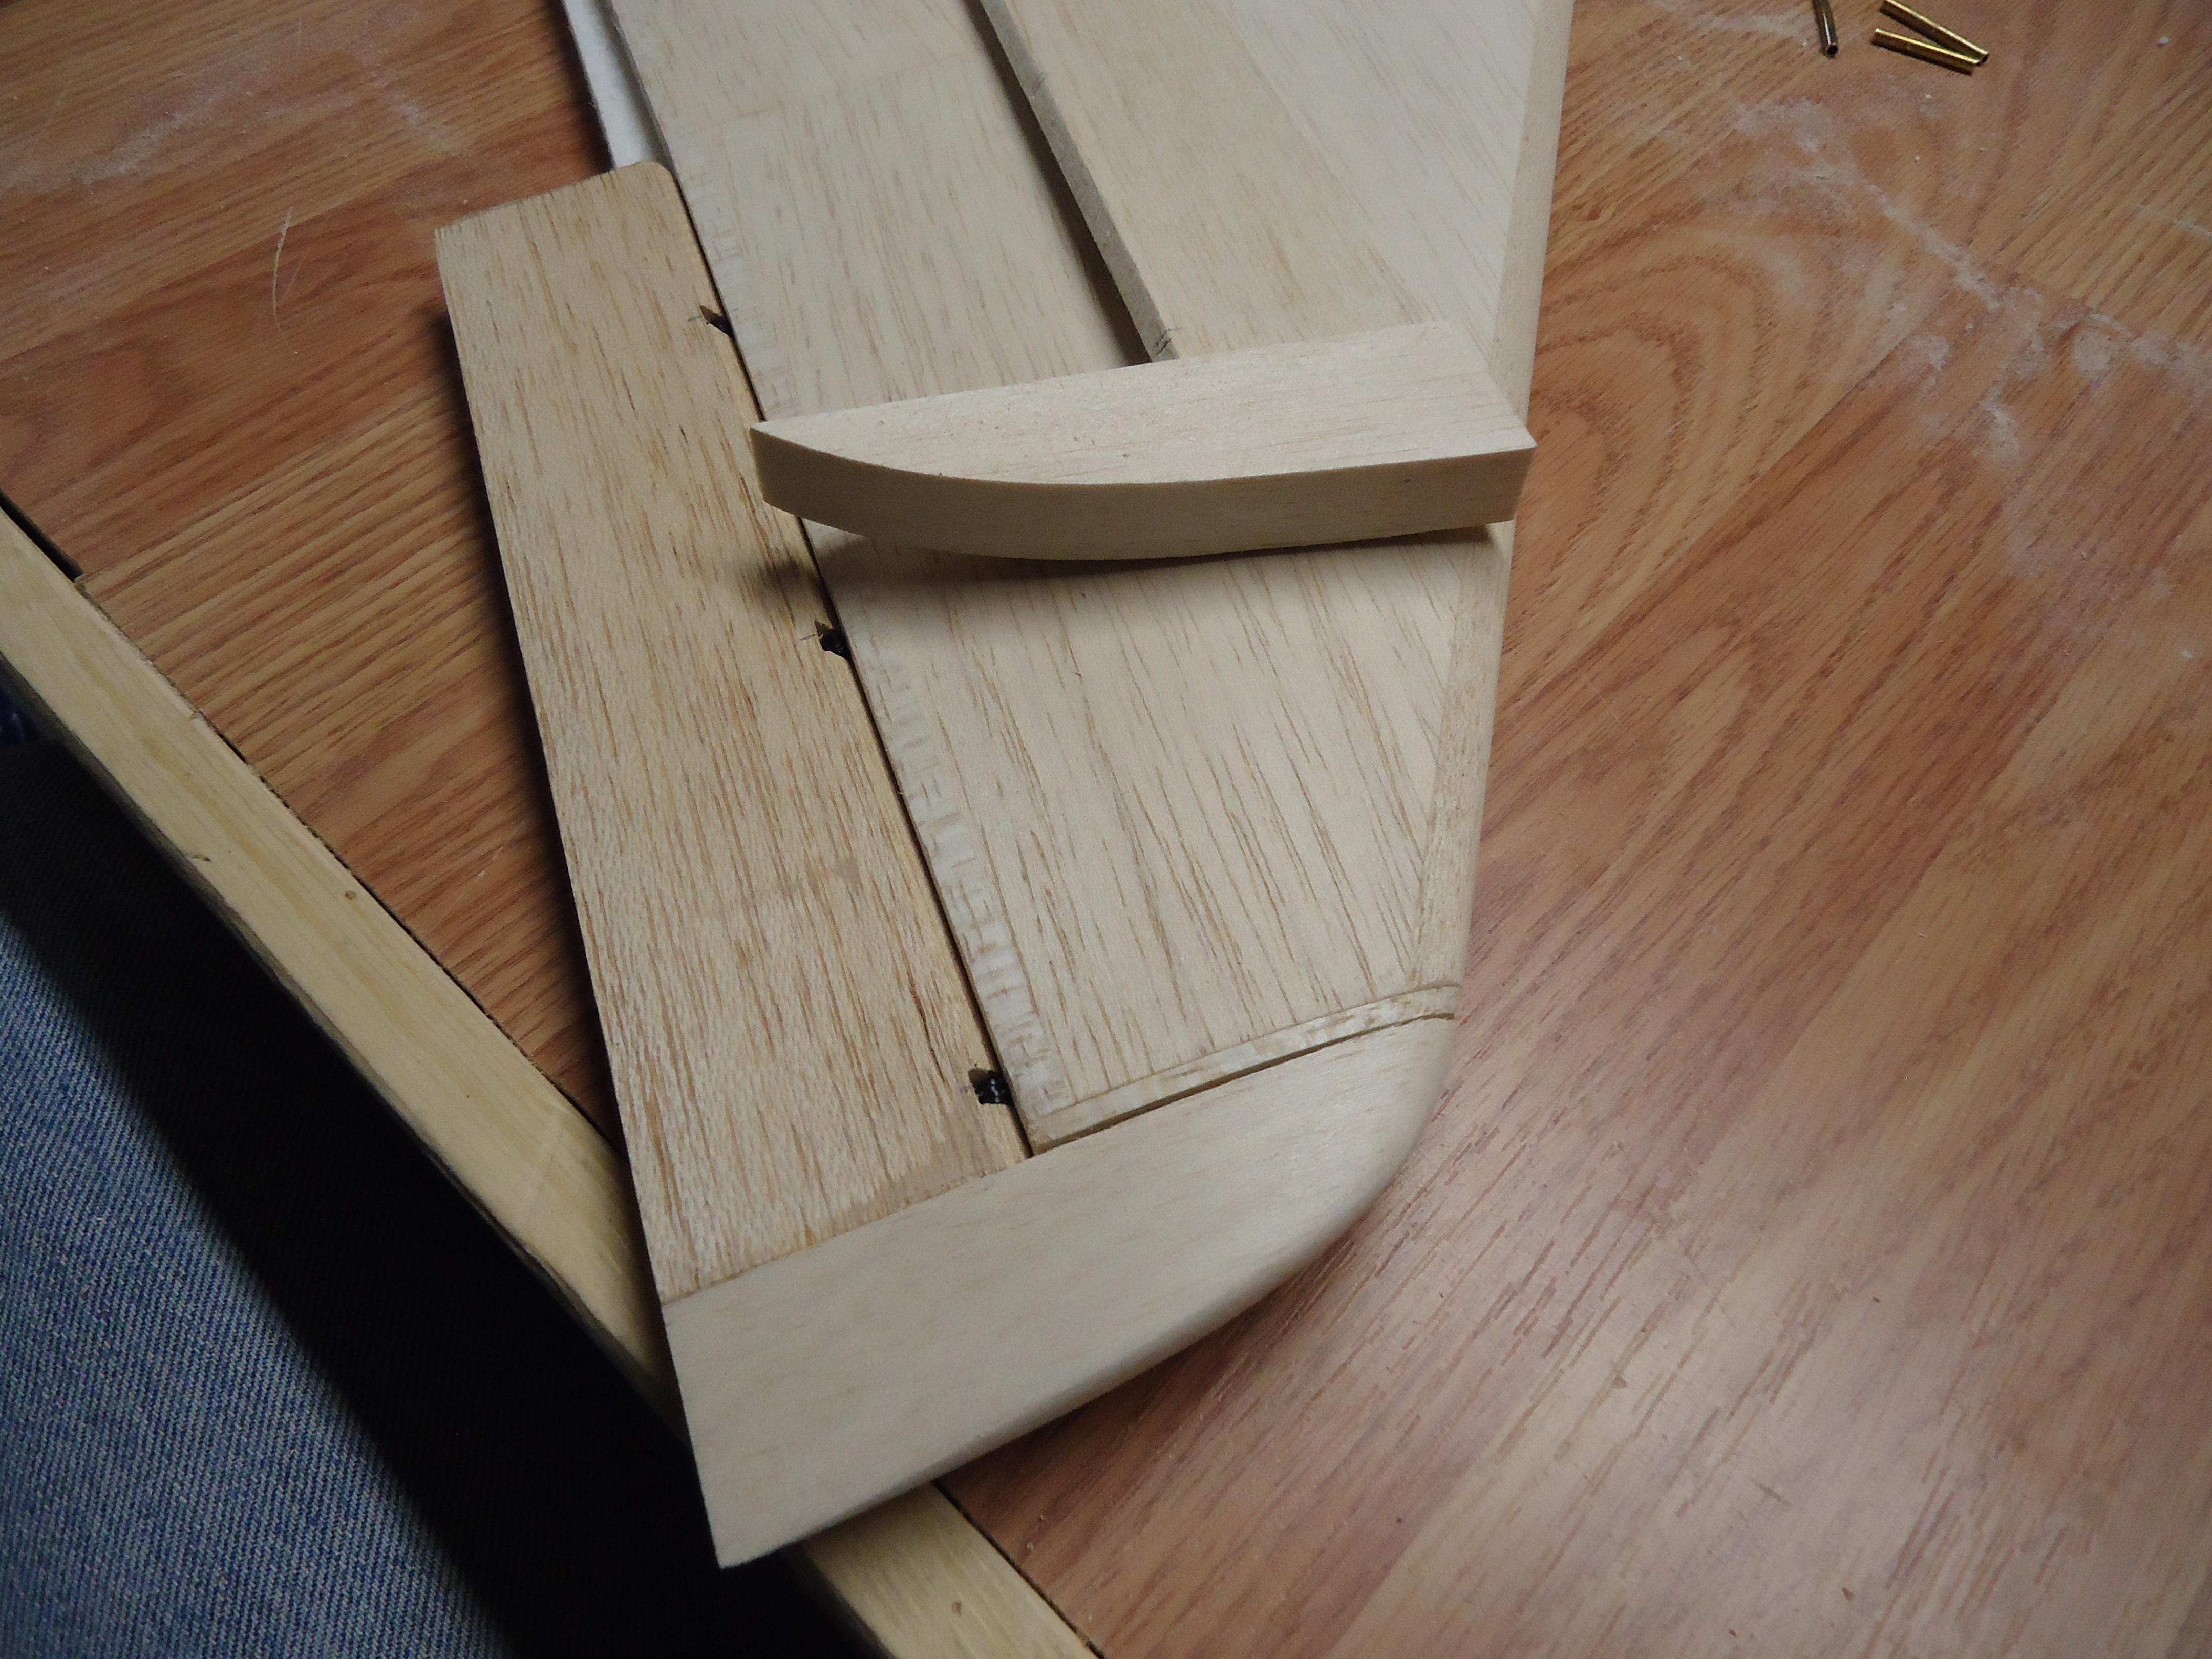
After you have finished the carving you then use your sanding block to smooth and round everything out. Here you can see the difference between the expertly shaped tail and the other side of the tail that hasn’t yet been touched. Isn’t it beautiful??


A4 Whale TailSee… I told you that it looks like a whale tail!


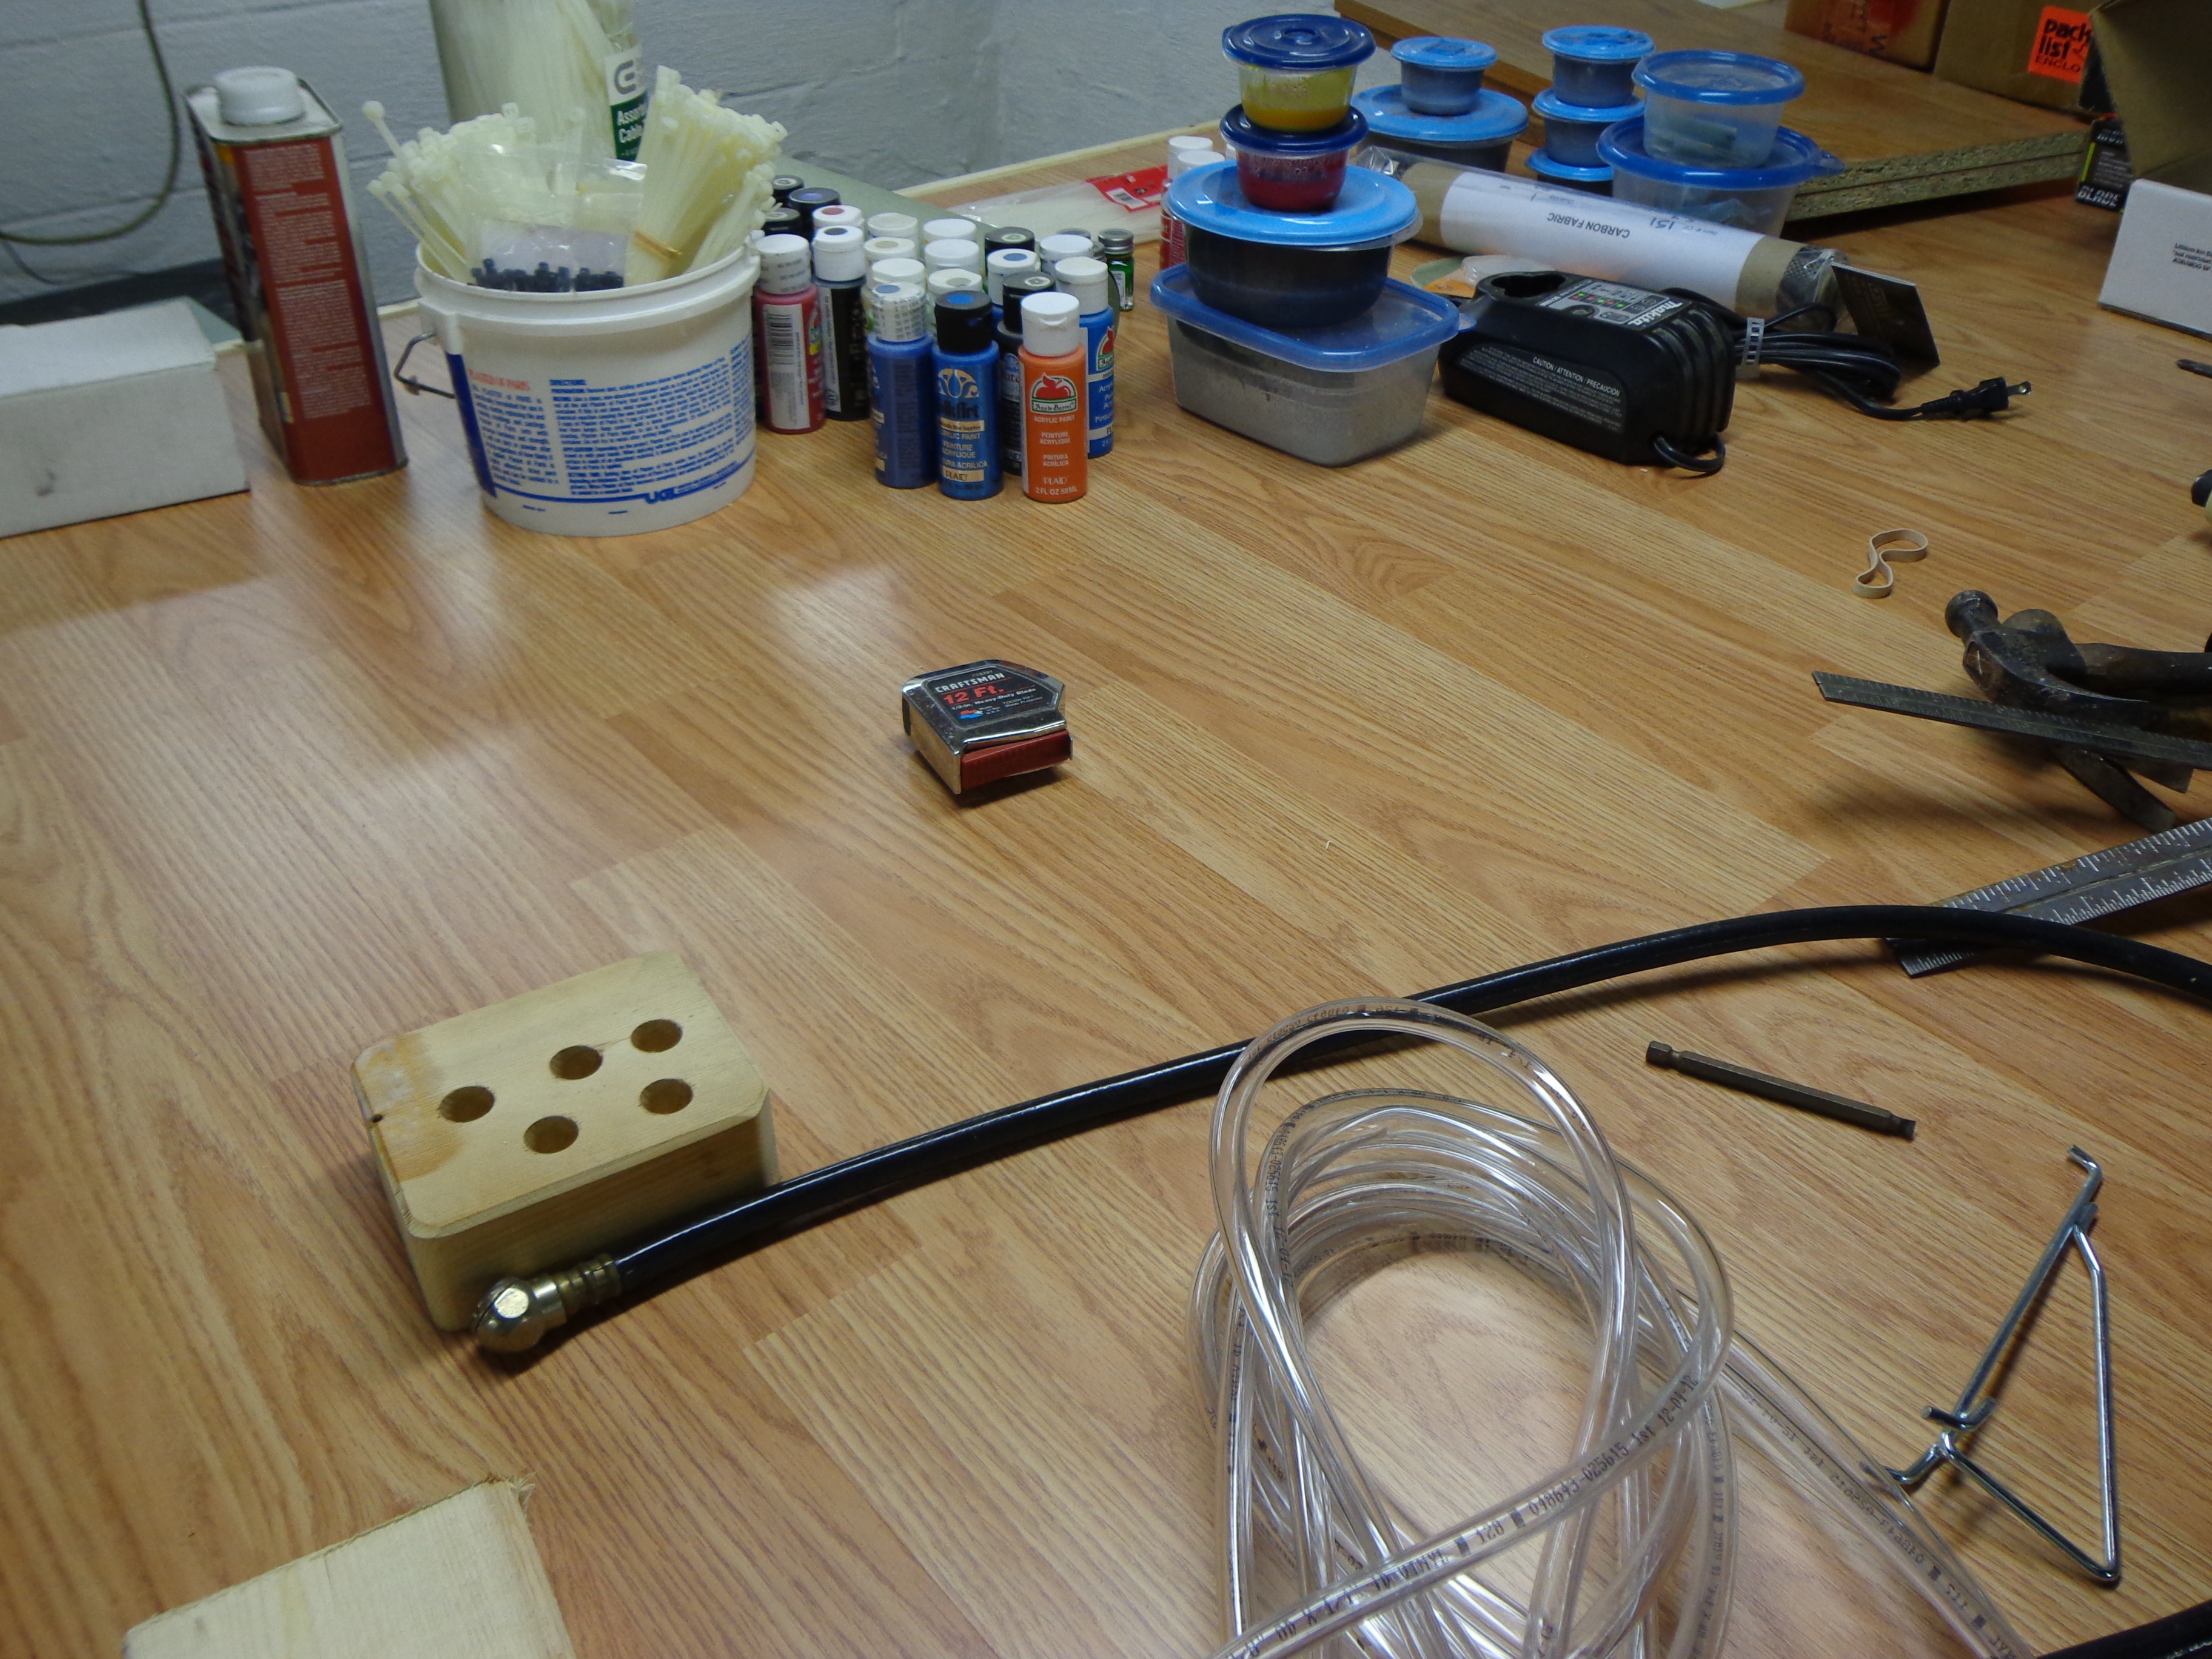
Remember, Jay is the one taking the pictures and he’s not sitting here as I write up these blog posts. I’ve come across some pictures that I’m not really sure what they are, so you will also be getting my interpretation of those. For instance…

A4 Kindling

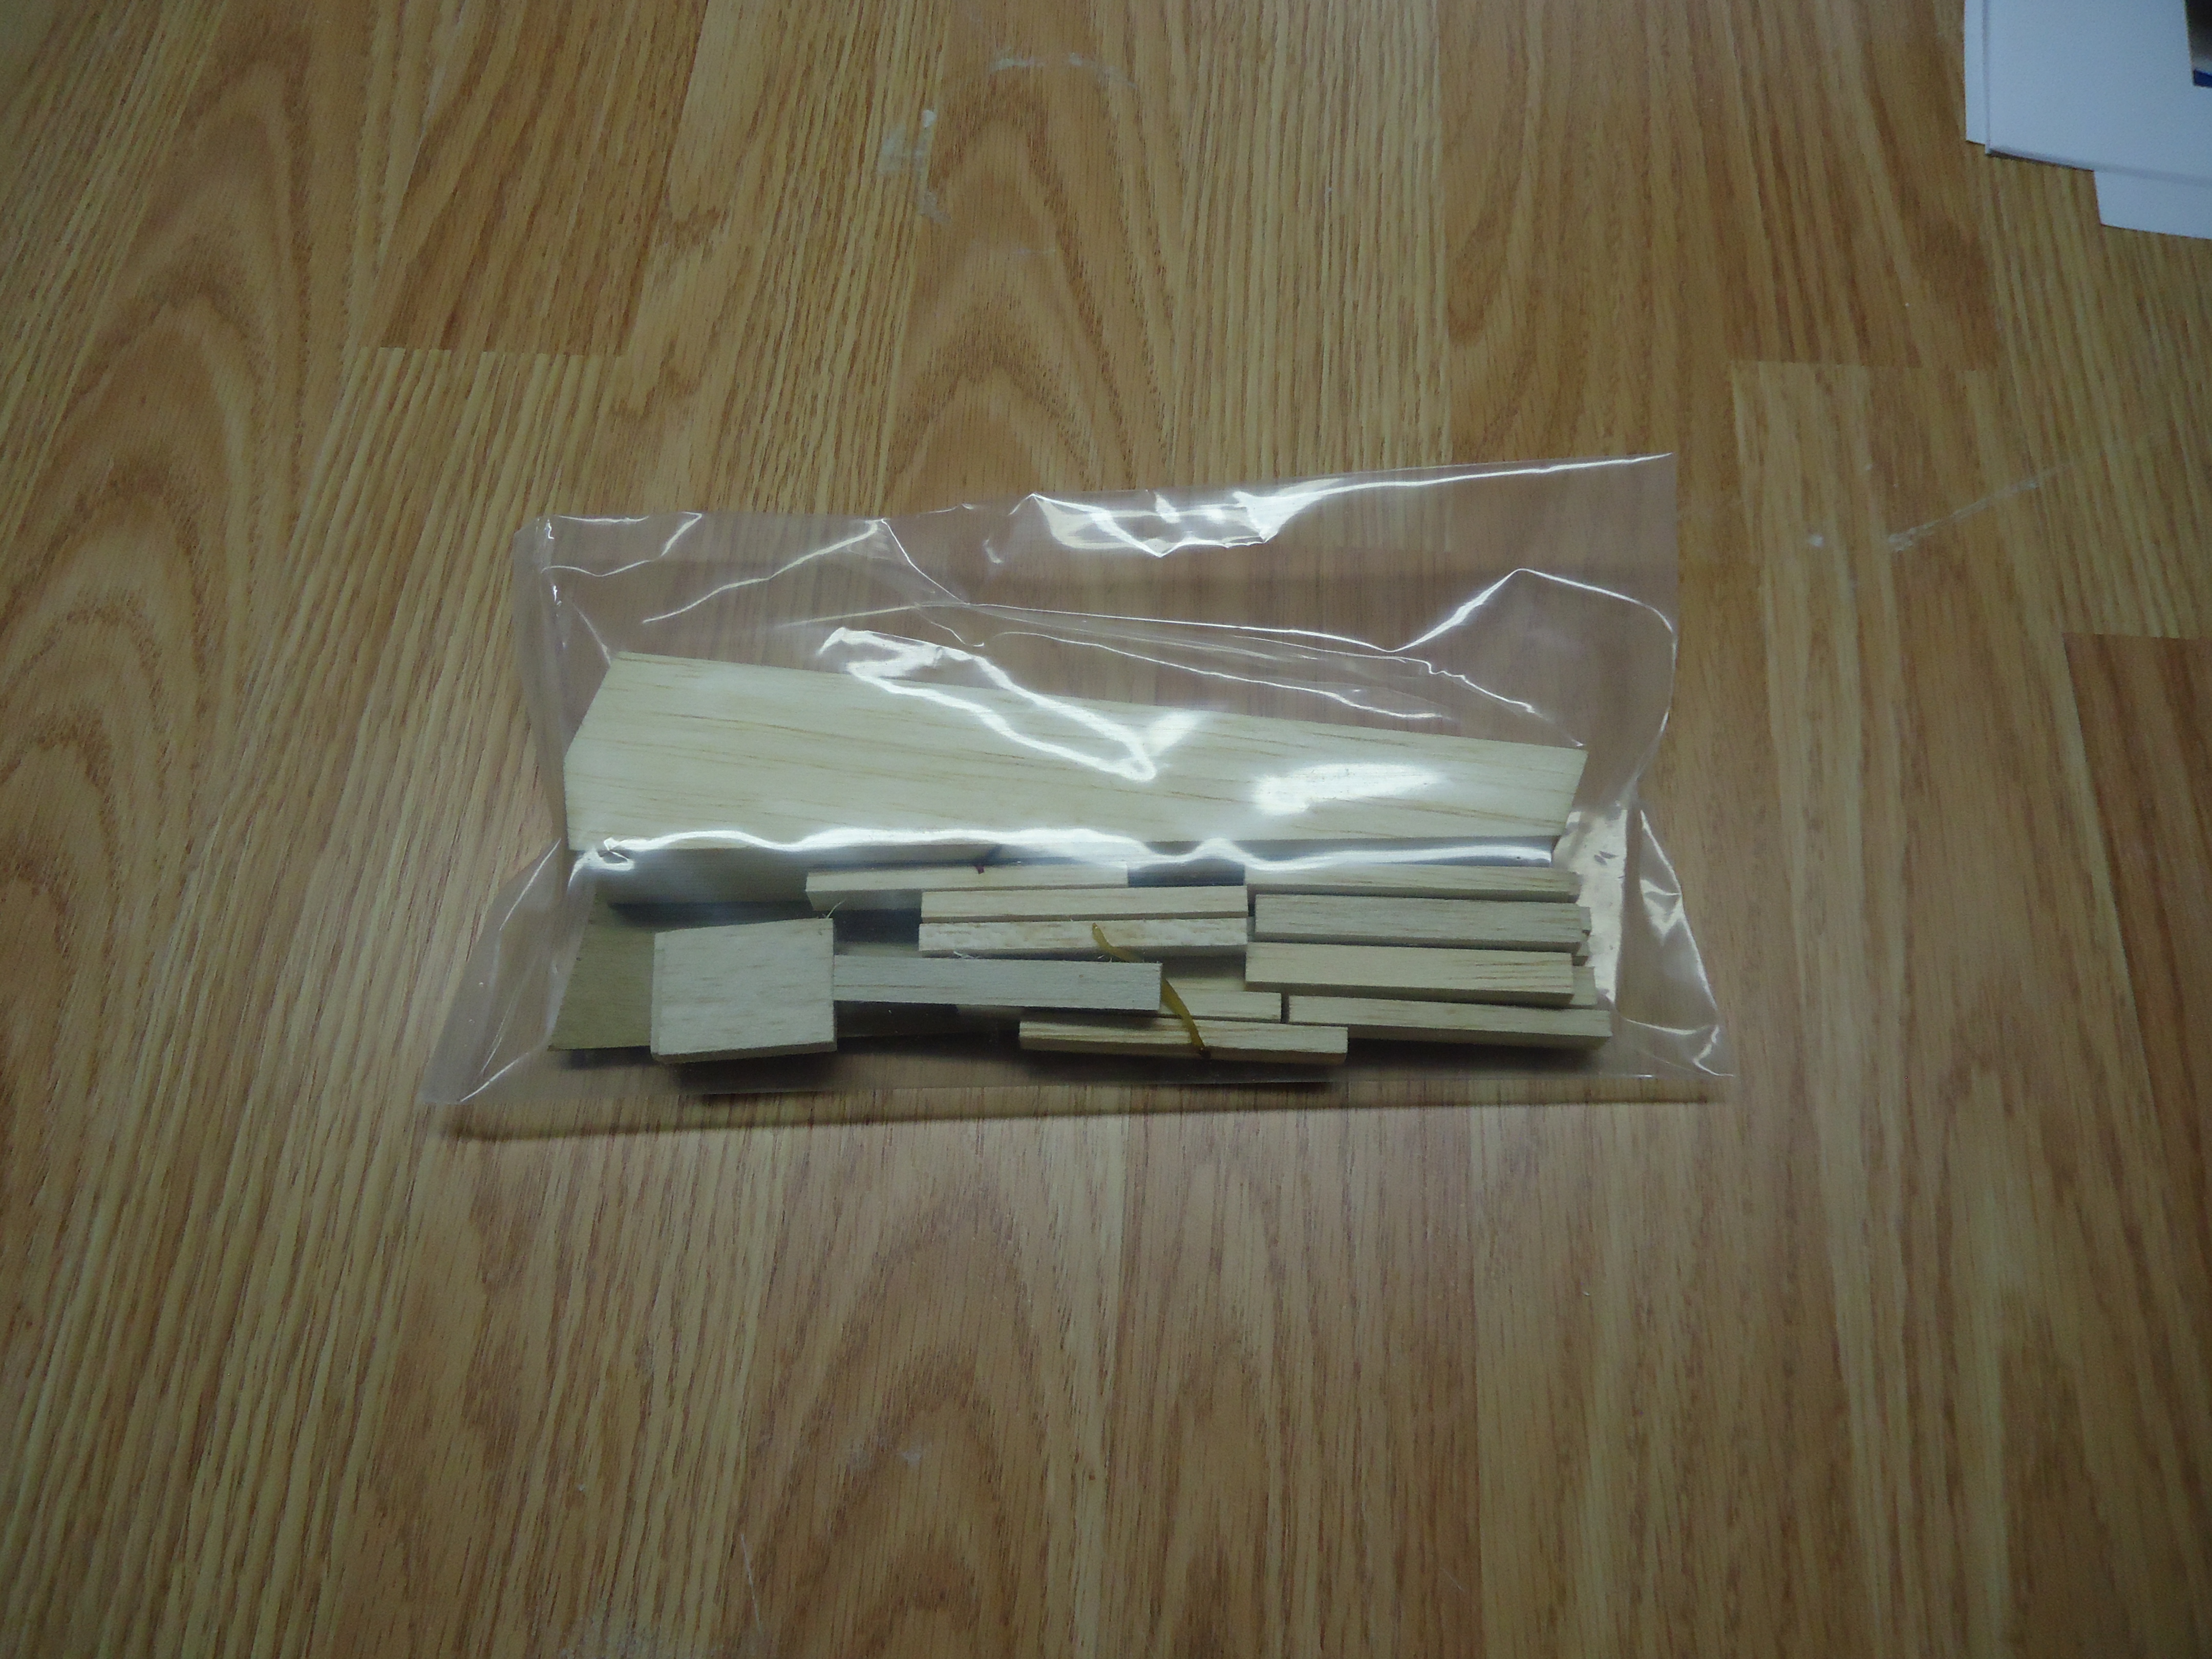
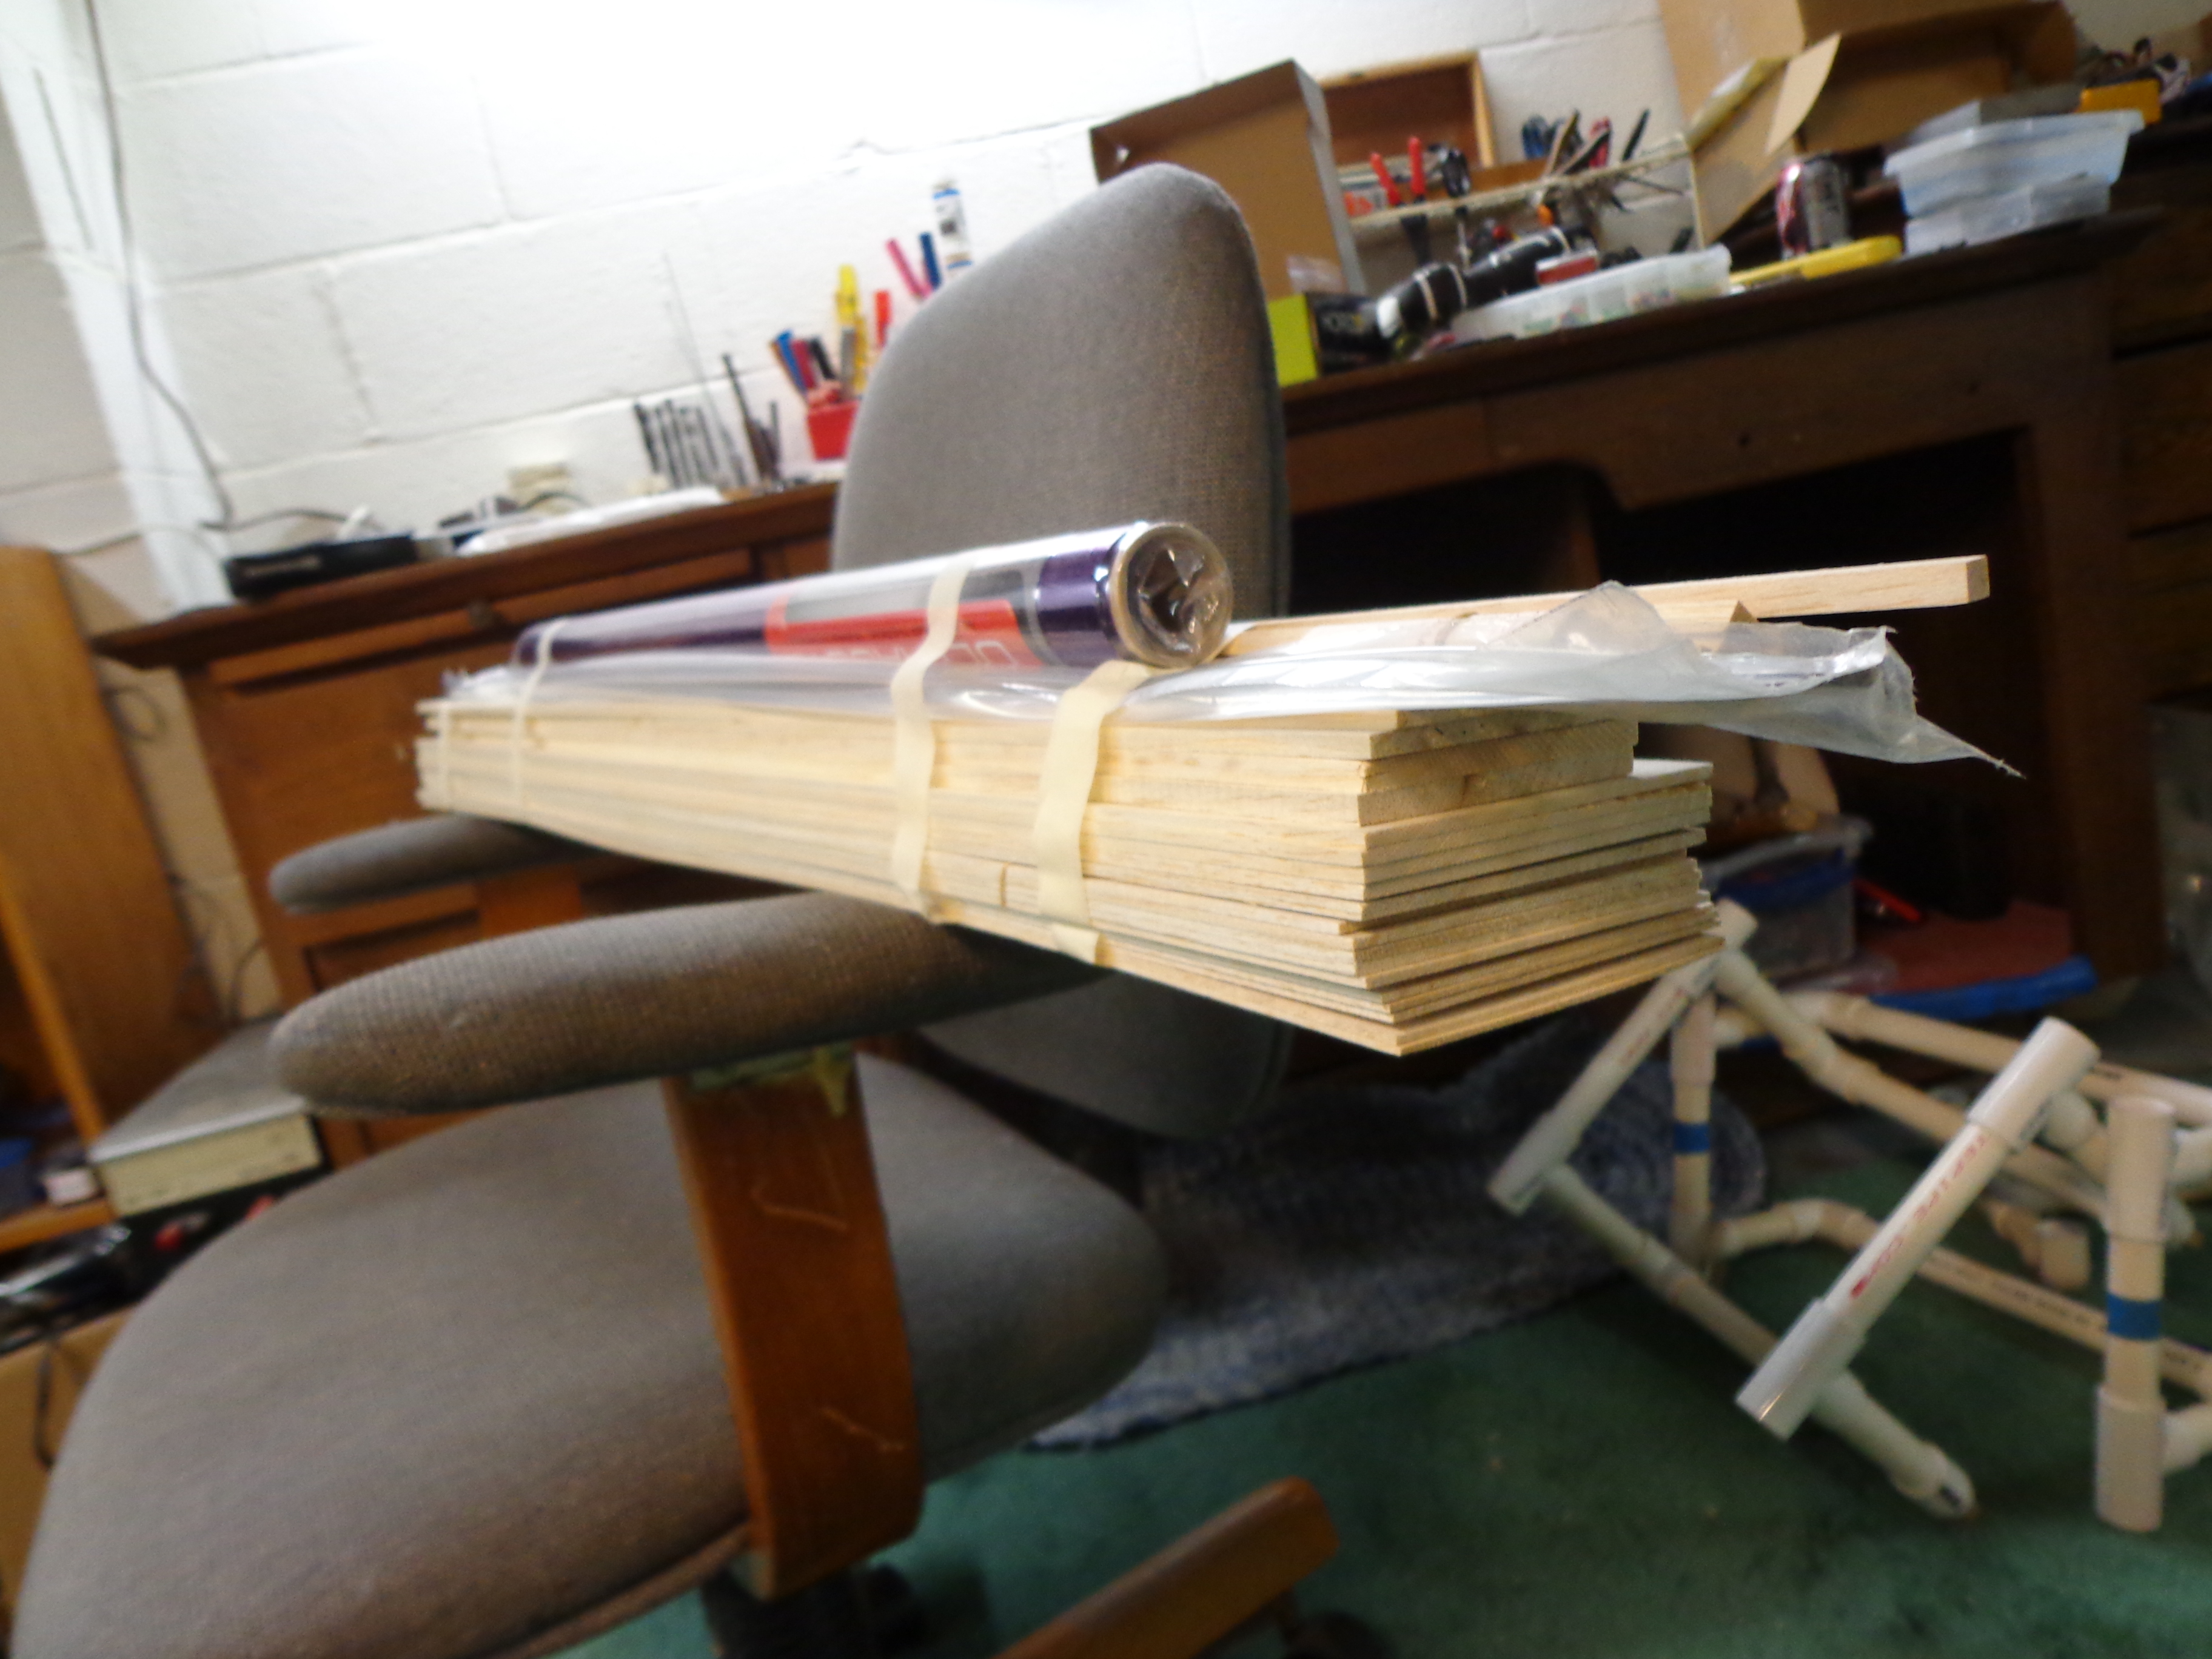
This is a bag of kindling that the manufacturer has included. I think that this was a very nice thing for them to do. After all, if you get frustrated because something isn’t working out, or you really mess something up good, here is some kindling to start a fire and burn the entire thing. That way the only thing left to clean up after the project has failed is a little bit of ash. You can then collect that and scatter it across your flying field in a ceremonious fashion.

A4 Match SticksOr… maybe it’s for building the rudder. Hmm… it could go either way I guess. If you manage to make it to this point without having to burn the entire kit to put you out of your misery then you can go ahead and use these pieces to make the rudder.


A4 Rudder Jig
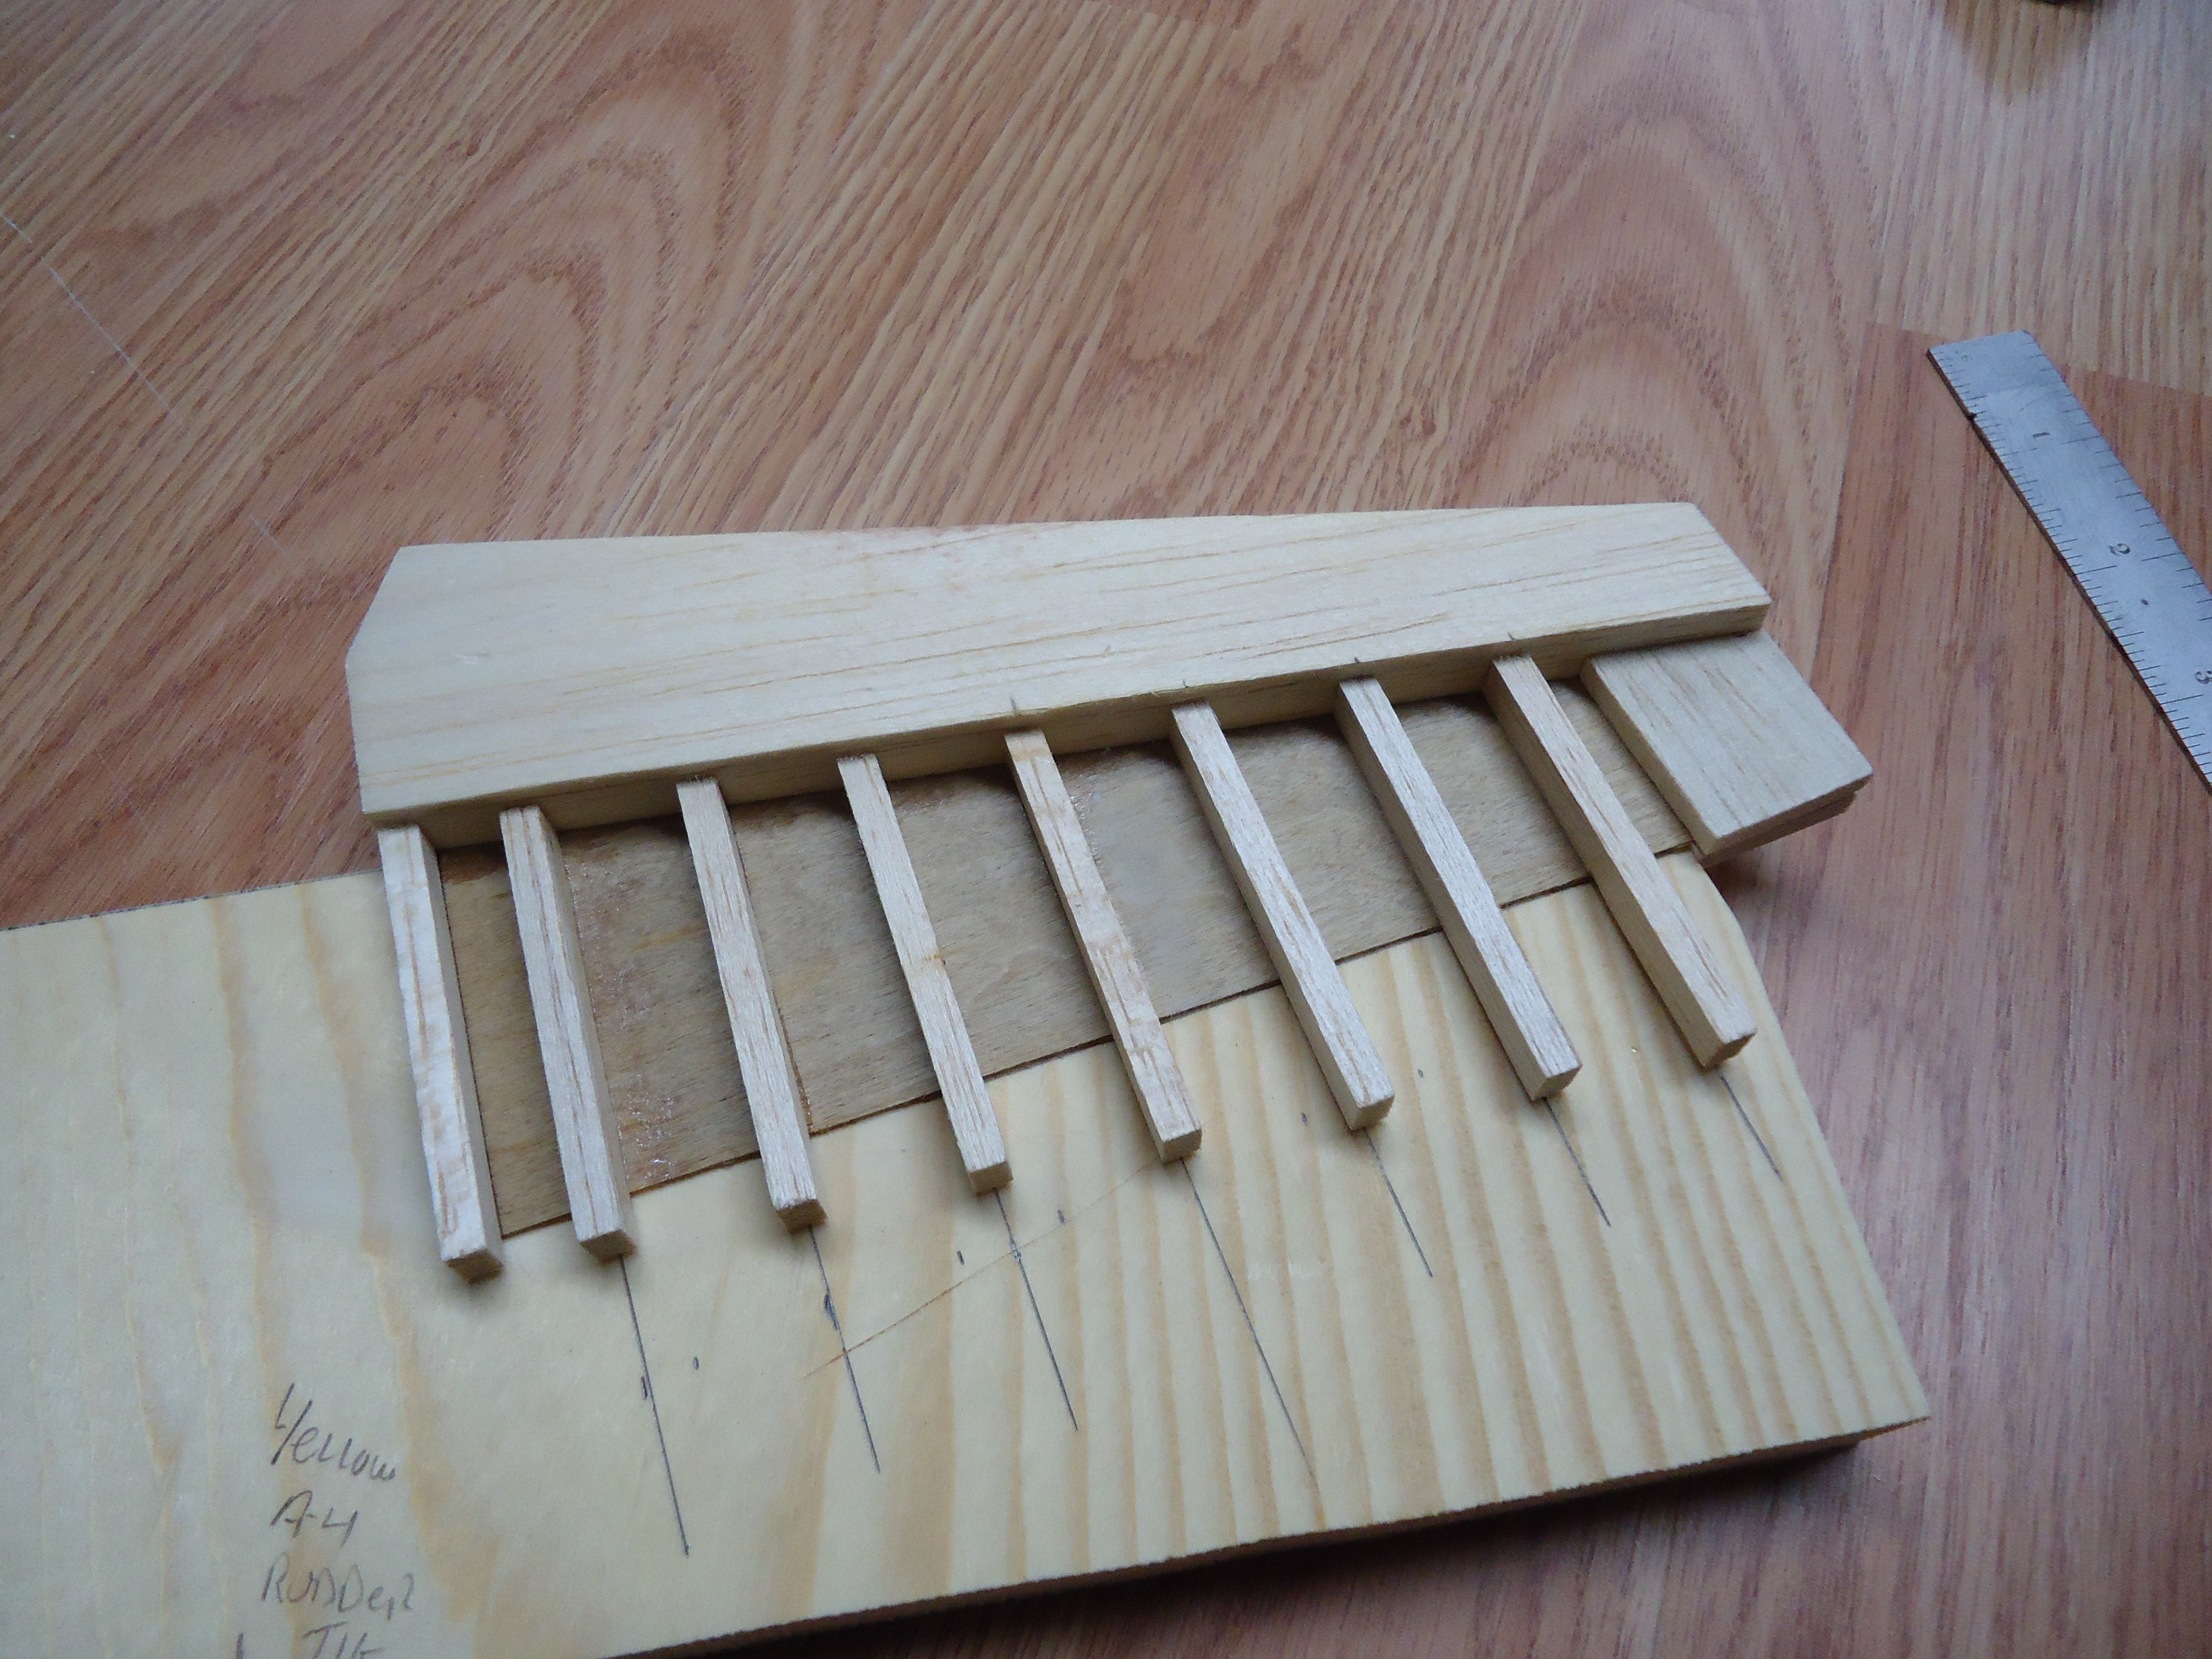
Jay designed his own jig to help make it easier for him to assemble the rudder correctly. These matchsticks have to go at just the right angle and be decently spaced.


A4 Rudder Sanding JigThe jig puts the spine of the rudder right up against this board. Jay then marked out where the matchsticks would go on the rudder. To get the angle right where they would be attached to the spine he just had to put the matchstick on the line that he had drawn and could sand it down flat to the board.


A4 Rudder SkeletonOnce all of that was done and glued together he had a nice looking rudder.


A4 Watching FootballAfter you have completed a big step of the project it’s nice to take a break. Here the A4 relaxes on his custom made stand and watches a football game.

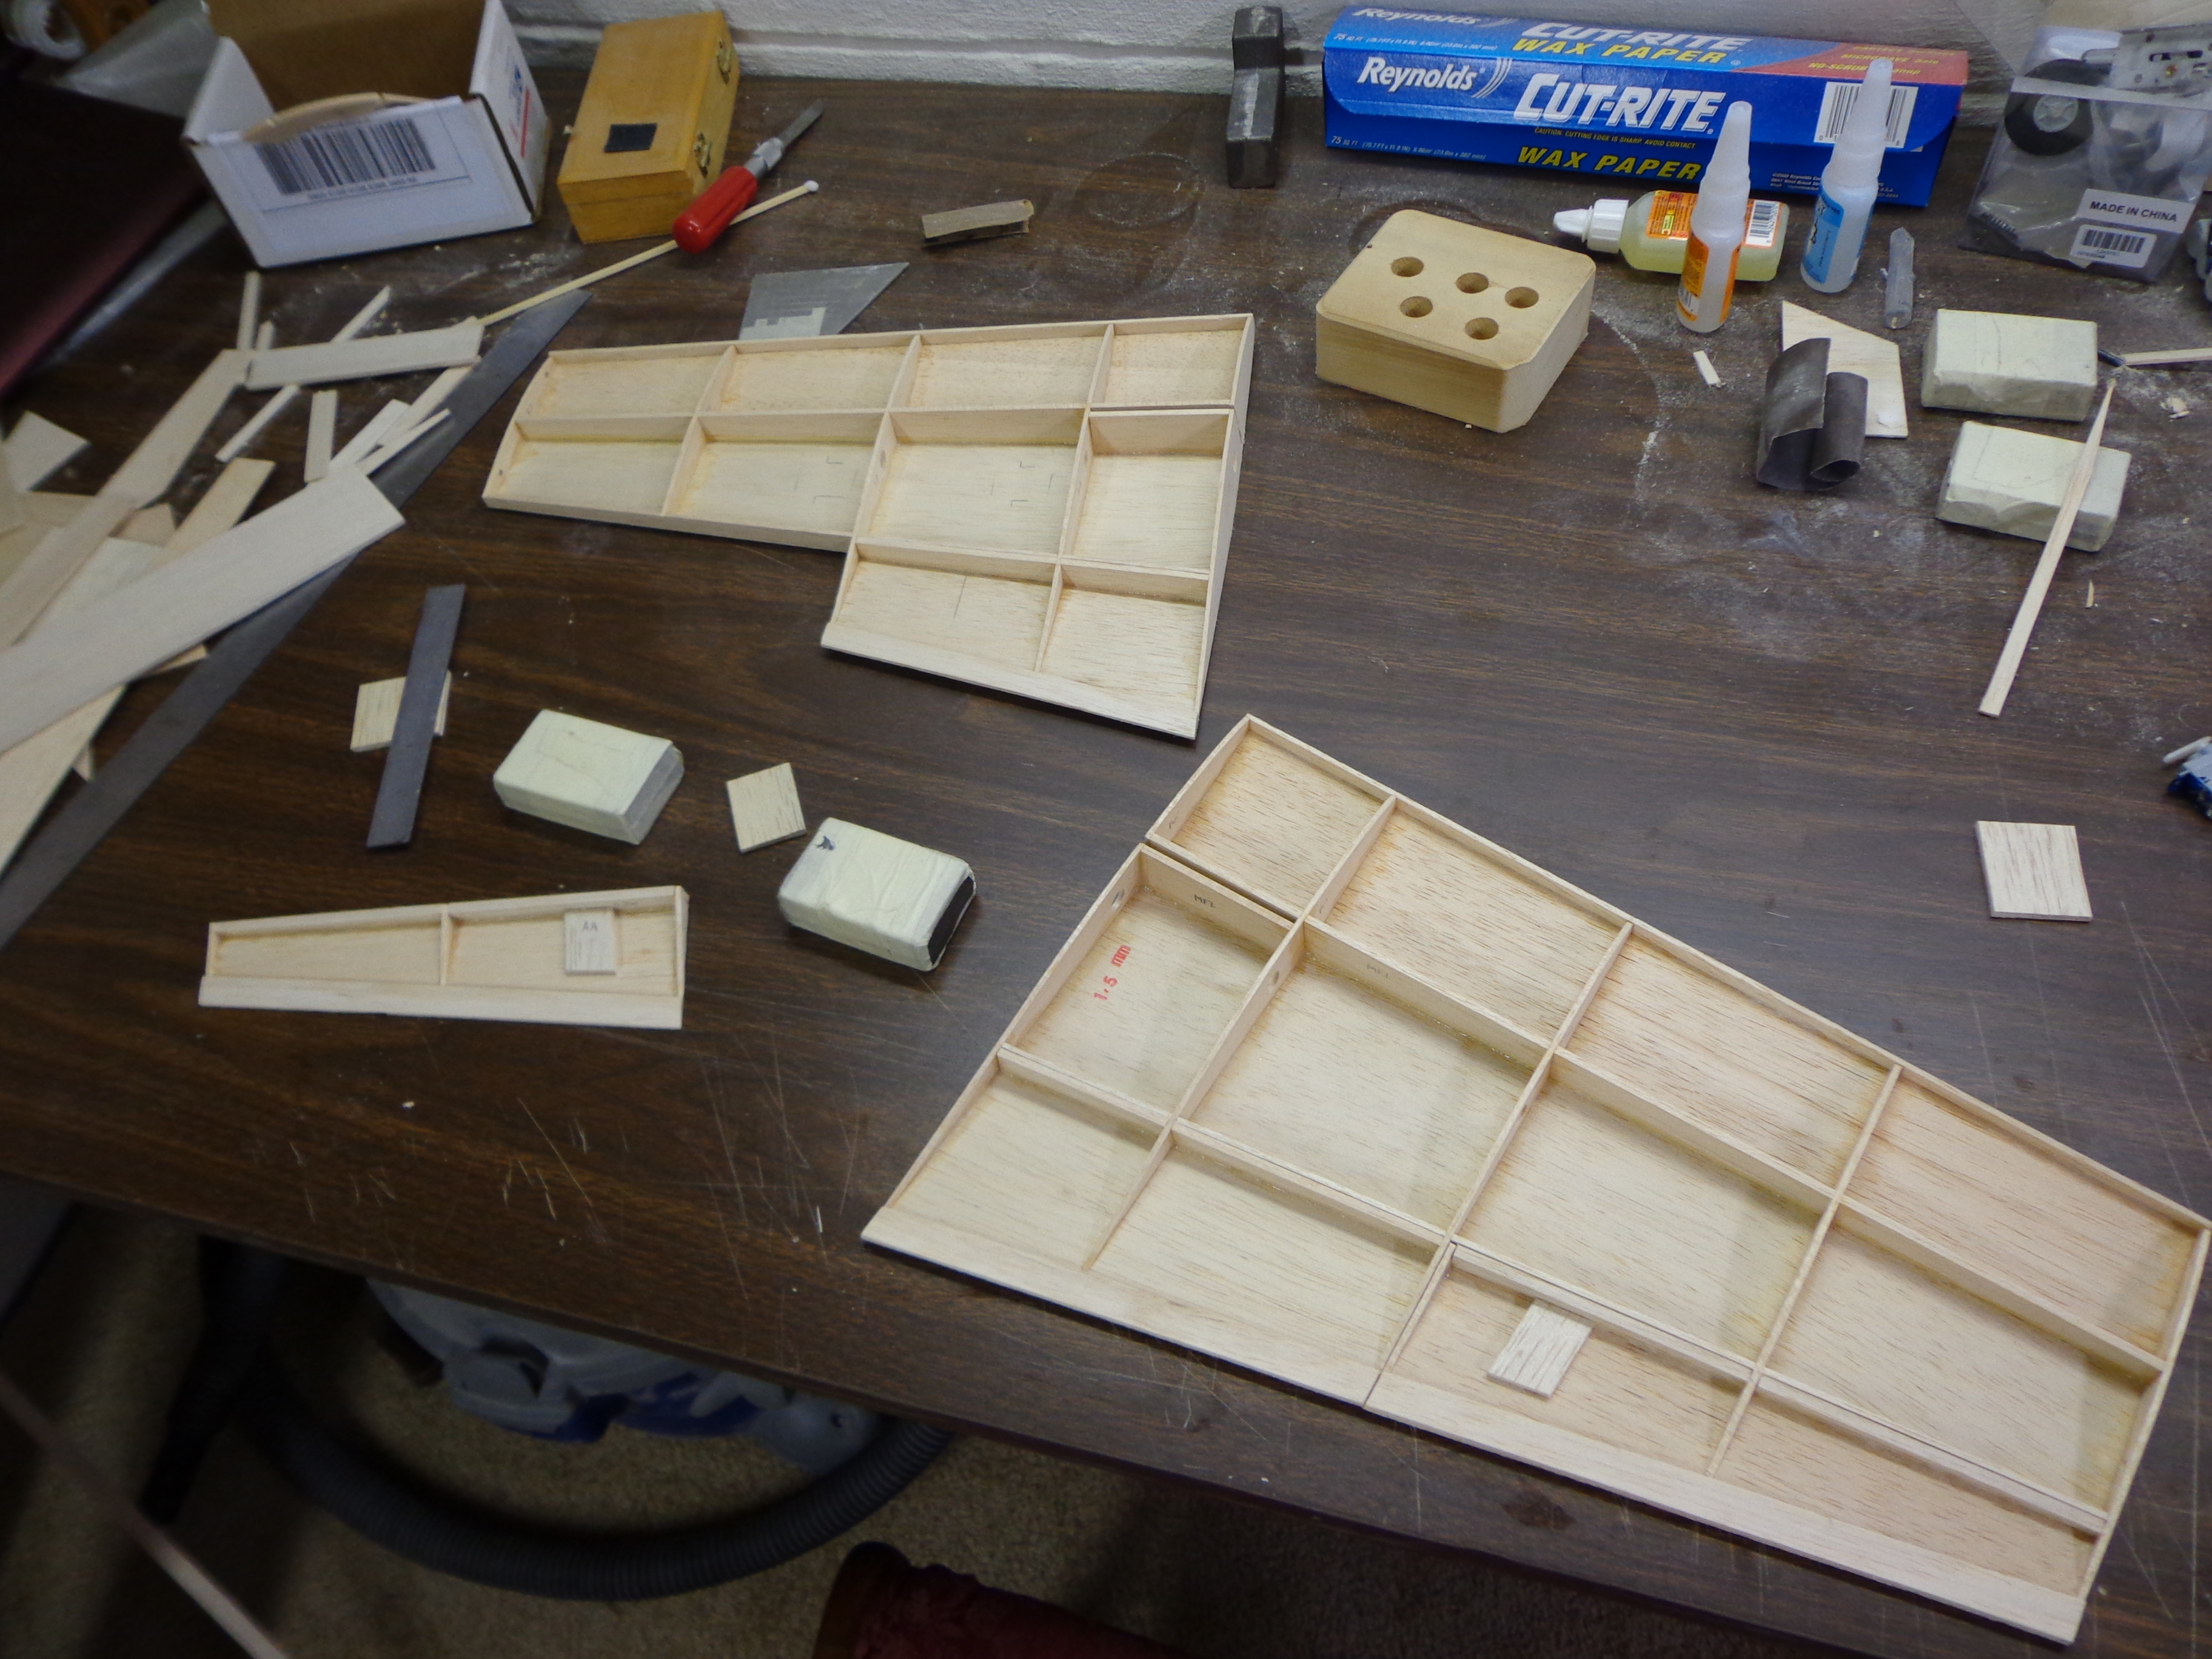
In the next post we’ll see how the wings come together.


Posted in A-4 Skyhawk, EDF, Jets, RC Planes | Tagged , , , , | 1 Comment

Winter Cross Project – Day 1

How appropriate that I begin this project on December 25th! I honestly didn’t plan it out this way. Since I’ve just finished stitching the Warthog it is time to go onto the next project. I definitely do NOT have a lack of things to stitch.

I have decided that this will be my next project. This is part of a series where there is a cross for each season. My idea is to stitch all four and then change them out to correspond with the time of year. I thought that if I started work on the Winter cross then there’s a good chance I’ll actually have it done and framed in time to display it next year. Yeah! I already know where it’s going to hang in my house.

Winter Cross 12-24-13There are 34 colors of embroidery floss in this project, which is a LOT less than what was called out in the Warthog.

One thing that I did change is that the pattern says that this was stitched on seafoam green aida cloth. I’m not really a fan of seafoam green or aida cloth. As I was searching through my preferred 32ct evenweave it suddenly hit me… it needs sparkle.

Winter Cross MaterialI tried to get a decent picture, but you can somewhat see the sparkle in the cloth. This is opalescent fabric. It has threads of sparkle weaved into it so that it glints at you as you look at it. It’s not overwhelming and I think that it will really set off this pattern nicely. I paid a bit more for it than I would have for the regular antique white that I prefer, but it will be worth it.


Thus begins another cross stitch project. This will mainly be worked on during my lunch breaks at work, so it might not progress very quickly. And there are a LOT of French knots on this (which I am not at all fond of!), but I’m hoping that it will be an enjoyable and inspirational stitch.

Merry Christmas!!


Posted in cross stitch, Faith | Tagged , | Leave a comment

A-10 Warthog Cross Stitch Finished!

It’s Christmas Eve already! Where did December go?? Despite the fact that I haven’t updated my blog in a while I have been very busy getting things done.

Warthog 11-30-13This is how the Hog looked at the end of November. I think that at this point I only had five or six rows left to stitch.


Warthog Finished 12-8-13It’s finished!! I put the last stitch in on December 8th. This was a lot of work and it didn’t quite turn out as good as I wanted, but I guess that you can tell what it is so that’s all that matters.

Jay says that he’ll find another picture for me to do for the next one. Apparently he wants this to become a series… Yikes! lol


Warthog Framed 12-24-13

Posted in A-10 Warthog, cross stitch | Tagged , | Leave a comment

A-10 Warthog Cross Stitch Project 11-30-13

Warthog 11-2-13Don’t it make my brown eyes blue…

I feel like I’ve been stitching with this blue for so long that it really WILL turn my brown eyes blue!


Warthog 11-30-13See what I mean…


Just a few more rows and it will be done!

Posted in A-10 Warthog, cross stitch, Jets | Tagged , , | Leave a comment

Dresser Project Almost Done!

Grandma's BedroomLet me lead you down memory lane a bit. Don’t ask me why I never took a complete ‘Before’ picture of this dresser, but I didn’t. Here it is in the foreground of this particular picture. I hope that this is enough for you to realize what color it was before. Somebody had attempted to do a faux finish on it so that it would somewhat look like wood.


Dresser BeforeHere it is, again, in all of it’s glory. It really wasn’t much to look at. I knew that it was solid wood so there was potential for it. I just had to find it.


Dresser 11-28-13I think that I found it! What do you think? The lighting isn’t the best, and I am still trying to find the perfect hardware for it, but this is the final finish.


Body:

Dresser Before

Dresser After First Stripping


Dresser After Second Stripping

Dresser Top 11-11-13

Dresser Stained and Polyd 11-27-13


Drawers:

Dresser Drawer After First Stripping

Dresser Drawer Before Final Cleaning

Dresser Drawer After Second Stripping

Dresser drawers 11-11-13

Dresser Drawers Stained and Polyd 11-27-13

Posted in My House, Remodeling | Tagged , | 1 Comment

Jay’s Work Shop

Jay and I have been doing a lot of home improvements this last year. We took some trees down, moved the fence, concreted the driveway, redid our sidewalk, and put a new furnace in the house (which is working wonderfully!). There was some discussion about a man cave in the basement and finishing off most of it.

Basement

From the moment that I saw the basement completely empty (when we walked through the house before purchasing it there was a LOT of stuff down there so we couldn’t really see just how big it was) I could see Jay setting up the workshop of his dreams.

Learing the Radio 3-25-12

You see, Jay loves to spend time in his work shop. He’s happiest when he’s fiddling with something on the work bench. It’s one of the things that I love about him. When we first started dating he was worried that I would think terribly of him because he spent most of his time in his basement working on his airplanes. I am a cross stitcher and a crafter myself. I may not know a lot about electrical systems and what kind of lines an airplane needs in order to fly, but I understand the desire and need to create something with your hands. Jay’s love of tinkering has led to my beautiful bookshelves, my wonderful stemware shelf, and soon a step for our family room.

Jay in his workshop

I’ve always told Jay that he could have 80% of the basement. I just needed some space for my stuff. He has kept that bargain with me and so I’m happy. During one of our discussions I told him that I wanted him to make the rest of the basement proper into the workshop of his dreams. Any guy can finish off a basement and put a TV with a few chairs in there, but how many guys would love to have their own workshop? How many guys have wives that would encourage them to create the work shop of their dreams? Jay’s anniversary gift to me was my chest freezer. Here is his:

New Workbench 11-11-13

This is Jay’s design. It’s fairly simple, but will be exactly what he needs for working on the larger aircraft that he seems to be getting into. This is 4′ x 8′ and stands 40″ tall. It’s tall enough that he can use his bar stools at it, he has room for his legs underneath, and the shelf is at the right height to put his feet on. He plans to add drawers, possibly stain it, and maybe do a couple other modifications. It’s a great start, though.

End of Workbench 11-11-13

He designed it so that it’s big enough to put most of his aircraft on and still have room to walk around either side of the bench without any issue. No longer will he have to make sure the plane isn’t going to roll off the edge. It will also be a big help when he runs up a new motor or fan as he will be able to strap the jet down to the table.

Top of Workbench 11-11-13

Originally he wanted to use MDF for the table top because it can withstand a beating, but is cheap enough to replace when it gets too rough. For some reason, however, Lowe’s doesn’t carry the 2’x4′ sheets. Jay didn’t really want to run to the Home Rip-Off, so I suggested that maybe he could use Pergo flooring. It’s essentially made of the same material, except this already has a finished top and it was fairly cheap. I think that we paid $.68 a square foot for it. It gives the top a nice, finished look and he can replace a single plank if he needs to without having to replace the entire top. He used some inch board around the edge to frame it in, but he was smart enough to make sure to leave a lip. Why? Well, this way if he’s using his Xacto knife and sets it down, it can’t roll off the table and stab him. Apparently this is something that he’s learned from experience! It should also keep other hardware and miscellaneous parts from rolling off as well.

It’s just the beginning. As we can afford to I know that we will be improving his workshop and really creating a space where he can work comfortably and be the envy of the flying club. Also, it gives me a spot on the other side of the bench where I can sit and stitch. This way I can spend time with him without feeling like I’m getting in his way. When we were dating we spent a lot of time in his workshop, but his current workshop doesn’t really afford us much room to be in there together. This new space will help with that!

Posted in Marriage, My House, RC Planes, Remodeling | Tagged , , , | Leave a comment

Dresser Project Update 11-11-13

Yes, it has been forever since I last updated you guys on my dresser. No, I’m not done with it yet. Believe me, I can’t wait for it to be finished!

Dresser BeforeA quick recap…

This is how it used to look. Including the horrible blue color painted on the inside.

There were at least four layers of paint on this, plus a layer of stain and shellac.


Dresser After Second StrippingThis is how it looked after I threw the stripper on it two or three times.

I’ll admit that I was starting to get depressed about the whole thing. I had originally wanted to stain it the same color as my bookshelves so that they would match. As I spent more time with this dresser I realized that it needed to be a different color. This is for one of two reasons. 1) I can’t get all of the stain out of the wood. There is going to be some color no matter what I do. There are way too many crevices for me to try to sand without ruining the look. 2) In my mind’s eye when I see it finished it has a darker mahogany look to it.

Dresser After Lots of Sanding 11-1-13This is how it looks after a LOT of sanding. I spent a few nights in the basement, covered in orange dust. I can’t quite call it quits, though. Every time I step back and think that maybe I’m done and can do the last little steps to prep it for stain I find another excuse to sand it down some more.


Dresser Drawer After Second StrippingThe drawers were looking good before. I was happy with them. I had sanded them down once with 180 paper. Then I took some 120 to it… and the process started all over again.


Dresser drawers 11-11-13These drawers have been sanded no less than six times. They are so smooth that you just want to rub your cheek against them. And yet I can’t quite bring myself to call it good enough.


Dresser Drawer Inside 11-1-13I even went so far as to put some stripper on the inside of the drawers. I figured that if I was going to spend all of this time and energy on this dresser that I didn’t want to open the drawers and still see that icky blue paint. Plus, I bought some dark blue felt off of the clearance rack to line the drawers.


Dresser Top 11-11-13I bought the stain for it this past weekend. With Jay’s help I decided to go with a dark red mahogany. We think that it will work the best to cover up some of the mottled stain that remains.

Even if I do manage to get this stained and poly’d before Thanksgiving I won’t have it quite done. I am still debating on the hardware. I want something in a gold or brass finish because I think that the yellow will look really nice against the darker wood. The problem is that I’m unsure of what style I want to use. The carving on the drawers should really stand out and I don’t want to detract from them. On the other hand, if they manage to blend in then I can go with a fancier handle that will give it a little extra dazzle. *sigh* It’s such a hard decision to make! I guess that I should just worry about getting it stained first, eh?

Posted in My House, Remodeling | Tagged , | 1 Comment

Mr & Mrs Hot Stuff’s Wedding Announcement

This past weekend my friend Sarah gave me a wedding announcement that she had cut out of the paper. It seems that my high school crush got married this past May. Congratulations! He’s a really nice guy so I hope that he’s very happy.

Reading his announcement, though, got me to thinking about what I would have written if Jay and I had put one in the paper. We didn’t publish one because we figured that everybody who needed to know about our wedding had attended it. Not to mention the fact that I wouldn’t have wanted to write it in the correct manner. Here is an example from the wedding announcement that I was given this weekend:

“Escorted by her father, the bride wore a Provonias gown. The strapless sheath gown was fashioned with lace on the bodice, skirt, and train. She also wore a silk white chapel-length tulle veil trimmed with lace. Her bouquet was tied with her late grandmother’s embroidered handkerchief.”

I have no idea what a Provonias gown may be, and I suppose that I could look it up, but I prefer to speculate. It makes my life more interesting to do so. I’m guessing that it’s the brand. I think. Anyway, since we are nearing our one year anniversary (already??!!) I thought that I would post my wedding announcement here… Kerry style…


Mr and Mrs Hot Stuff

Mr. and Mrs. Hot Stuff

Kerry Hillbilly and Jay Hot Stuff were united in marriage on Saturday, November 24, 2012 at 2:00 p.m. at The Roman Catholic Church. A reception and dinner immediately followed at The Moose (catering by Jerry). Music was provided by a really great DJ. On the eve of the wedding, the parents of the groom hosted a rehearsal dinner at the groom’s mother’s house where the ambulance easily found the address to take the groom’s brother to the emergency room later that night.

The bride is the daughter of Mr and Mrs Hillbilly of Amish Country.

The groom is the son of Mrs Karen of Three Doors Down from the Married Couple, and Mr John in Florida.

Escorted by her father, the bride wore a stinkin’ gorgeous gown that she managed to get for a REALLY great price. The stunning dark blue train was gorgeously embroidered with silk thread and accented with lots of beautiful beads and crystals. The bride’s head was adorned with a crystal and pearl tiara. In her hands she carried a bouquet of Wal-Mart roses, one of which was pink and represented the bride’s older sister (who was there in spirit).

Sister of the bride Droof and best friend of the bride Pauline served as maids of honor.

Brother of the groom Justin and cousin of the groom Eric served as best men.

The bride is a graduate of Backwoods Central School. She received her bachelors of science degree in accounting from Beautiful Lakes College. She is currently employed as a quotes analyst for a contract manufacturer.

The groom is a graduate of Big City School District. He bravely served in the Navy after high school where he taught many young pilots how to fly. He is currently employed as a metallurgic engineering manager in a local foundry.

After being married for three weeks the couple were able to finally live together in their new home. A honeymoon will be taken when they attend SEFF in April 2014. No, they are not yet ‘expecting.’


Posted in Wedding | Tagged | Leave a comment

A-10 Warthog Cross Stitch Project 11-4-13

Warthog 10-2-13I didn’t realize how long it had been since I last updated you guys on this project. Apparently I didn’t notice that October was slipping right by me! I’m sure that you’ve been just as busy as I have, so I know that you understand. So, above is how the Warthog looked on October 2nd.

On November 2nd:

Warthog 11-2-13

Yep. I’m on the boring blue part. The only good thing about it is that I don’t have to worry about the pattern. I just have to fill in all of the blank spots. These are little stitches, too. I might have to put something in the picture and take an up-close picture so that you can see how small the stitches really are. It might surprise you.

Posted in A-10 Warthog, cross stitch, Jets | Tagged , , | Leave a comment

Panther Project 10-23-13

Panther InsidesThis is how the Panther looked the last time I gave you an update.

Are you ready to see it now?

Are you sure?

Seriously, are you ready?


Panther Shaped Fuselage 10-23-13Okay, so it still doesn’t look like much, but there has been a LOT of work done to this. I’ll give you a picture montage and then butt in when I feel that a little more explanation is necessary.


Progression starting with the last post update:

Panther Insides

Panther Shaping 10-8-13

Panther Frame 10-8-13

Panther Gear Door 10-12-13

This is testing the fit of the nose gear on the panther to make sure that it’s going to lay flush enough for the gear door to be seamless.

Panther Nose 10-16-13

Panther Fuselage 10-16-13

In this picture you can see how the skin of the fuselage is formed by cutting balsa into strips and gluing them to the airframe. Up close it looks a lot like they were planks that were laid next to each other.

Panther Sanded 10-23-13

Once you have them all glued in place you then begin shaping by using a steady hand, a blade and sandpaper.

Panther Wings 10-23-13

The wings are under construction, too. You can see that Jay has already cut the aileron out and he has also marked the spots for the various servos that will need to be installed on each wing.

Pile of Balsa 10-23-13

This isn’t technically part of the Panther, but since it’s RC related I wanted to tell you this story. I keep telling Jay that he’s damn good. This proved it…

We went up to the hobby shop on Saturday because Jay needed a few more things to replenish his stock. Whenever he goes to the hobby shop he has a rough list of what he needs, and then he adds a LOT of extras to it. He literally walks around, pulls things off of the hooks, and tosses them on the counter if it catches his fancy. He doesn’t keep track of how much the stuff is adding up to because he’s too busy looking for what else he might need. The thing is that he always seems to know just how much his tab is going to add up to. This past weekend he took a bunch of cash out of his wallet, laid it down on the counter, and then picked up $10 of it and stuck it back in his pocket. The guy was adding up the total (this is very old school in that it’s all written down on a receipt and then added up with the adding machine). This is a game that Jay plays all of the time. He doesn’t keep an eye on the calculator, either. So the guy helping him out gets the total and asks Jay how much money is laying on the counter. Jay tells him and this guy’s jaw nearly breaks open as it hits the floor… Jay was within $.20 of the total! That’s including tax plus the guy took a bit of a discount off of a few things in Jay’s order. It was quite impressive! lol

Posted in EDF, F9F Panther, Jets, RC Planes | Tagged , , , , | 1 Comment