Sewing Thread Organization – NSM 9-10-15

Sewing Table area
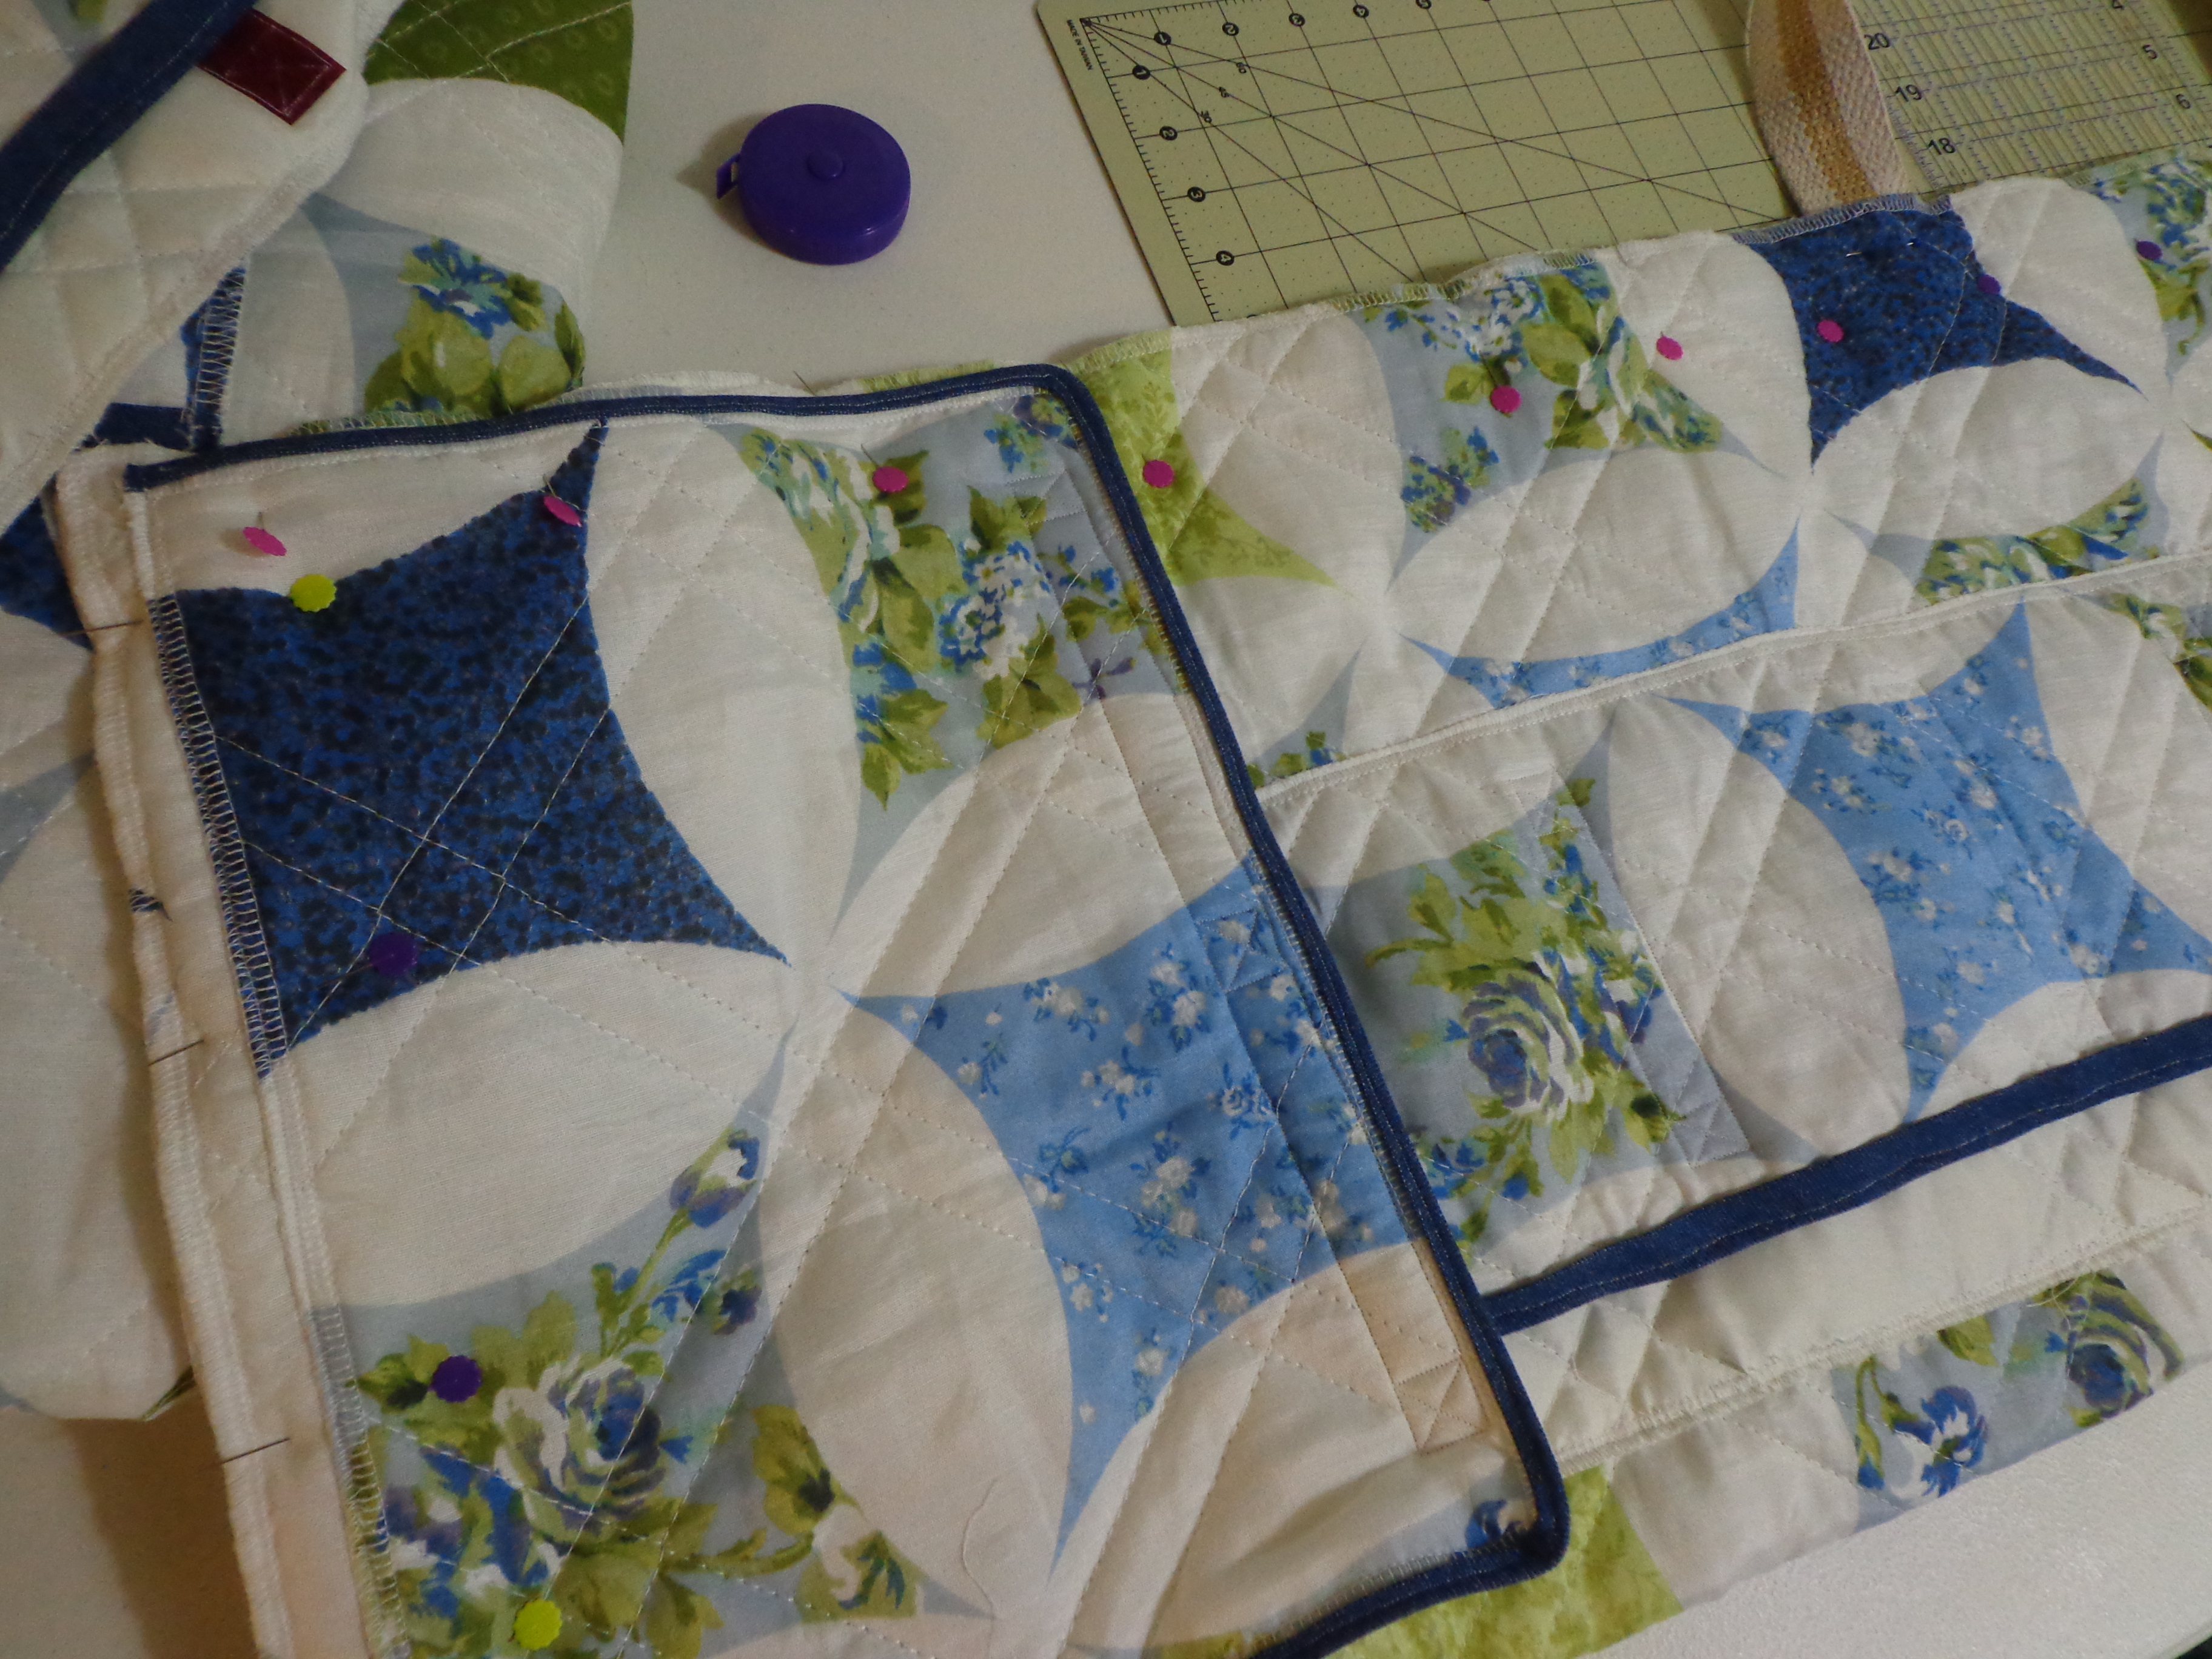
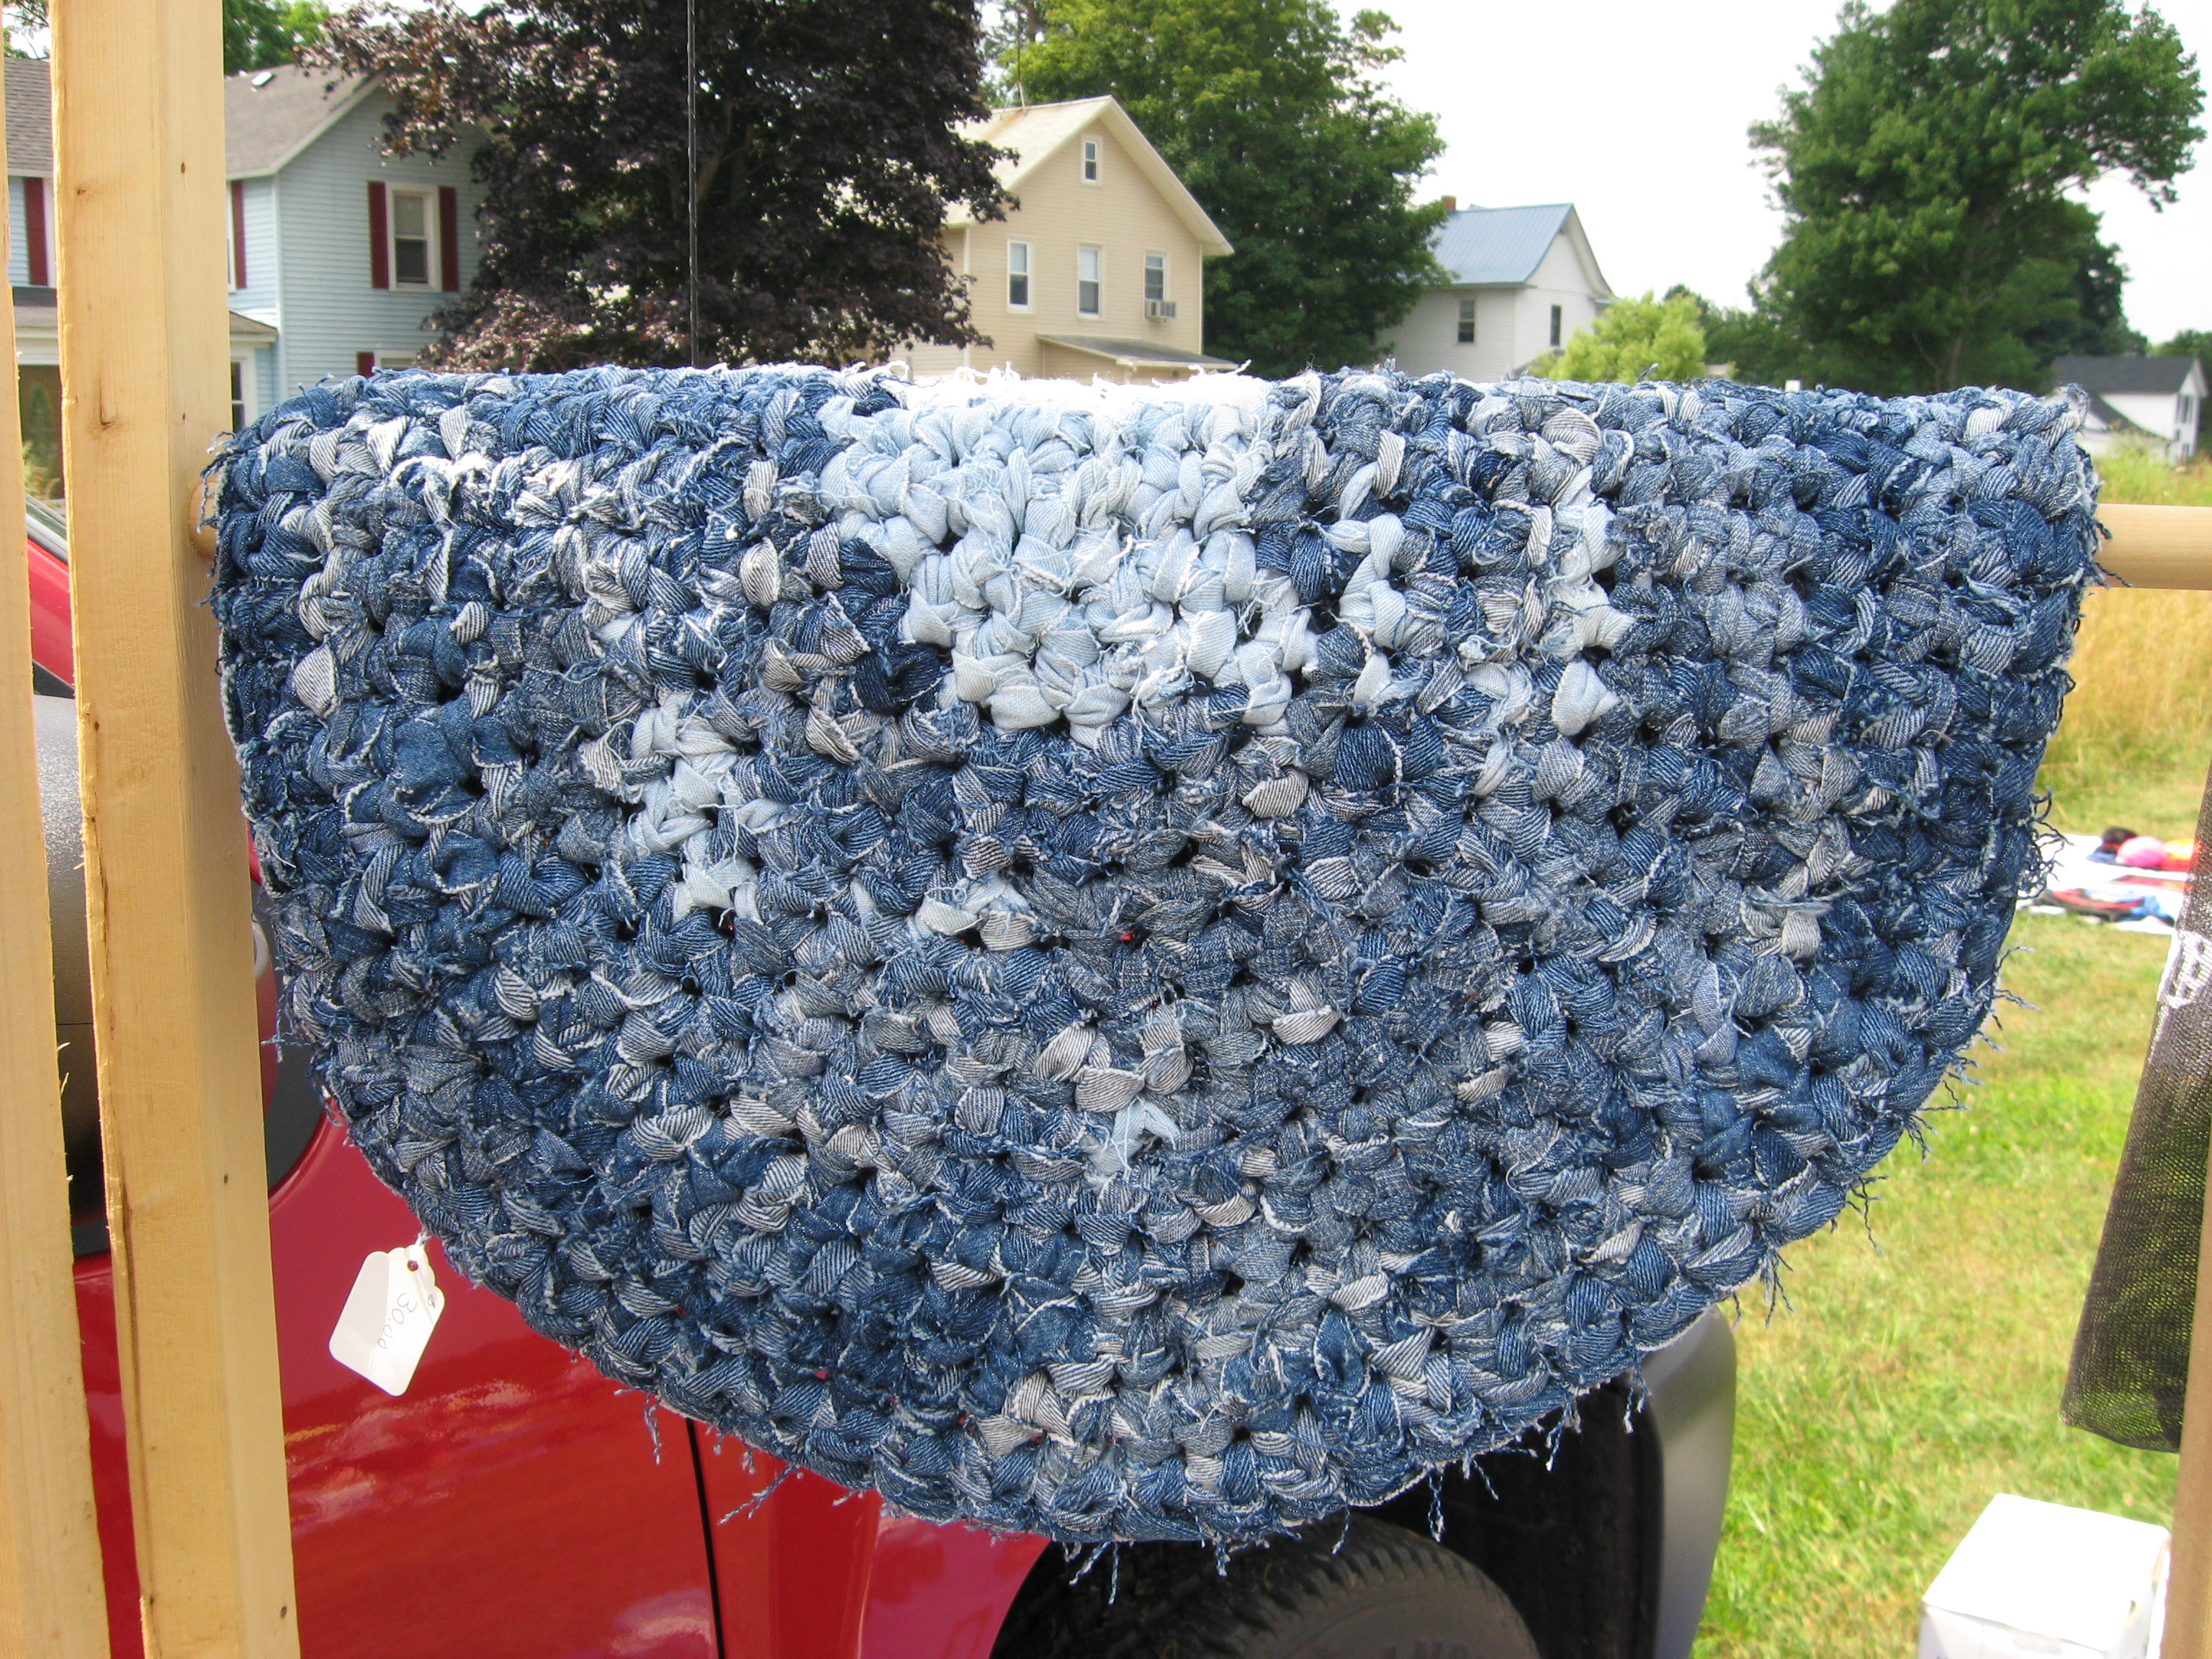
Once you start sewing regularly you notice that not only does your material start reproducing, but your spools of thread start acting like unruly teenagers. You put them all together, but when you try to find them they are always as far away from you as possible. Then when you’re trying to get them singled out they cling to the others and you can’t ever find their matching bobbin. The spools have no idea where they last saw them. Maybe the bobbin is under their bed? They think that they brought it home from school…

Spool Organizers
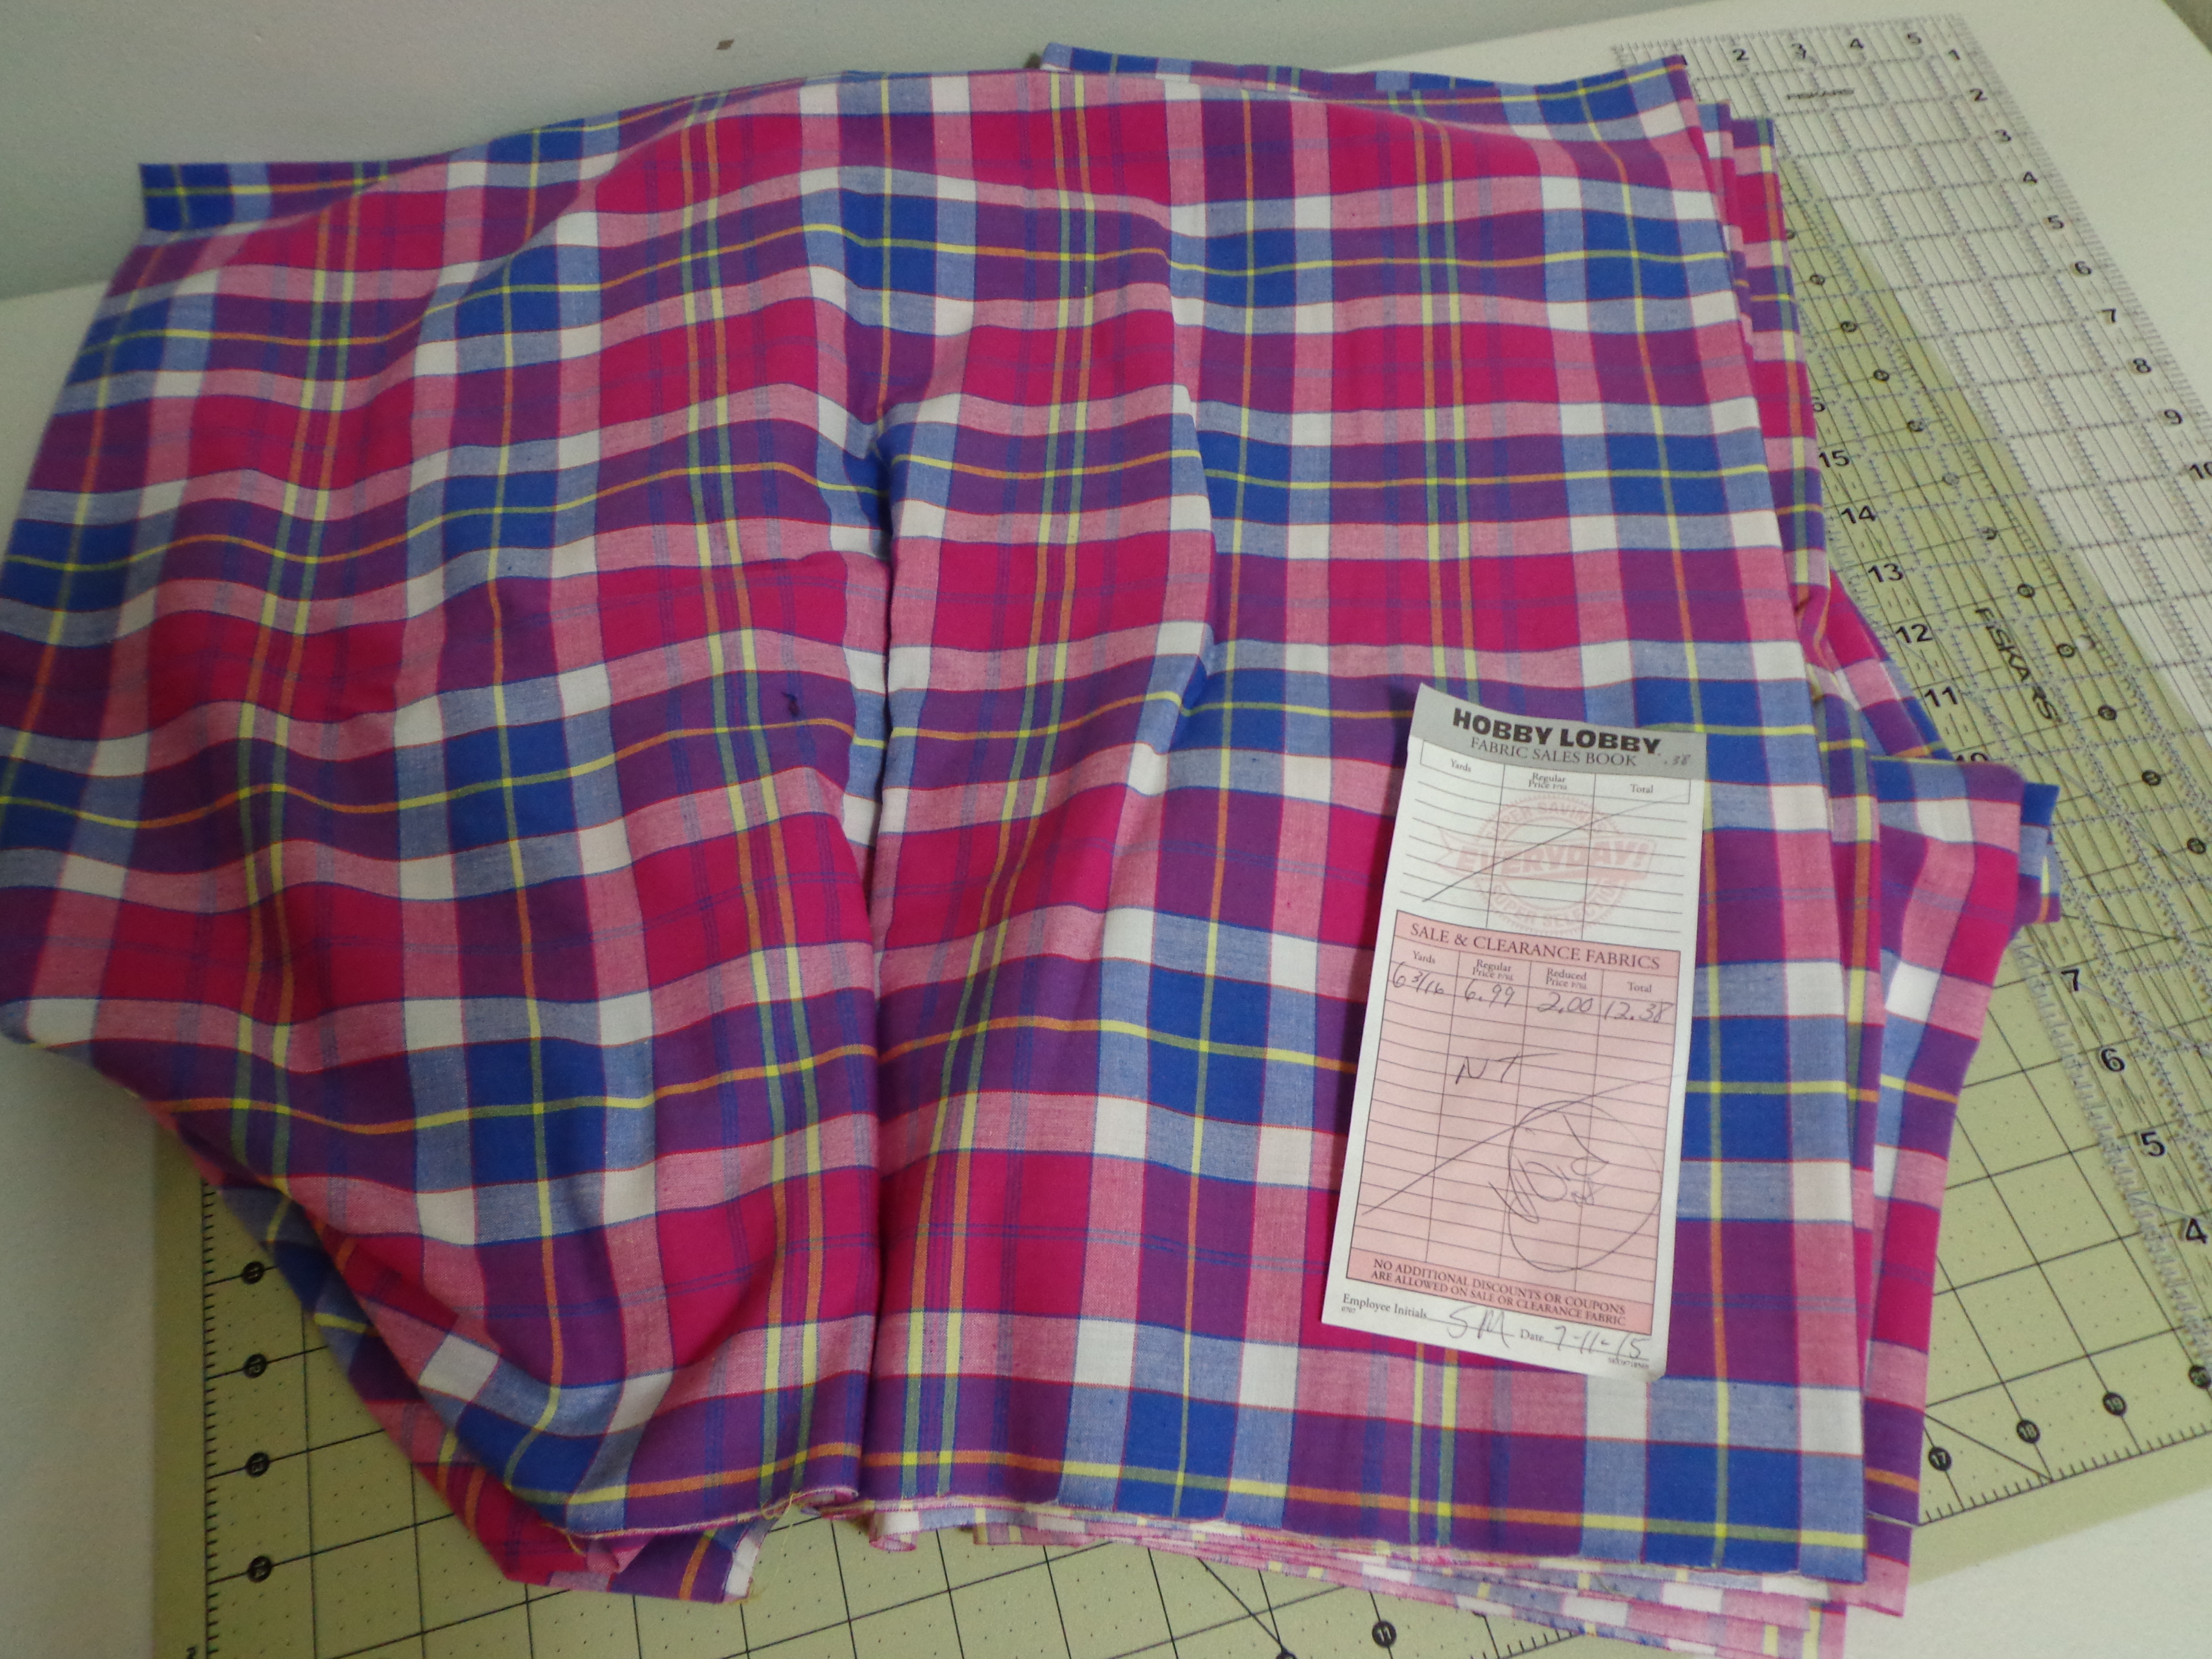
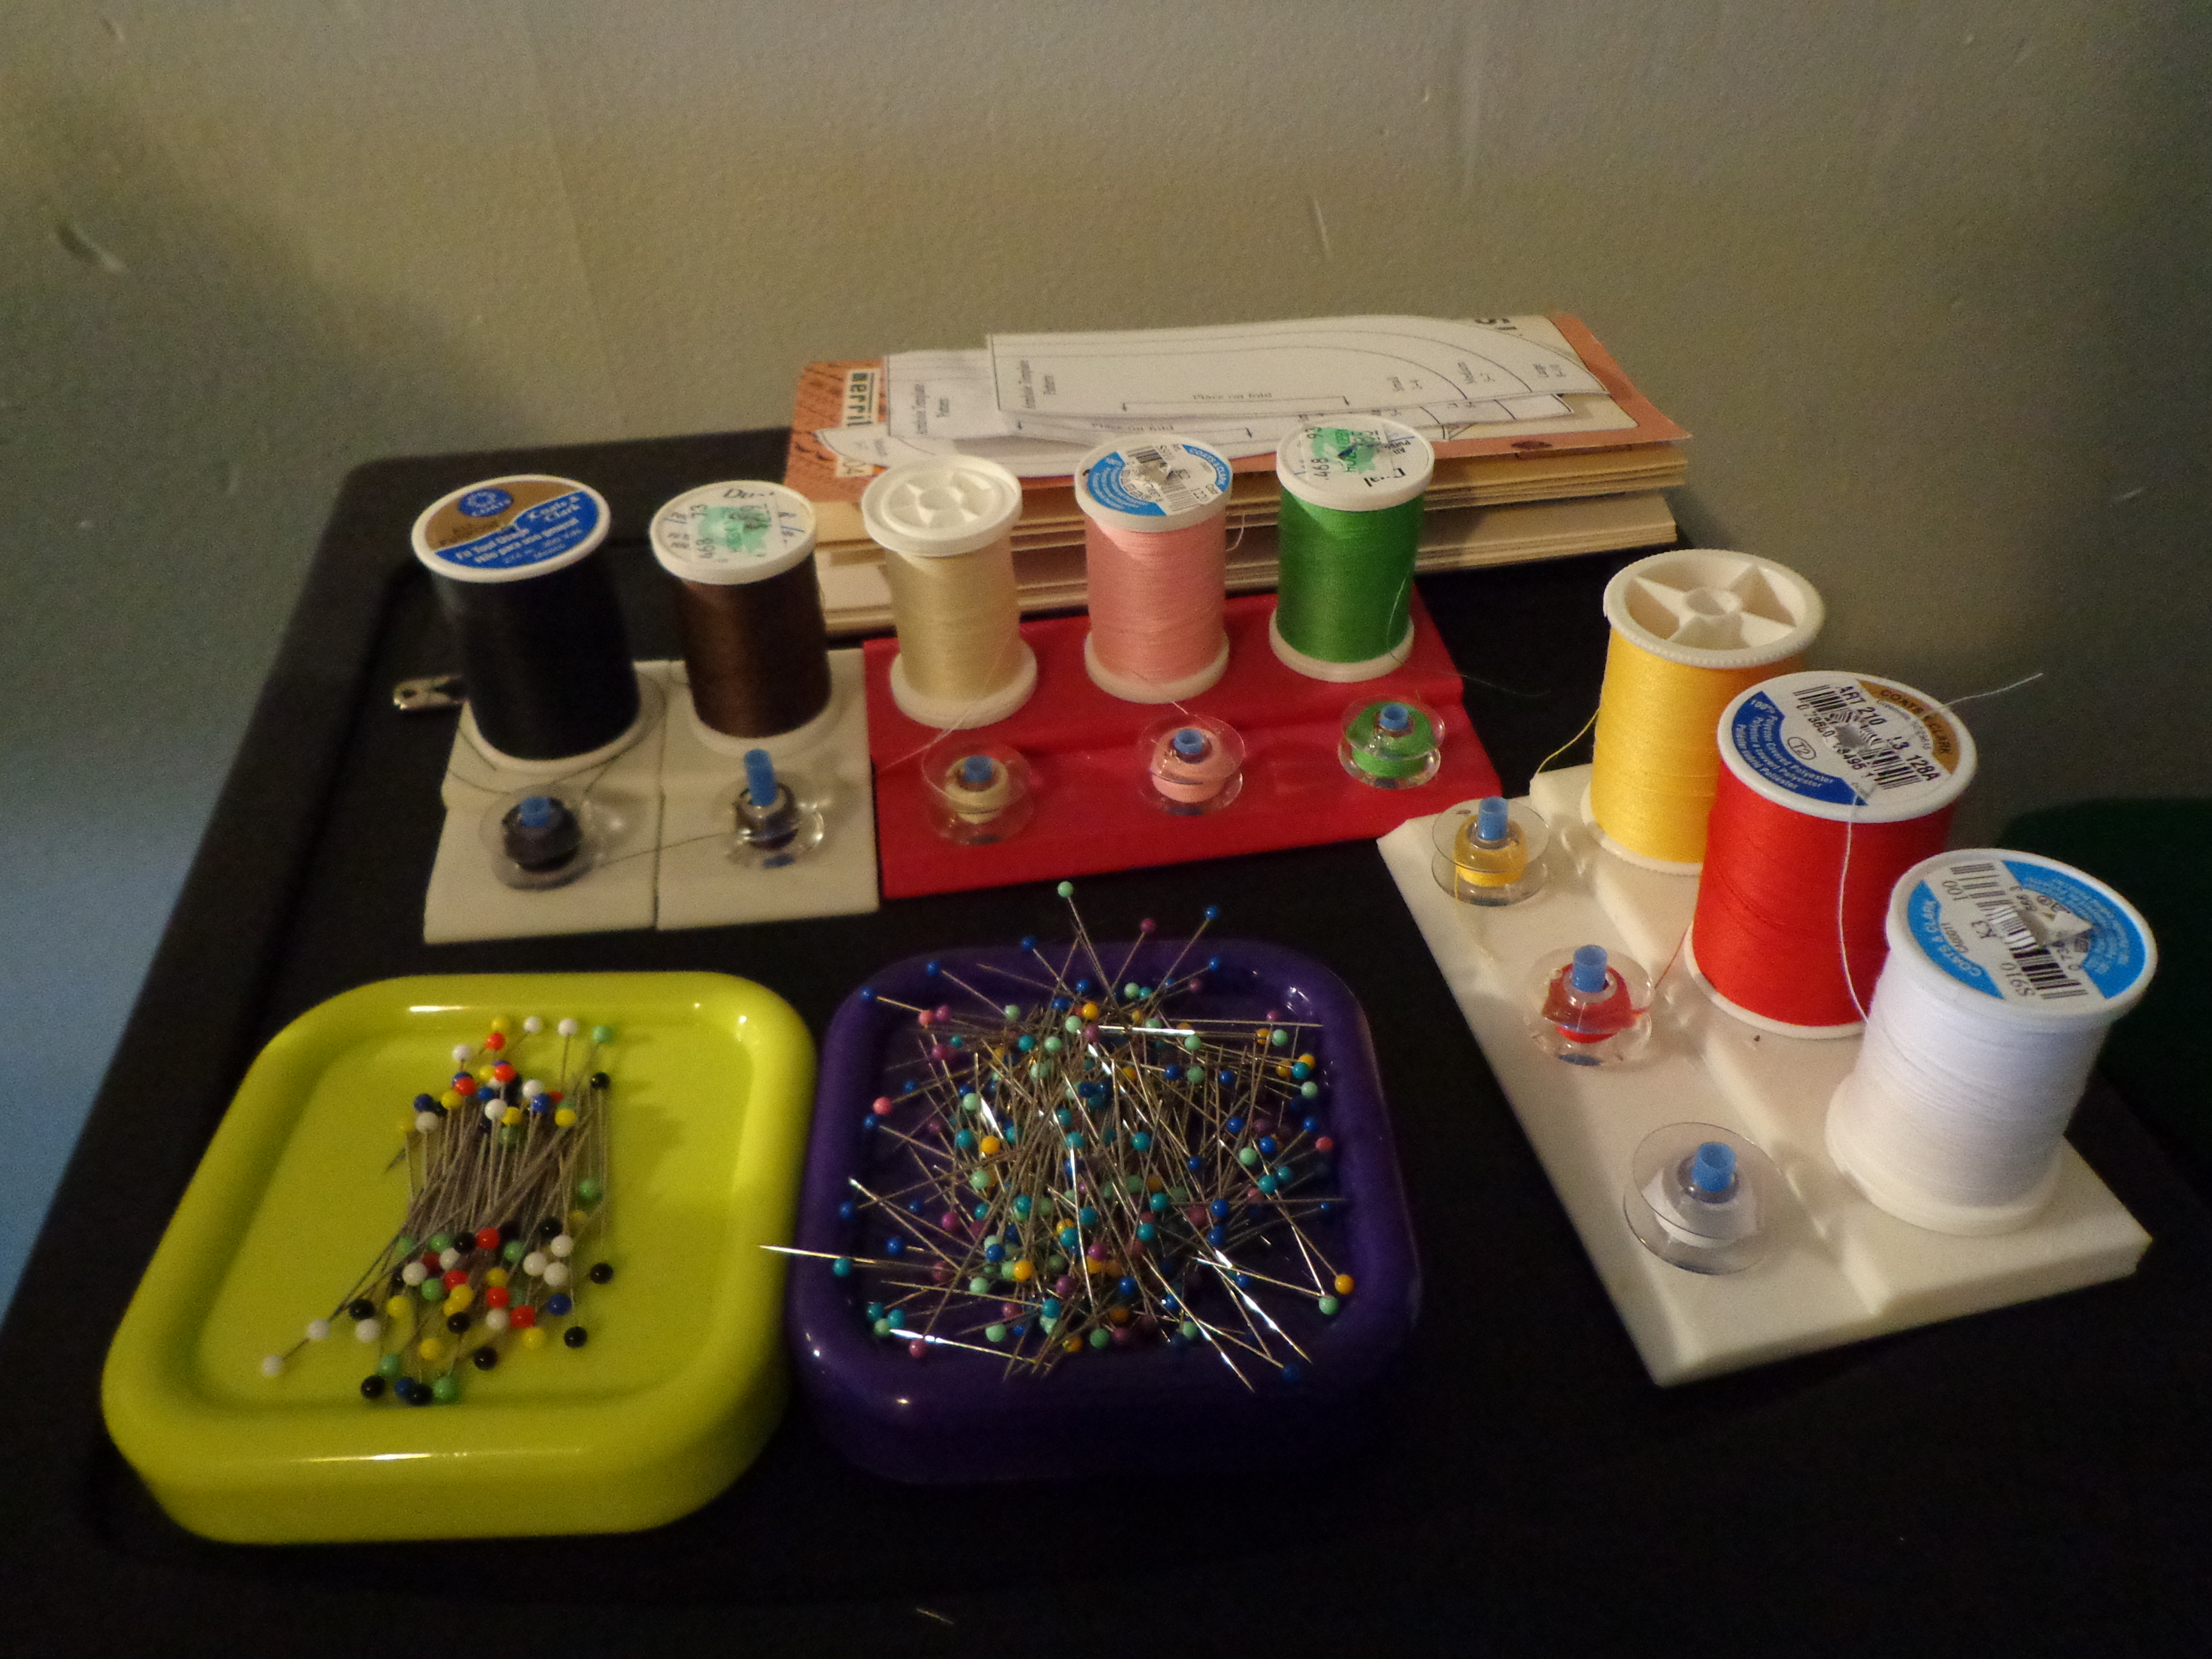
To help combat this issue I had Jay print some spool holders for me. These work great! Most of my sewing involves the Dresses for Missions and I’ve discovered that I’ve collected numerous colors of thread in order to sew up these dresses.

I kept having to ask Jay to print more holders for me. And they were starting to get out of control.

My Big Thread Holder
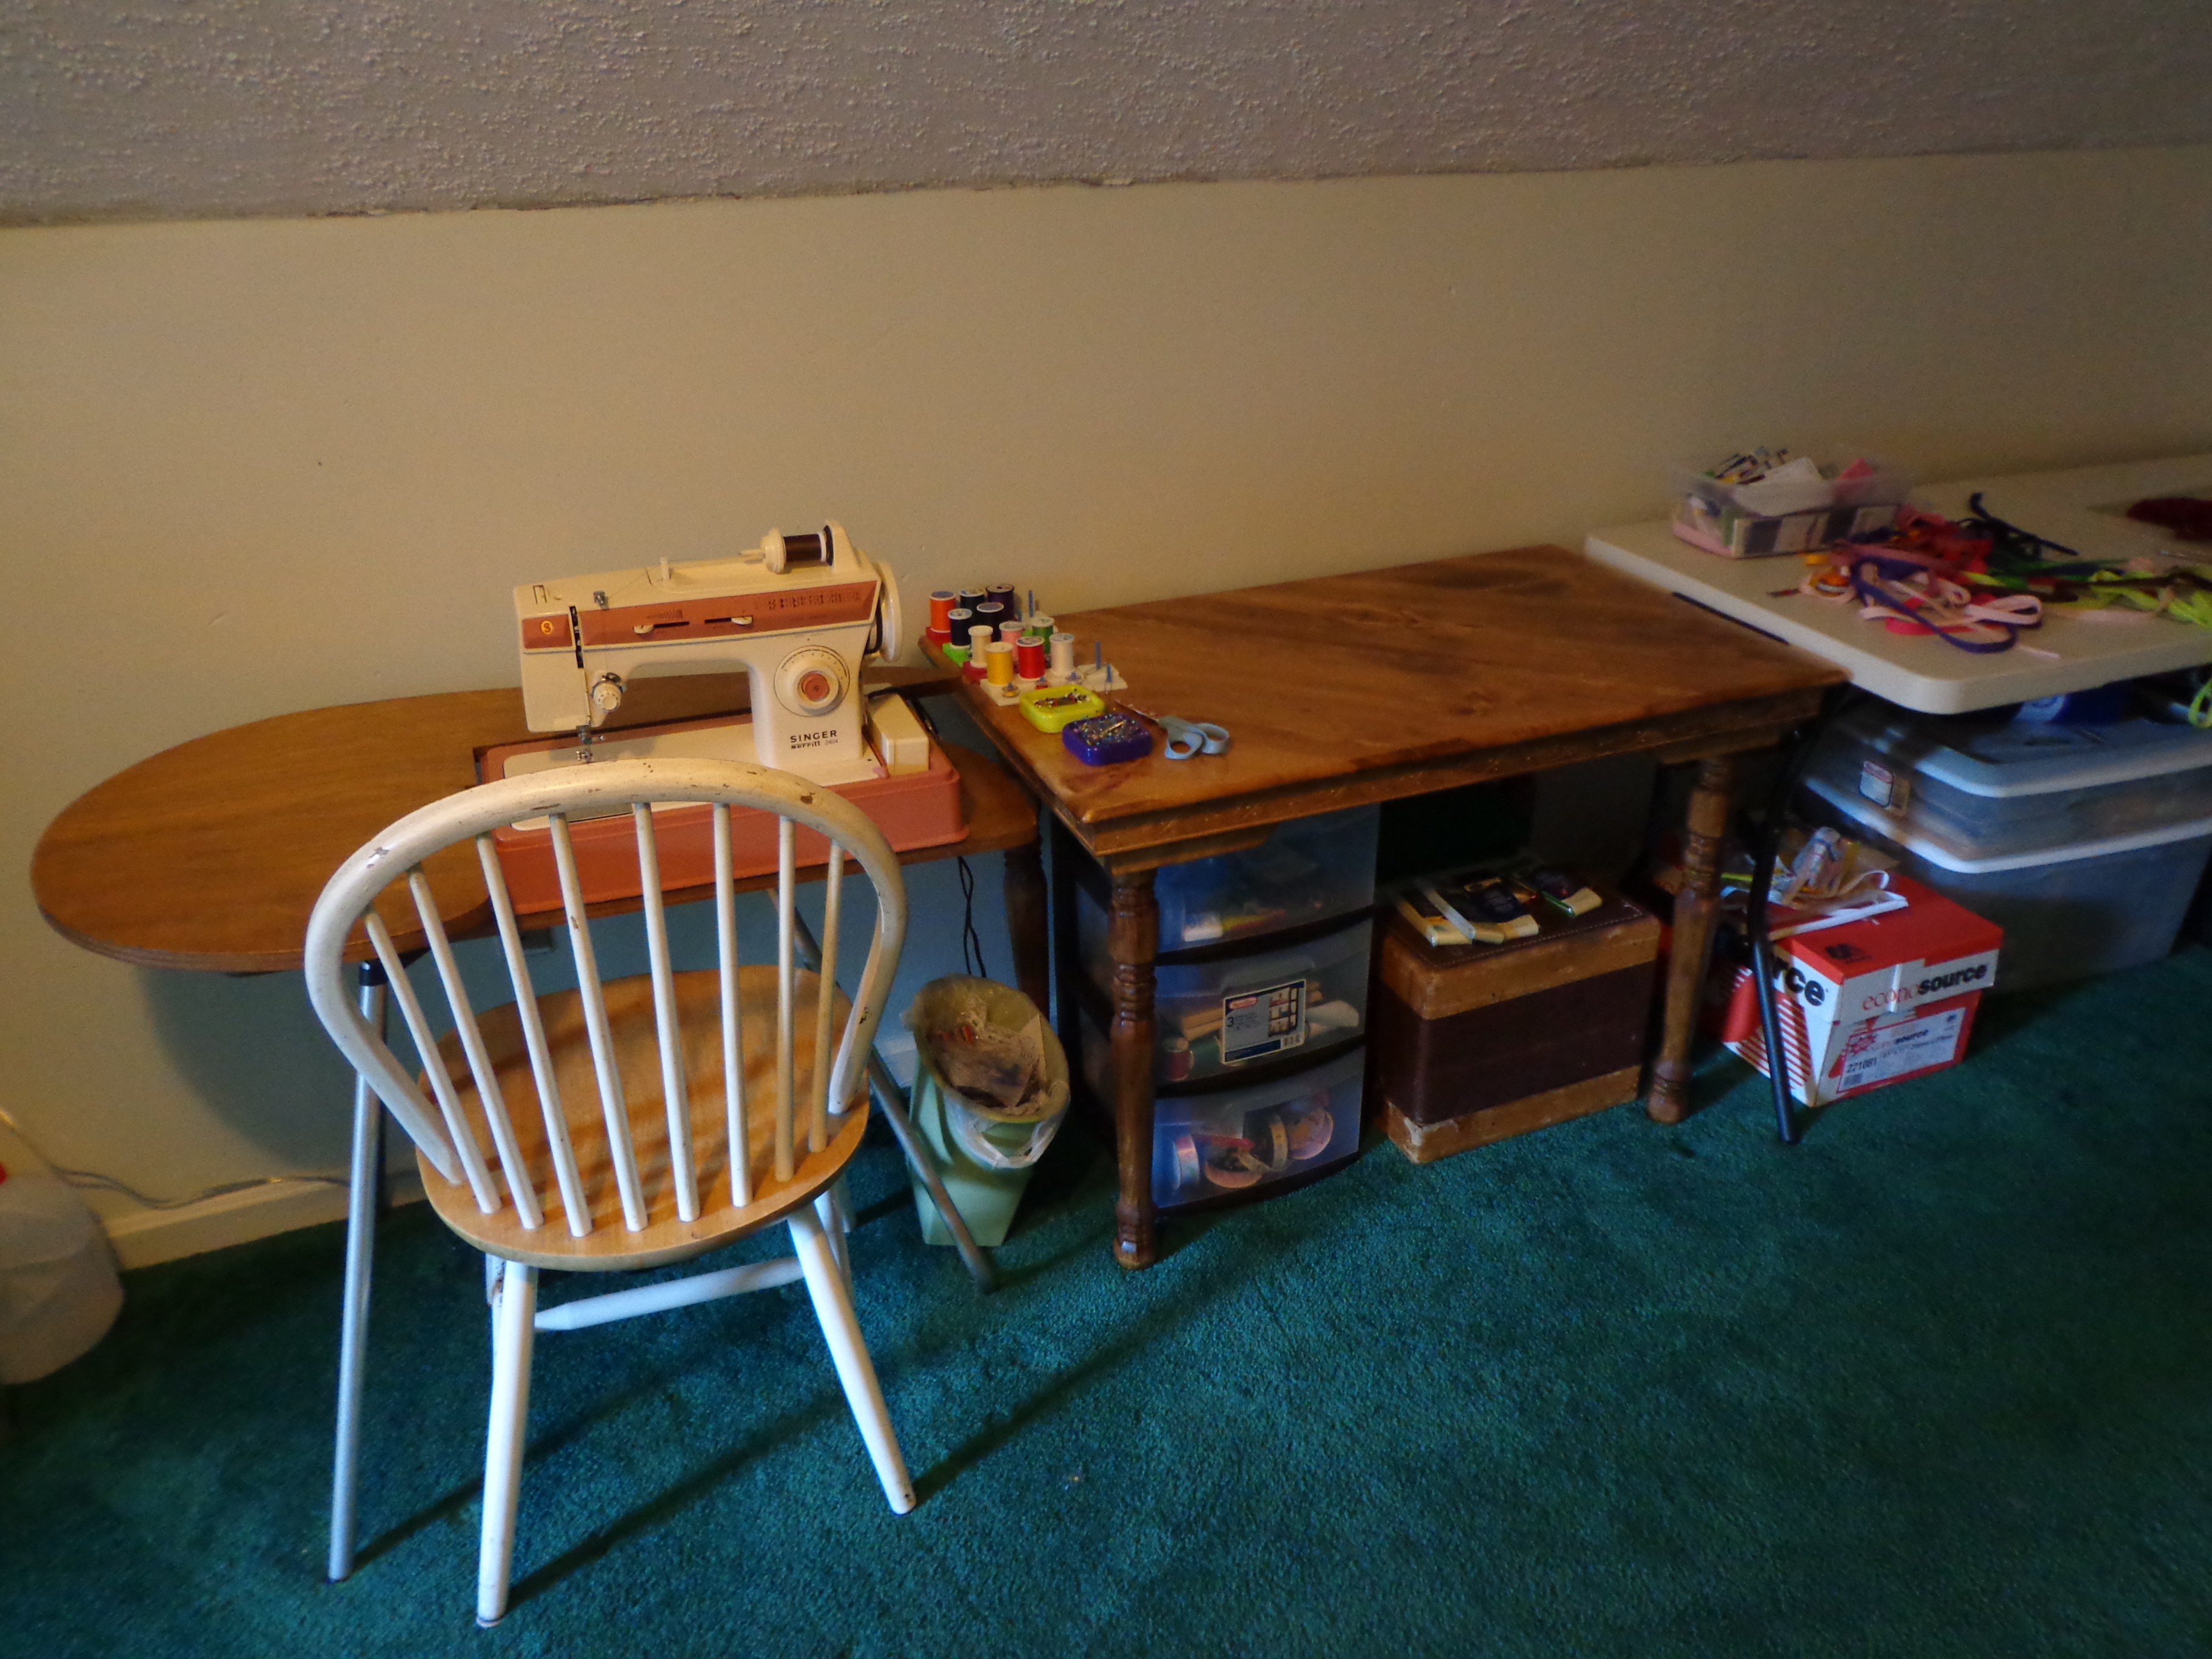
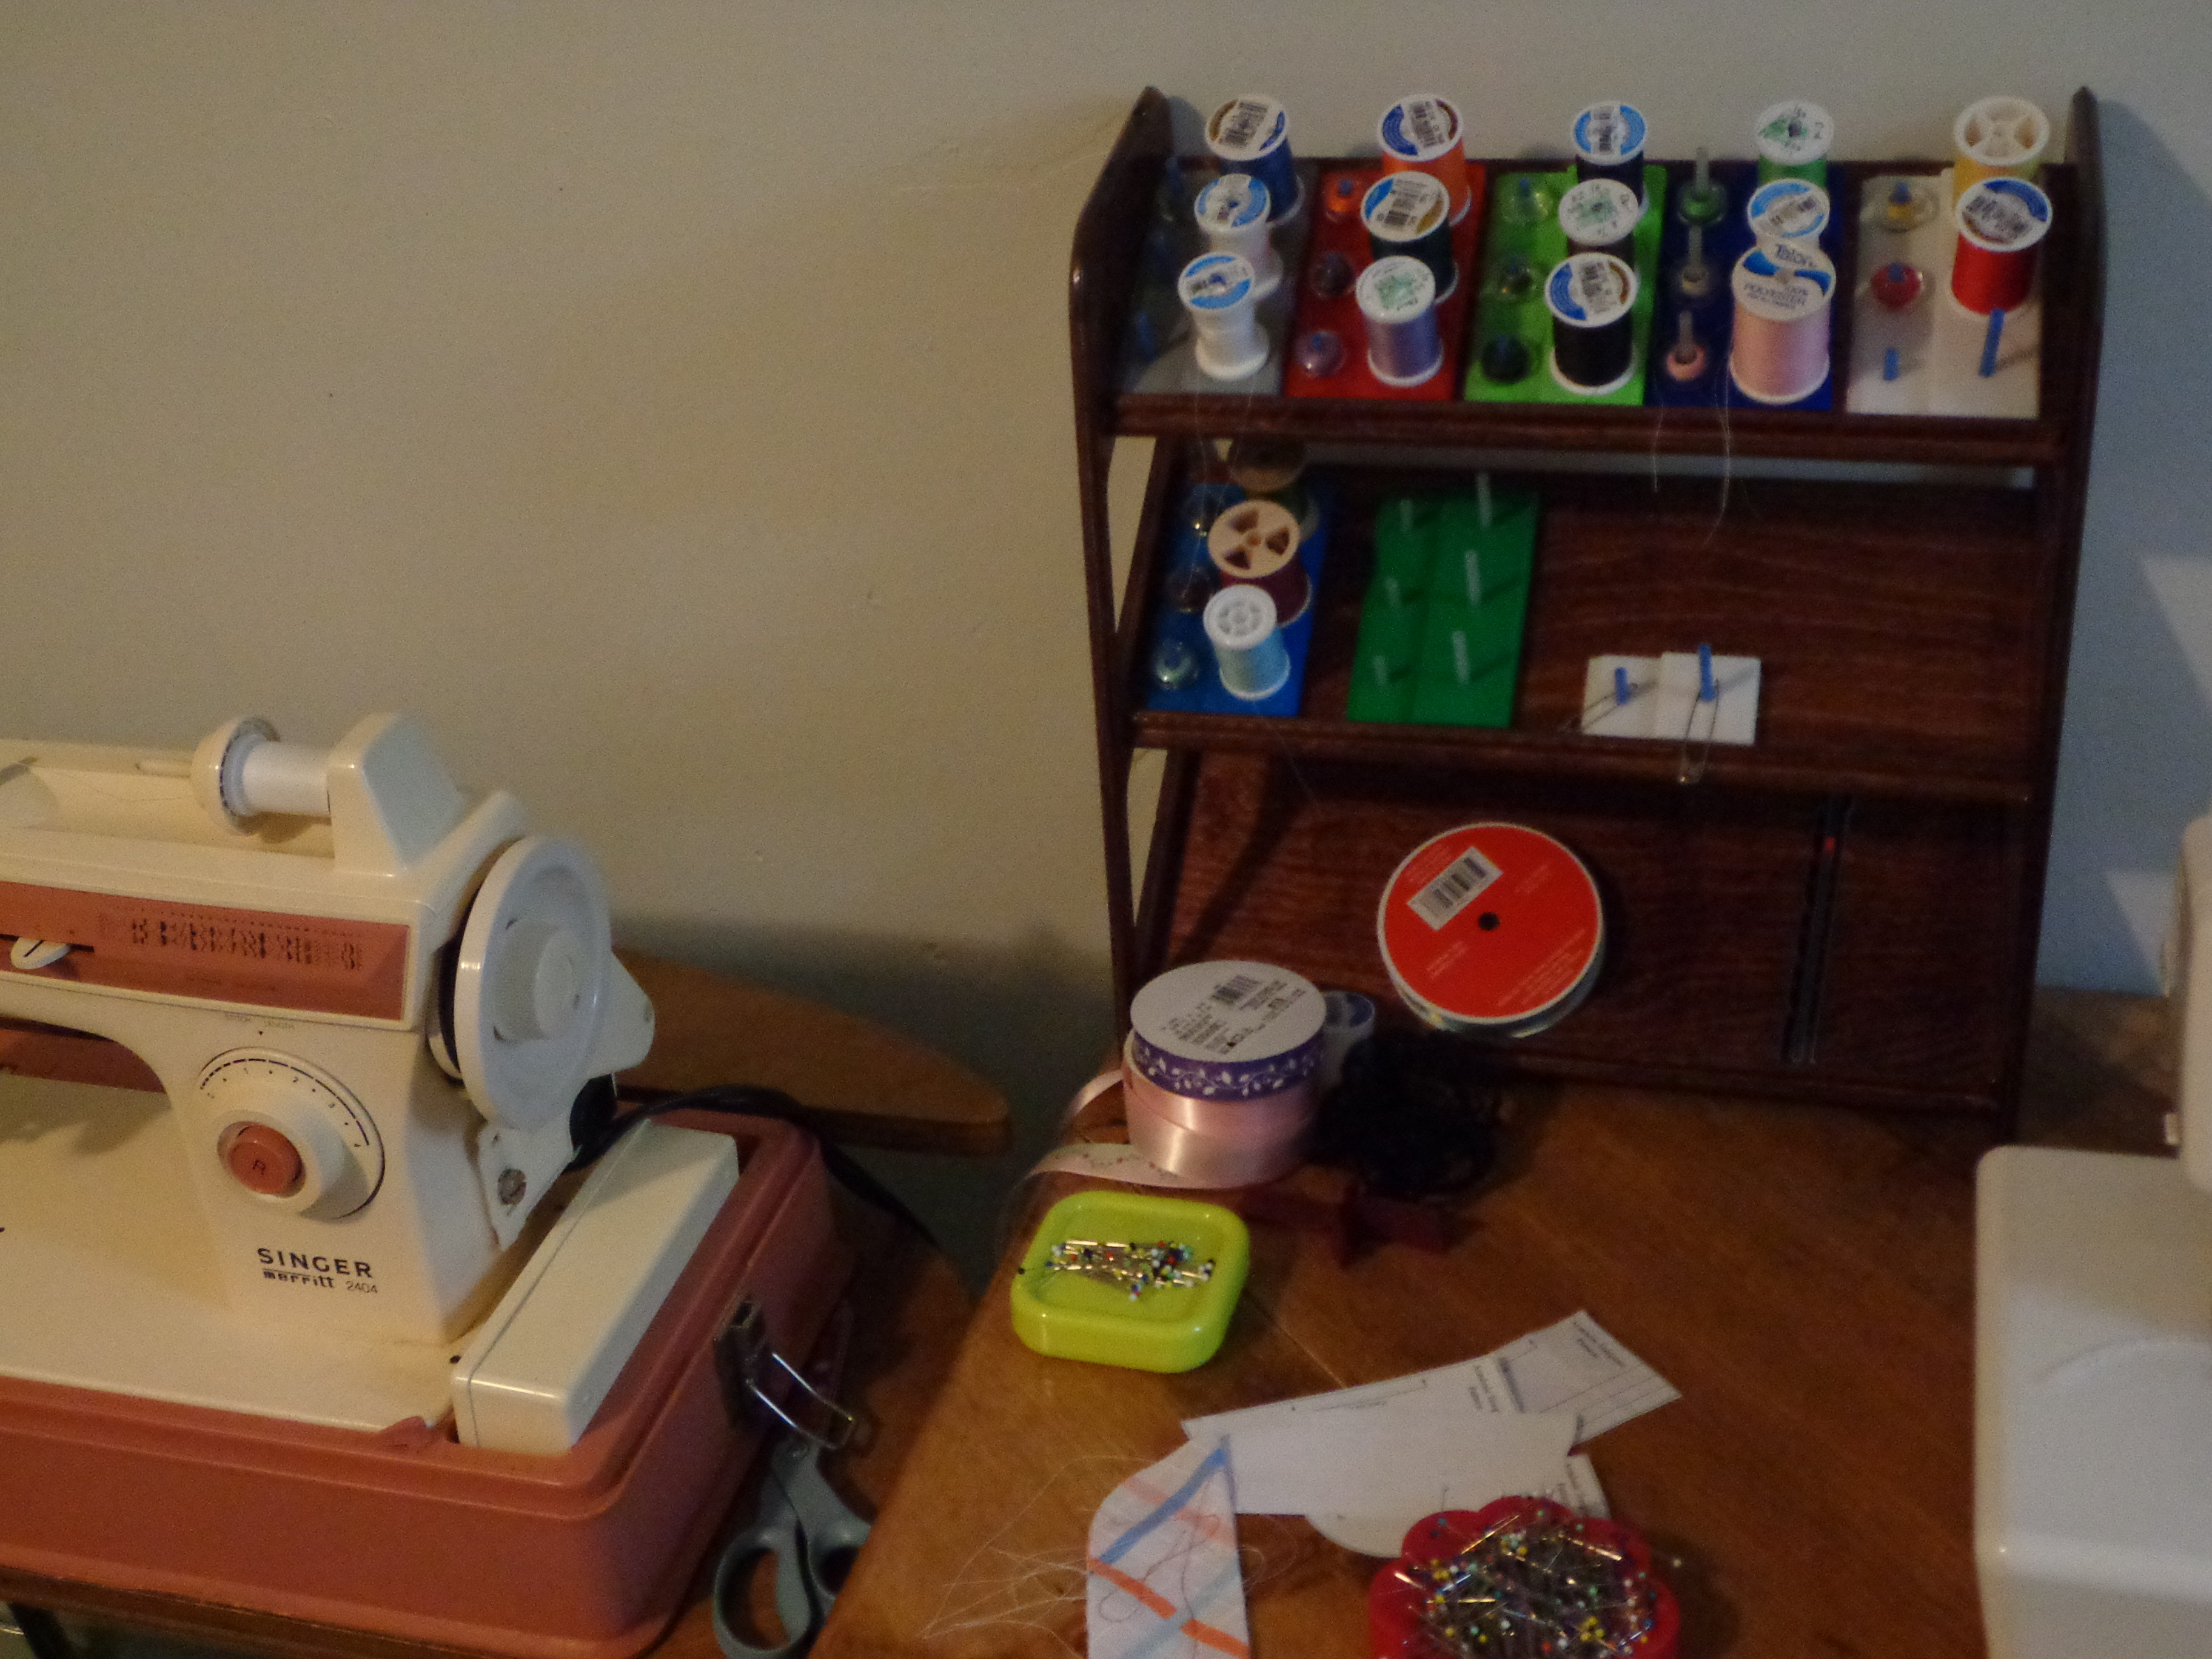
I asked him to design a holder for my spool holders so that I can reclaim some of the space on my sewing table. When I need to use a certain color I can remove the 3D printed holder from the shelf and set it on the table. Then it easily goes back in its place when I’m done.


Triple 3D Thread HolderJay and I have been trying to put the CNC Router and 3D printer to use in order to generate some income, and thus recoup some of the expense. One of my ideas was to do a smaller version of my spool holder for other sewers.

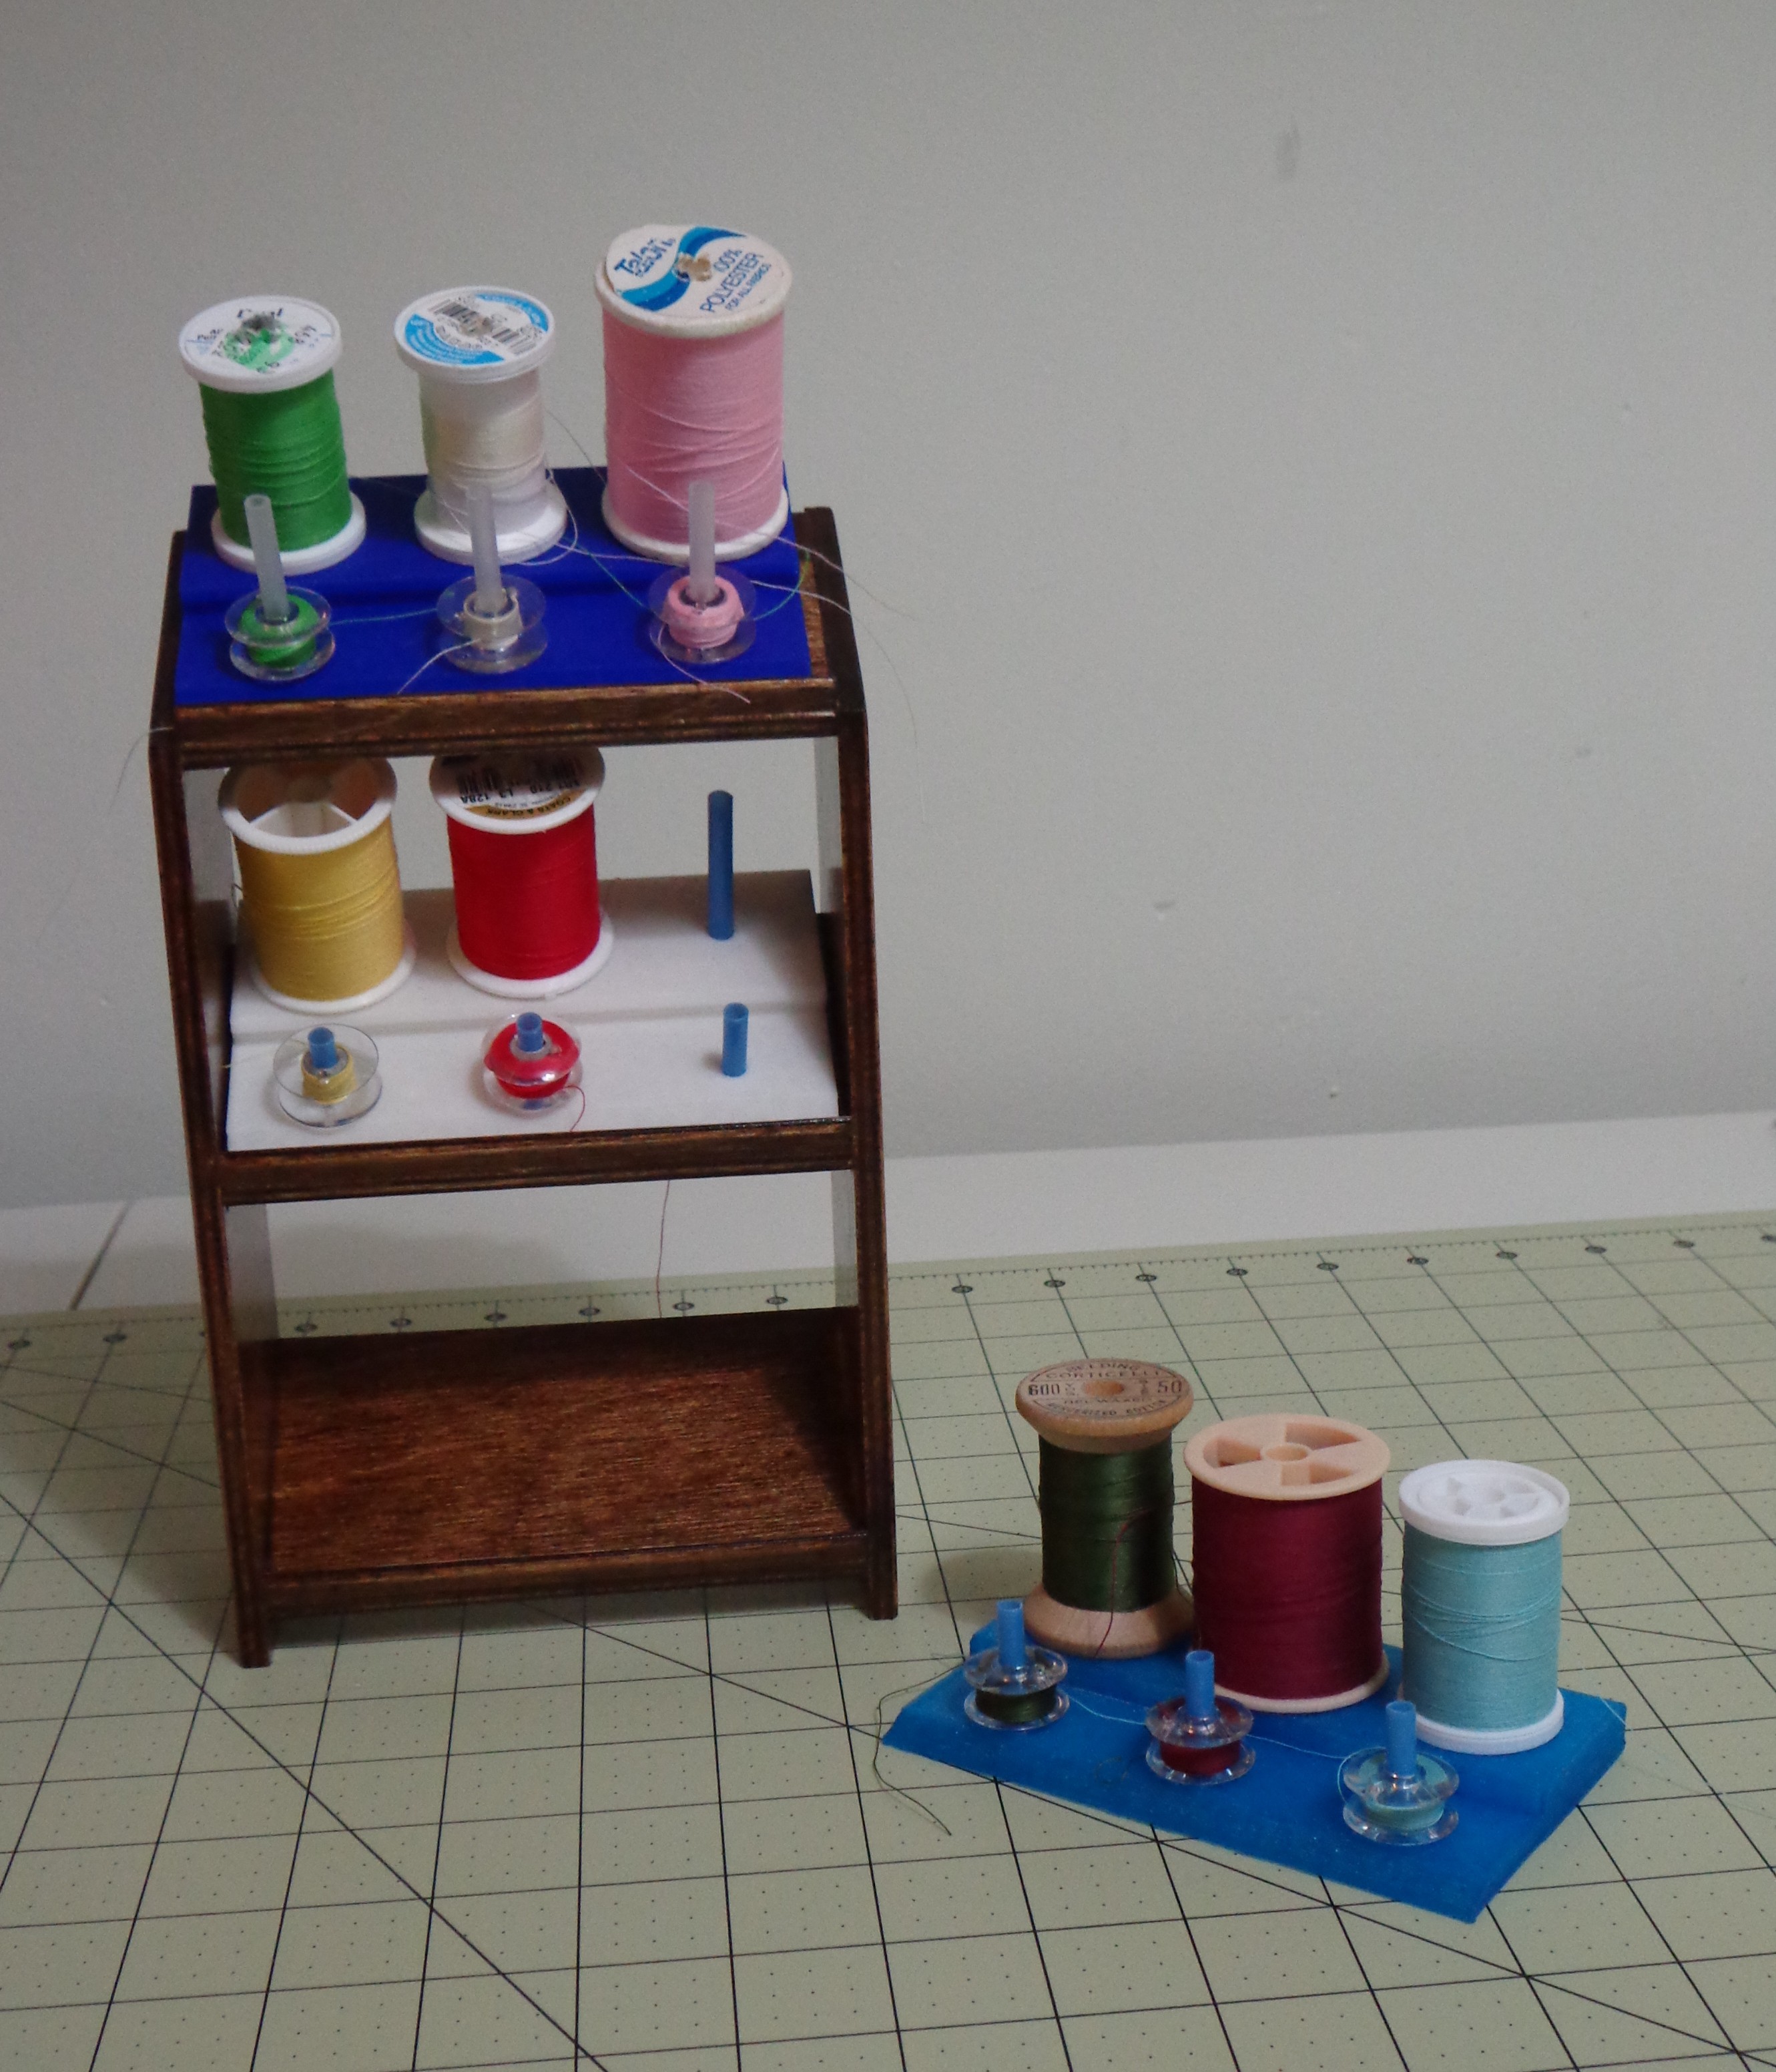
This is a prototype of the initial spool holder that I had in mind. I have already made an arrangement to have a friend who sews test this out and give me honest feedback. I designed this so that you can put hangers on the back and hang it on the wall if you don’t have the table space for it.


Fixed Thread HolderThe next prototype that I’ll also have my friend test is a fixed design. This is for the sewers who typically only use a few colors so they don’t have to have very easy access to it. It’s just a nice way to keep the bobbins and spools together.

Or, if you use a lot of one color you can fill up three bobbins at a time and have them ready to go along with extra spools sitting behind it. You might have white on top, black on the second row, and maybe cream or ecru on the third row.

Again, this one can also have hangers put on the back.

Those are just a few ways that I’ve used to organize my spools and bobbins. I am constantly changing out my thread on my machine so I needed something that was going to be easy to access, but keep everything right at my fingertips and organized. What do you think? Do you have any ideas that I should incorporate into an organizer? Please feel free to share your ideas in the comments!

Posted in National Sewing Month, Sewing | Tagged , | Leave a comment

Cost Effective Material – NSM 9-9-15

Dresses Choosing FabricIf you are new to sewing then you have no idea what you’re in for… Mwahahahahaha

It’s a little-known fact that fabric breeds like rabbits. One day you only have a few yards sitting in your sewing room; within a short amount of time it is falling off of your shelves, piling up on flat surfaces, and being stuffed into any bag that you can find to put it in.

I would post about the various ways that you can organize it, but I haven’t even figured that out for myself. Instead, I will give you some tips on how to increase your fabric stash while not breaking the bank.

Blue Plaid MaterialIf you haven’t looked at fabric lately it might shock you to know that your typical yard of fabric is going to be priced around $6/yd. That’s for your basic plain cotton. If you want some of the fancier calicoes or patterns then the price goes up from there. I don’t know about you, but I can’t afford to buy material at that price. I am cheap and I REFUSE to pay that much for material.


Sunflower MaterialTip #1 – Become a frequent visitor to your local fabric shop’s clearance area. You really never know what you’re going to find. Unless it’s really calling to me I won’t pay more than $3/yd for fabric. The plaid material above was originally priced at $6.99/yd, but I found it at Hobby Lobby for $2/yd. Knowing that I can use it for my Dresses for Missions I bought what remained on the bolt. It ended up being a little over 6 yards… so instead of paying $42 for that cut I only paid $12.

The sunflower material was one of my best bargains! Isn’t it adorable?! As soon as I saw it I KNEW that it would make the most adorable little dresses. When I saw the price I became greedy like Gollum (however you spell his name) from Lord of the Rings; I petted it and was heard to be mumbling “My precious…” It was $1/yd!!!! I think that the original price on the bolt was $5.99/yd so I really got a great deal on this. Where did I find it? Wal-Mart! The woman who FINALLY arrived to cut my fabric (that’s the bad thing about Wal-Mart, you’re going to spend at least 15 minutes standing around waiting for somebody to show up to cut your fabric), she gave me the weirdest look when I told her that I wanted all of the material on the bolt. It was a large bolt. I ended up with a little over 10 yards of fabric. Do you know how many dresses I can make out of that material?! And it’s adorable!!

Your fabric stores will clear out fabric after each holiday, after each season, and about once a year they will do a deeper clearing out of stuff that has been around for a while. If you don’t have an instant need for fabric then this is the best way to shop. You are going to start collecting fabric anyway, so you might as well do it on a budget. If you see Easter fabric that is adorable and on clearance for $1.50/yd, but you don’t know what you would do with it, buy a yard of it. You never know what’s going to come up that you might find a use for it.

Dresses for Missions #14 4-26-14Tip #2 – Use the store’s coupons!

Hobby Lobby and JoAnne’s Fabrics always have coupons available where you can get a certain percentage off of one item. They will count a cut of material as an item. If you’re working on a project and need five yards of a blue cotton, but it’s not on sale that week and there’s nothing on the clearance rack that will work, use the coupon. It’s not going to be as great of a deal, but at least you’re not paying full price for the material. If you have a smartphone you can download apps that will pull the coupons up on your phone. I do this for Hobby Lobby. There is a Hobby Lobby just around the corner from where I work (VERY dangerous!!), so if I get the hankering for a Hobby Lobby run I always have a coupon on me. All I have to do is pull up the app when I’m at the store and give the cashier my coupon code.

If you don’t have a smartphone you will just need to plan ahead a little better. If you go online to the store’s website there’s usually a spot where you can download coupons and print them out. Or, use them on the store’s website. Either way, you don’t have to pay full price.

Green Leaves SheetTip #3 – Keep an eye out for clearance linens at department stores.

My mom likes to use flat sheets for her quilt backings. It’s a relatively inexpensive way to get a big expanse of fabric. What is great is when you can find a king size sheet for a great price. Again, I was at Wal-Mart and they were marking down their bedsheets to make room for the newer patterns. I paid $7 for this flat sheet. My mother-in-law gave me a feather down comforter, but I need to make a cover for it. I bought two of these sheets and plan on sewing them together and putting some Velcro at the open end. I have just spent less than $20 on a king size comforter cover. Nice!

Dresses for Missions Thrift Store HaulTip #4 – Shop at thrift stores.

If you recall, back in June my mom and I went shopping at a Goodwill-by-the-pound store when we were visiting my sister. This was a GREAT way to add to our fabric stash. Whether you purchase sheets, skirts or shirts you have a large amount of material at your fingertips for a tiny bit of money. This is great especially if you’re into making scrap quilts or other items that require small cuts of material. My mom shops the large man’s area to find as many 100% cotton shirts as she can. If you scope out your local thrift store you can find out what day they have the best deals and go shopping then. At my local Salvation Army store Wednesday is the day when they put a lot of the colored tags at 50% off.

Jean Rag RugMy mom makes rag rugs, including ones made out of denim. Last month she had me go to the Salvation Army store and buy as much light weight denim as I could find. I went to the woman’s section and found the largest denim dresses that I could find. I was purchasing size 22W and 20W dresses for around $2 each. There is a LOT of material in those dresses!


I’m sure that there are other ways to score cheap material, but these are the ways that I use most of the time. The important thing is just to keep your mind open and think outside of the box. Good luck!

Posted in National Sewing Month, Sewing | Tagged , | 1 Comment

My First Large Sewing Project – NSM 9-8-15

My CW DressI have always been a huge Civil War buff. After college there was a time when I thought that I might try to get into reenacting. I didn’t know anybody who reenacted, but I knew that you could do it individually.

Since you can’t reenact without the proper attire I knew that I would have to acquire some clothing. The problem was that I didn’t want to spend $500 on a dress. In order to get something that actually looked period that was the neighborhood that I was looking at spending.

I decided that I would sew my own dresses. Or at least attempt it.

This was my first attempt at really sewing anything large. I purchased the homespun material, about 10 yards of it, and used a Simplicity pattern. I had purchased a hoop and corset in Gettysburg, so I was good to go with that. I’m not sure that I can fit into this camp dress anymore, though. I made it at a time when I was very sick, but didn’t realize it. I was beginning to be at my thinnest that I had ever been in my adult life. I wish that I was that thin again!

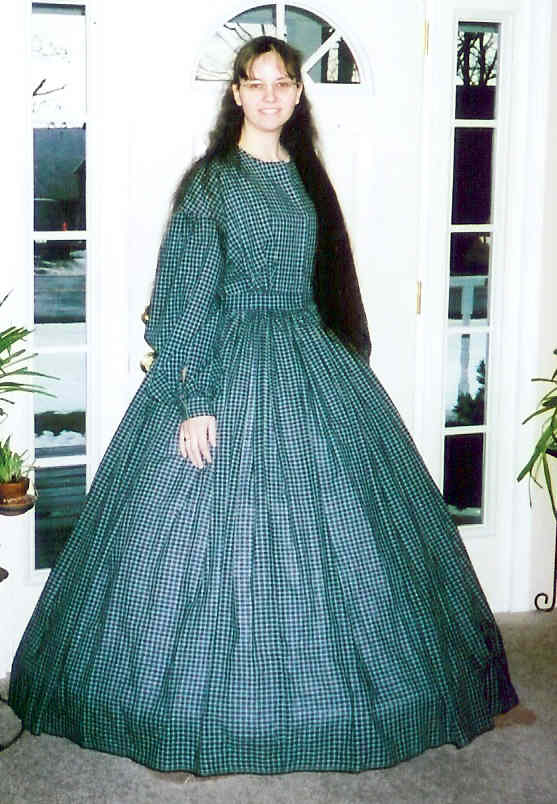
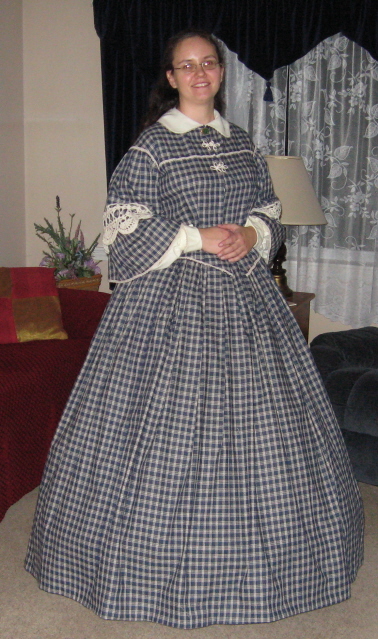
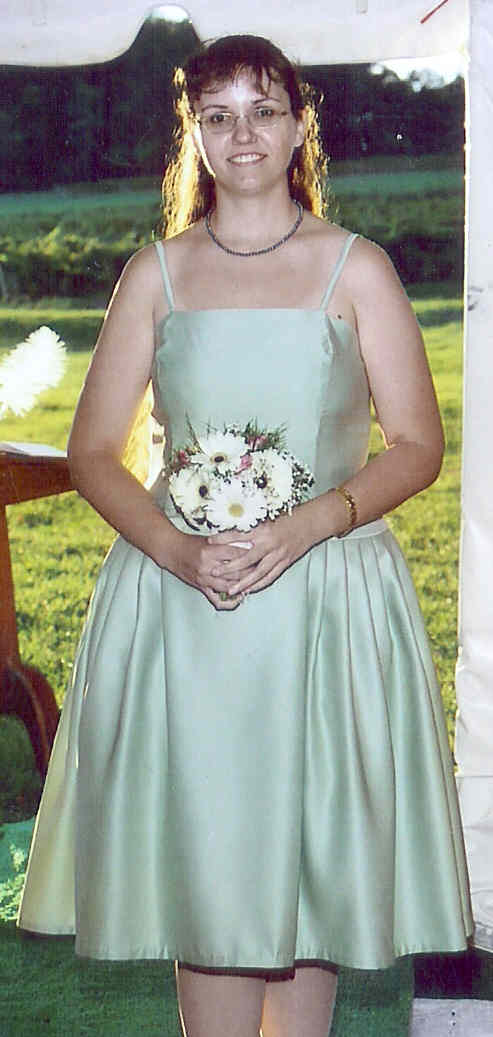
Once I had sewn the camp dress I decided that I would need a day dress, too. At the time Simplicity had just come out with a series of period patterns that really did a great job of actually looking like Civil War clothing instead of looking like a Cinderella ball gown.

This particular pattern was simple enough for me to sew and fancy enough to be able to wear as a visiting dress. This is really what I would have worn as a reenactor if I had gone out for the day to an event. The previous dress would have been worn if I was actually camping out and having to do manual labor in camp.


Visiting Dress 2I styled mine slightly different, and my hoop isn’t as wide as the model’s on the pattern, but I felt that my dress turned out really good. This one was more challenging than the first one. I had to sew lining to the bodice, plus all of the trim on my dress is hand sewn. I had lace that looked like it was hand-tatted so I used either coffee or tea (I can’t remember which) and dyed it a little bit.

The dress doesn’t look like much, but when you pick it up it’s quite hefty. I have to admit, though, that I loved sewing all of the trim onto it. I never did wear this as I had intended because then I met Jay, got married, and all thoughts of reenacting went right out of my head. That doesn’t mean that I will never use it. It just means that for right now I don’t have anywhere to really wear it.

I must agree with my mom on the Simplicity patterns, though. If you’ve never really sewn before and you want to give a try you should really use a Simplicity pattern. They are easy to follow with clear instructions and you don’t have a lot of elaborate things to do. Whenever I have to find a pattern I always head to the Simplicity books, first.

BoogartAnd since today would have been my sister’s 37th birthday I thought that I would post a picture of her, too. You can see a little bit of the quilt that my mom made her at the bottom of the picture.

Boogart we miss you and love you tons.

Posted in Civil War, National Sewing Month, Sewing | Tagged , , | Leave a comment

A Drawing Pad Carrier – NSM 9-7-15

Droof and Chuk's MomMy sister married Chuk, who has a daughter from a previous relationship. Since she will be the closest thing that I will have to a human niece, I want to do something really nice for her for Christmas.

I asked my sister what I should get Raven for Christmas. Raven loves to draw, and is actually quite good at it. So it was suggested that maybe I get her a nice drawing pad or something.

Well, I wanted to do something else that wasn’t just a boring drawing pad. Raven splits her time between her mom’s place and my sister’s house. I thought that maybe I would make some kind of a carrier to keep her drawing pad and her pencils in it. I haven’t attempted the practice one yet, but here’s the idea that is rolling around in my head:

Created by Lidija Miklavcic

I’m thinking that I create a cover for it. This was created by Lidija Miklavcic and she has a placed this as a free pattern over on Craftsy.  Now, what I would do, though, is on the front I would create two flaps that will unfold to reveal spots for Raven’s pencils. I’m not sure if I would put a zipper around the entire foldable pocket, or just use some Velcro as a closure. I want to sew a ribbon to the top, though, that can be used as a bookmark so that she will always know right where her next empty page can be found.

What do you think? Think it will work?

Posted in National Sewing Month, Sewing | Tagged , | Leave a comment

A Fashion Show – NSM 9-6-15

Droof's Red CrownFor today’s post I wanted to put on a fashion show. After all, my sister isn’t the only one in the family with good fashion sense!

Growing up some of the best gifts that I ever received were the dresses that my mom would make for me. At the time I didn’t realize that she was making me dresses because we didn’t have a lot of money and it was much cheaper this way. All that I knew was that my mommy made me dresses with lots of ruffles and lace and I LOVED them!


First Day of Kindegarten 1985I *think* this is one that she made me. If not, it was this style that she modeled a lot of the dresses after.

Lace – check

Ruffles – check

Puffy princess sleeves – check


Kerry Church Program 1985Here we are at a church program in another homemade dress. Let’s go through the check list again…

Lace – check

Ruffles – check

Puffy Princess sleeves – check


Me and Kimmy Spring 87Jelly shoes!! Okay, so my mom didn’t make those, but she did make the dress that I’m wearing…

I won’t go through the checklist, but I think that you can tell they are all there.

Oh, and Jay please note that in this picture I seem to have a bruise. See, nothing has changed!


Kerry's RecitalAs I got older I still loved to wear long dresses. I did give up the princess sleeves and the lace, but this one is kind of ruffle.

Yes, this is actually how I dressed in high school.

No wonder kids tripped me in the hall!


Kerry's Piano RecitalLook! This time I’m actually wearing pants. Except, they have the Puffy Princess leg thing going on. Actually, I loved this jumper and was upset when I outgrew it.

Wow. Jay is one LUCKY man!


Kerry's Sophomore PromWhen it came time to attend the prom we couldn’t afford to go out and buy a dress at the store. This was 10th grade and my mom had been given a black dress that fit me. It came just below my knees. We went out and bought dark blue and black lace, plus the elastic sequined belt. My mom made a skirt out of the lace and attached it to the dress using the sequined belt.


Kerry's Junior PromMy Junior year of school I had a date to the prom, but only because the tickets were cheaper that way. It was definitely not a romantic thing.

As you can see, I really like blue. Again, we couldn’t afford to buy a dress at the store so we used what we had. My mom had been given a VERY long polyester black skirt. We went out and purchased this blue sequined material and my mom made a top for the skirt. We used the sequined belt from the previous year’s dress and used that to hide the seam.

My mom swore she would never make anything using that sequined material again! And she hasn’t.


Halloween 2001This is actually a few years after my Senior prom, but this was the dress that I wore to it.

I told my mom that I wanted a store bought dress just once. We got this one for a really good deal. She just had to change the sleeves (they were gaudy with way too much material) and then she had to take it in to fit me better.


Helen and II don’t know if this counts, but my mom also made the skirt that I was wearing in this picture. In fact, my mom has made a LOT of my skirts. Mainly because I’m very picky and I like them long, but since I’m so tall I have a hard time finding them long enough. She uses the same pattern and makes me different skirts with it.


Renaissance DressWhen I was in college the movie Ever After with Drew Barrymore had recently come out. I LOVED that movie and wanted a dress made for the formal at college in the same style as what Drew Barrymore wore.

This was dark purple velvet and I loved it. Yes, I looked like a dork. No, I didn’t care. At least I wasn’t walking around all night constantly pulling my top up!


In front of the lakeAfter college I was asked to be the maid of honor in a friend’s wedding. She decided that the bridesmaids would make their own dresses. Not me. I handed the stuff over to my mom and asked pretty please.


The Bridal Party 2The other two bridesmaids were the soon-to-be sisters-in-law of the bride. Their mother made their dresses. I felt bad because she did her best, but you could tell that they were homemade. One lady came up and asked how I managed to find a dress to match theirs off the rack? I told her that I didn’t, that my mom had made mine.


Walking down the aisleThis is just a tiny sampling of the various dresses that my mom has made for me or my sisters. As you can tell, she really is good with the sewing machine! I hope to someday be as good as she is. Until then all I have to do is smile prettily and ask, “Please?”

Posted in National Sewing Month, Sewing | Tagged , | 1 Comment

Wing Bags – NSM 9-5-15

Wing Bag 10Today Jay and I are going to an Air Show, so for my daily sewing post I thought that I would remind you of the wing bags that I made for Jay’s Rascal 110.

Actually, on my blog this post is one of the more popular ones.


Wing Bag LayoutI made these in 2013 without a pattern or resource. As you can see, though, I did have a very good supervisor who was checking from all angles to make sure that it looked okay. lol

You can read the original post if you want directions on how to make the wing bags. These have held up very well. I had to fix one of the handles this year, but other than that they are still in great shape.

With the extra material that was left I even made a set of prop guards for Jay’s Rascal.


I am in the process of making a set of wing bags for one of our club members, but I need his plane here to make sure that the idea I have for them is going to work.

Posted in National Sewing Month, Sewing | Tagged , | Leave a comment

CNC Router Projects – Bench and Sign

Cat BenchJay made this bench for me this past winter, but it was his first try and it didn’t fit where I originally wanted it. Not a big deal, though, as the cats really love it. I made a blanket for it that has a piece of chiffon that hangs down in front. Now Chester thinks that she has a tent.


Back Door BenchThis weekend I put the last layer of polyurethane on the second bench that Jay made me. I wanted something that we could have by our back door. This way you have some place to sit when you put your shoes on, and there’s a shelf under there where I can store more shoes. Considering there are just two of us we sure end up with a pile of shoes by the door!


Back Door Bench 2Here’s a better picture to show you the color of the wood. Isn’t it gorgeous? It fits the spot perfectly and it looks so very cute!

Yes… I still wanted the cats on it.


Library Mostly Finished Wall - 3With everything else going on we are still working on the library. Yes, it’s been a year and I haven’t had a chance to get the woodwork or doors refinished. *sigh*

I did want Jay to get the header board put up, though. The board that originally went over the doorway into the kitchen was broken when I was trying to take it down. I didn’t realize that they had nailed in one side and SCREWED the other side in! Needless to say, after I took the crowbar to it… the wood screamed for mercy and split. Yep. I did a number on it.

Like everything, though, Jay and I had to do it up good and put our own stamp on it.

Live Long and Prosper HeaderThere was no way that I was going to match the woods perfectly so I tried my best to get an accent color that would go nicely with it. Can you read what it says?


Live Long and Prosper SignLive Long and Prosper…

I drew the line at putting the Spock hand at the ends of it. In the top picture you can see that we put a flower on each end. This way if you didn’t realize that this is a nerdy Star Trek reference you would just think that it was a nice saying to have in your house.

It really turned out nice, though. I wish that my pictures did a better picture of representing how it looks in person. Once I actually get the rest of  it done then I think that the room will really look great. It is on my list of Things To Do to get the rest of the wood work and doors stripped, refinished, and put back up. I’m tired of tripping over them in my work area of the basement.

Posted in CNC Router, library, My House, Remodeling | Tagged , , , | Leave a comment

More Wing Bags – NSM 9-14-15

Wing Bag 10I’ve shown the wing bags that I’ve made Jay in previous posts.

One of the other guys in our RC club asked me to make him a set of wing bags. I took measurements and told him that I could do it. I’d made him one other set of wing bags and apparently he was happy enough with them that he wanted another set for a new plane.


Wing Bag Places MarkedThe biggest problem with this set of wing bags is that I don’t have the plane here to make sure everything is going to fit. Then I didn’t realize how the tail was going to be assembled so I had to redo my original design. That meant some ripping out of seams and shortening of pieces.


Wing Bag Pieces PlacedI think that I finally got it all figured out.

I’ve found that the cheapest way to get fabric for these bags (they take a LOT of fabric) is to buy the cheap fake quilt comforters when they go on sale at either Sears or JCPenney. You need to look for the sale where they say that you can buy any size for $20. I buy the King size comforters and that gives me enough material for about four wing bags, or two sets.


Wing Bag PinnedWing bags are meant to protect an RC plane’s wings when they are being transported or stored. You want a little bit of padding so that if you accidentally bump it into anything you shouldn’t do any damage. Hopefully.

Once I got the panels placed on the bag for the tail boom I pinned it together to sew it closed.


Wing Bag FinishedDon’t forget to place the handle where you want it before you sew. After I had this all sewed together I realized that I should have moved the handle back a little bit. Oh well. It’s going to stay where it’s at. I’ve ripped at this one too many times, plus I still have some ripping to do on the other wing bag.

One down, one to go….


Bob Playing with LaceOf course, while I’m trying to sew I have to keep an eye on Bob. He came up and tried to steal something out of my waste basket, but all I had were pieces of thread. I had to chase him down to get it out of his mouth. I keep small pieces of lace around the sewing room for just this situation. You see, he’s looking for scraps of fabric or lace in my waste basket that he can play with, even though he has an entire box of toys downstairs. Nope. This poor, neglected and abused little cat has to scrounge around in the garbage can for toys. *sigh*

Posted in National Sewing Month, Sewing | Tagged , | 1 Comment

Hooded Baby Towels – NSM 9-4-15

Hooded TowelYet again my mom is going to be brought up in my National Sewing Month post.

She makes these hooded baby towels for gifts and to sell at her craft table. People love them and I can’t tell you how many times she’s been asked to make another set to replace an original set that was worn out.

Now that my sister and I have friends who are having babies it’s a great gift for us to easily whip up.


Katie's Baby TowelsYou can make hooded towels using any color of towel. You just have to make sure that there’s a hand towel to match.

To make these you simply need two regular size bath towels and one hand towel. Plus whatever ribbon you would like to go on top.


Anita's Baby TowelsThey can be unisex or geared towards a specific theme. For Jay’s cousin I found a cut ribbon with zoo animals on it to go with the zoo theme that she had chosen for the nursery. For one of my friend’s boys I used Pittsburgh Steelers ribbon (she’s a fan), plus some Snoopy playing sports. They were adorable!


Girl Baby TowelsIf there’s no theme then just go with whatever you think is the prettiest. After all, these towels are meant to get sopping wet and be washed a LOT. This is definitely not going to be something that will be folded up and put away for future generations.

Posted in National Sewing Month, Sewing | Tagged , | Leave a comment

Yard Improvements – 2015

Back YardWe have lived here for 2.5 years and sometimes I feel like we haven’t done hardly anything to this house. That’s when I have to pull out some of the pictures that I took on the day that we signed the closing papers. This was taken in December, so it’s not quite as dramatic as I would like, but it gives you an idea.


Fire Pit Area 6-27-14We took down the swing set and I began the transformation. I wanted to get the fire pit area out of the middle of the yard. And I had this giant area of dirt and weeds that I didn’t want to really deal with every week.


FIre Pit Area 7-3-15So I laid out pavers and we placed our fire pit over there.

Except we had that giant maple tree that hung over our side of the fence. I don’t like maple trees because they are so dirty and they drop pollen all over everything. Considering I’m allergic to almost EVERYTHING that grows outside, having this monstrosity hanging over our property didn’t make me very happy.


Maple Tree 7-3-15The lady who lives behind us, and technically owns the tree, came over and chatted with me one day. She asked me when did we have our half of the tree last trimmed?

Our half of the tree?? I had always considered it to be COMPLETELY hers! I didn’t mention that, though, and began a discussion that ended up with us both agreeing that we would be happier if the whole thing was gone.

This woman is retired and doesn’t have a whole lot of extra spending money so in order to get it taken down Jay and I agreed to pay half of the cost. Luckily the guy who was going to cut it down works with Jay so he gave us a fair price.

Fire Pit Area 7-4-15It came down the weekend of July 4th. Yeah!

It really opened up that end of the yard. However, it also completely exposed our ugly shed. That will definitely have to be changed next year!


Fire Pit Area 8-29-15Now our fire pit area is so much nicer. I have to figure out what to do with that stupid grape vine, though.

The tree guy couldn’t cut the stump down more than that because as he was trying to cut it he discovered that it had grown around a metal post! The woman was fine with it because it at least gives her access to that part of her property and she wants to utilize it next year for growing vegetables or something. I just know that I’m so happy not having to worry about the mess that the tree created.

Driveway BeforeThe other big transformation that we’ve done to the property is to widen the driveway and put in a concrete driveway.

In this picture, though, you will notice that on the far side of the driveway they used to have a little flower garden of sorts that basically just contained a bunch of hostas.


Driveway Day 3 FinishedWe put the driveway in, but left the garden on the far side. I really had no idea what I wanted to do with it.

I like the giant bush in front of the window to deter people from trying to access the house via that route.


Driveway Before Pavers 7-4-15This was what it looked like July 4th weekend. I had removed all of the hostas except that giant one and I had attempted to smooth out the dirt from where they had piled the dirt during the driveway renovation. Also, I’d had a big pile of mulch dumped there last year. I was tired of it looking trashy, though.

I ended up transplanting the hosta and moving it to the other side of the house. Then I didn’t know what else to do with that spot. If you notice the stupid weeds grow up and start spreading over the driveway. That’s right where I park and even if Jay has just mowed and weed-wacked it’s not very long before I’m stepping on the weeds again. That really tends to irritate the snot out of me. Jay and I discussed what to do with this area (even though he claims that he doesn’t remember the conversation at all).

Driveway After Pavers 8-29-15What do you think? This past weekend Jay had to work on Saturday, so at 9:30 I was outside getting this prepared. I didn’t do it correctly as I didn’t have enough sand to lay down before putting the pavers in. These were left over from when we did the sidewalk that goes up to the deck. I tried to do it to match the sidewalk on the other side of the driveway. It’s not even, but I don’t care. I don’t intend to do a lot of walking on it. I just wanted it to be easier to keep the weeds from encroaching on my car. Also, it should give me a little more room in the winter when Jay cleans off the driveway.

Driveway 8-29-15It took me six hours, but I think that it turned out nice. Jay laughed and said, “We’re widening the driveway two feet at a time!”

Don’t worry. It might look like I’m trying to get rid of everything that grows around here, but I’m not.

Pink Climbing Flowers 8-29-15In fact, here’s a flowering climbing plant that I planted earlier this spring. I can’t recall what the name of it is, but I’m so happy that it is finally twining itself onto the fence. Isn’t it pretty?


Side Rosebush 6-17-15  2And then my rose bush looked like this back in June. You would think that I was the queen of growing roses! Honestly, I just lucked out with this one. I guess that the threat that I gave it two years ago really worked, “You either start producing or I’ll replace you with something that knows what a rose bush is supposed to do!”

Posted in Garden, My House, Roses | Tagged , , , , | Leave a comment