I know that some projects take me longer to complete than others, but this one feels like it’s been for ever! It’s been over a year, so I guess that’s long enough.
One of the last things that I have left to do is refinish the doors in the library that lead down to the basement. This hasn’t really been at the top of my priority list until about two months ago. That’s when I realized that Jay’s cousin will be at Thanksgiving this year with her 3 year old son, and I don’t need him taking a dive down these stairs!
So it was time to get cracking!
 Based on how much work I did to the wall, I knew that these doors wouldn’t be easy. The worst part about the doors is the little areas next to the panes of glass. Thank goodness I still have my dental pick that I used while refinishing the wall.
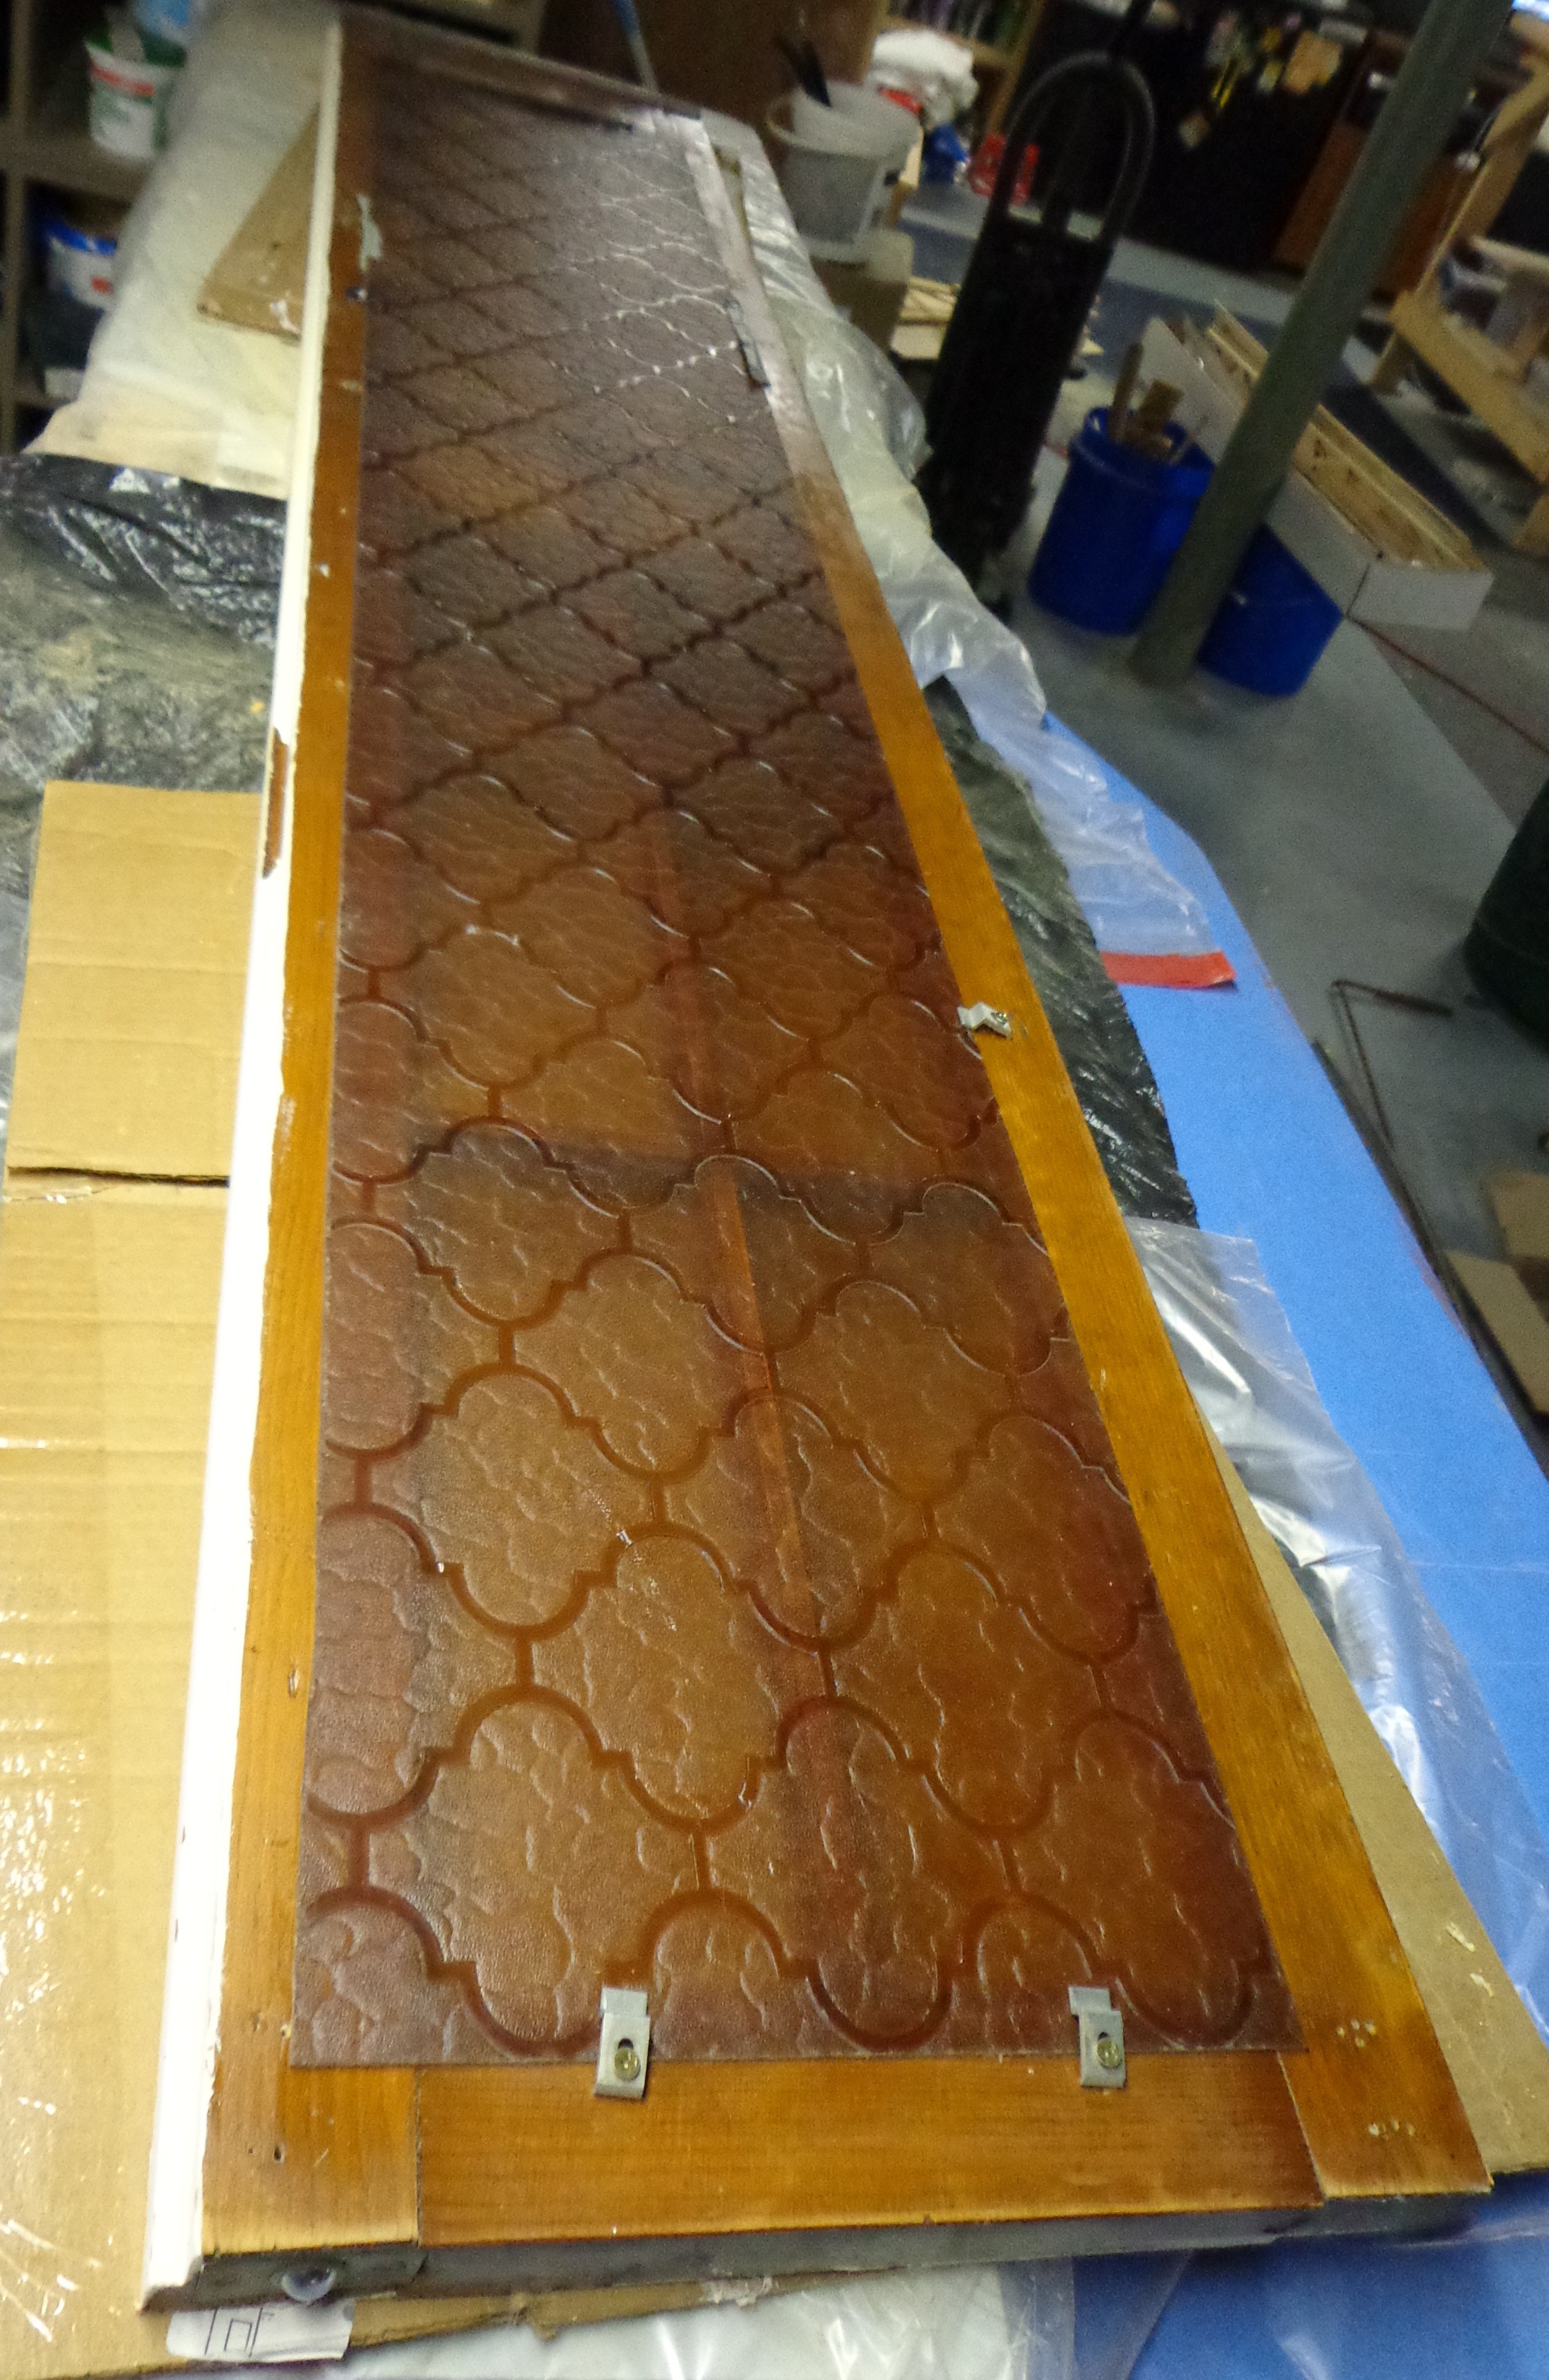
 First I had to remove all of the hardware and this ugly brownish-orange acrylic sheet that they had on the back of the doors. I don’t know if the acrylic was to keep people from being able to see down the basement stairs when the doors were closed, or if they were to keep the animals from scratching on them. Either way, they needed to go.
 I was disappointed after the first go-round of stripping. I found so many pits and marks in the wood, plus there were some cracks and places where I couldn’t get all of the white paint out. And I couldn’t remove the panes of glass because I was afraid that if I tried to remove the pieces holding the glass in that I would break them and the whole thing would become one giant mess. Jay didn’t think that it would be an issue to leave the glass in as I worked on the door.
 I was really disappointed in the bottom of the door because the wood was darker than the side pieces.
The hardest part for me when working on these projects is reconciling myself to the fact that no matter what I do I won’t be able to get my end result to match the picture in my head.
This just wasn’t cutting it.
 So I used some more stripper and went at it again. This lightened the wood up enough that I felt I could adequately match the stain to the walls.
 With the second stripping, and a LOT of sanding, I managed to get the bottom piece to lighten up a bit, but not nearly as much as I had hoped.
I really don’t want this to look odd when it’s all finished. I’ve put a TON of hours into this project.
I didn’t take pictures of the staining and poly-ing in progress, but there’s not really anything exciting about that.
 So, after a month and a half (I got busy and had to step away from this for a few weeks) this was the end result. No, this isn’t in the library, but I wanted some natural light so you could see what color the door turned out to be.
You can still see the spots where I couldn’t quite get the wood light enough for staining.
And I will have to buy another roll of this privacy film for the other door as I used almost the entire first roll on this one.
What was so time consuming was that once I had finished one side, I had to flip it over and do the same thing on the other side. So each door requires me to apply stripper four times. Then I have stain to apply to each side. Then I applied three or four coats of poly to each side, allowing each coat to dry for about 24 hours. Finally, it took me about 8 hours to clean up the panes of glass and put the privacy film in place. Jay is going to clean up the hardware for me before we hang these back up.
I started working on the second door today. I will really have to push myself hard to get it done in time for Thanksgiving. This second door is a little trickier because one of the panes of glass is cracked really good. I would love to replace it, but again, I’m not able to get it out due to the pieces of wood holding it in are held in place with tiny brads. *sigh* So I’ll just have to see how it turns out. I’m hoping that by the end of the week I’ll be at the point where I can sand and stain. If I can start the poly-ing process by this time next week then there is hope that it will get done in time. Keep your fingers crossed!

 Is it a bit drafty in here, or is it just me??
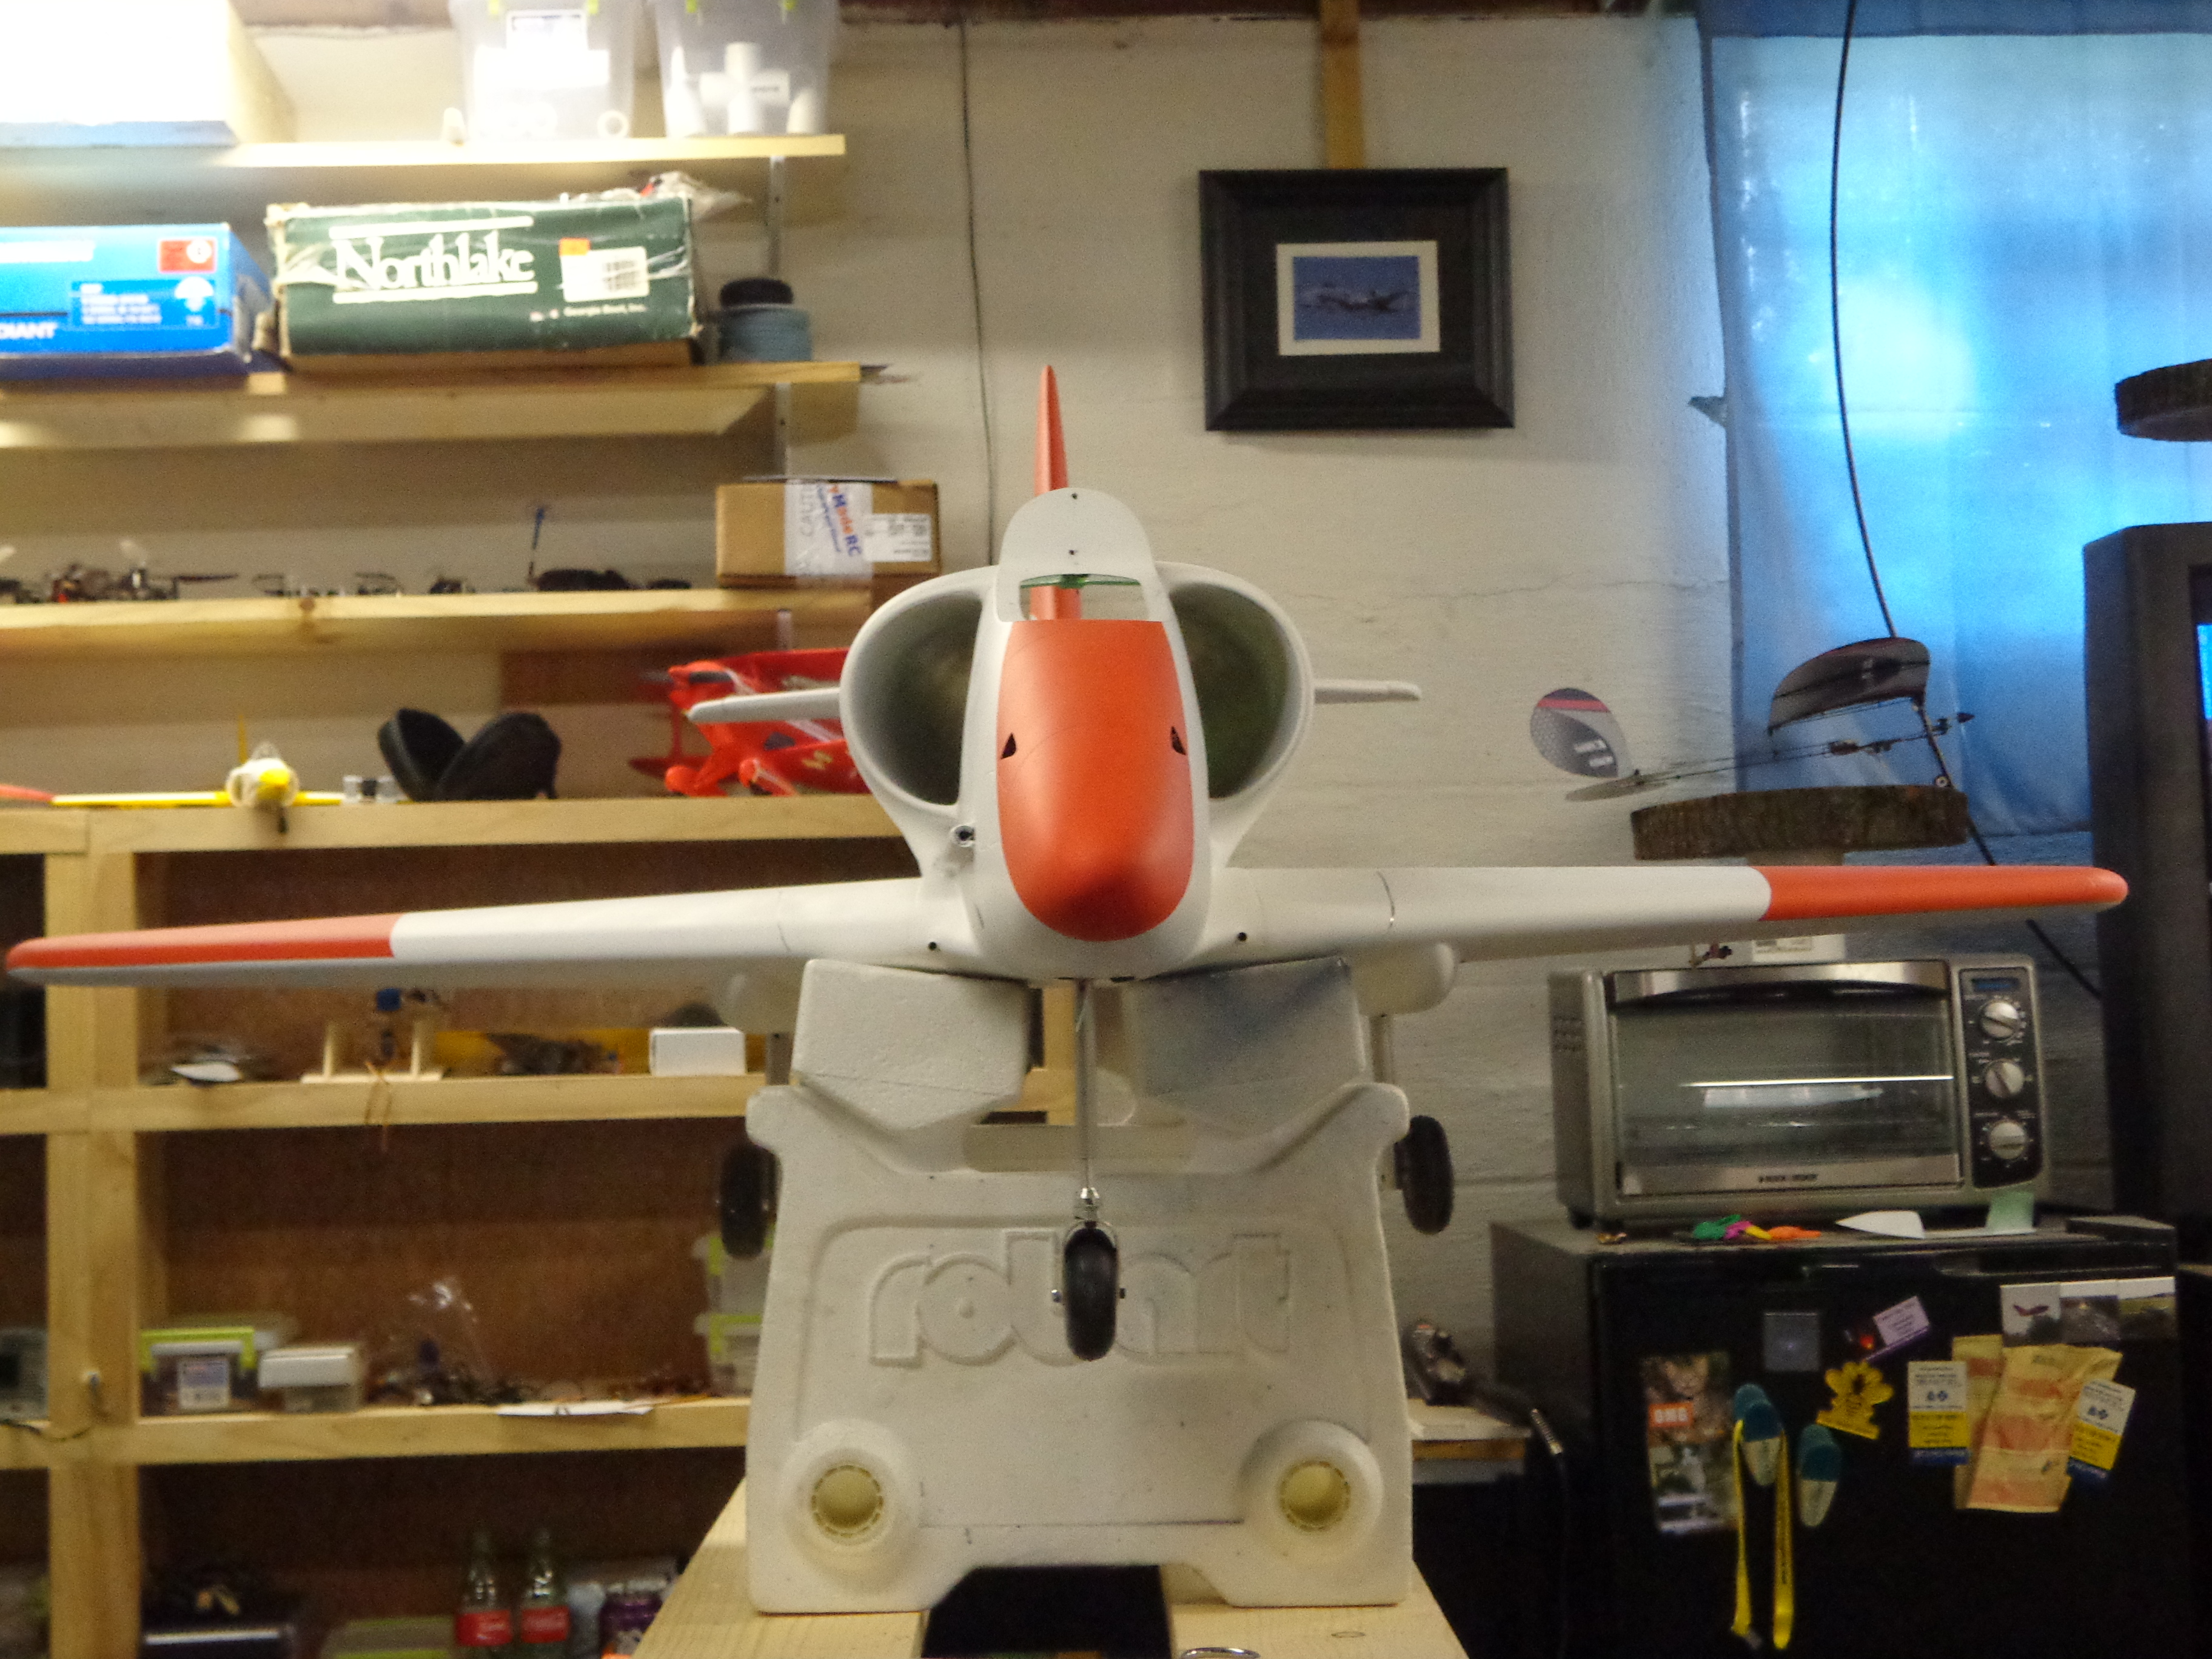
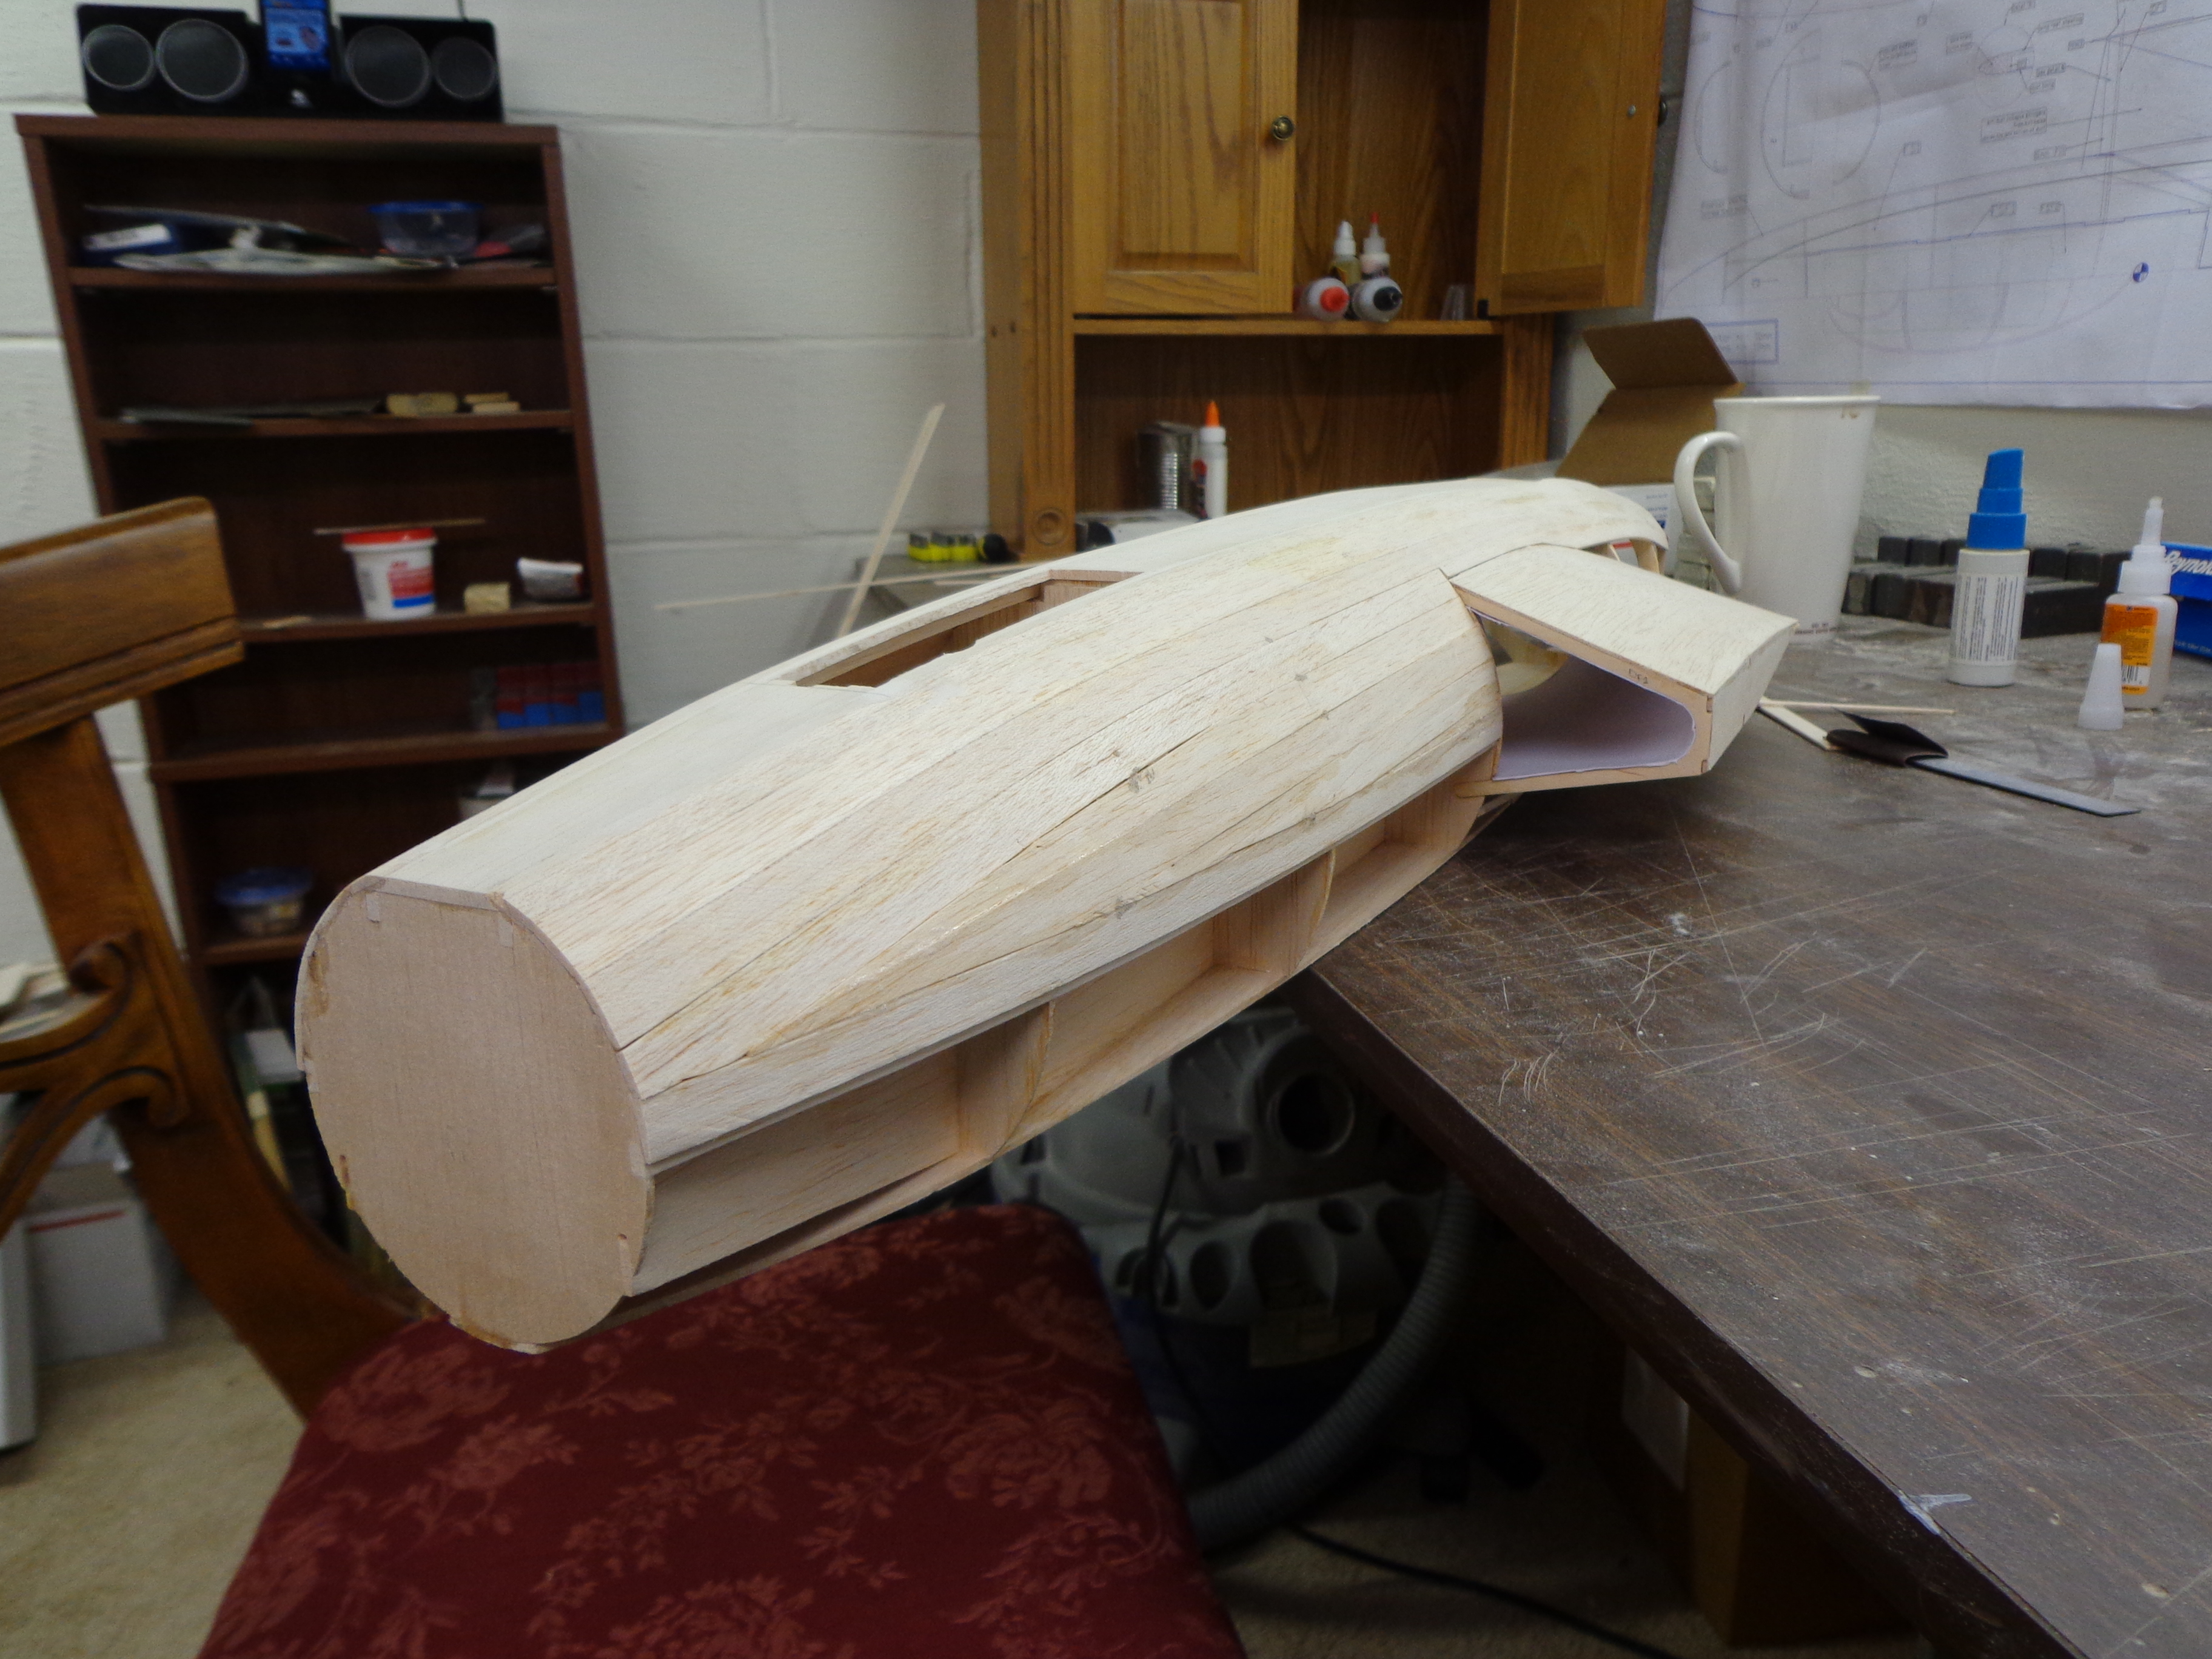
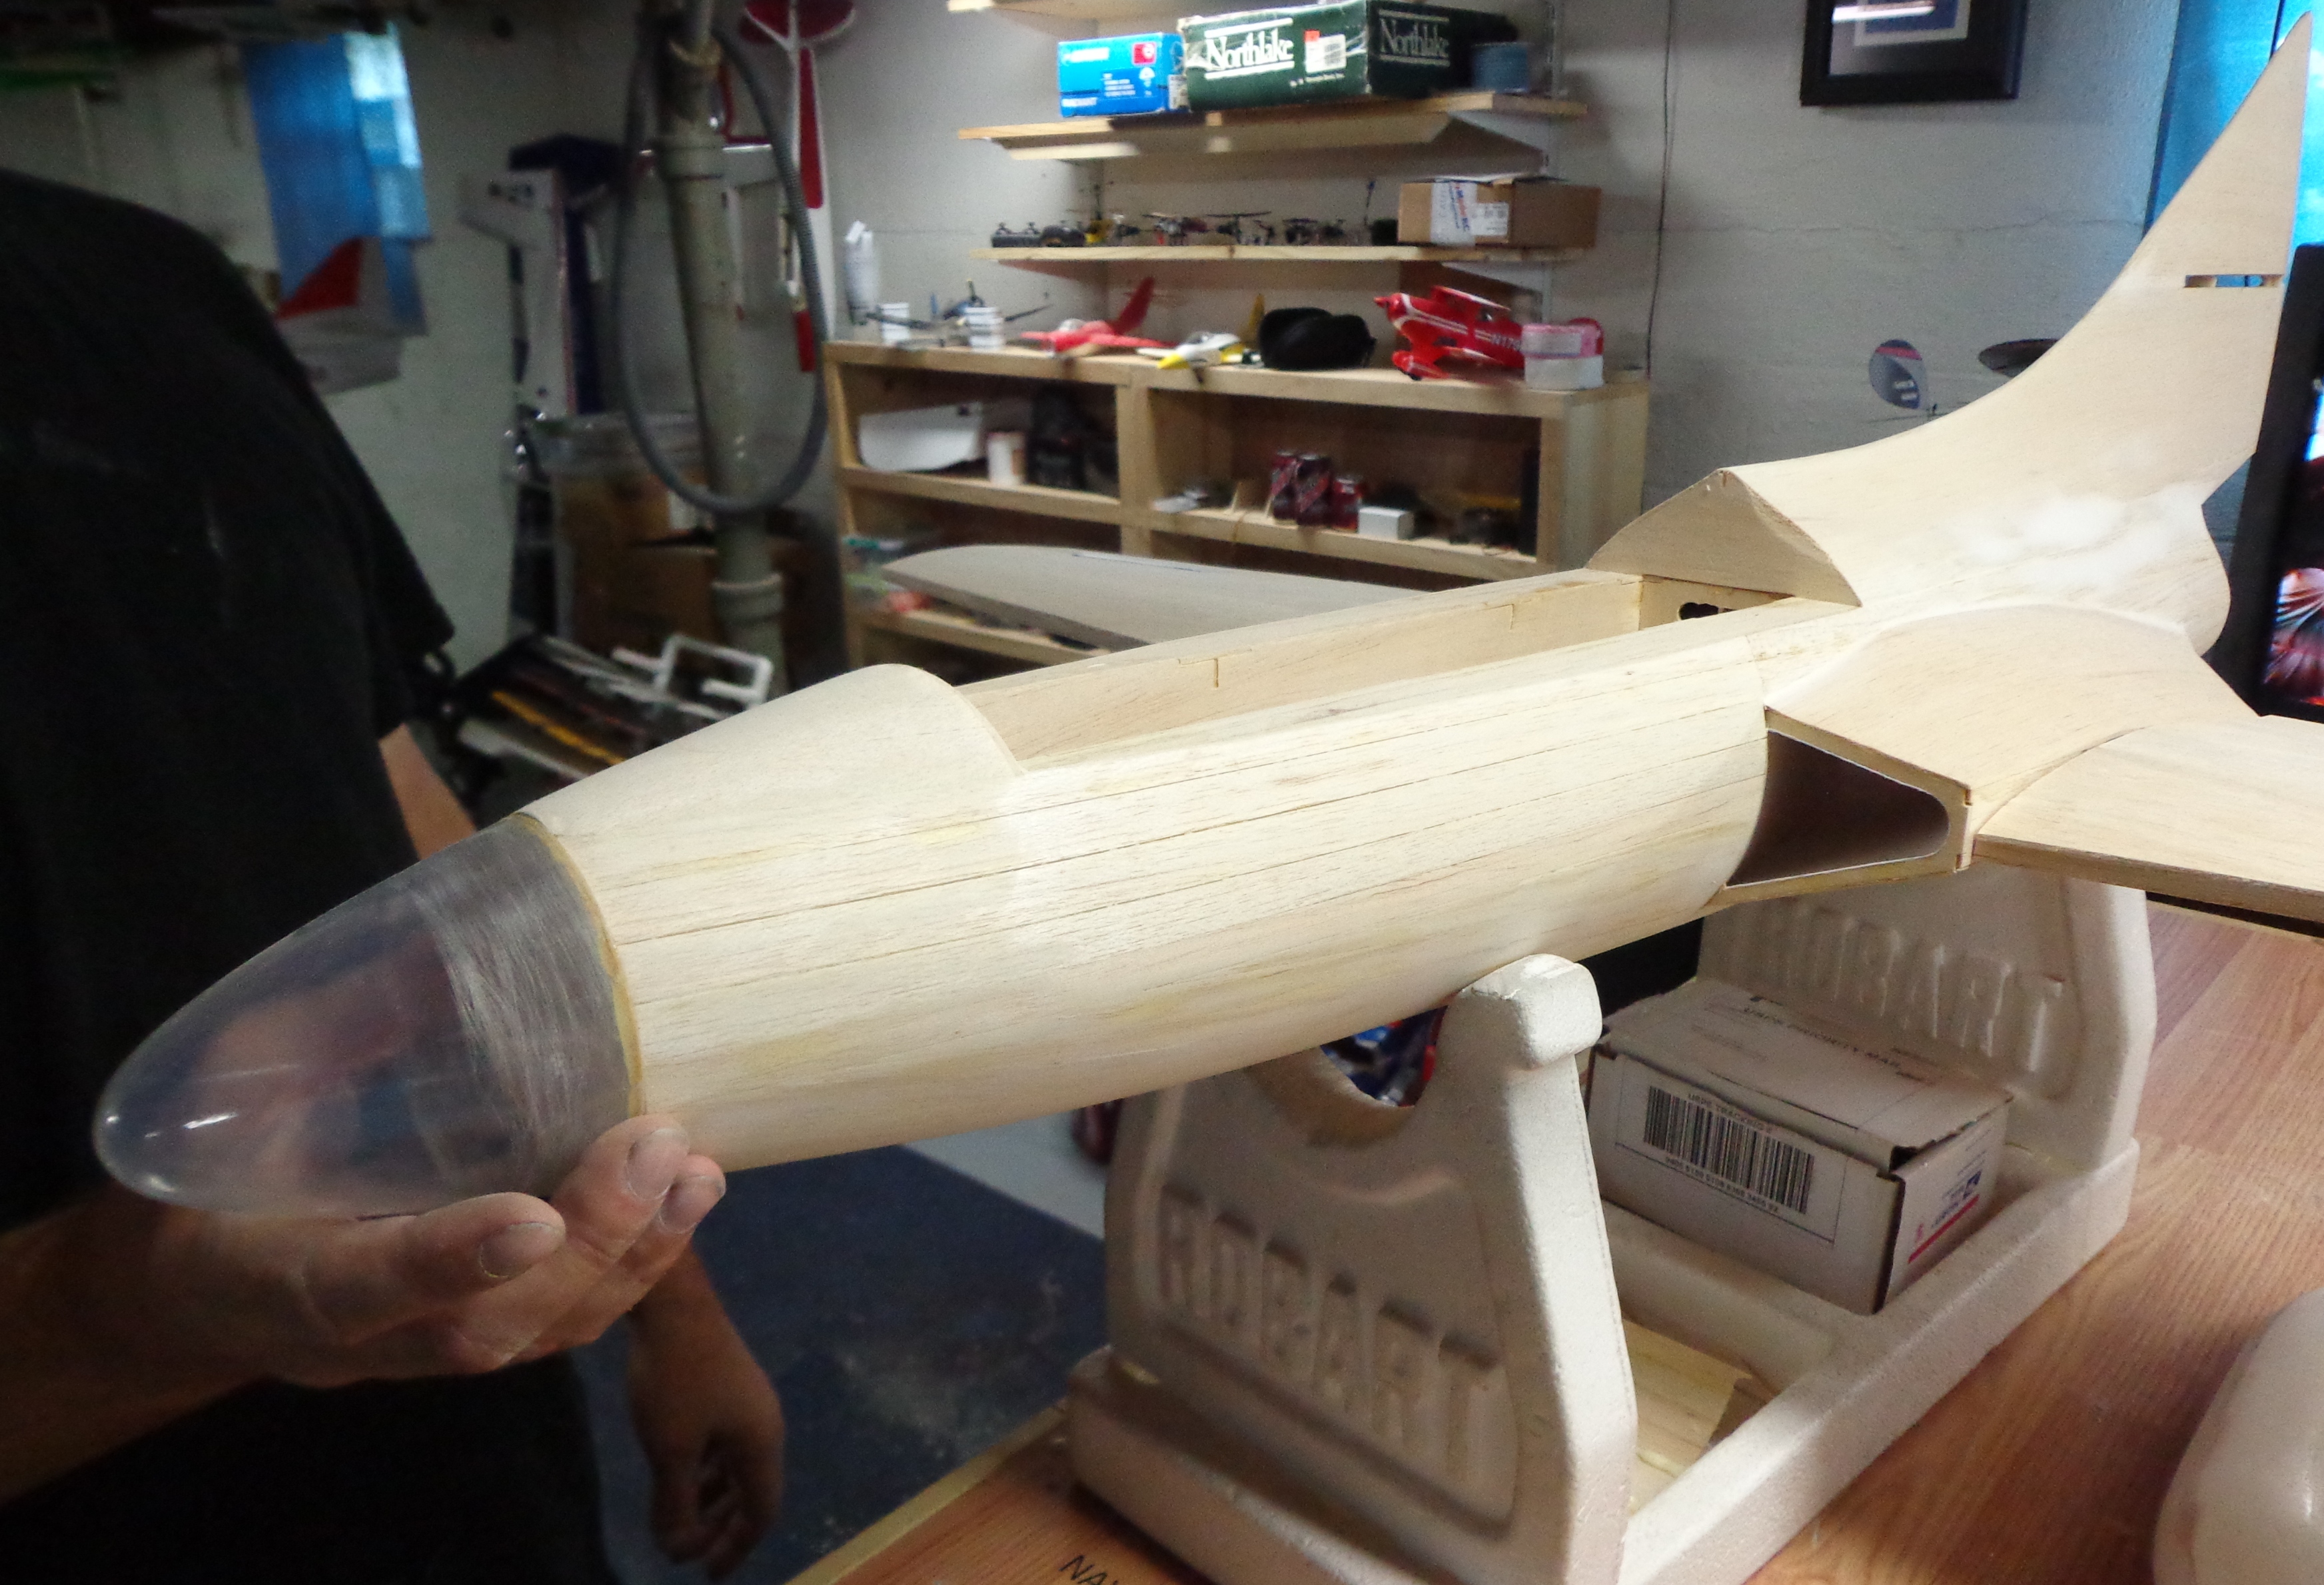
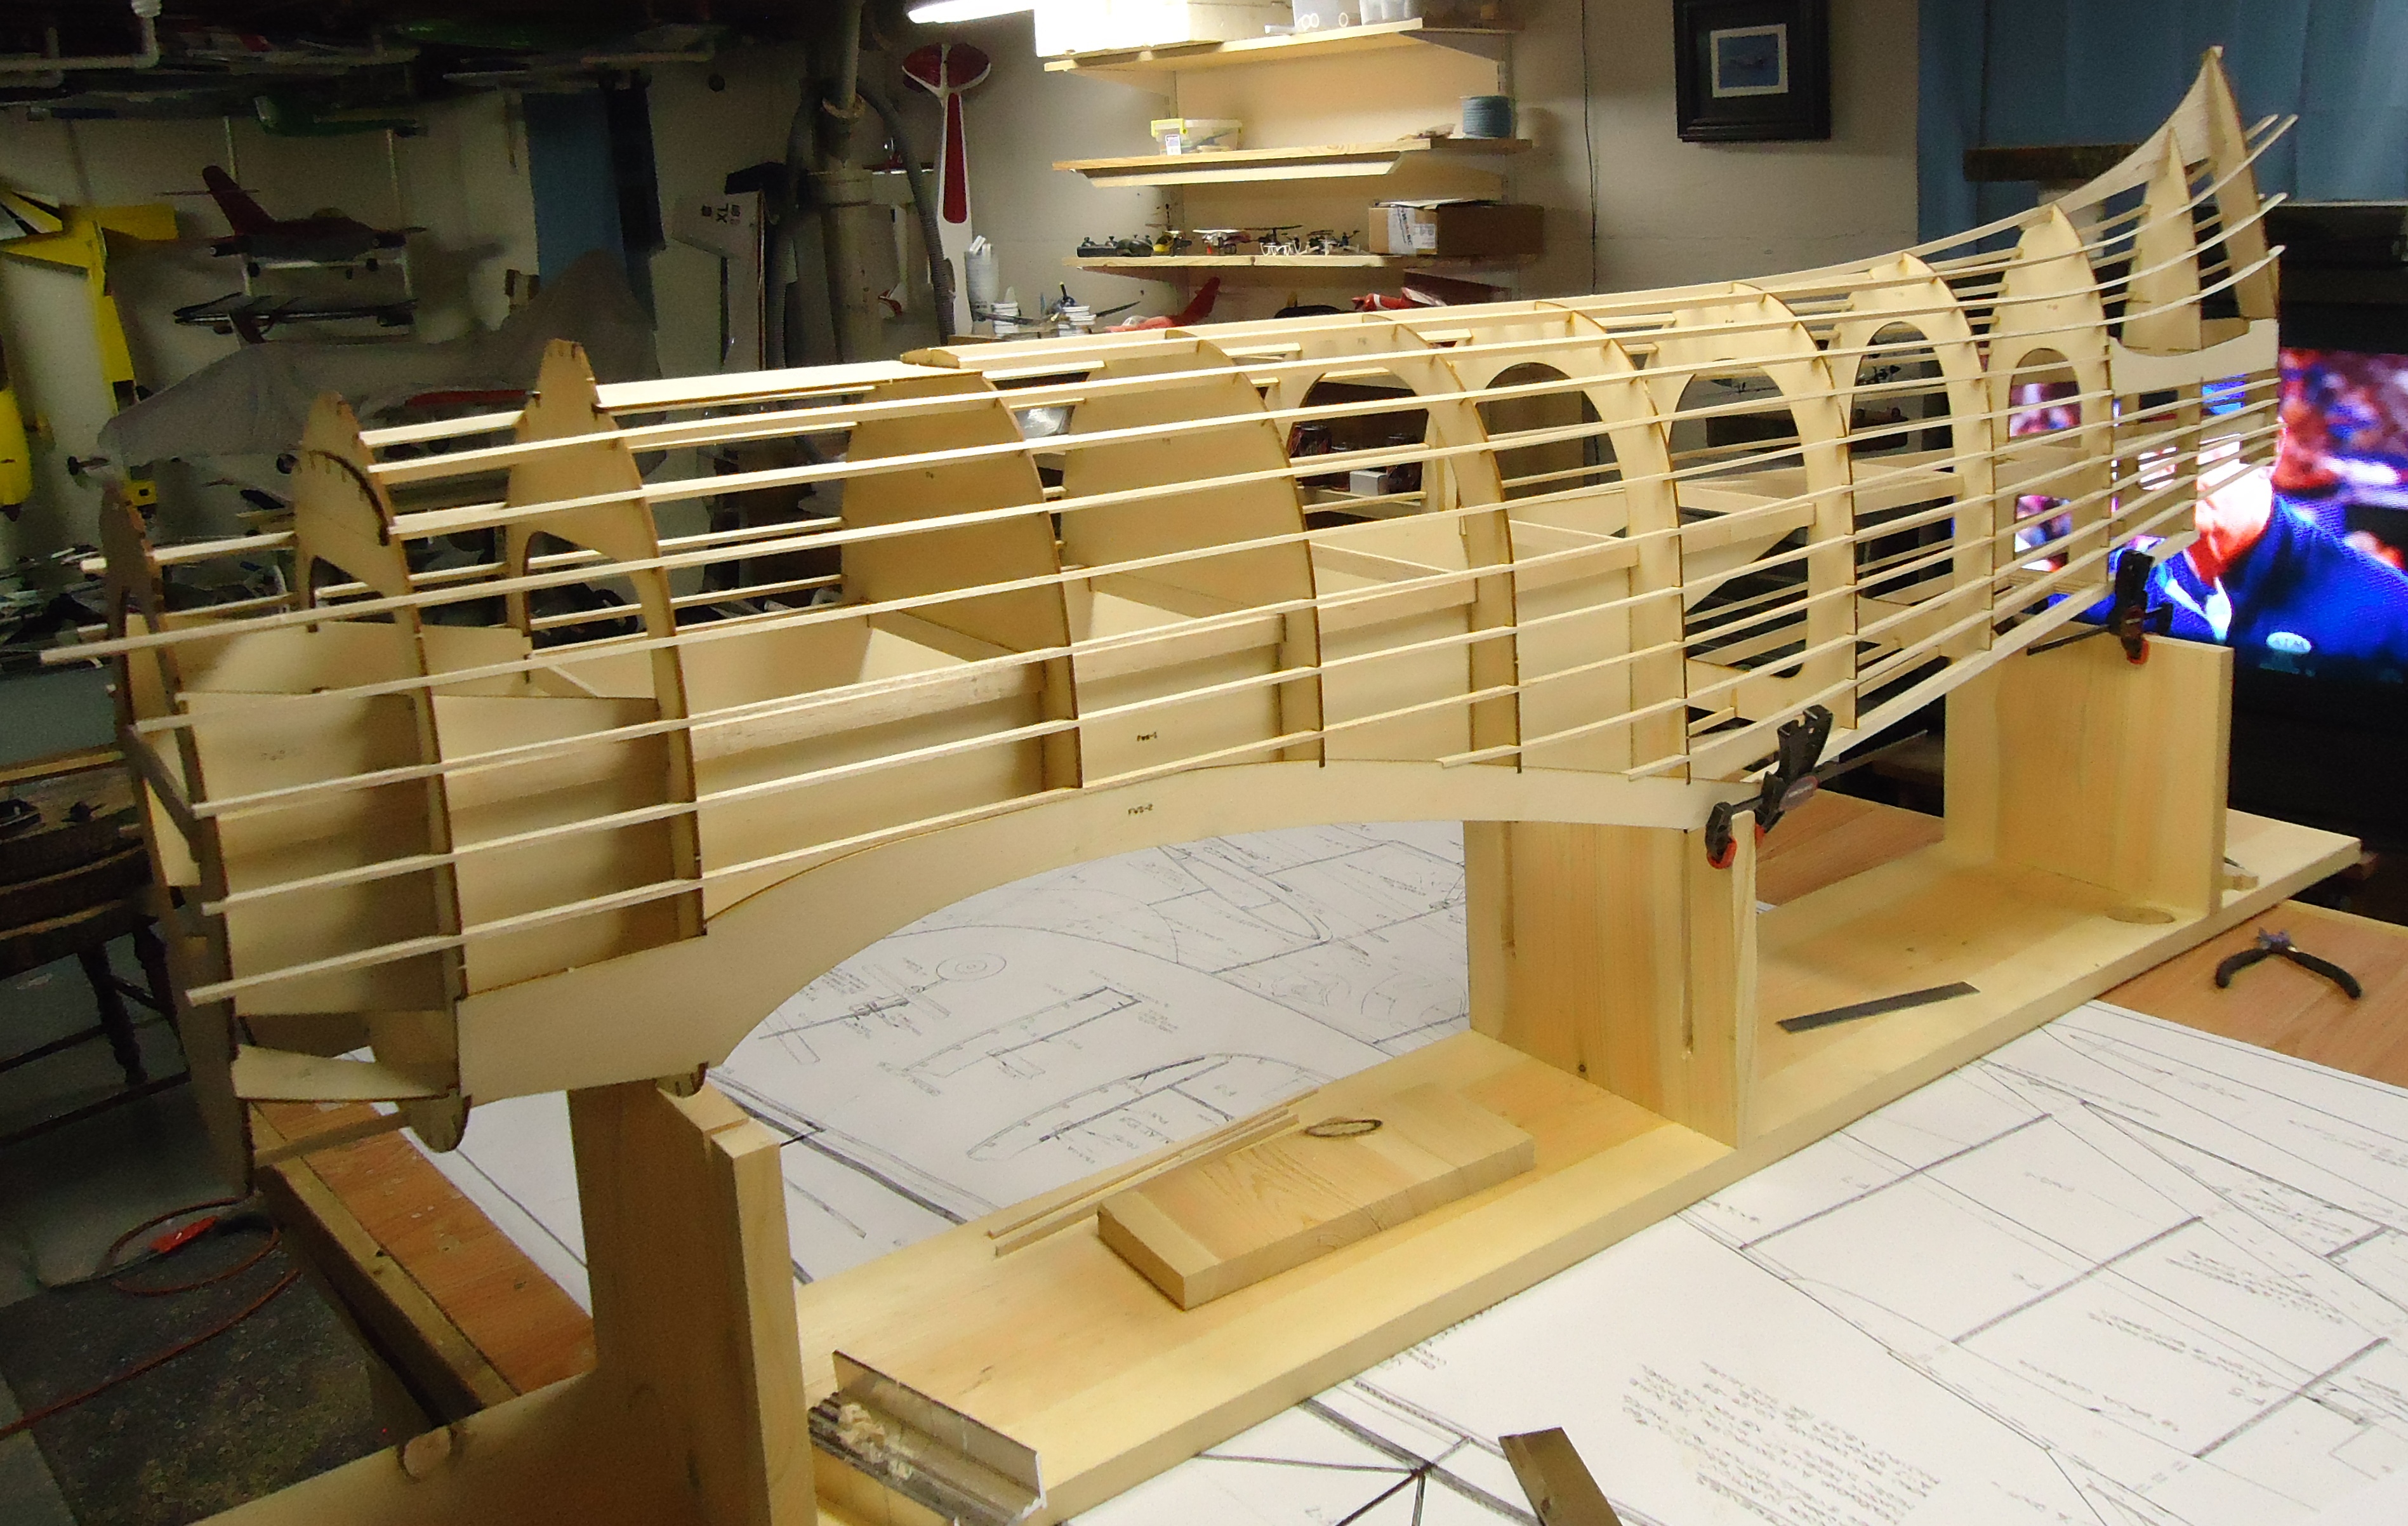
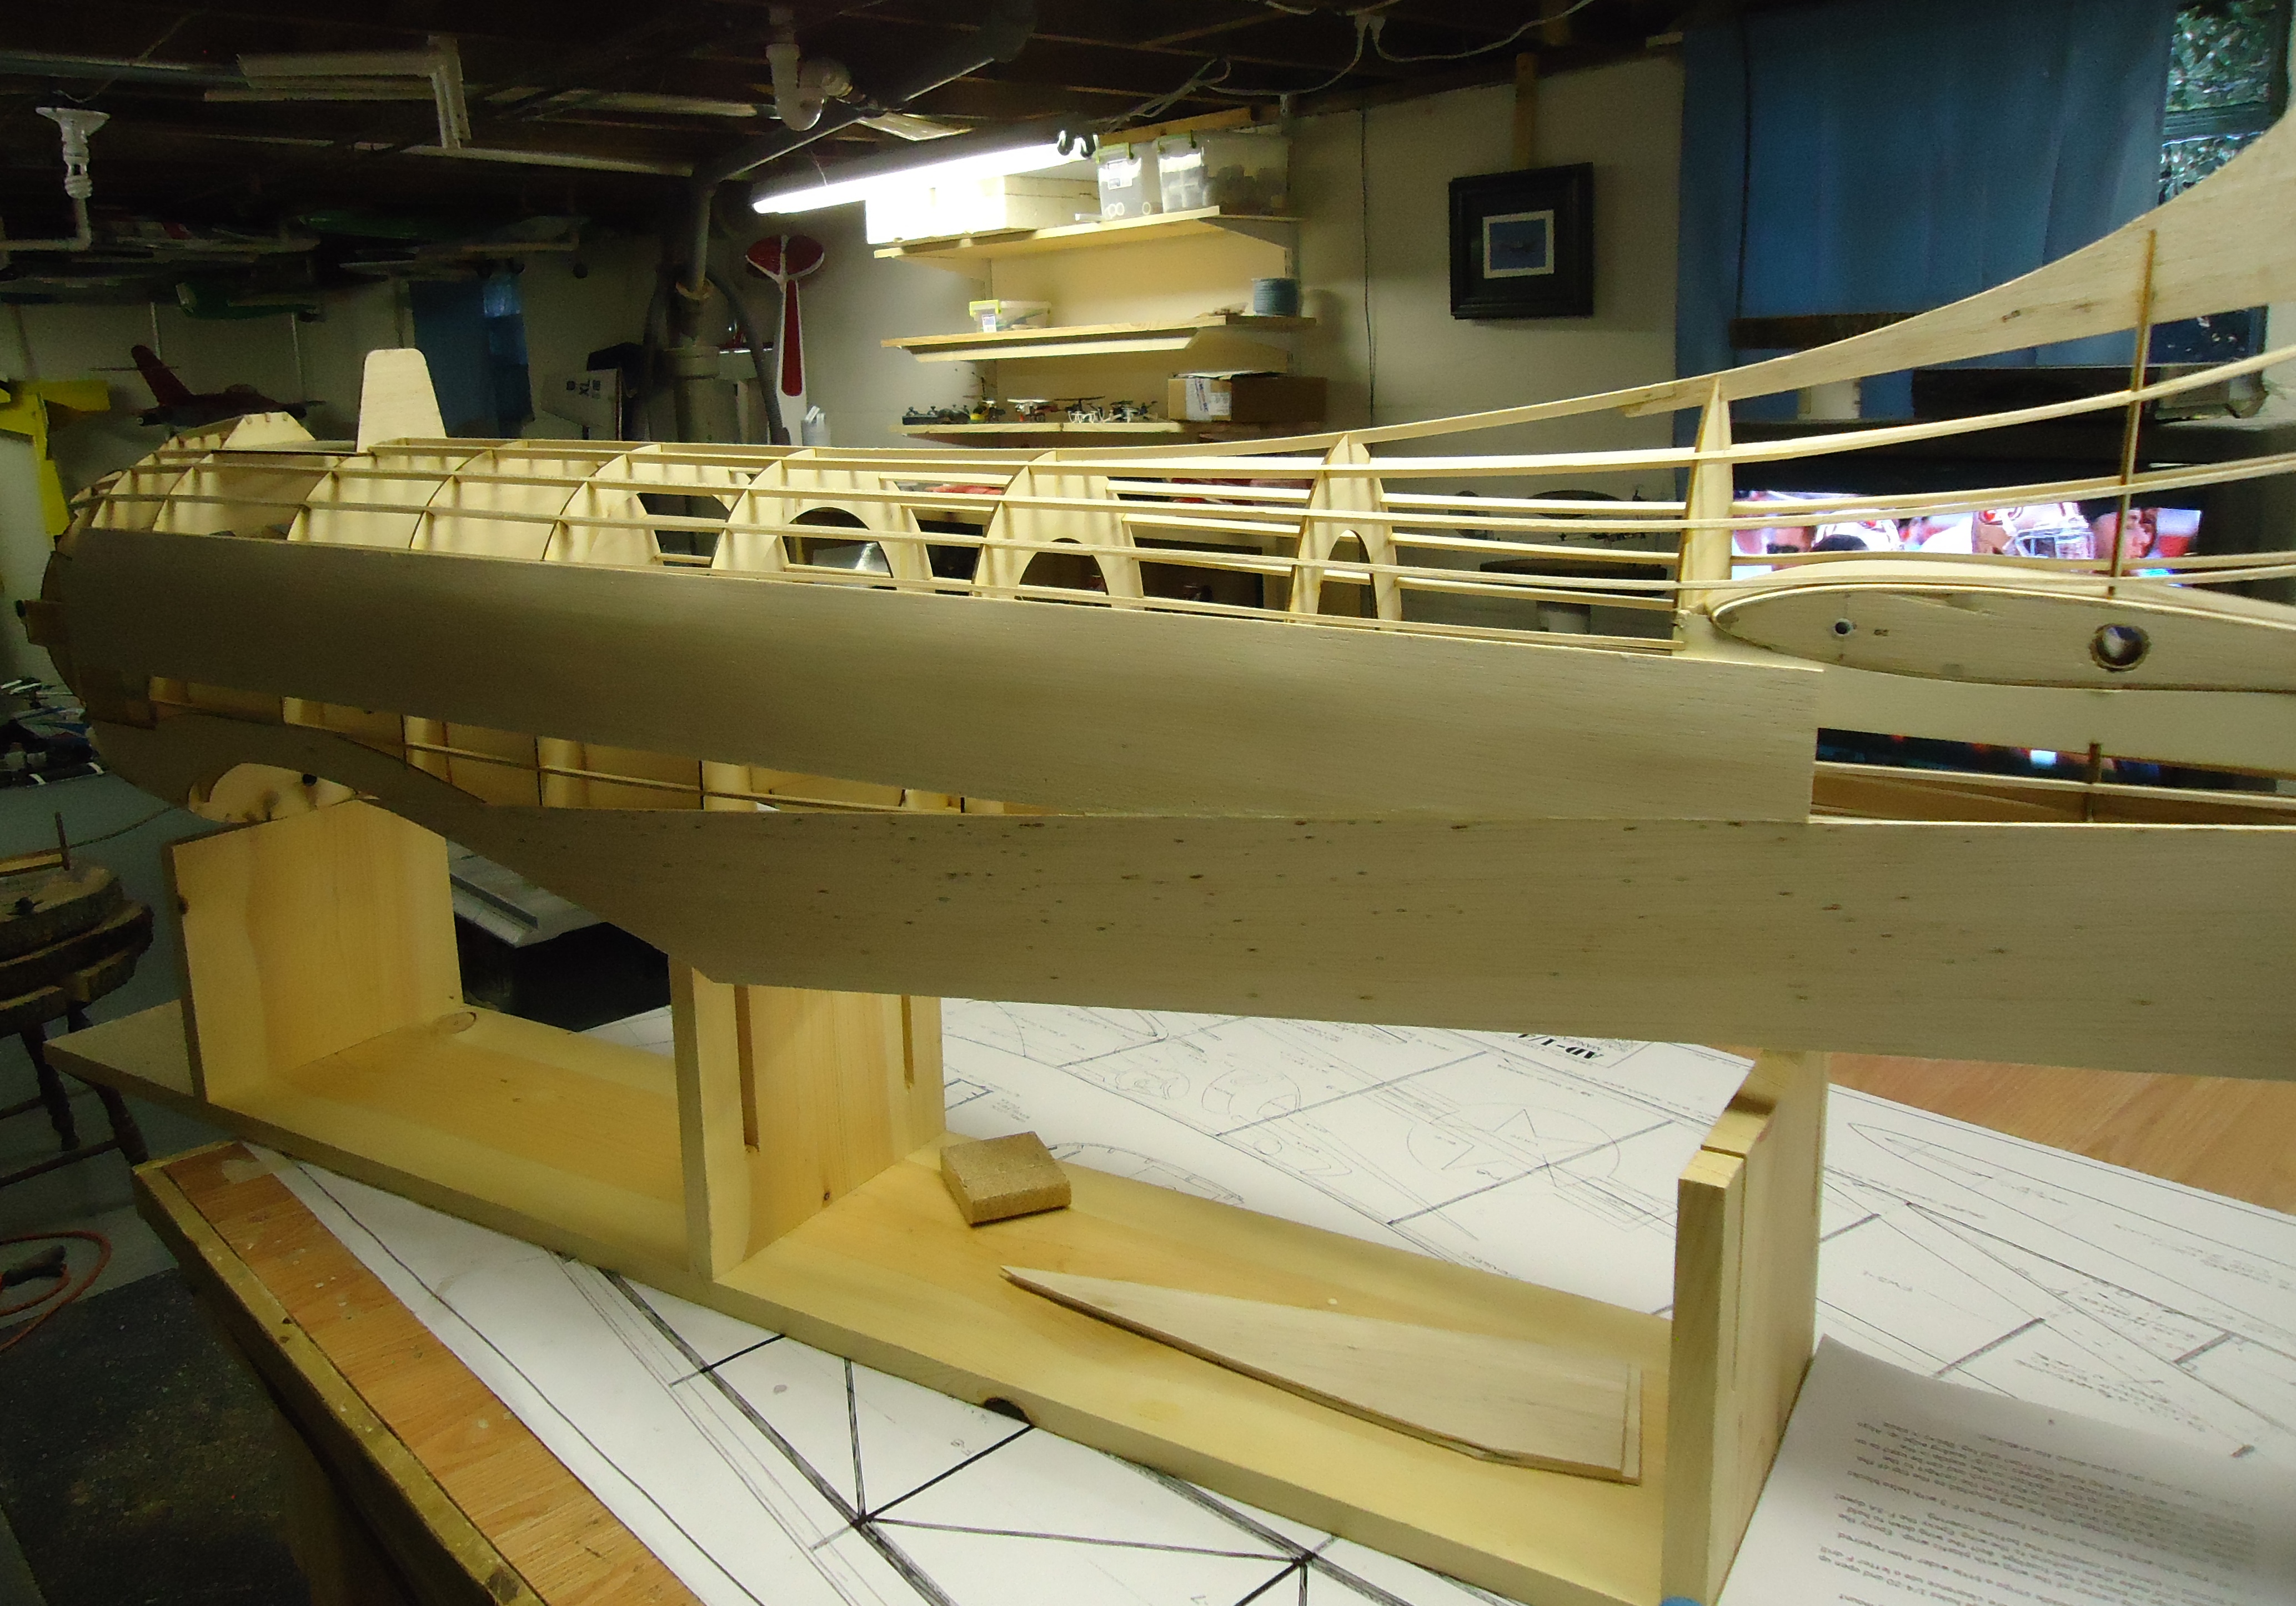
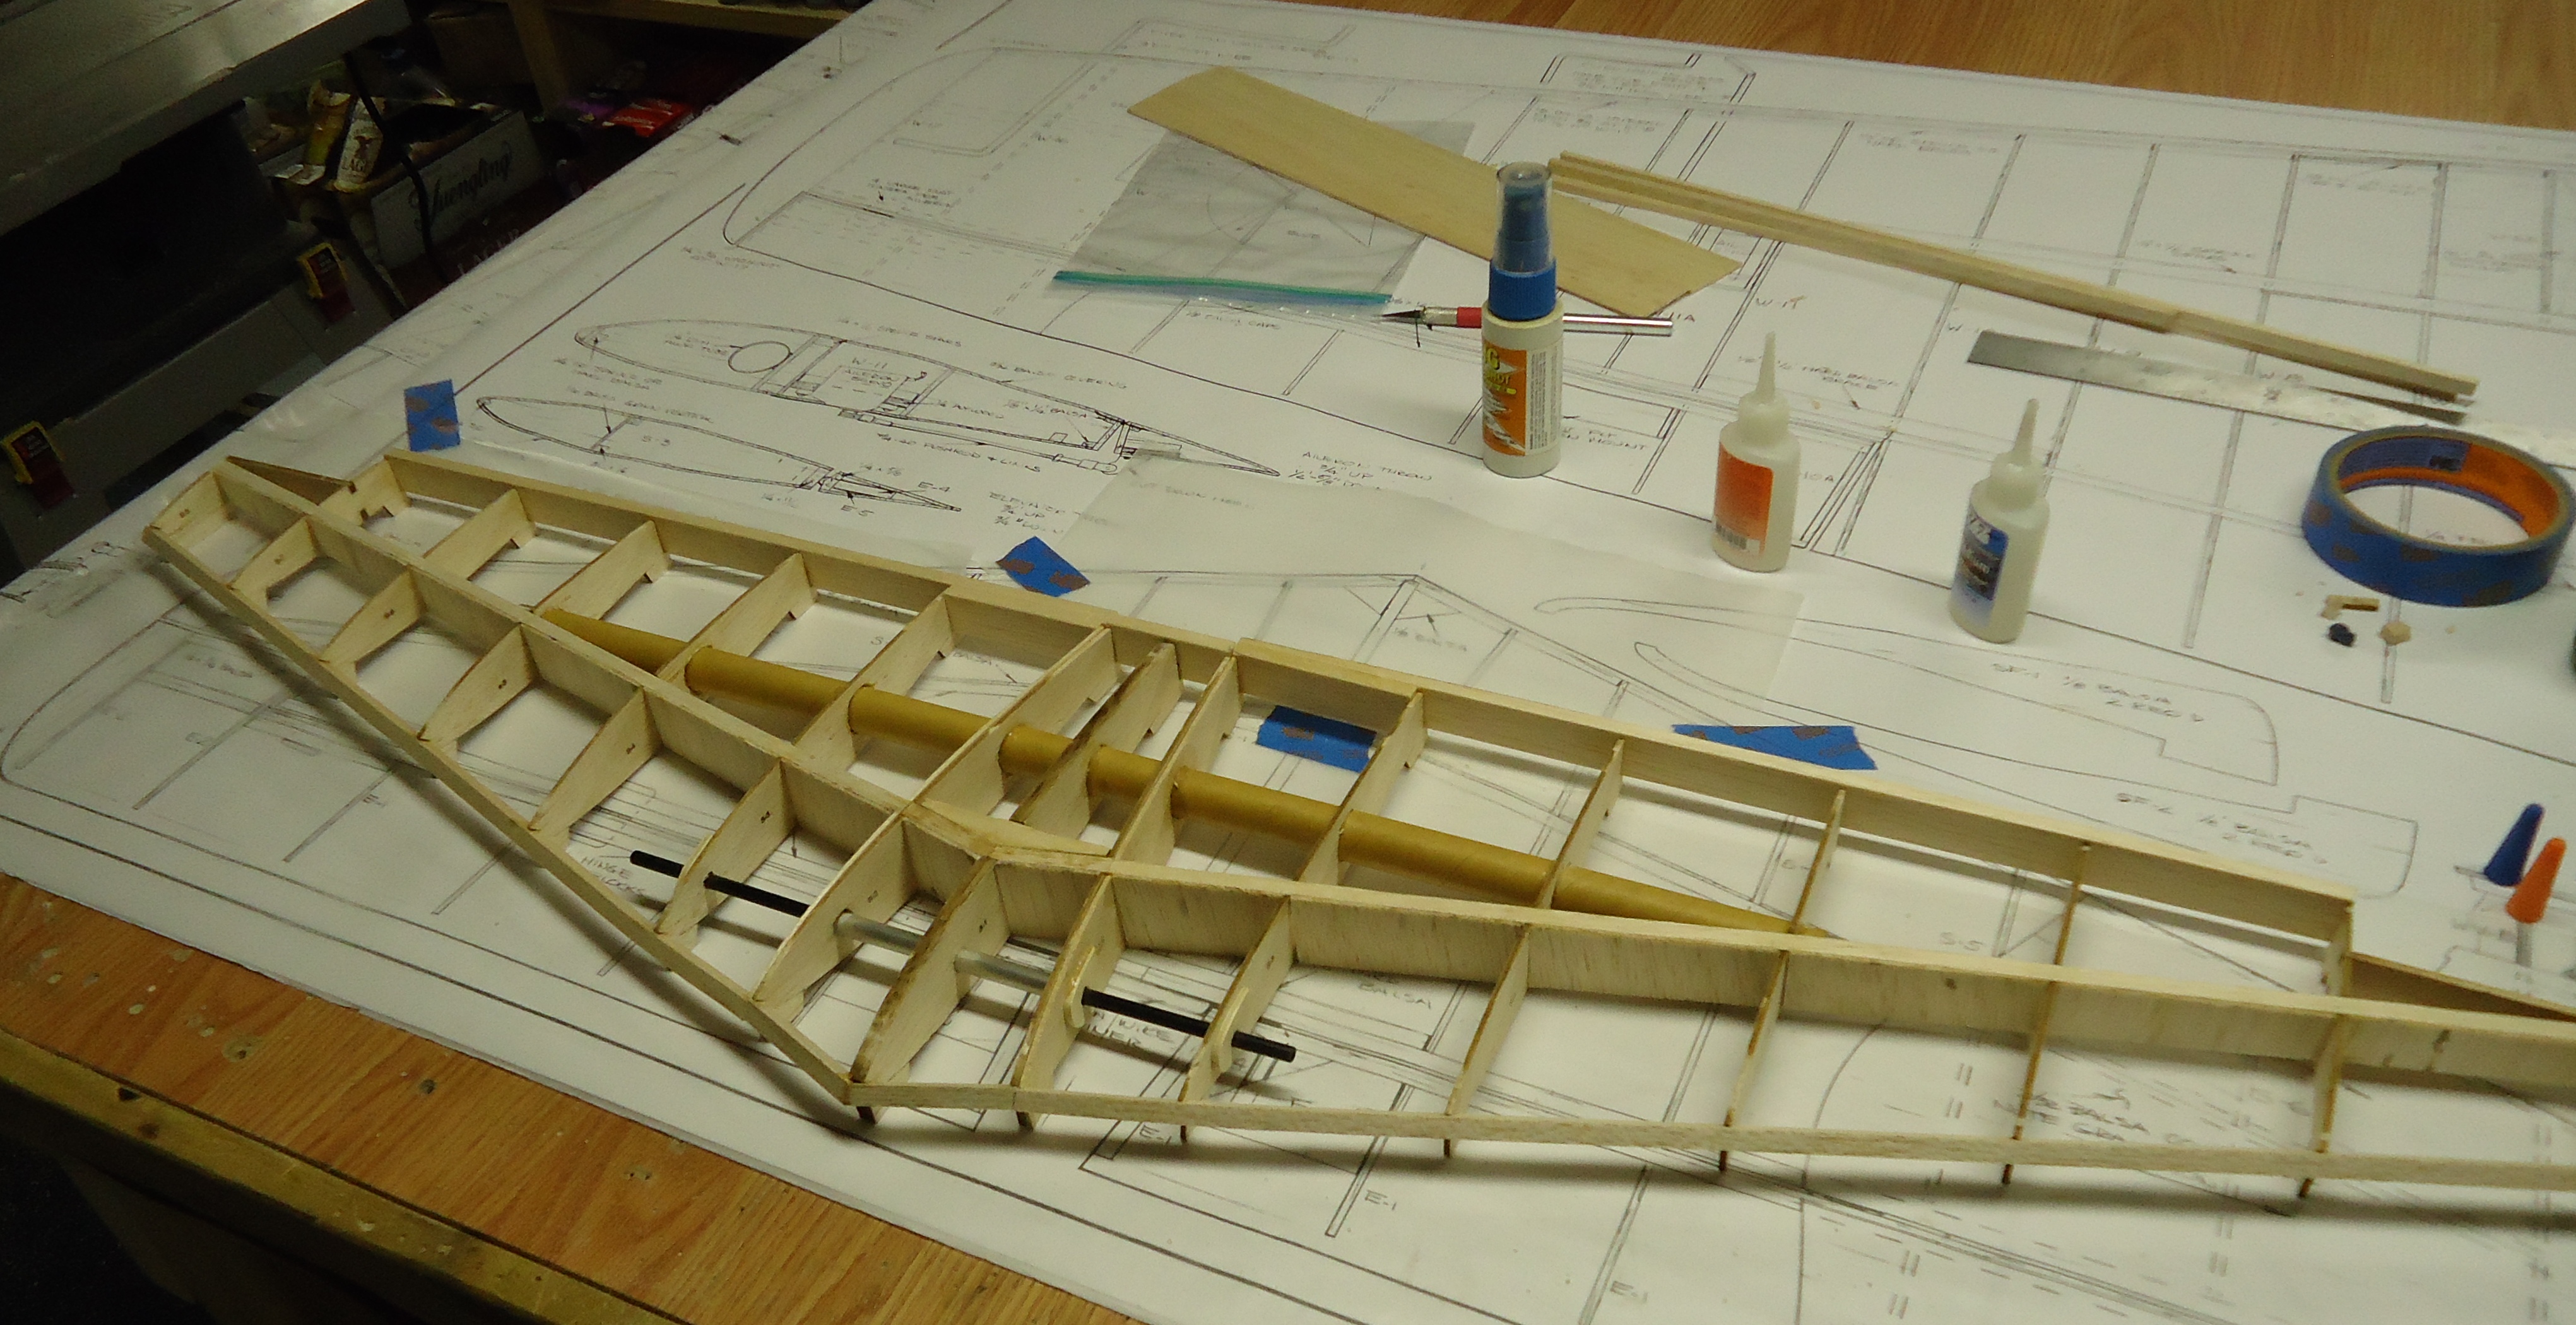
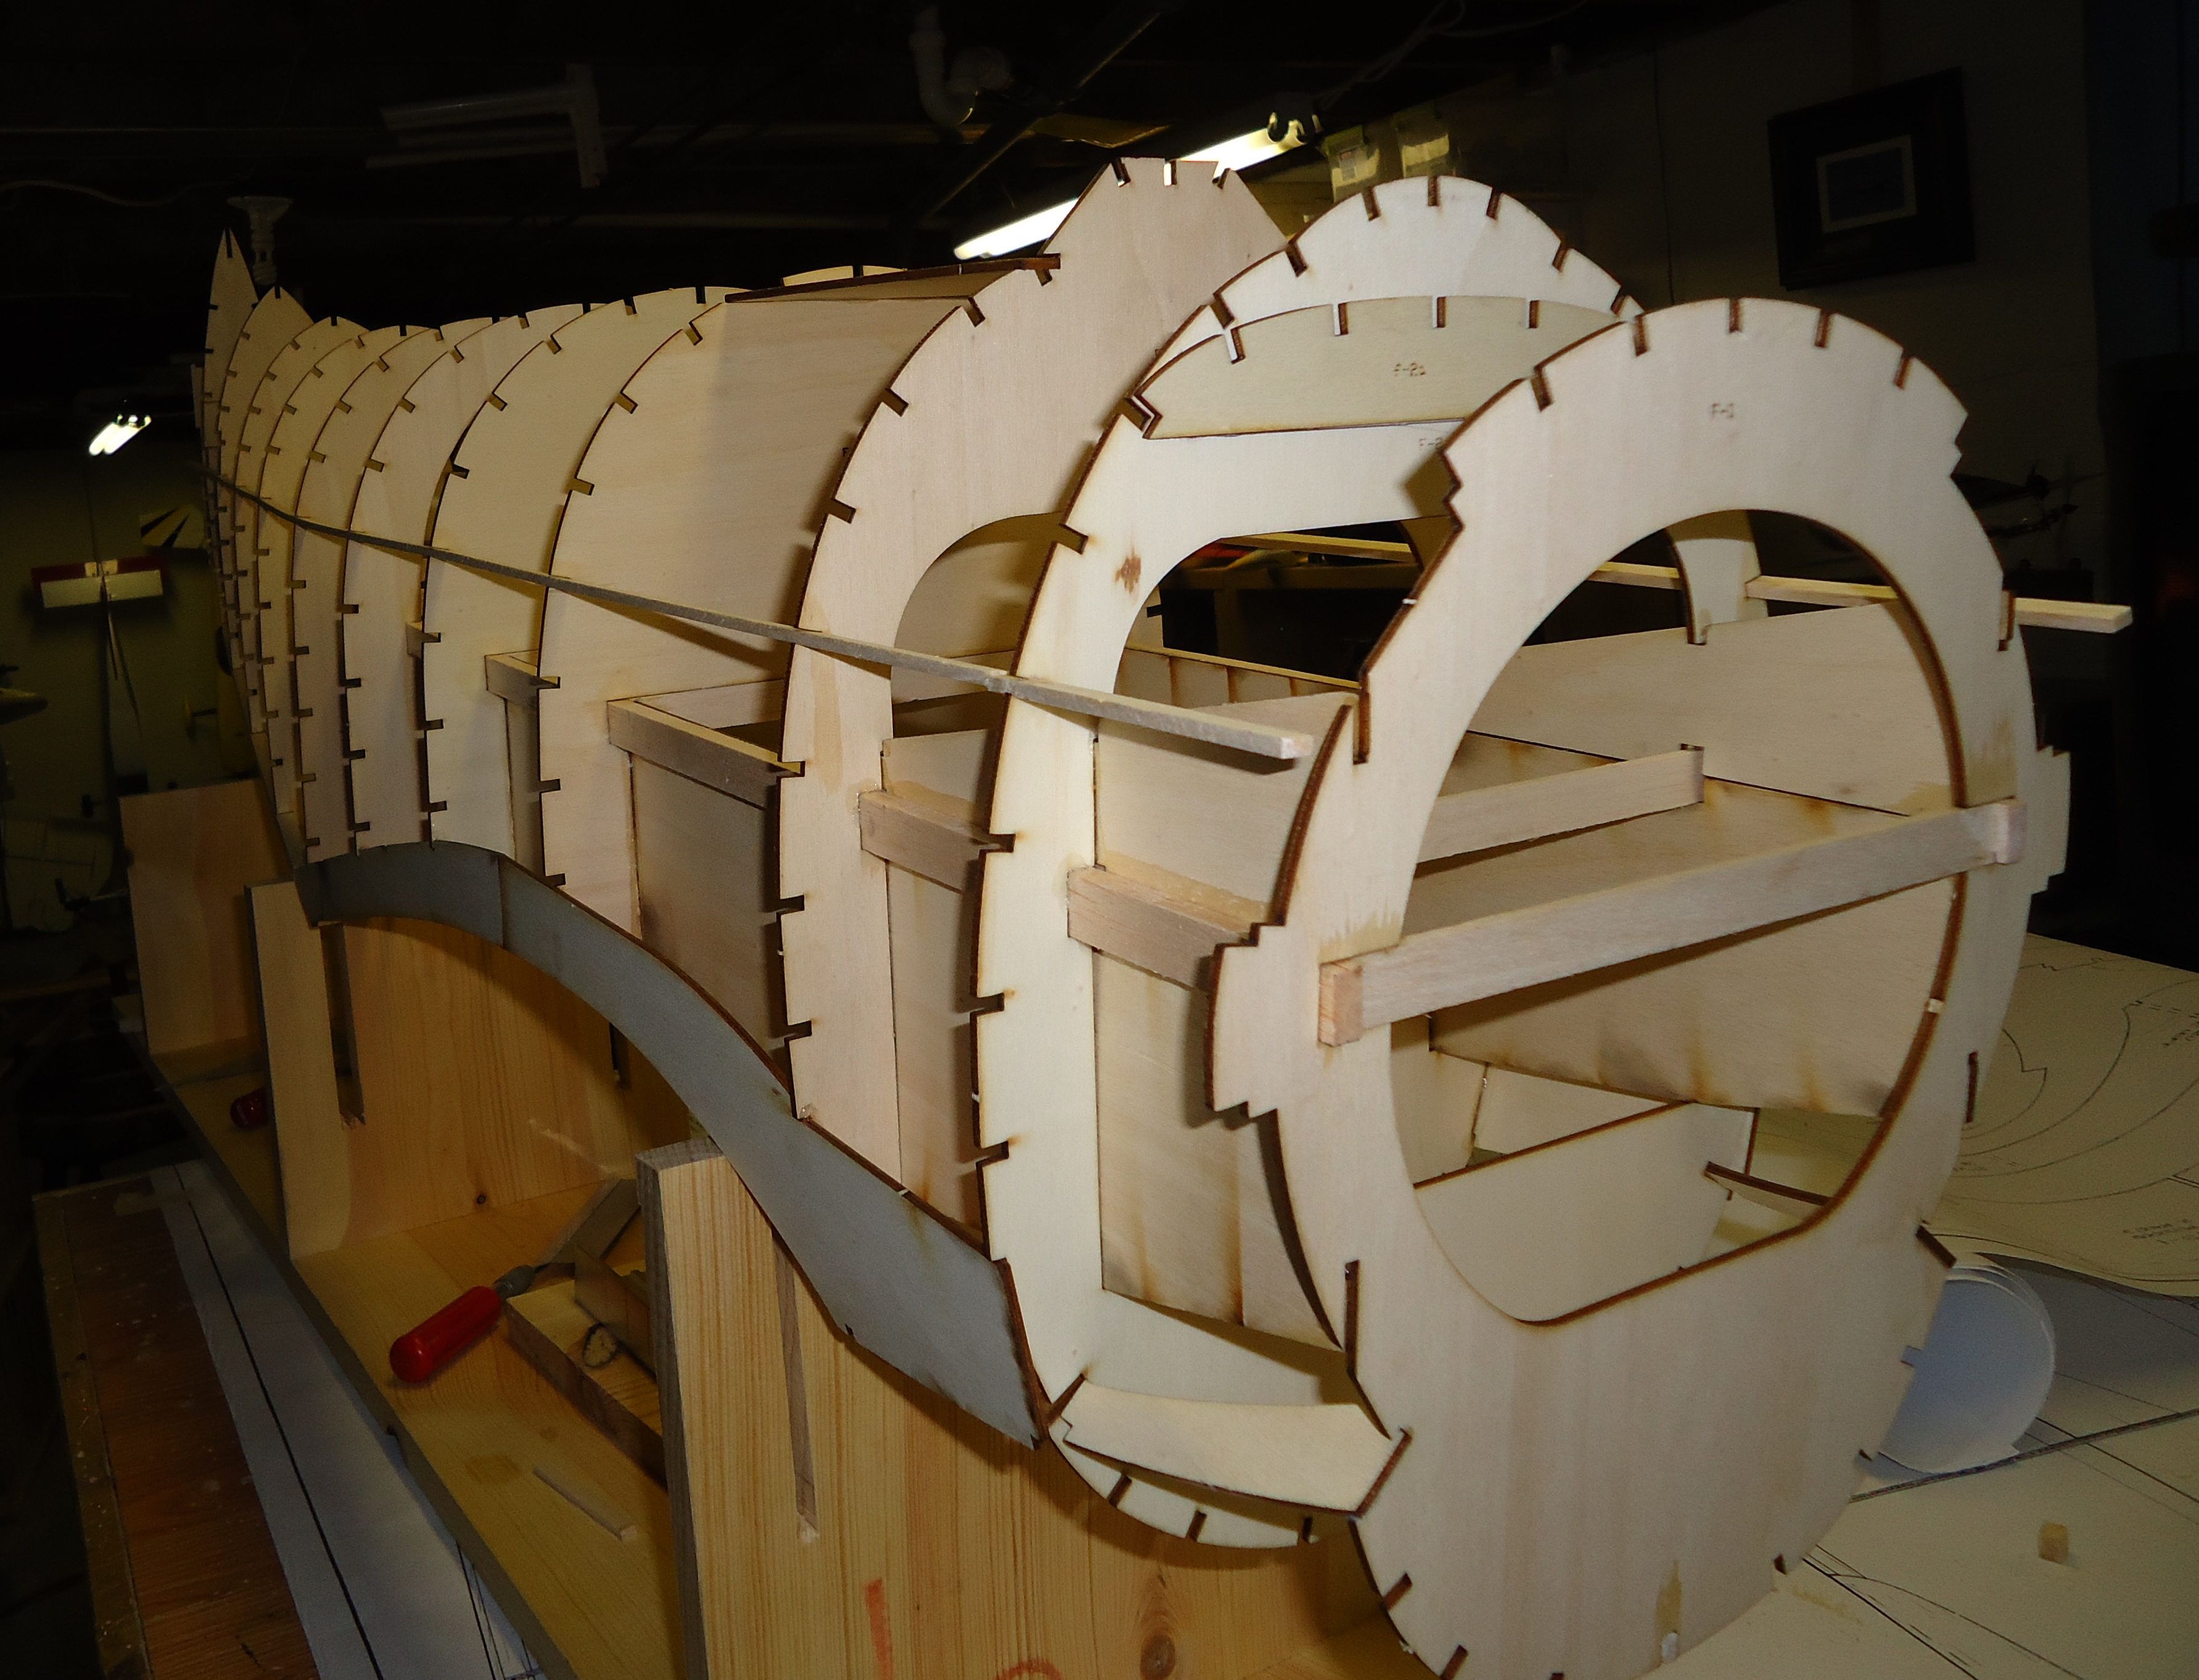
 The fuselage is beginning to fill in. And we have some more fly-away pieces towards the back, but those will be taken care of in a moment.
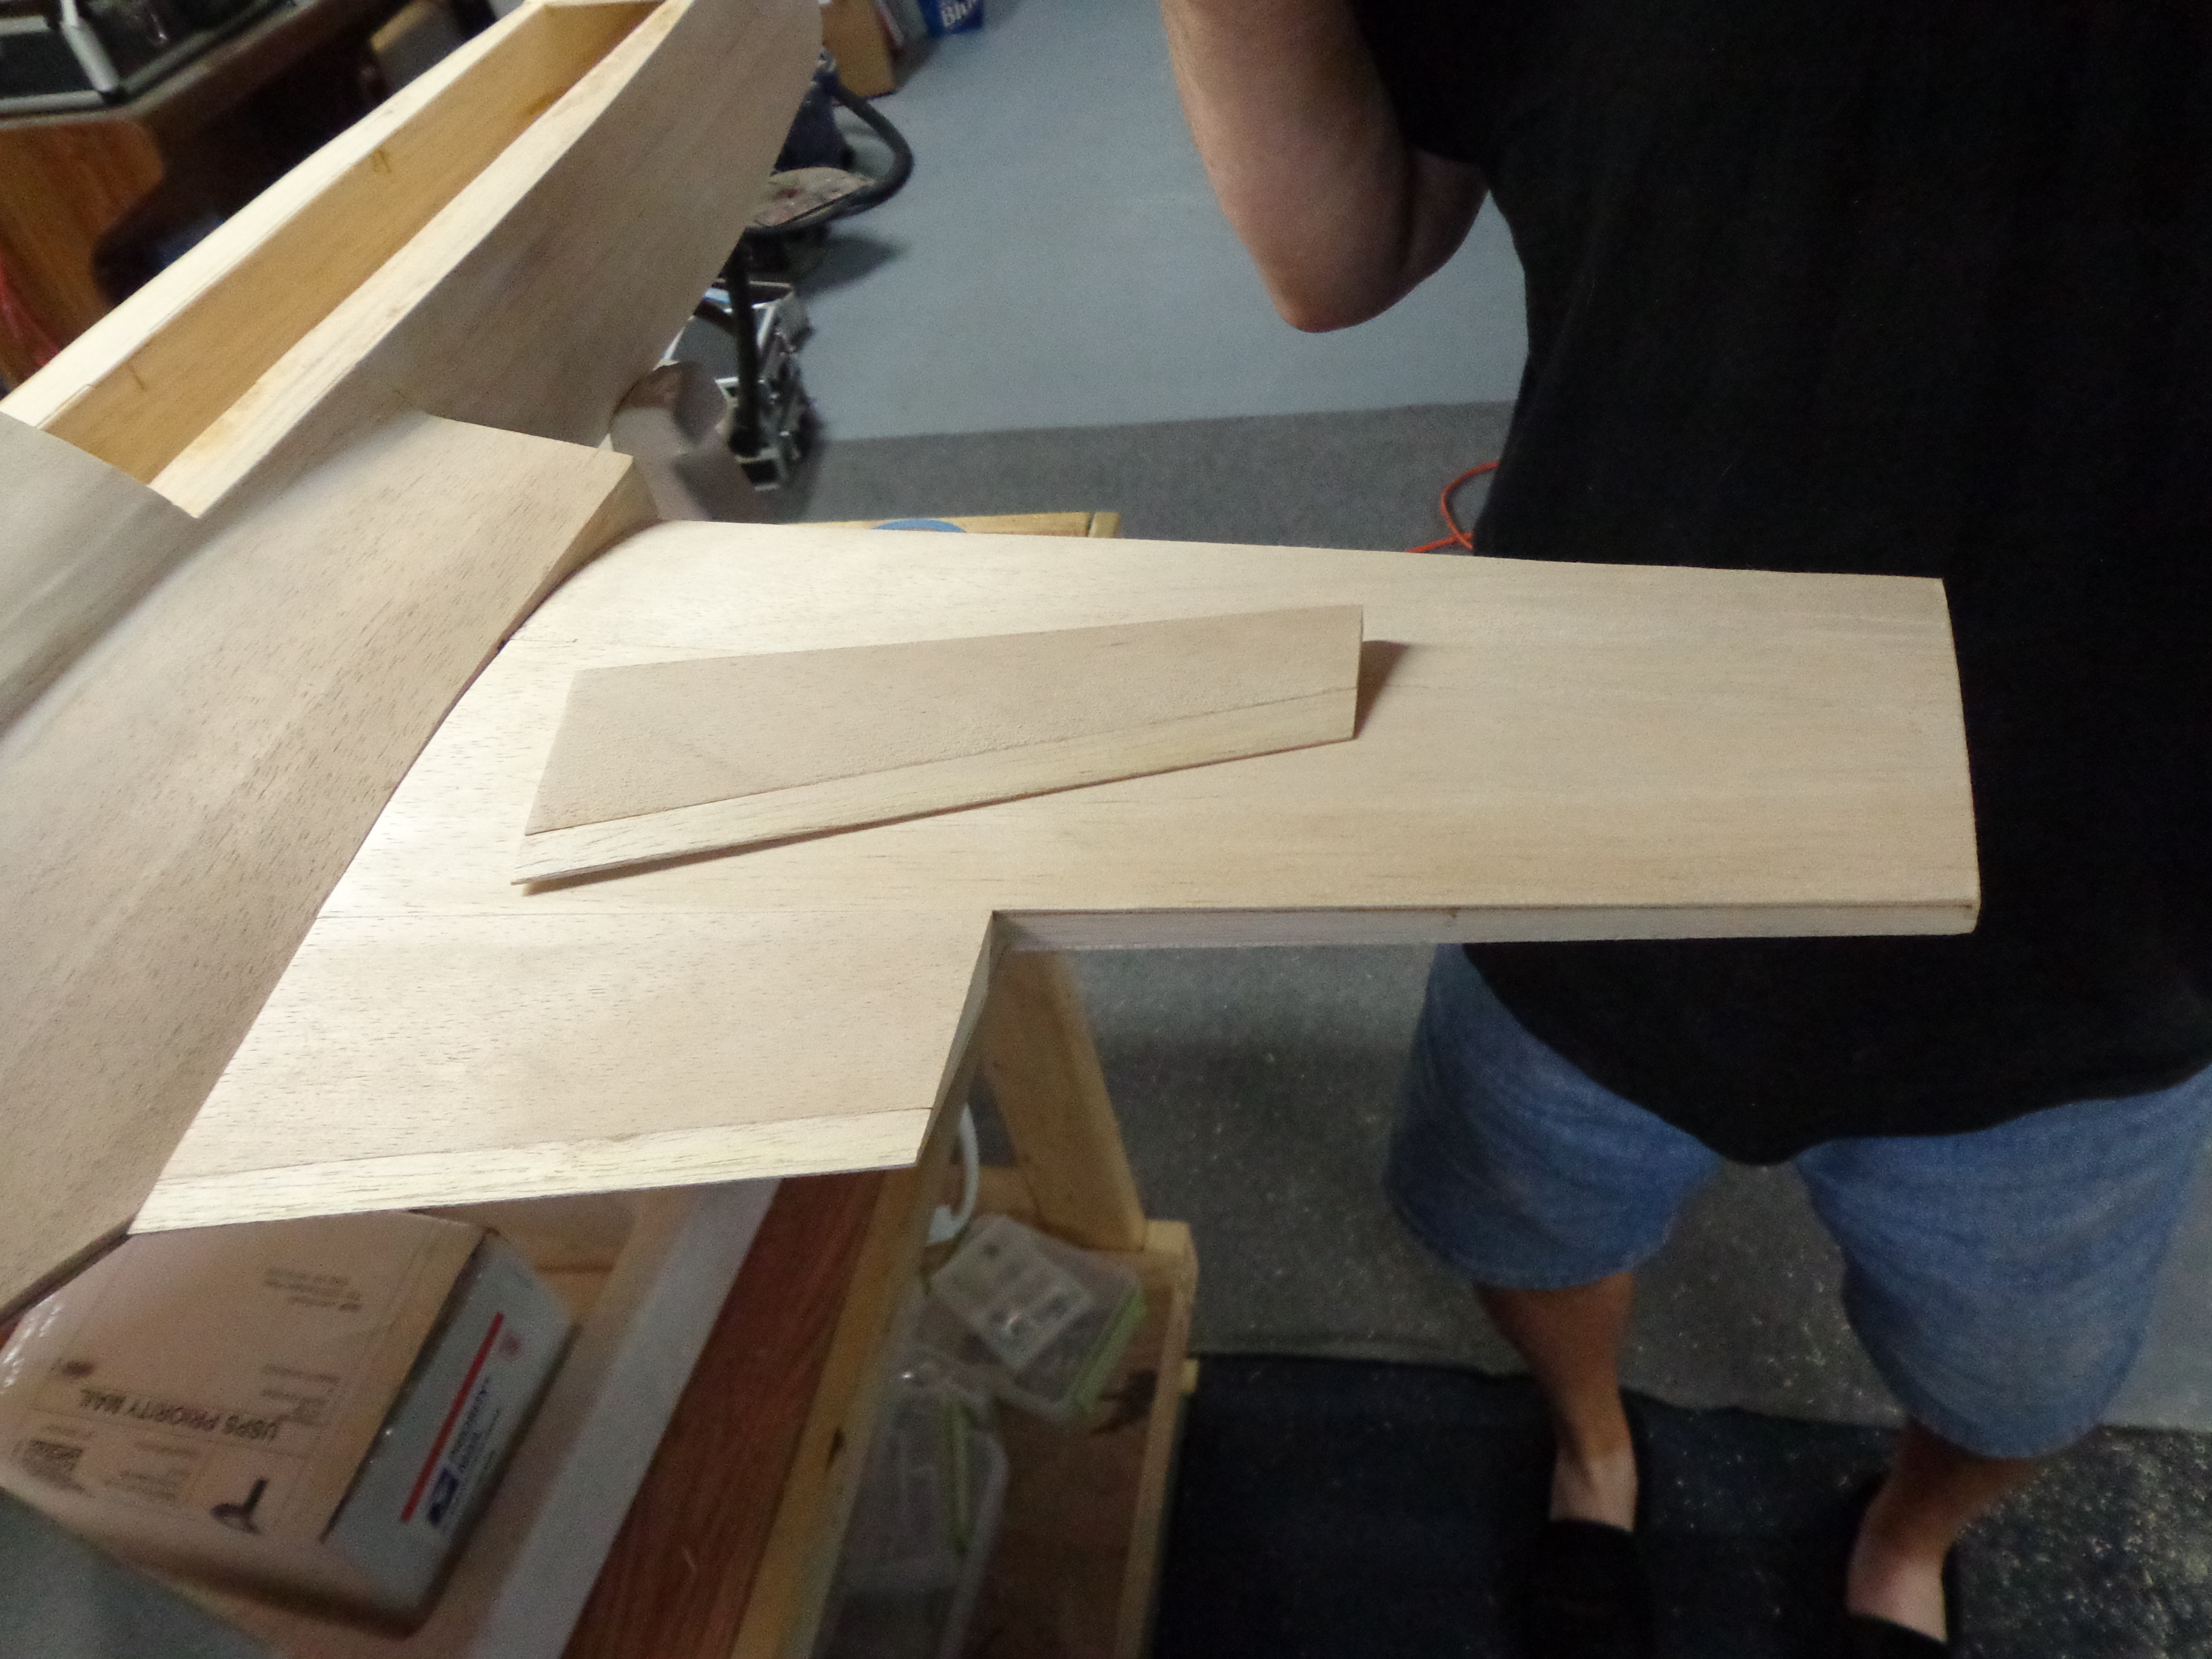
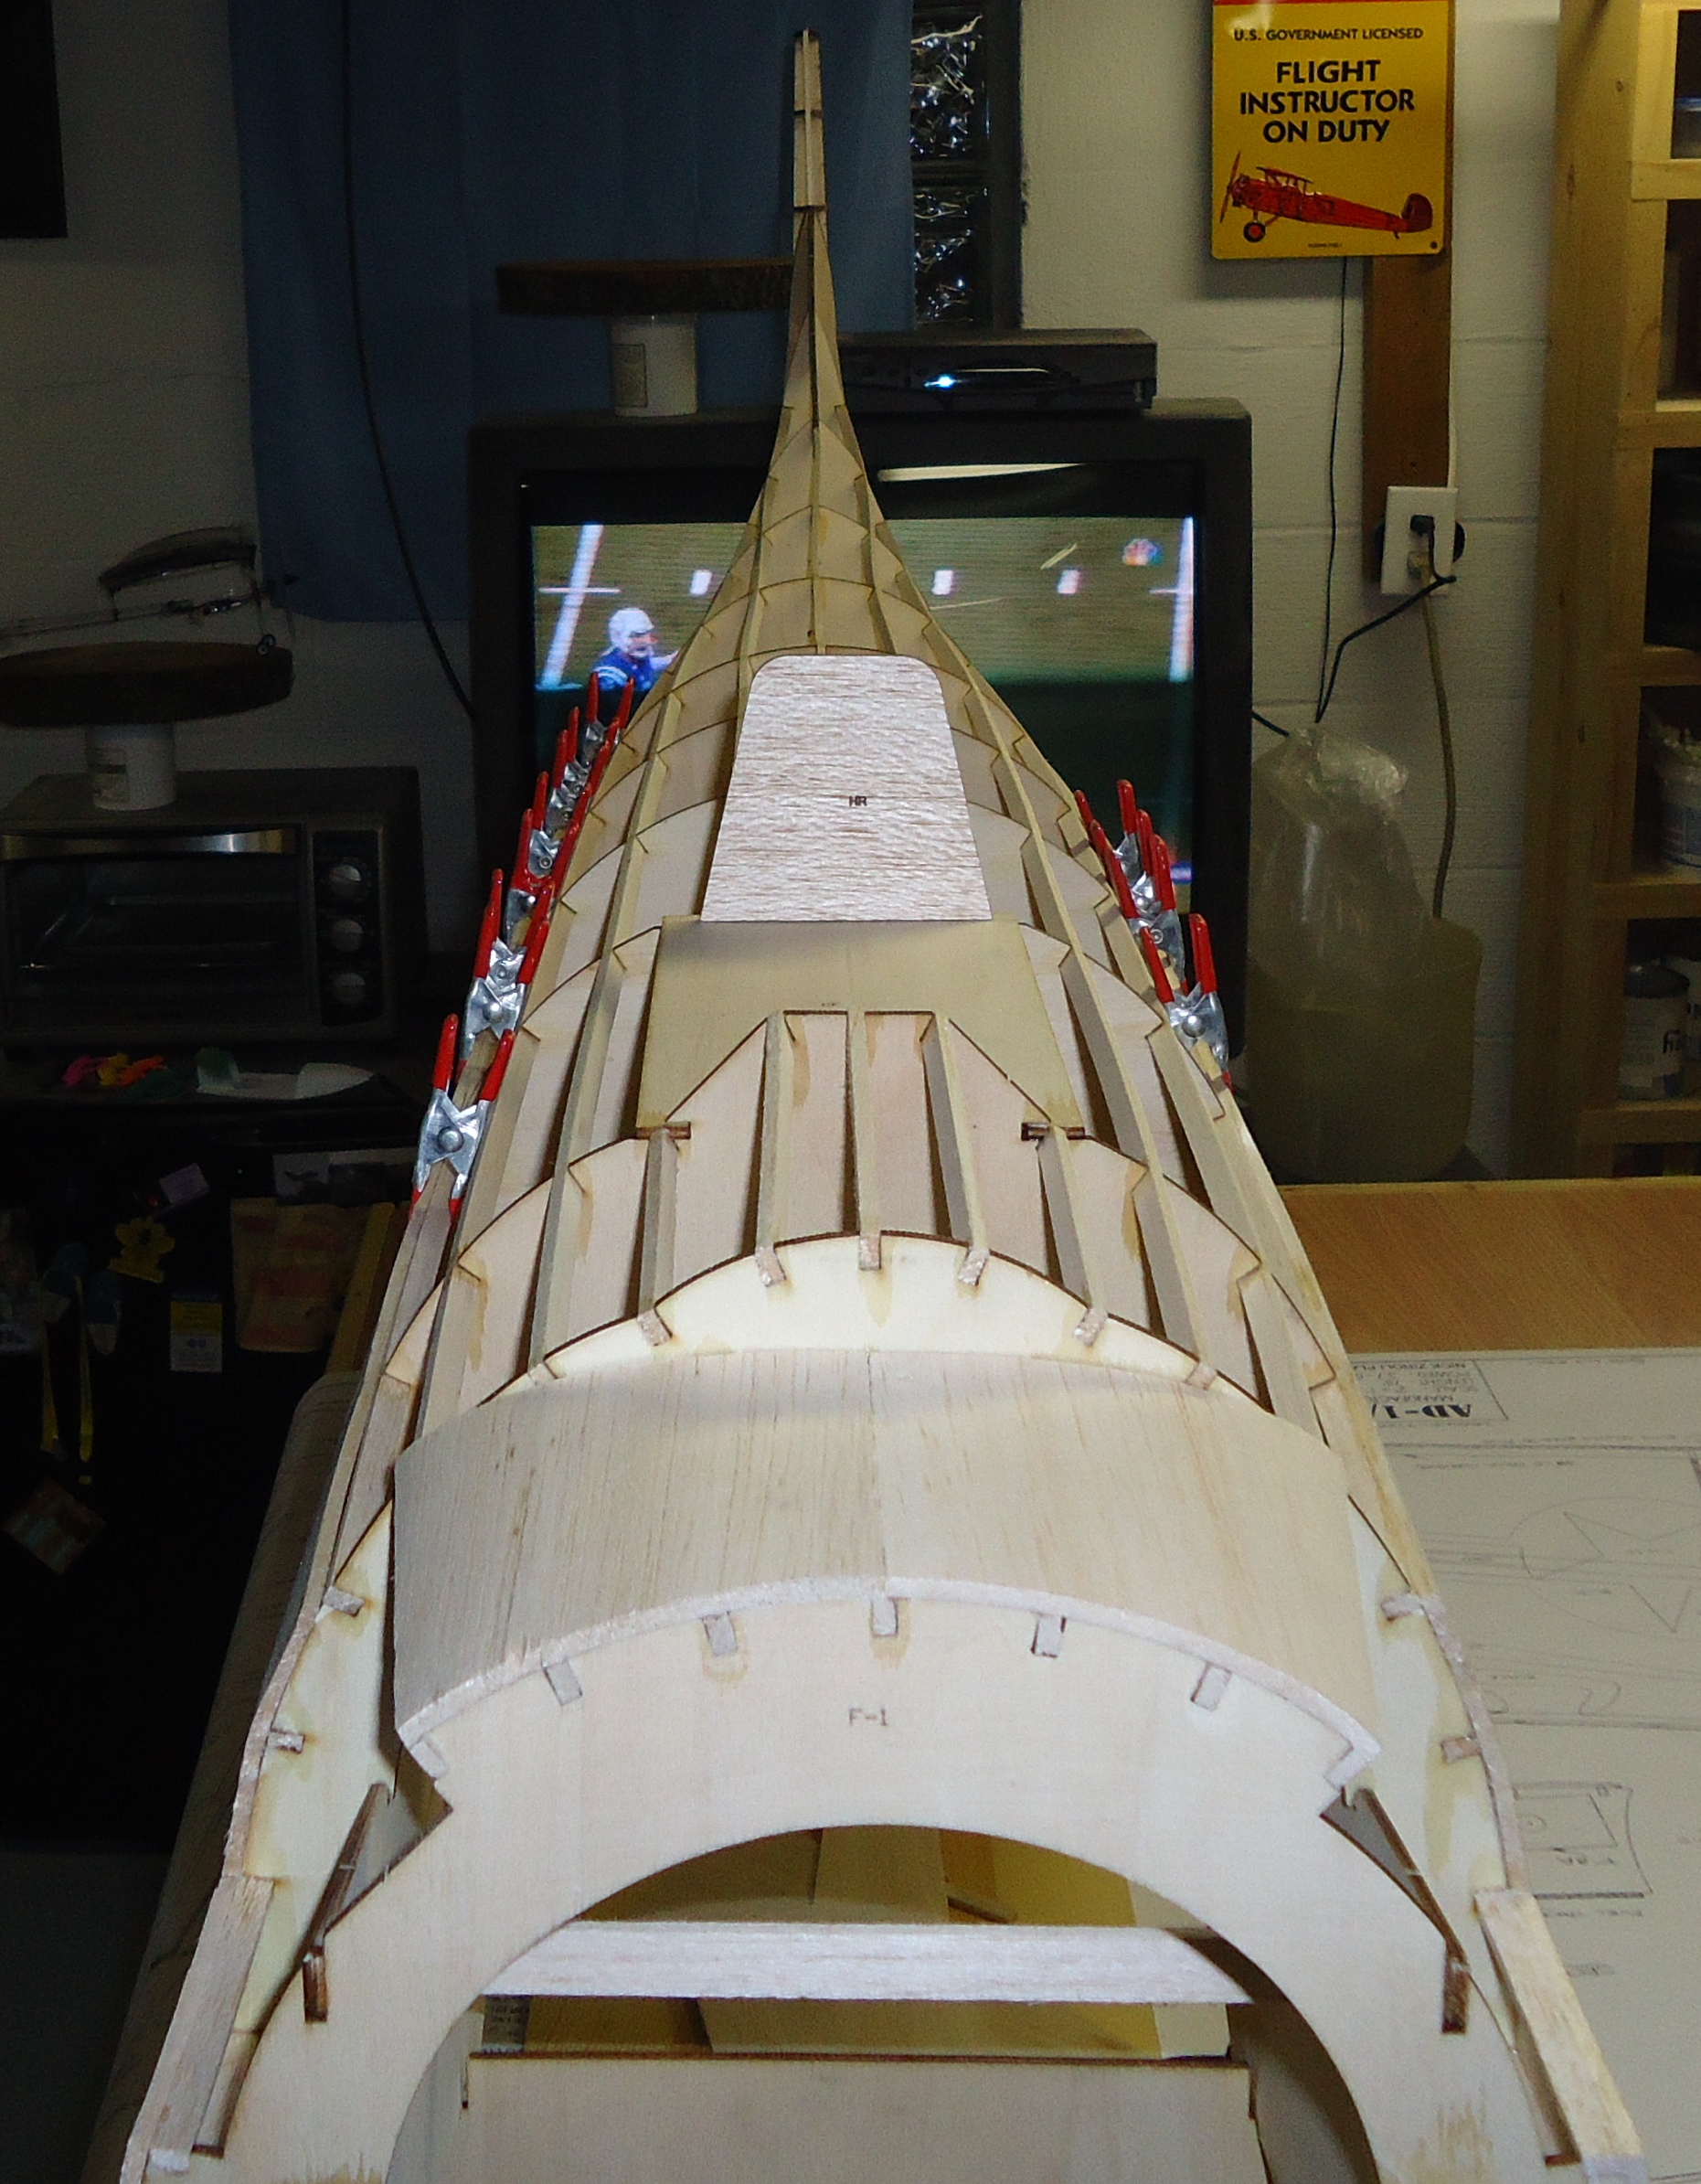
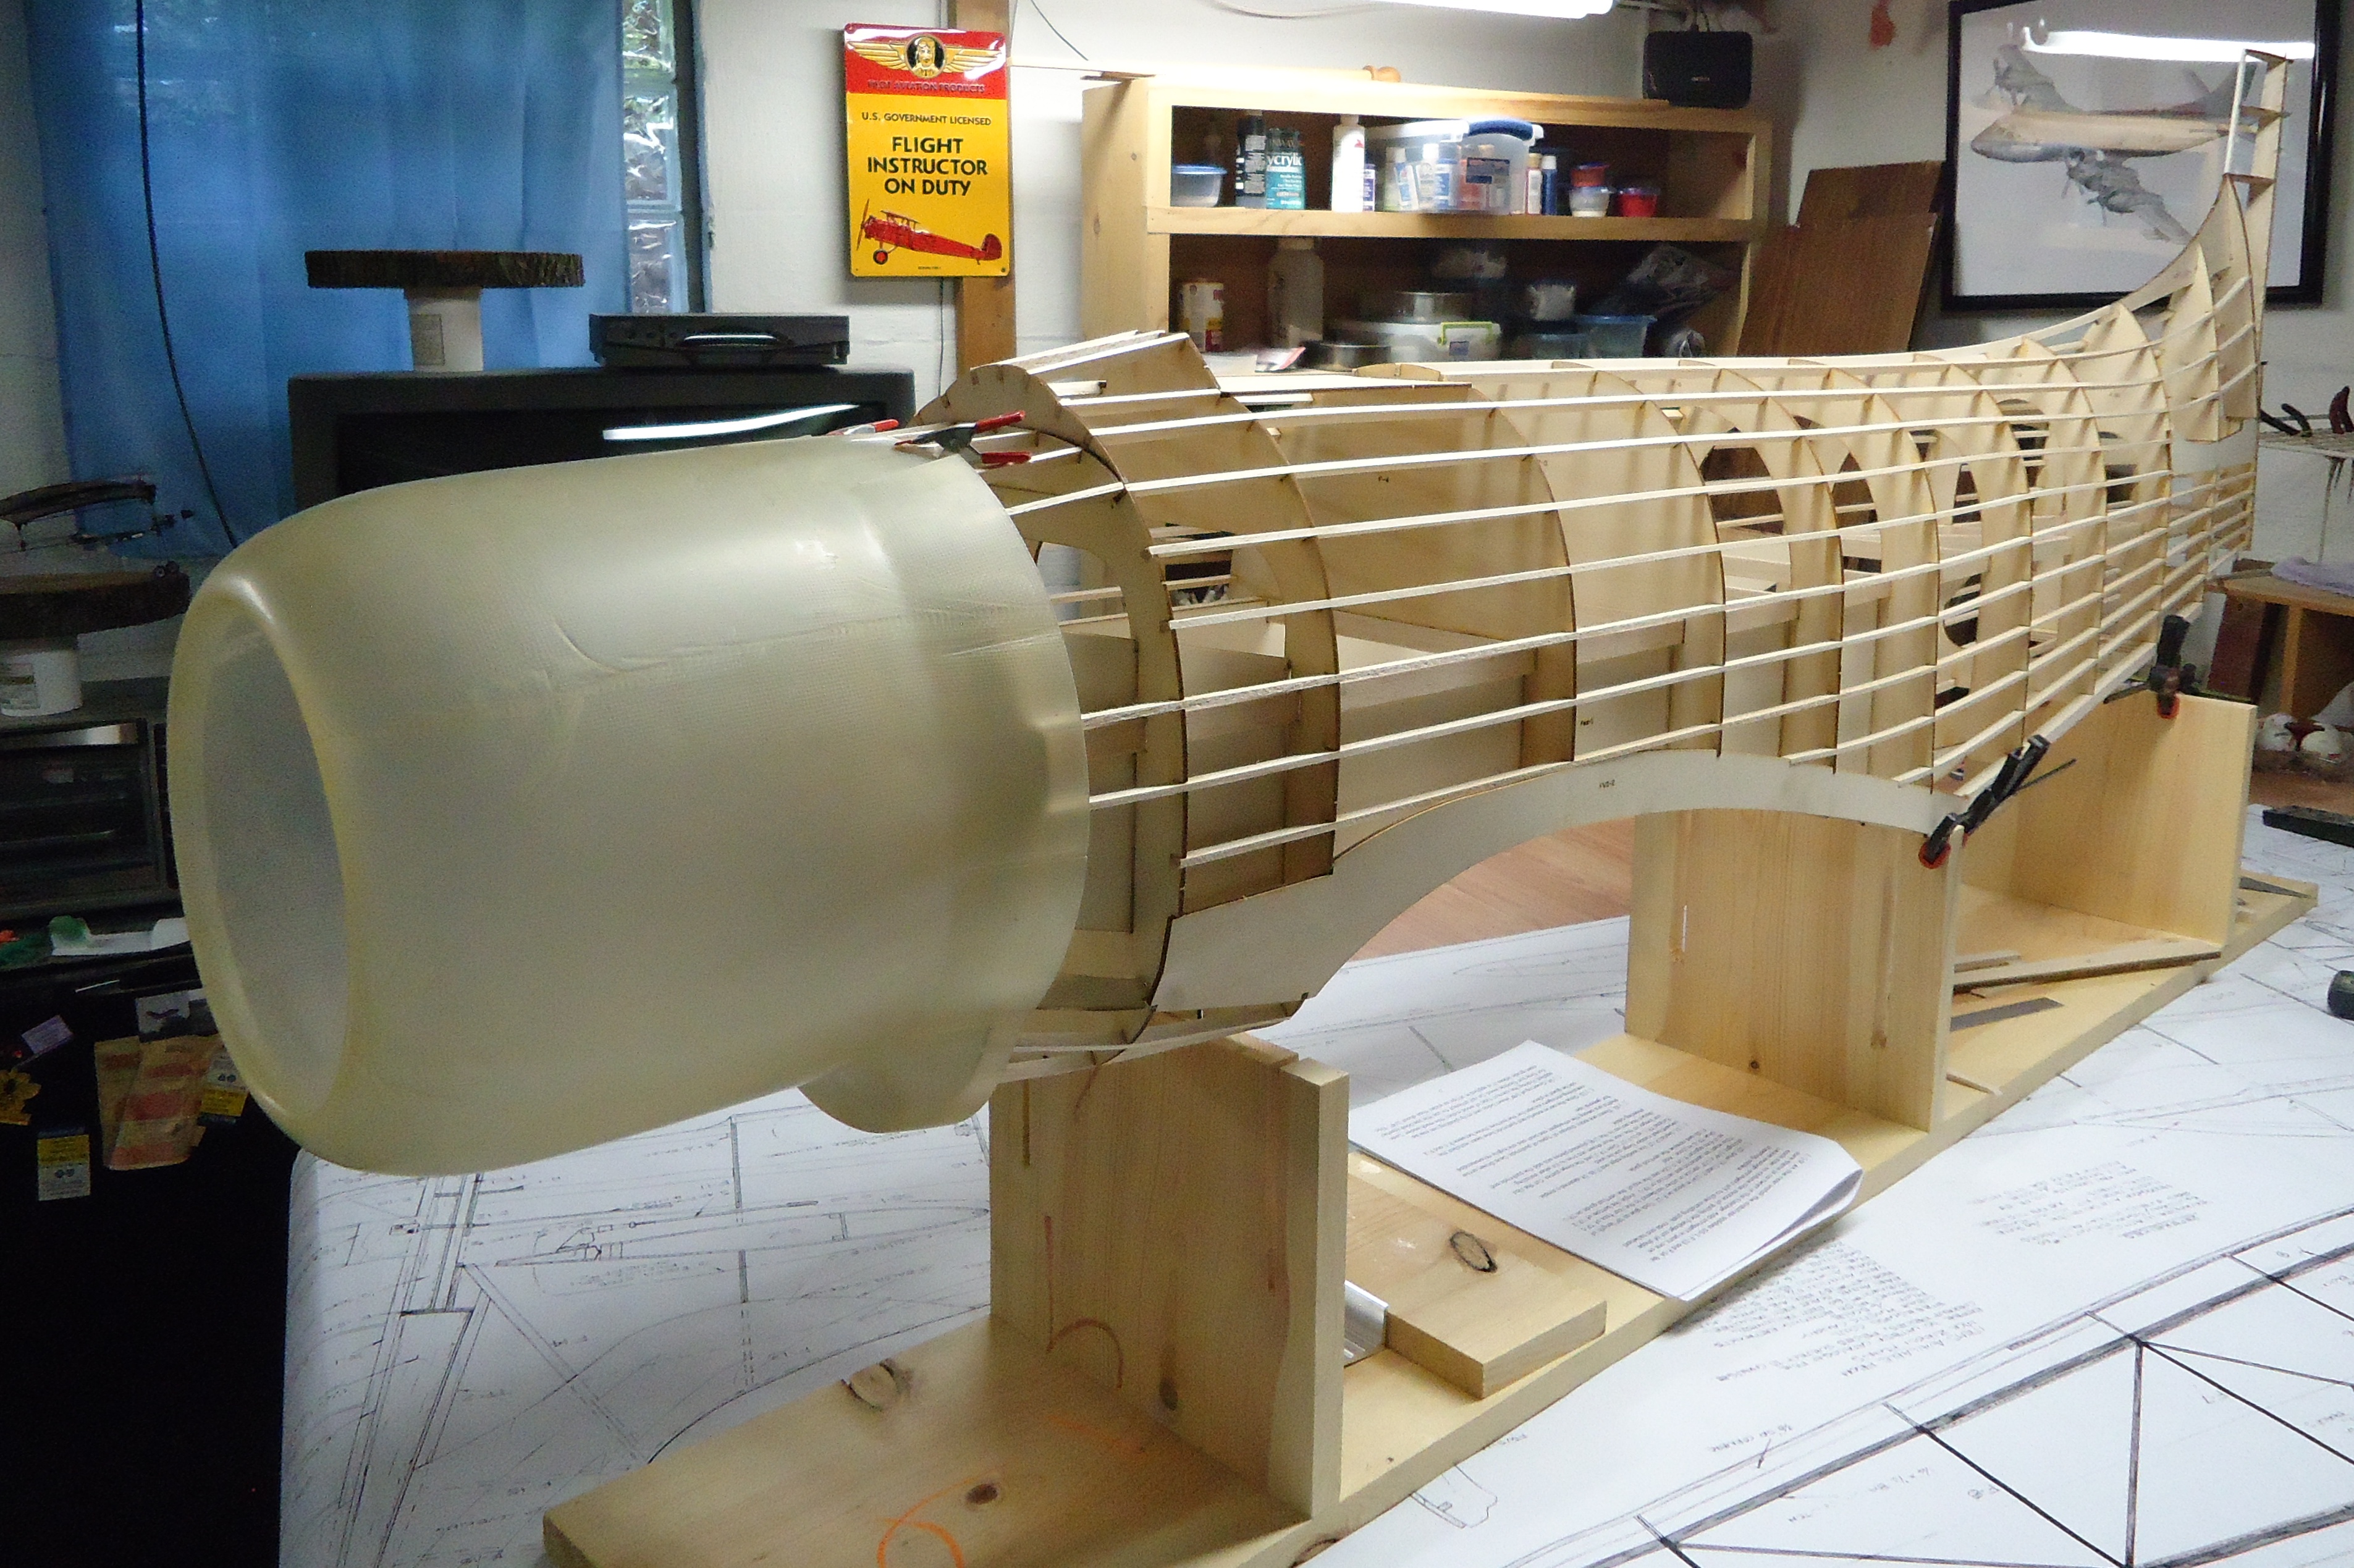
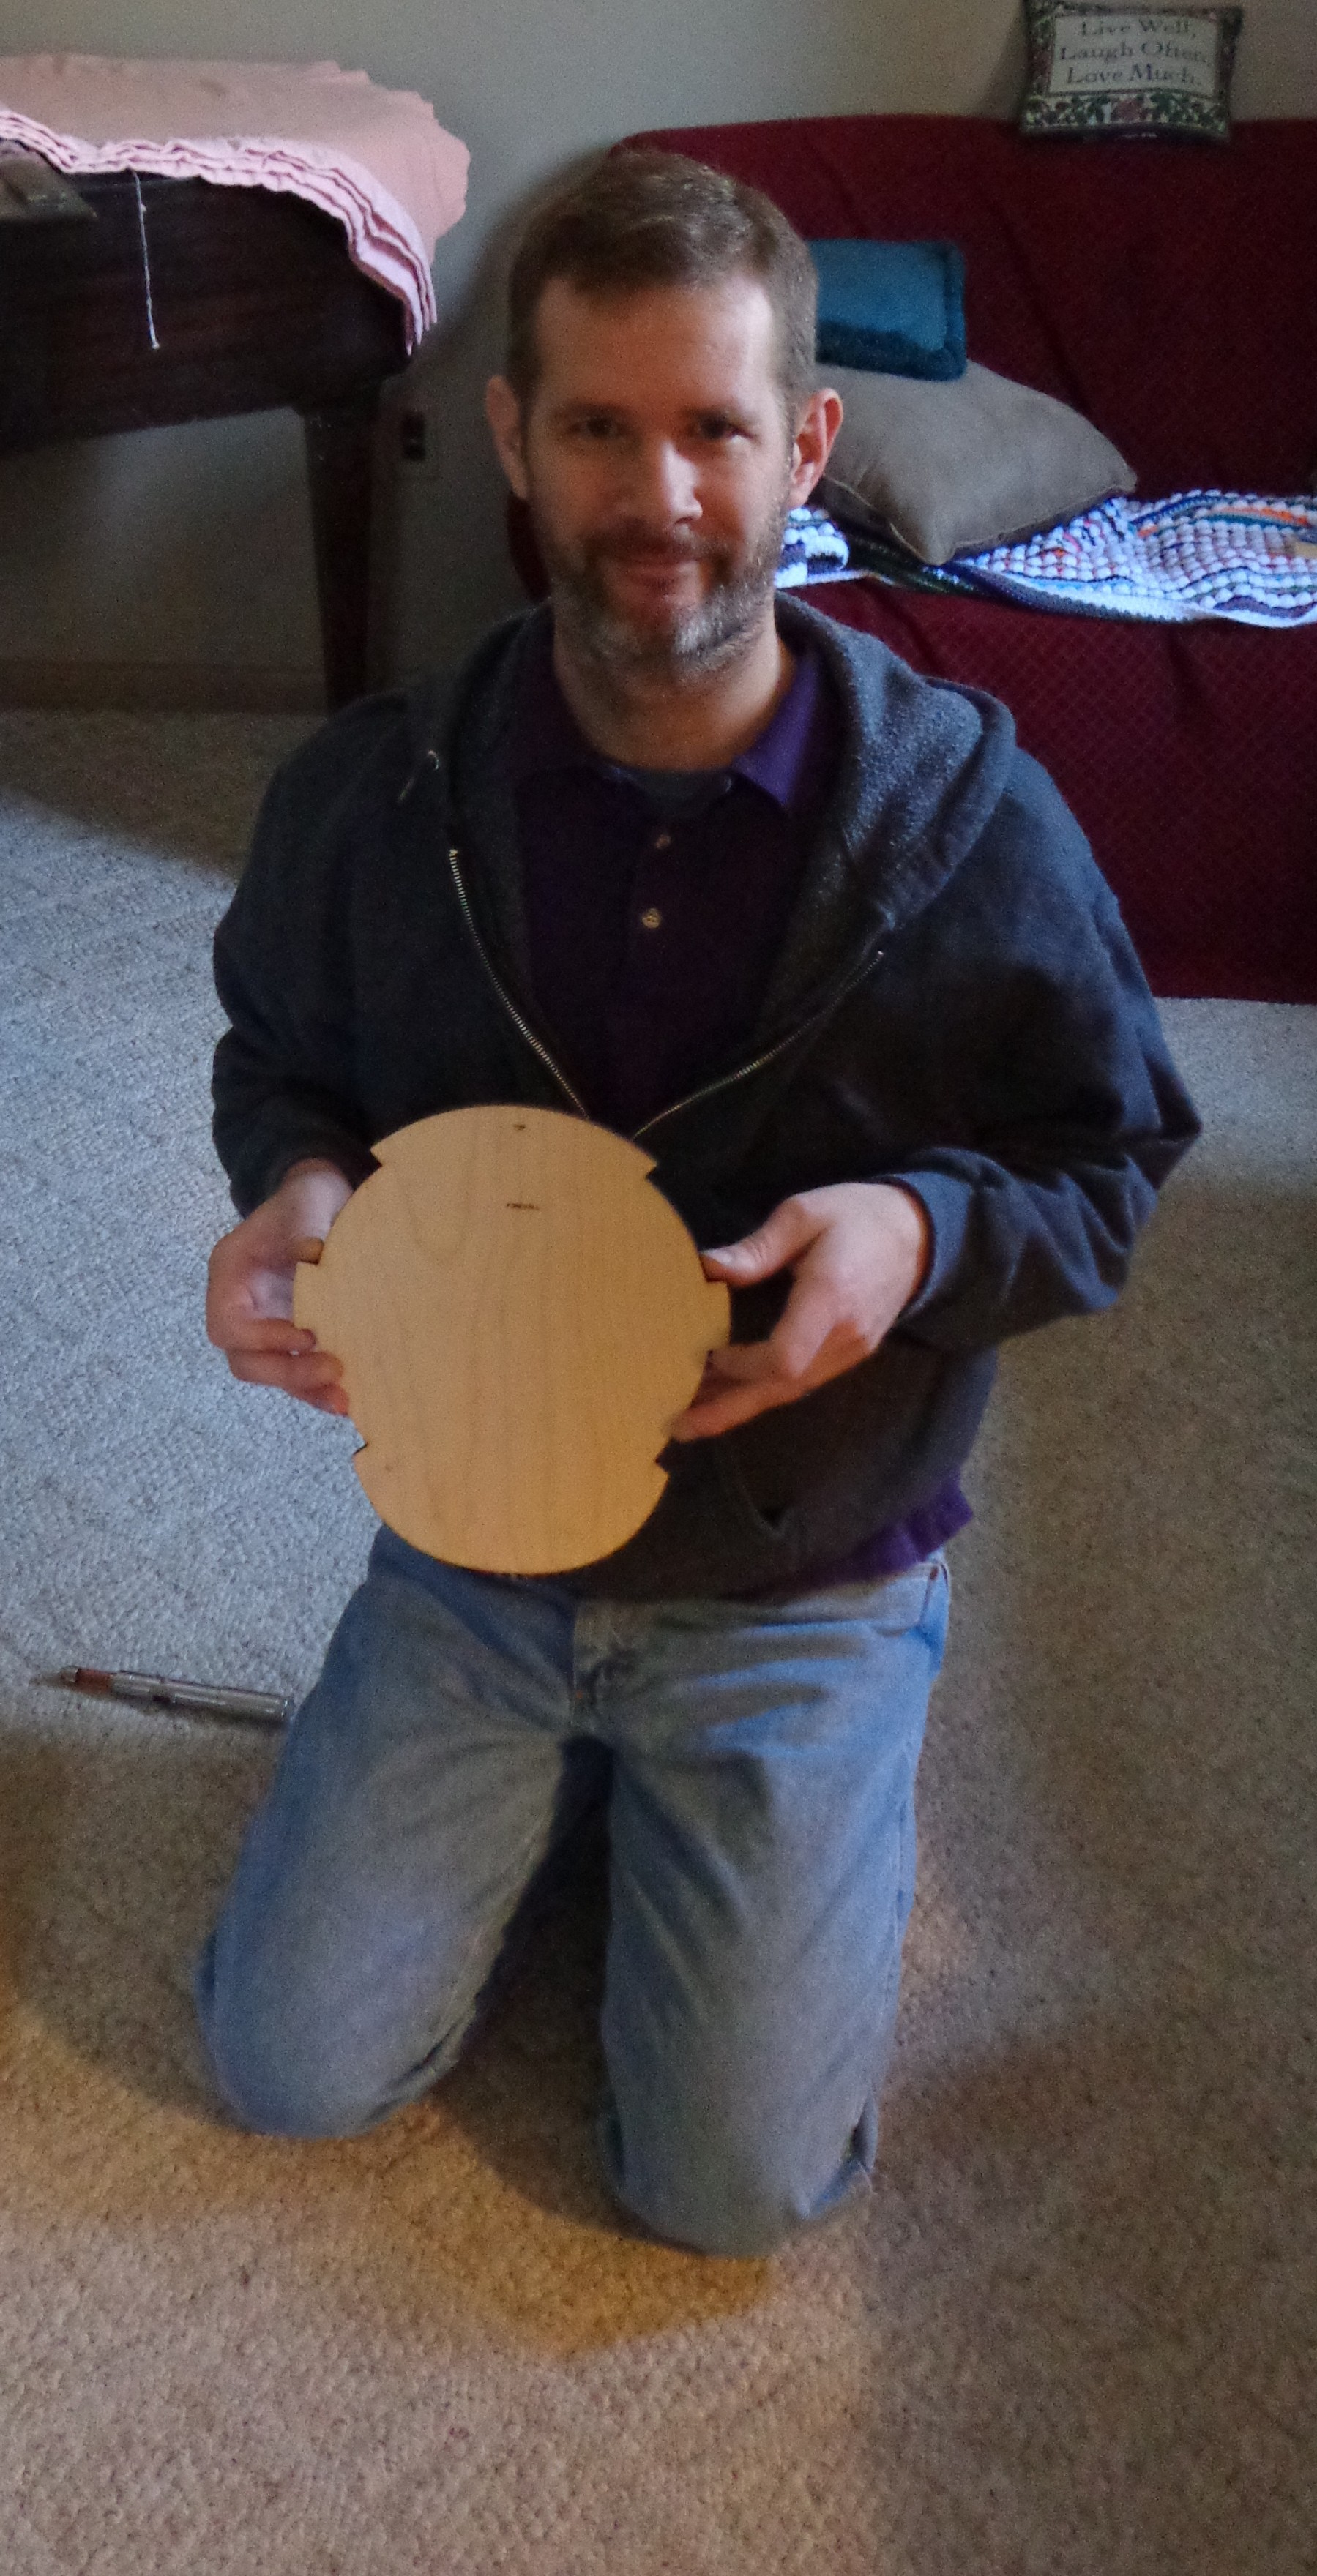 I don’t know if this helps, but this is Jay holding the firewall piece to this airplane. What he is holding in his hands goes on the front of the plane in the picture right above this one. See how the shape matches? Yep, this is going to be one honking-big airplane!
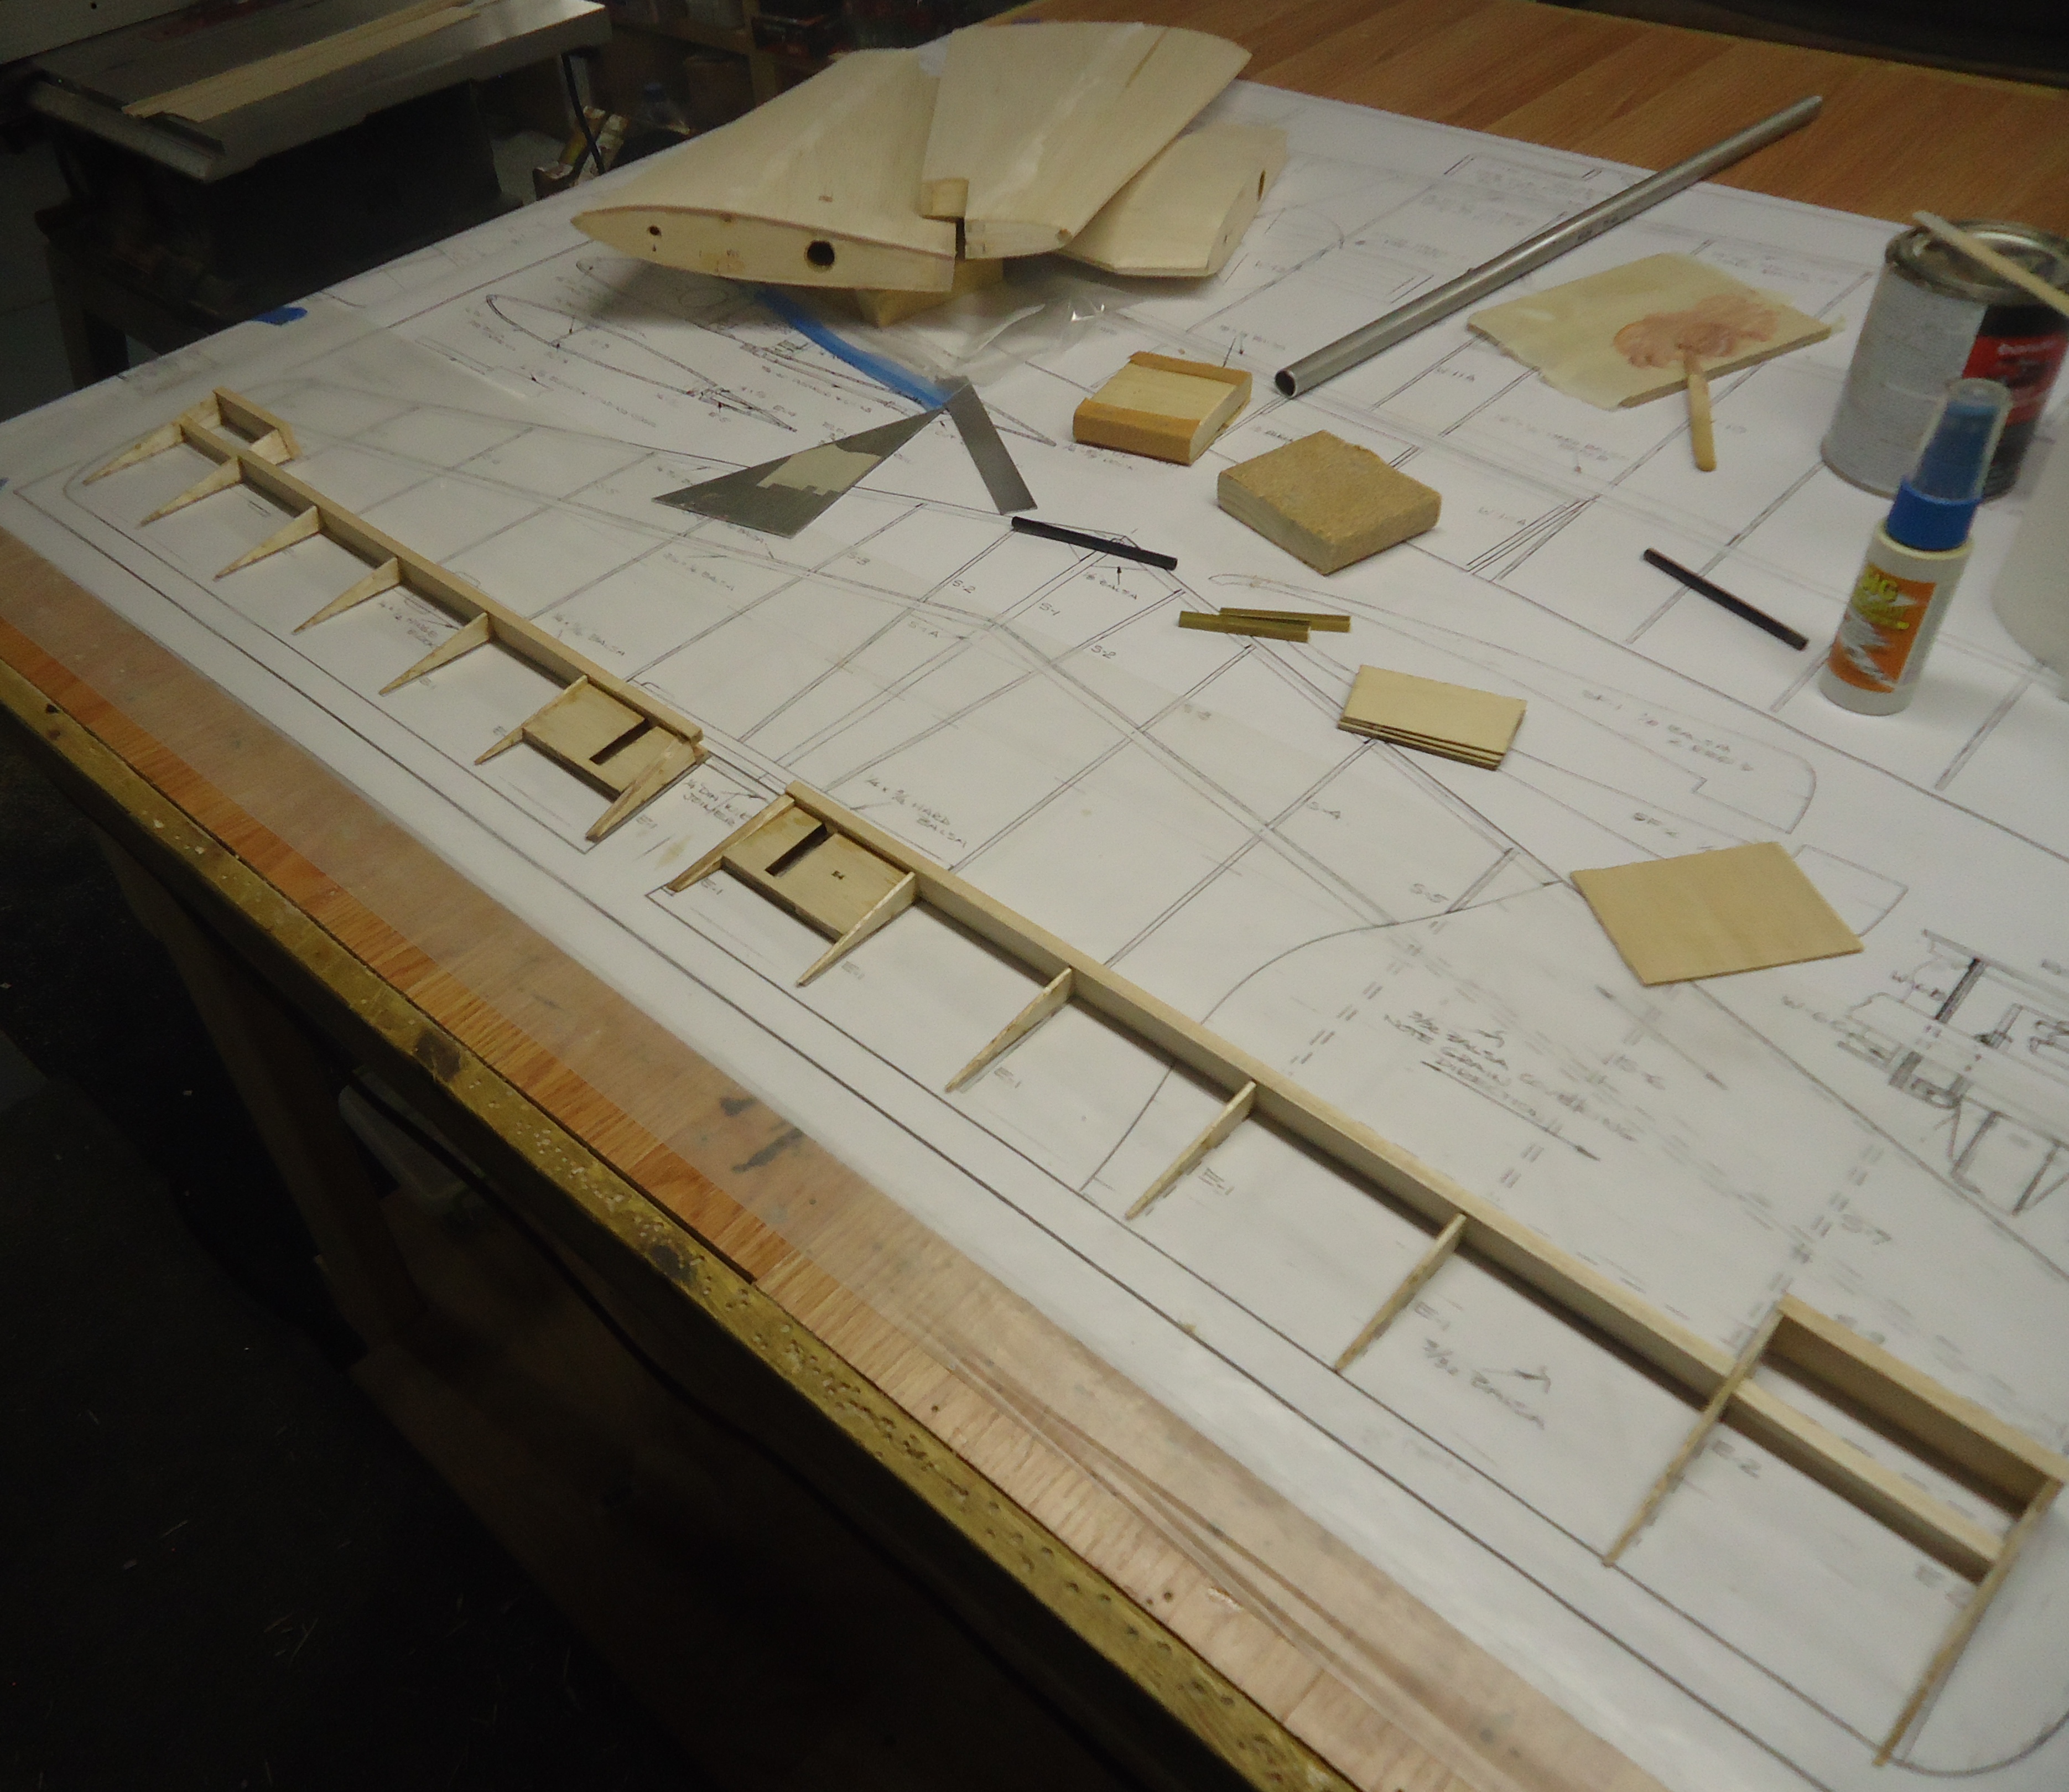 Well, what do we have here?
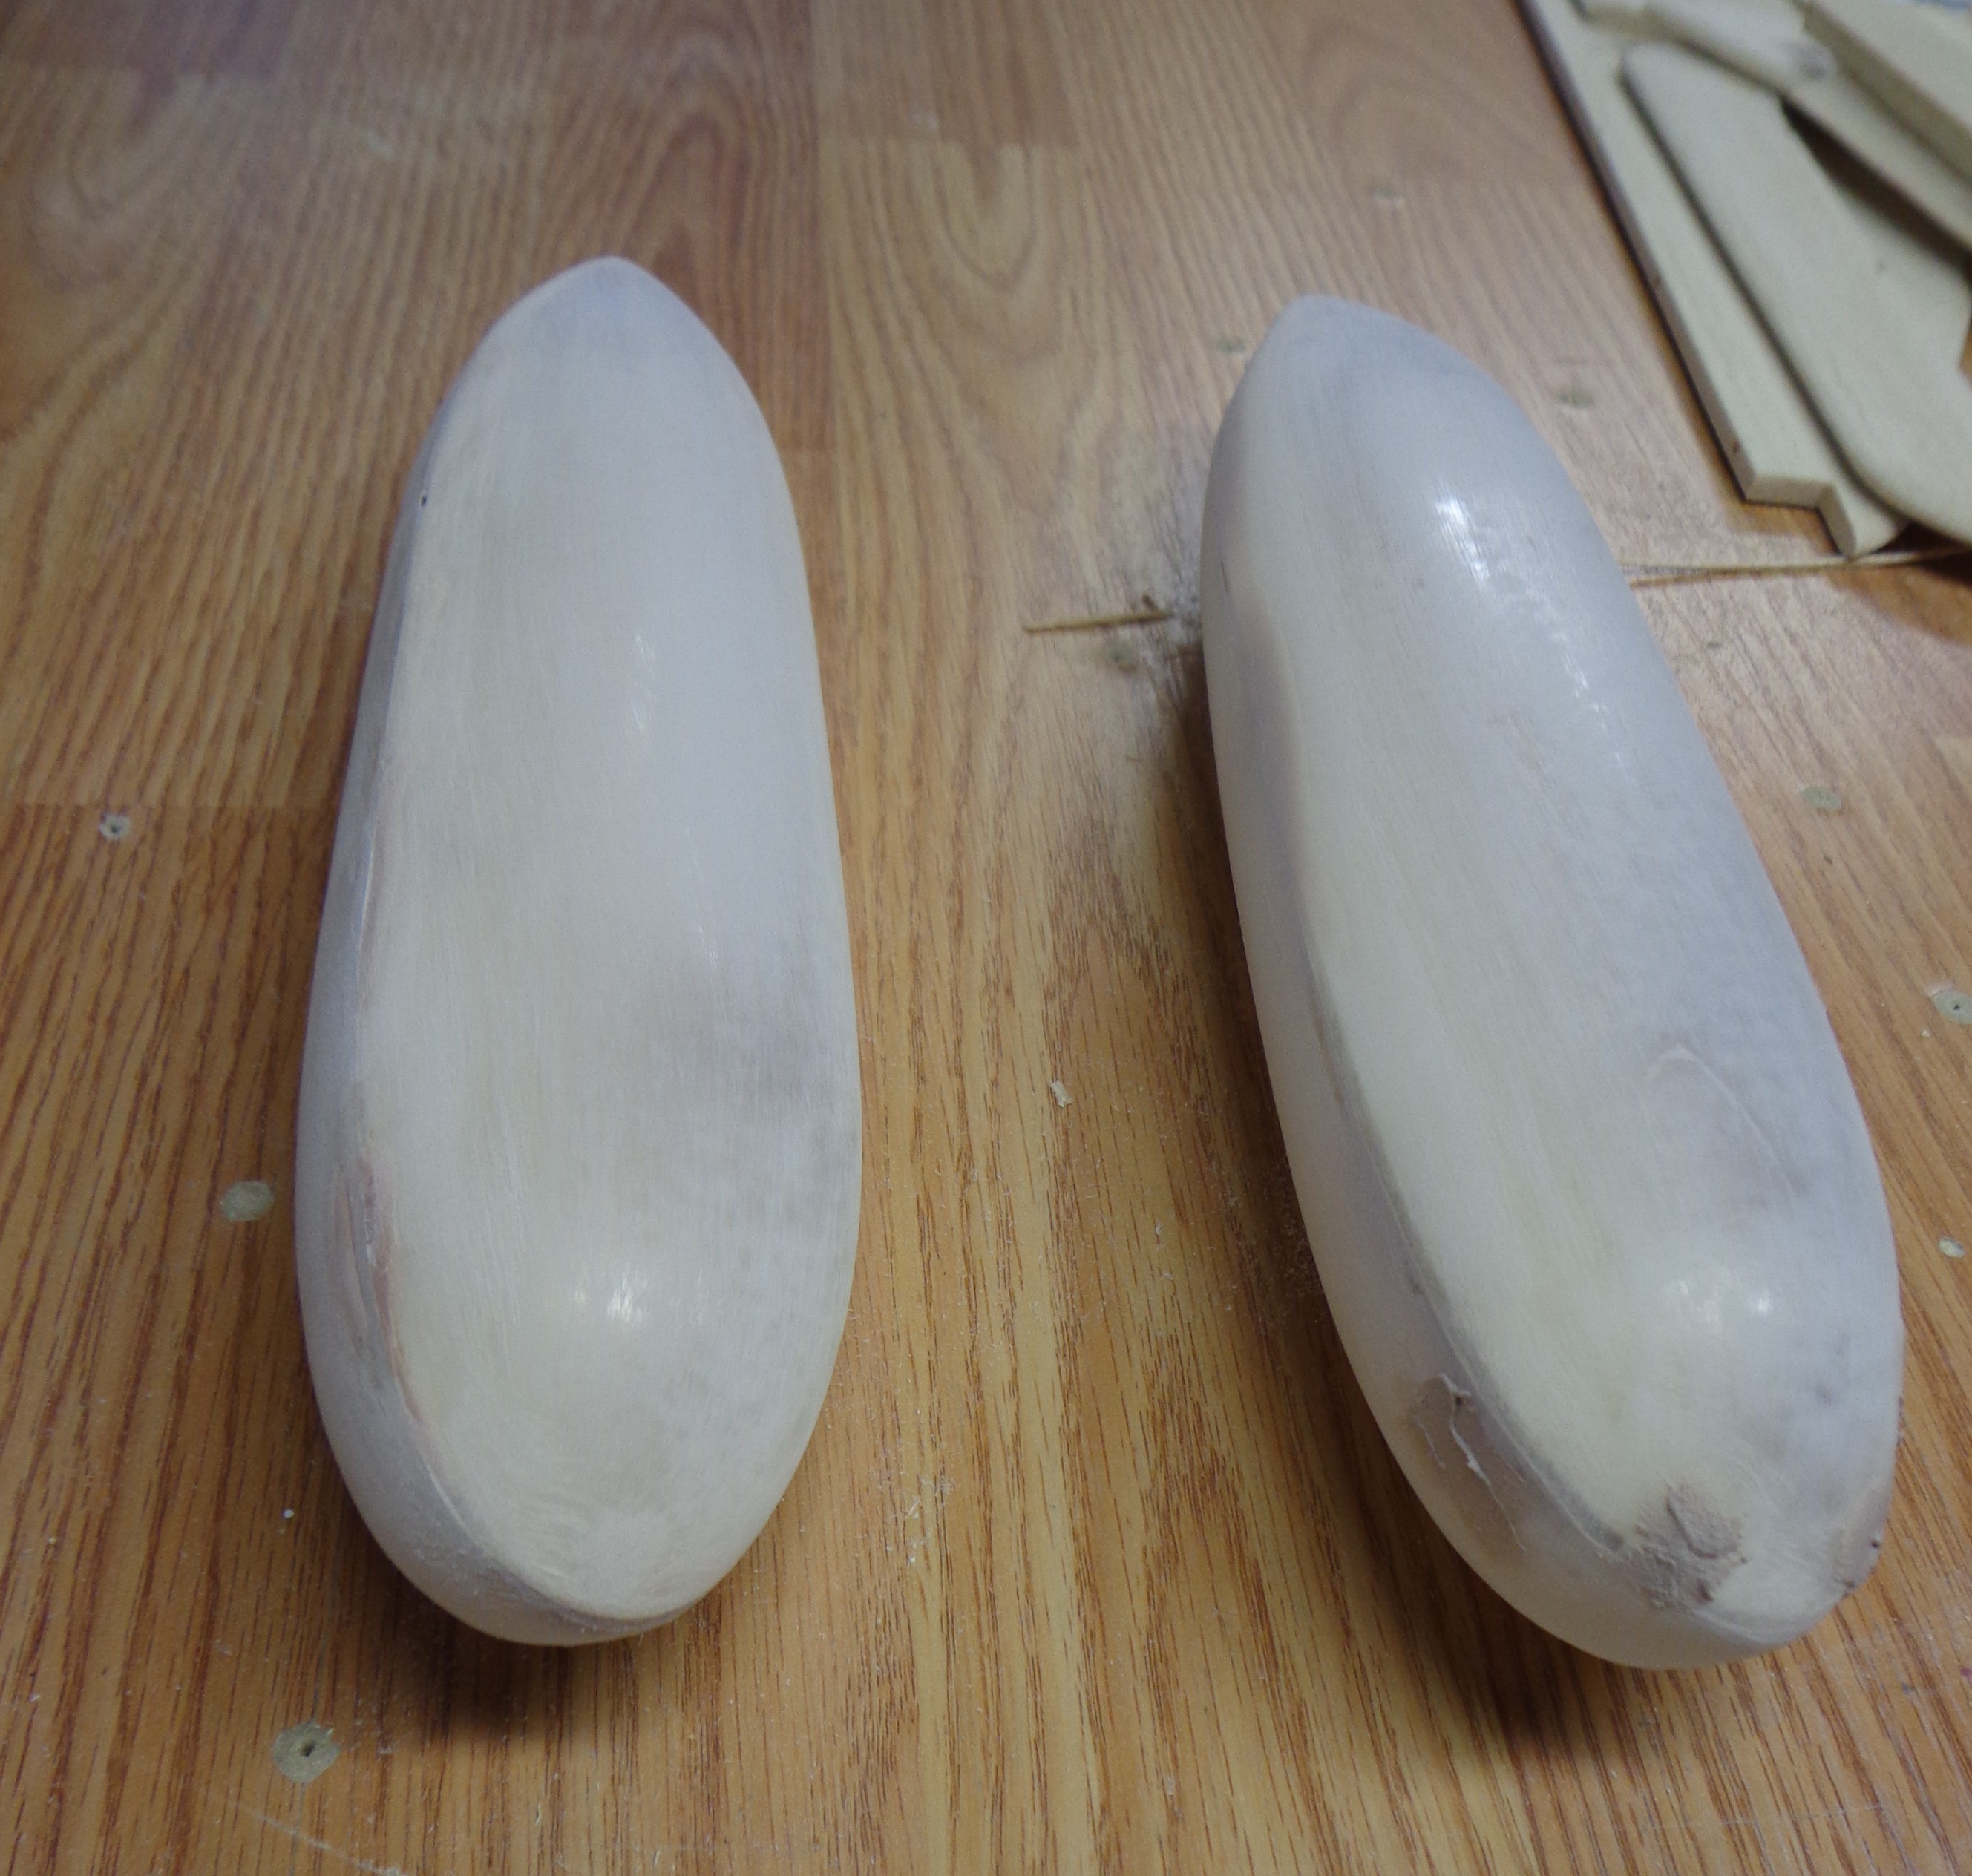
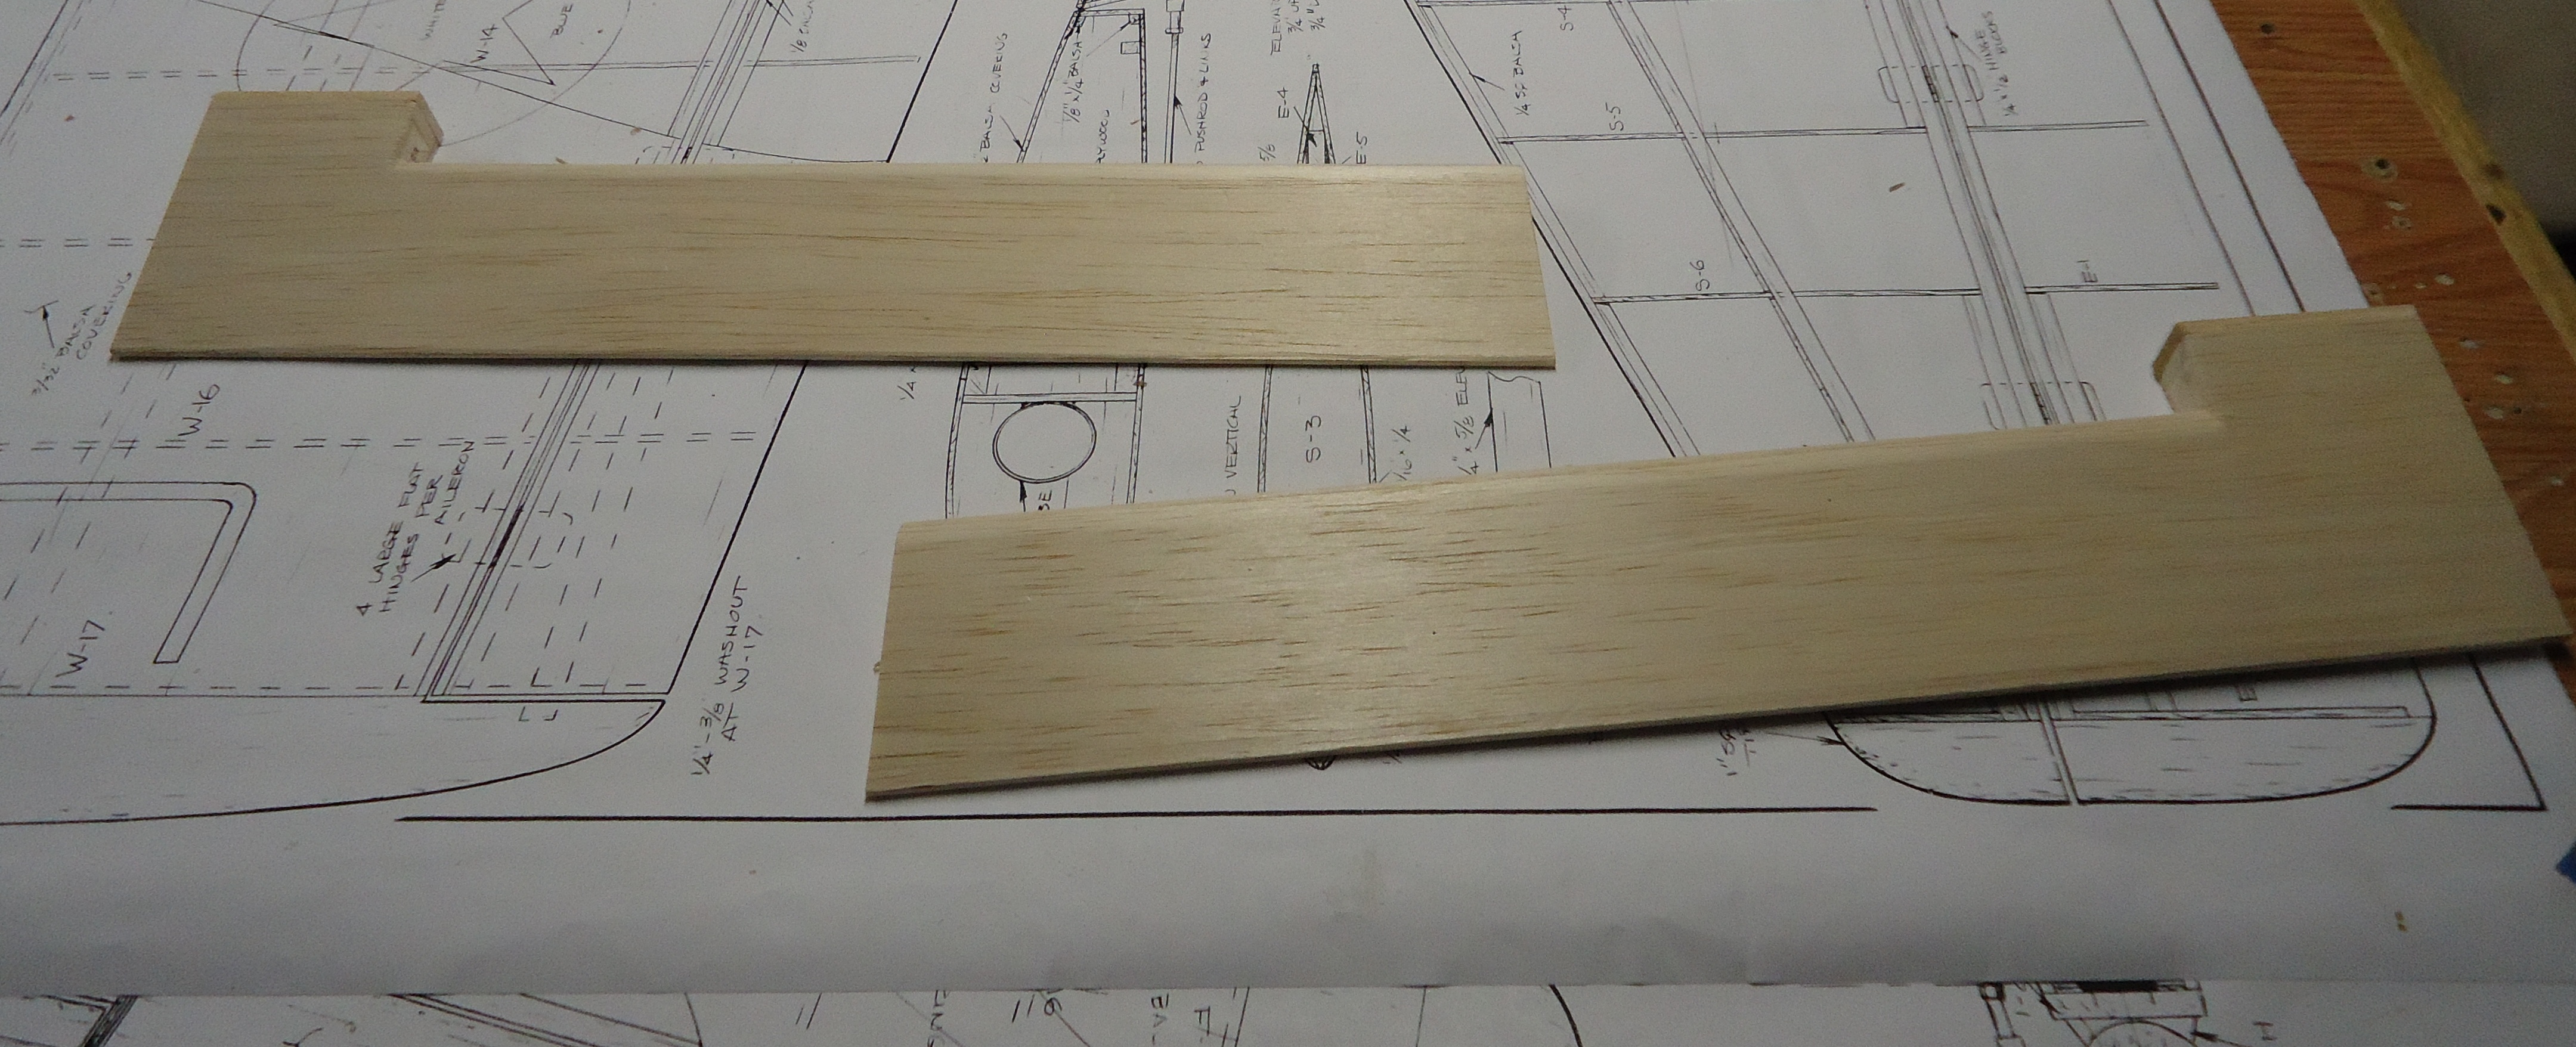 Oooo… pretty!
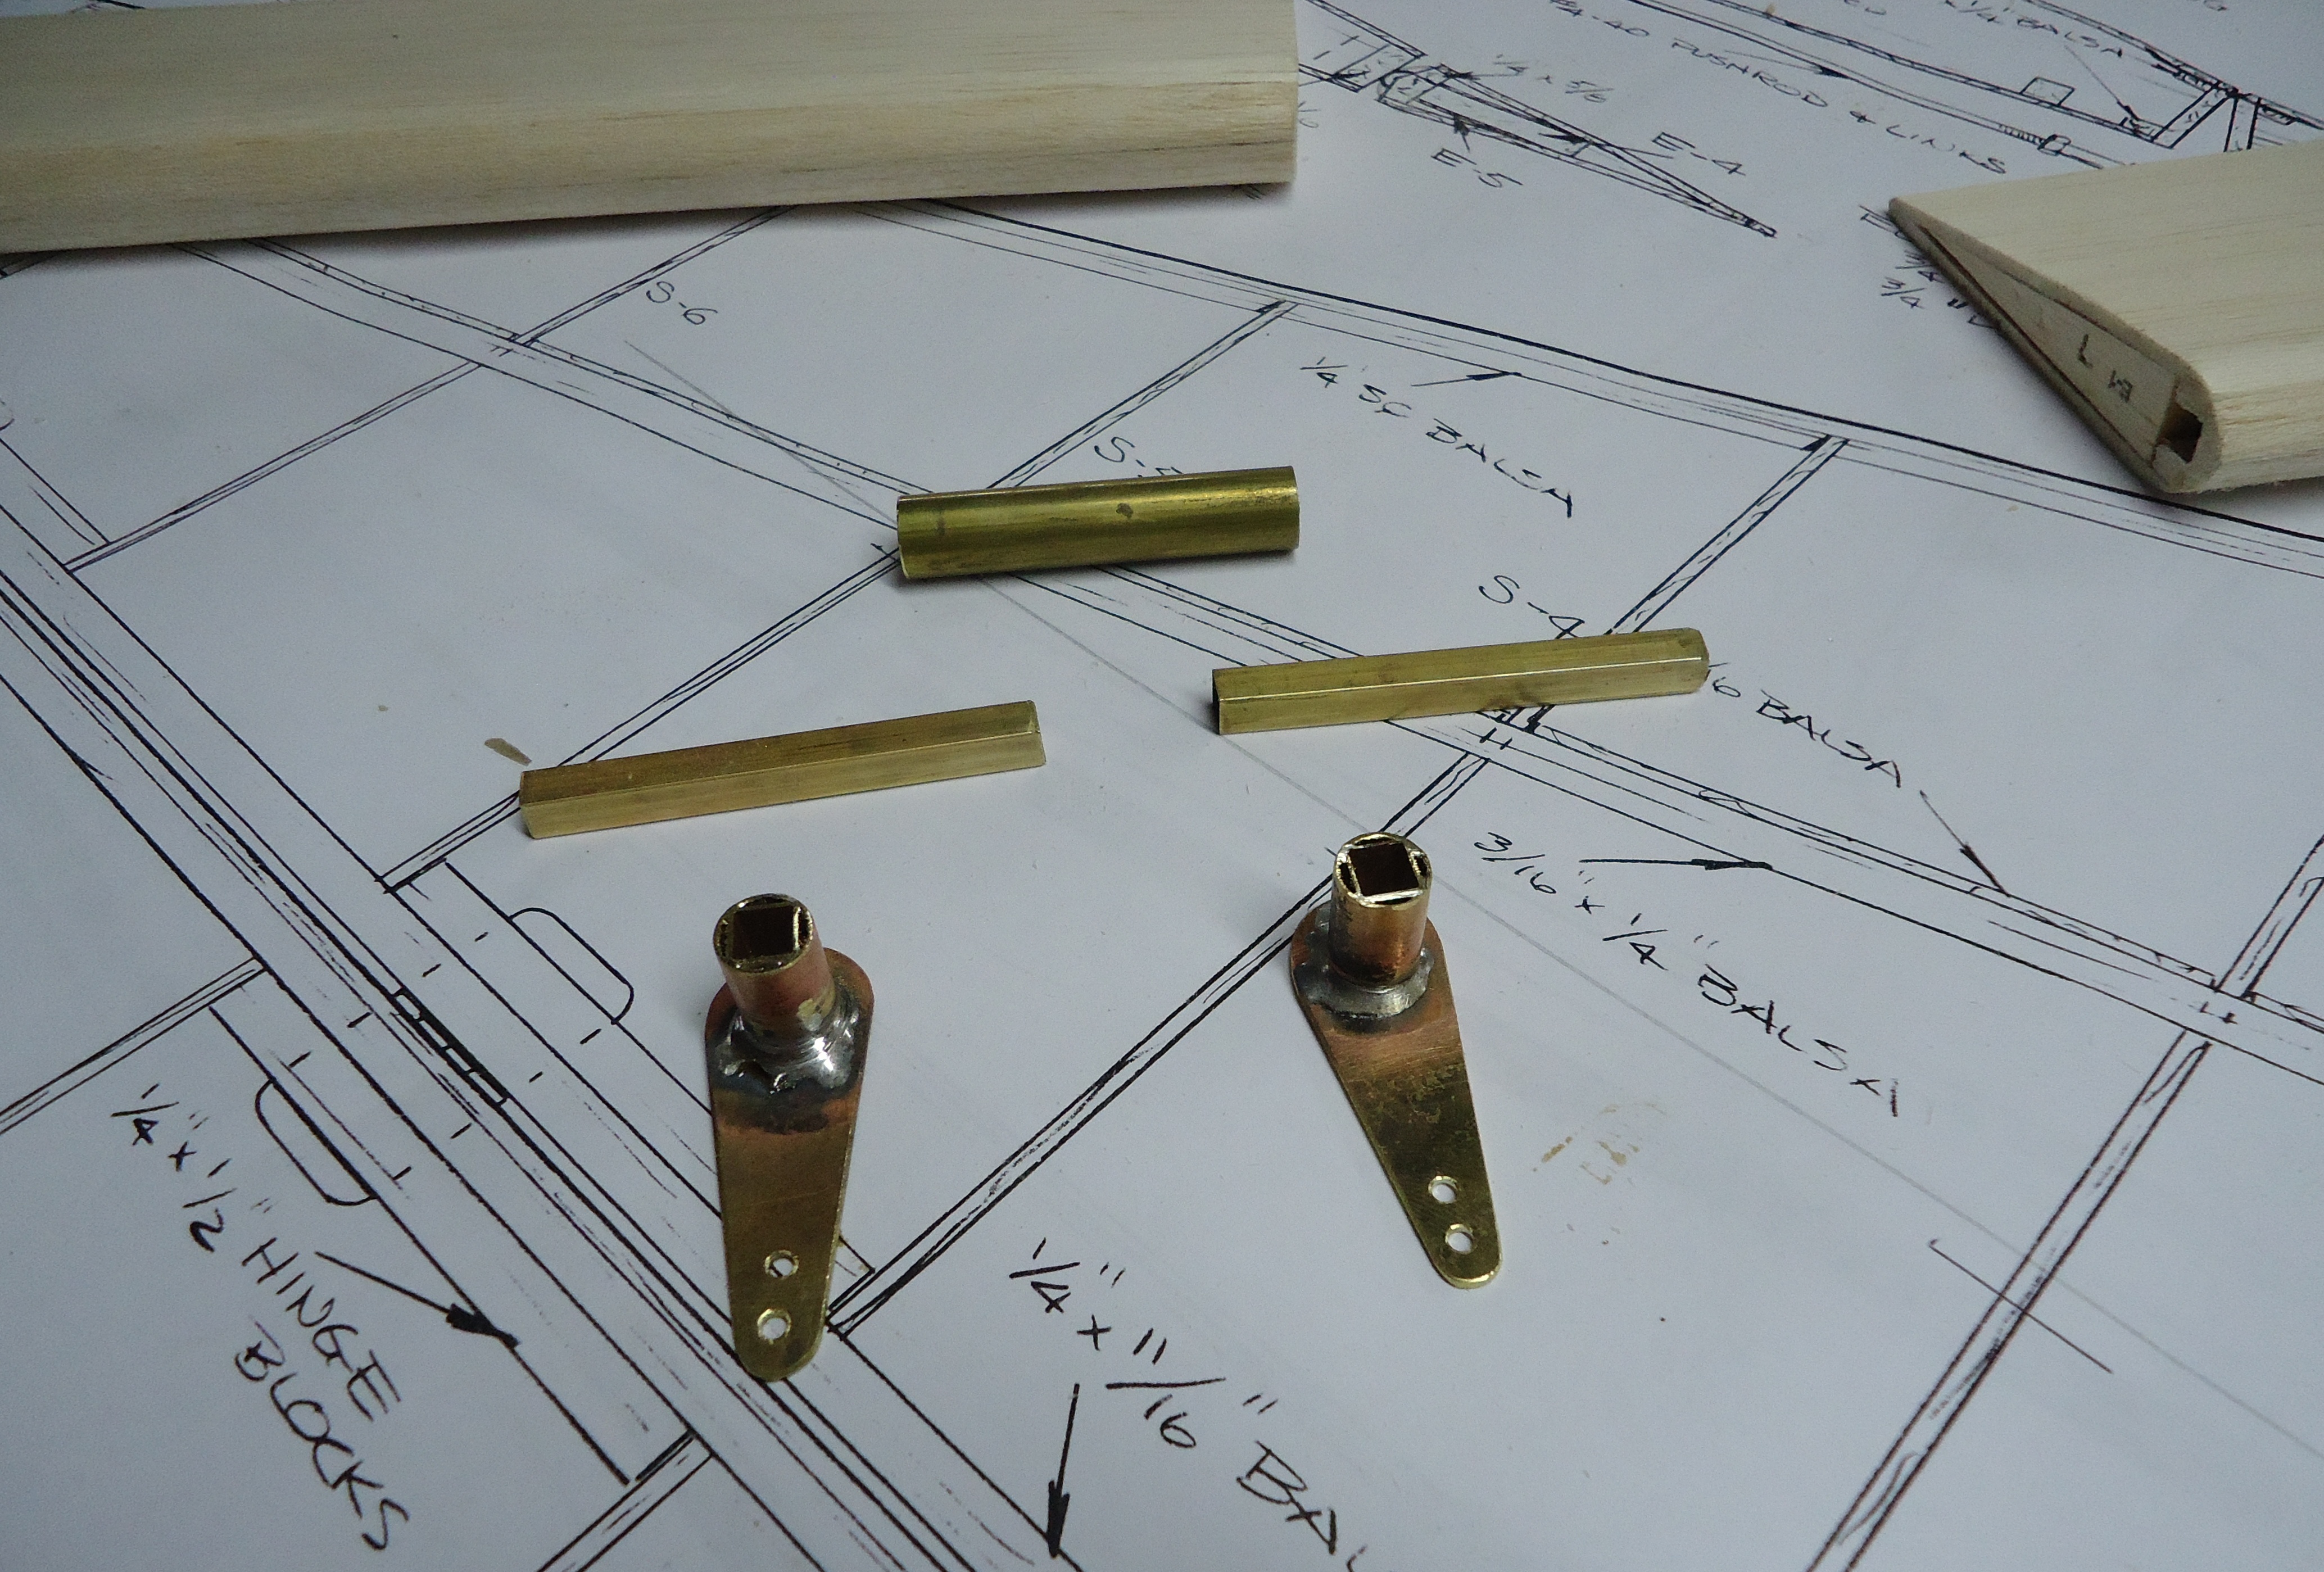 Look! Jay made little feet for a robot!
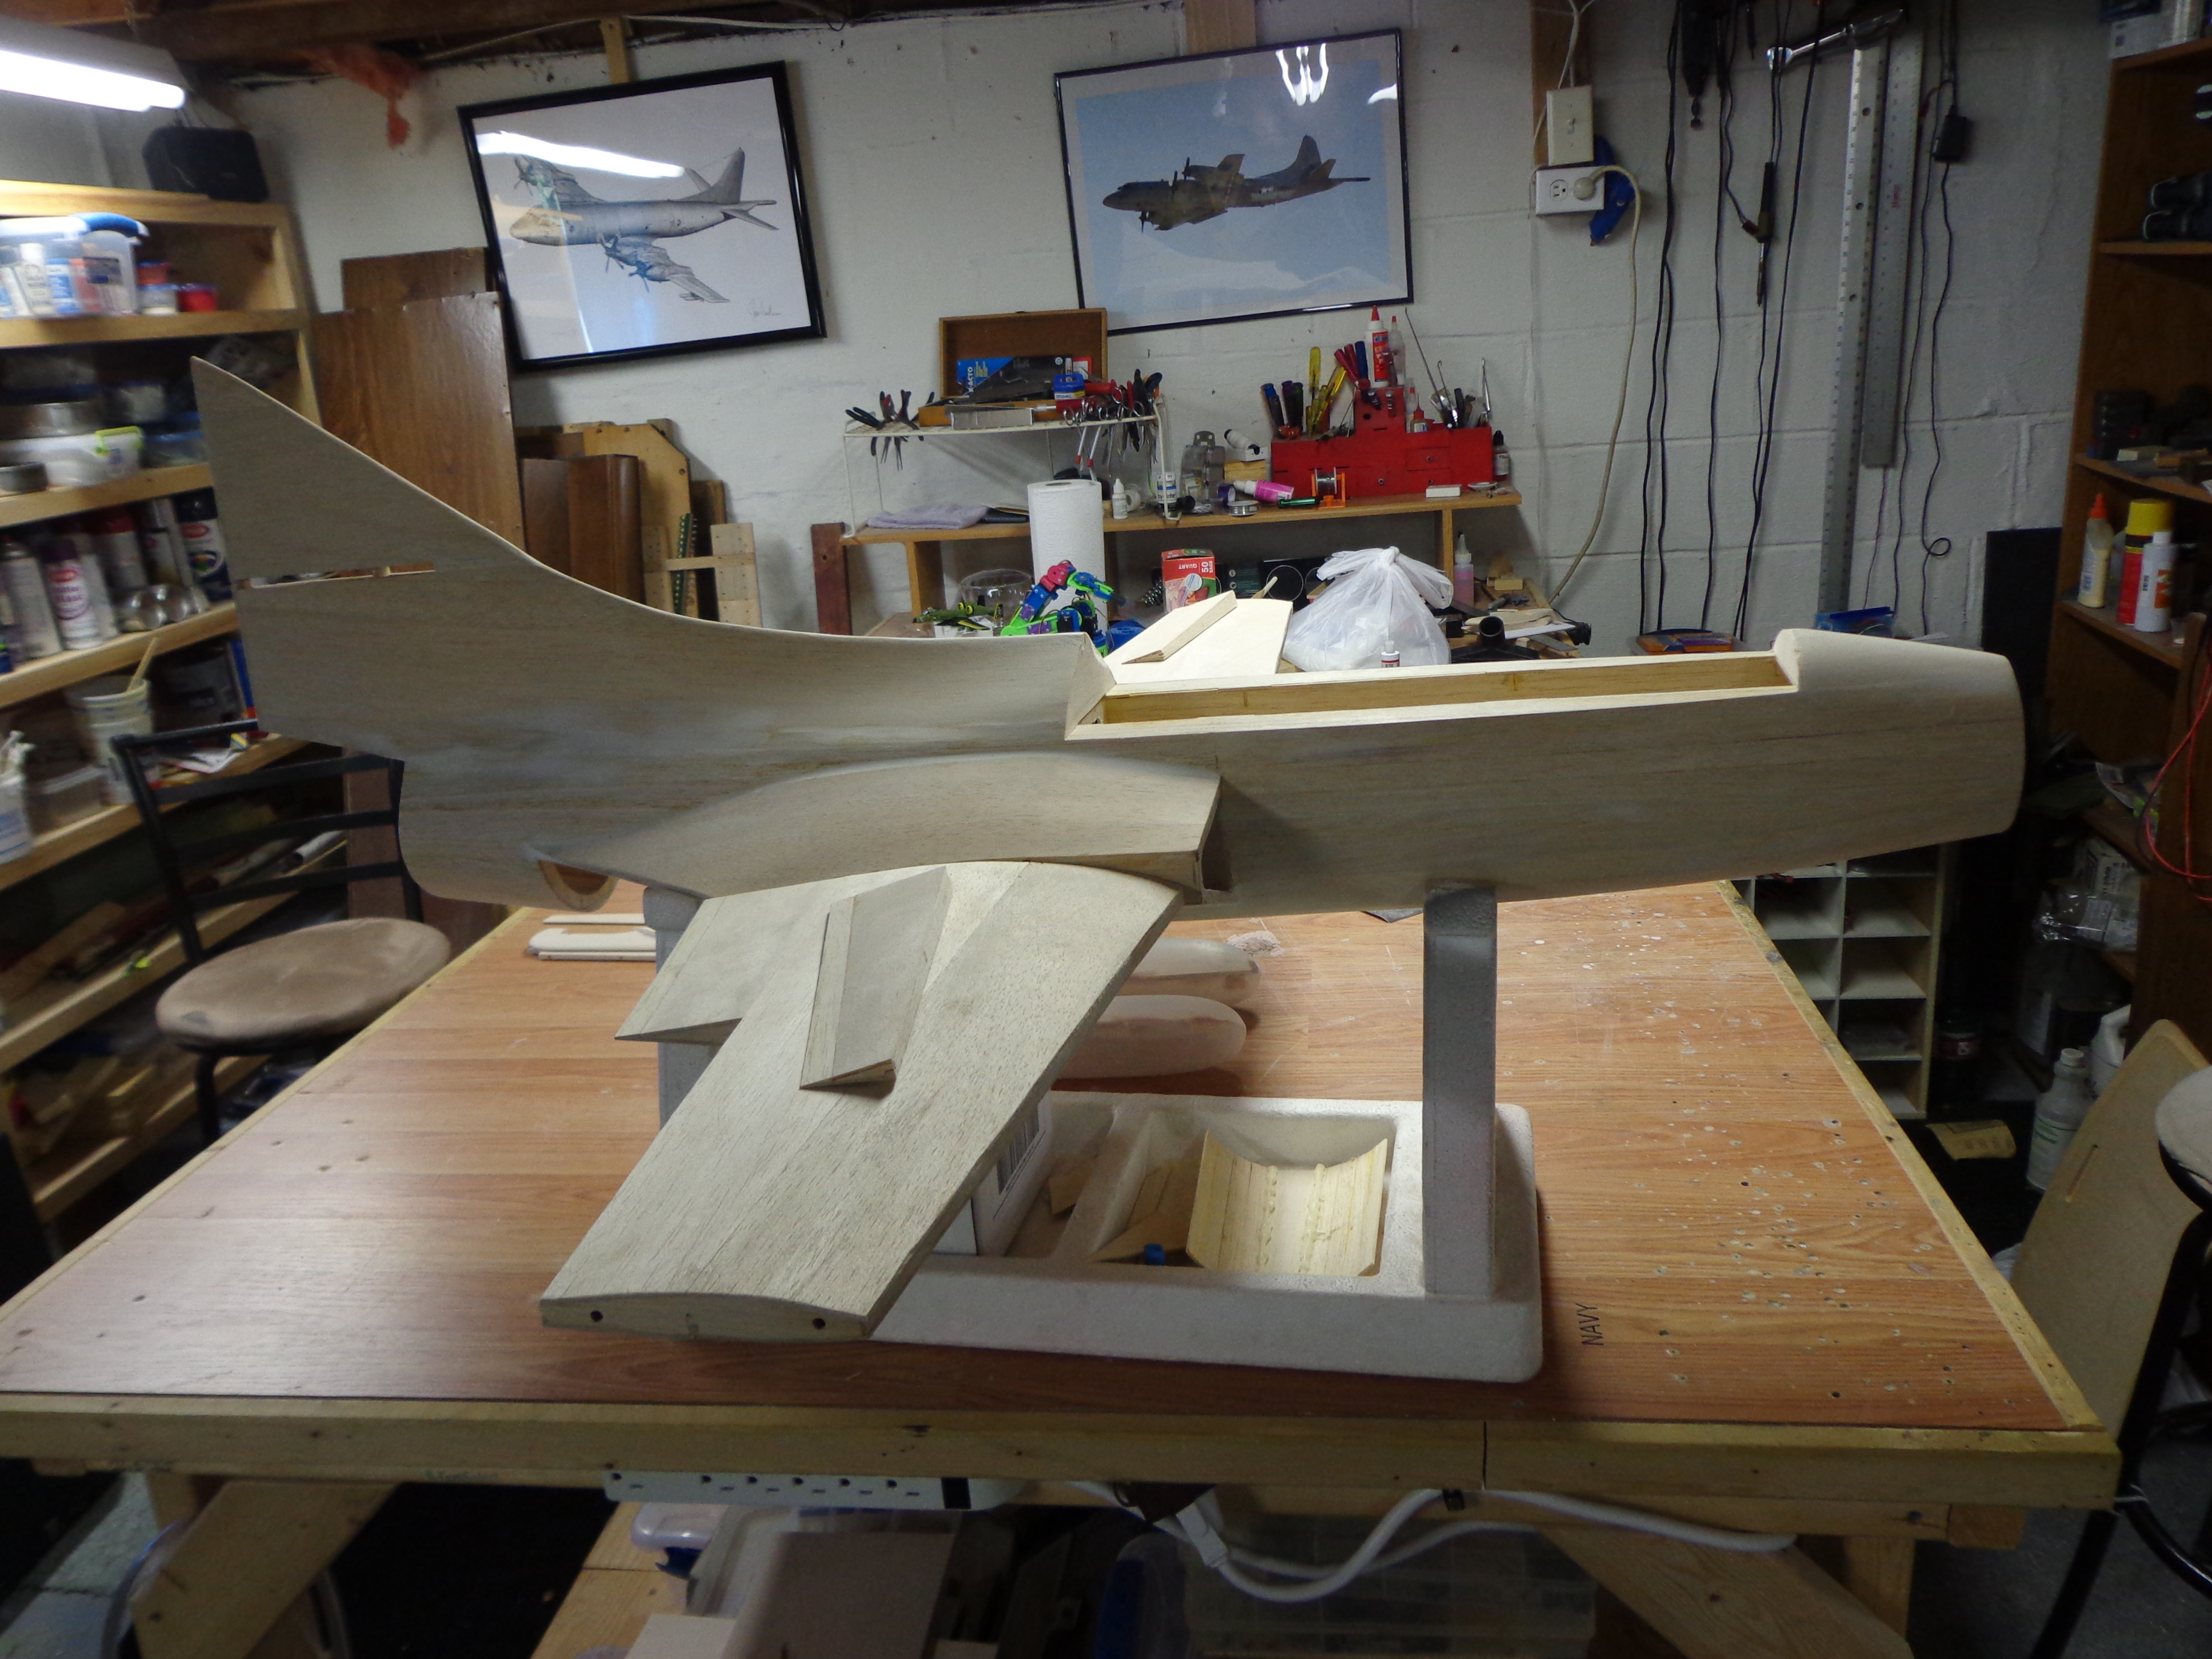
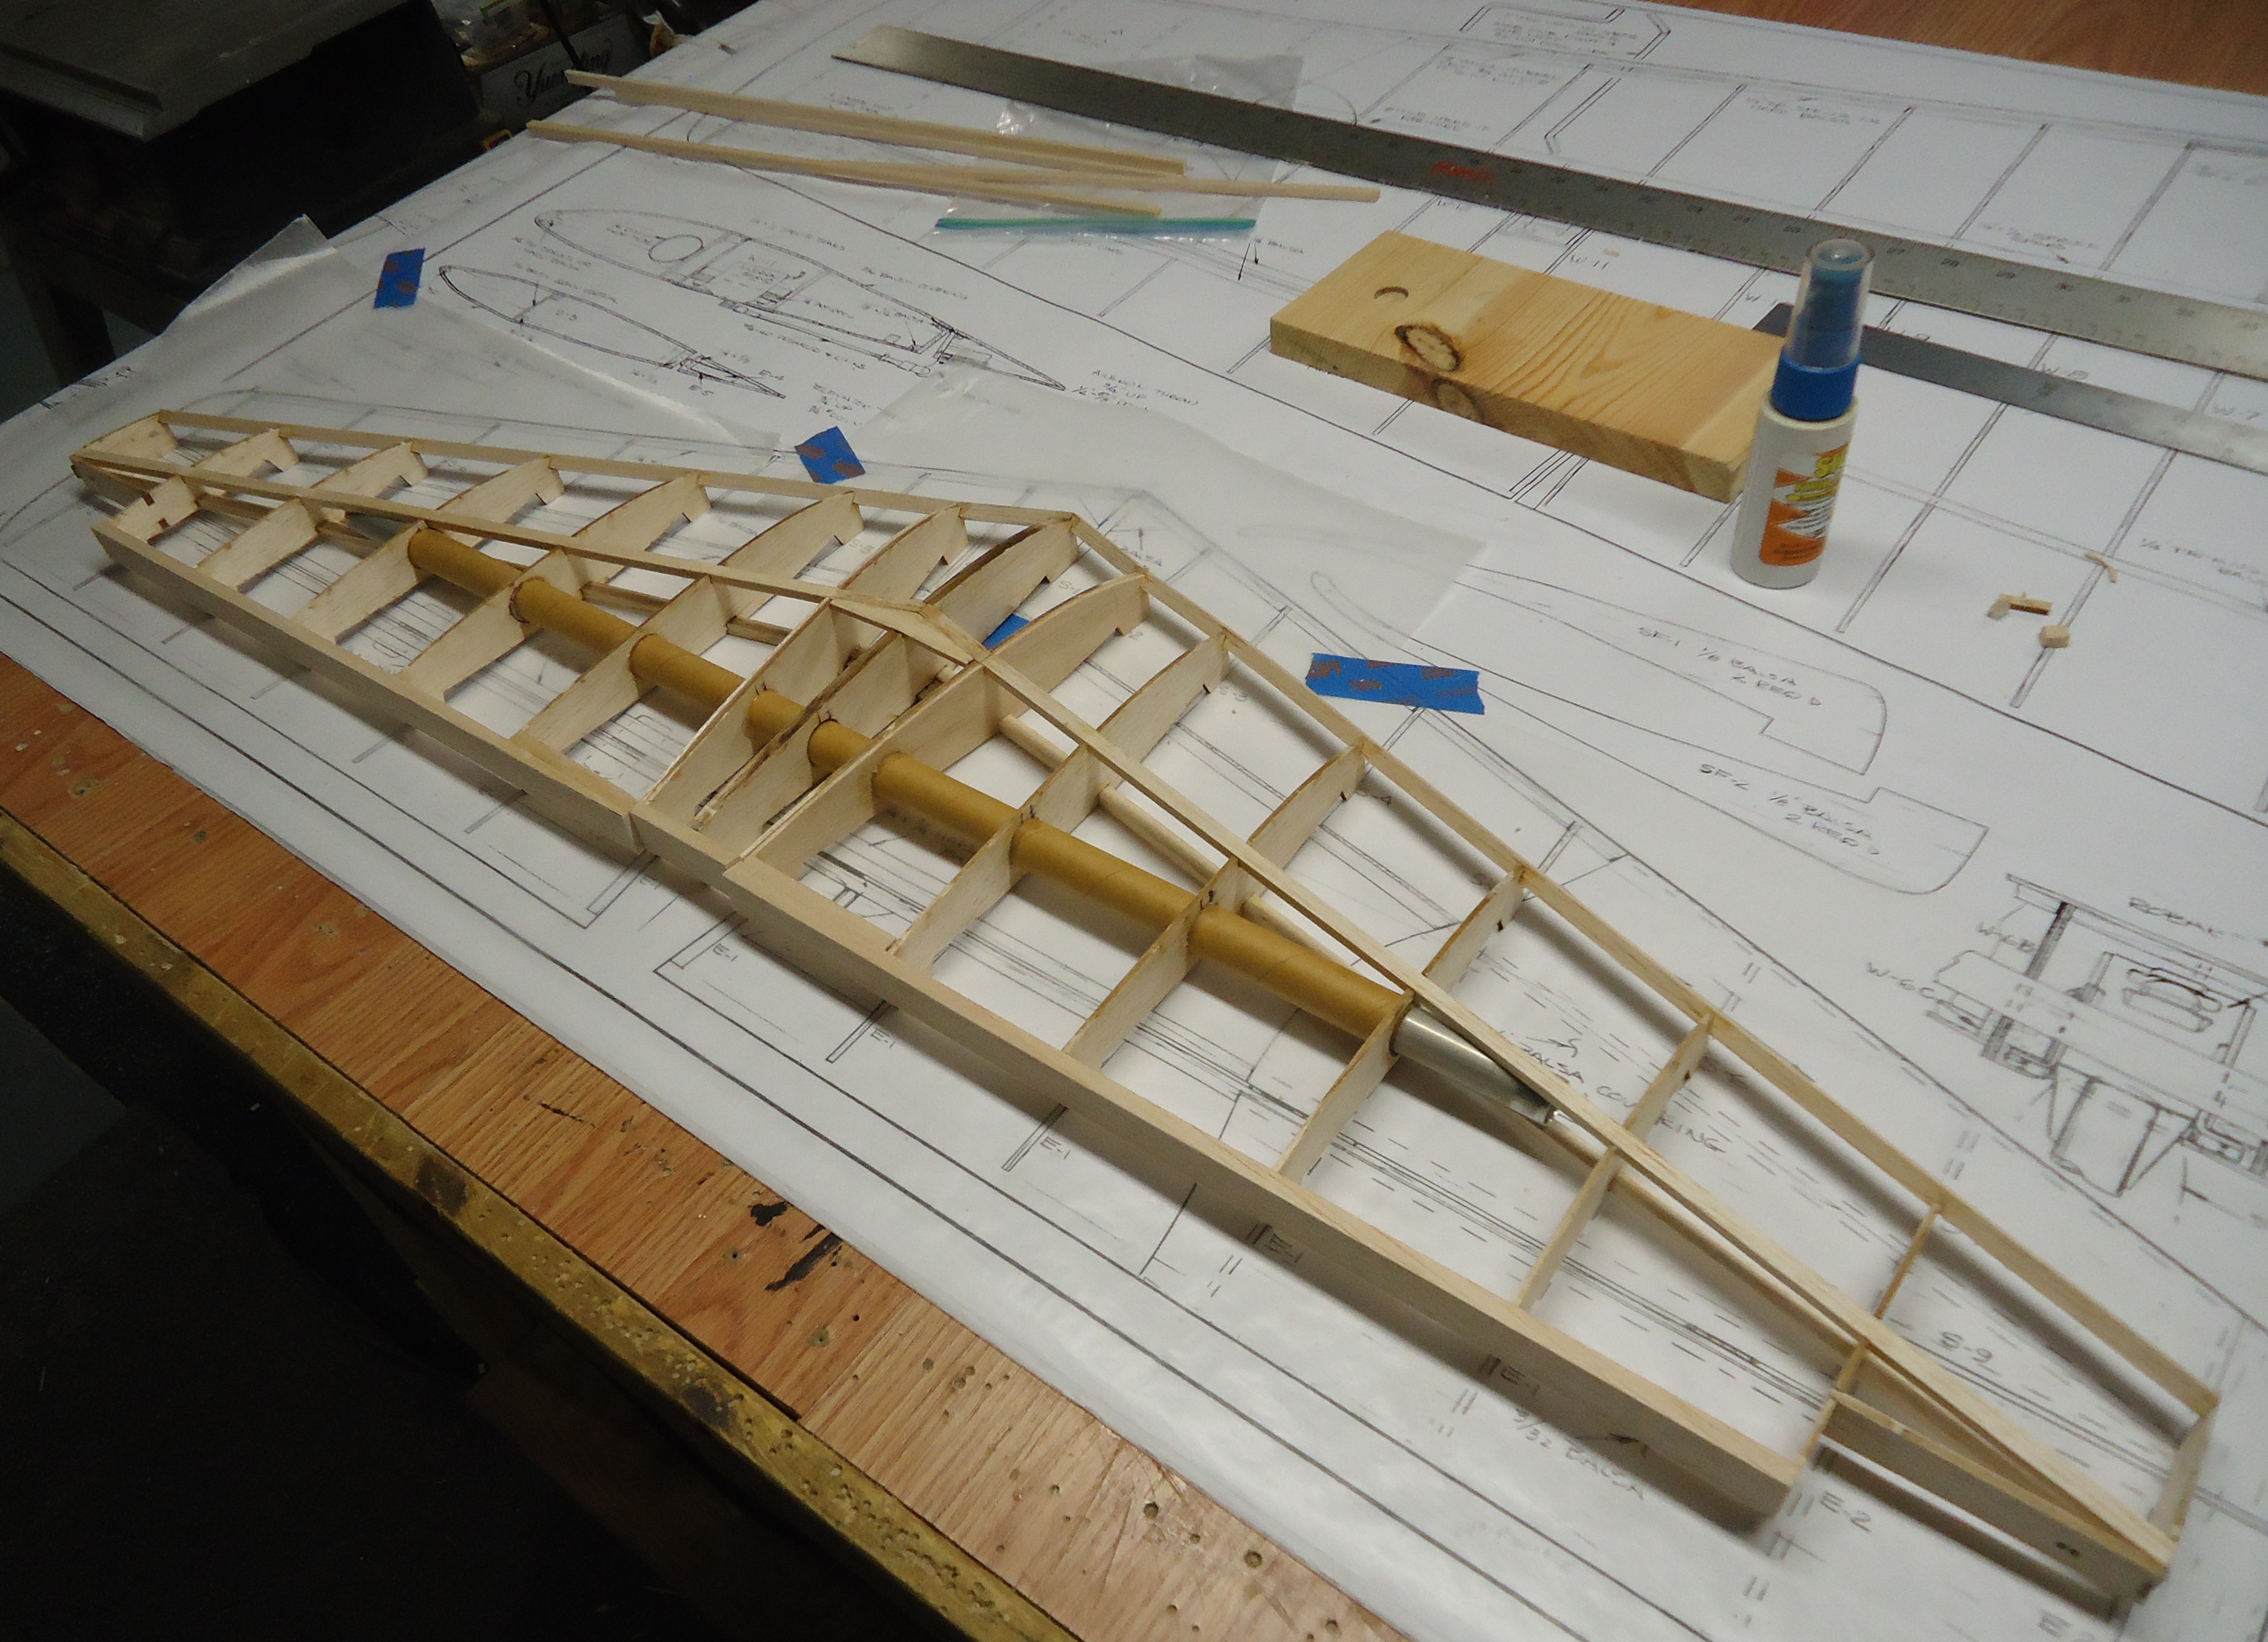
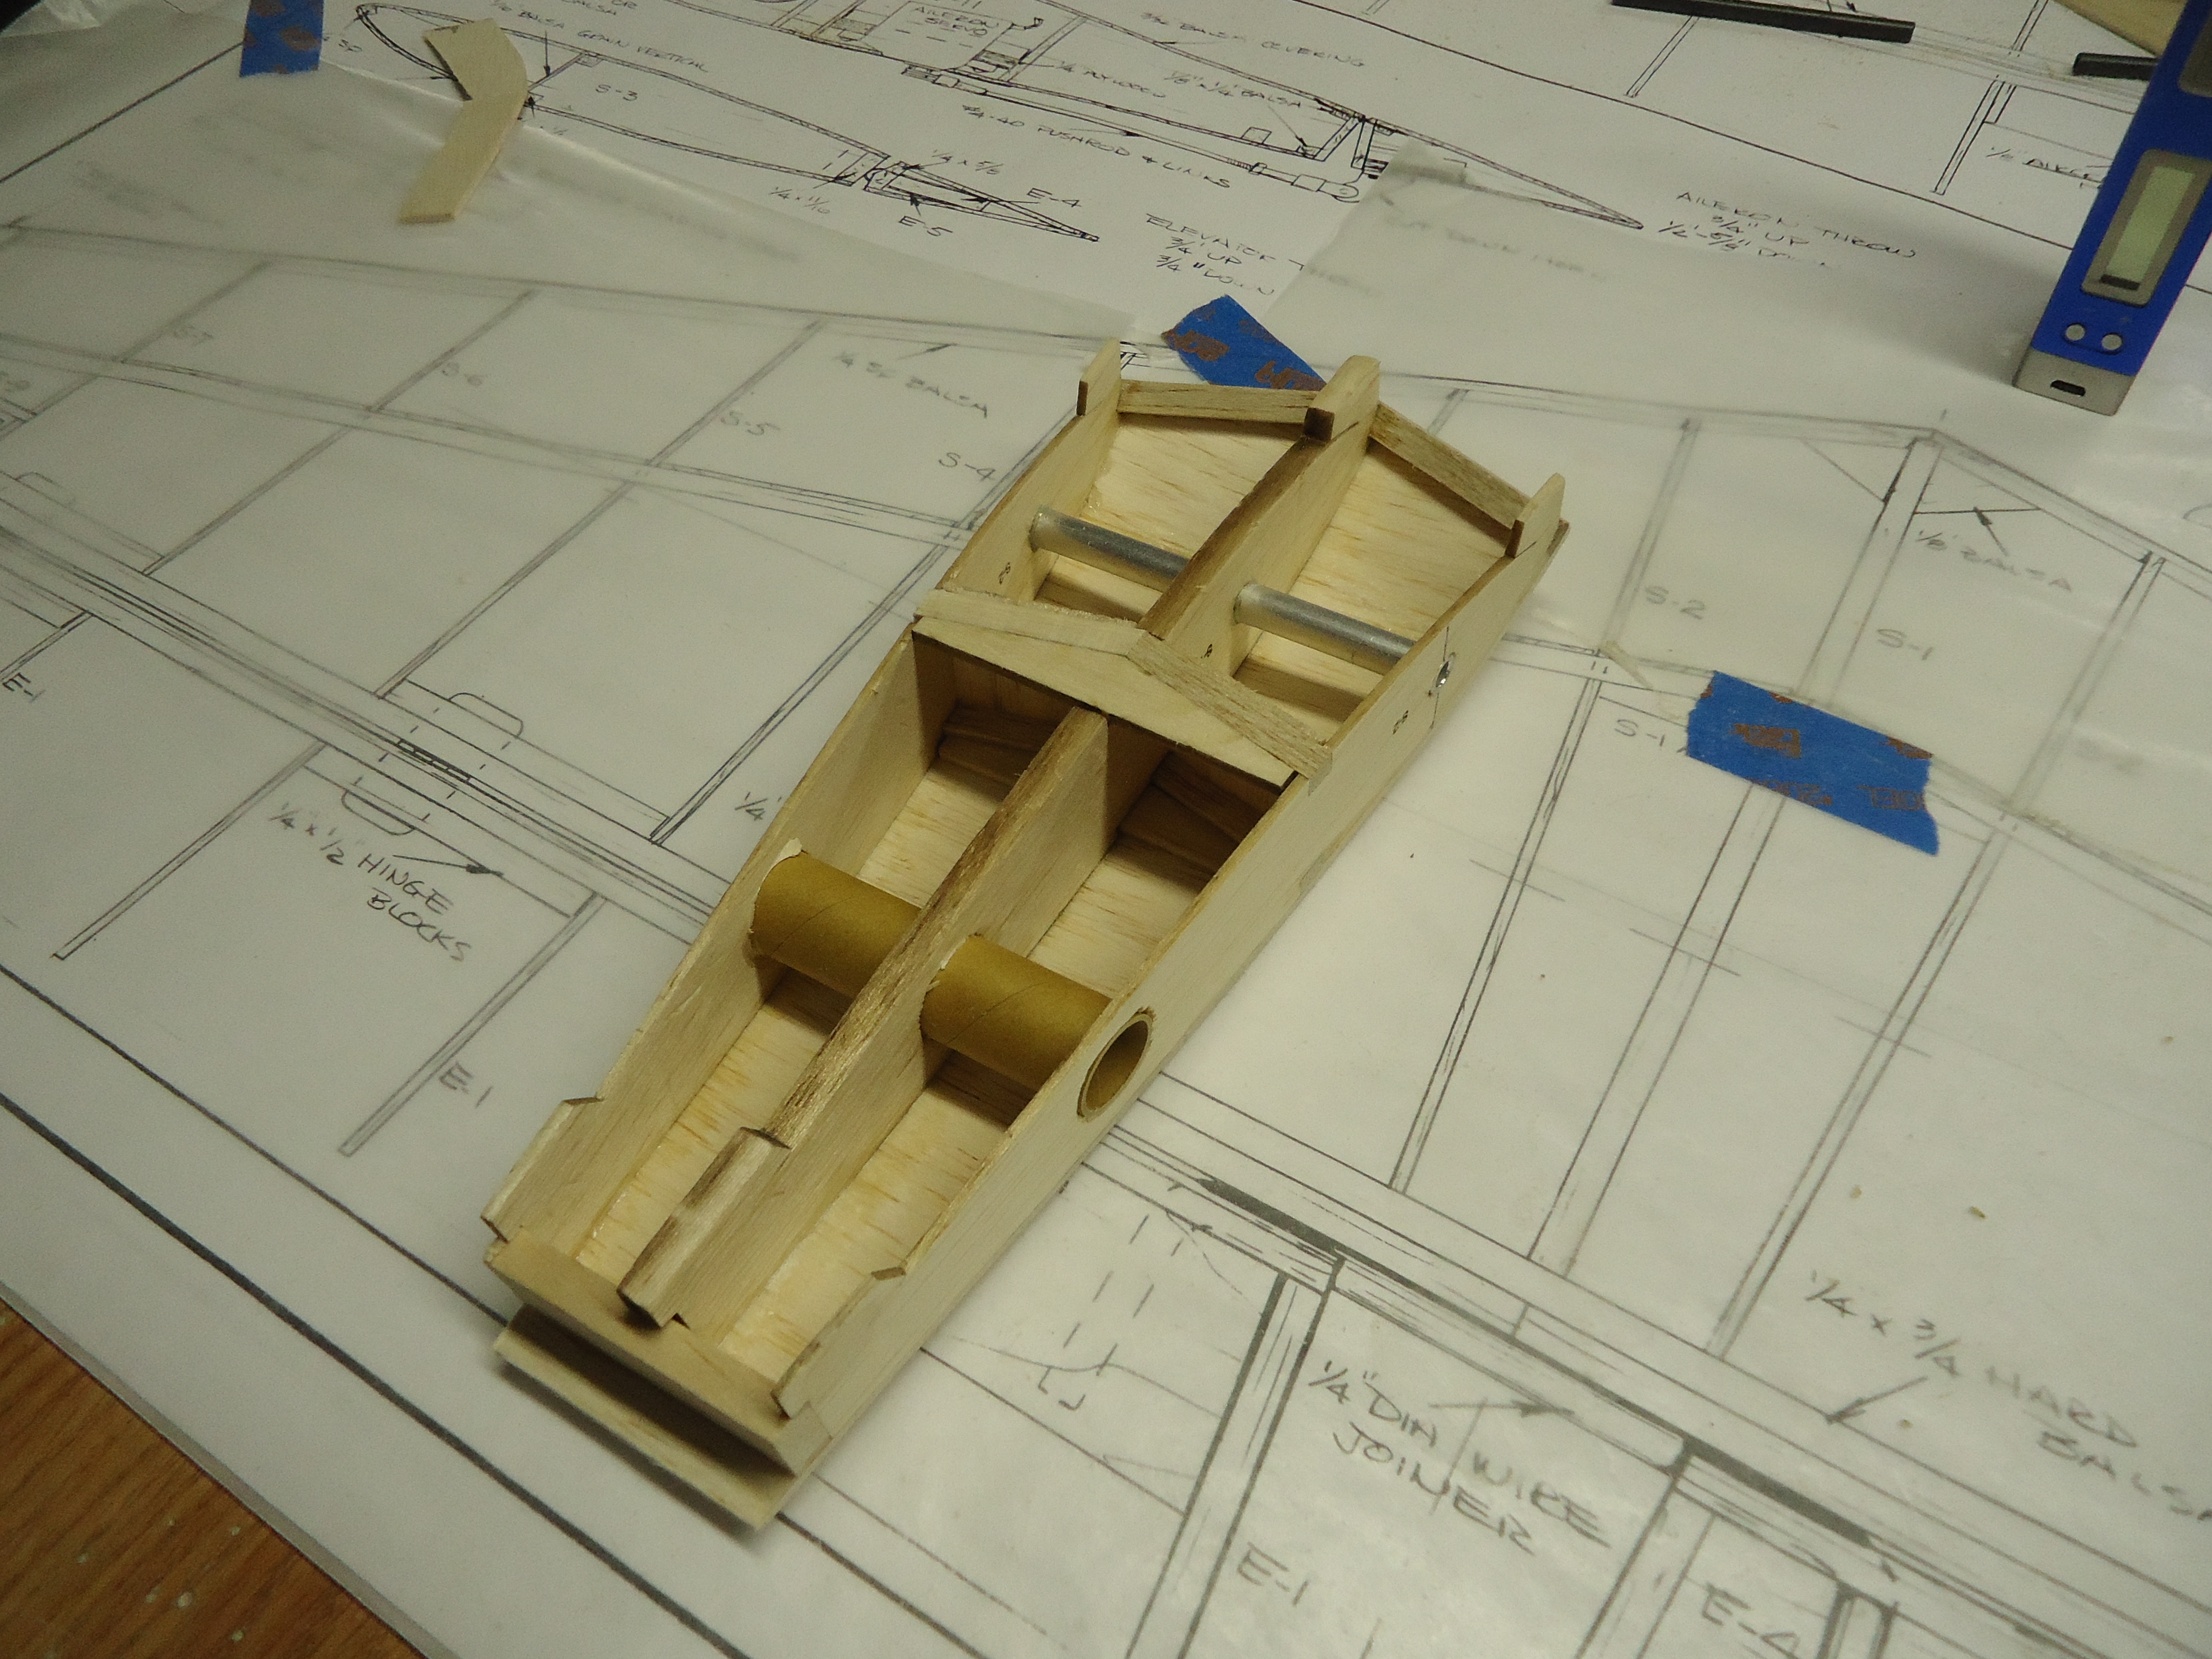
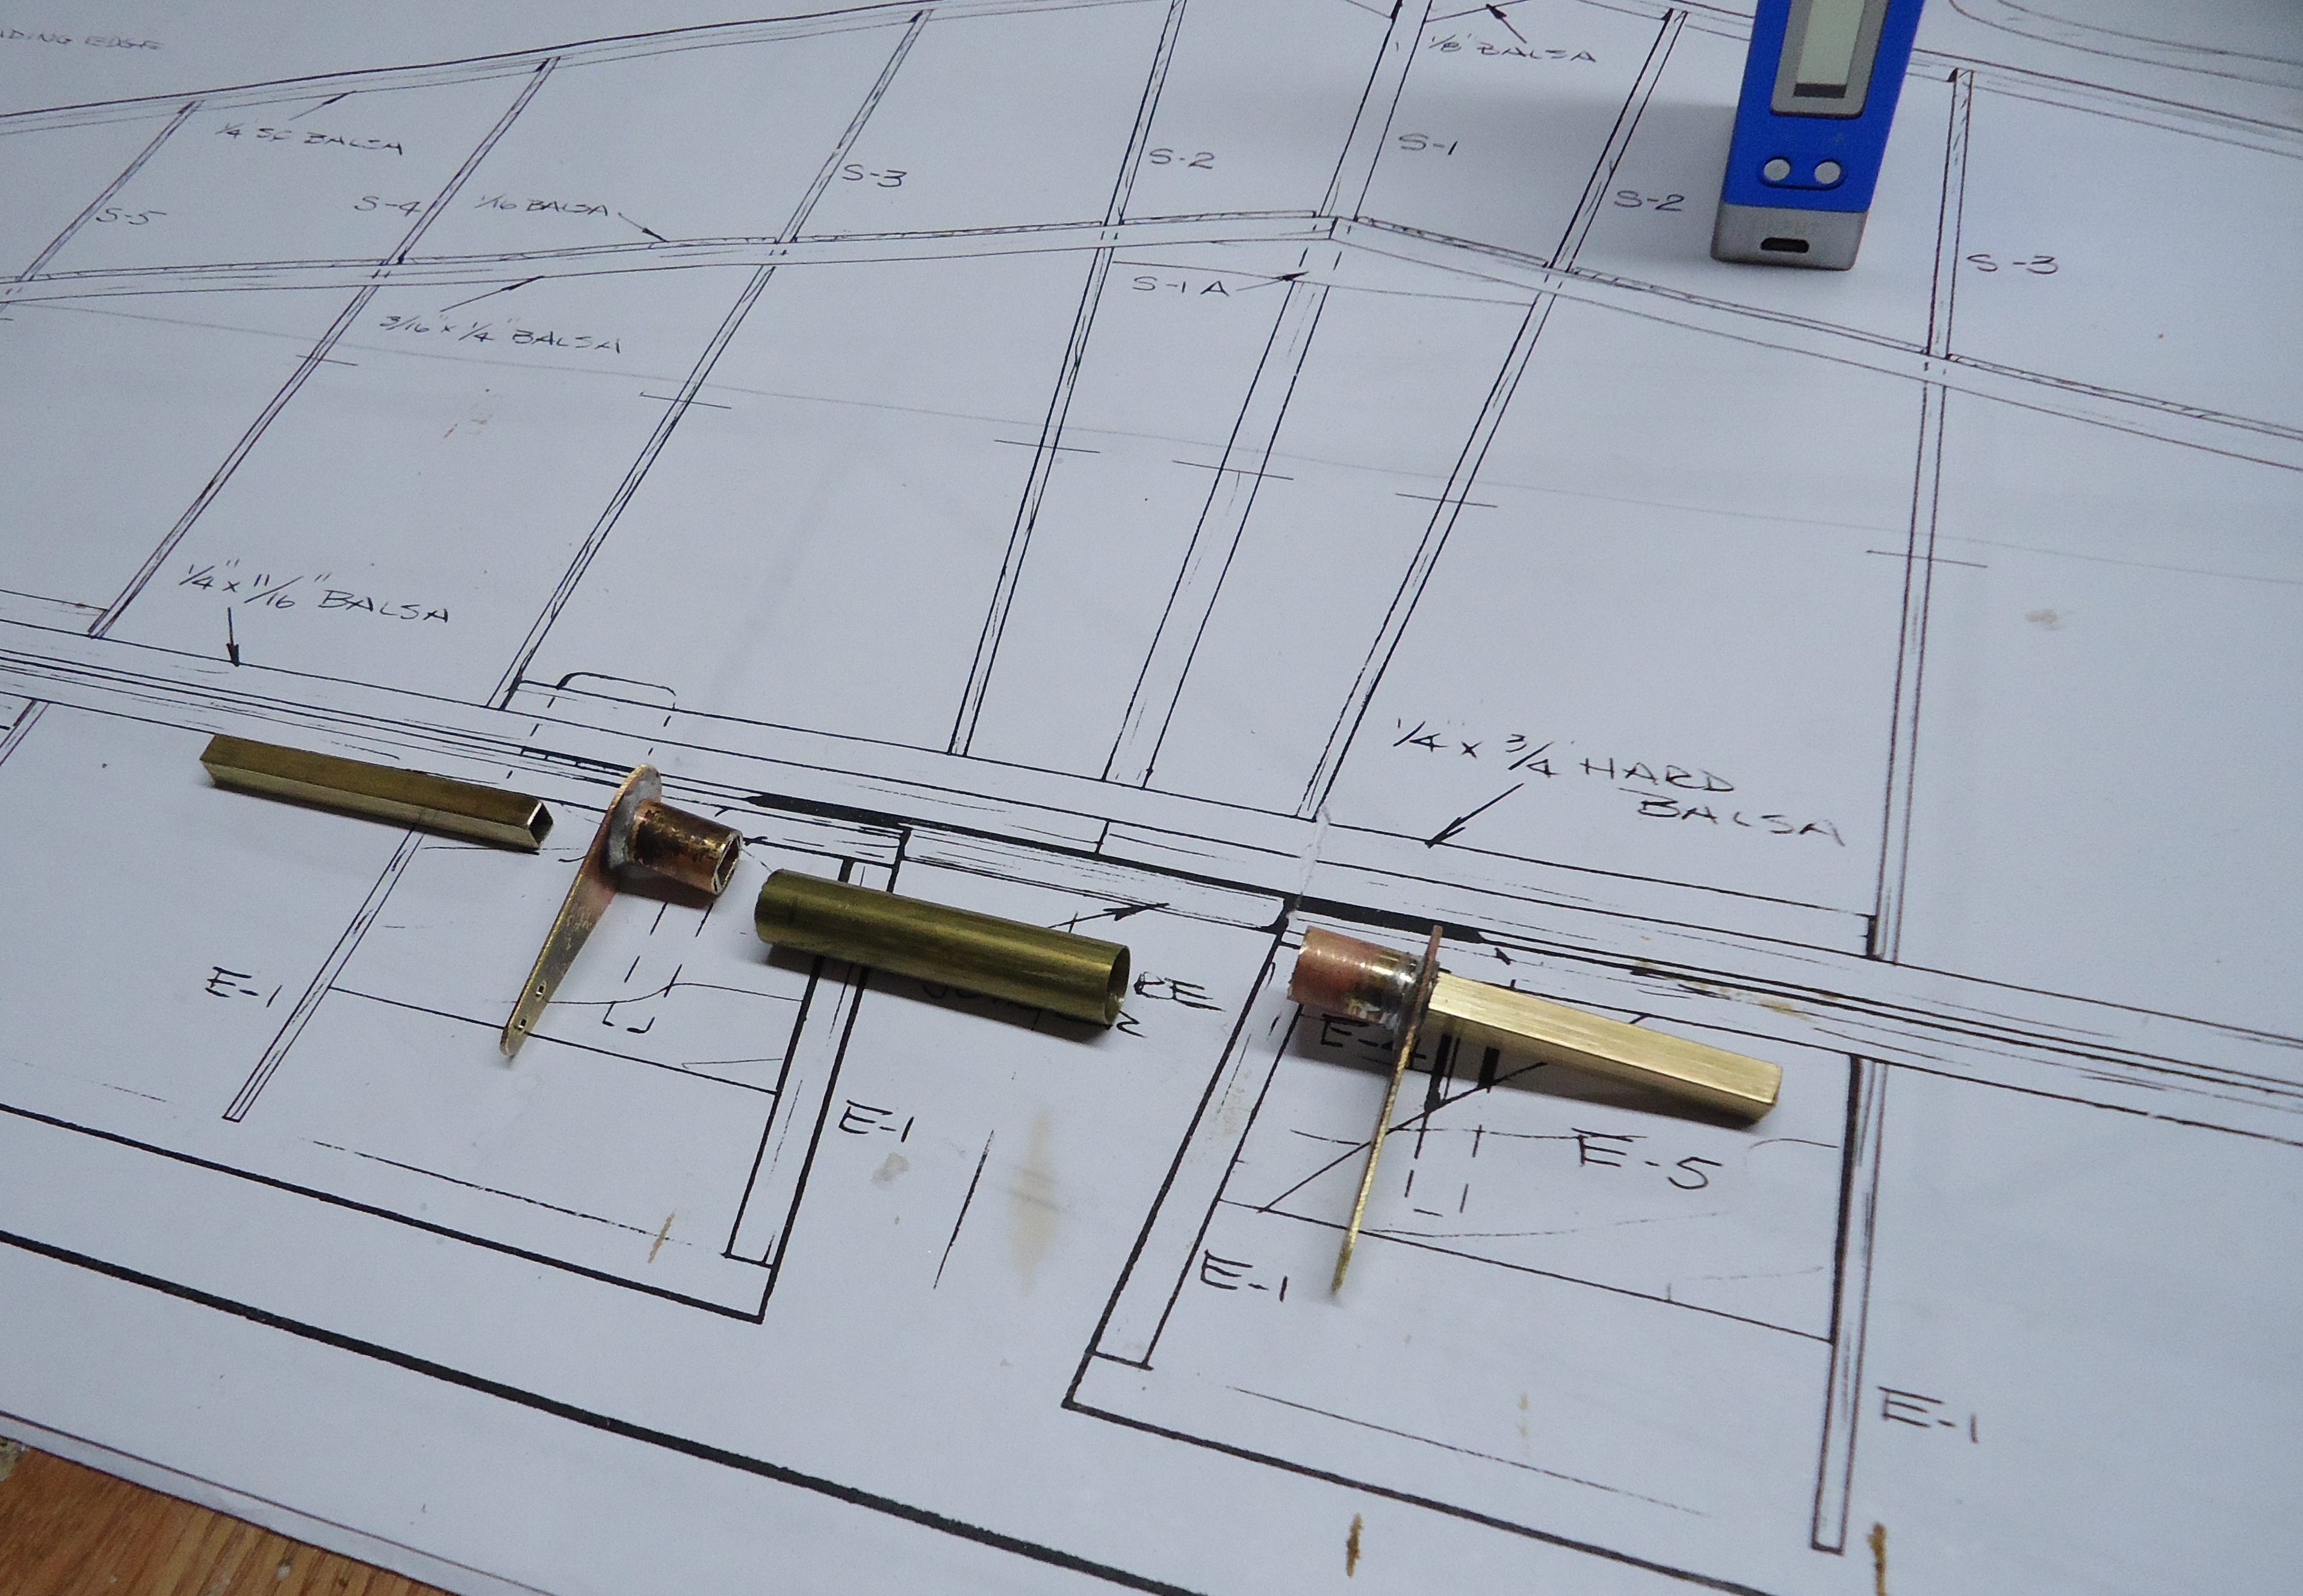 Oh! Apparently these aren’t robot feet. They are part of the mechanism to make the elevator flap. So, he’s using two square rods and the robot feet to match the round tube where they will be inserted.
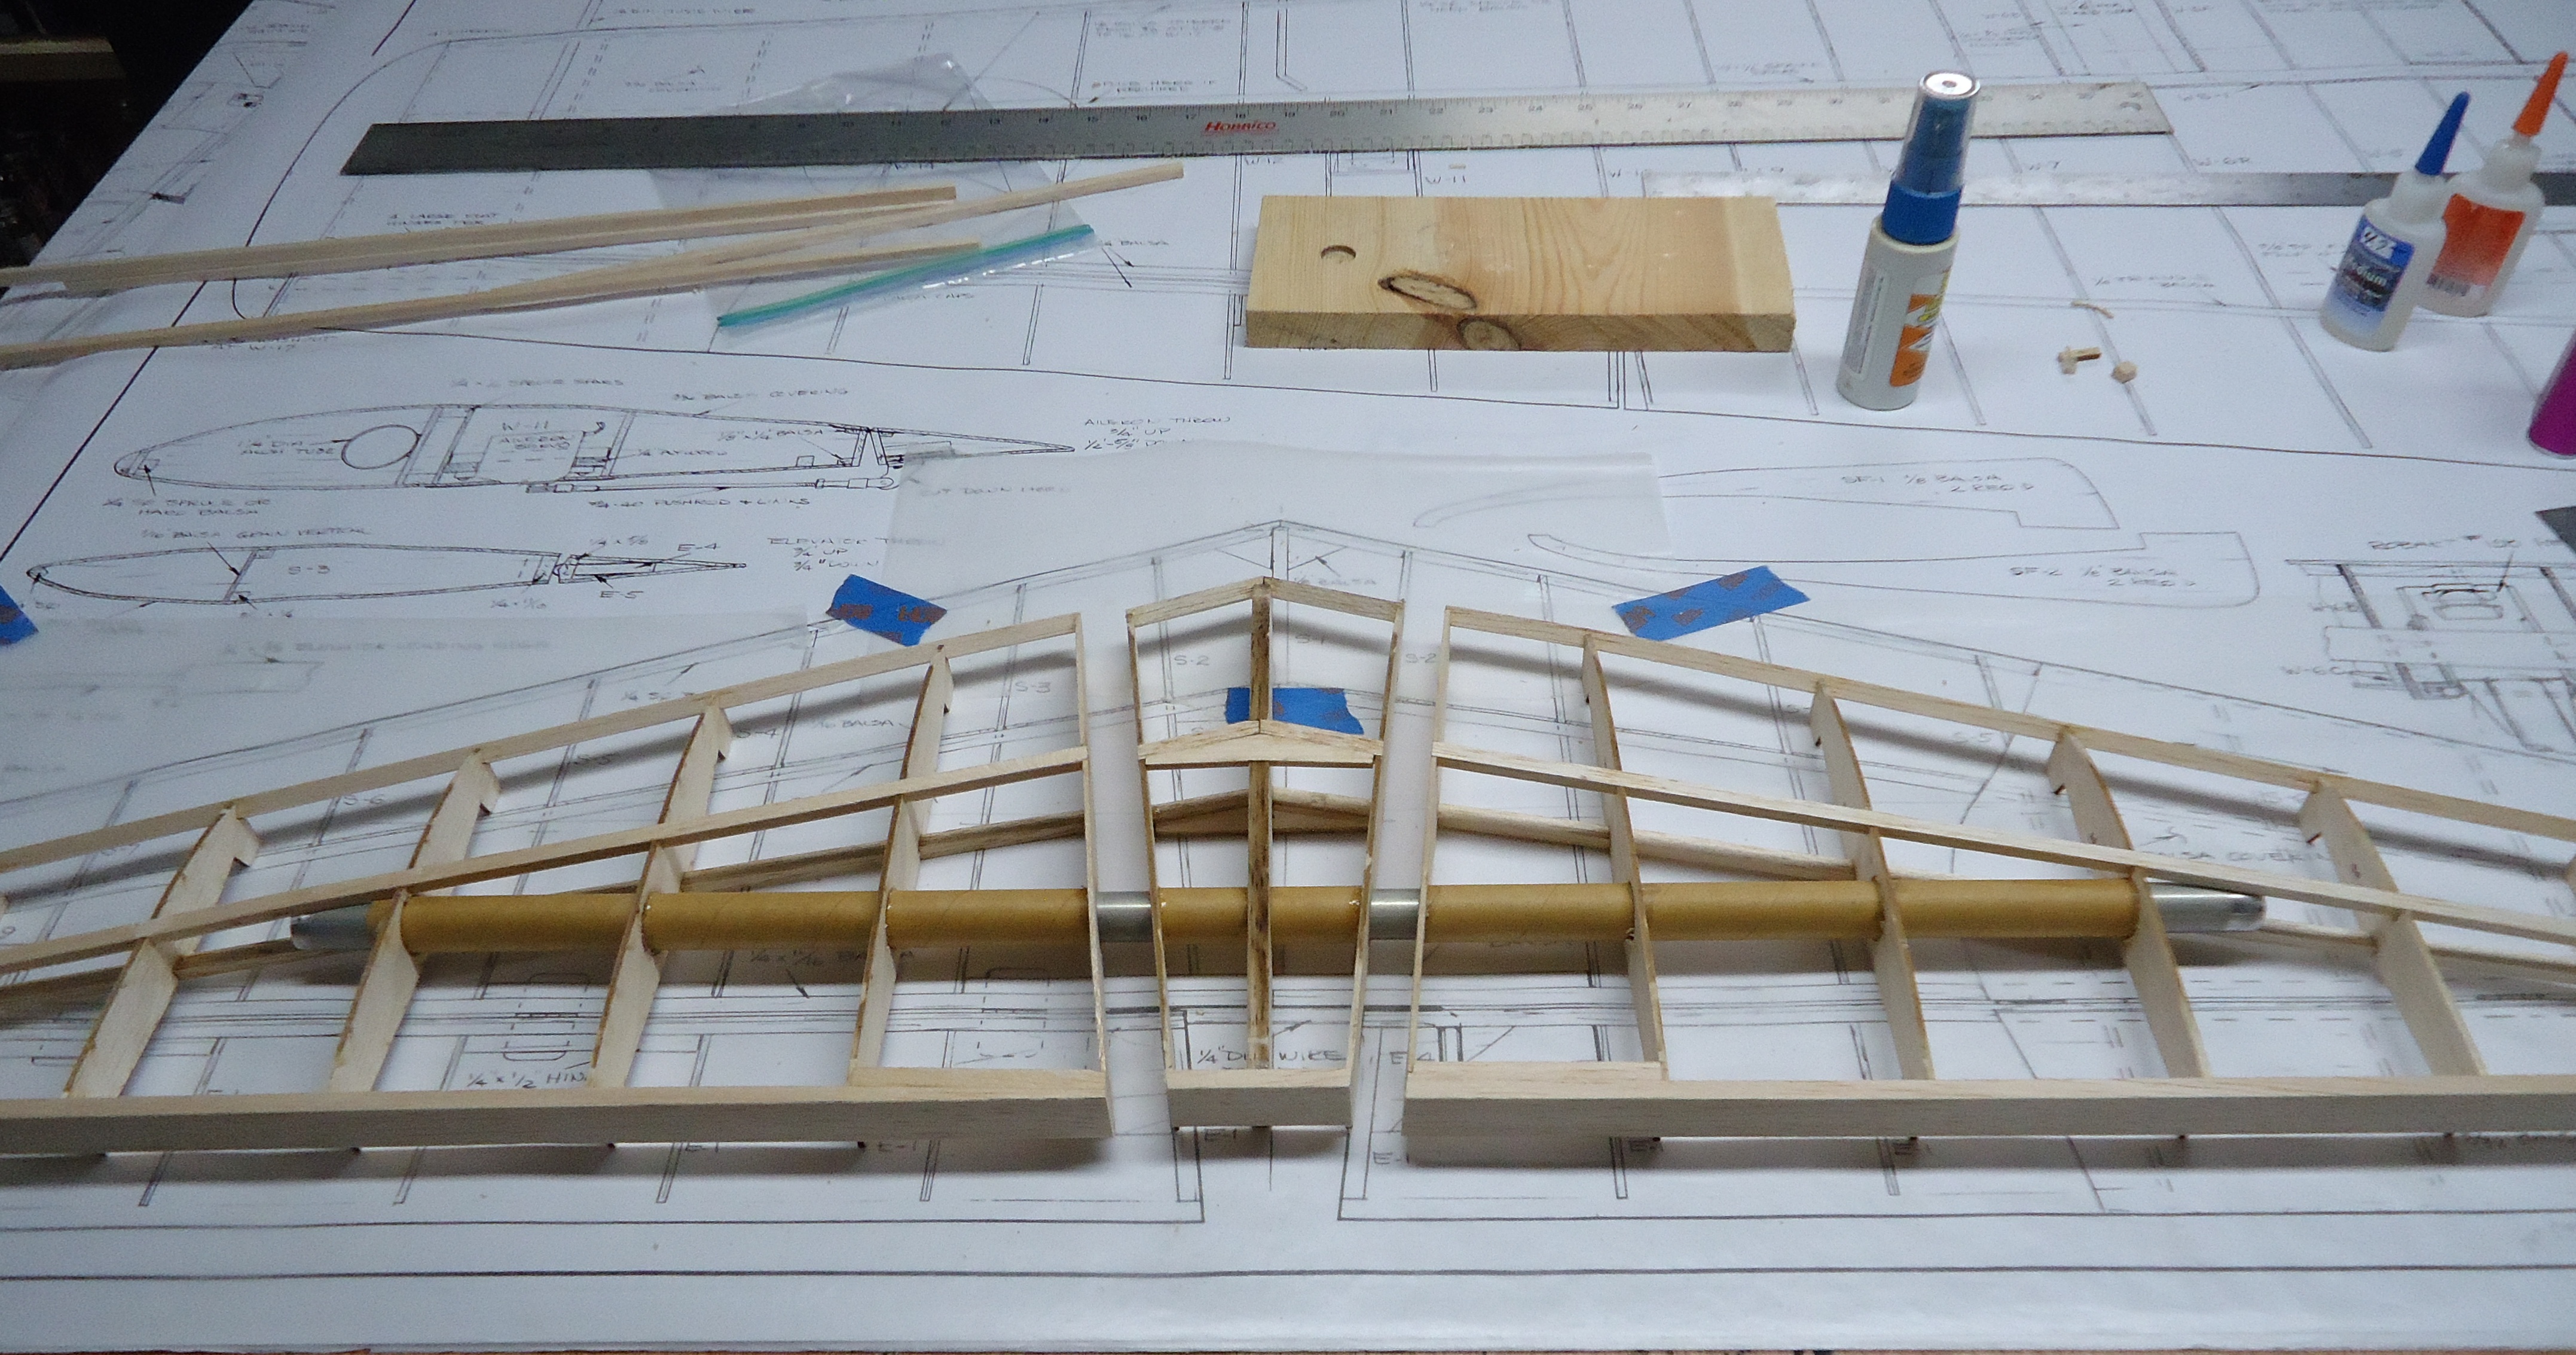
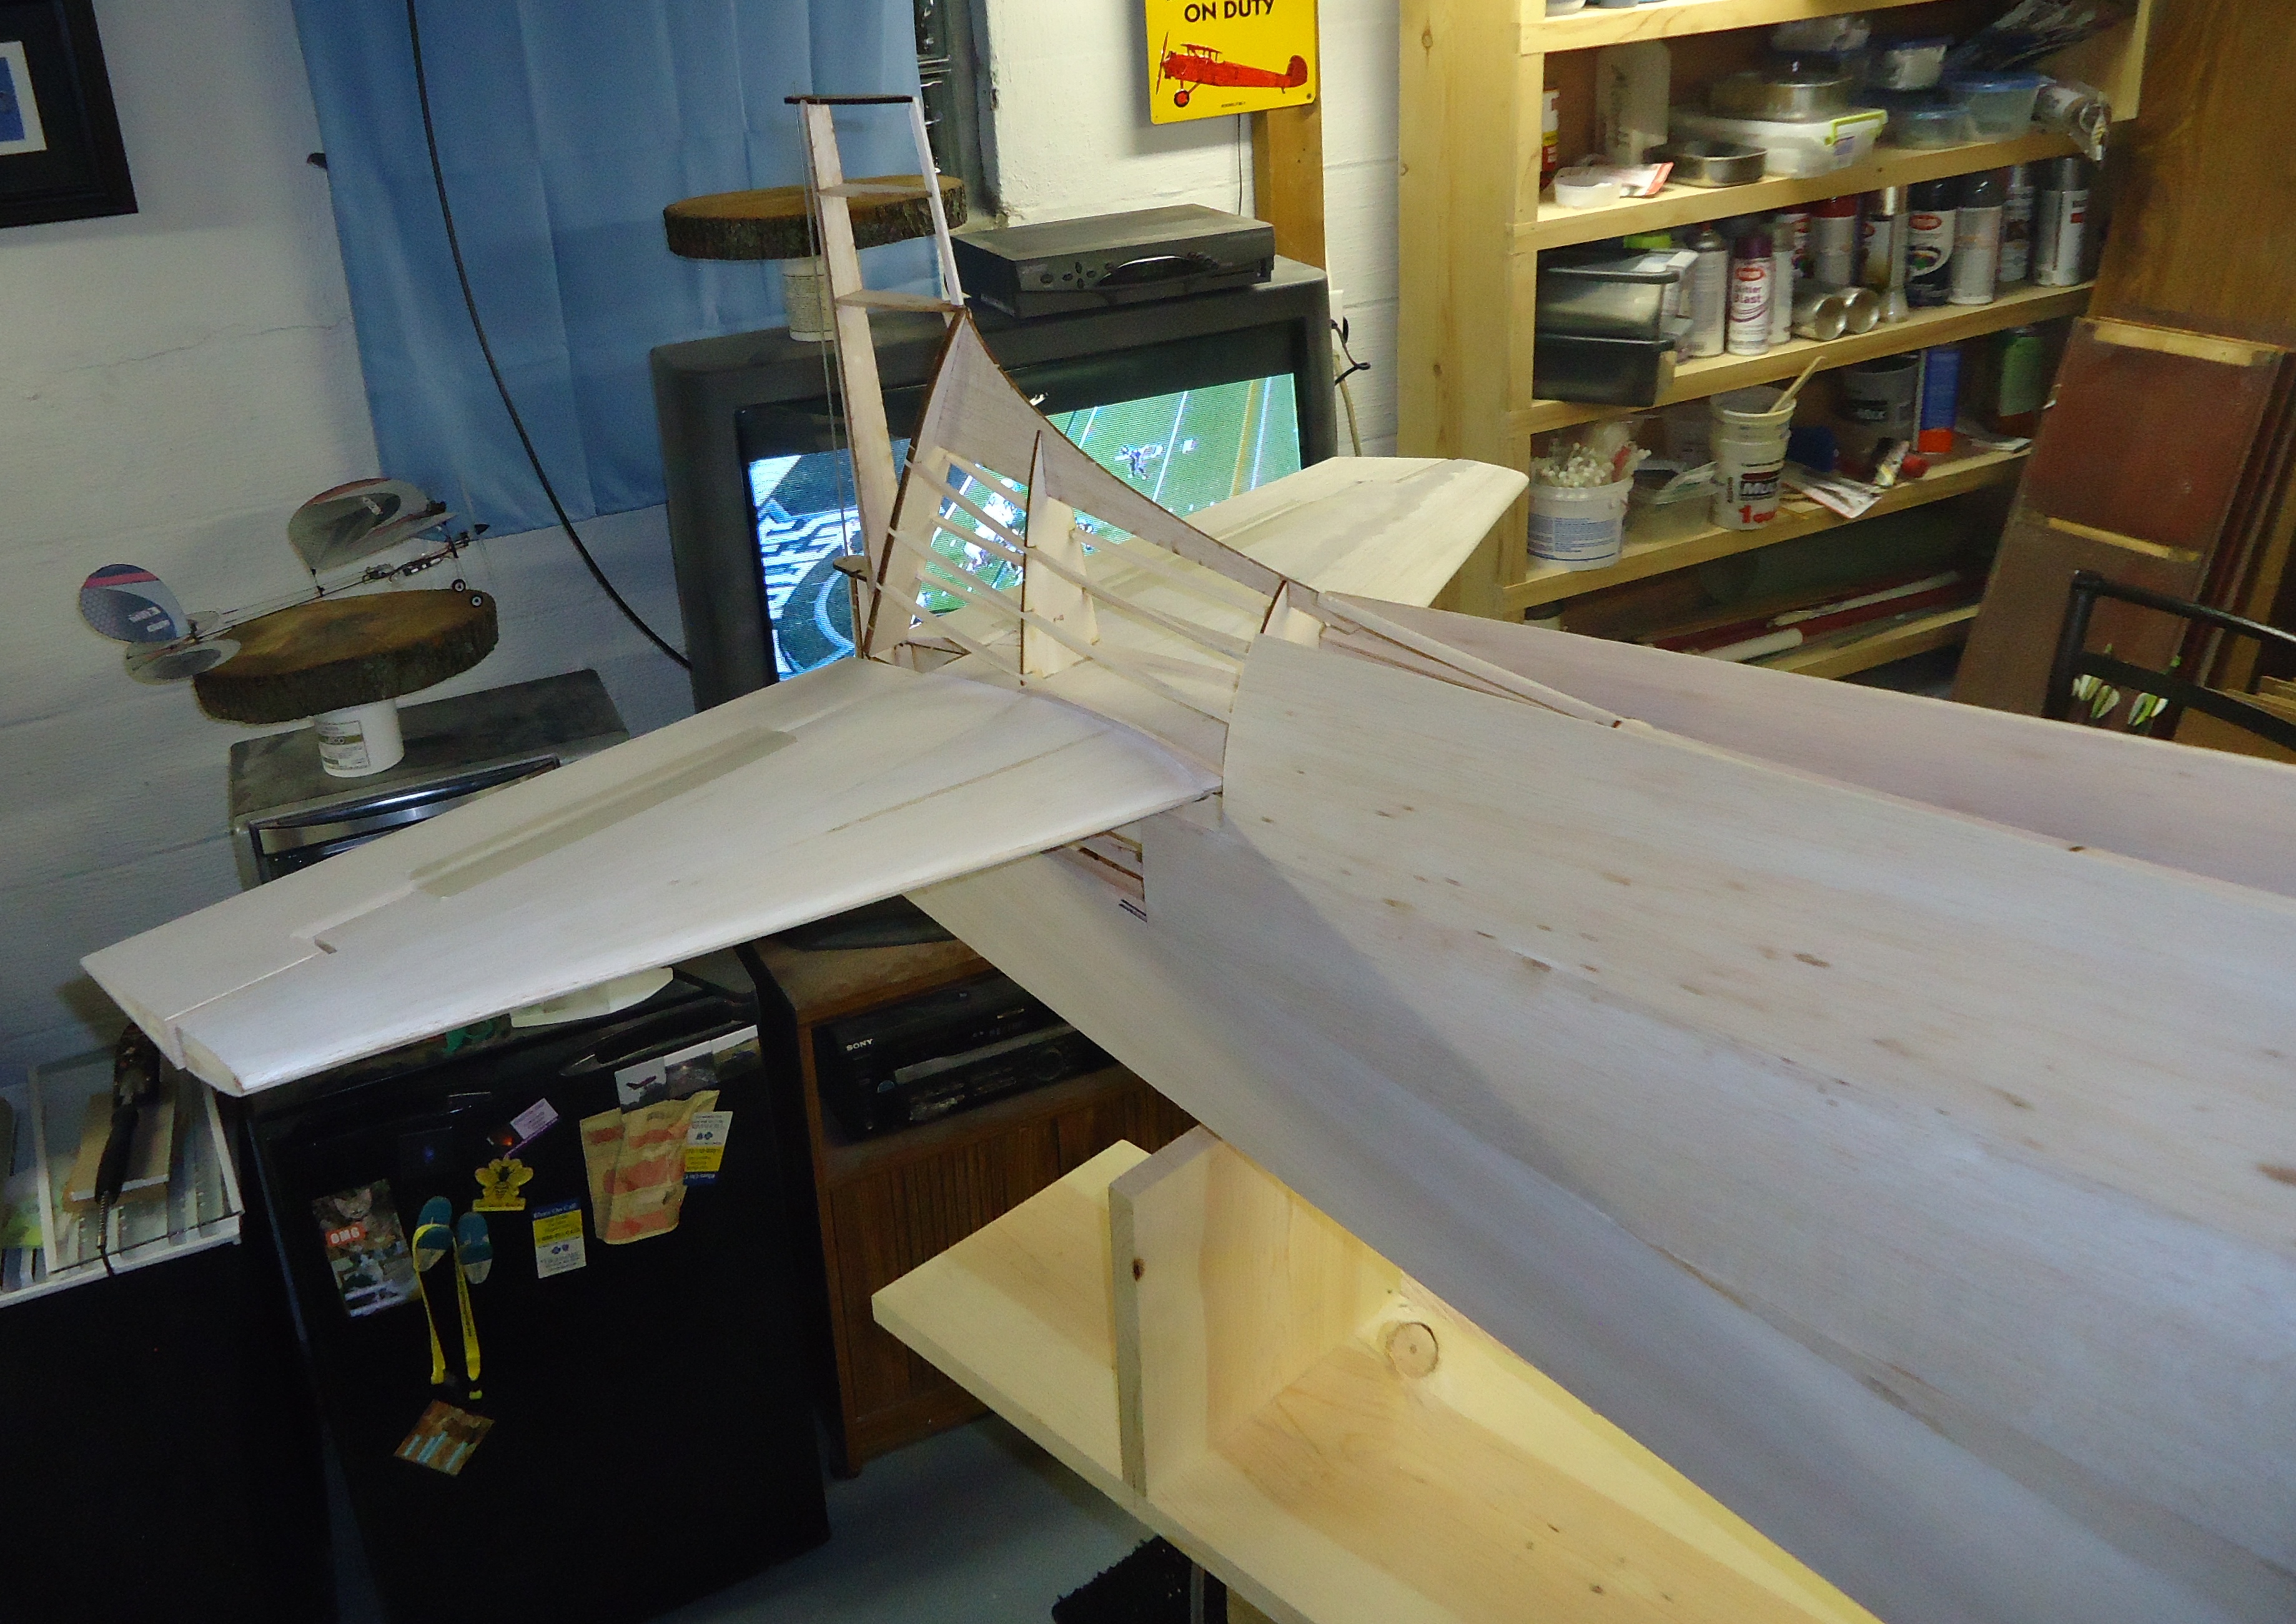 Thus the reason why he put the tribal mask in the middle and made the horizontal stab into three pieces.
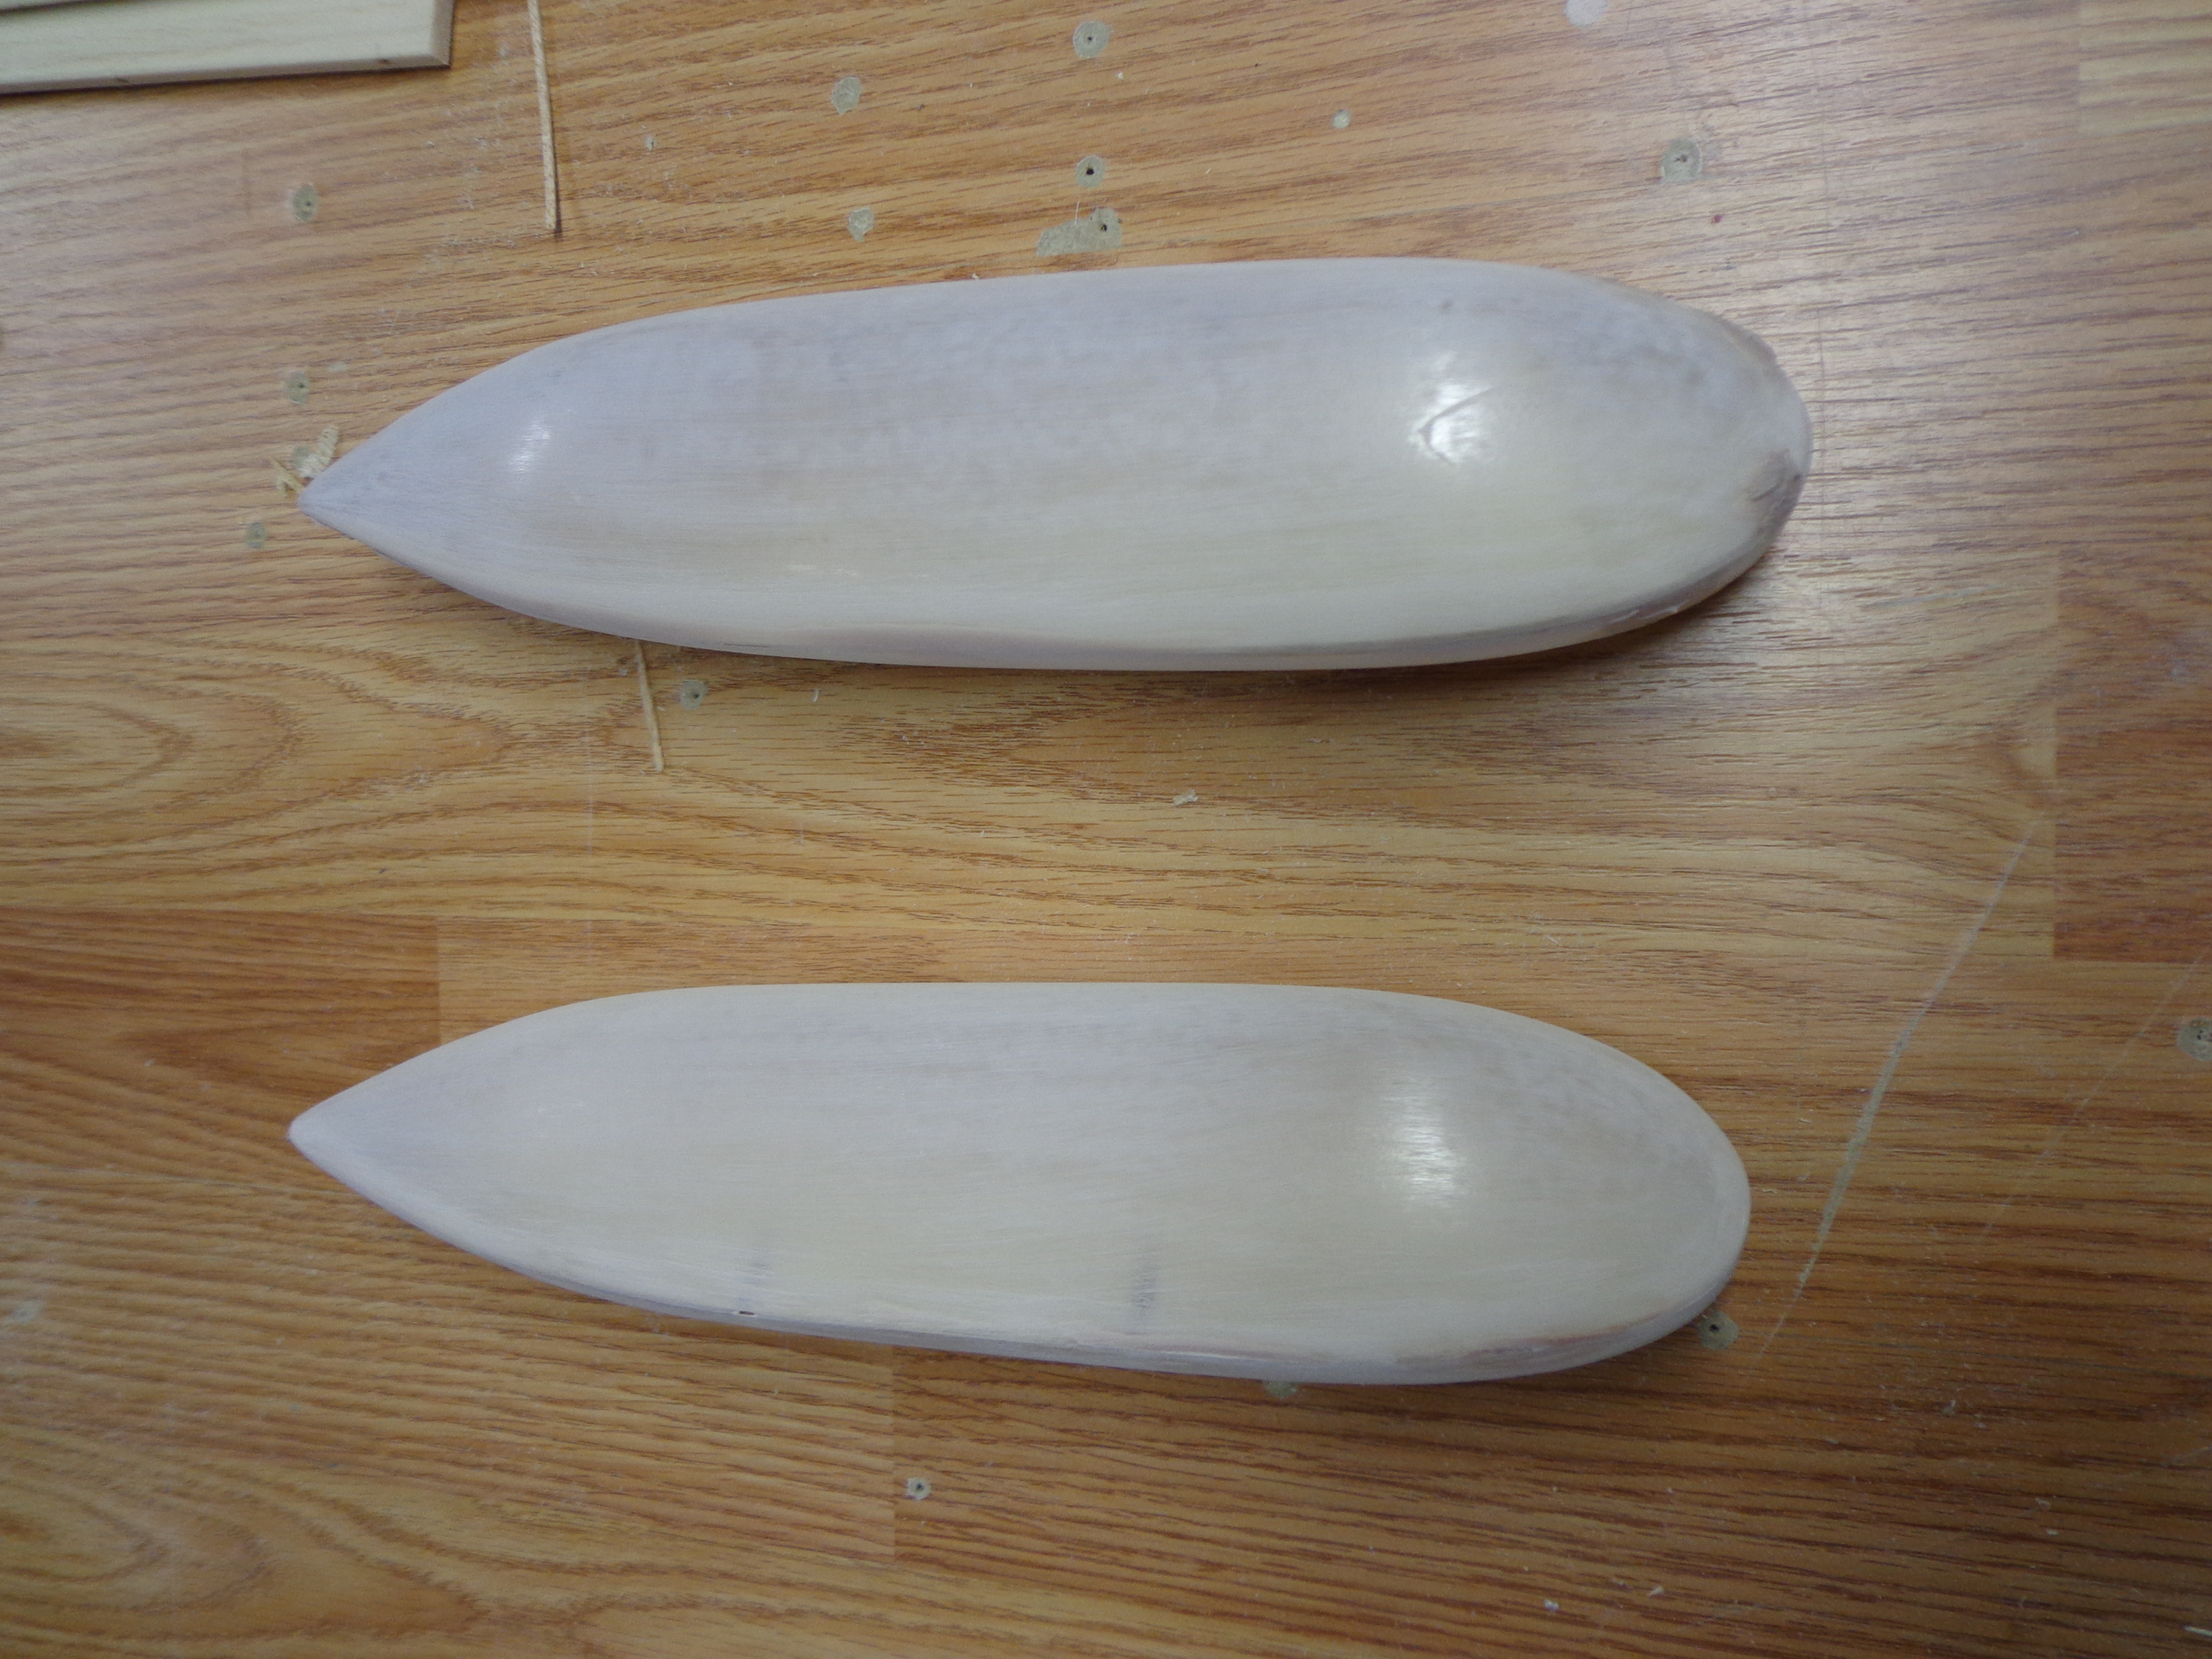
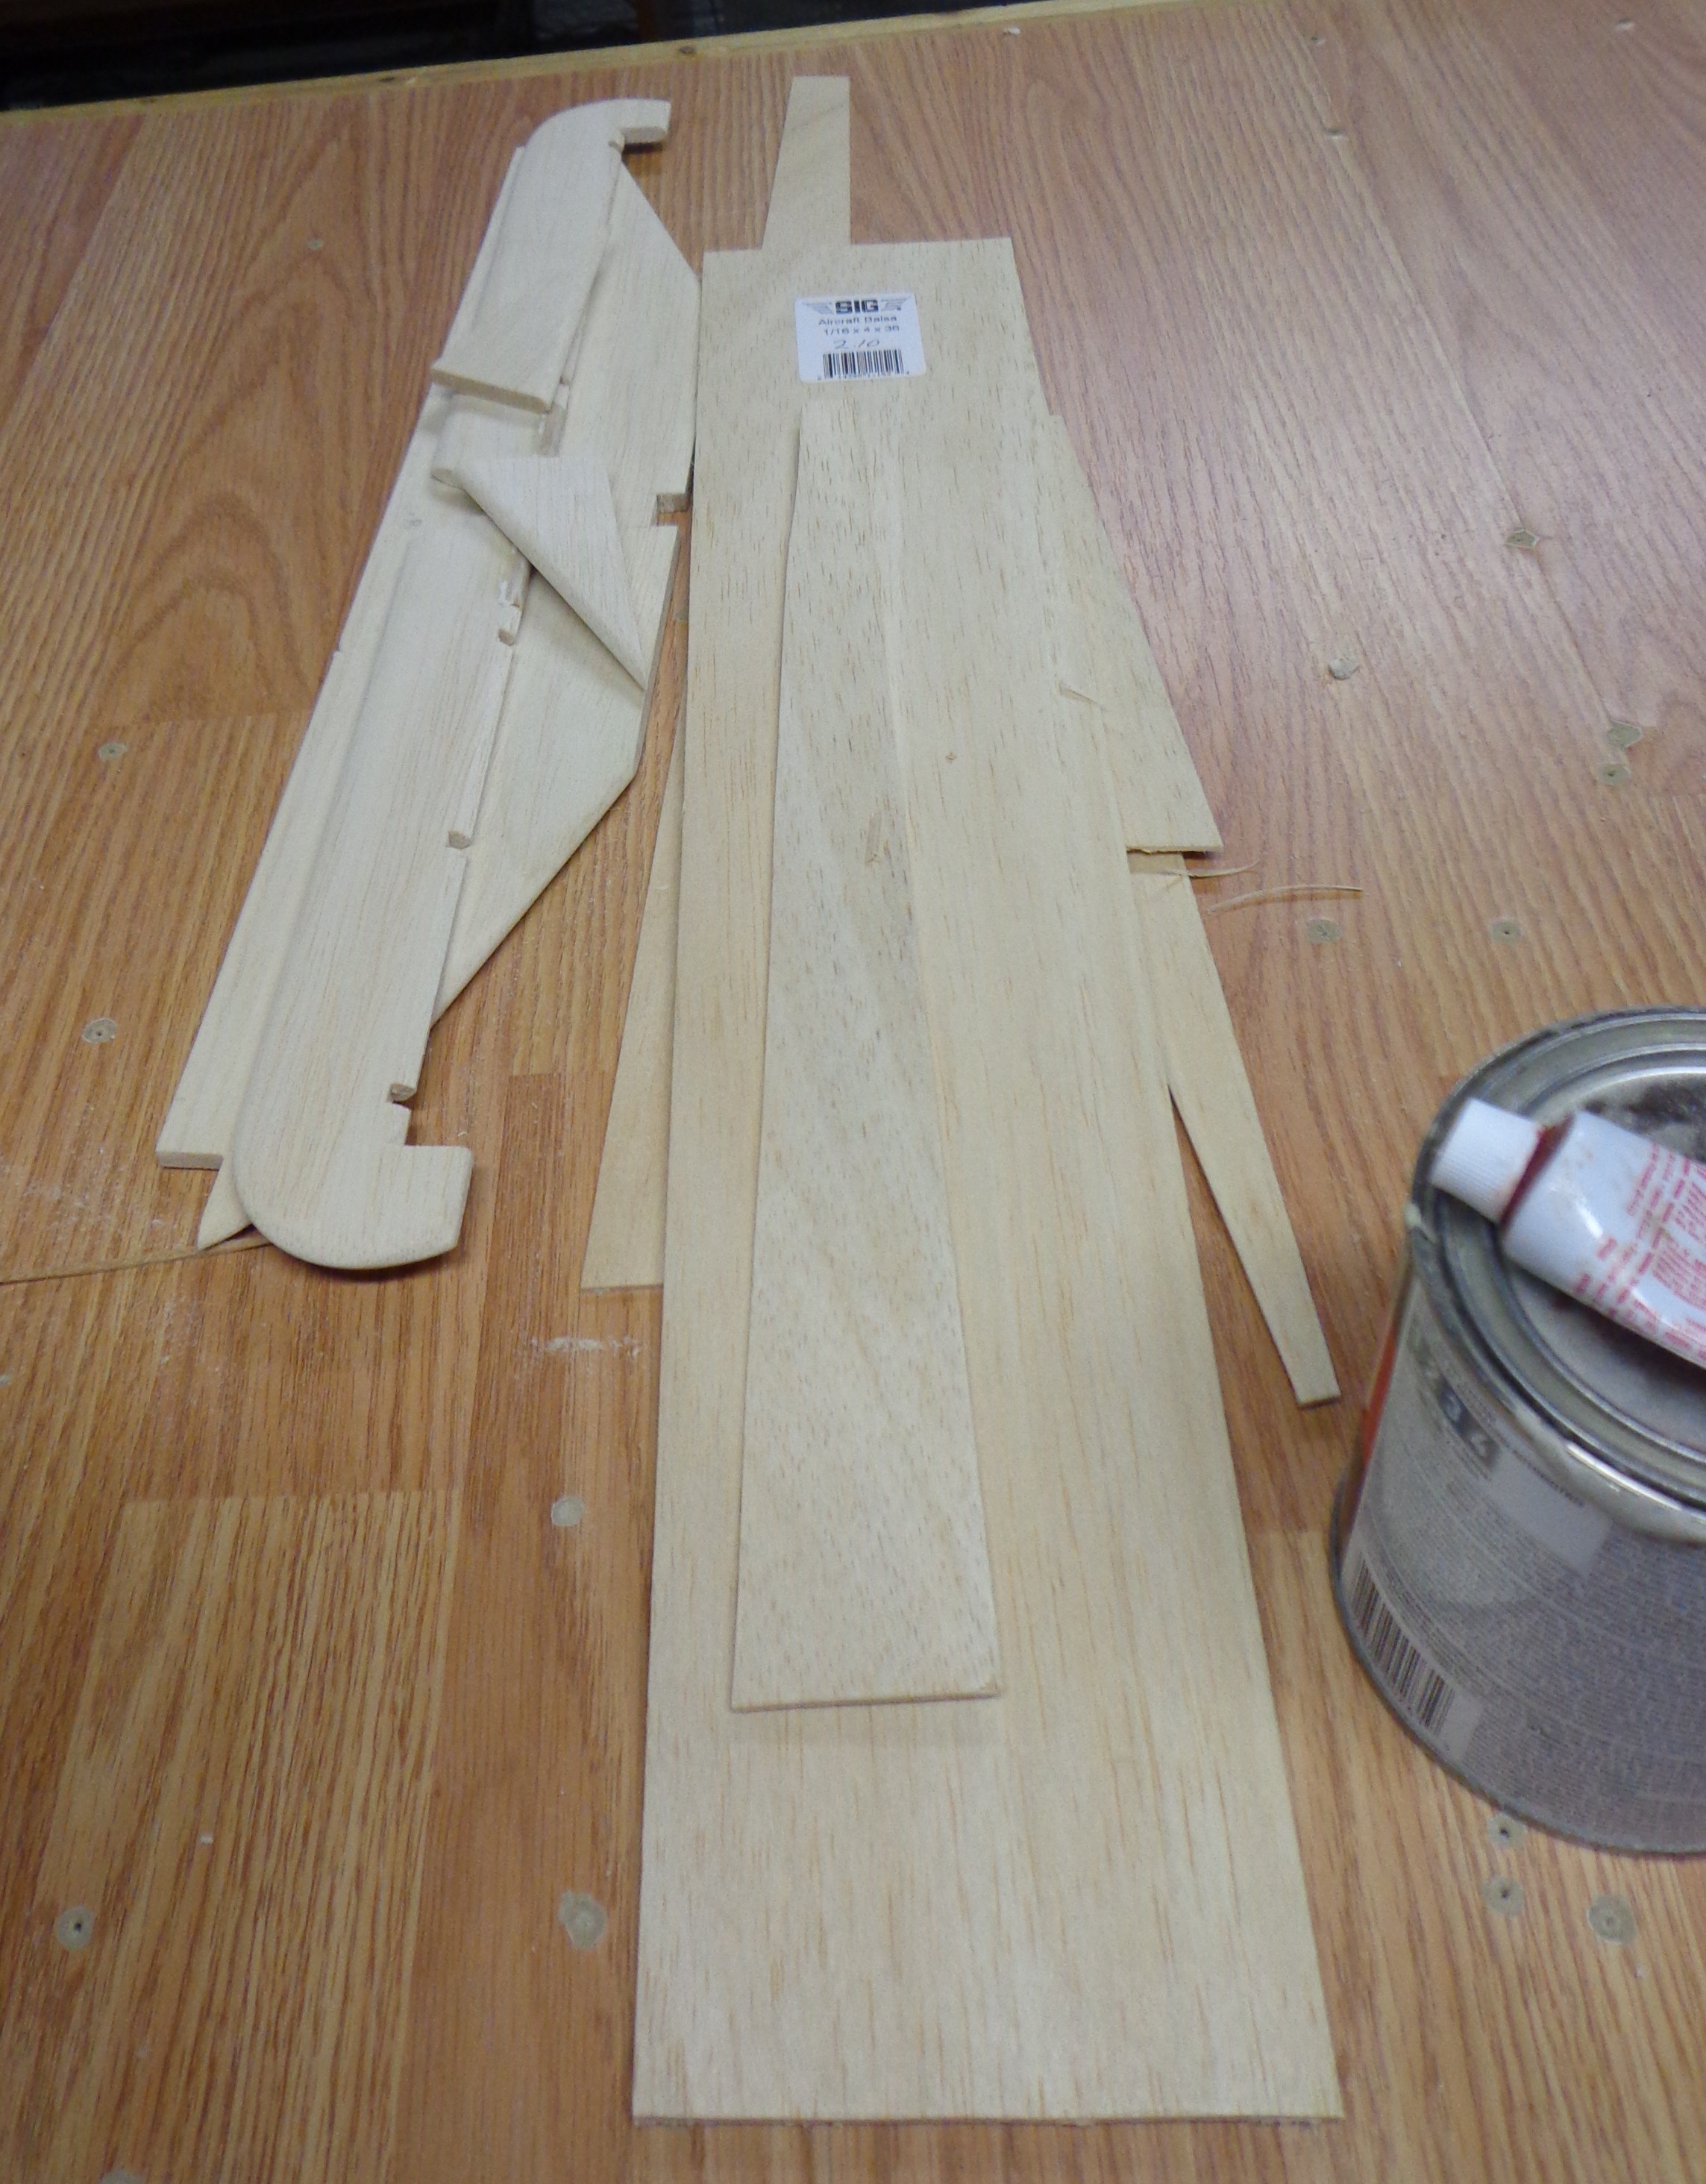
 Here is the elevator’s peg leg.
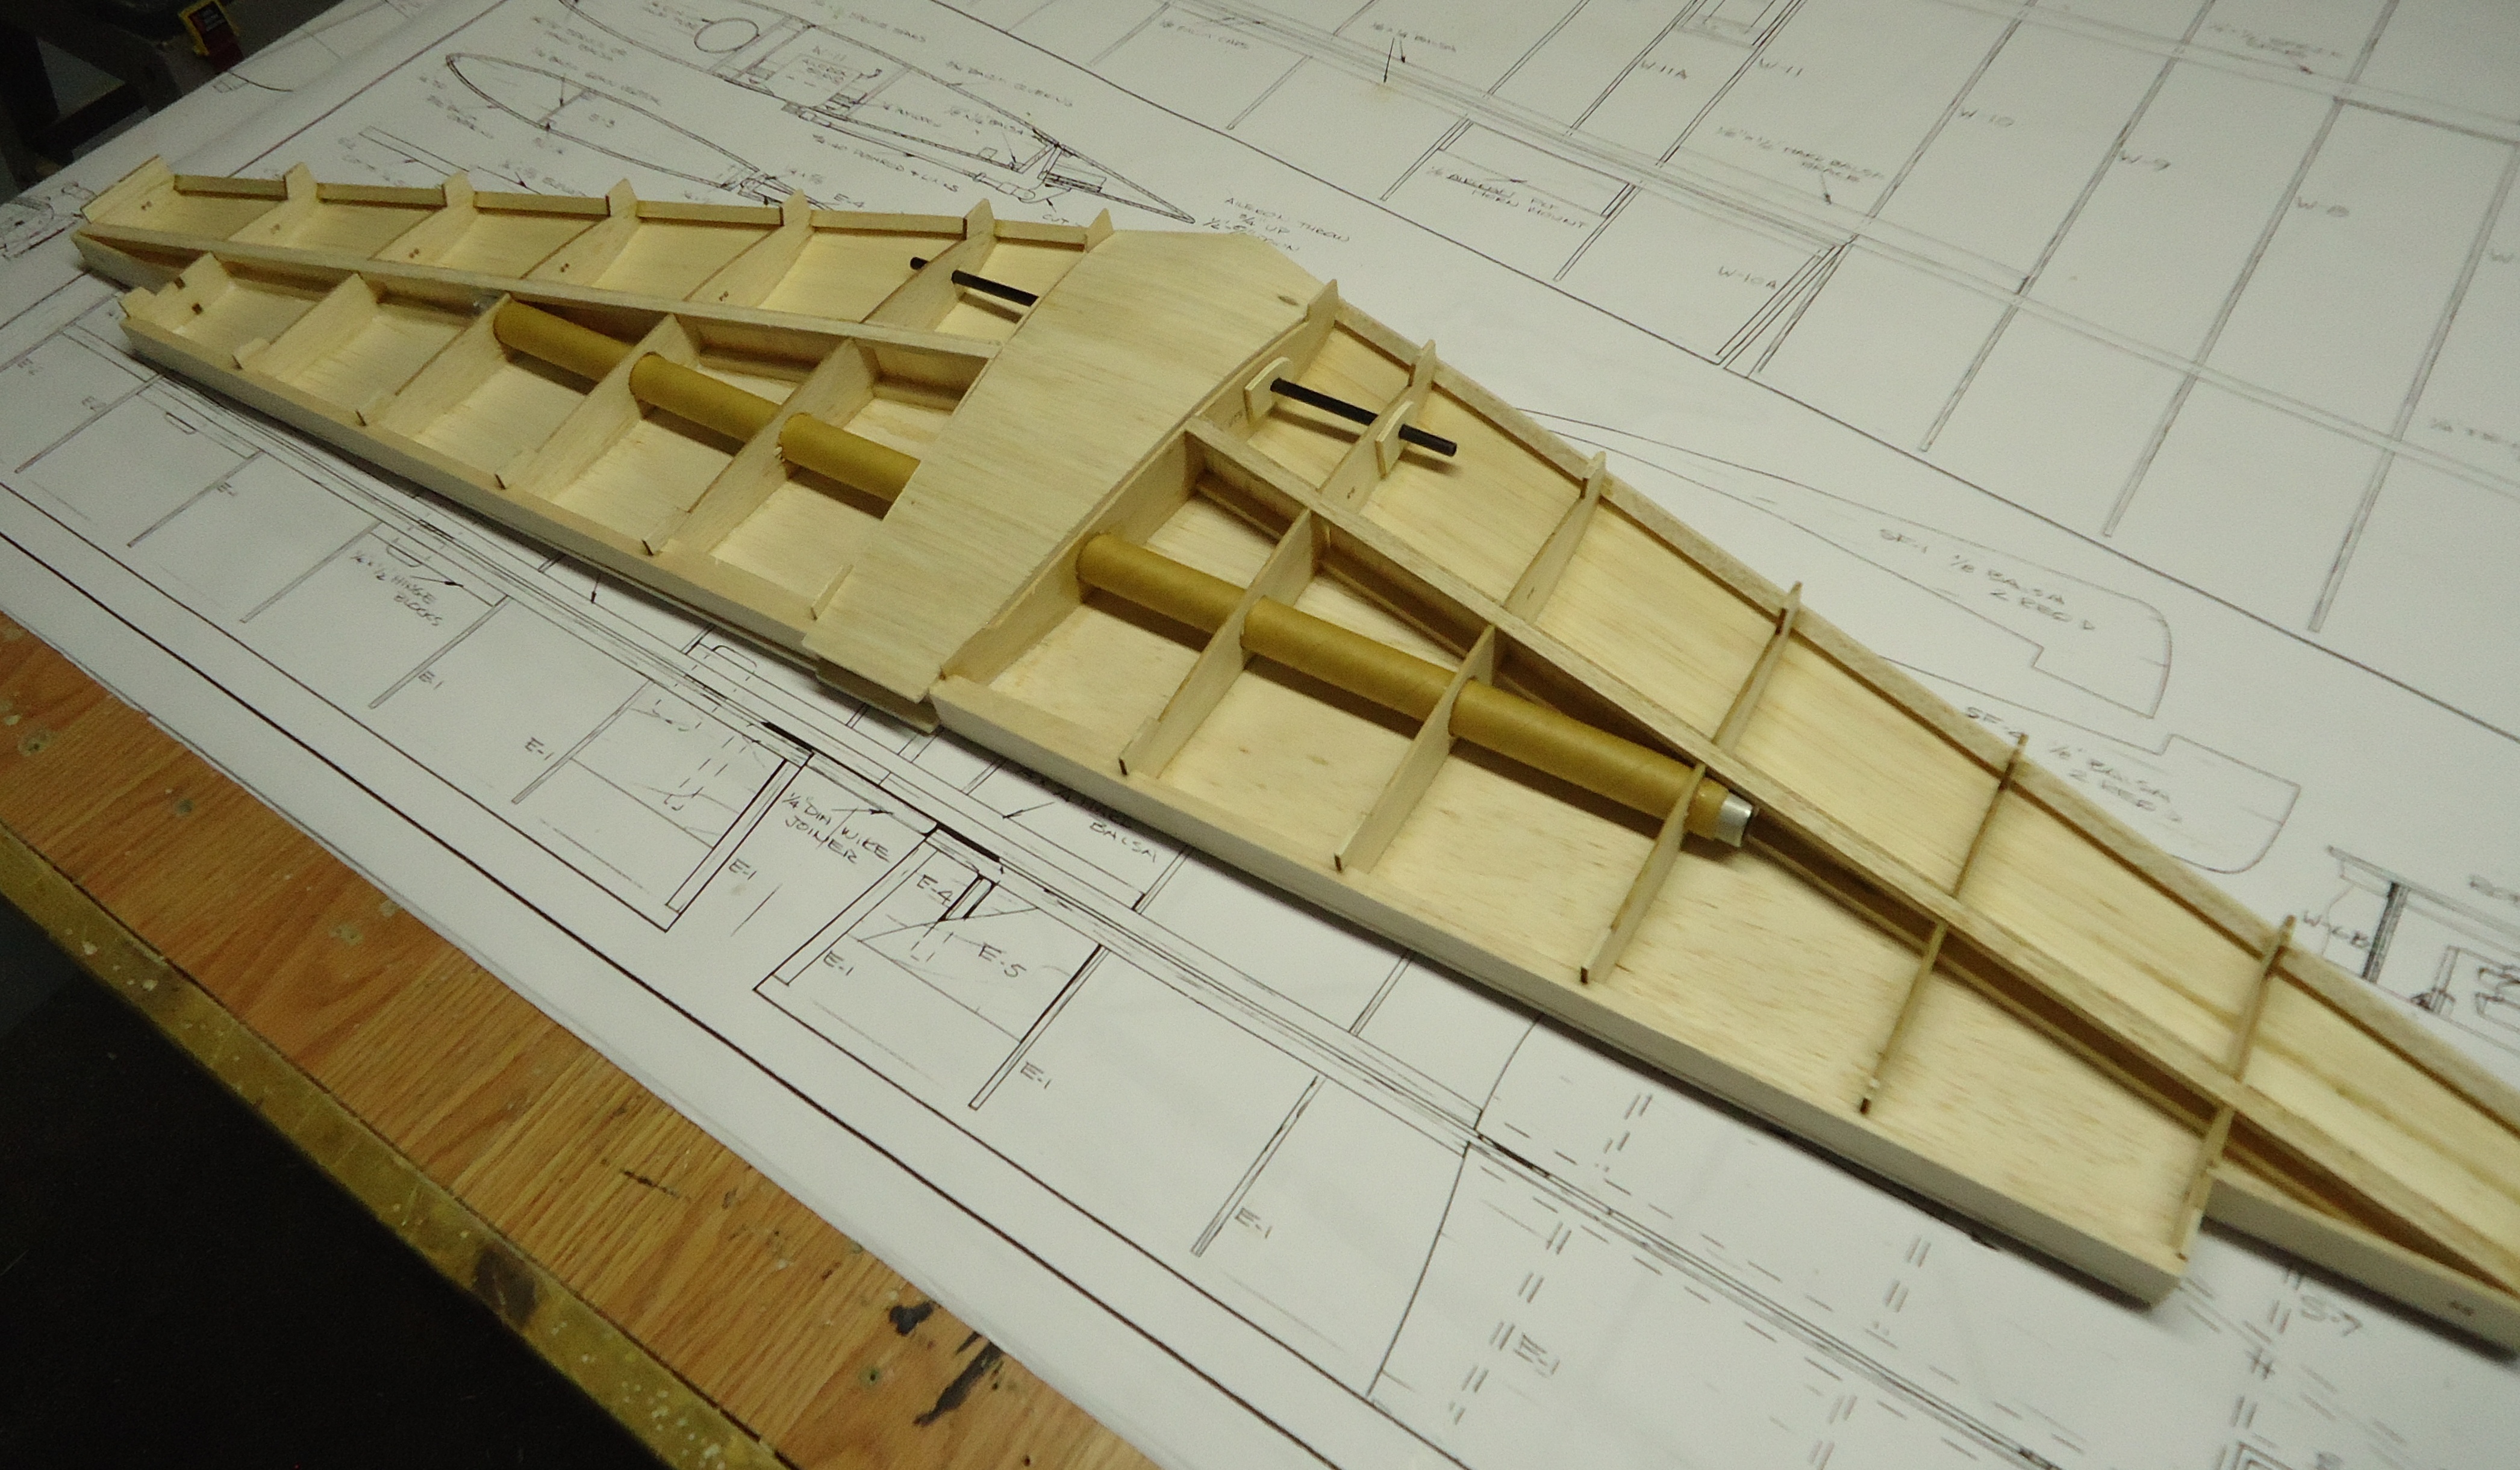
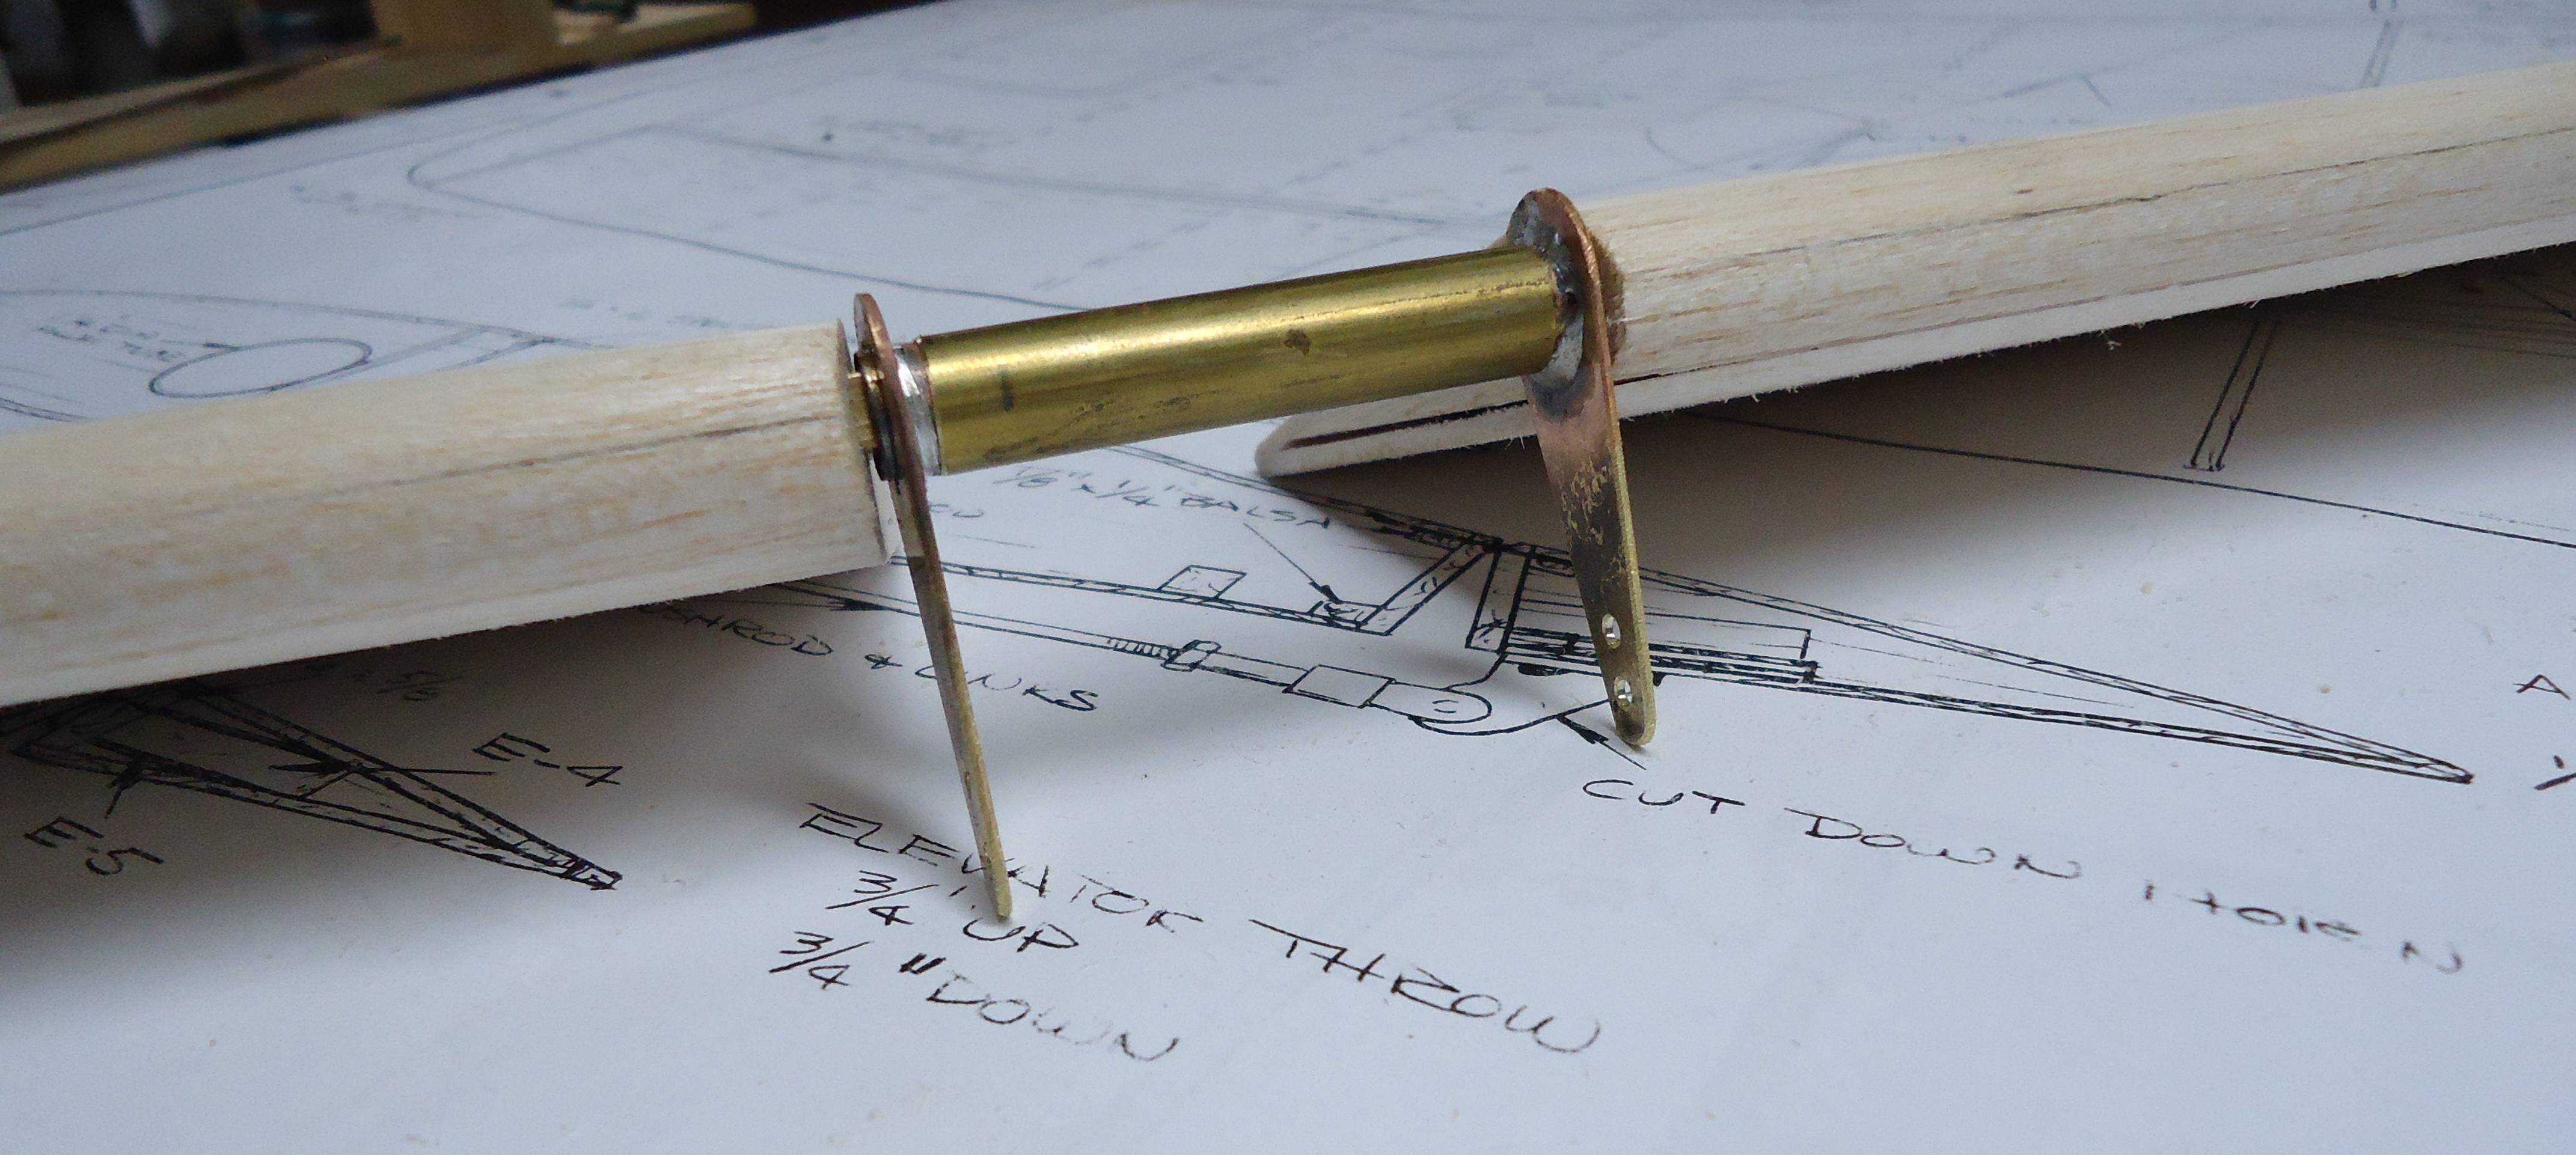 And now it has fancy gold fangs.
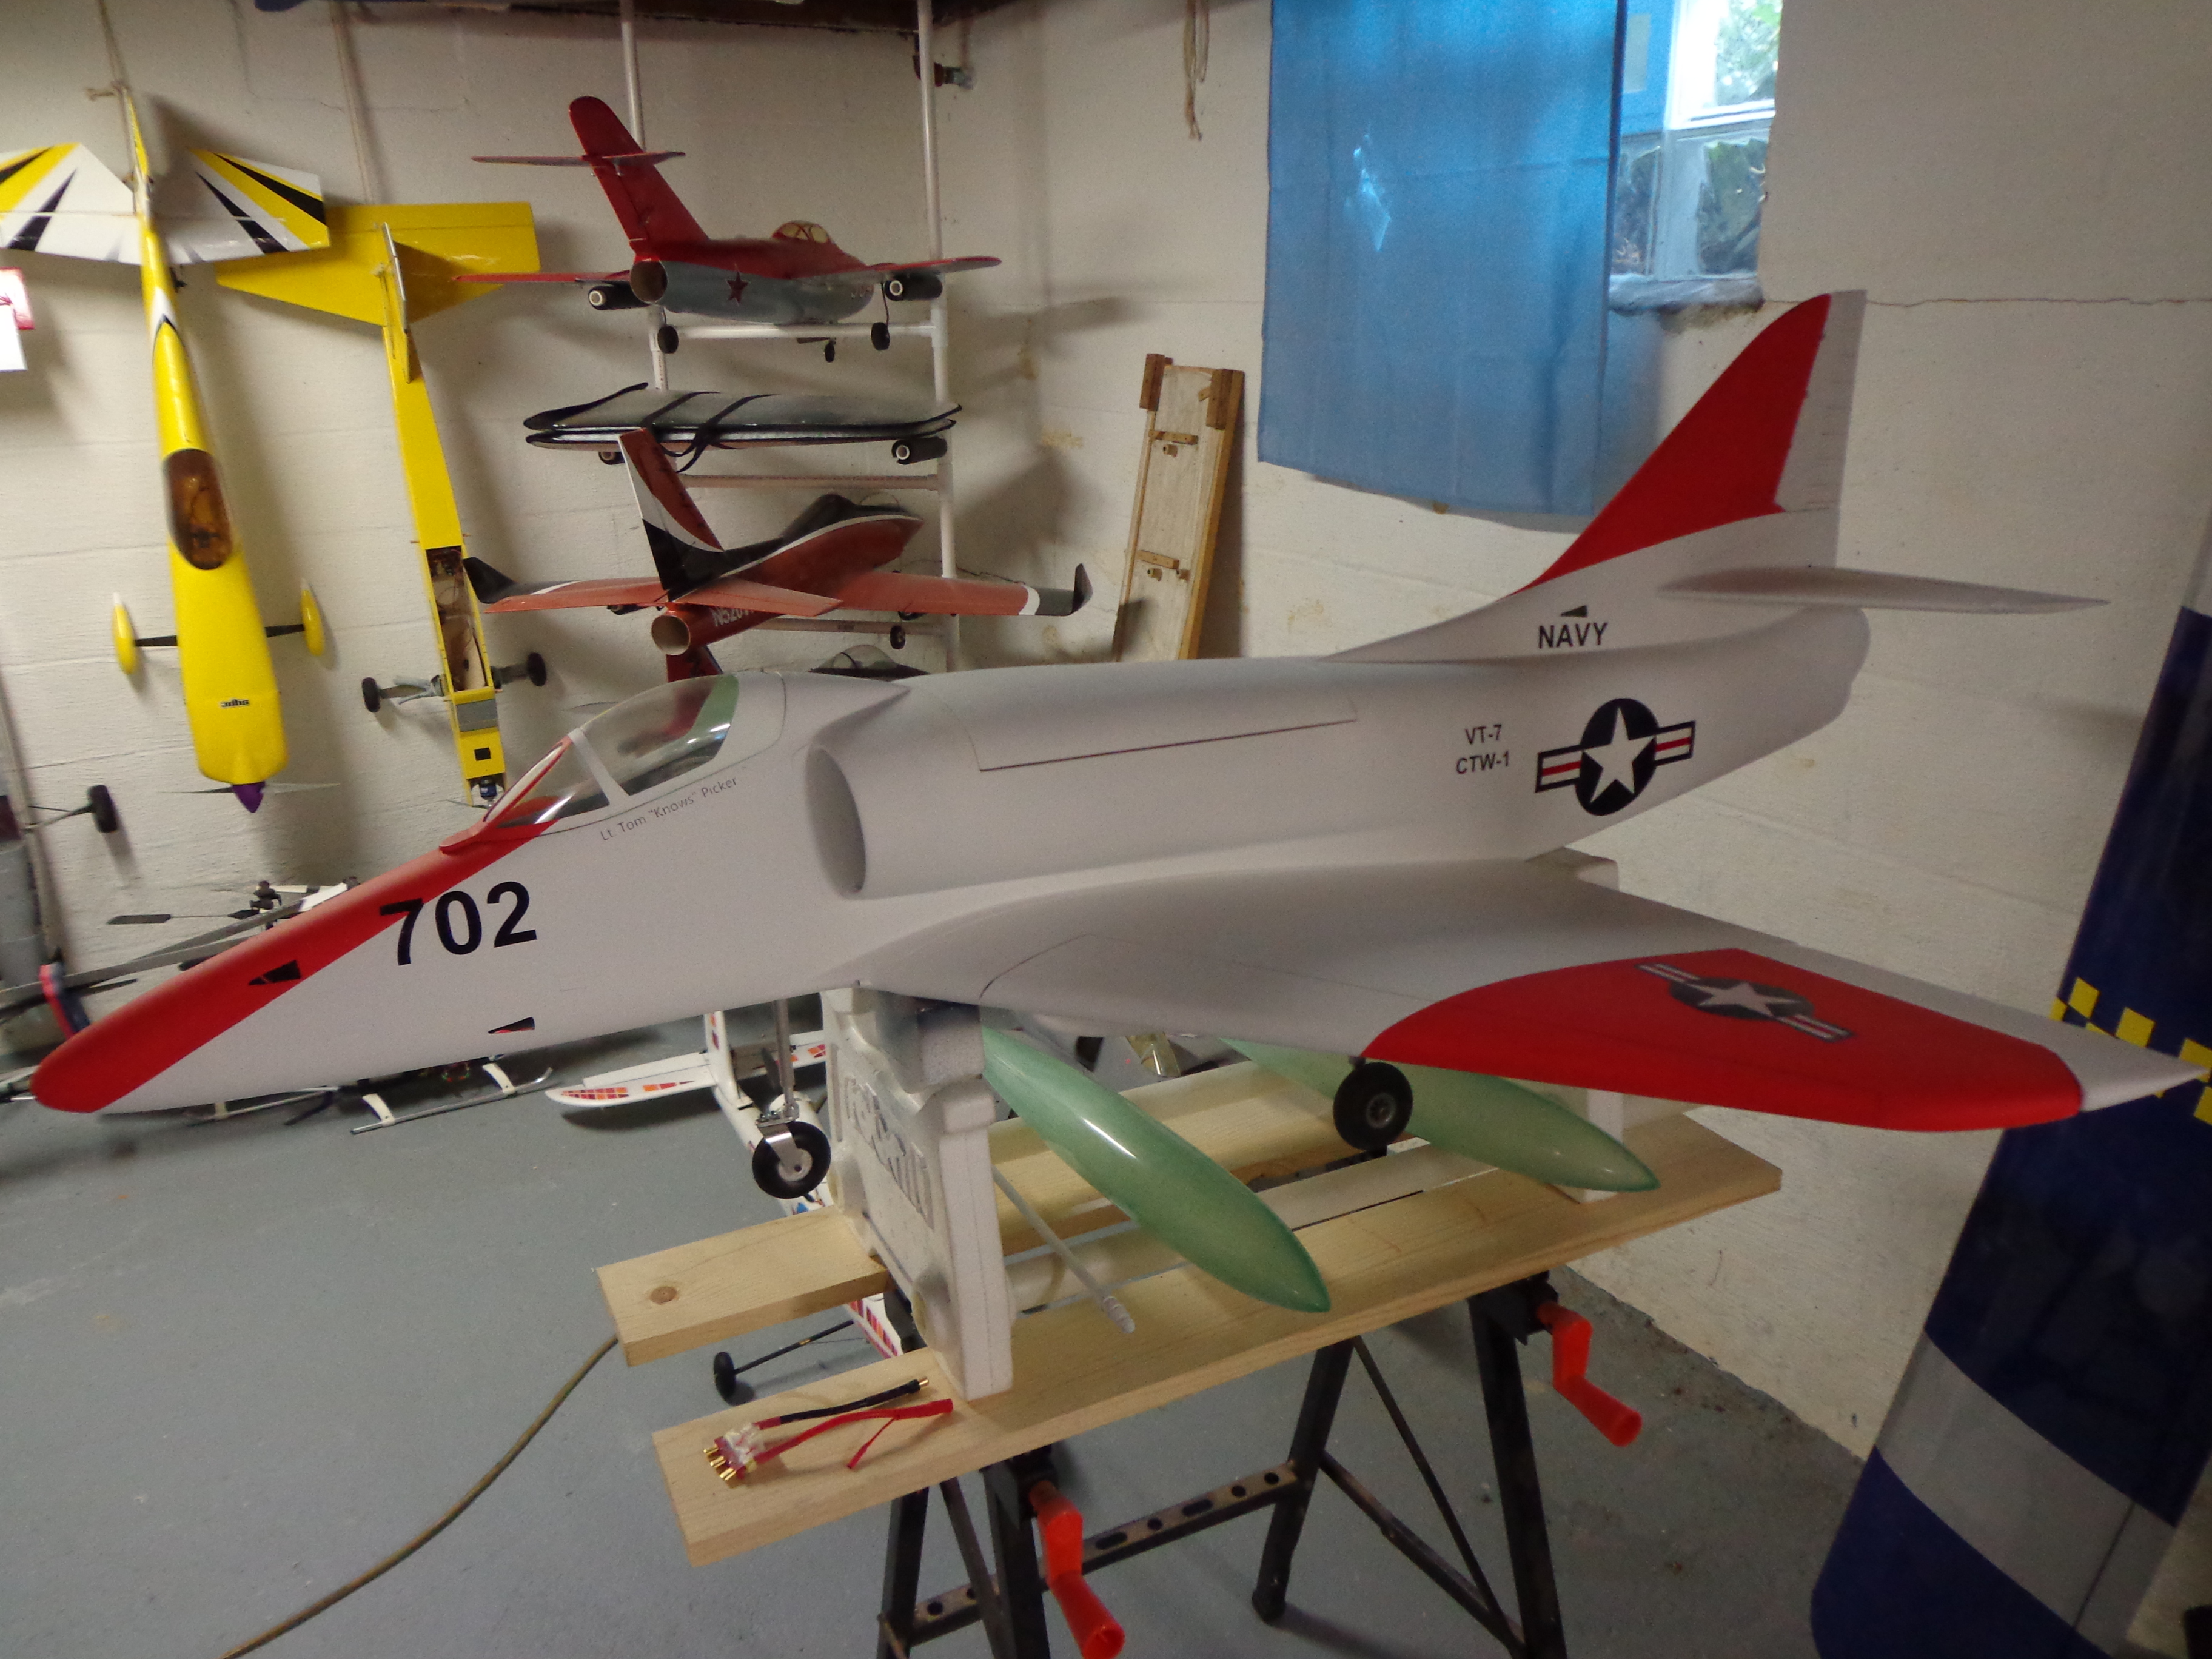
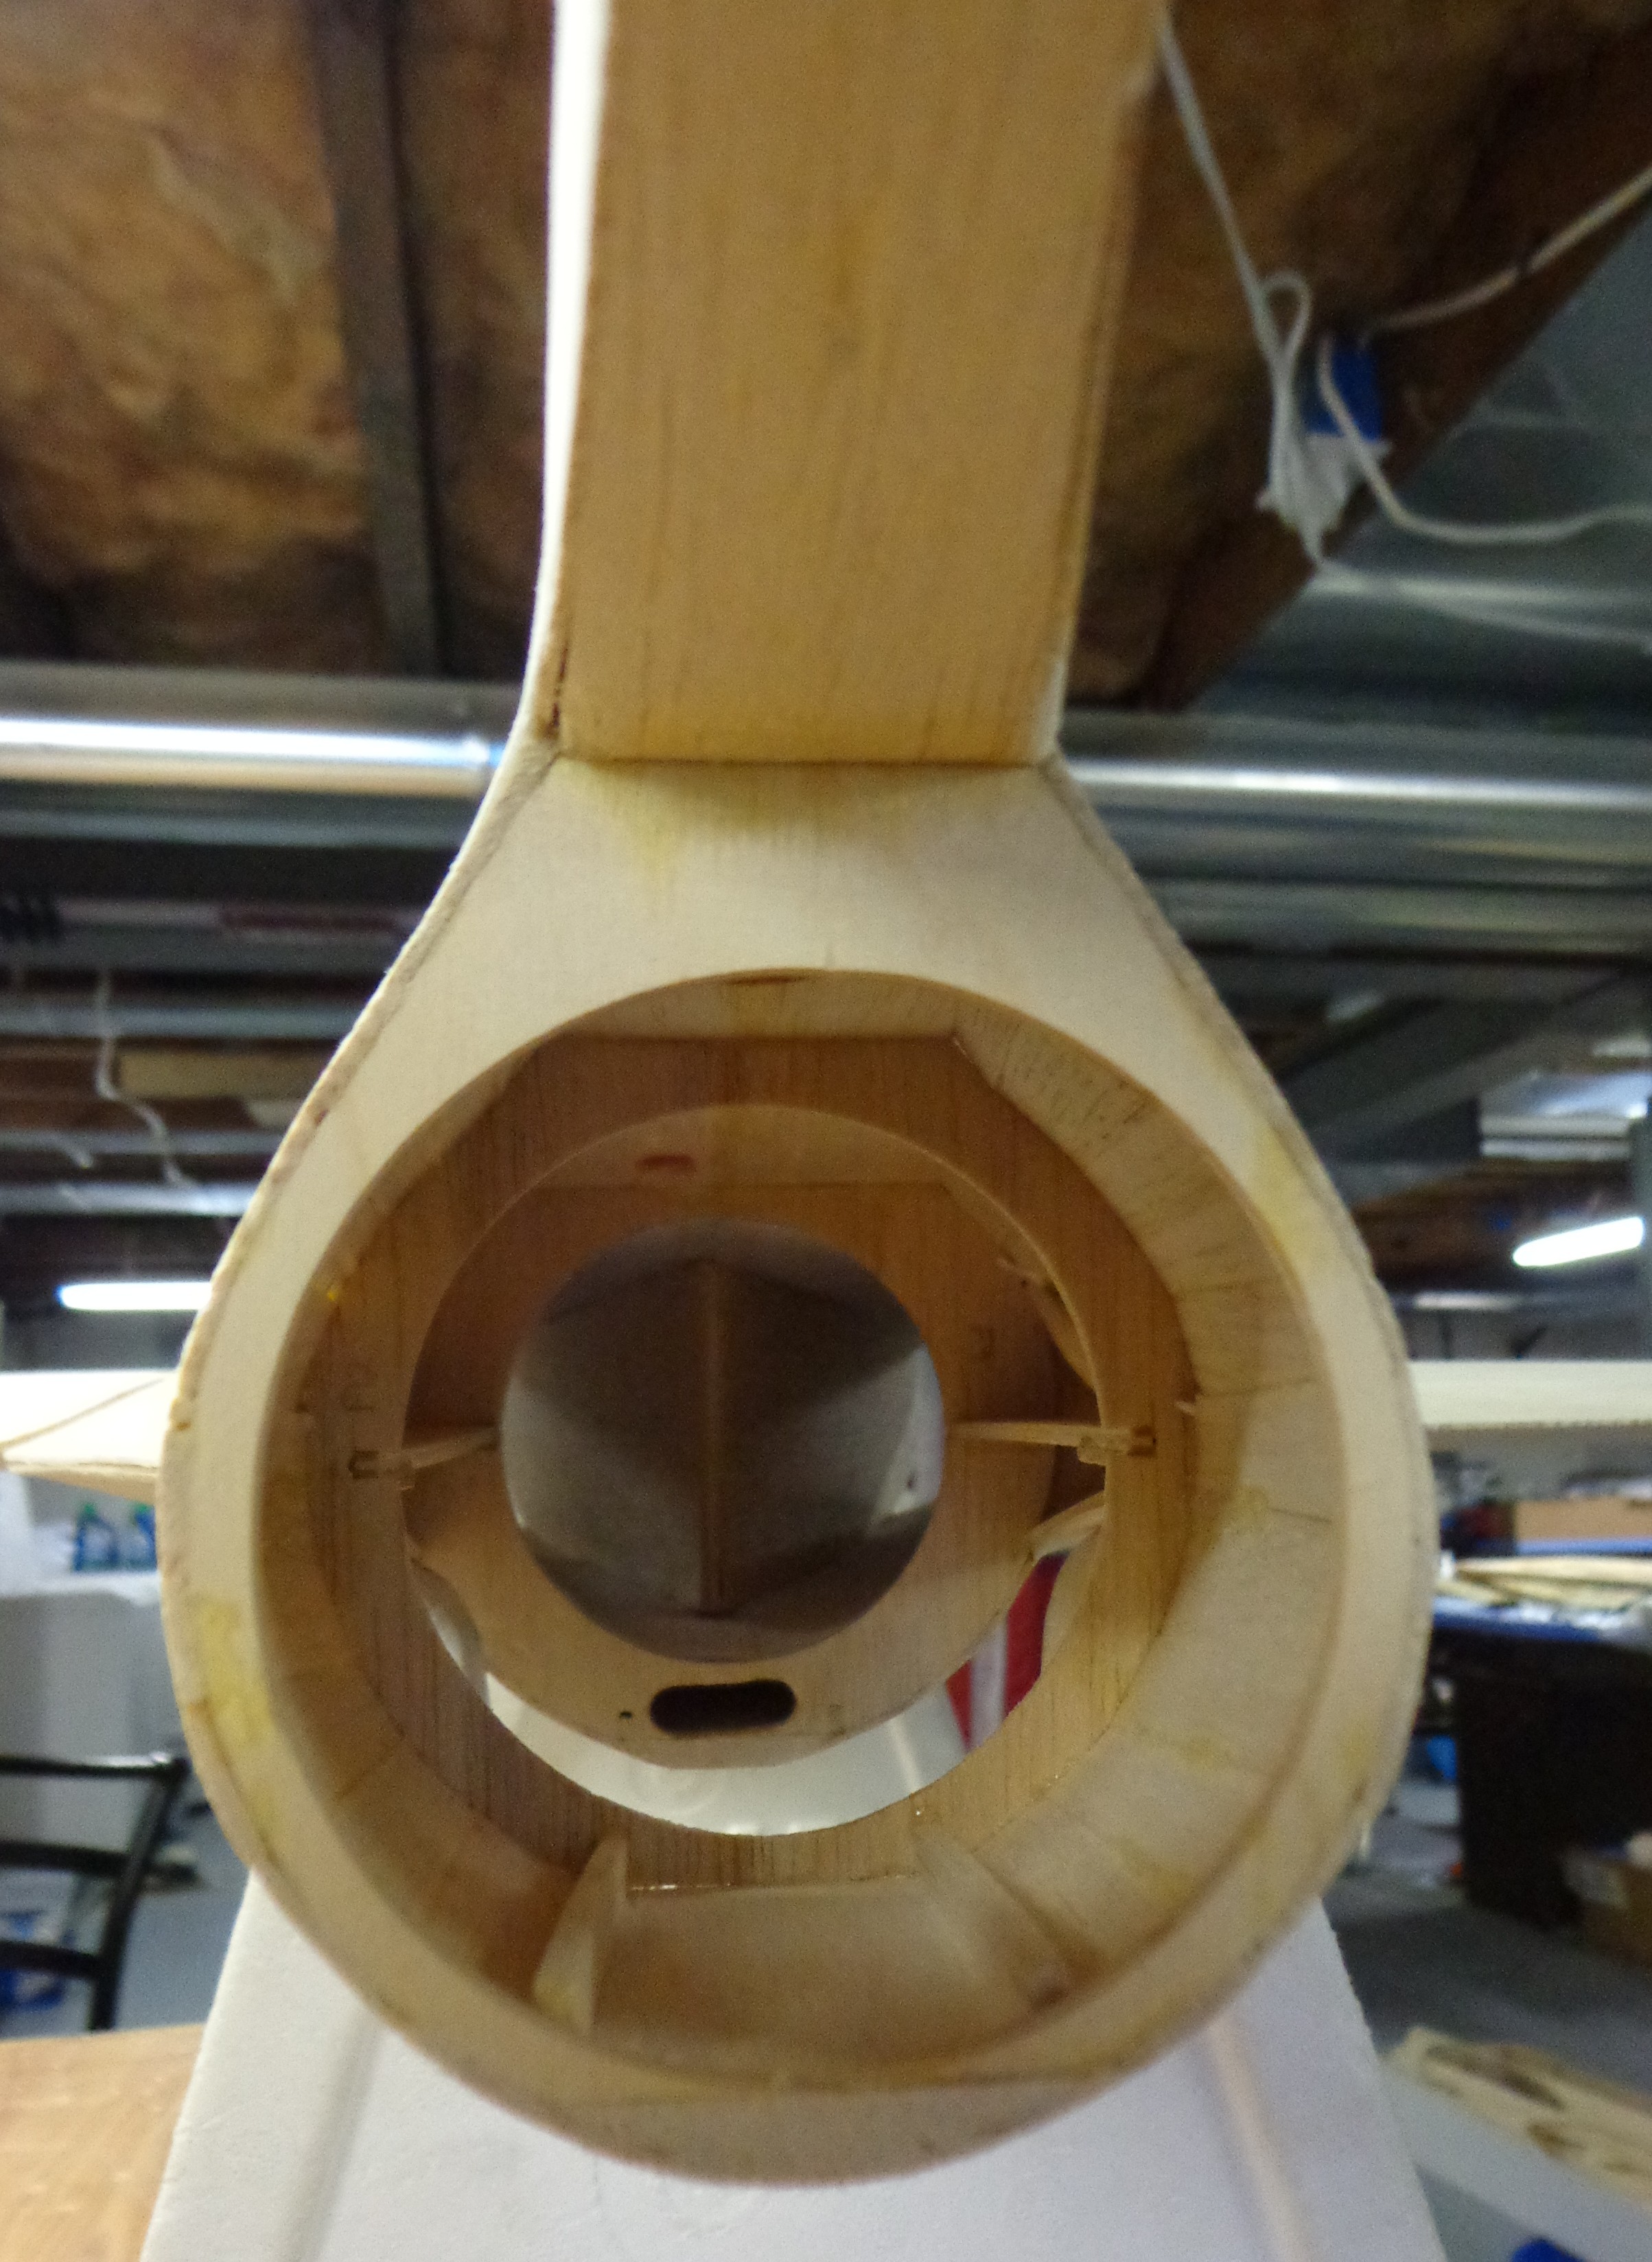
 And here it is after a mere four days on the bench. Can you believe it?! Only four days… it’s amazing how much you can accomplish when you really put your mind to it!
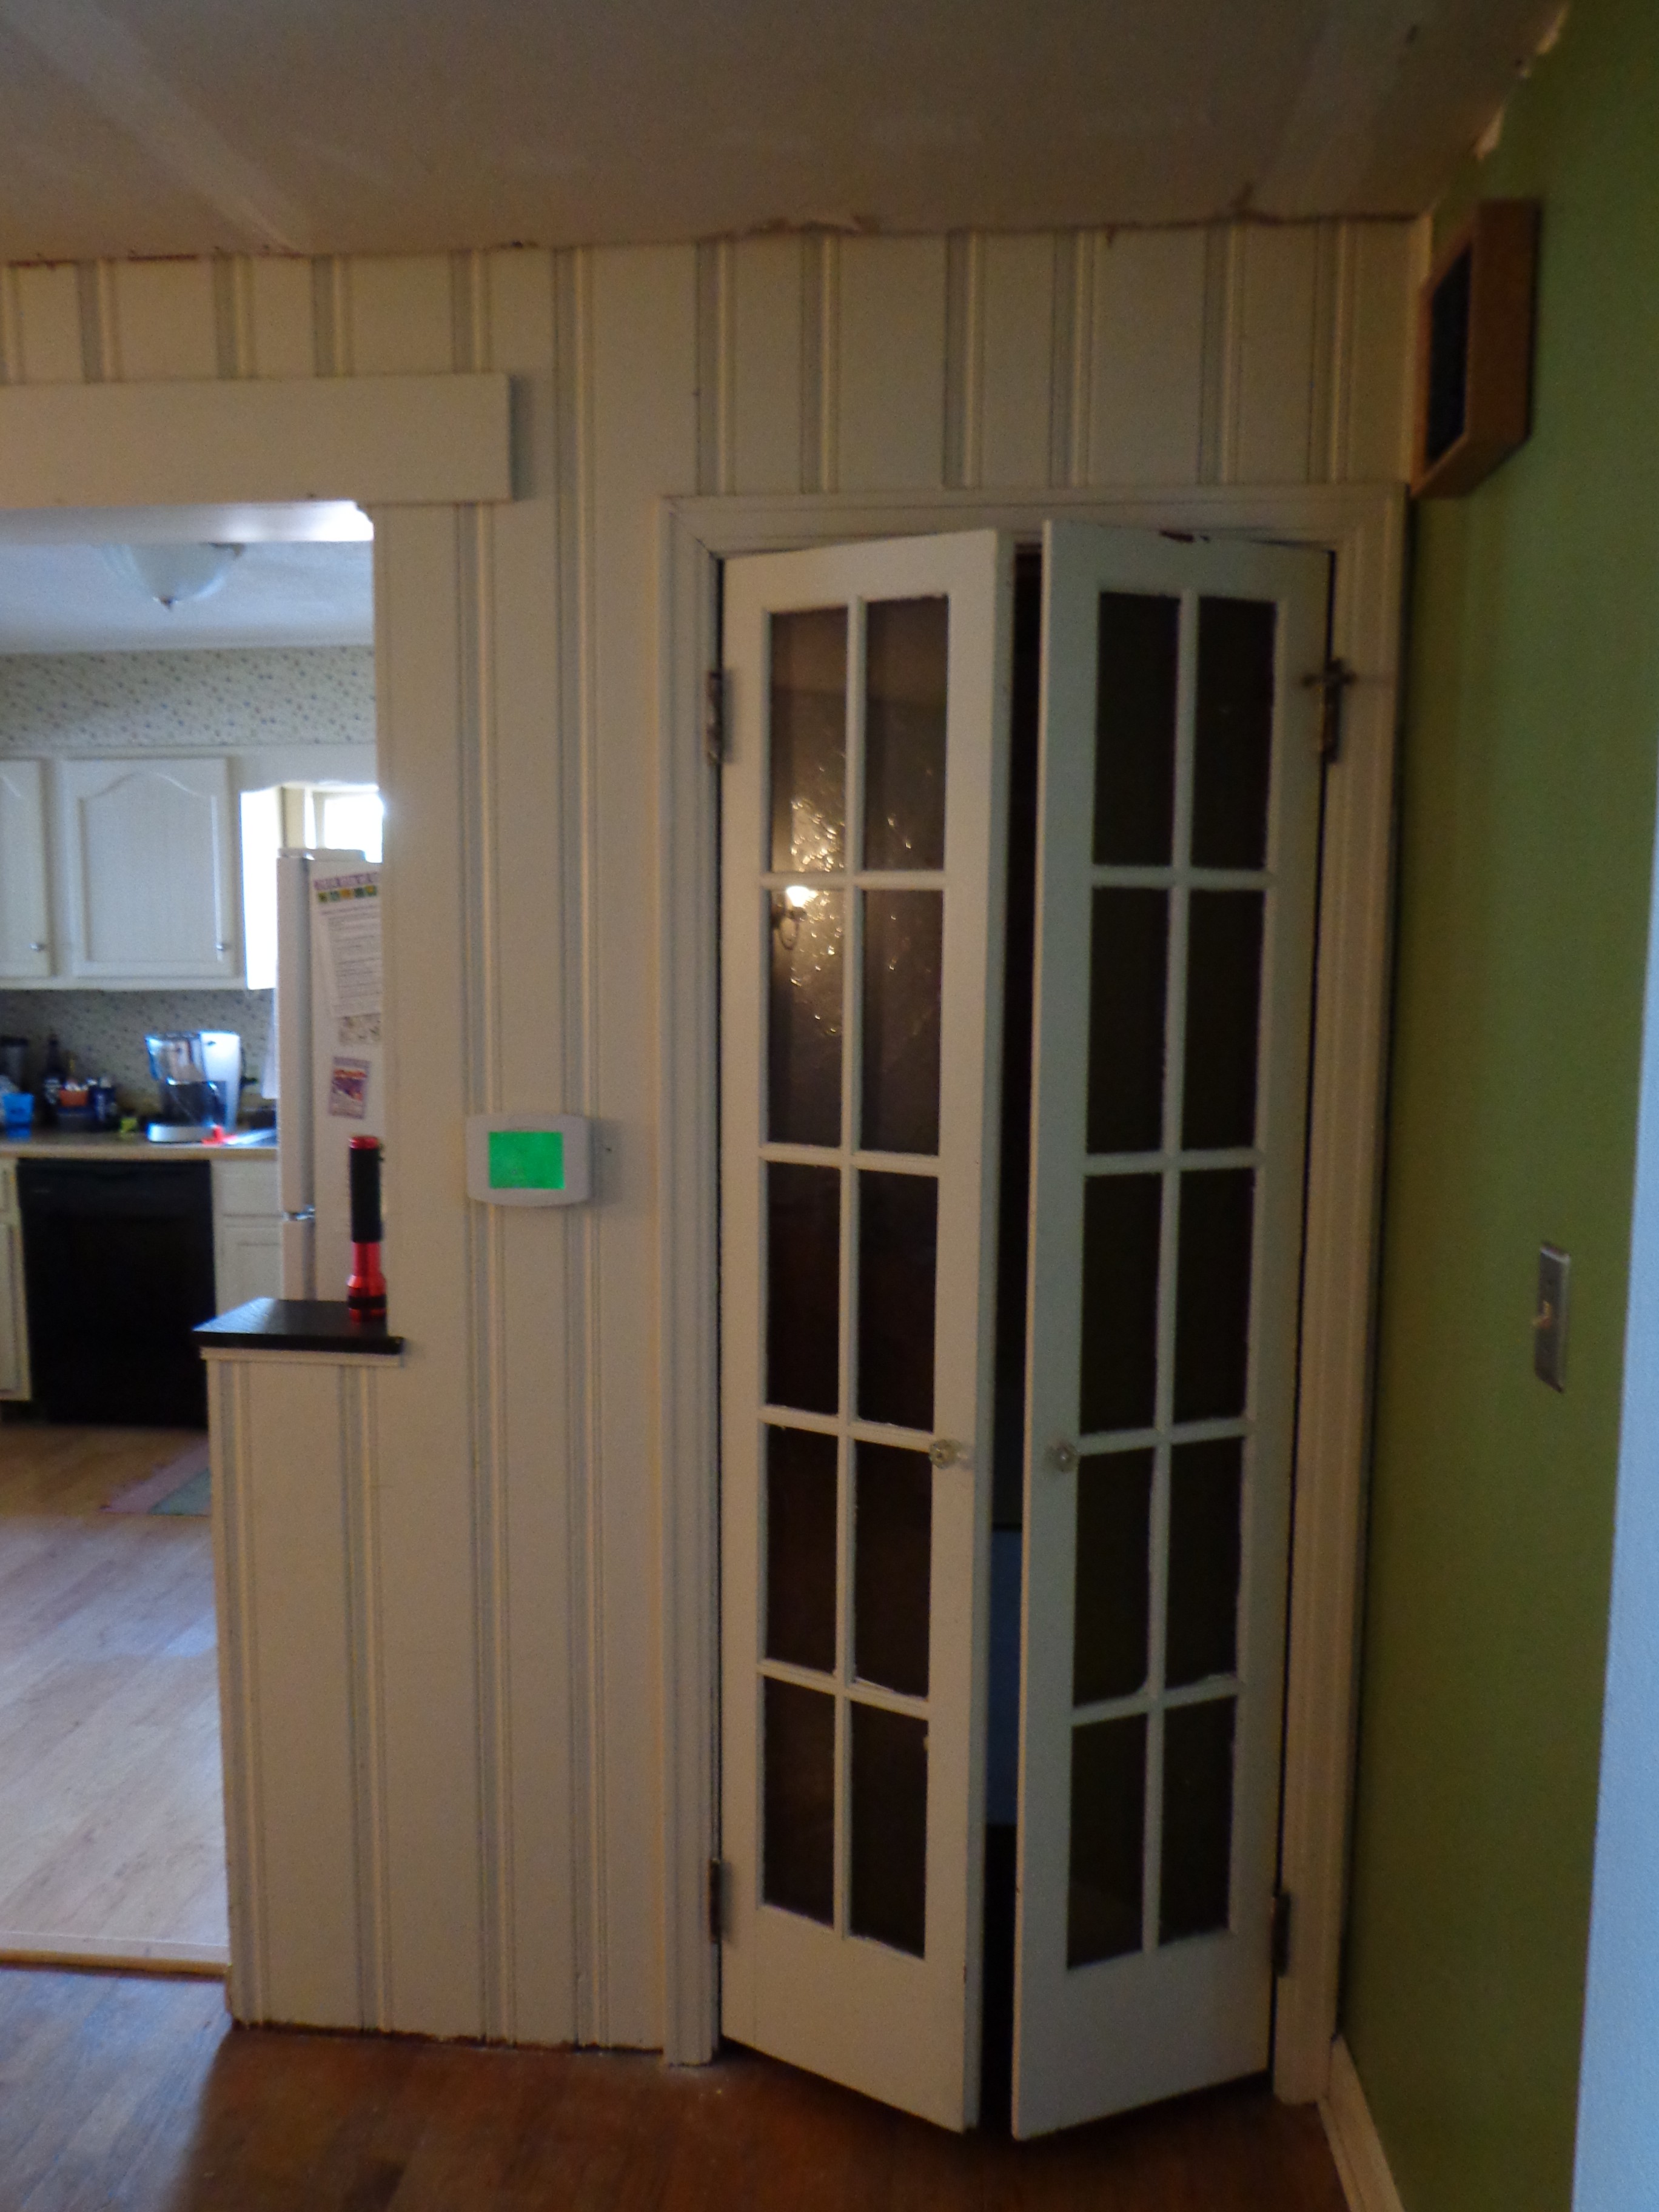


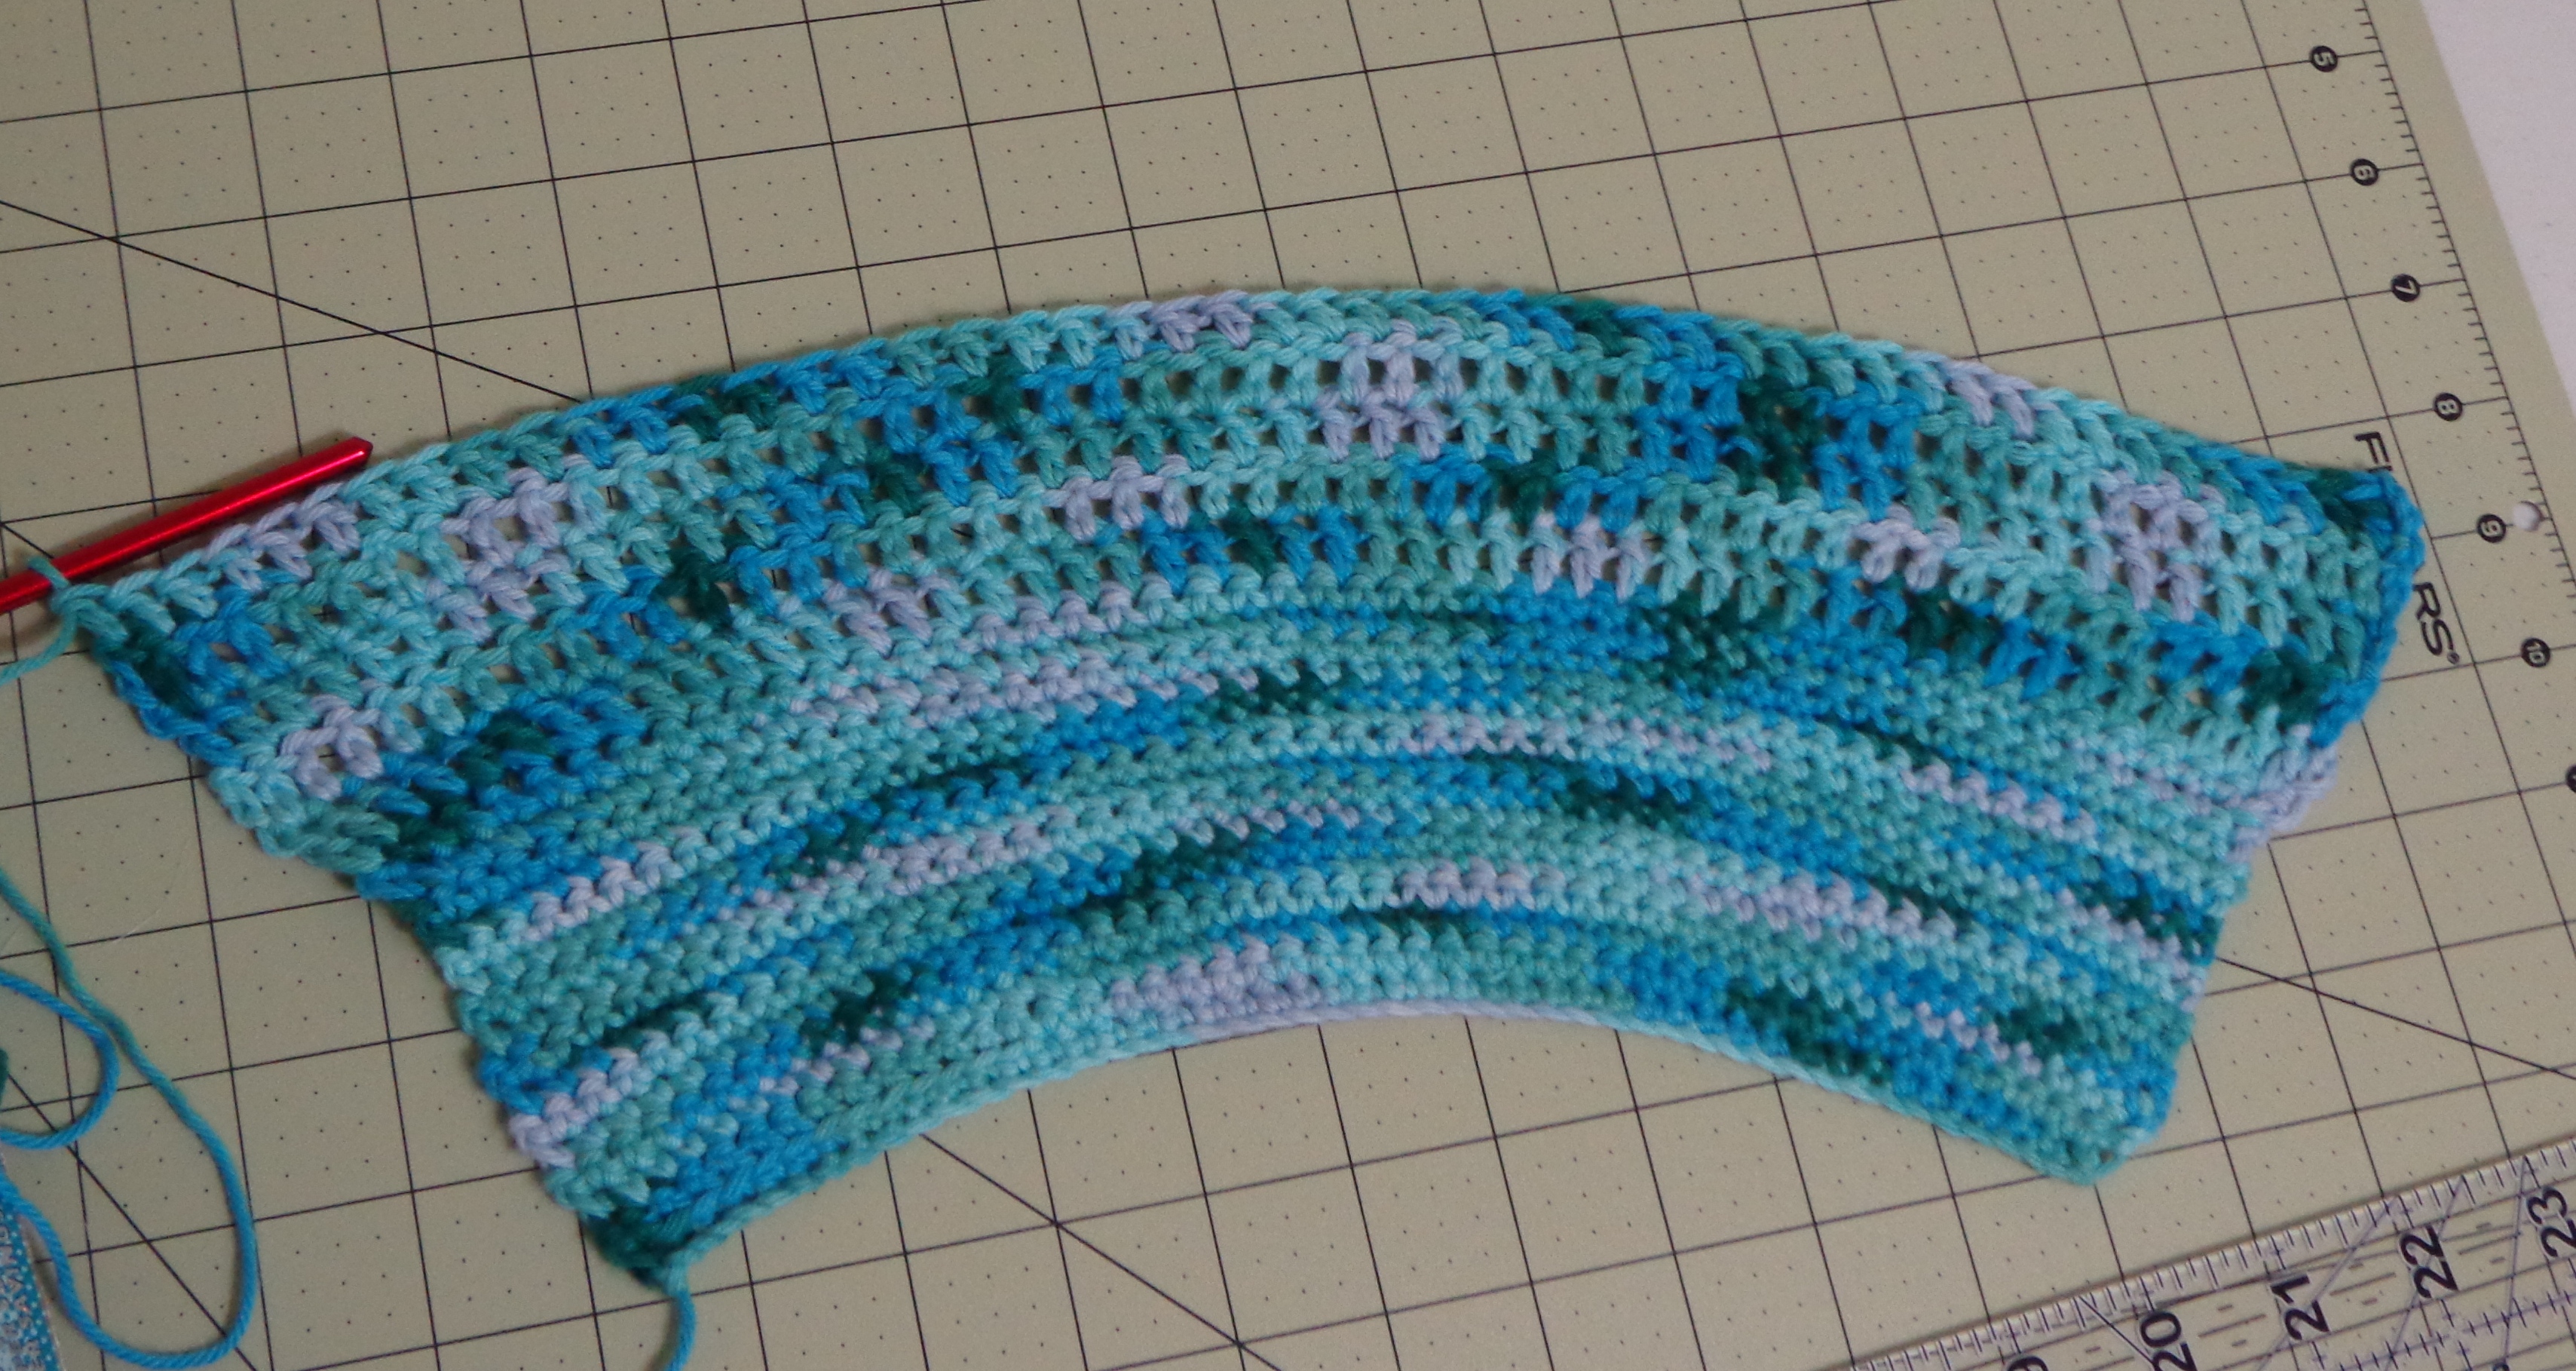
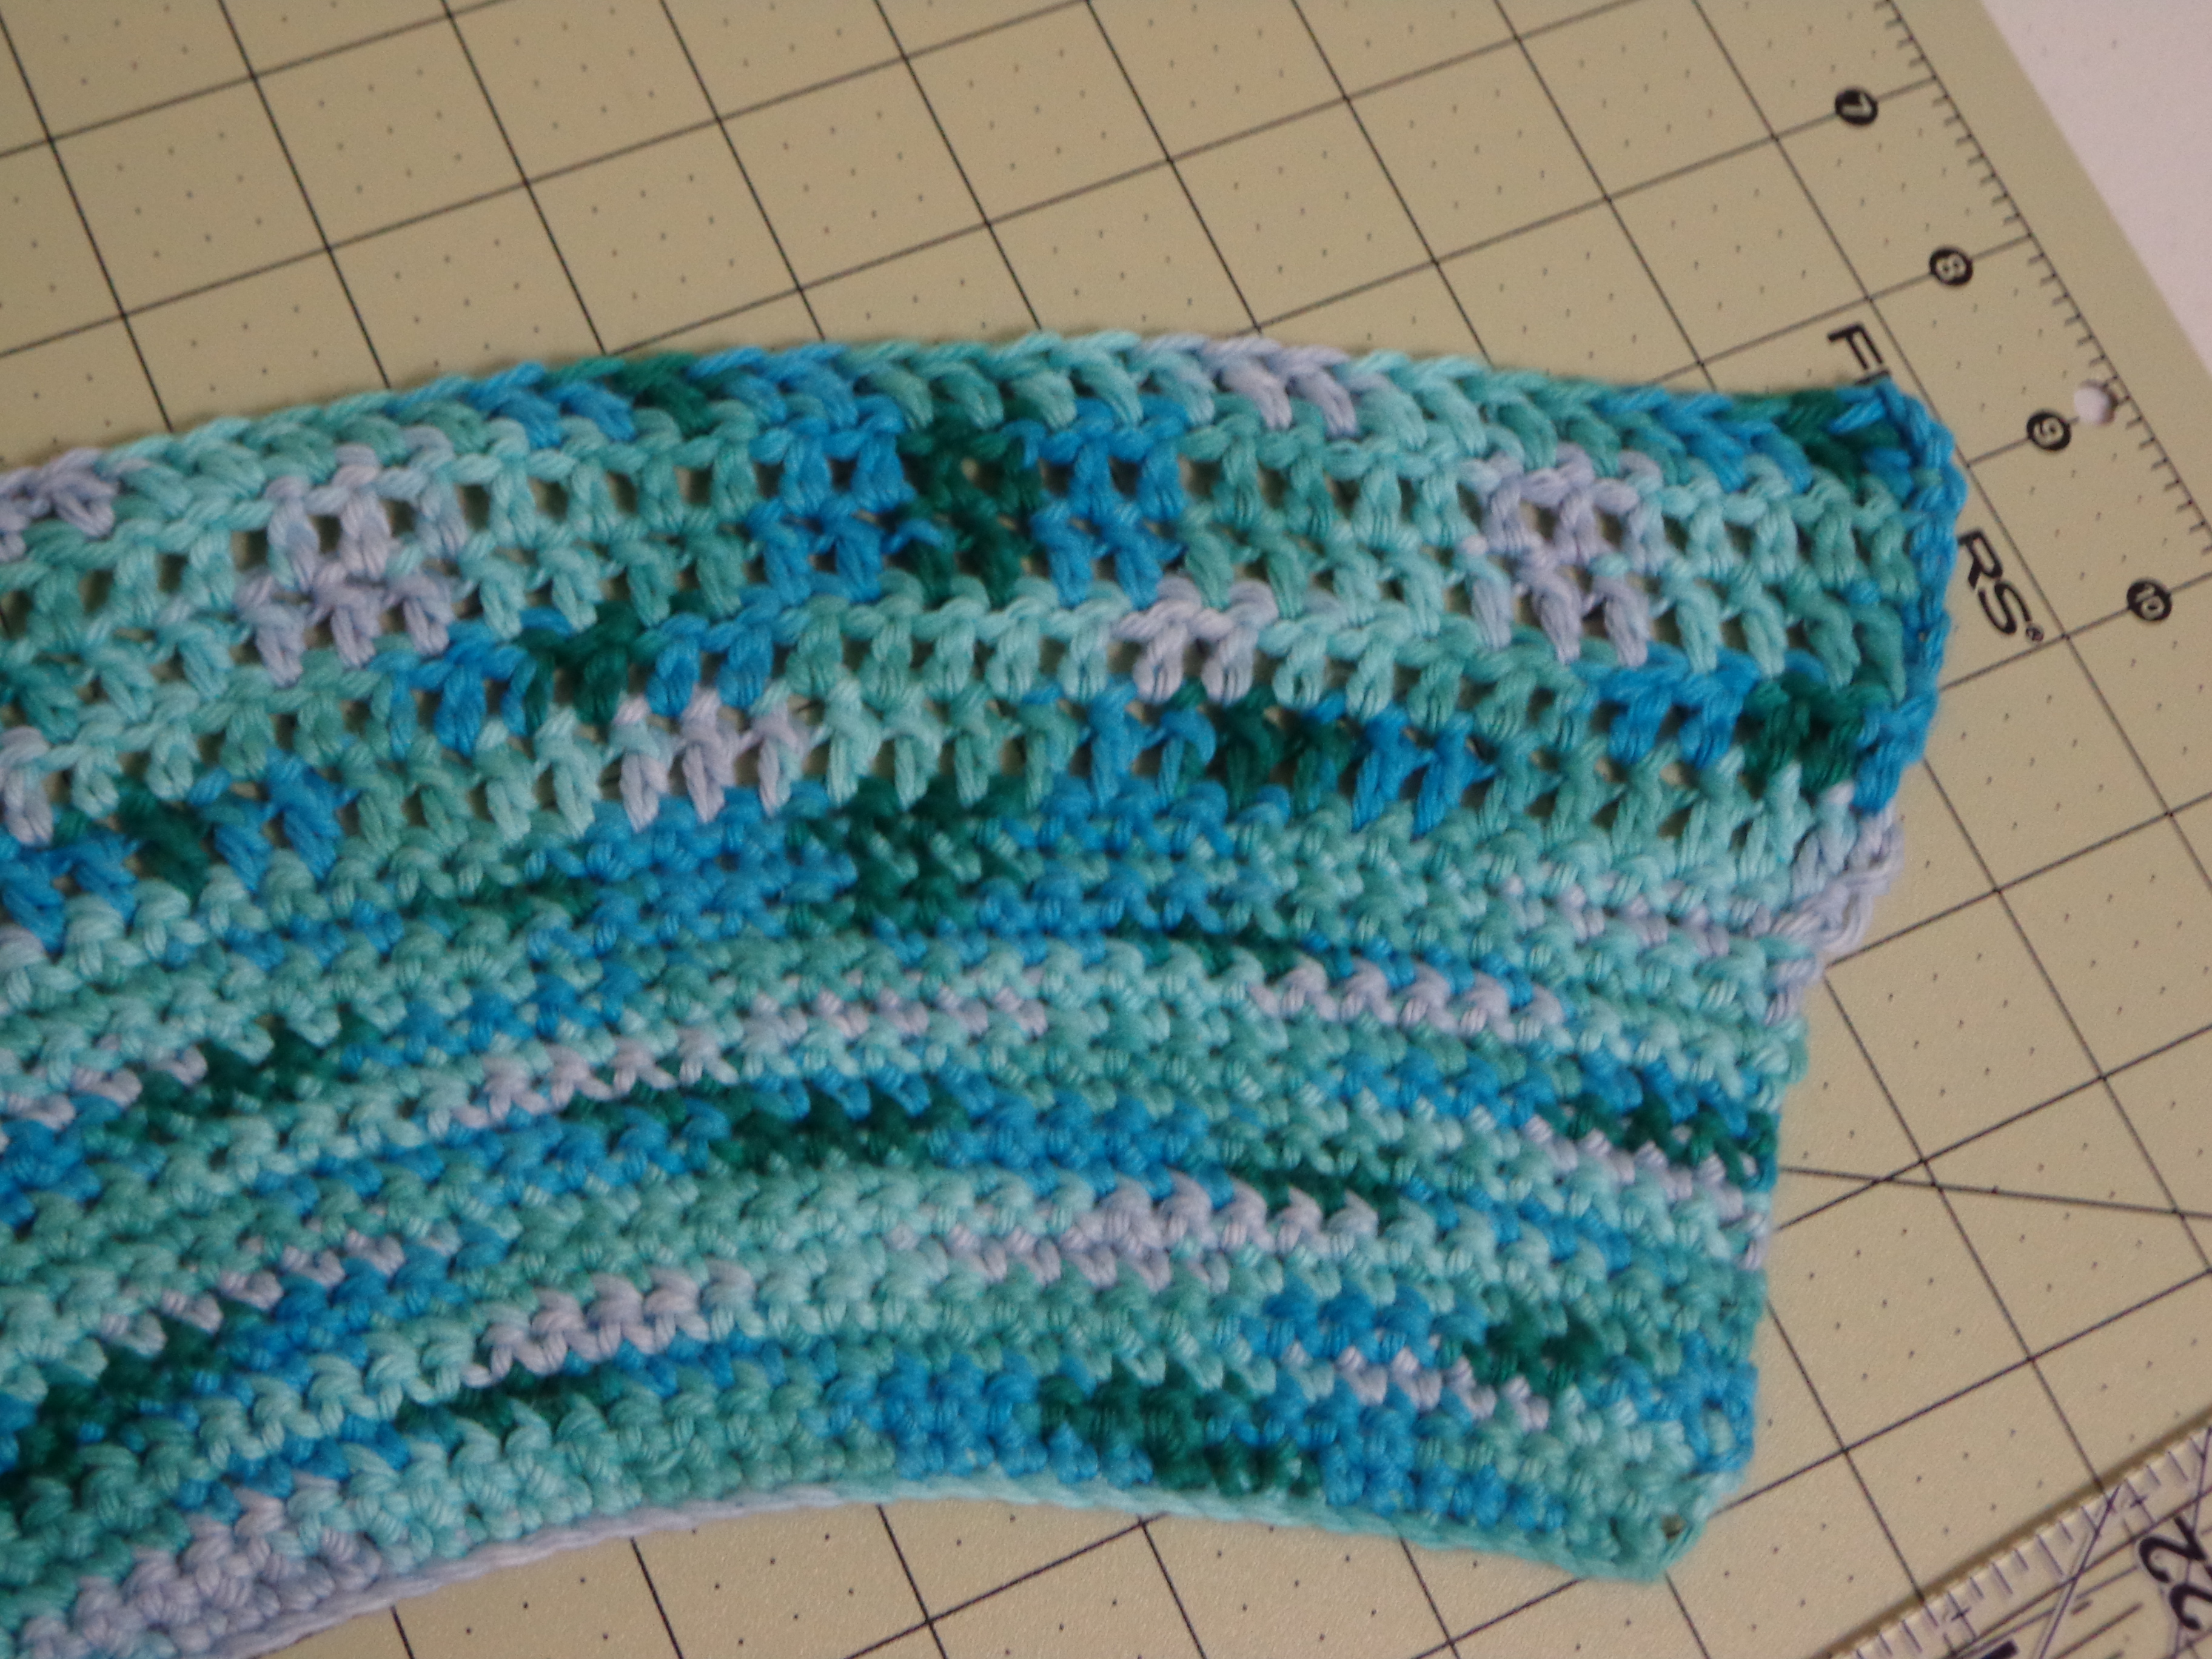
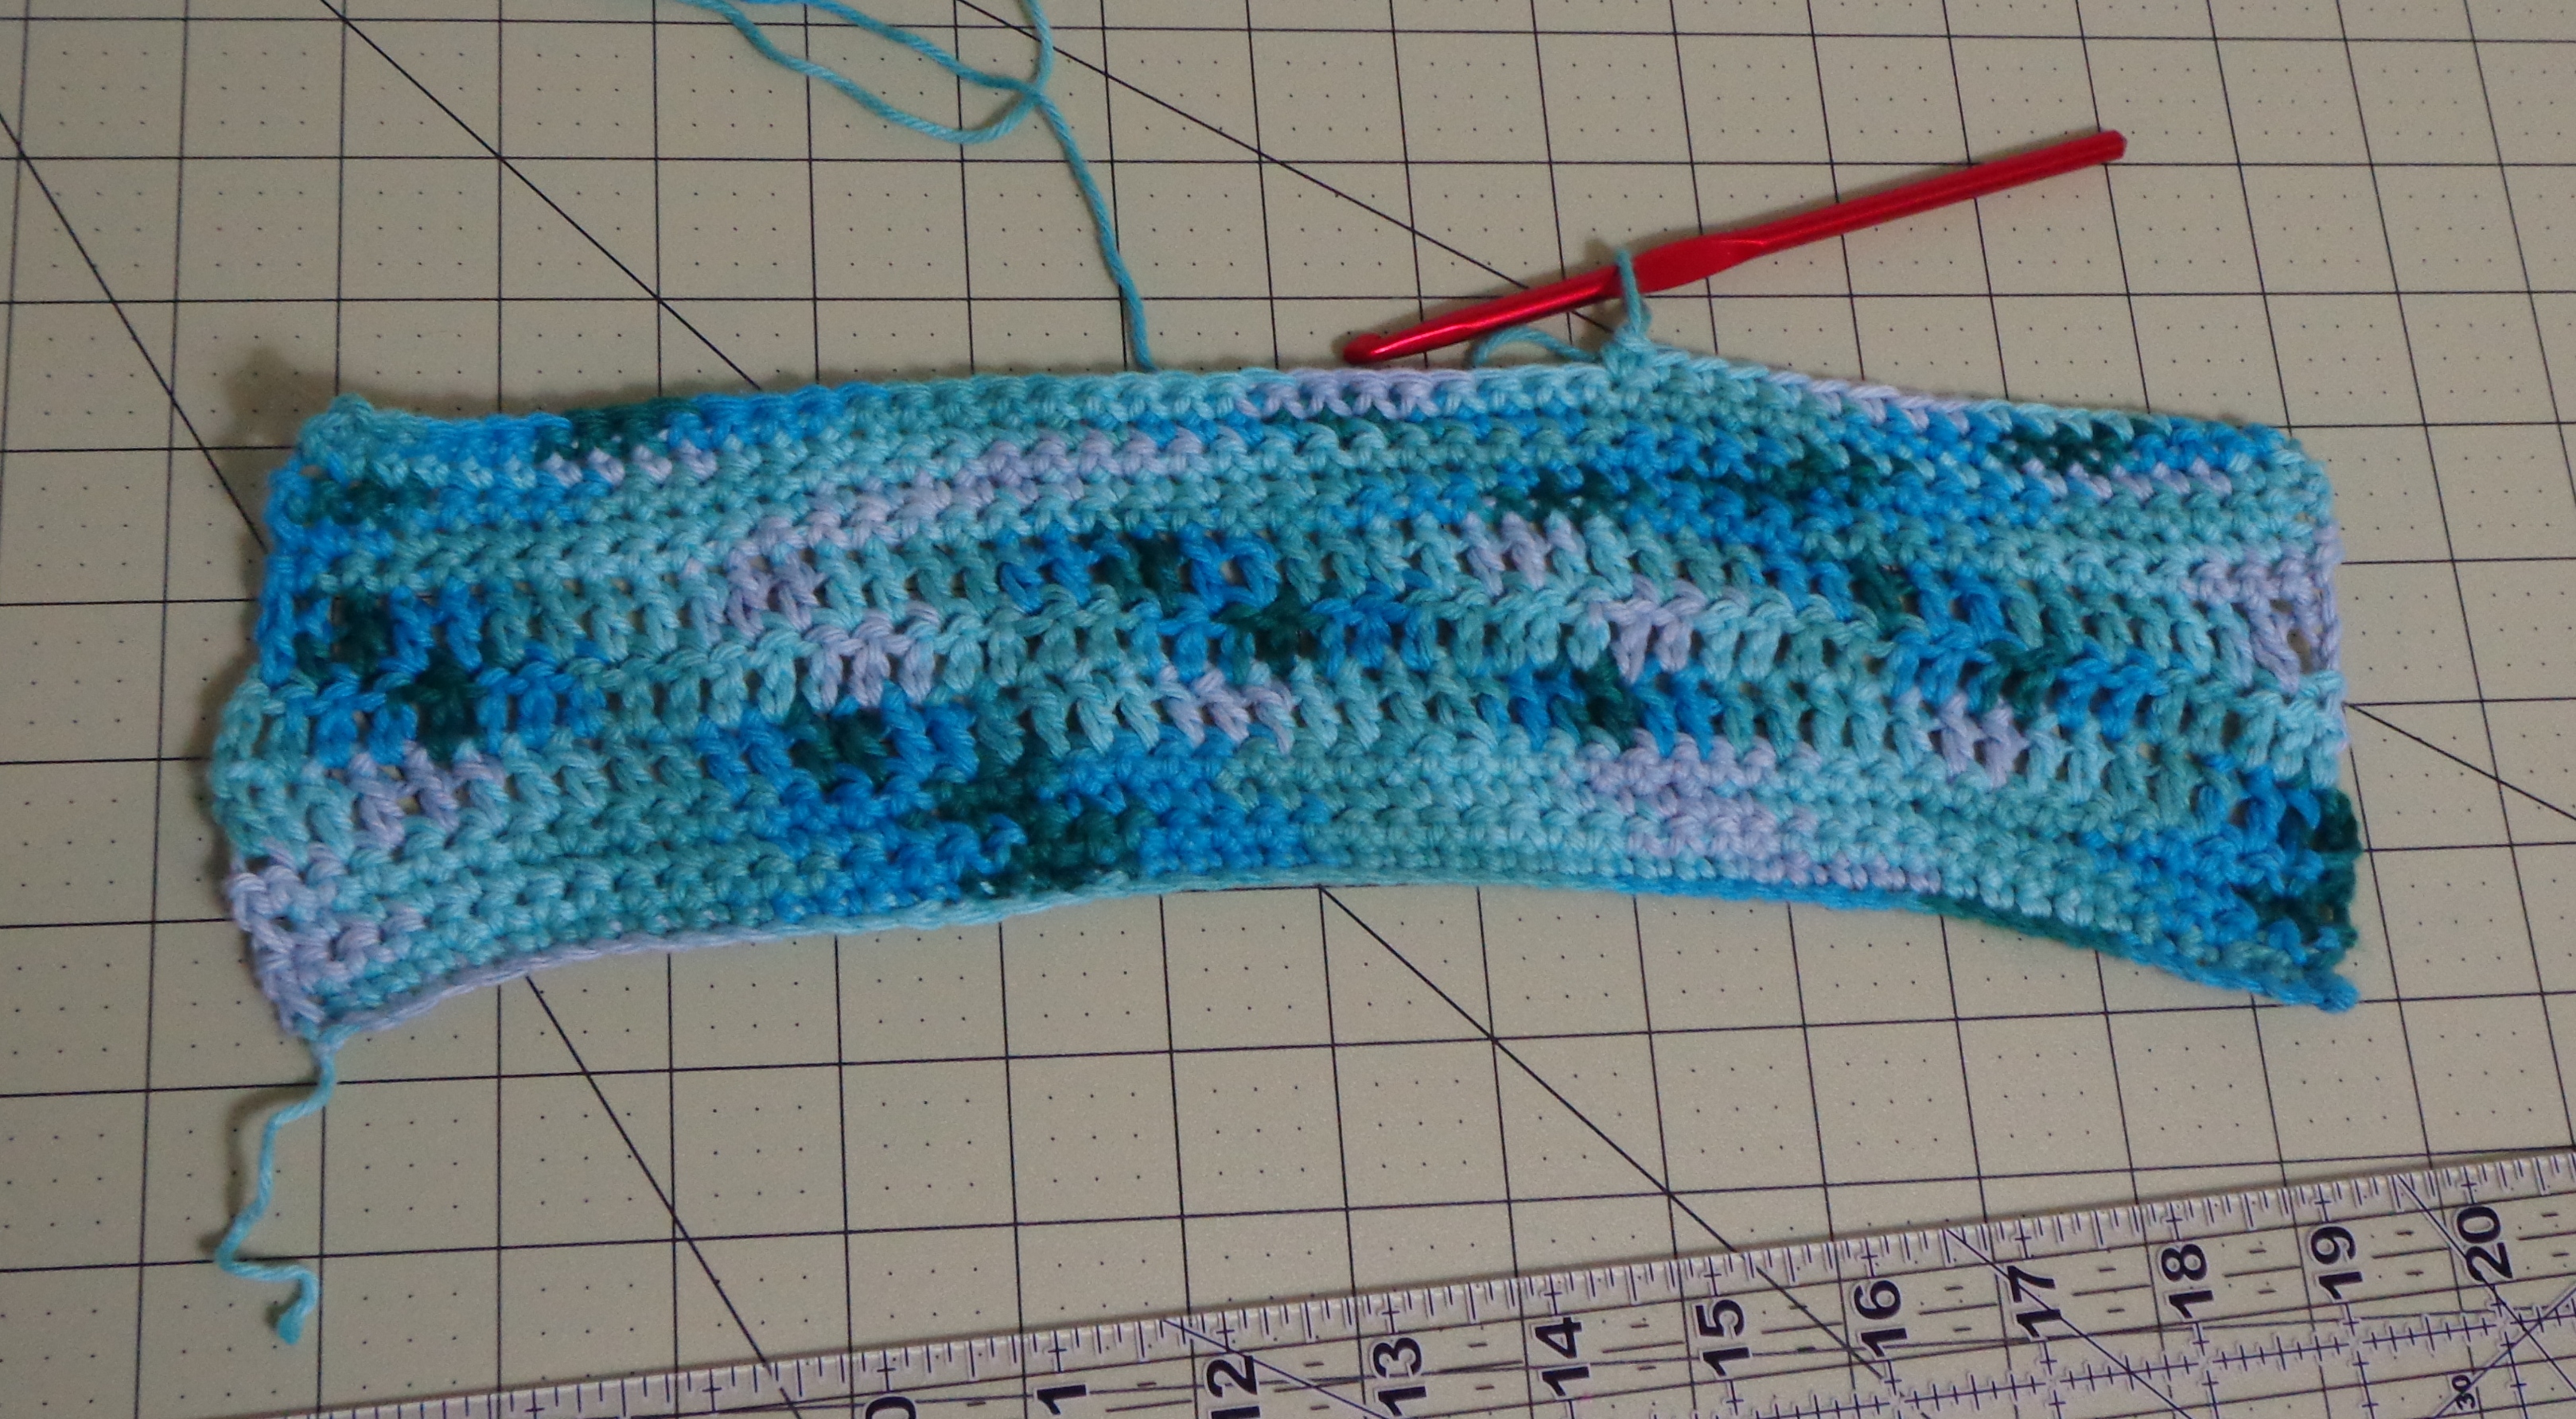
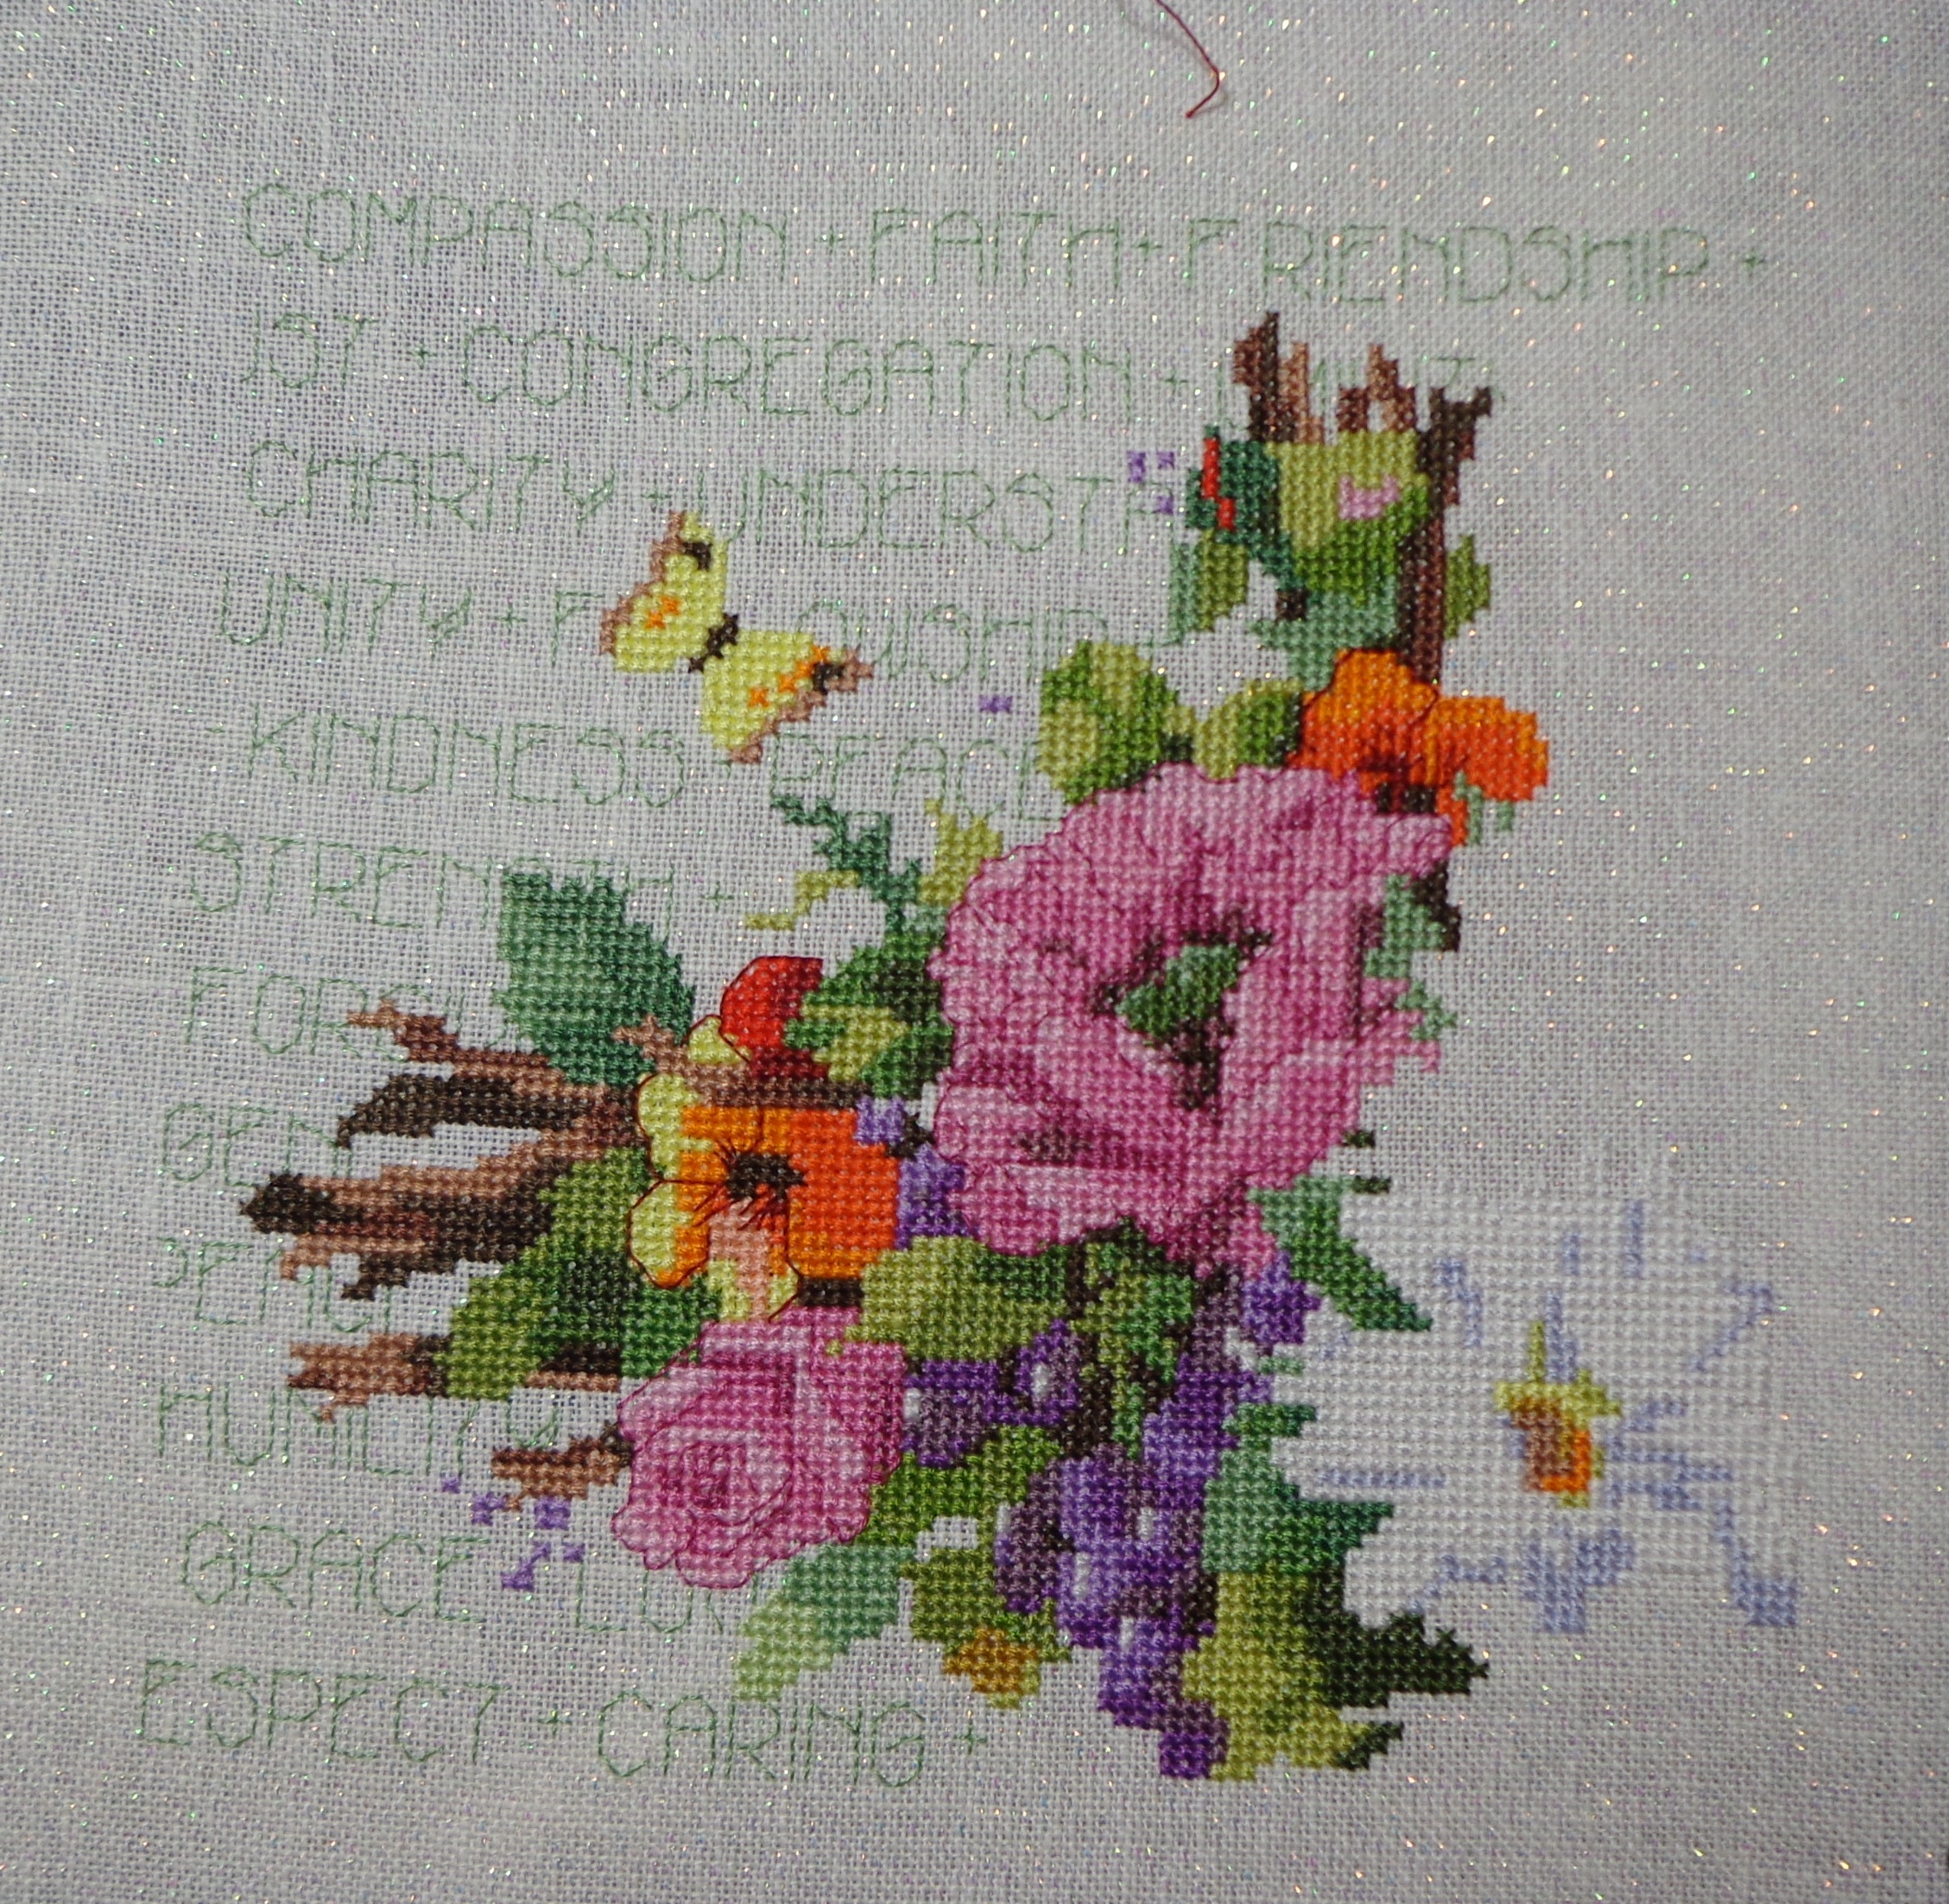
 As soon as I am satisfied with my swatch I want to begin to work on