We are going to play the game that Jay really enjoys; he takes the pictures and I post them on my blog with whatever random explanation pops into my head. I didn’t ask him for any specifics so I’m purely going by my limited knowledge and what I see in the pictures.
If you remember, I mentioned a while ago that Jay is machining his own parts to make a new spindle holder for his CNC Router.

(This is the old/current 3D printed version.)
I just recently found out that all of the parts I’ve been posting are not for his giant CNC Router. Nope. They are for the medium CNC Router.

He basically had to make everything, except for the aluminum rails and the bed, from scratch. He originally started out working on the spindle of his big router, but somehow it turned into parts for the medium one. *sigh*
I suppose that’s similar to how I can go digging through my yarn looking for a certain color, but by the time I emerge I have suddenly kitted up three other blankets. So I guess I can’t fault him for being temporarily veered off the path.
All of the pictures I am about to show you are for the medium CNC Router.

Full disclosure: I’m not sure what the point is for some of these pictures. Like this one, for instance. As far as I know, I didn’t have to draw lots for anything so I’m not sure why we are seeing four straws at different lengths.

Wait a minute… they might be for this stepper motor. Although, if it tries to stand it’s going to be off-balance with the really fat stubby leg. It kind of looks like our neighbor’s dog who only has three legs. He can only run circles in one direction. Let’s hope this router will be able to run circles in more than one direction!

I understand now! The short stubby leg is actually what drives the screw that gives the carriage the Up-Down motion. This is not to be confused with the Uppie-Downie sander…

Let’s see what else Jay has going on this machine.

Lovely… It’s breath-taking (I have no idea what I’m looking at…)
Since there are no other words to describe that piece, let’s move on.

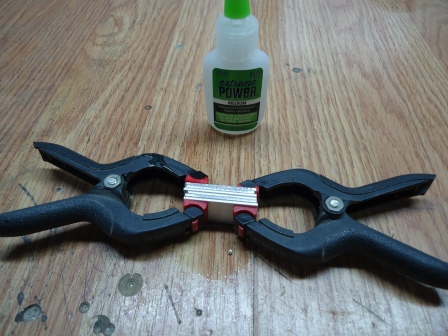
My first guess is shims. Or futuristic gum. It could go either way with Jay.

Oh, wait! We have another clue! They are being clamped after having EXTREME POWER glue used on them. Wow. I hope those clamps can contain all of that power! We better move on before one springs loose and shoots our eye out.

1.1000 inches

.9495 inches

Power: EXTREME!!
What do you do with all of that extreme power???

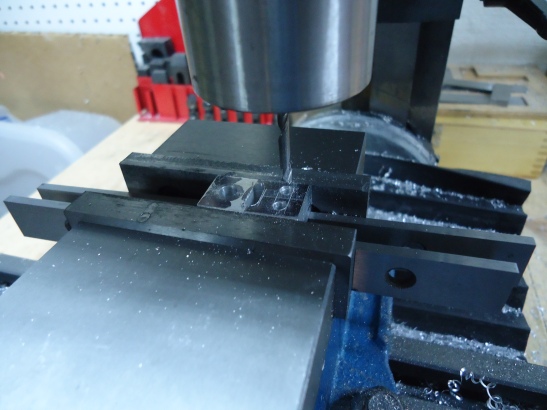
Apparently you mill out seepage holes. I mean, come on… if you try to harness all of that power you’ll just end up burning out fuses left and right.

I think those drainage holes should be sufficient. After all, you want it to retain some of the power. We just can’t have it at the EXTREME level. It’s more of a MODERATE POWER at this point.

Feel the burn!

Wait a minute. Why did Jay make six pull tabs for pop cans??
This is just too much! Between the EXTREME POWER and now the pull tabs I think I need to go lay down. I’ll continue with his machining escapades in a later post.

Pingback: Machining for the CNC Router Part 2 | Kerry'd Away