
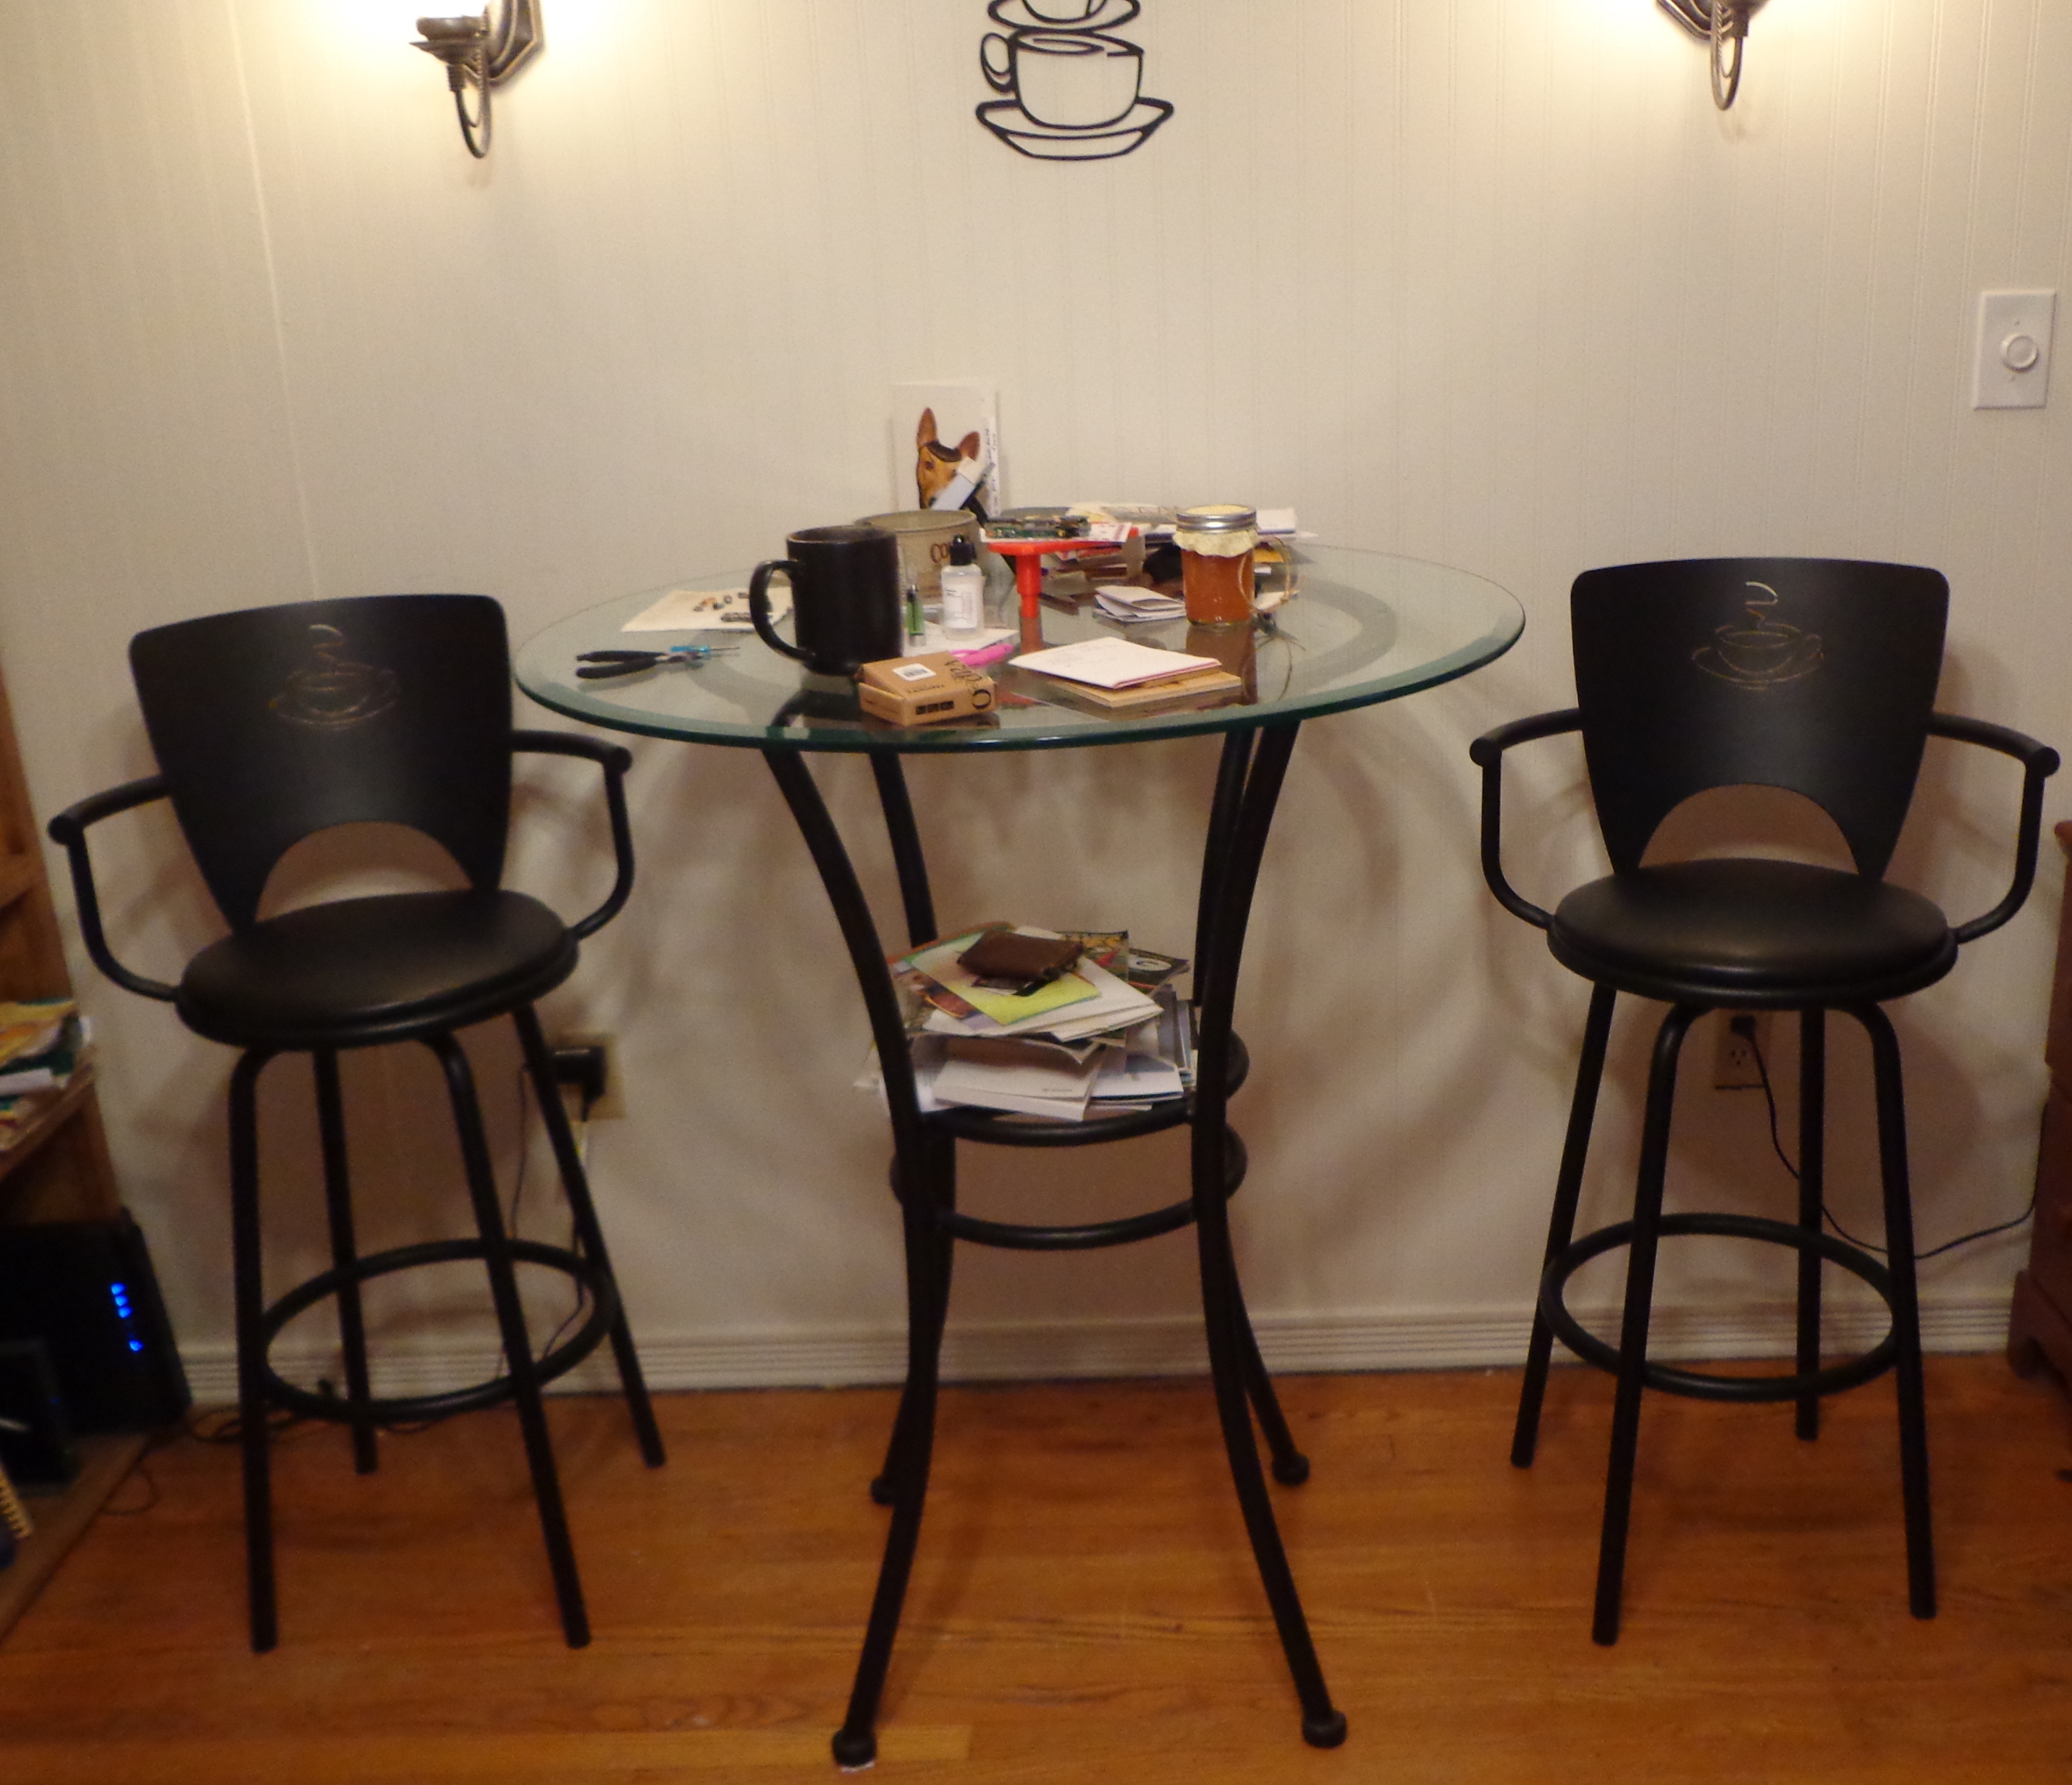
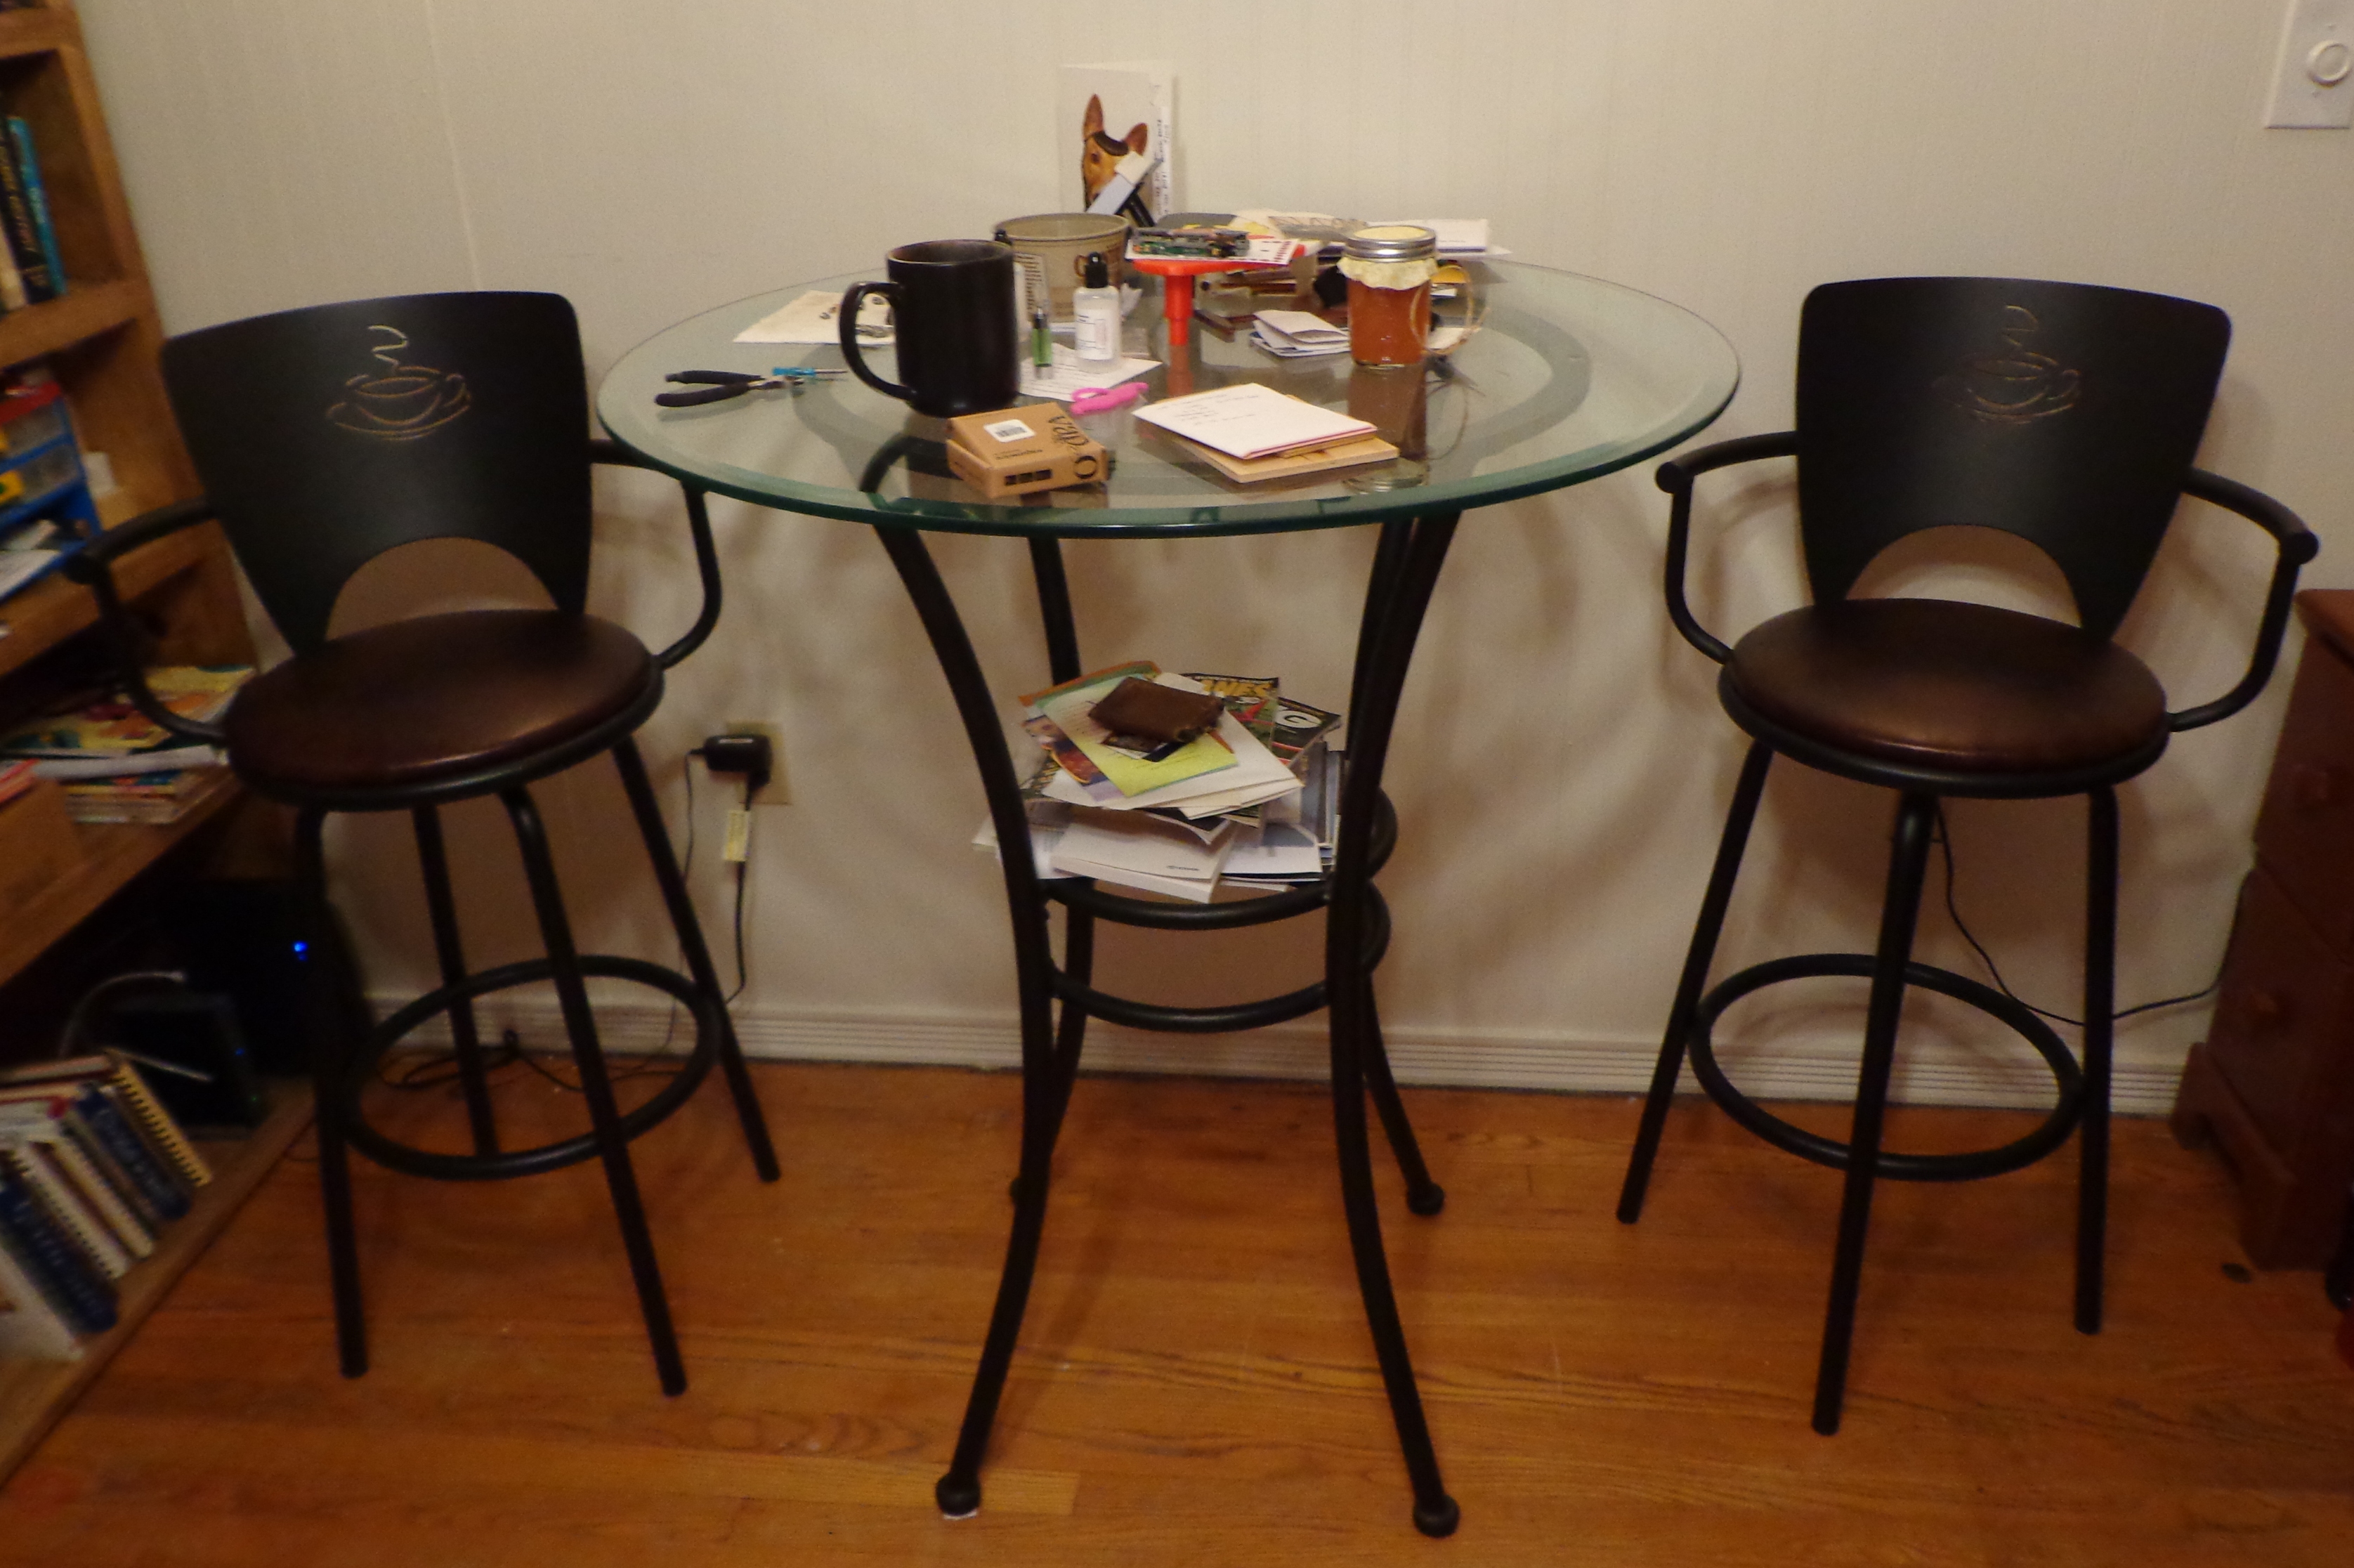
 Jay and I have a bistro set in our library. It’s nice to sit at when sipping your coffee in the morning, or when refilling your tank for your ecig.
Unfortunately, all of that sitting created a tear in the vinyl that covered Jay’s seat. He asked if I could fix it and I said yes. Now, I’ve never reupholstered or recovered anything in my life, but there’s a first time for everything.
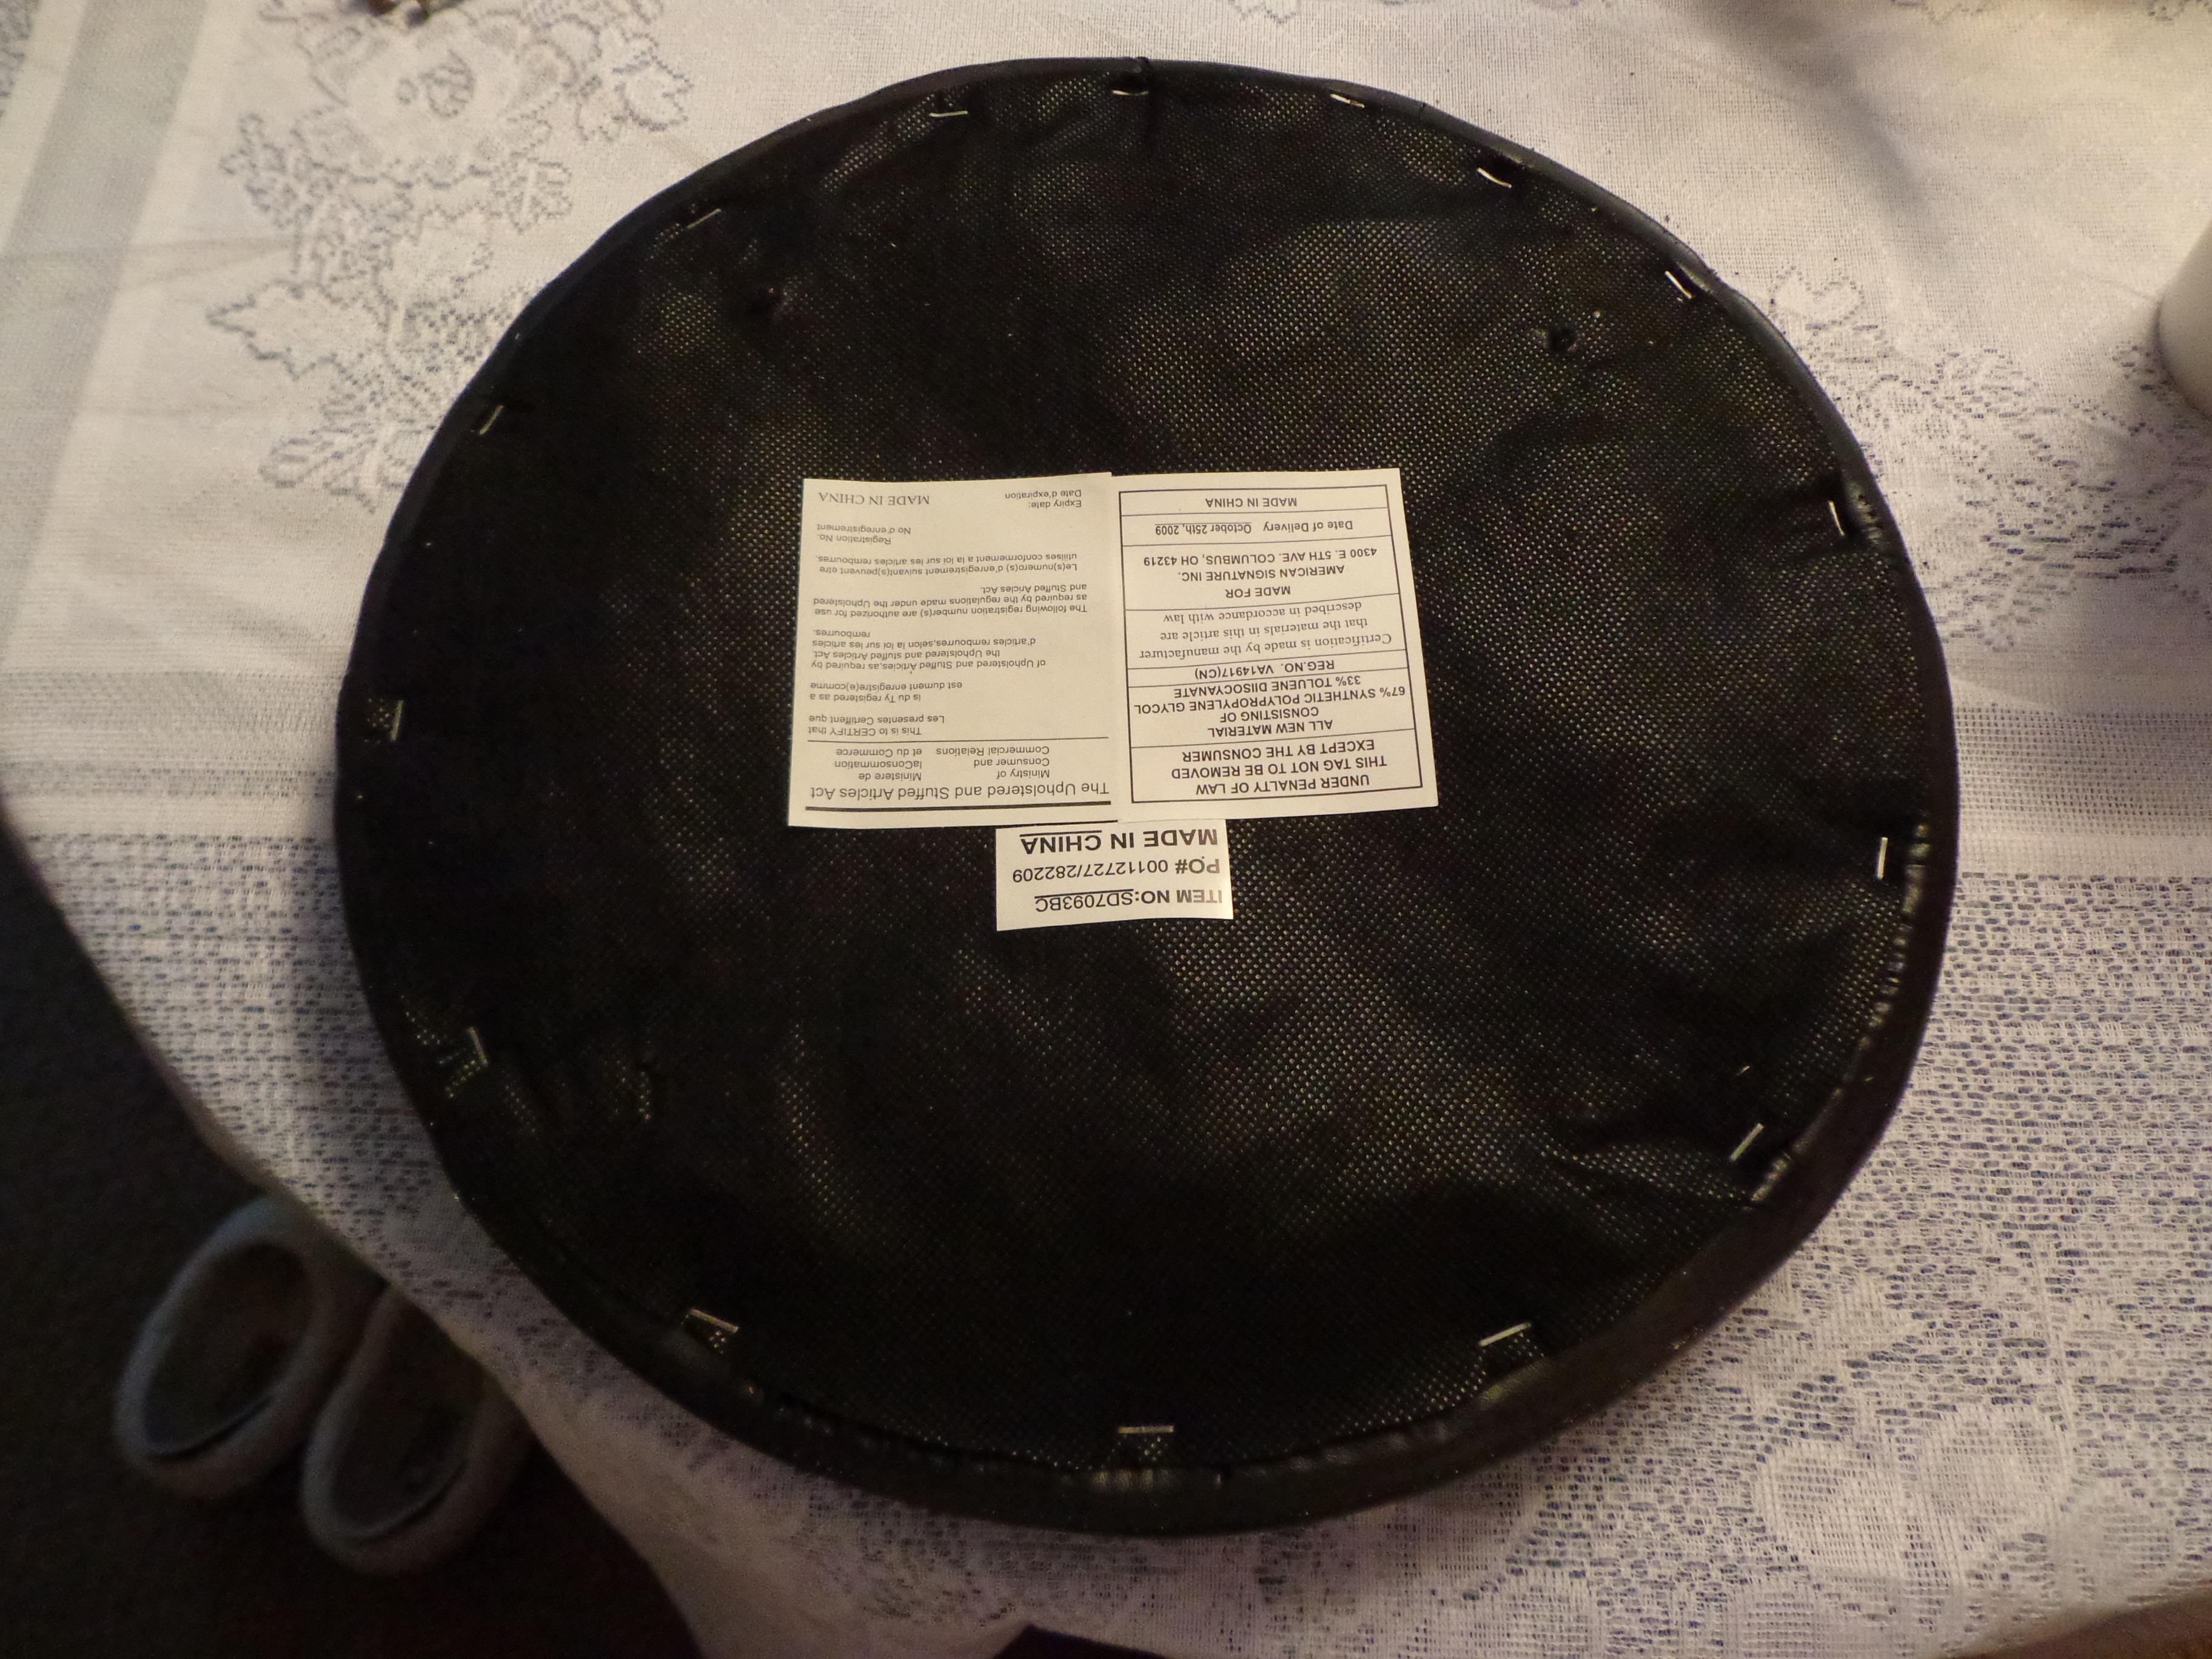 I started by removing the seat from the frame of the chair. This was easily accomplished by removing the four screws that held it in place.
So far… so good.
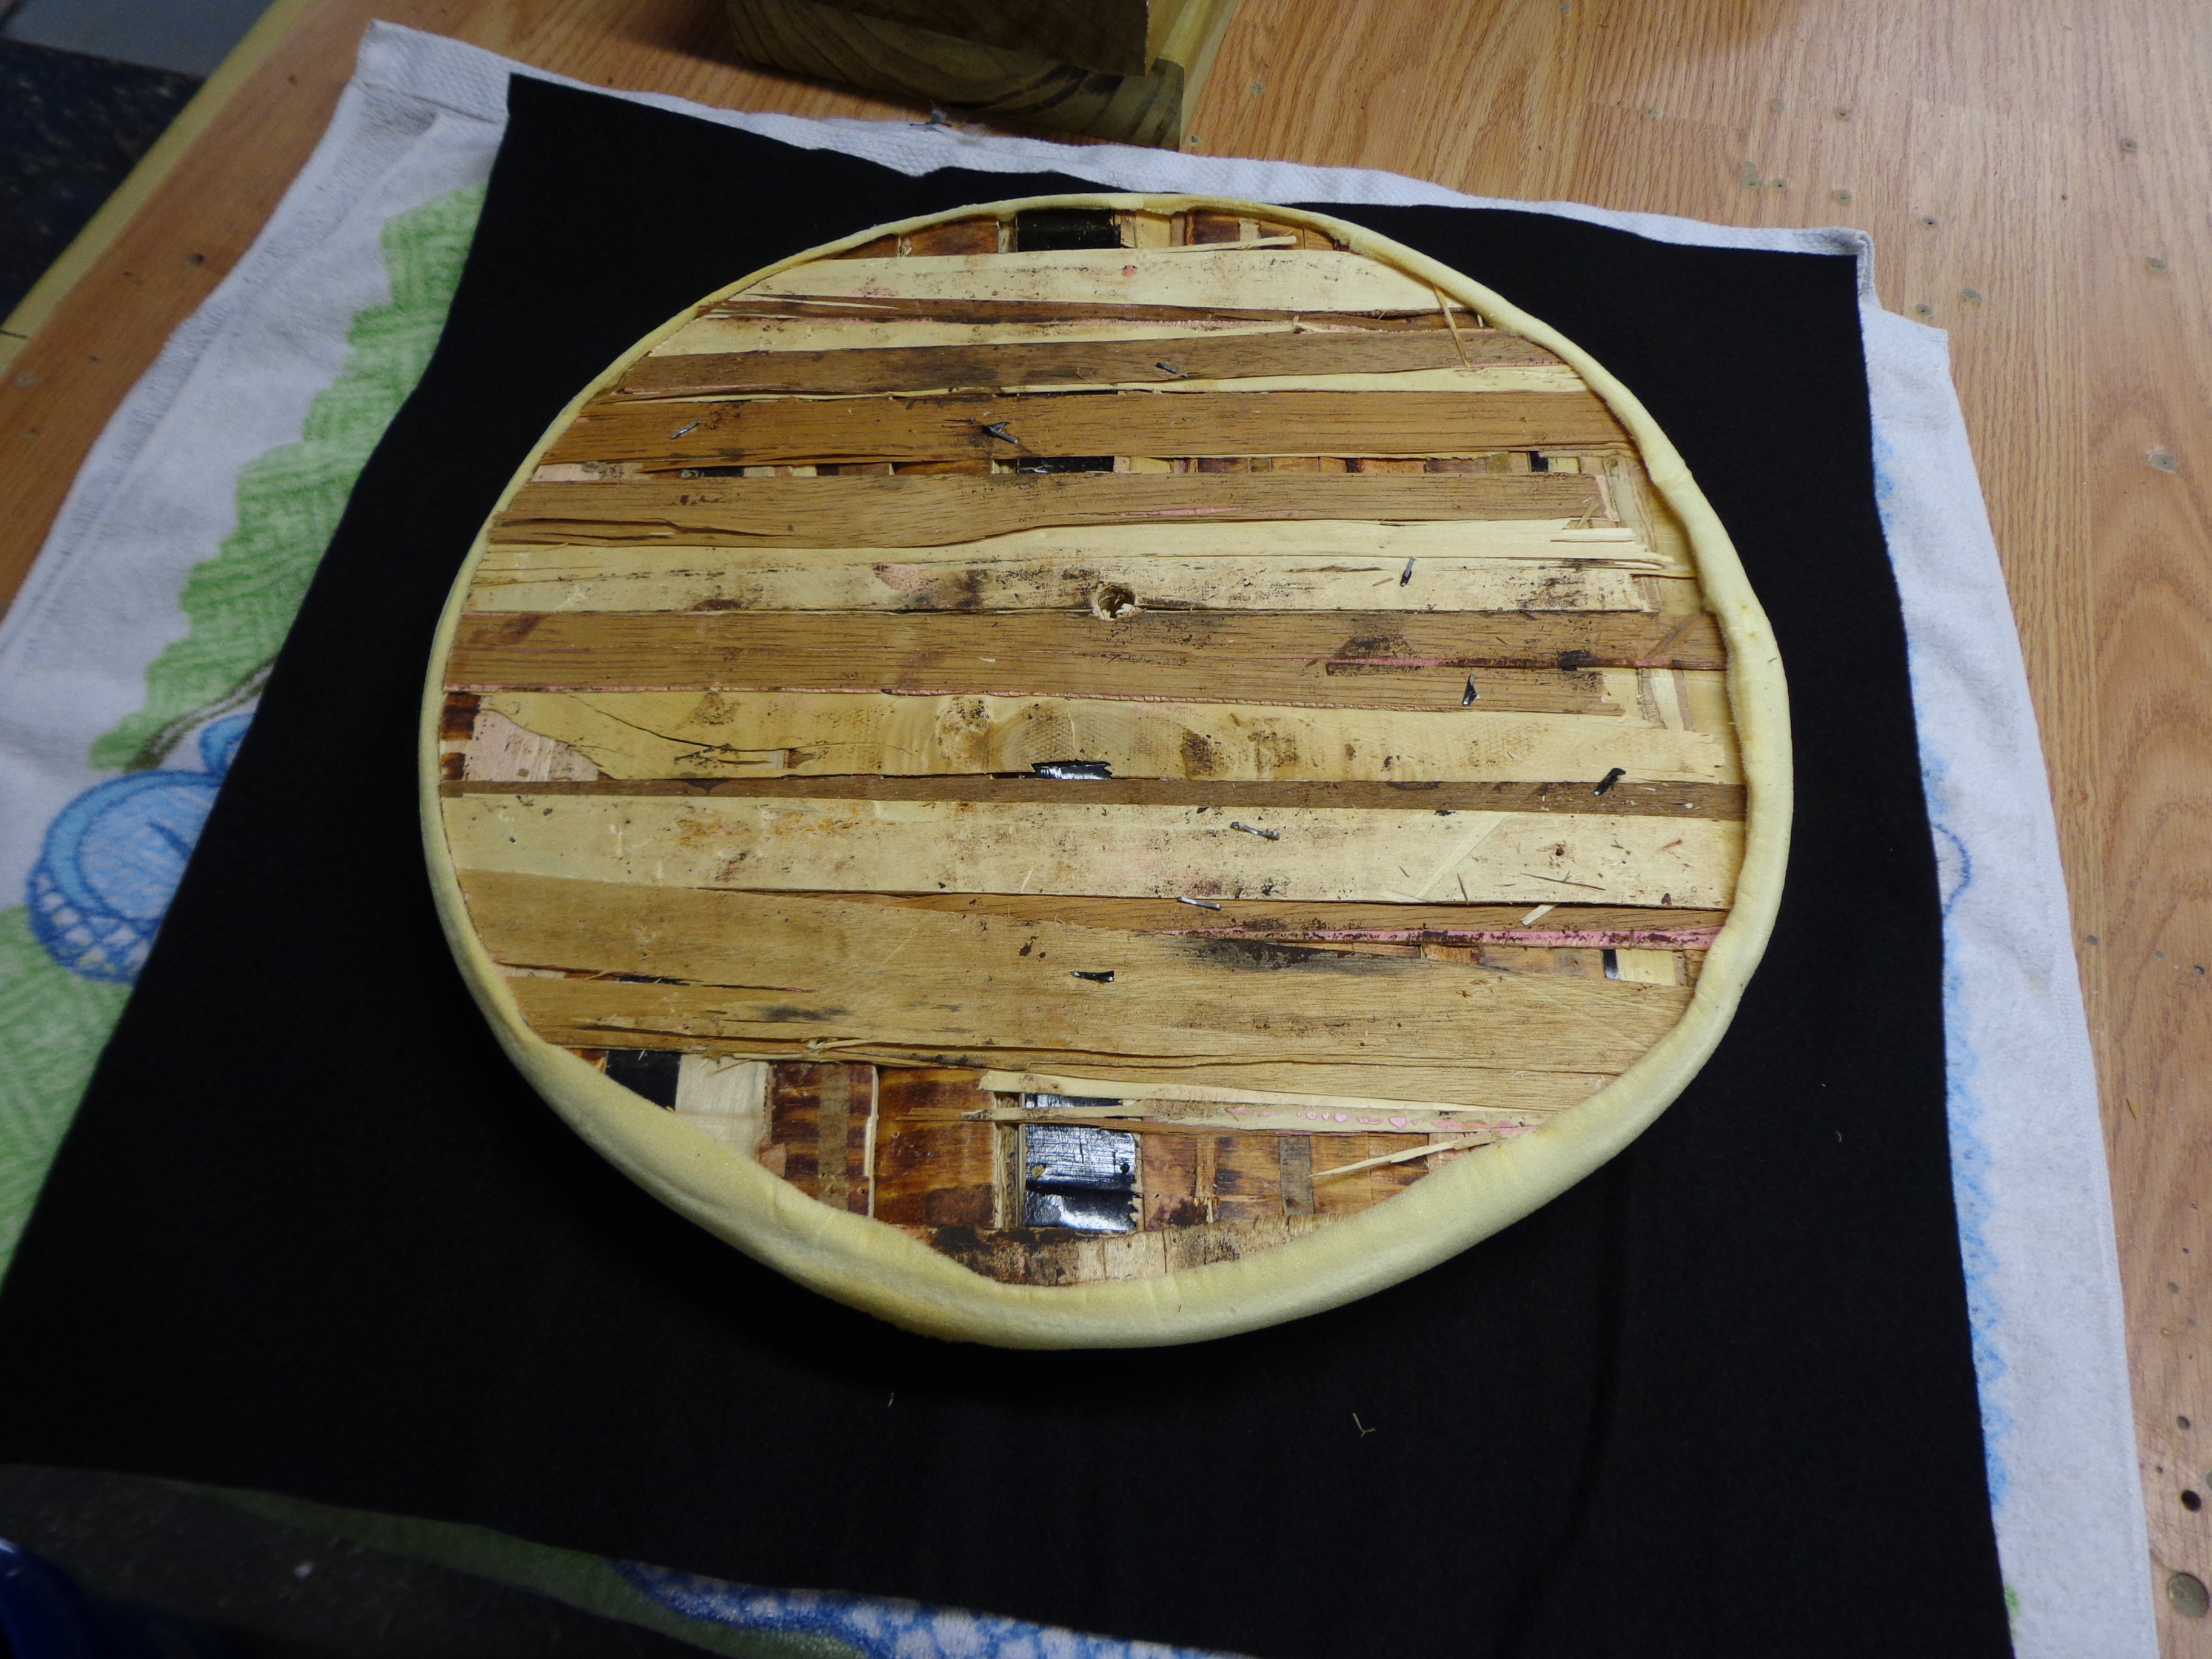
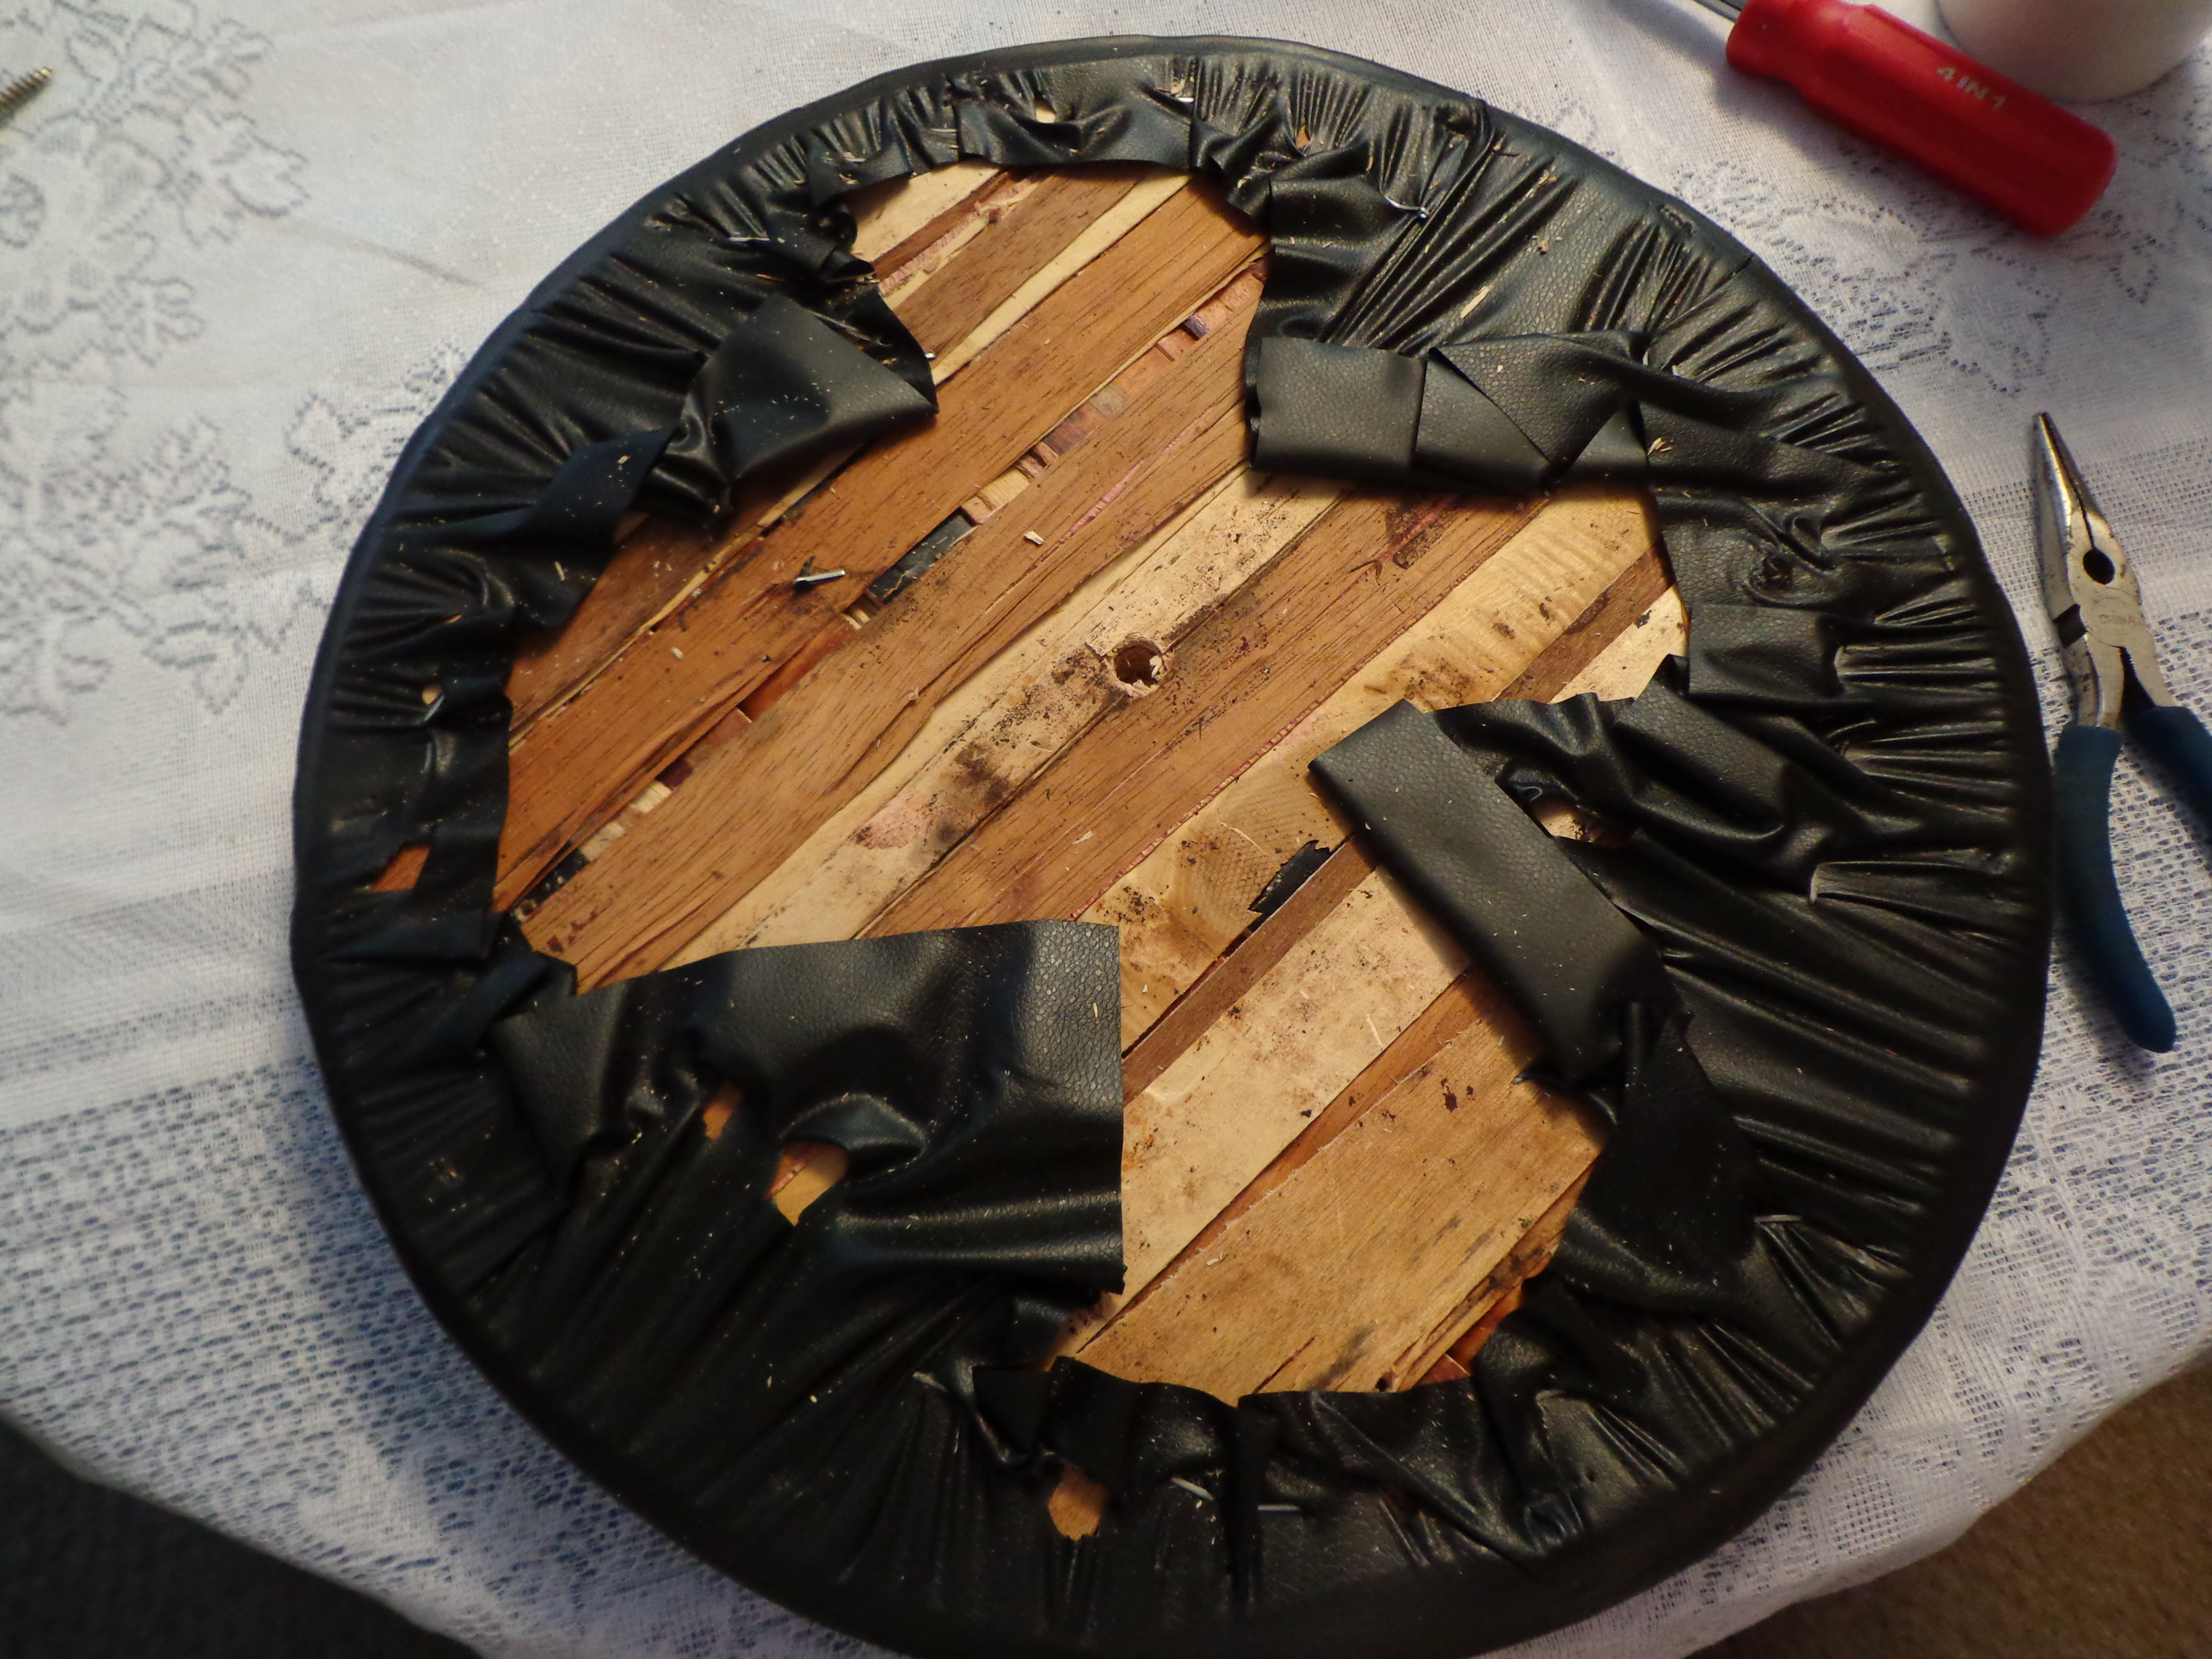 This is what I was confronted with when I removed the lovely felt-paper cover.
It looked like they had found all of the scrap pieces of wood in the factory, glued them together and then cut a circle out of it.
I continued to remove more staples…
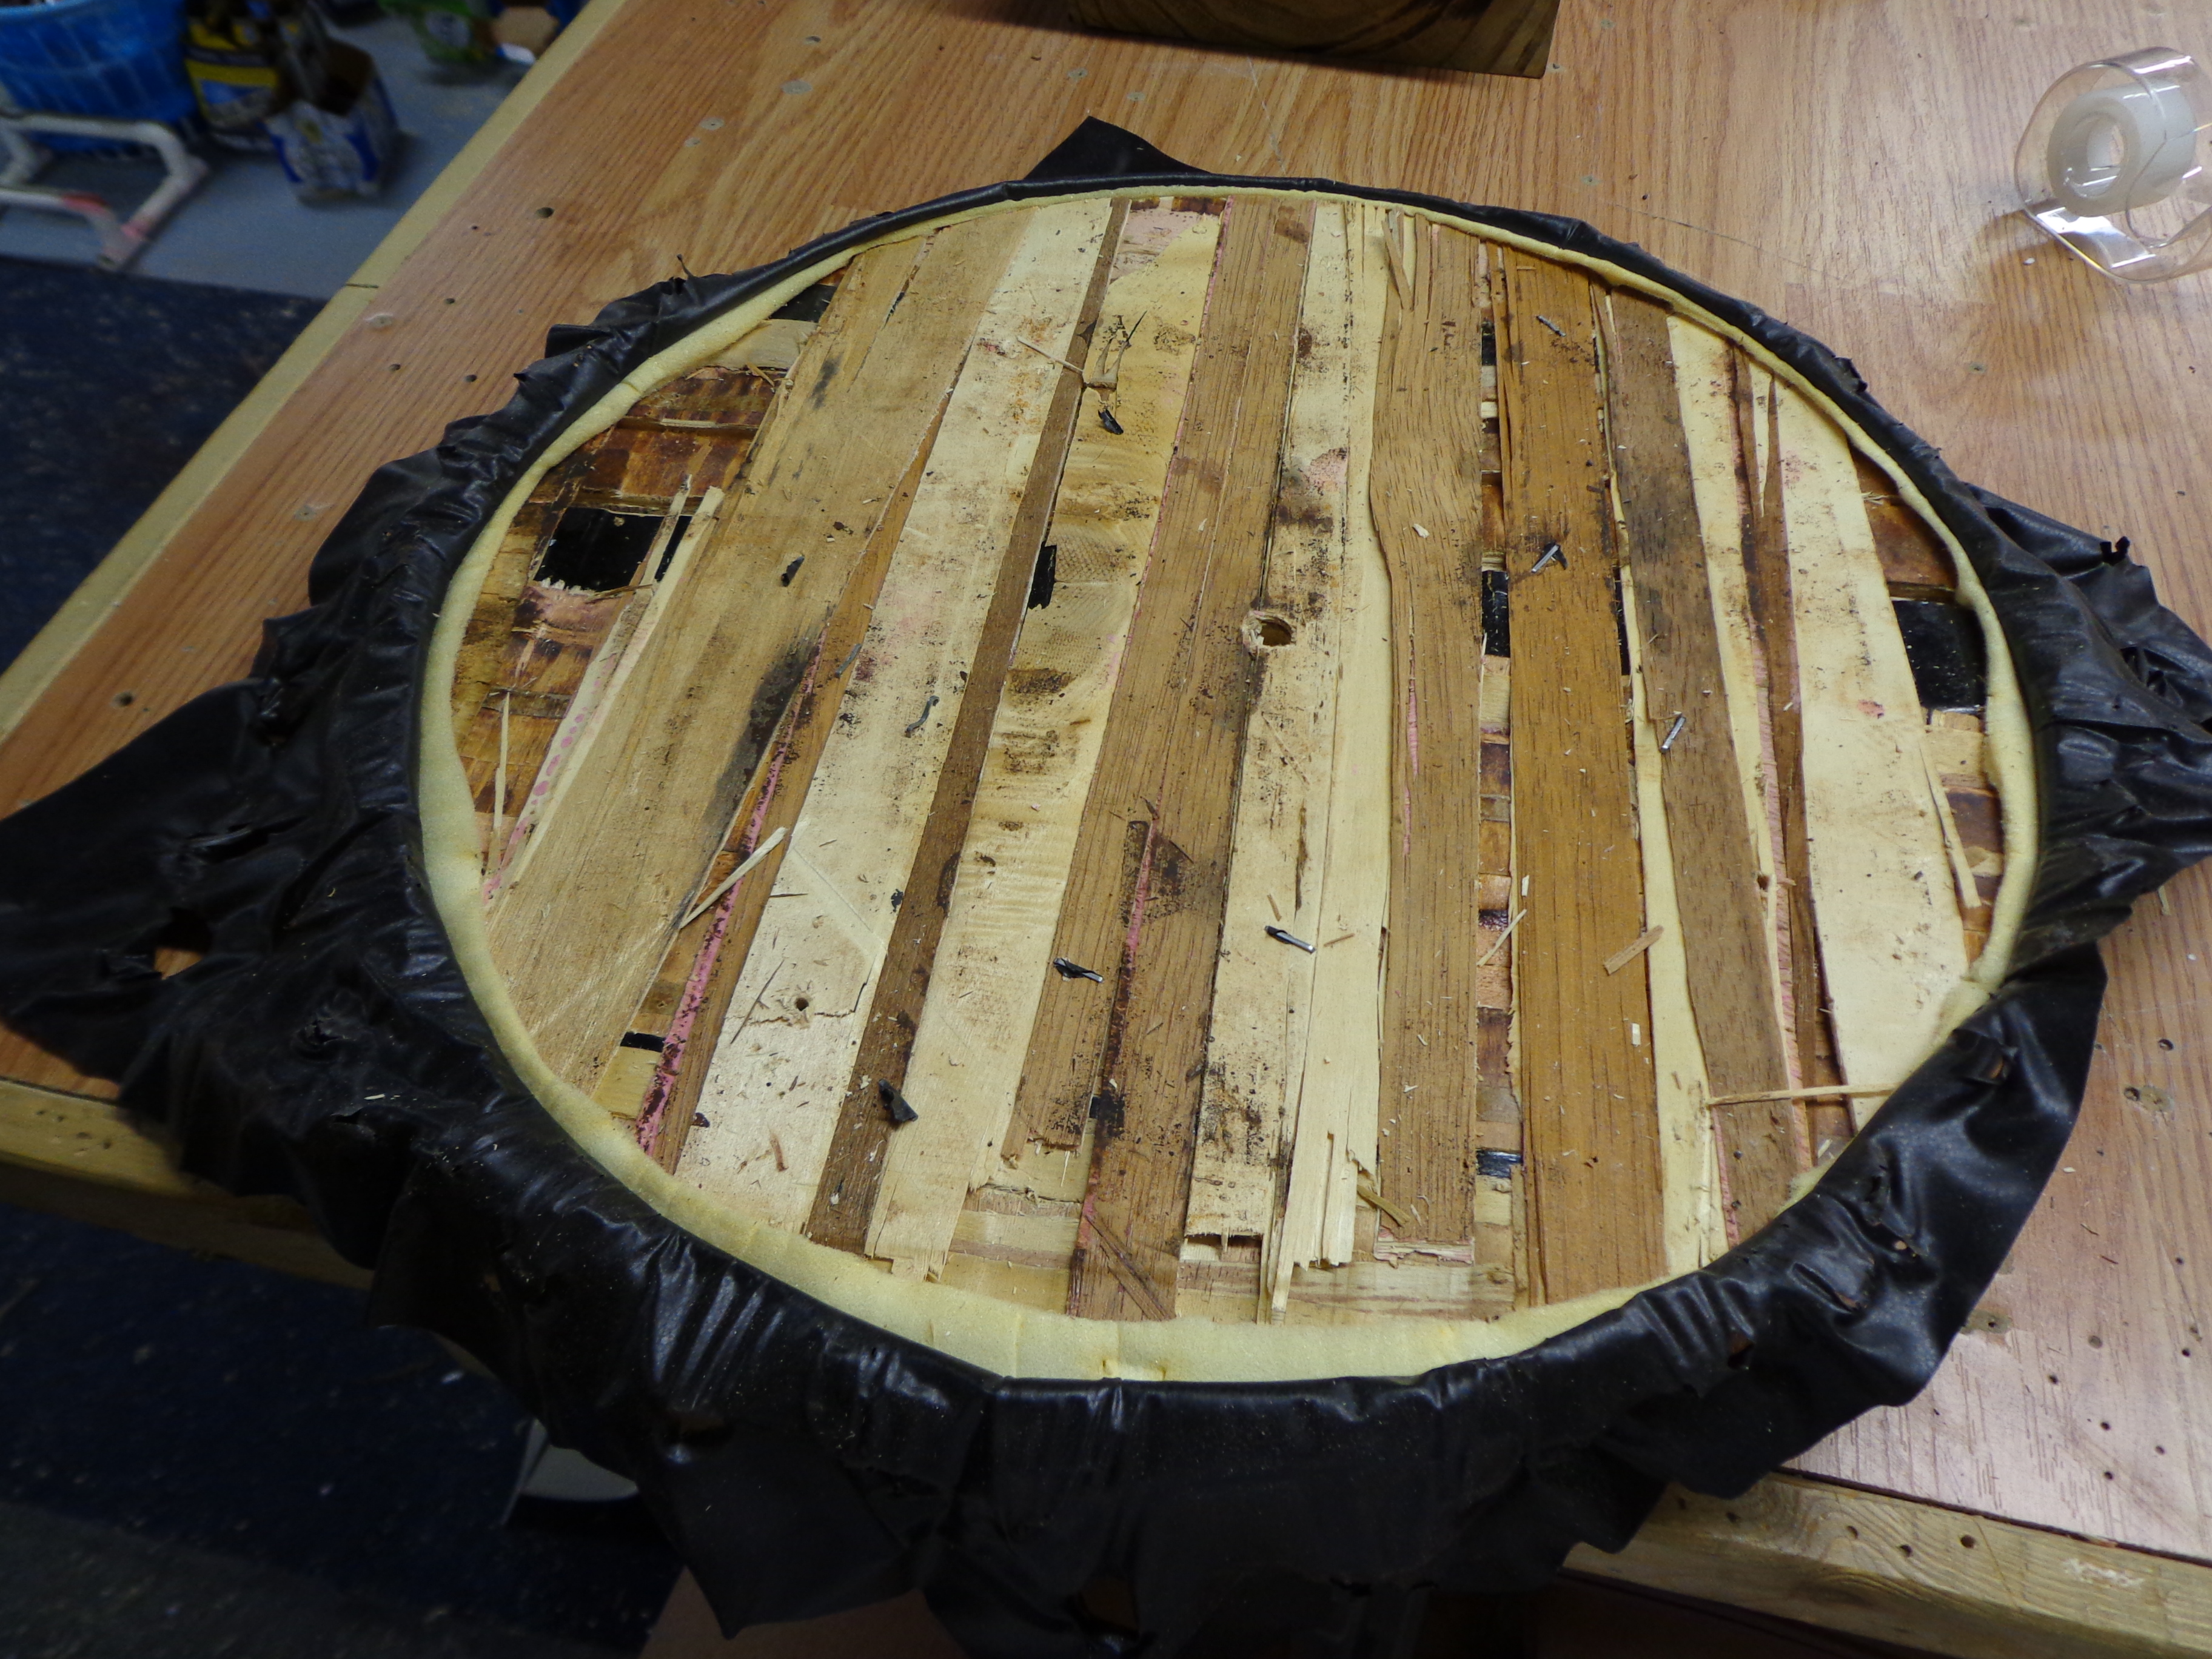 … and I also changed where I was working. I had started out on my dining room table, but I was making quite a mess. The wood was flaking apart as I was removing the staples. So I decided that it would be better to make a mess on Jay’s workbench. After all, he wouldn’t notice. Also, his workbench is much closer to his tools!
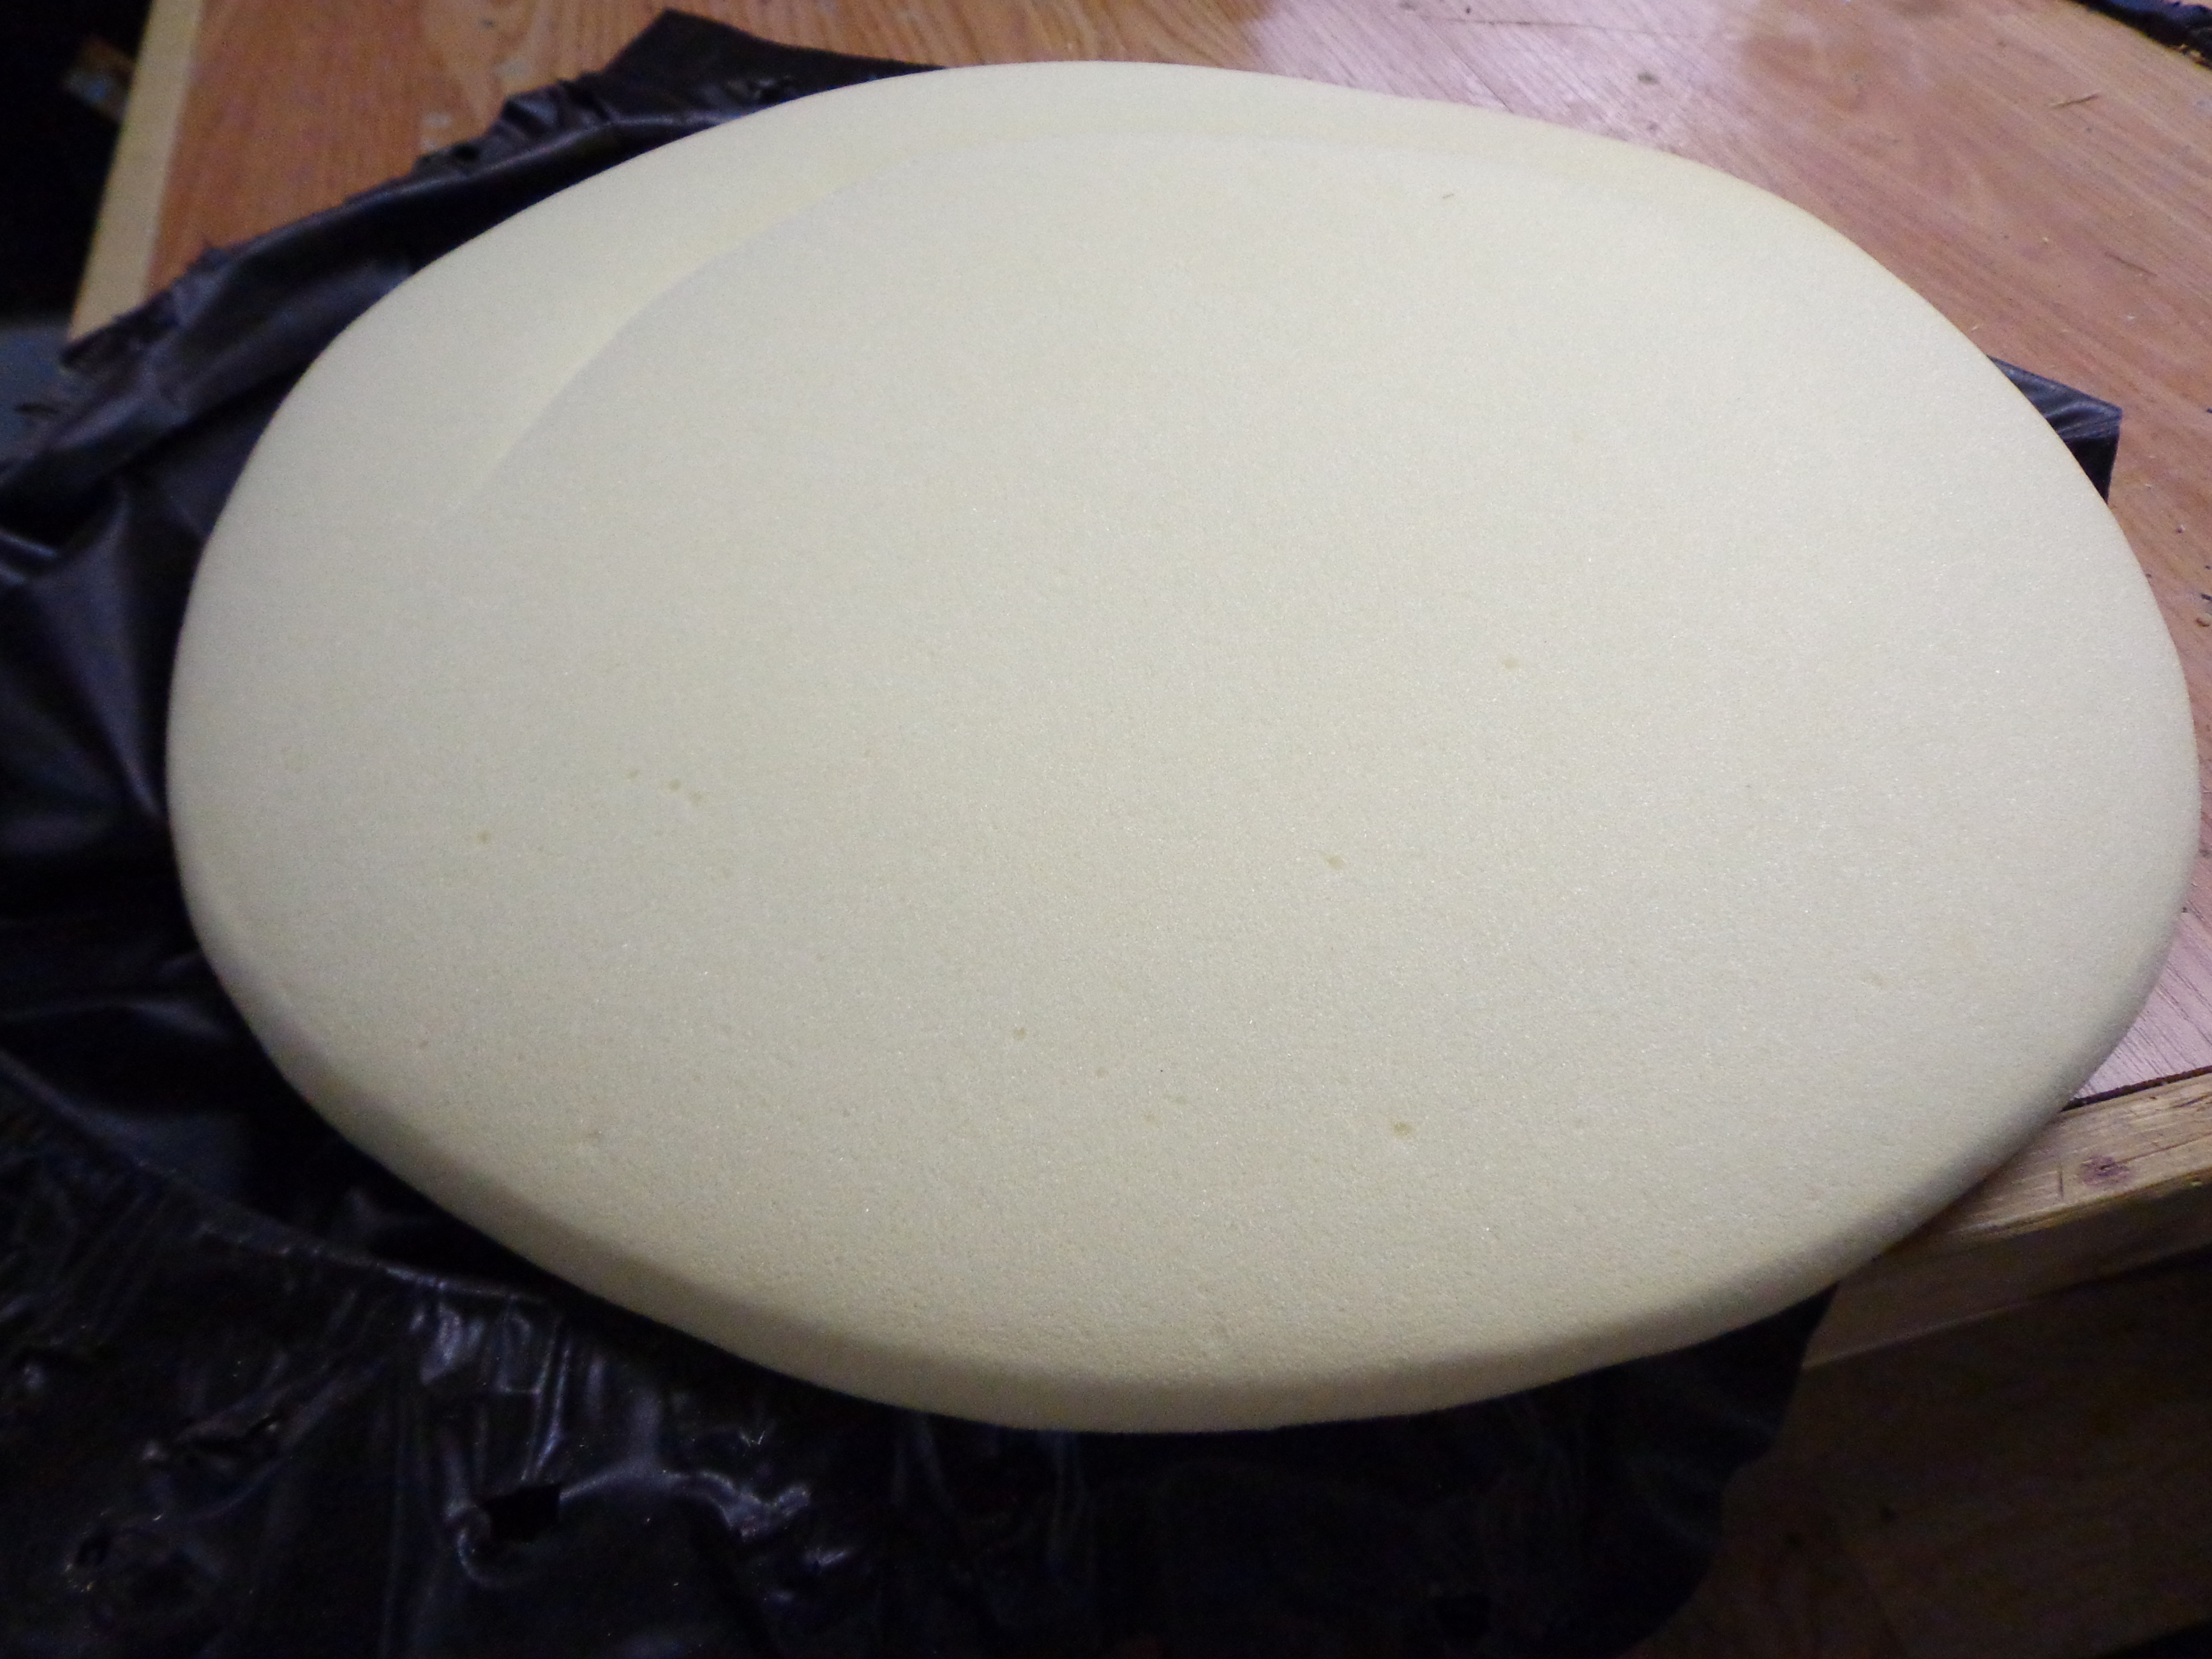 I was rather surprised to find the foam still in really good shape once I had removed the really pathetically cheap vinyl.
This reminded me of a giant sugar cookie… Mmmm…
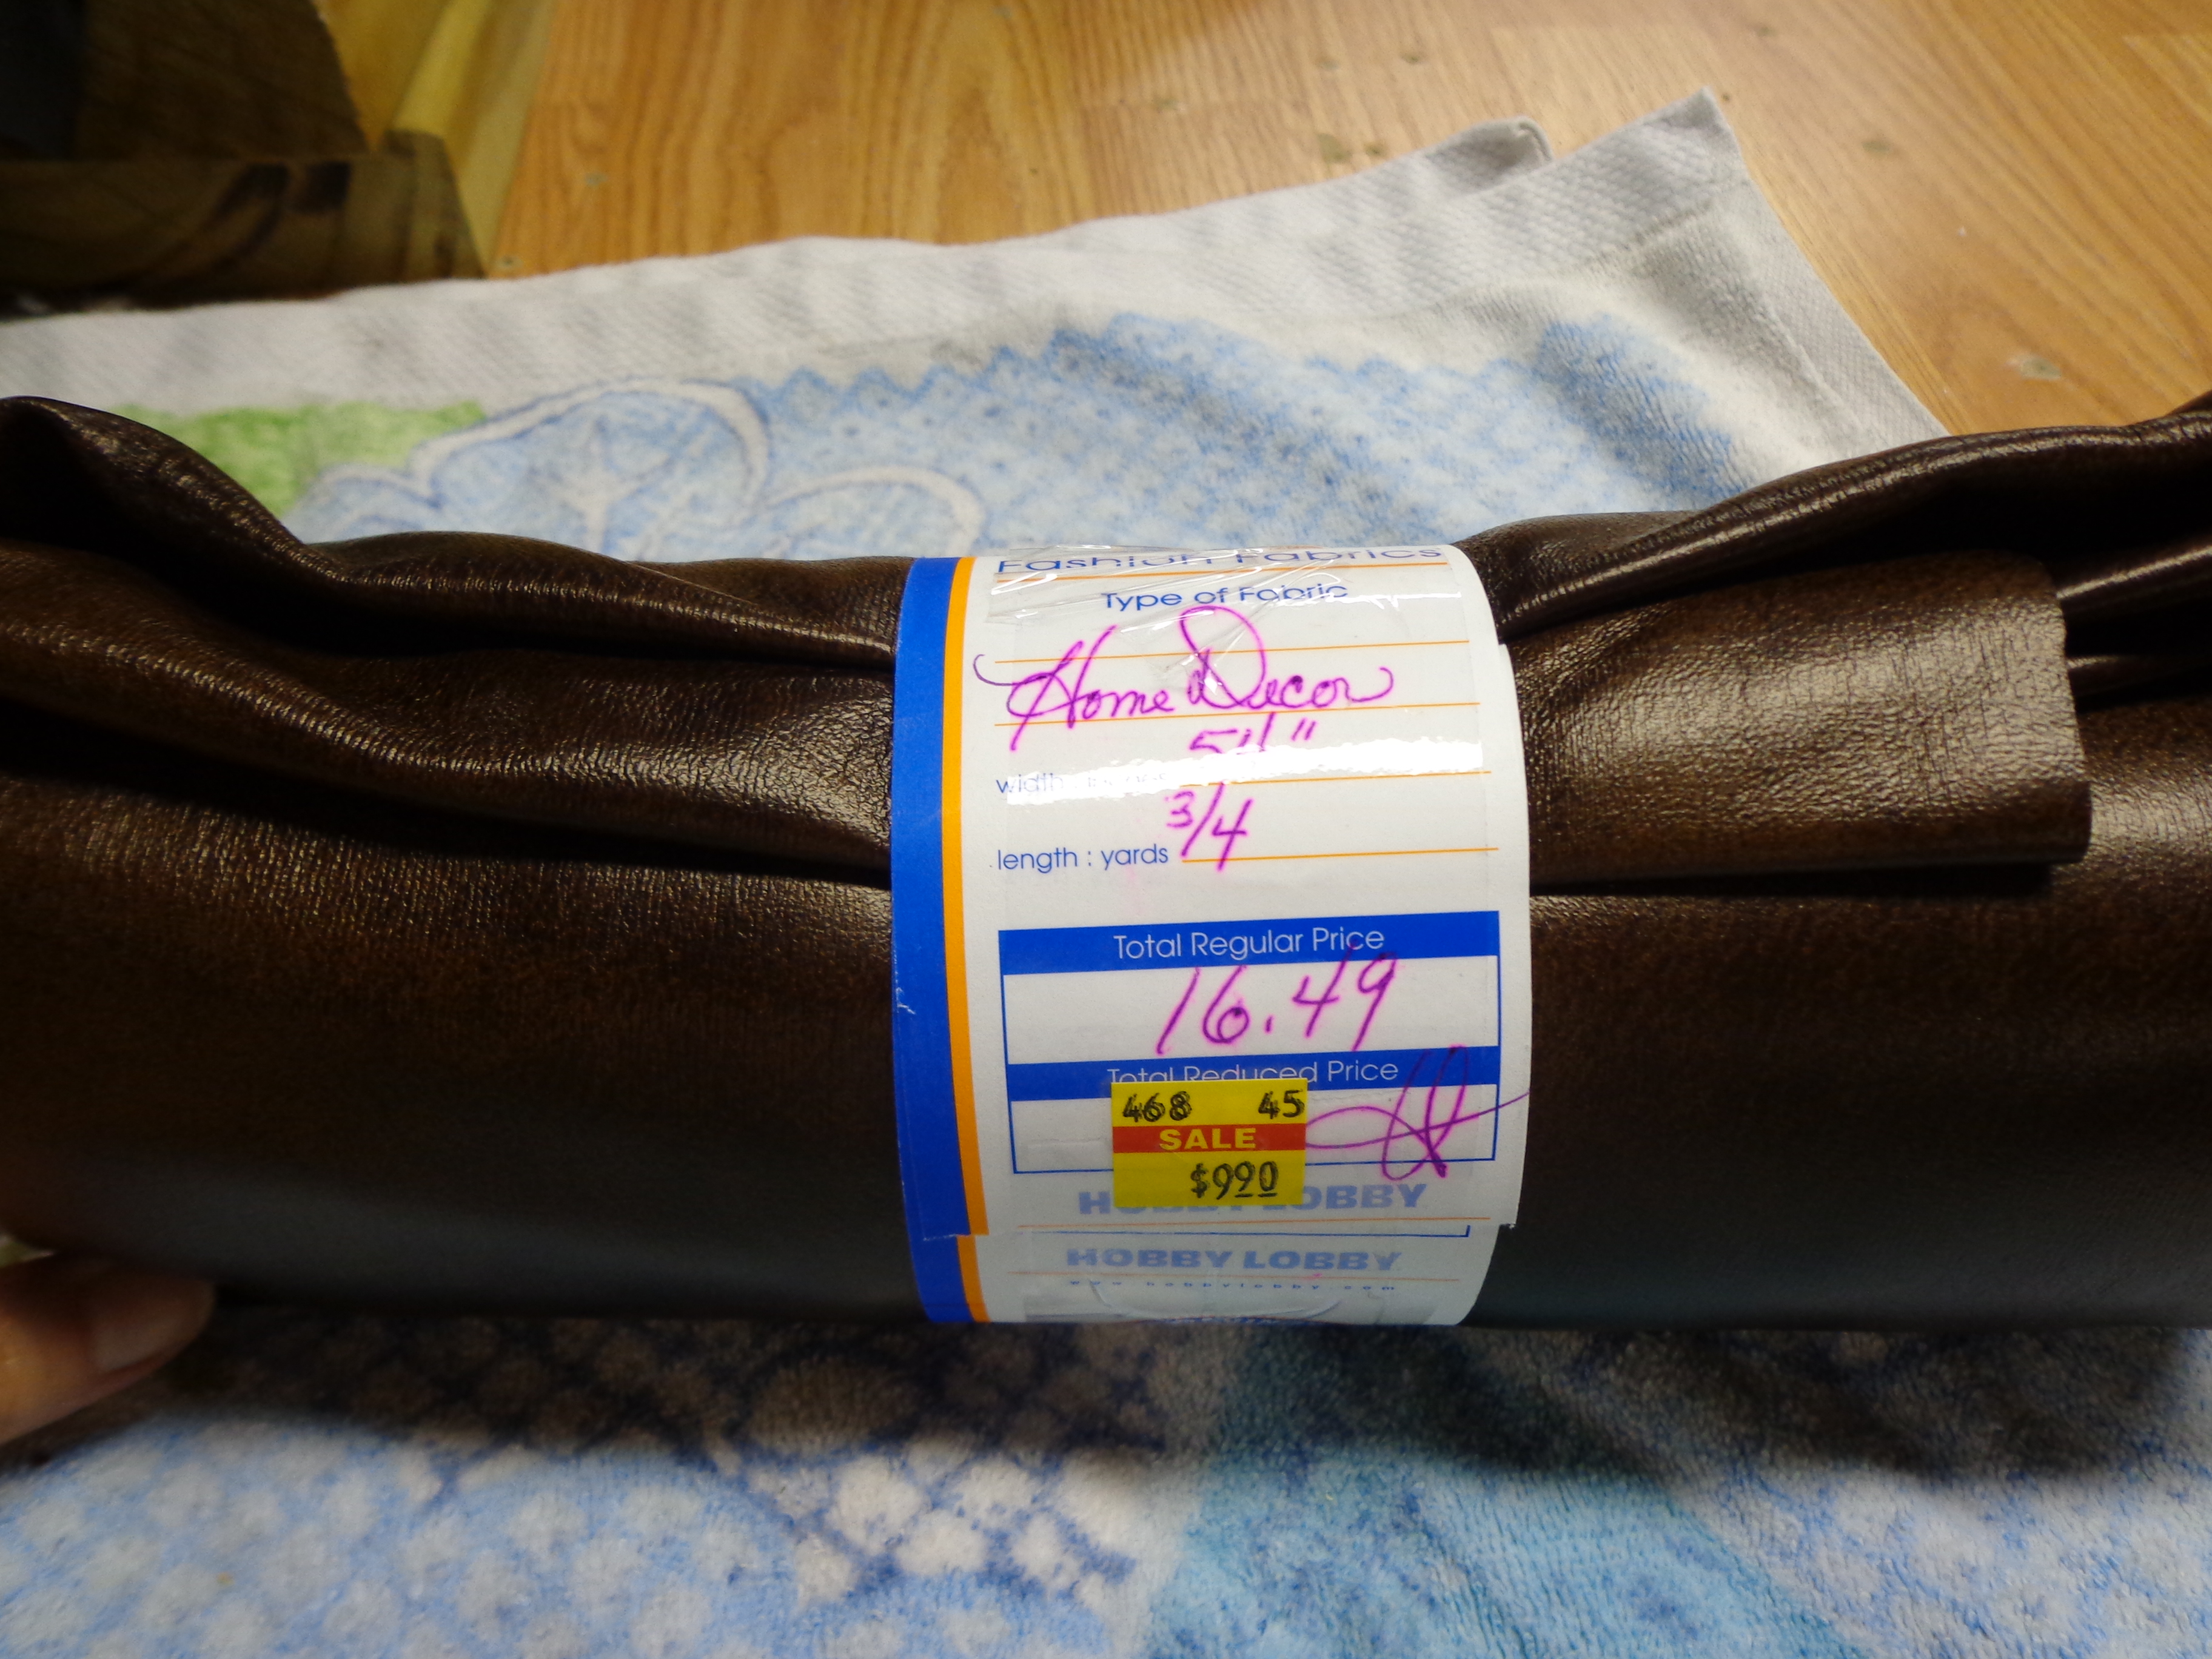 If you have a Hobby Lobby near you I highly recommend that you stalk the clearance area where they put their remnant fabric at reduced prices. Especially when you don’t really need a whole lot of material, like when you’re only covering two bistro chair seats.
I found this lovely brown vinyl at a really good price.
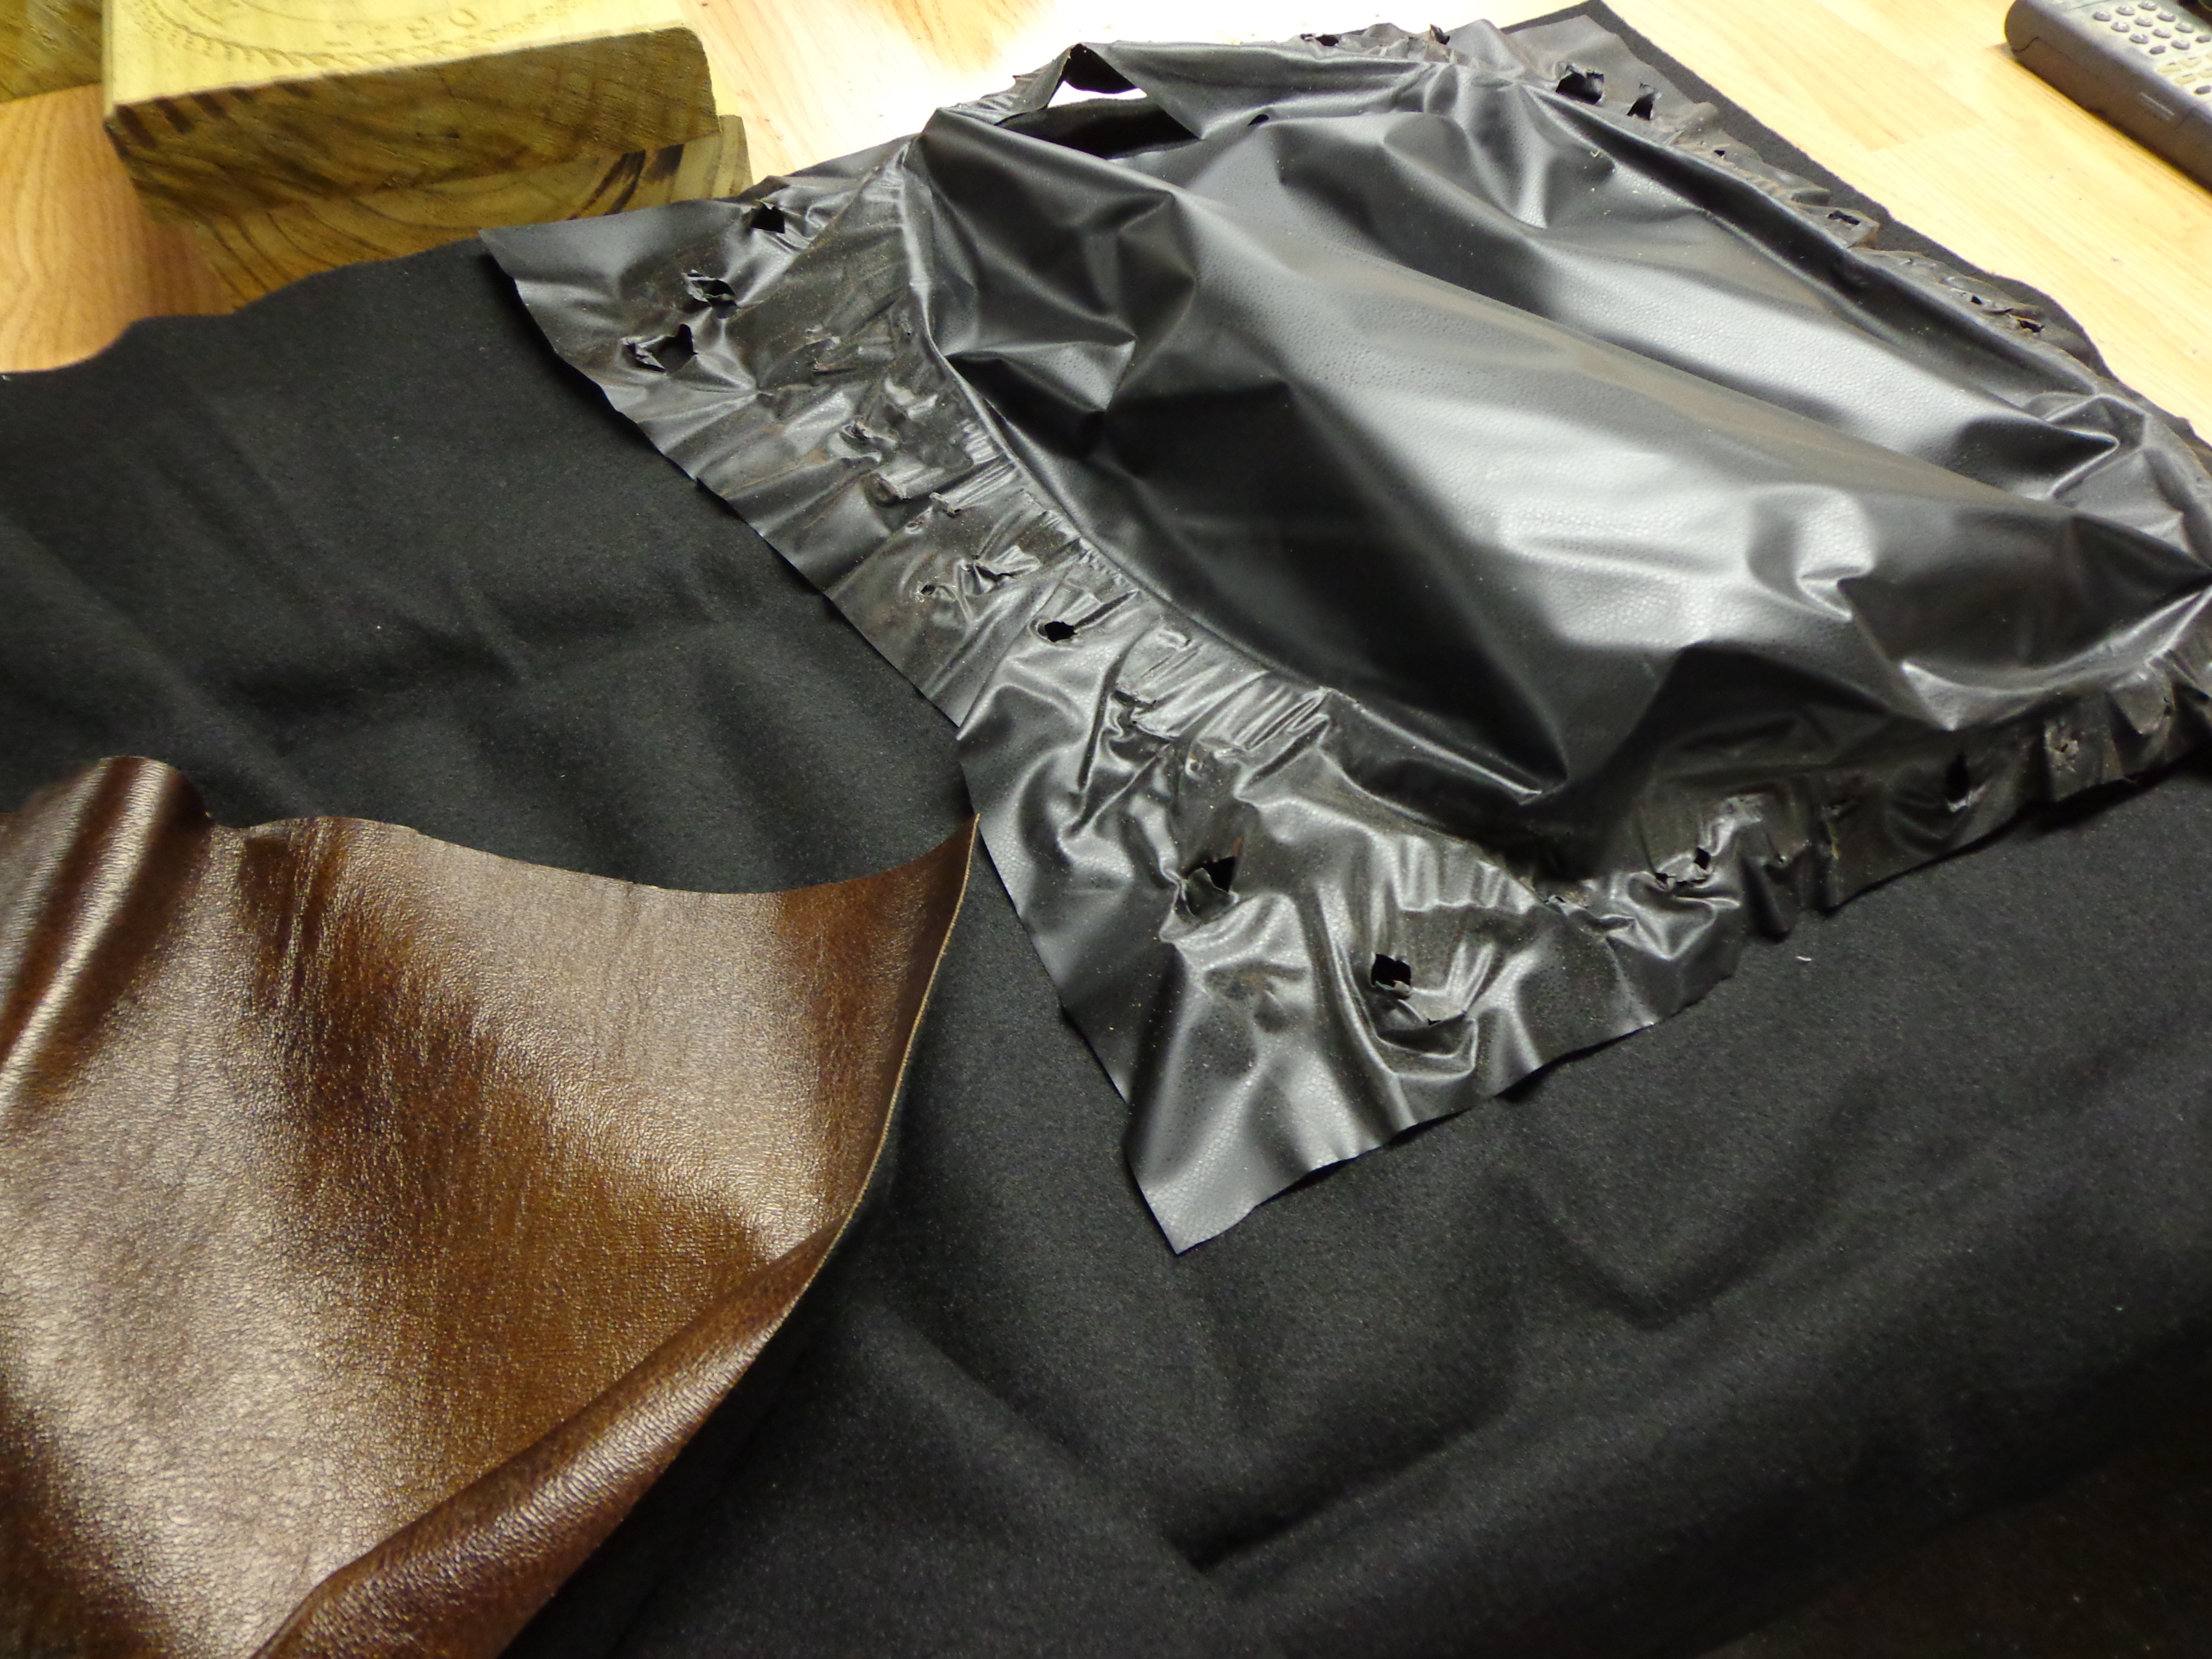 After unrolling the new vinyl and spreading it out, I laid the old piece of vinyl on top to act as a pattern of sorts. When I did this you could REALLY tell just how cheap the old vinyl had been. This new stuff should really be able to handle a lot of sitting!
 You can see the old towel that I had laid on the workbench. I didn’t want to place the new vinyl directly on the workbench in case I somehow managed to ding it up. Better safe than sorry.
I tried to place the seat in the middle and made sure that my new piece of vinyl would overlap all of the edges.
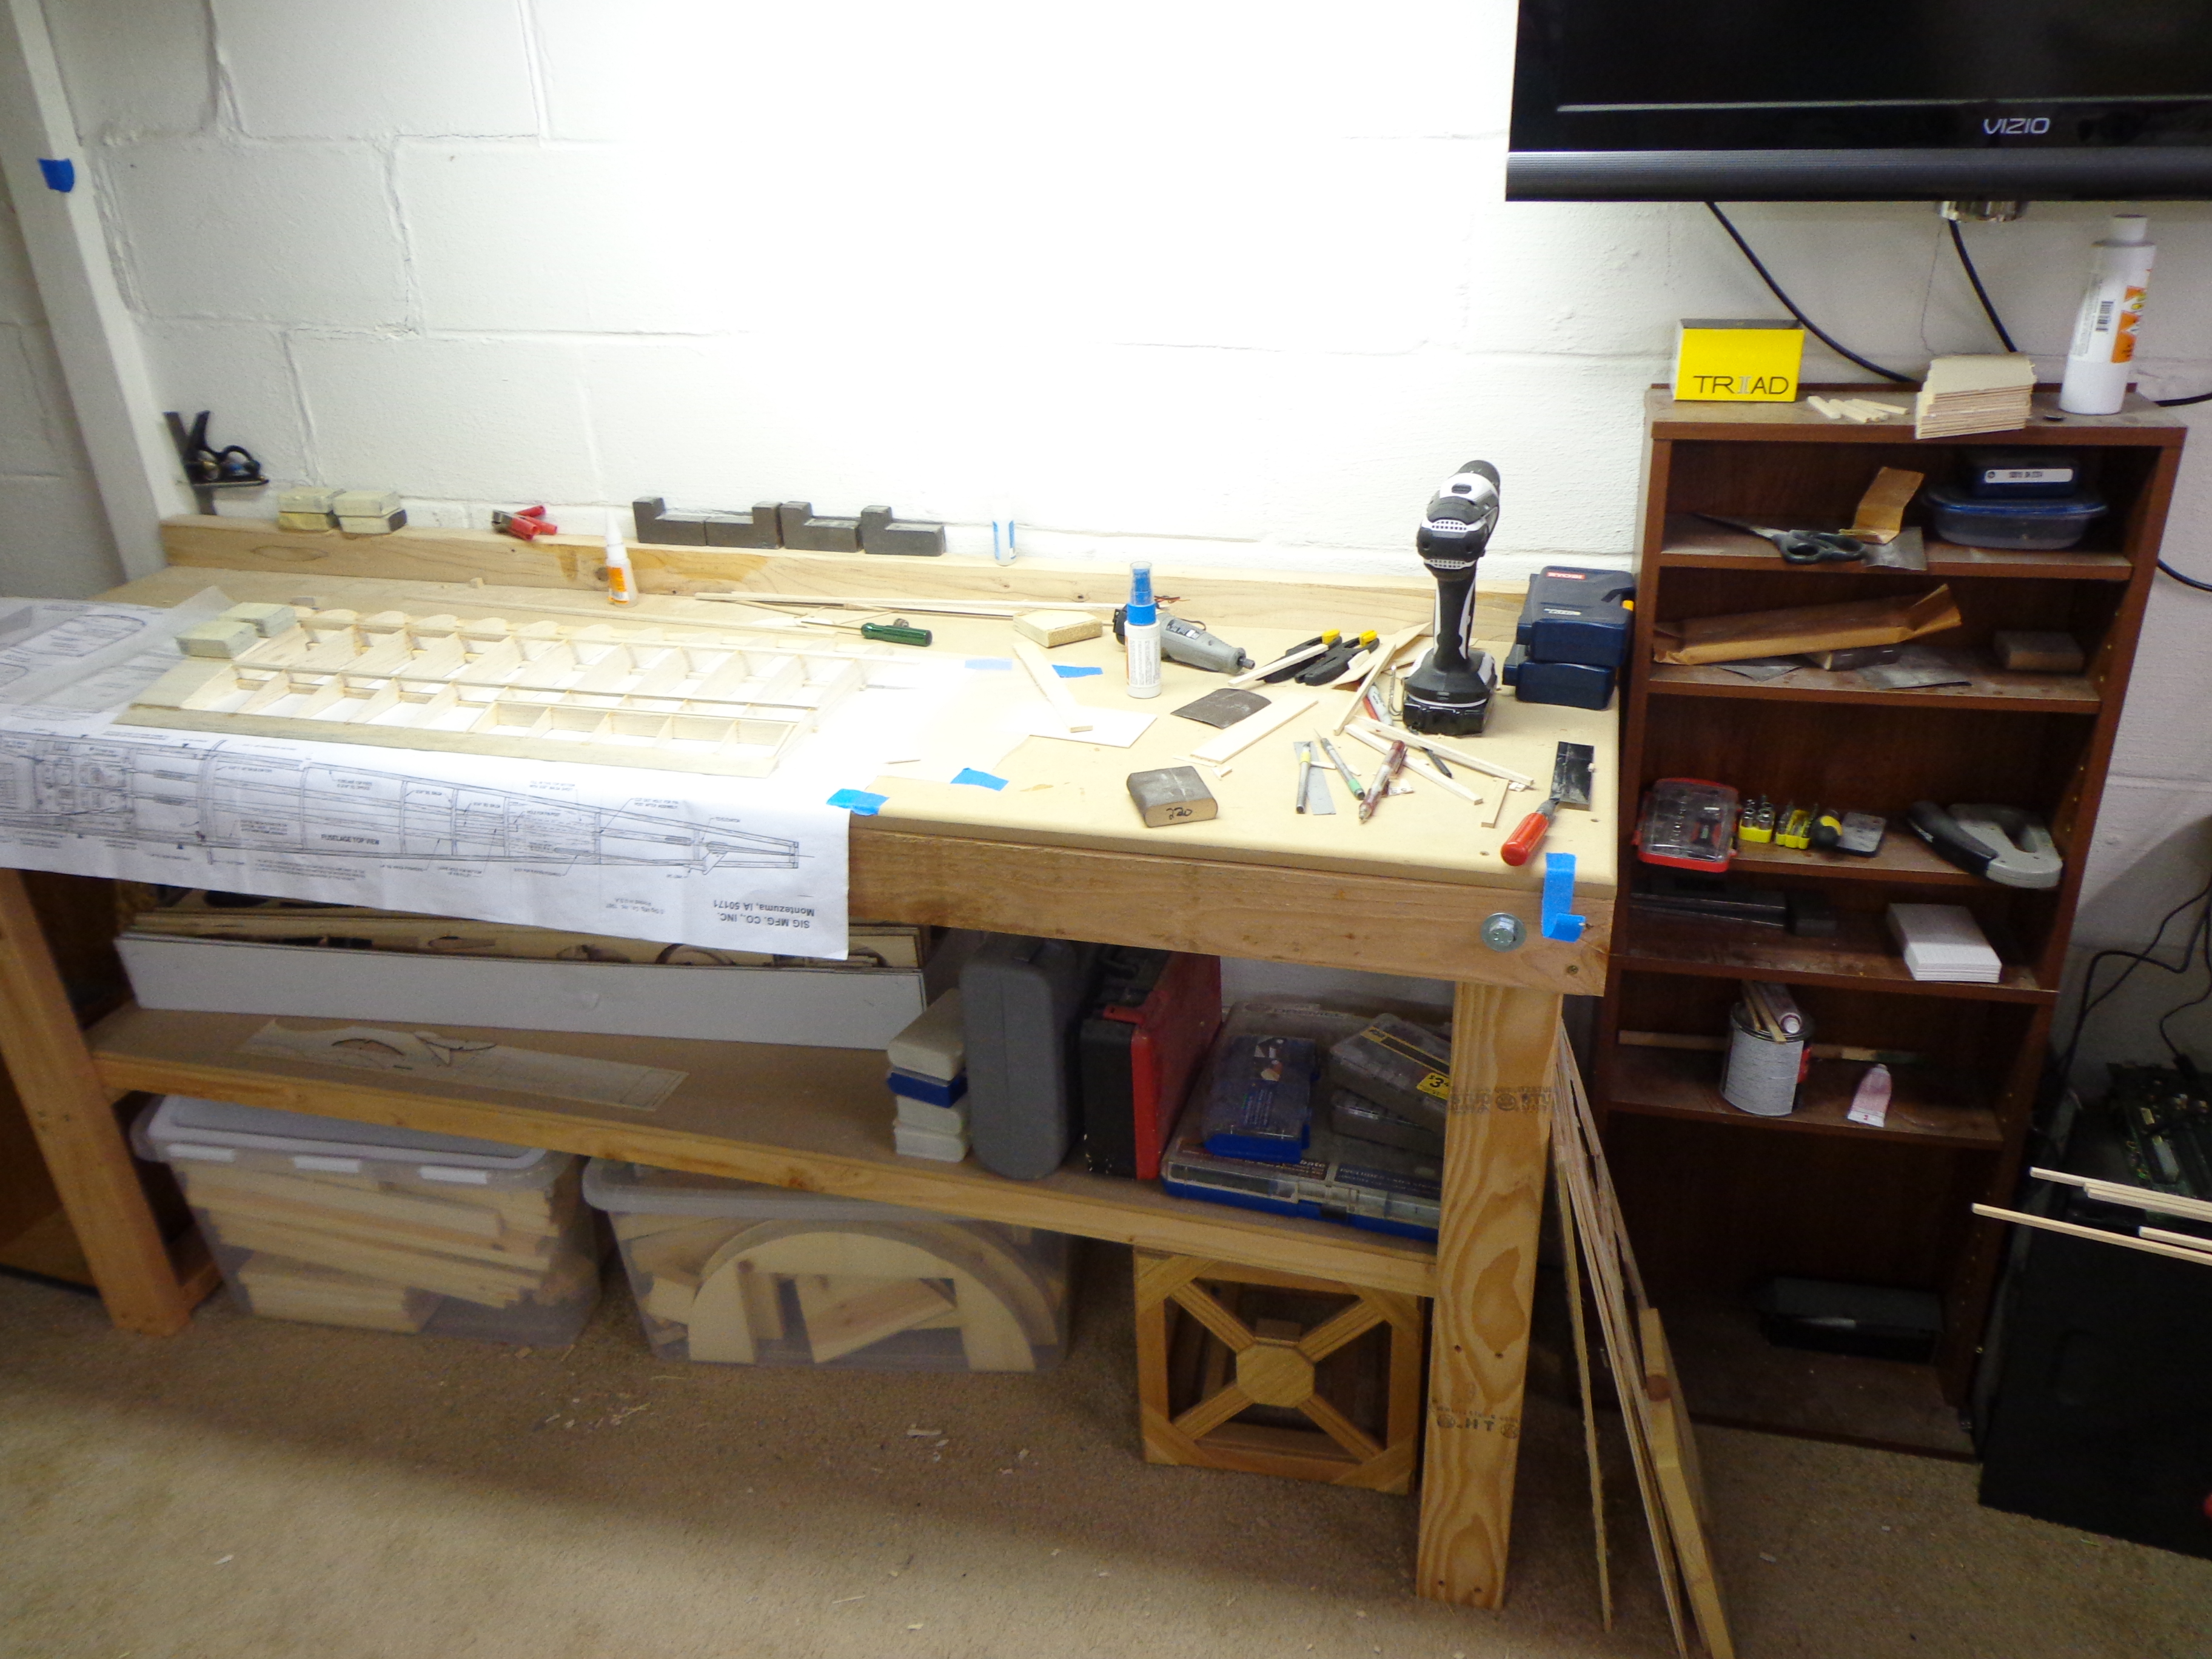 Then came the most difficult part of the entire project… finding the staple gun and staples.
I kid you not… I must have spent fifteen MINUTES looking for staples! I found all kinds that didn’t fit the particular staple gun that I had found. I couldn’t find the other gun, either. I finally ran into some staples that worked, though.
 Once the staple gun was actually loaded and functioning (both need to happen at the same time… trust me), go to town stapling the snot out of the vinyl.
I also used a hammer to go back and make sure that all of the staples were down nice and flush with the wood. Hopefully I never have to remove them!
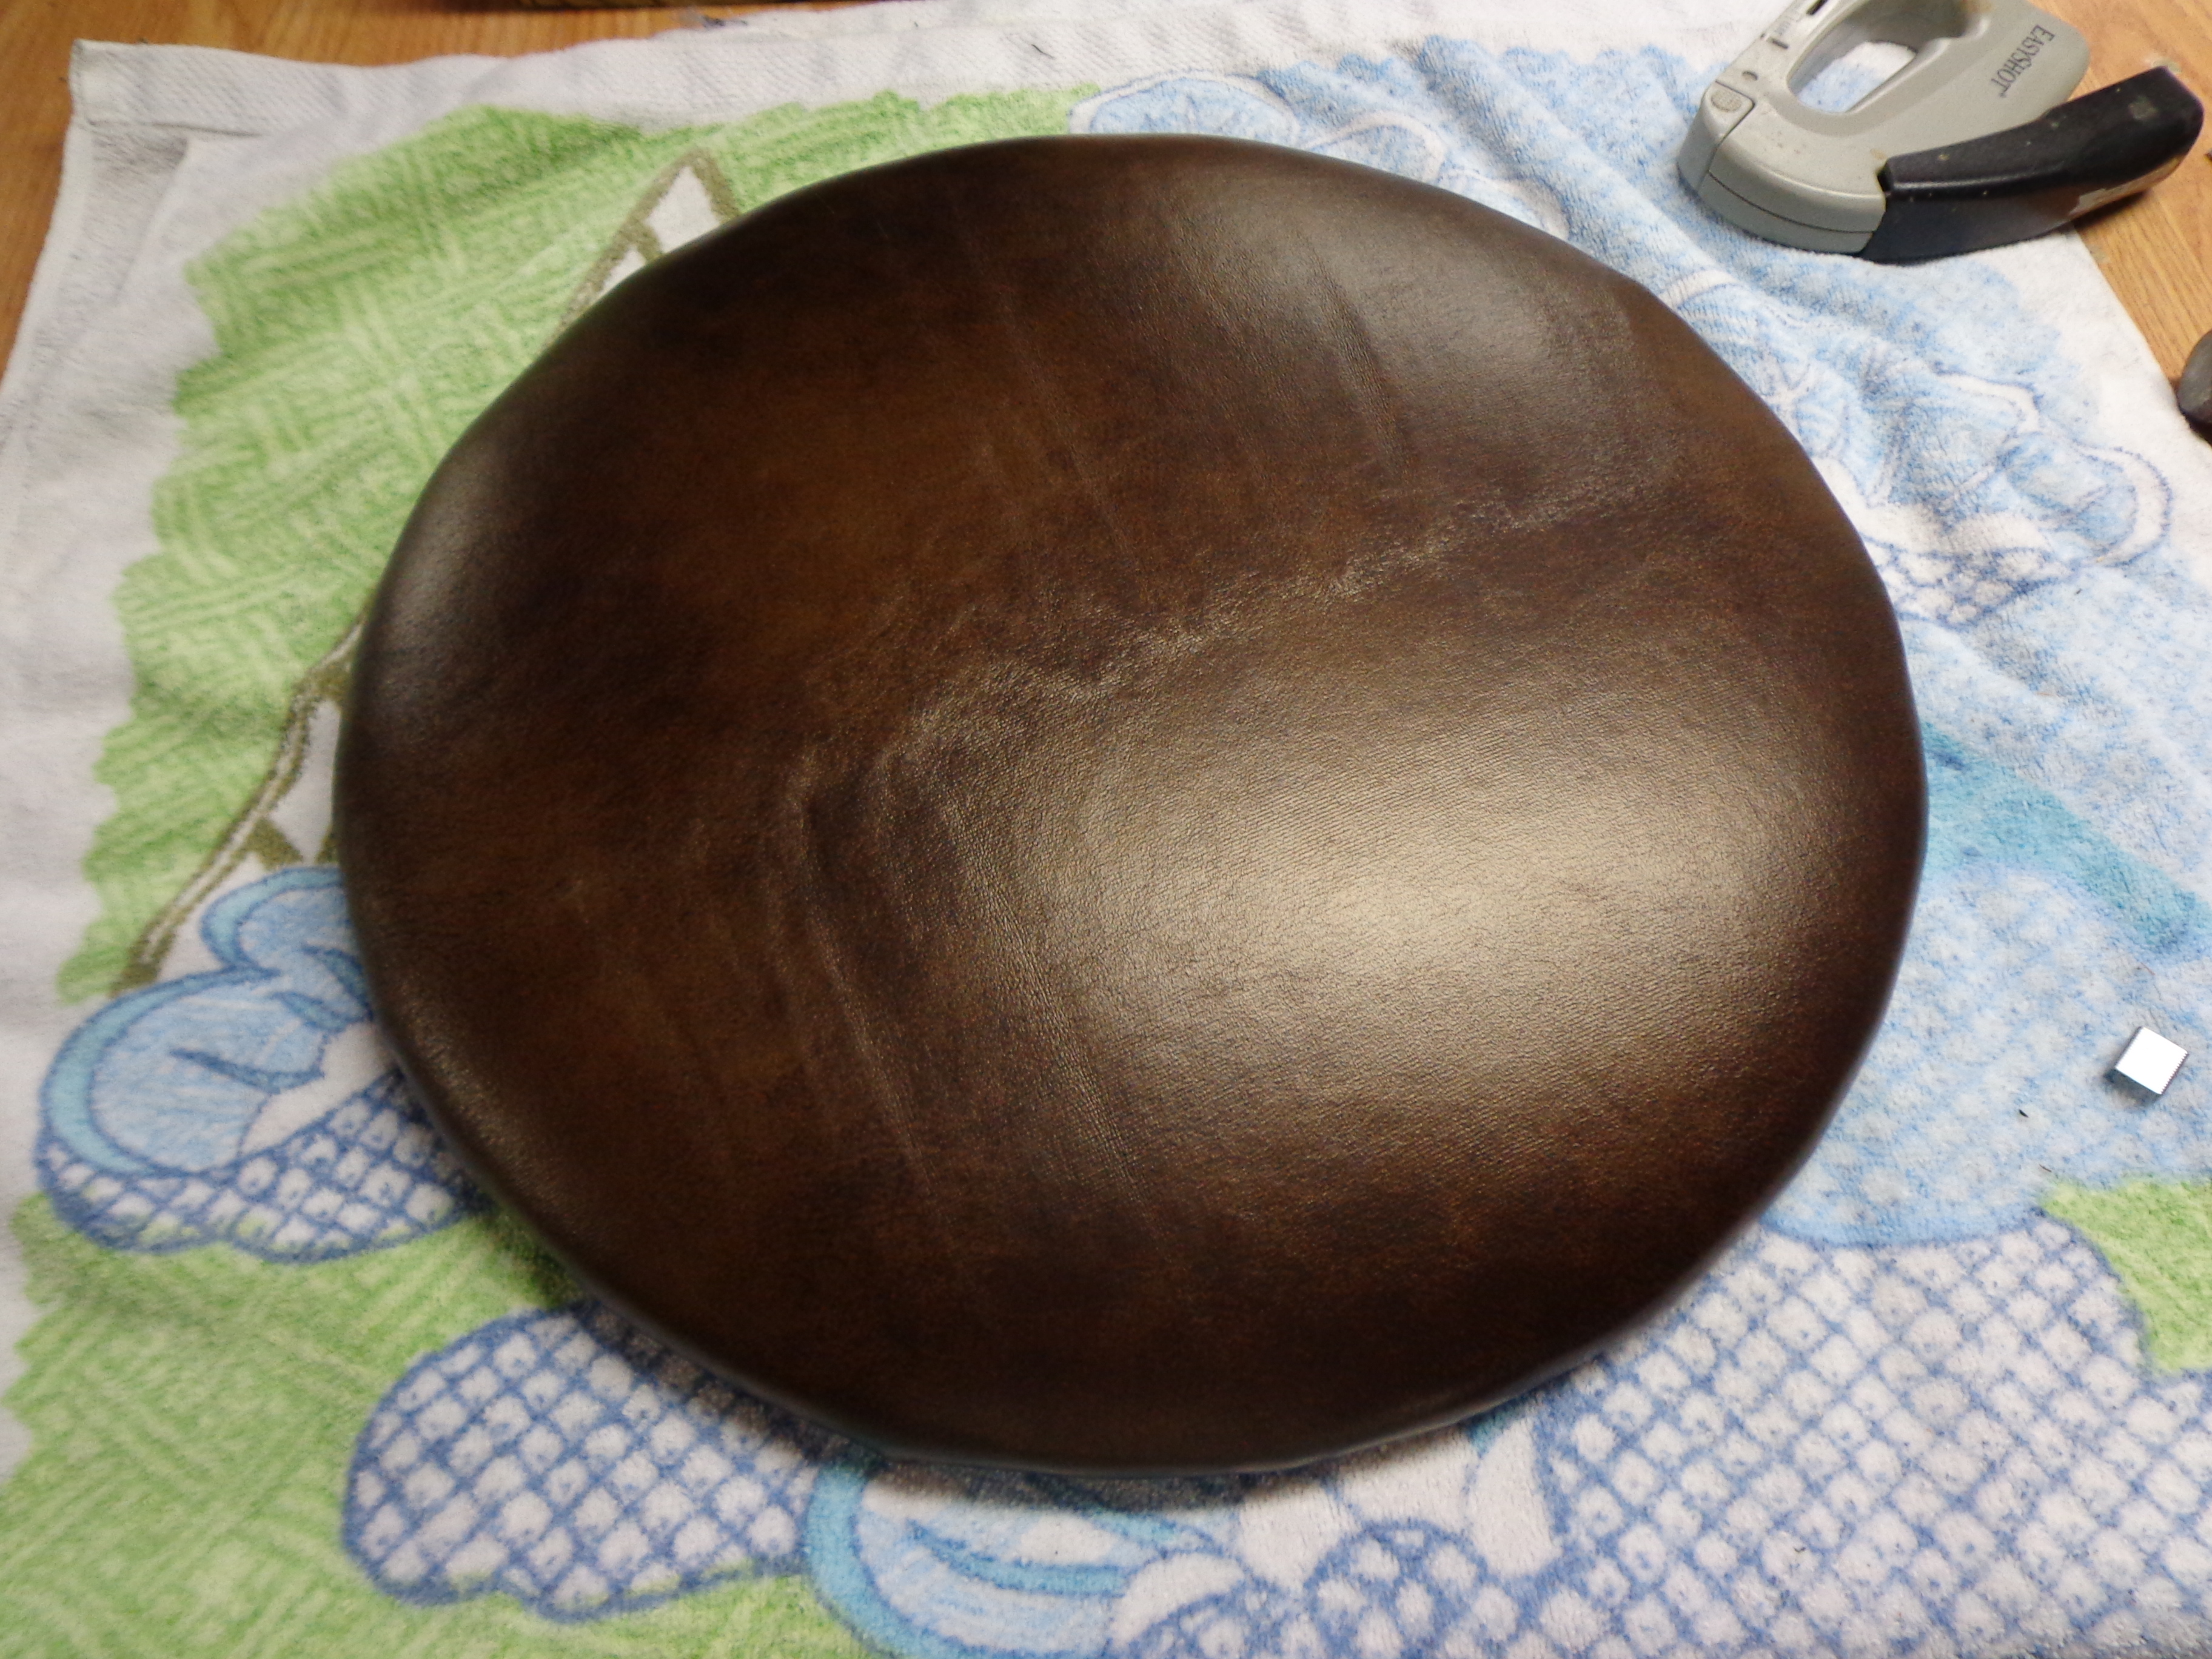 Look! How pretty! It’s just like the top of a Hostess cupcake, without the white squiggle!
Actually, I really was surprised at just how well it came out considering this was the first time I had ever attempted to recover a seat.
 Don’t forget to put the cover back on so that it looks somewhat professional. Not that anybody should be flipping over your chairs to see what’s under them…
 Voila! A new chair!
It looks nice, doesn’t it?
Don’t forget to screw the seat back onto the frame! And make sure that you have the screw gun turning in the correct direction. Otherwise you will spend a few minutes cursing at it and wondering why the screws won’t bite.
Not that I would have any personal experience with that…. *whistles*
 This would also be a cheap and easy way to add a new look to your room or even just update an old, tired set of furniture.
Give it a try! You never know what you might learn.

Kerry when I first stated to read this I thought (just like her mother). They look GREAT!!.
Pingback: Sewing for Crutches | Kerry'd Away