
I teased you a little bit at the end of the last woodworking blog. I showed you this picture:
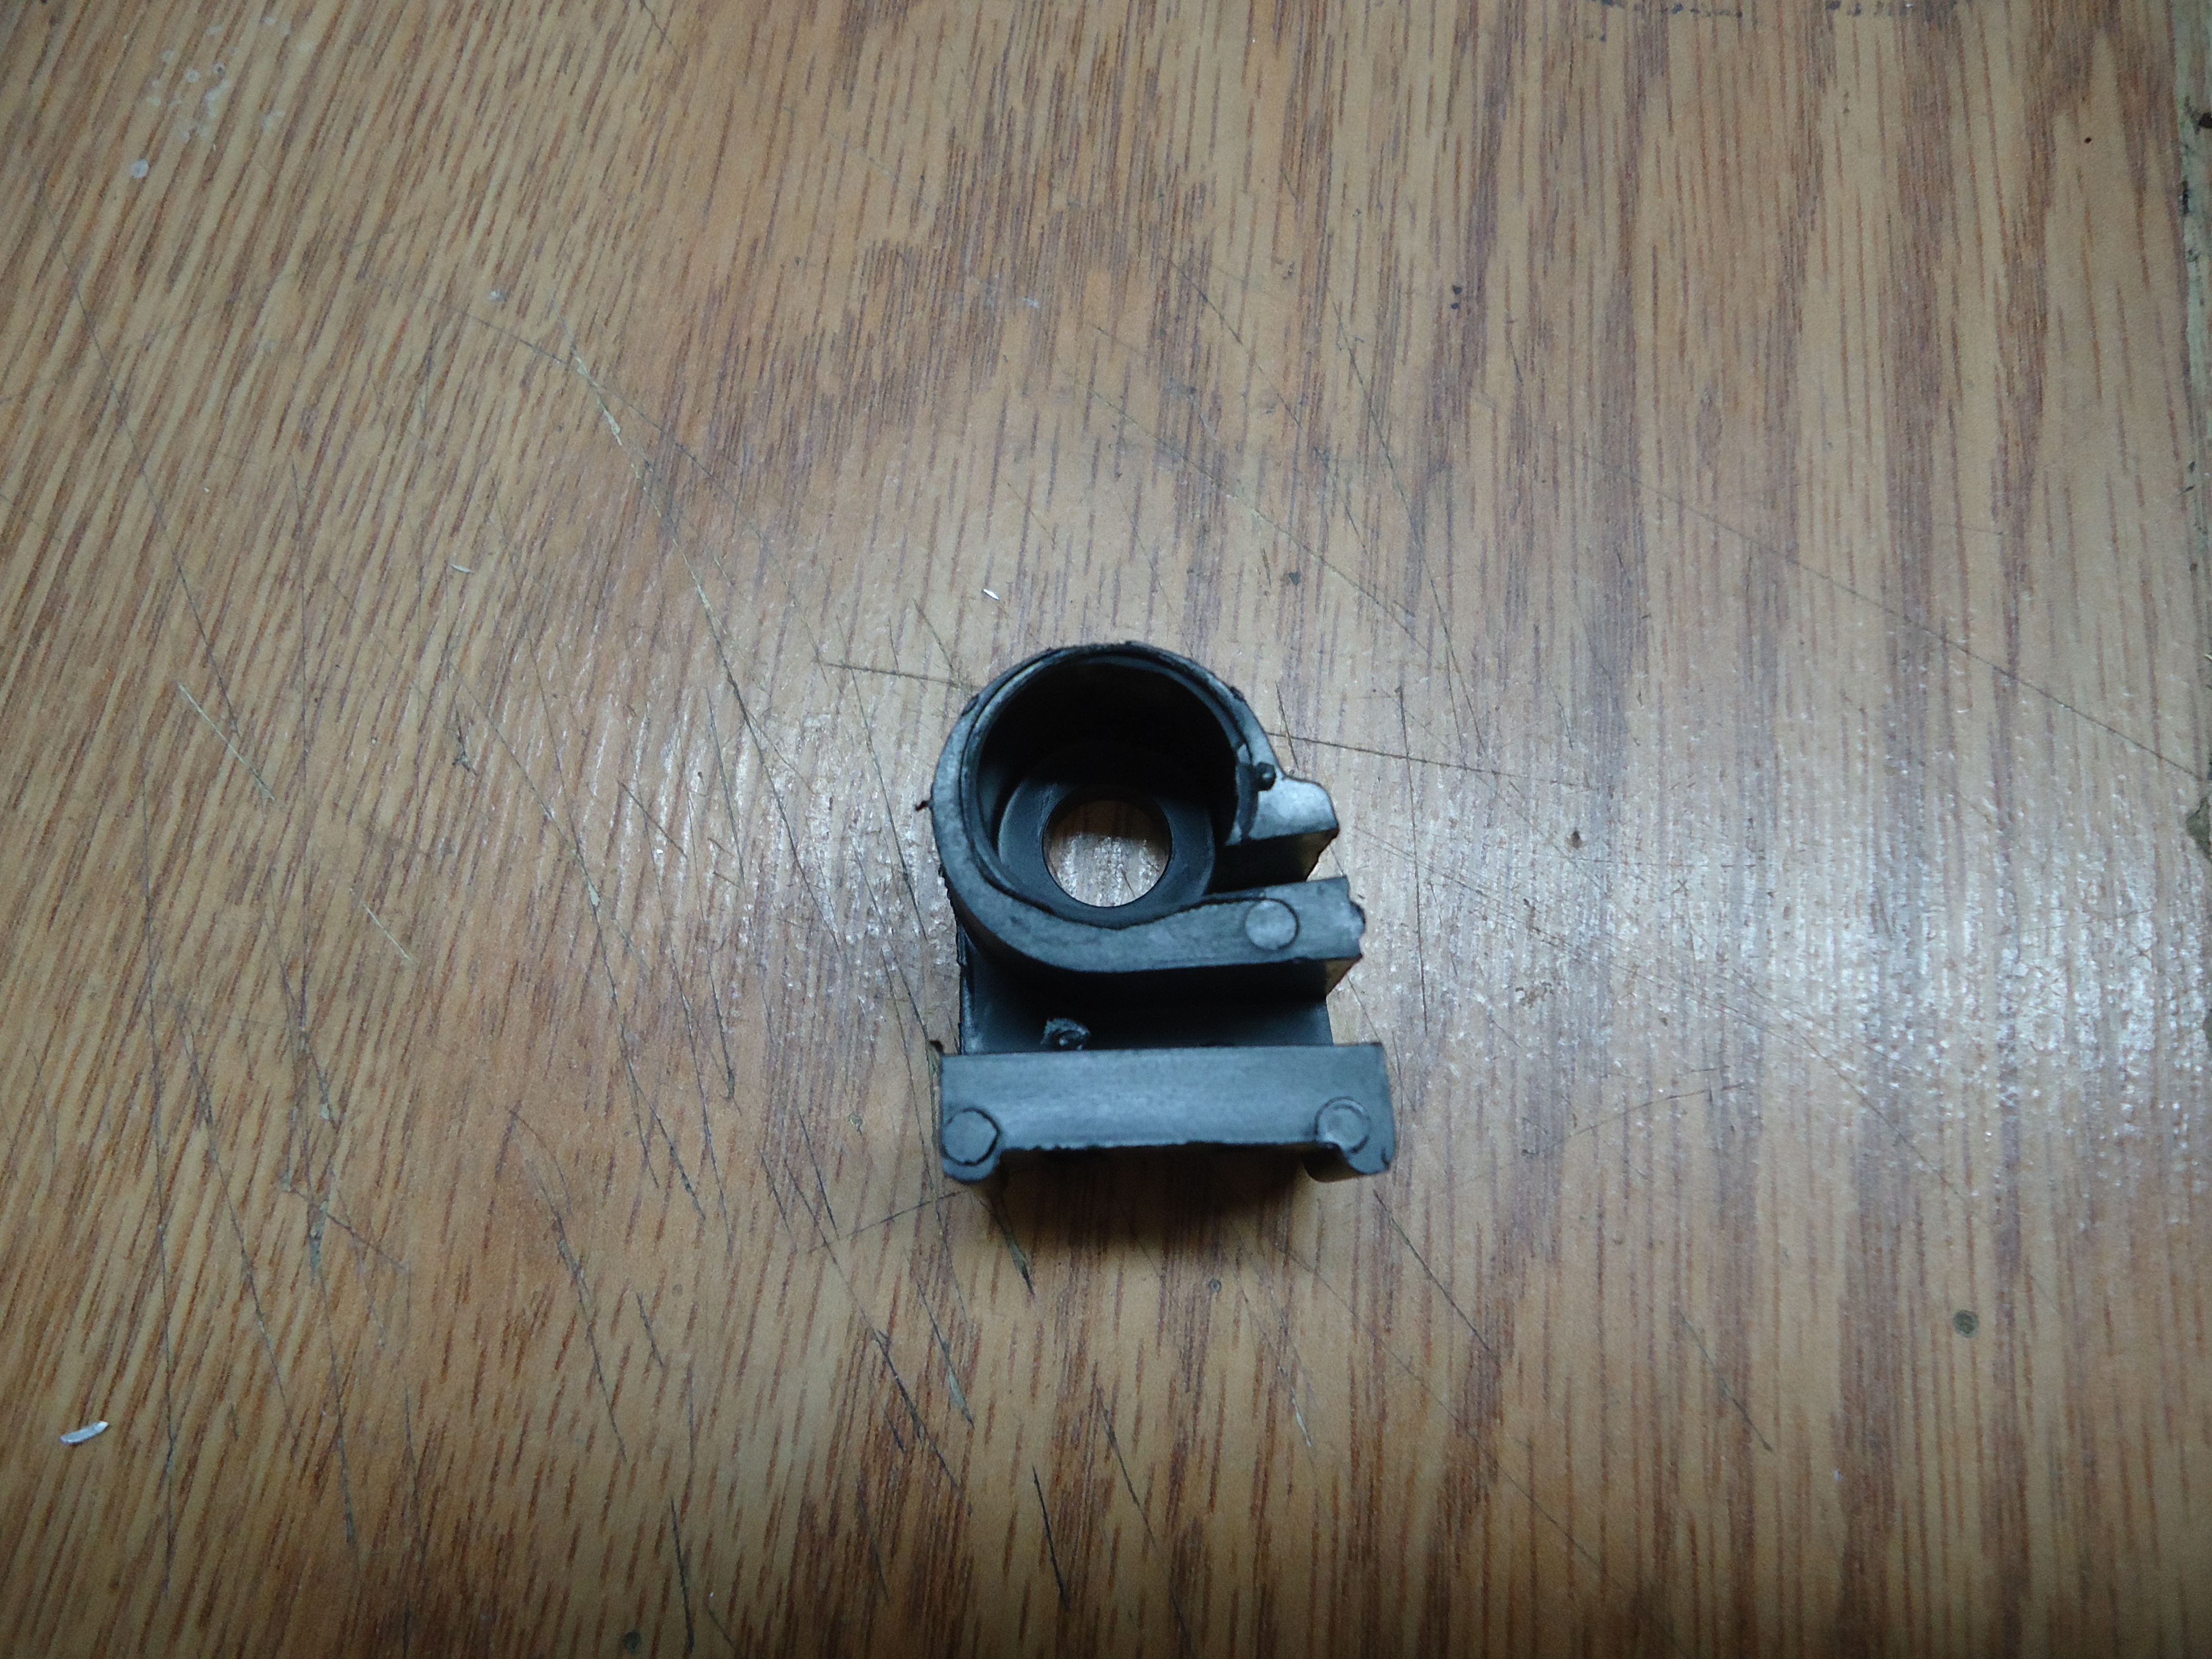
Did you idnetify the mystery object? No, it’s not an industrial roof top fan unit for the train layout. No, it’s not a Barbie-sized jail cell toilet. No, it’s not an abstract spoon rest. Let me show you the original that is made of plastic and Jay was asked to re-make in aluminum (or aluminium for our British friends).
Ah, of course! I should have guessed “Cranky Thing” right away. Now, I know that Jay has told me what this crank goes to, but honestly I was thinking about yarn so I have no clue what he said. In fact, once again I am going to write a blog post about something Jay has made and given me the SD Card from his camera that contains his progress pictures. Jay took these pictures and I really have no idea what’s going on. This could get interesting.
The first thing that Jay always does when he’s working on a new project is he draws it in SketchUp. Always. Even if he’s not going to use the CNC router or 3D printer.
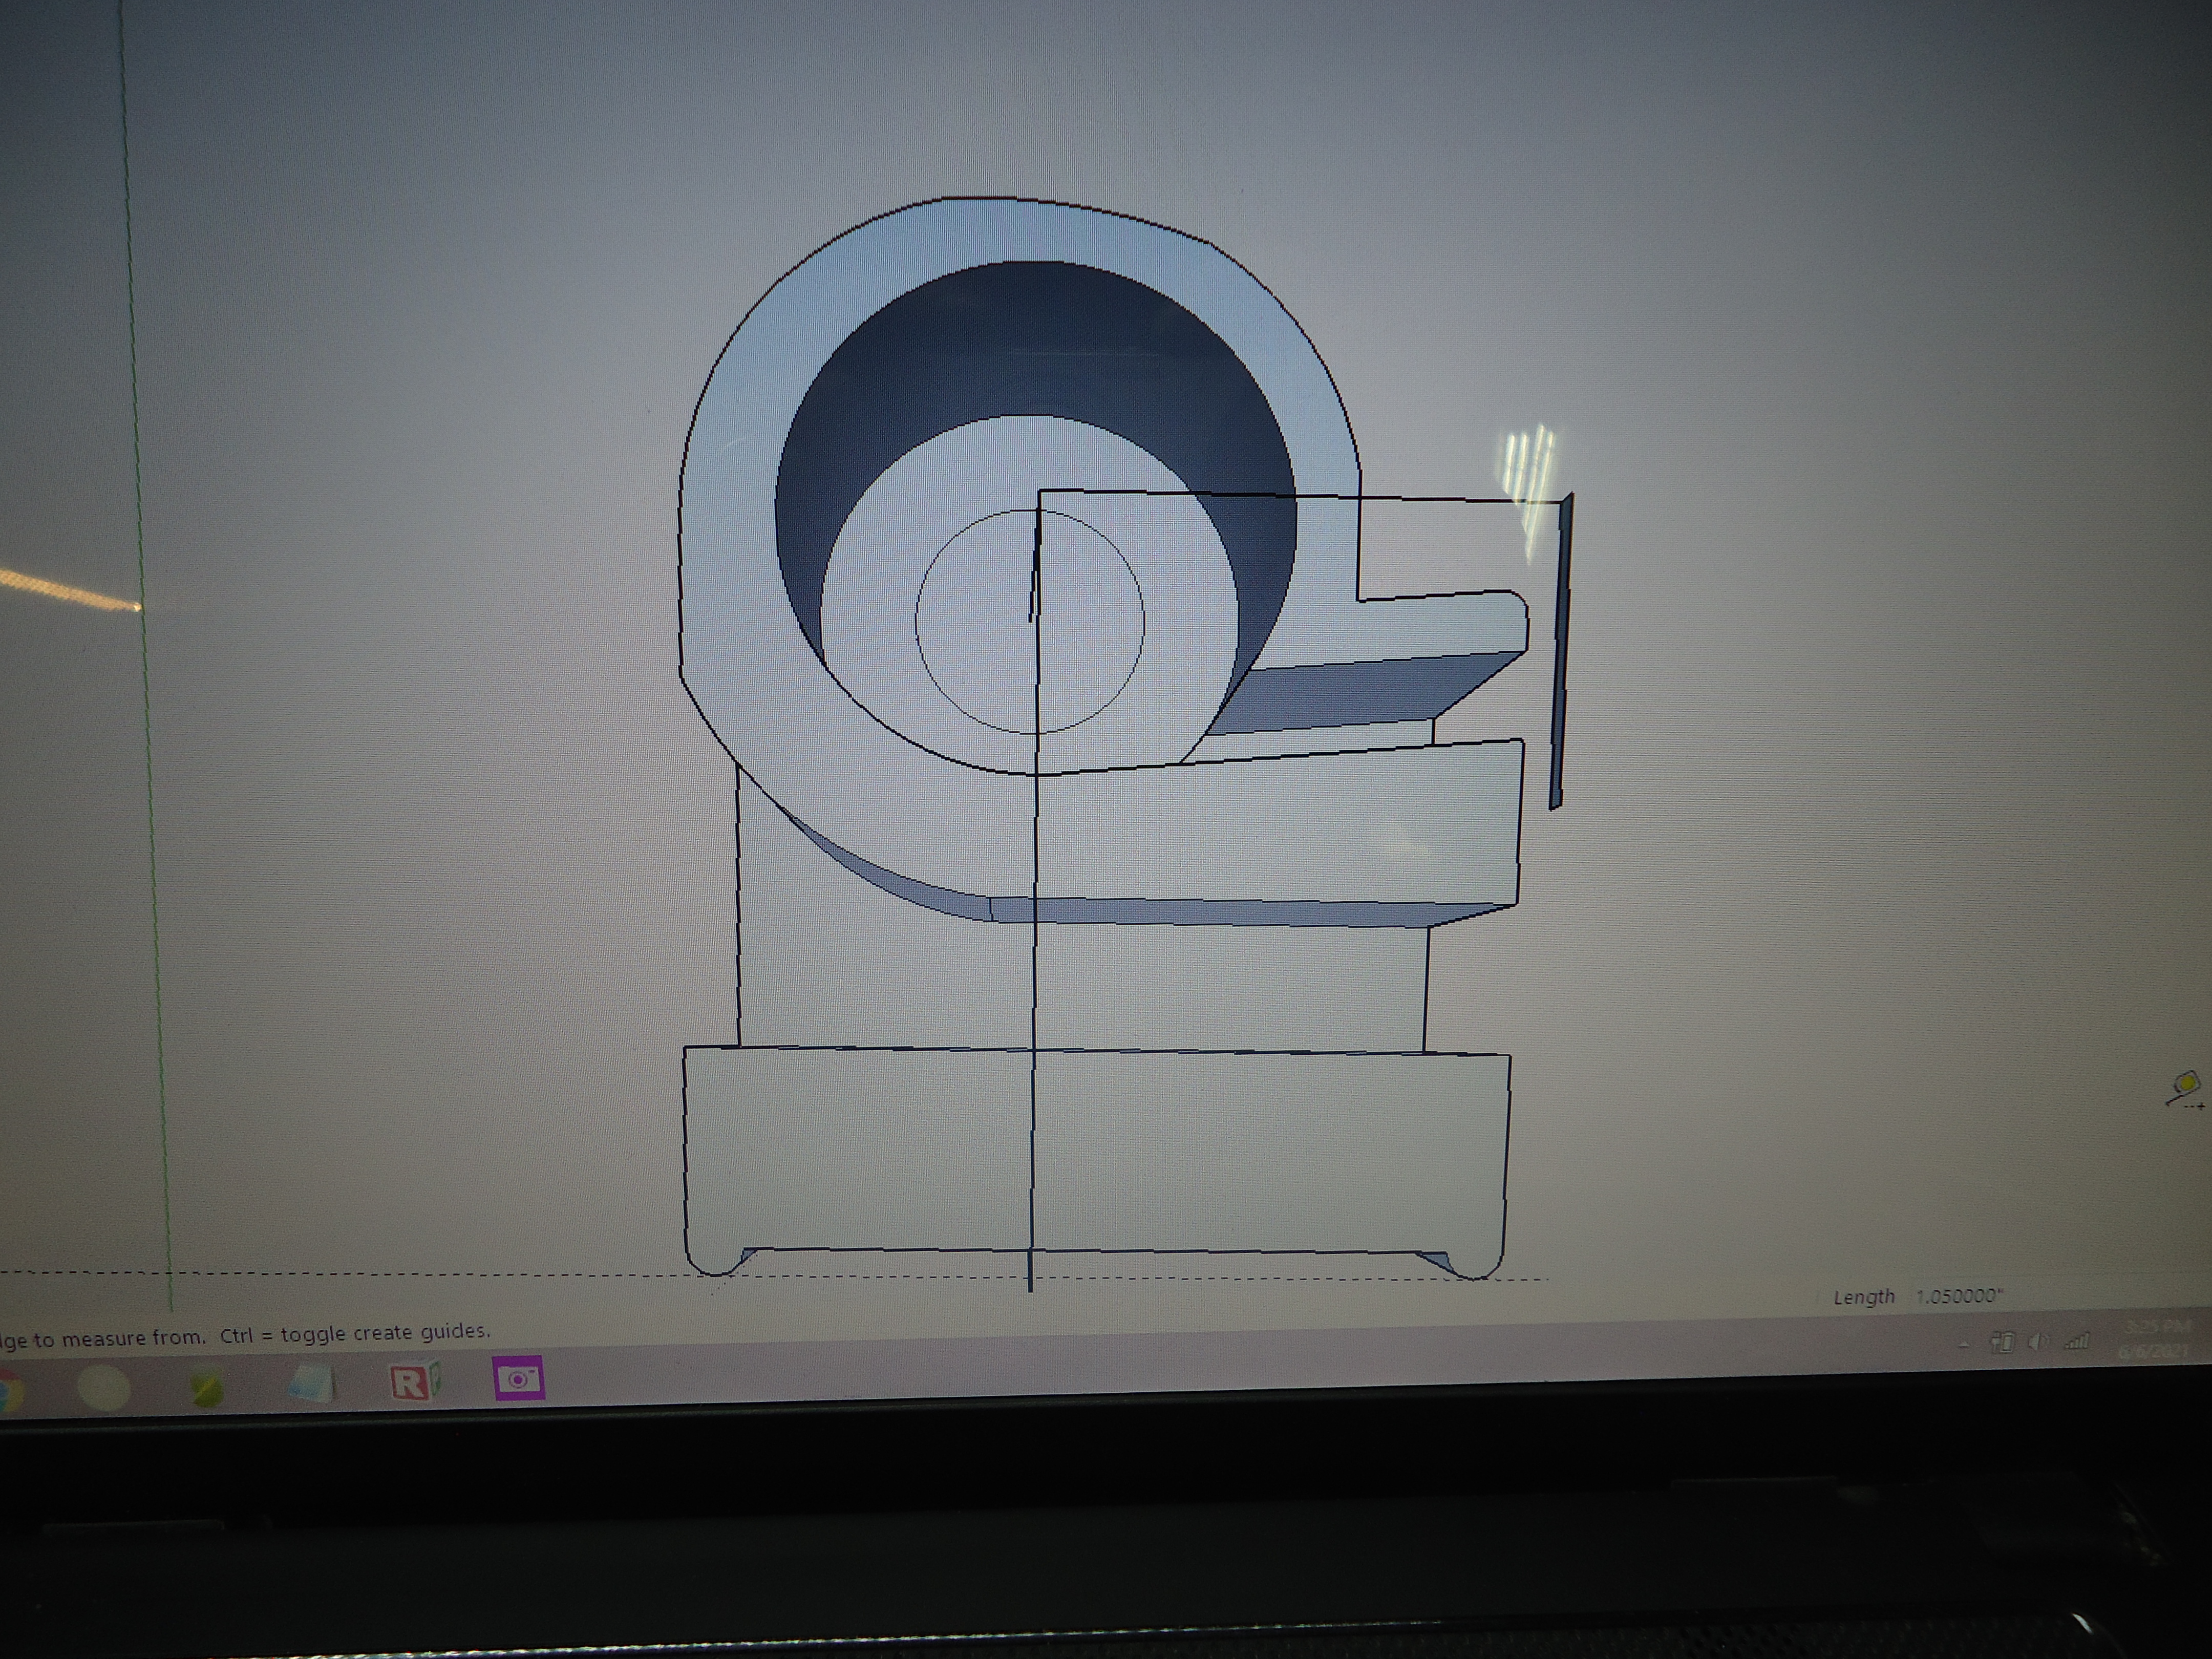
He keeps telling me that I need to learn SketchUp. Why? He does such a great job with it that I couldn’t come anywhere close to being as good. (That’s the excuse he gives me as to why he doesn’t wash dishes).
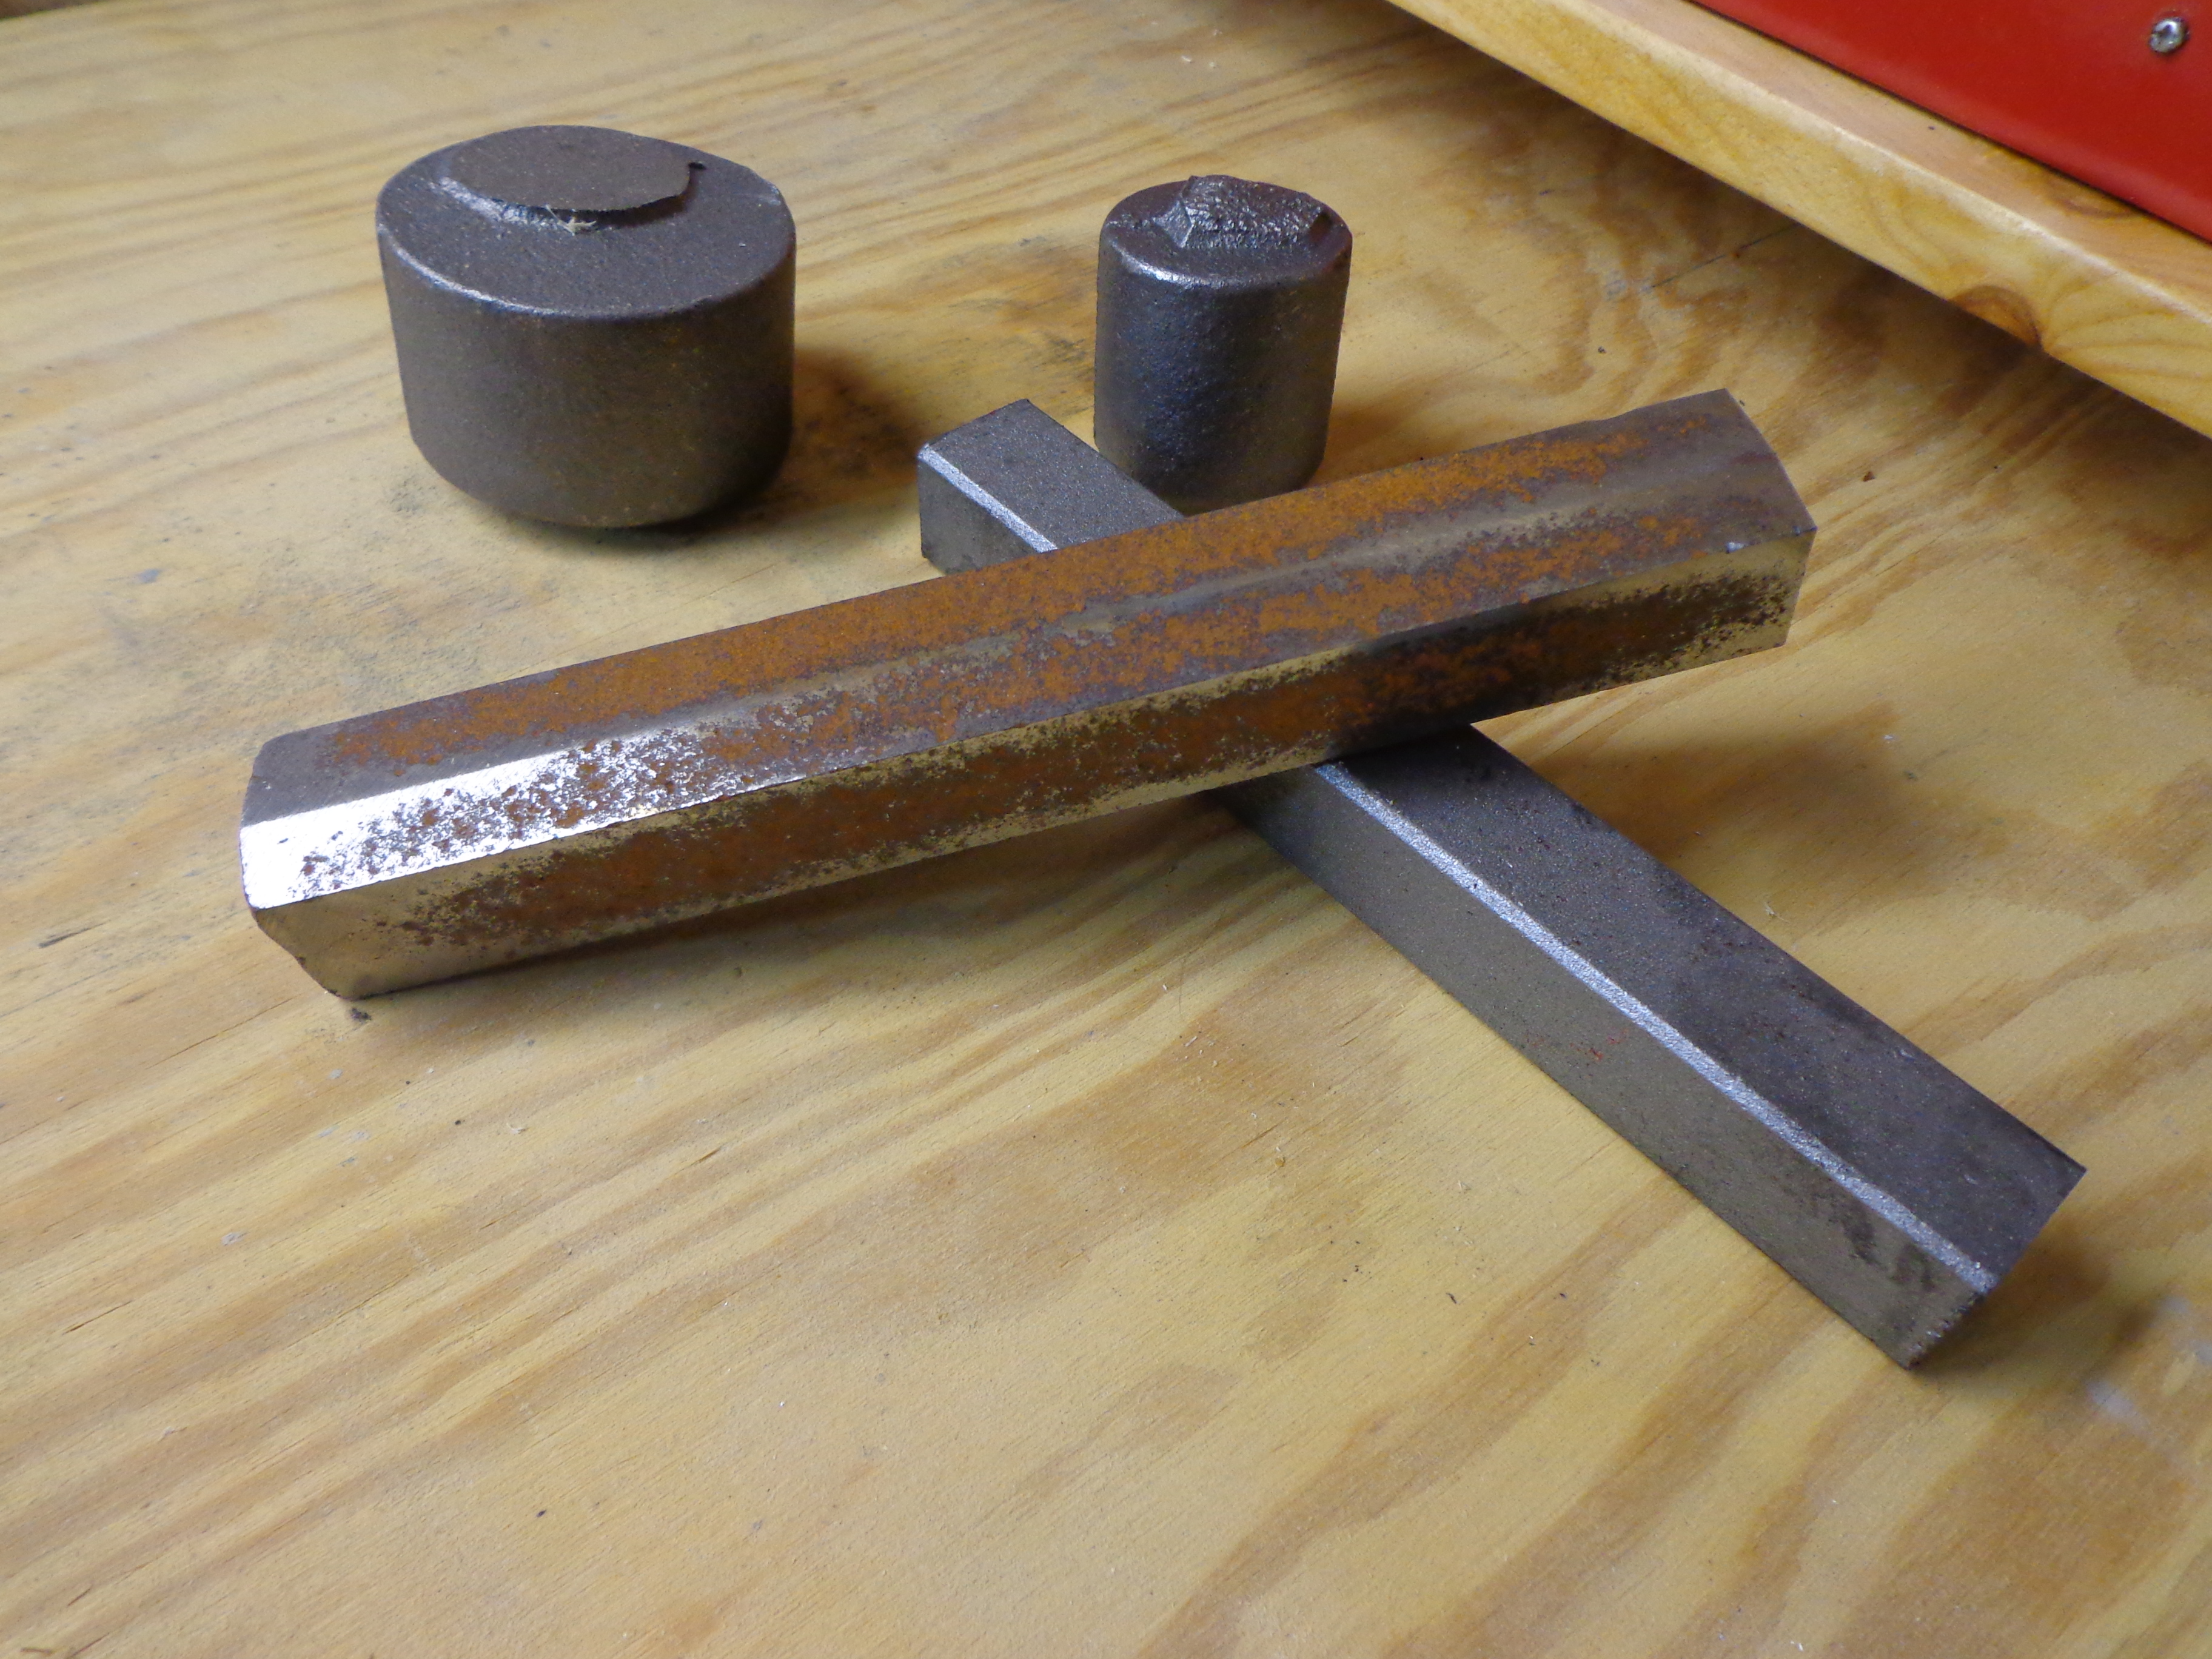
After drawing up all of his dimensions and getting an idea of how he’s going to approach machining this part he then has to find some material.
Hmmm…. nope, that’s not right. Let’s try again.

Gluten free cake? Hmm… still too heavy and it won’t machine well. One more try…
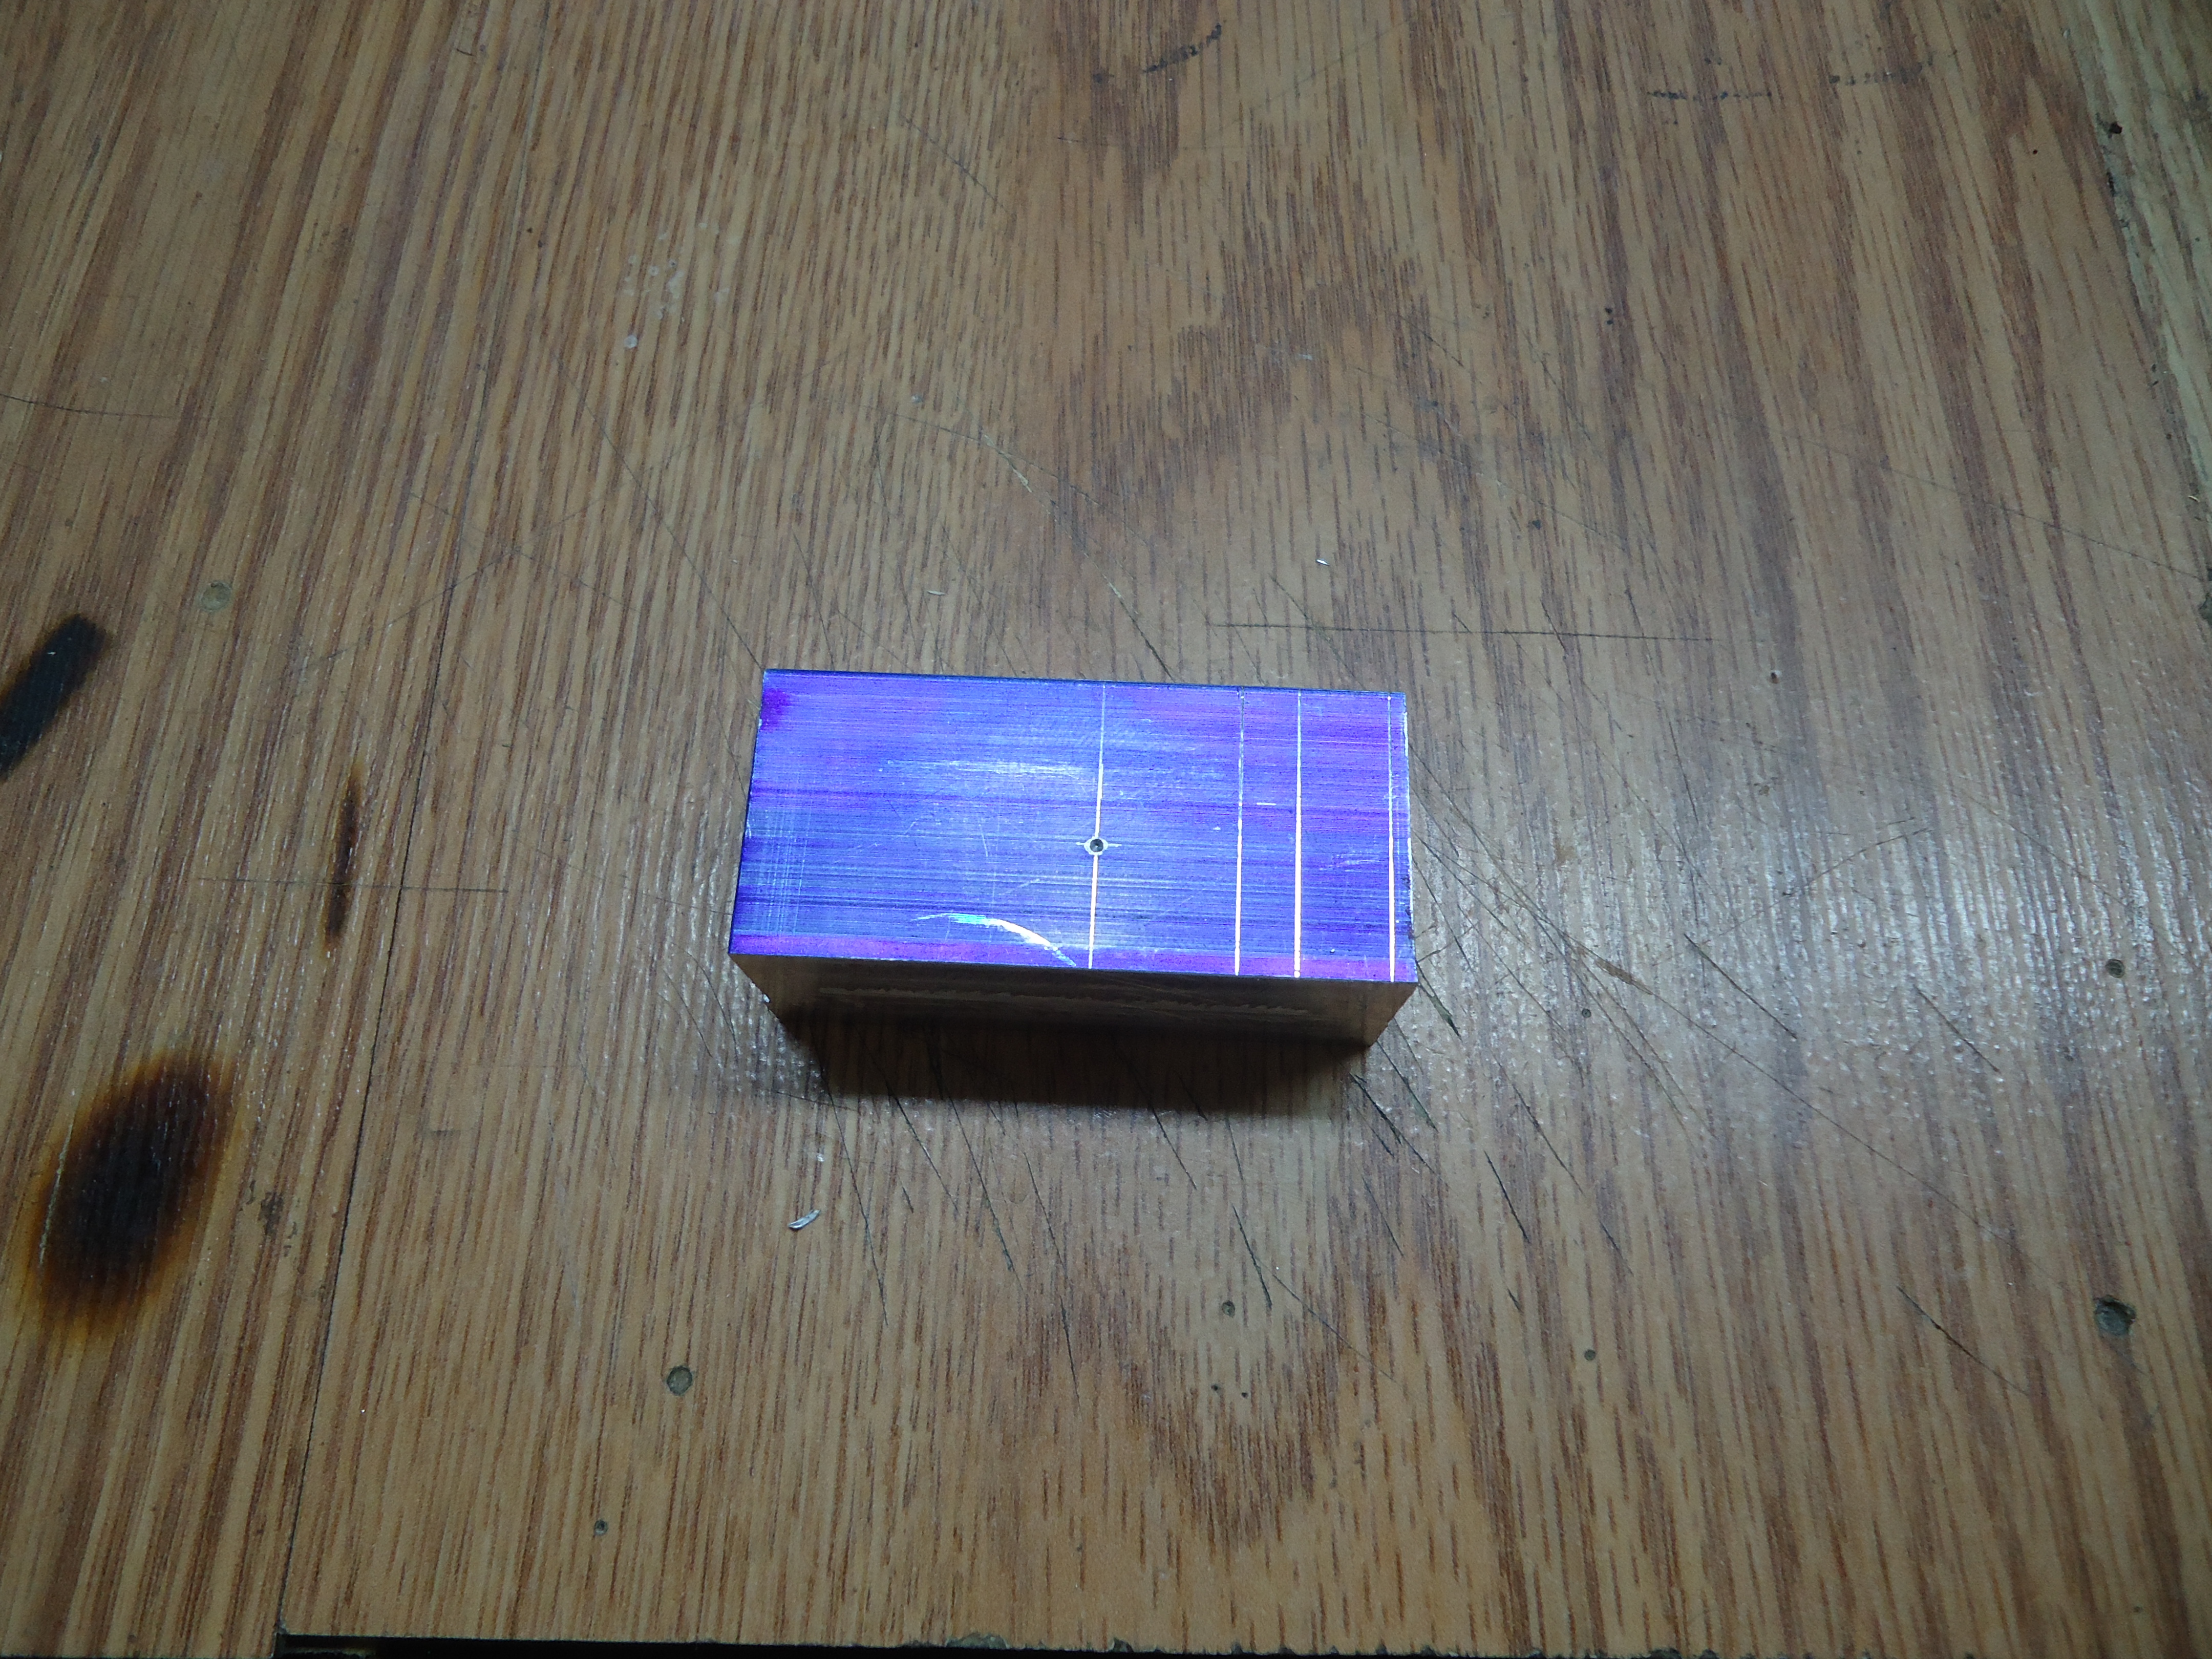
This should work. Plus, it’s blue! How pretty!
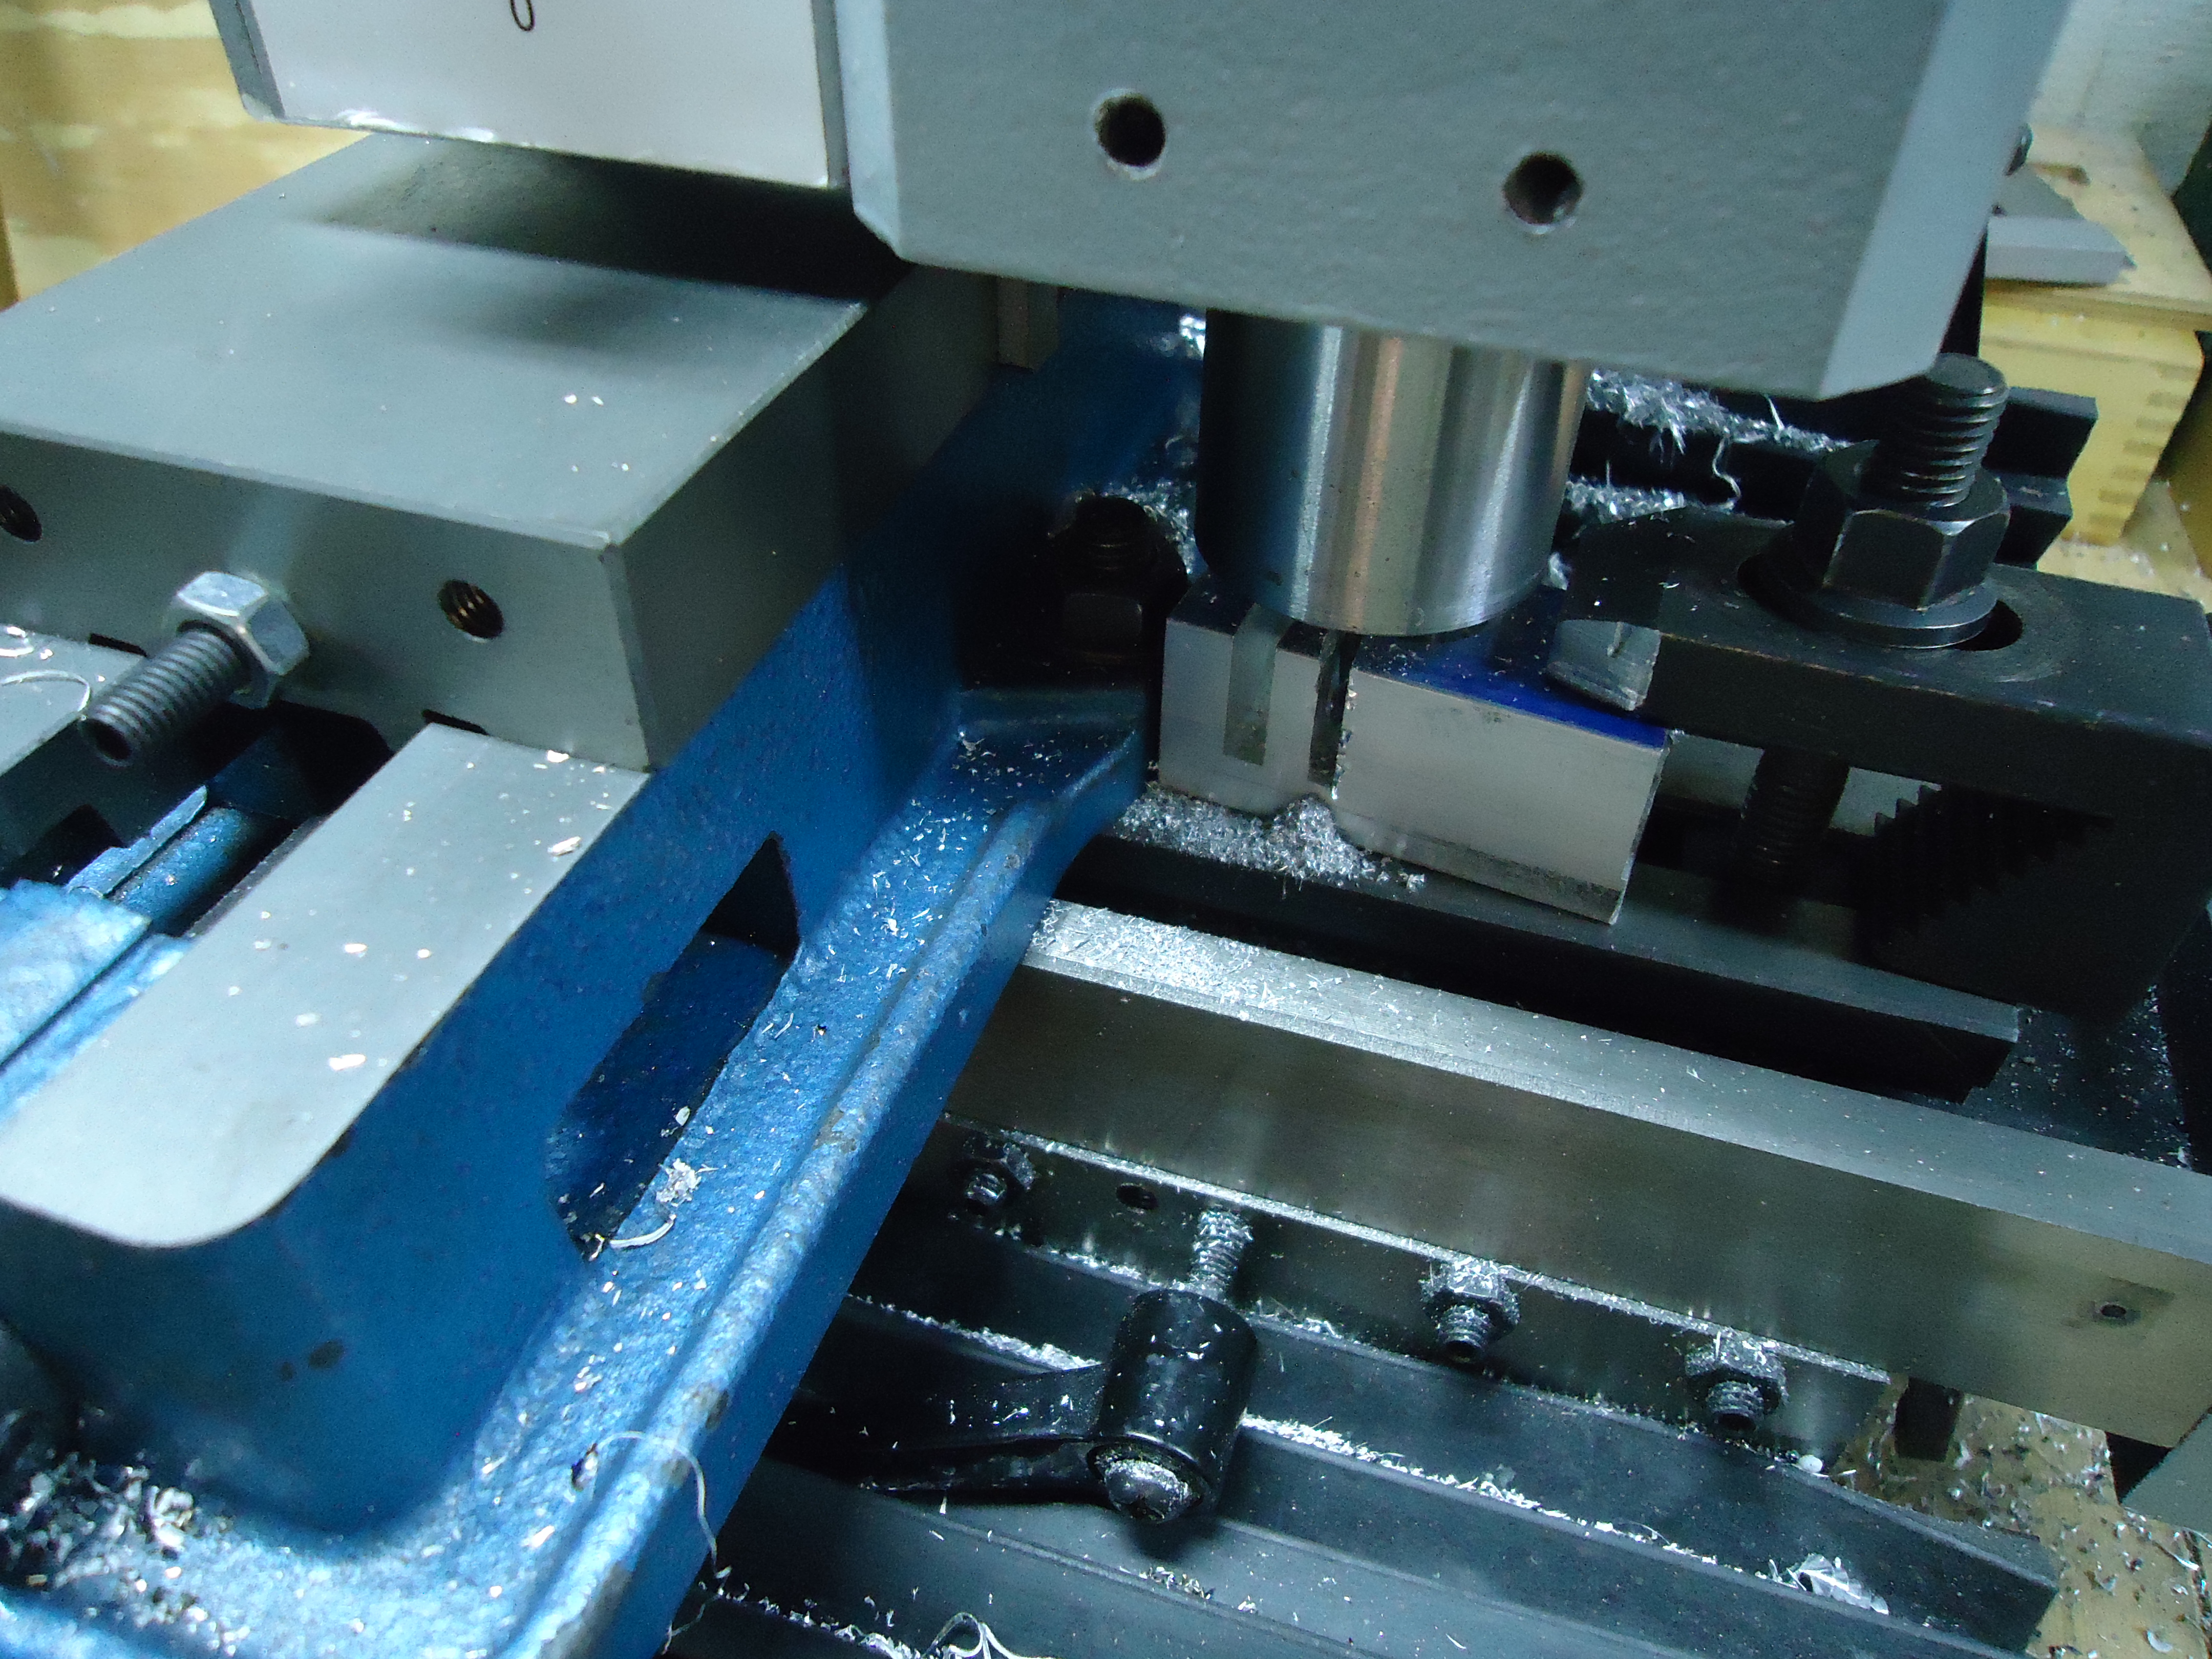
Once he has the right material he puts it on the mill and starts cutting.

The blue must be the candy coating on this block.

Whoops. Looks like there was a little bit of skittering and some chatter. That happens to the best of us.
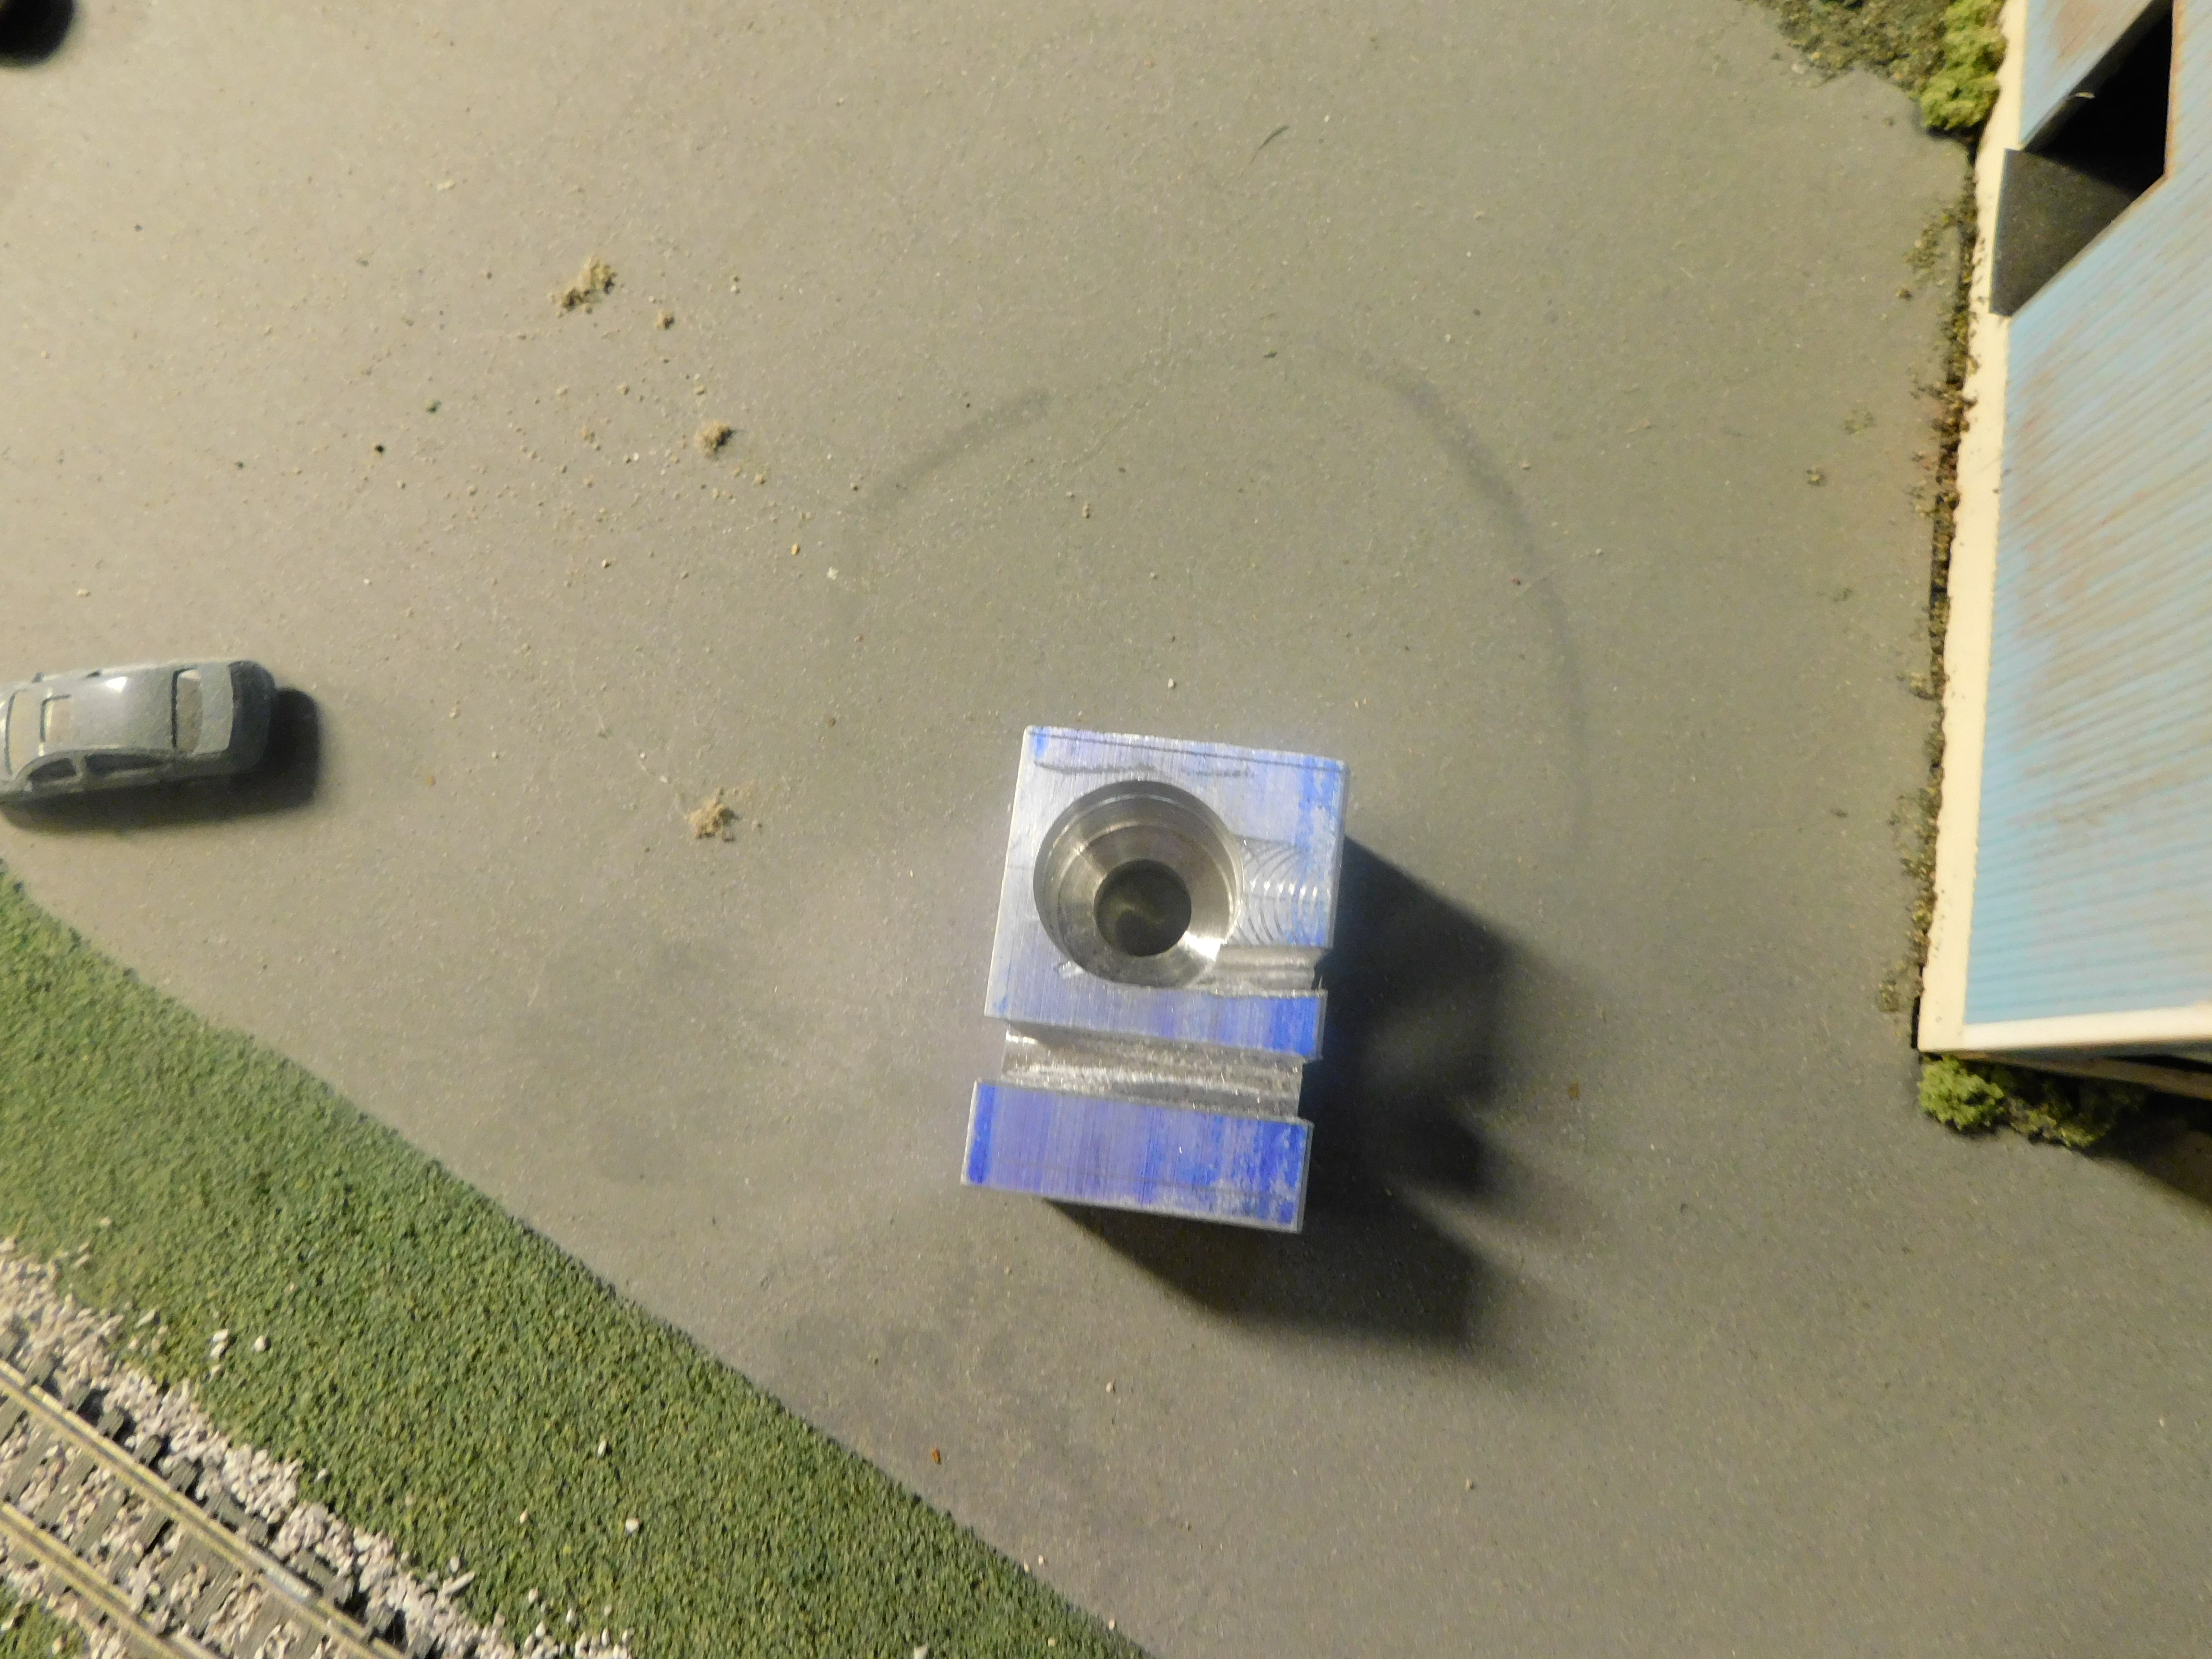
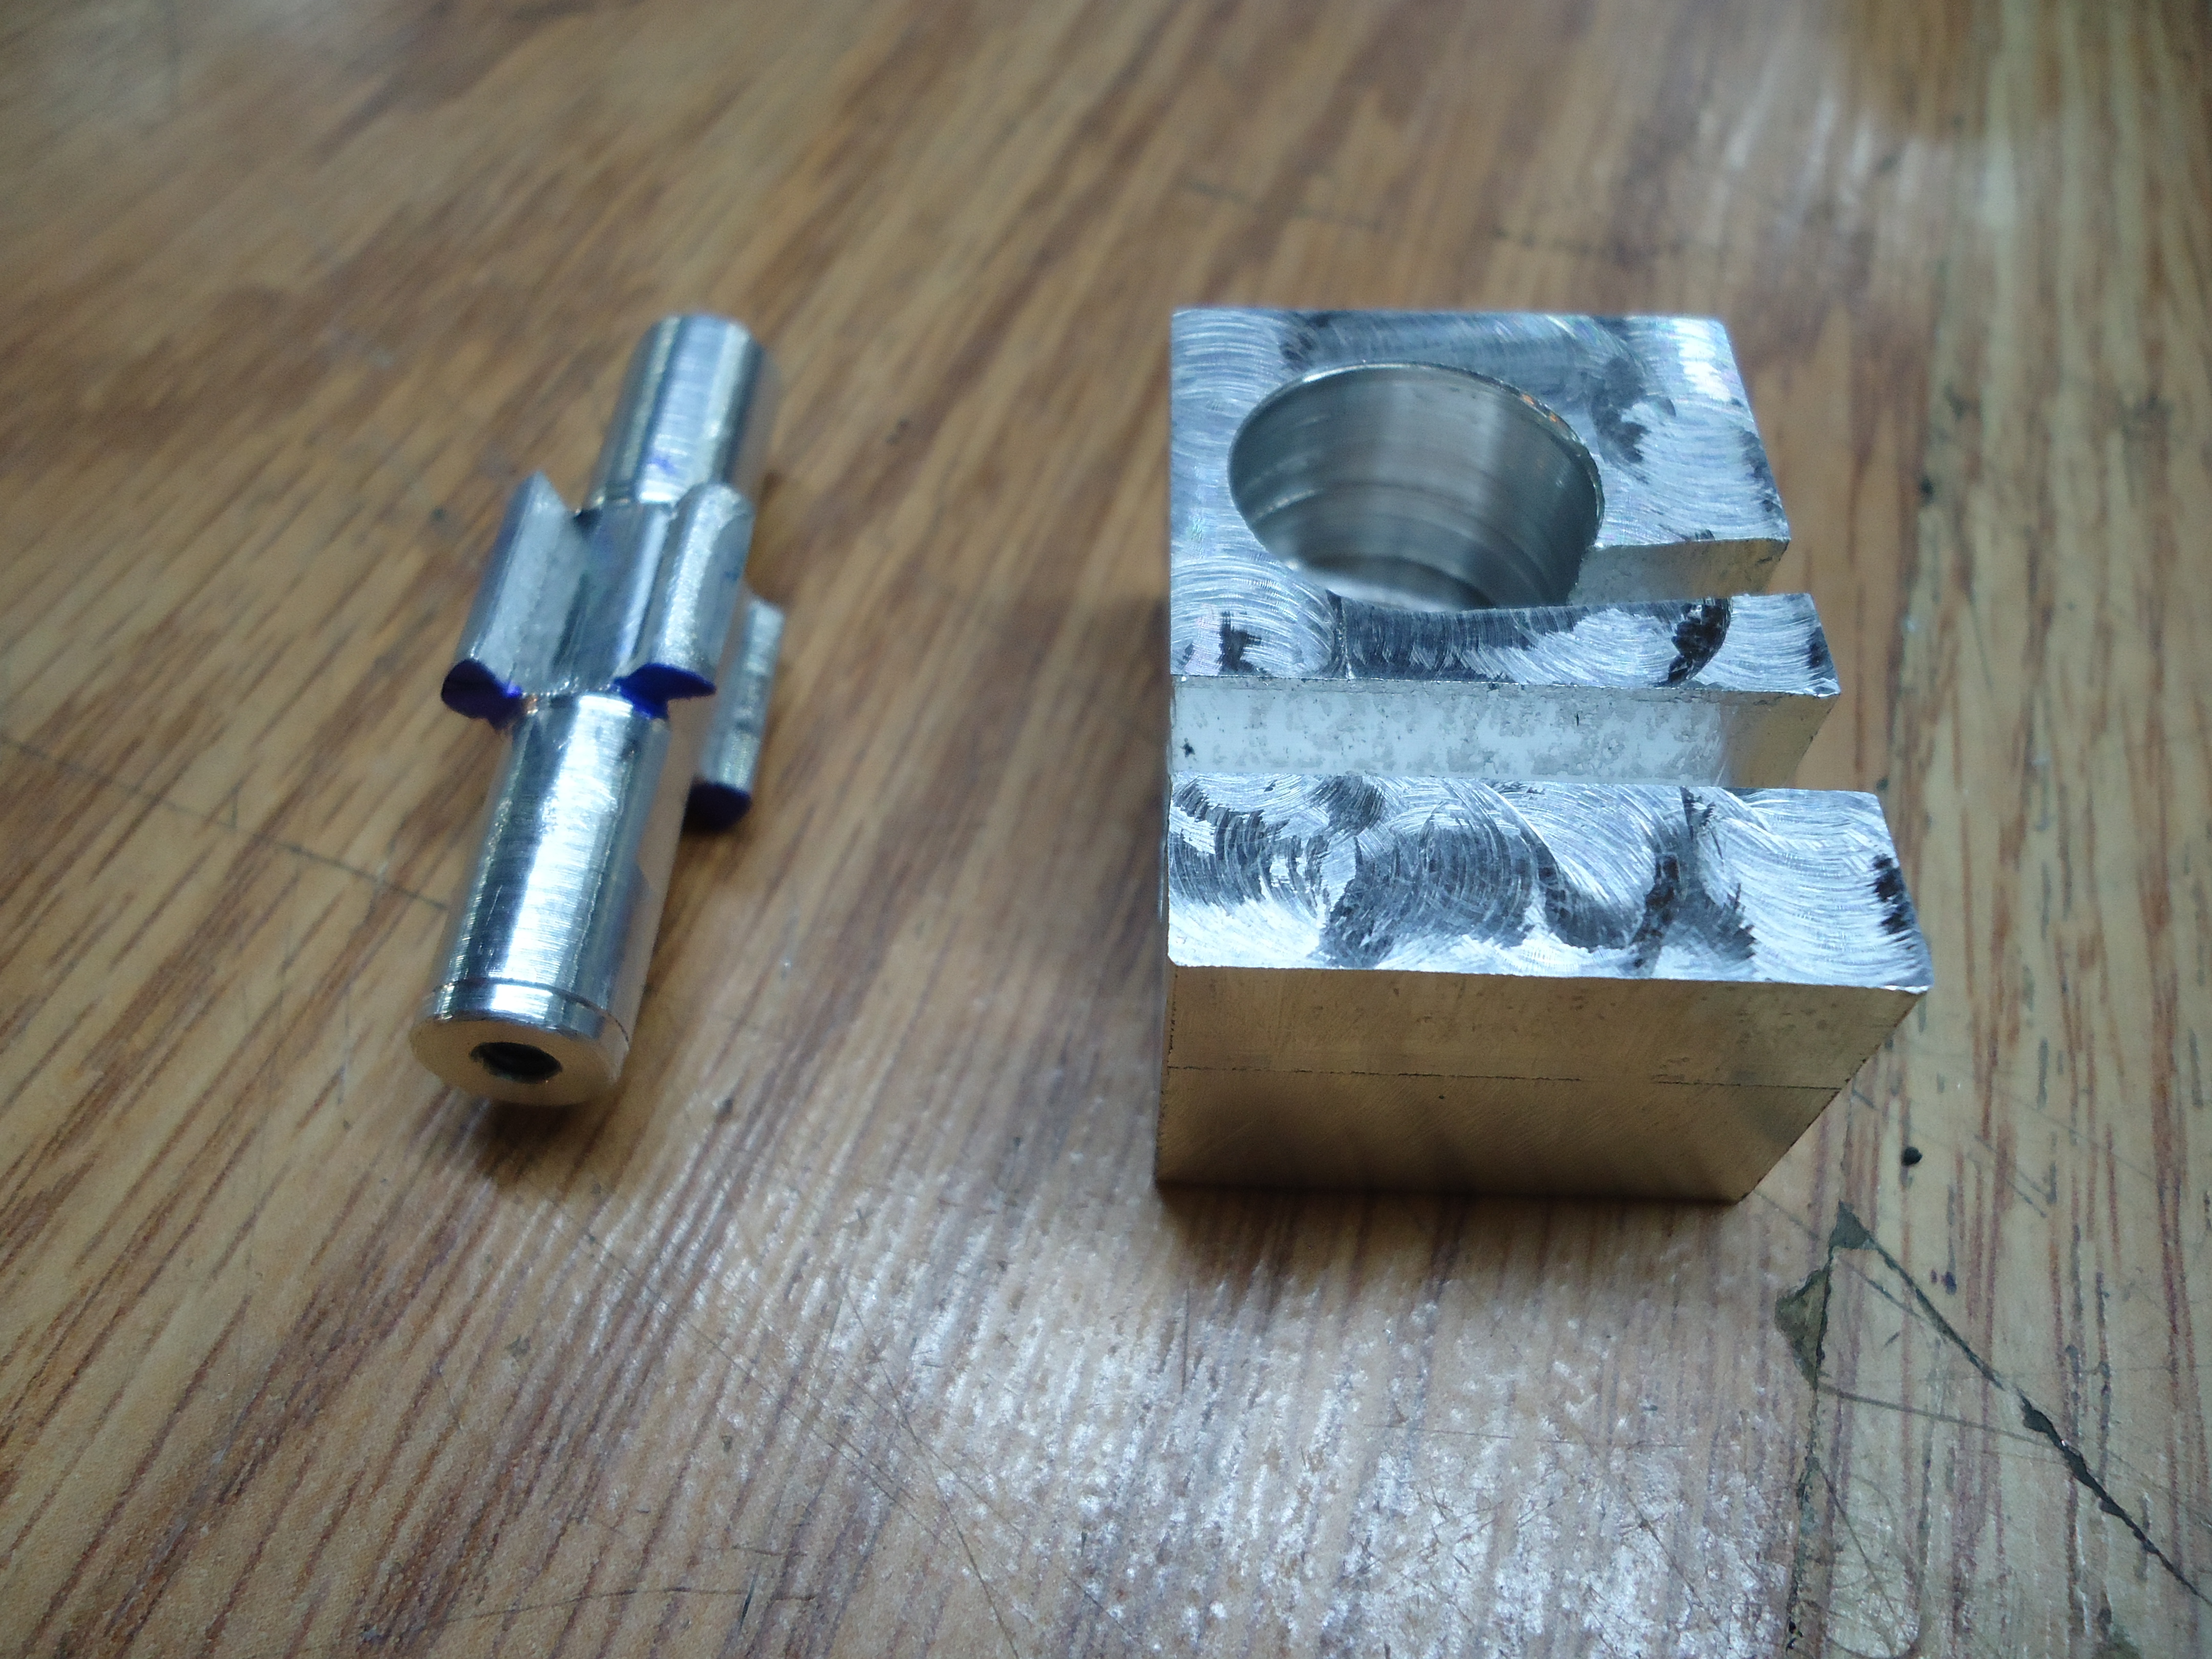
This is one of those hidden item puzzles. Can you find the Cranky piece?
Michelangelo once said that it was the job of the sculptor to find the piece of art in a block of stone. Well, it is the job of the machinist to find the Cranky part in the block of aluminium.
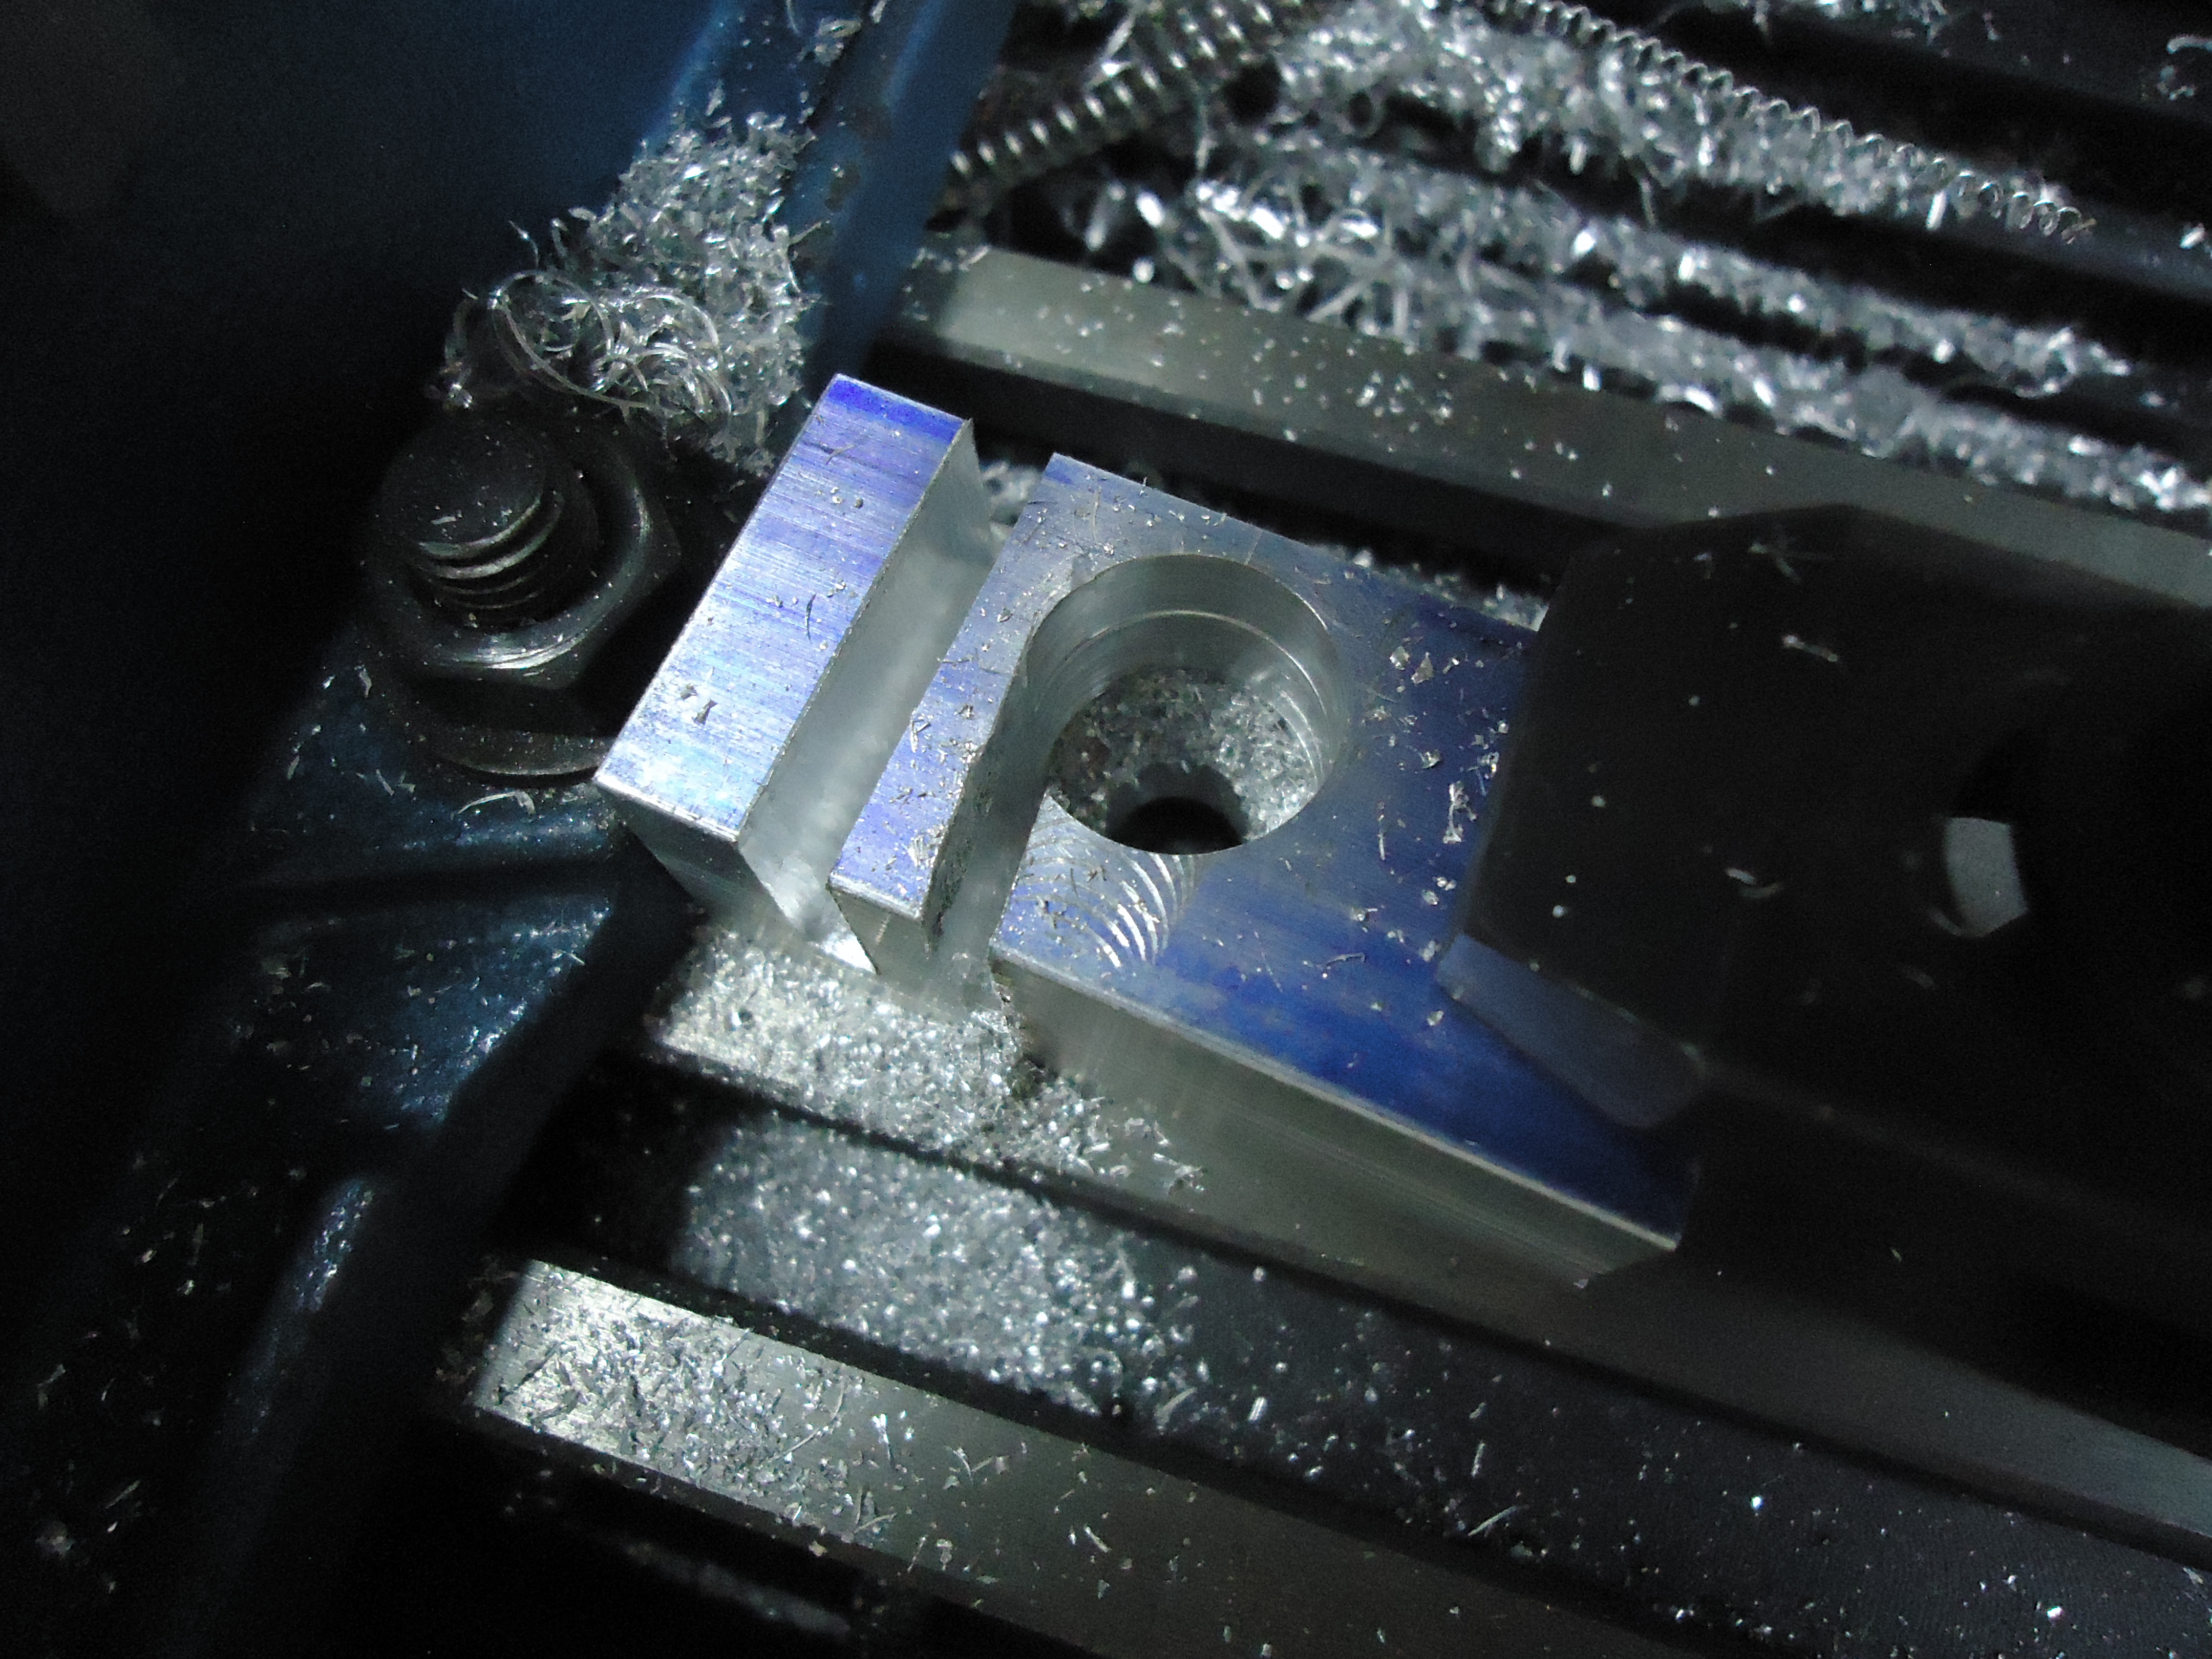
And there it is!
Since this is a Cranky Thing we are going to need the turning bit with the whats-its on it.
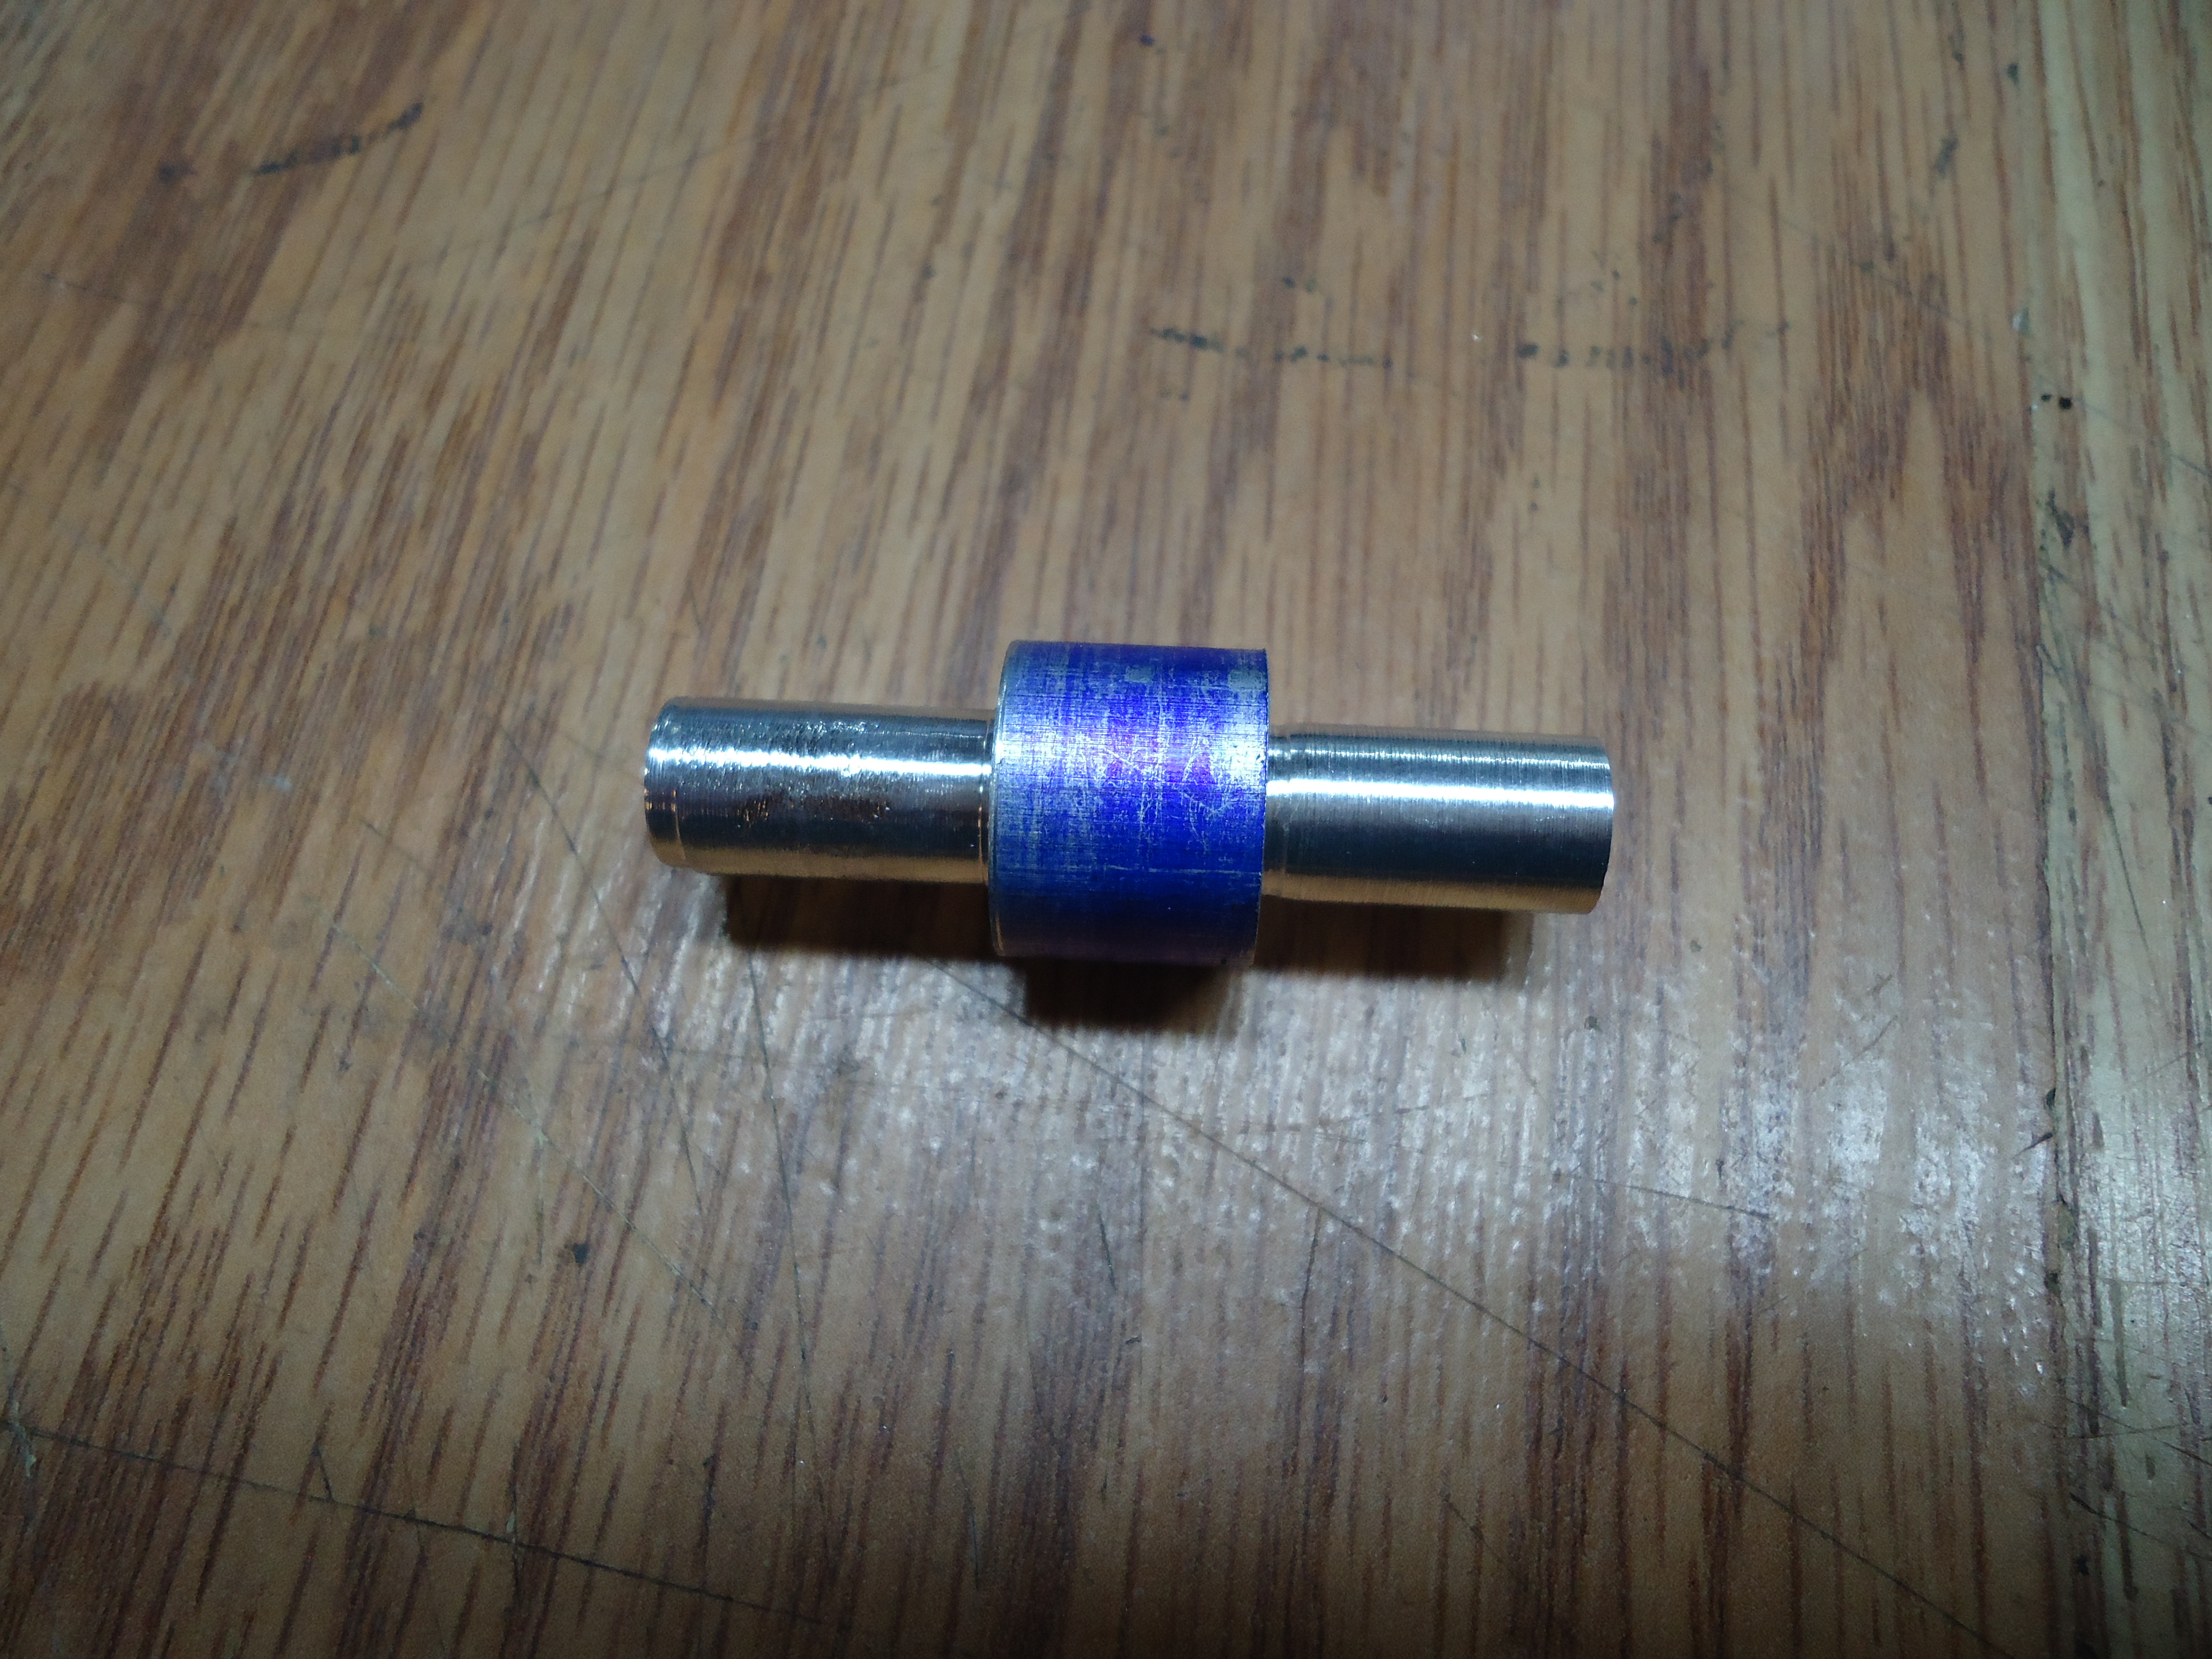
This is definitely the turning bit, but where are the whats-its?
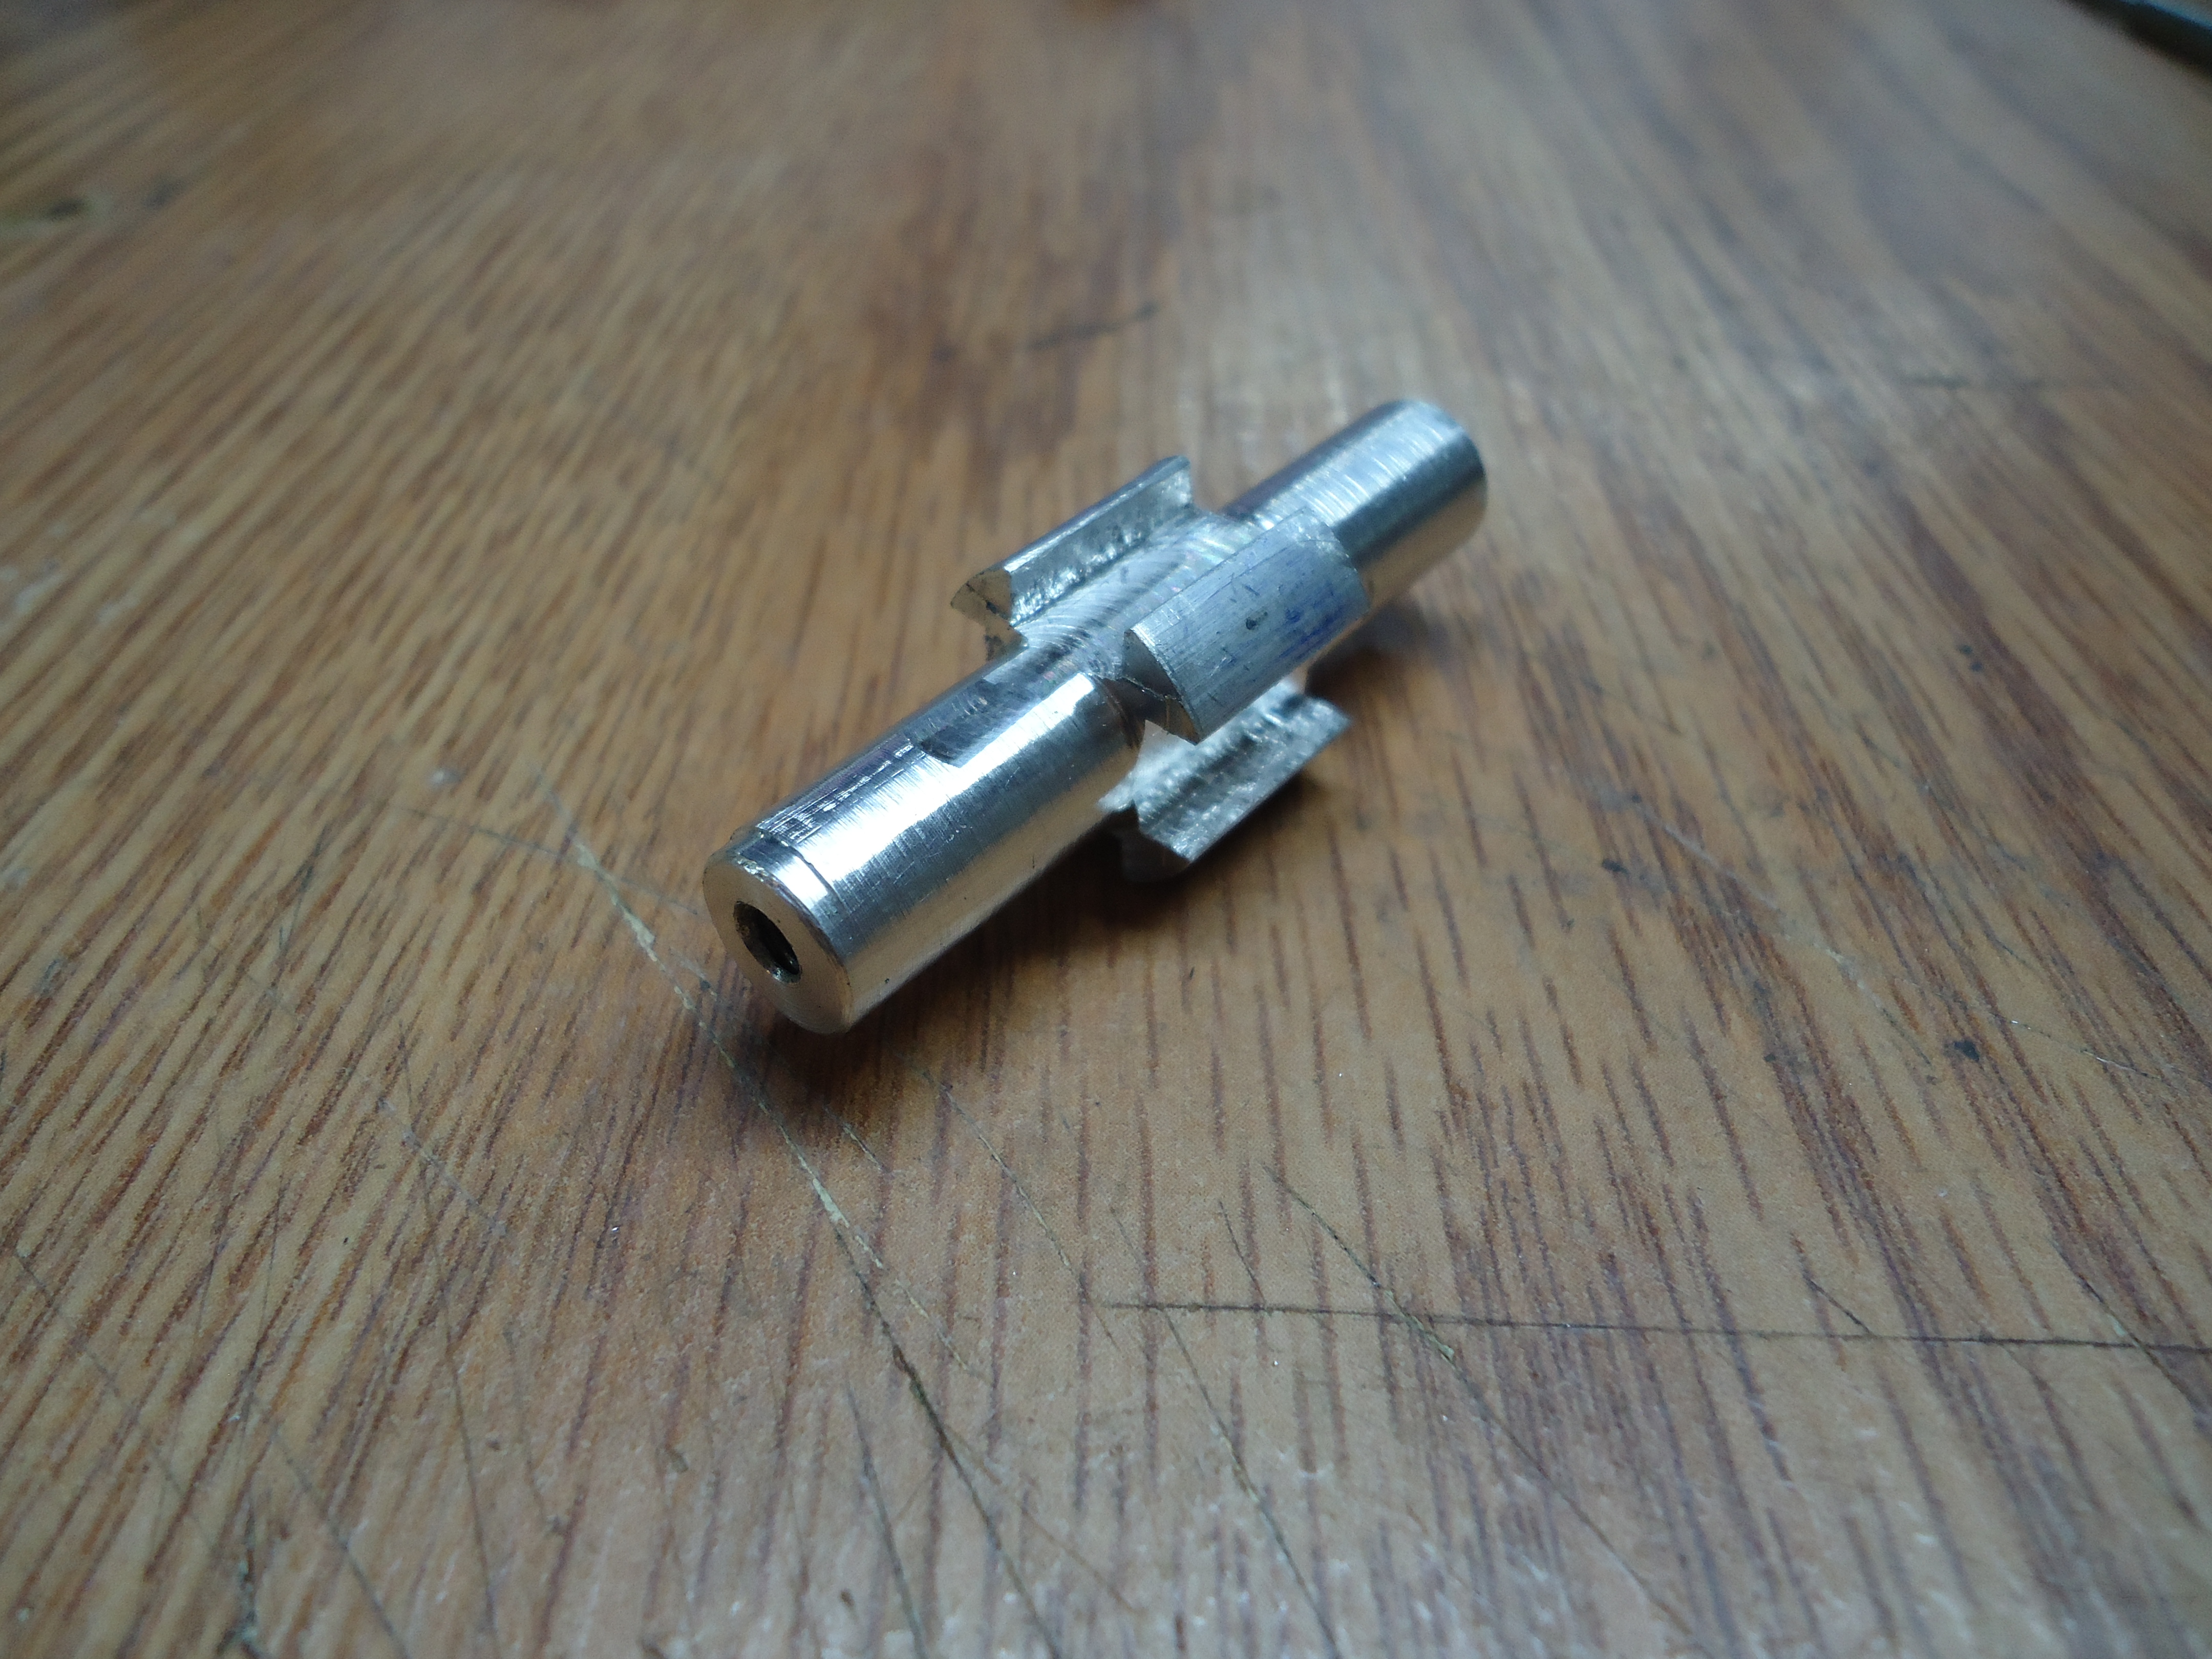
Never mind. I found them.
And we’re done.
Thank you very much! Have a great night! I’ll see you later.
*off-stage whisper*
What do you mean there’s more? I already said goodbye. I can’t take back my goodbye.
*more whispering*
Fine!
Thank you very much! Have a great night! I’ll see you later.
The next stage of making a Cranky Thing is to build a little house.
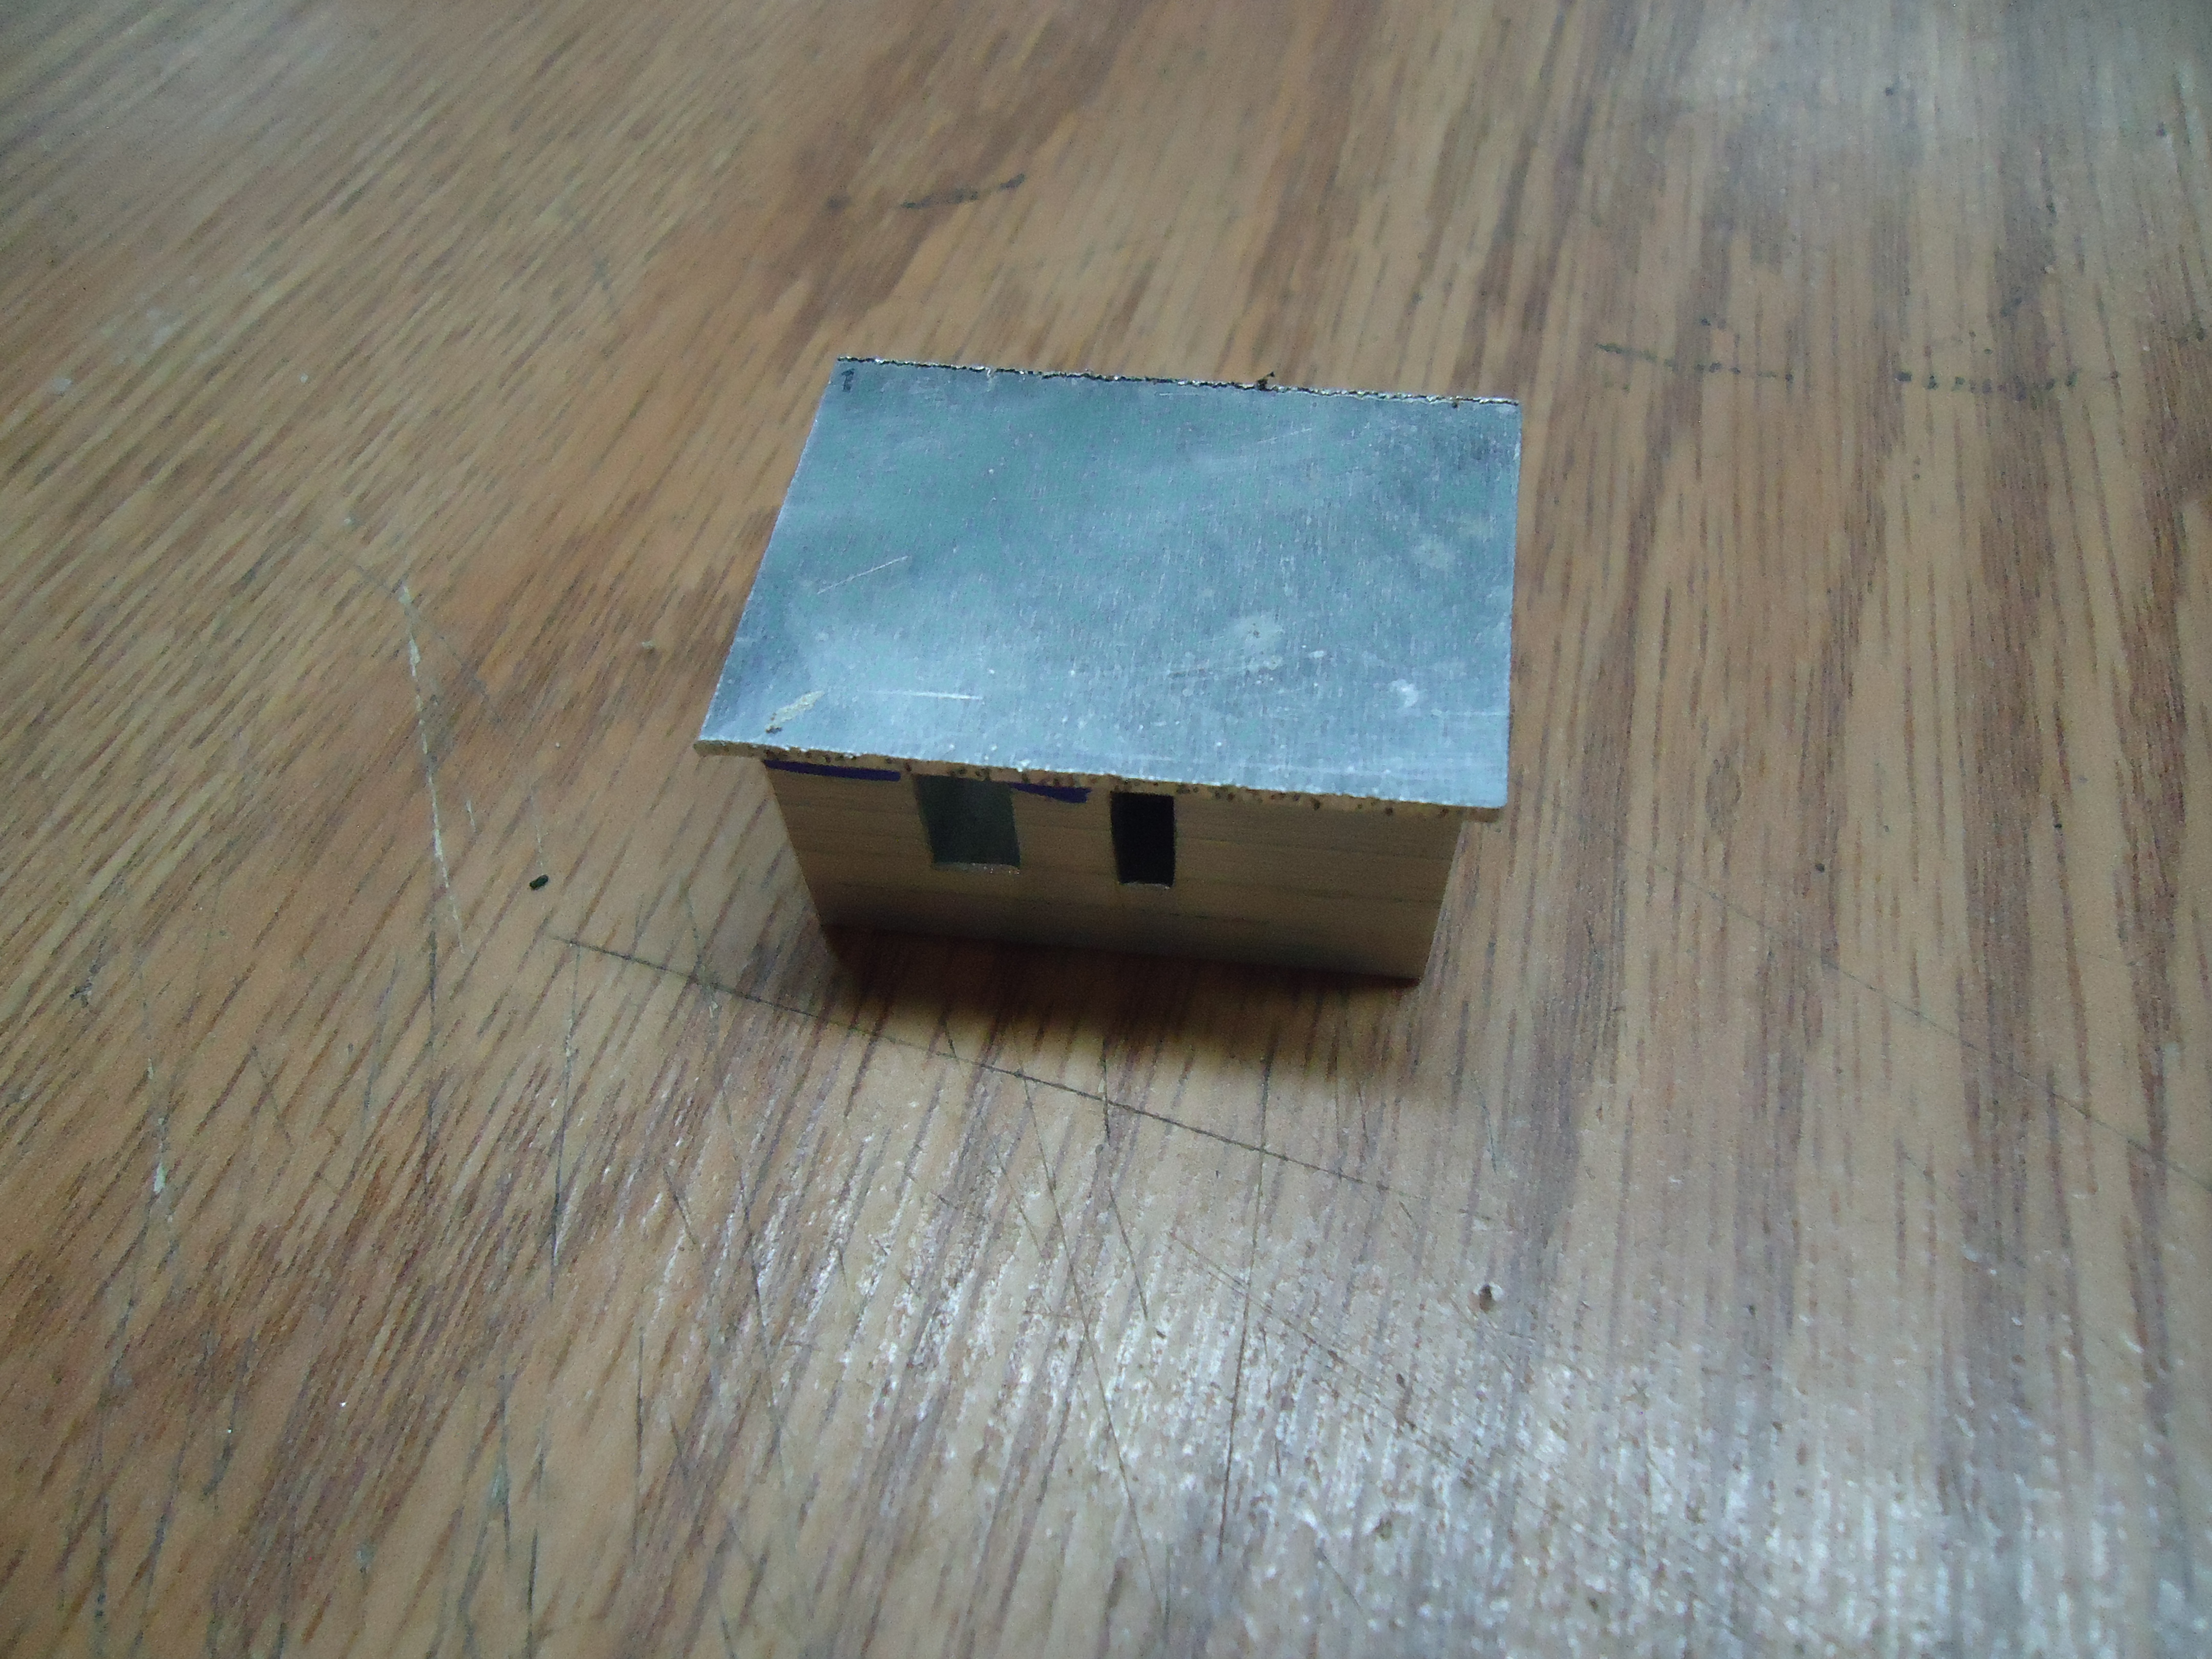
Yikes! That’s a very flat roof. You better hope that it’s not going to be in snow country.
*more off-stage whispering*
That’s not a house? *whisper-whisper* But it doesn’t look like a cover. I don’t see a hinge or an ‘Open Here’ sign or anything.
*whisperer forcefully takes control of the post in order to put up the next picture*
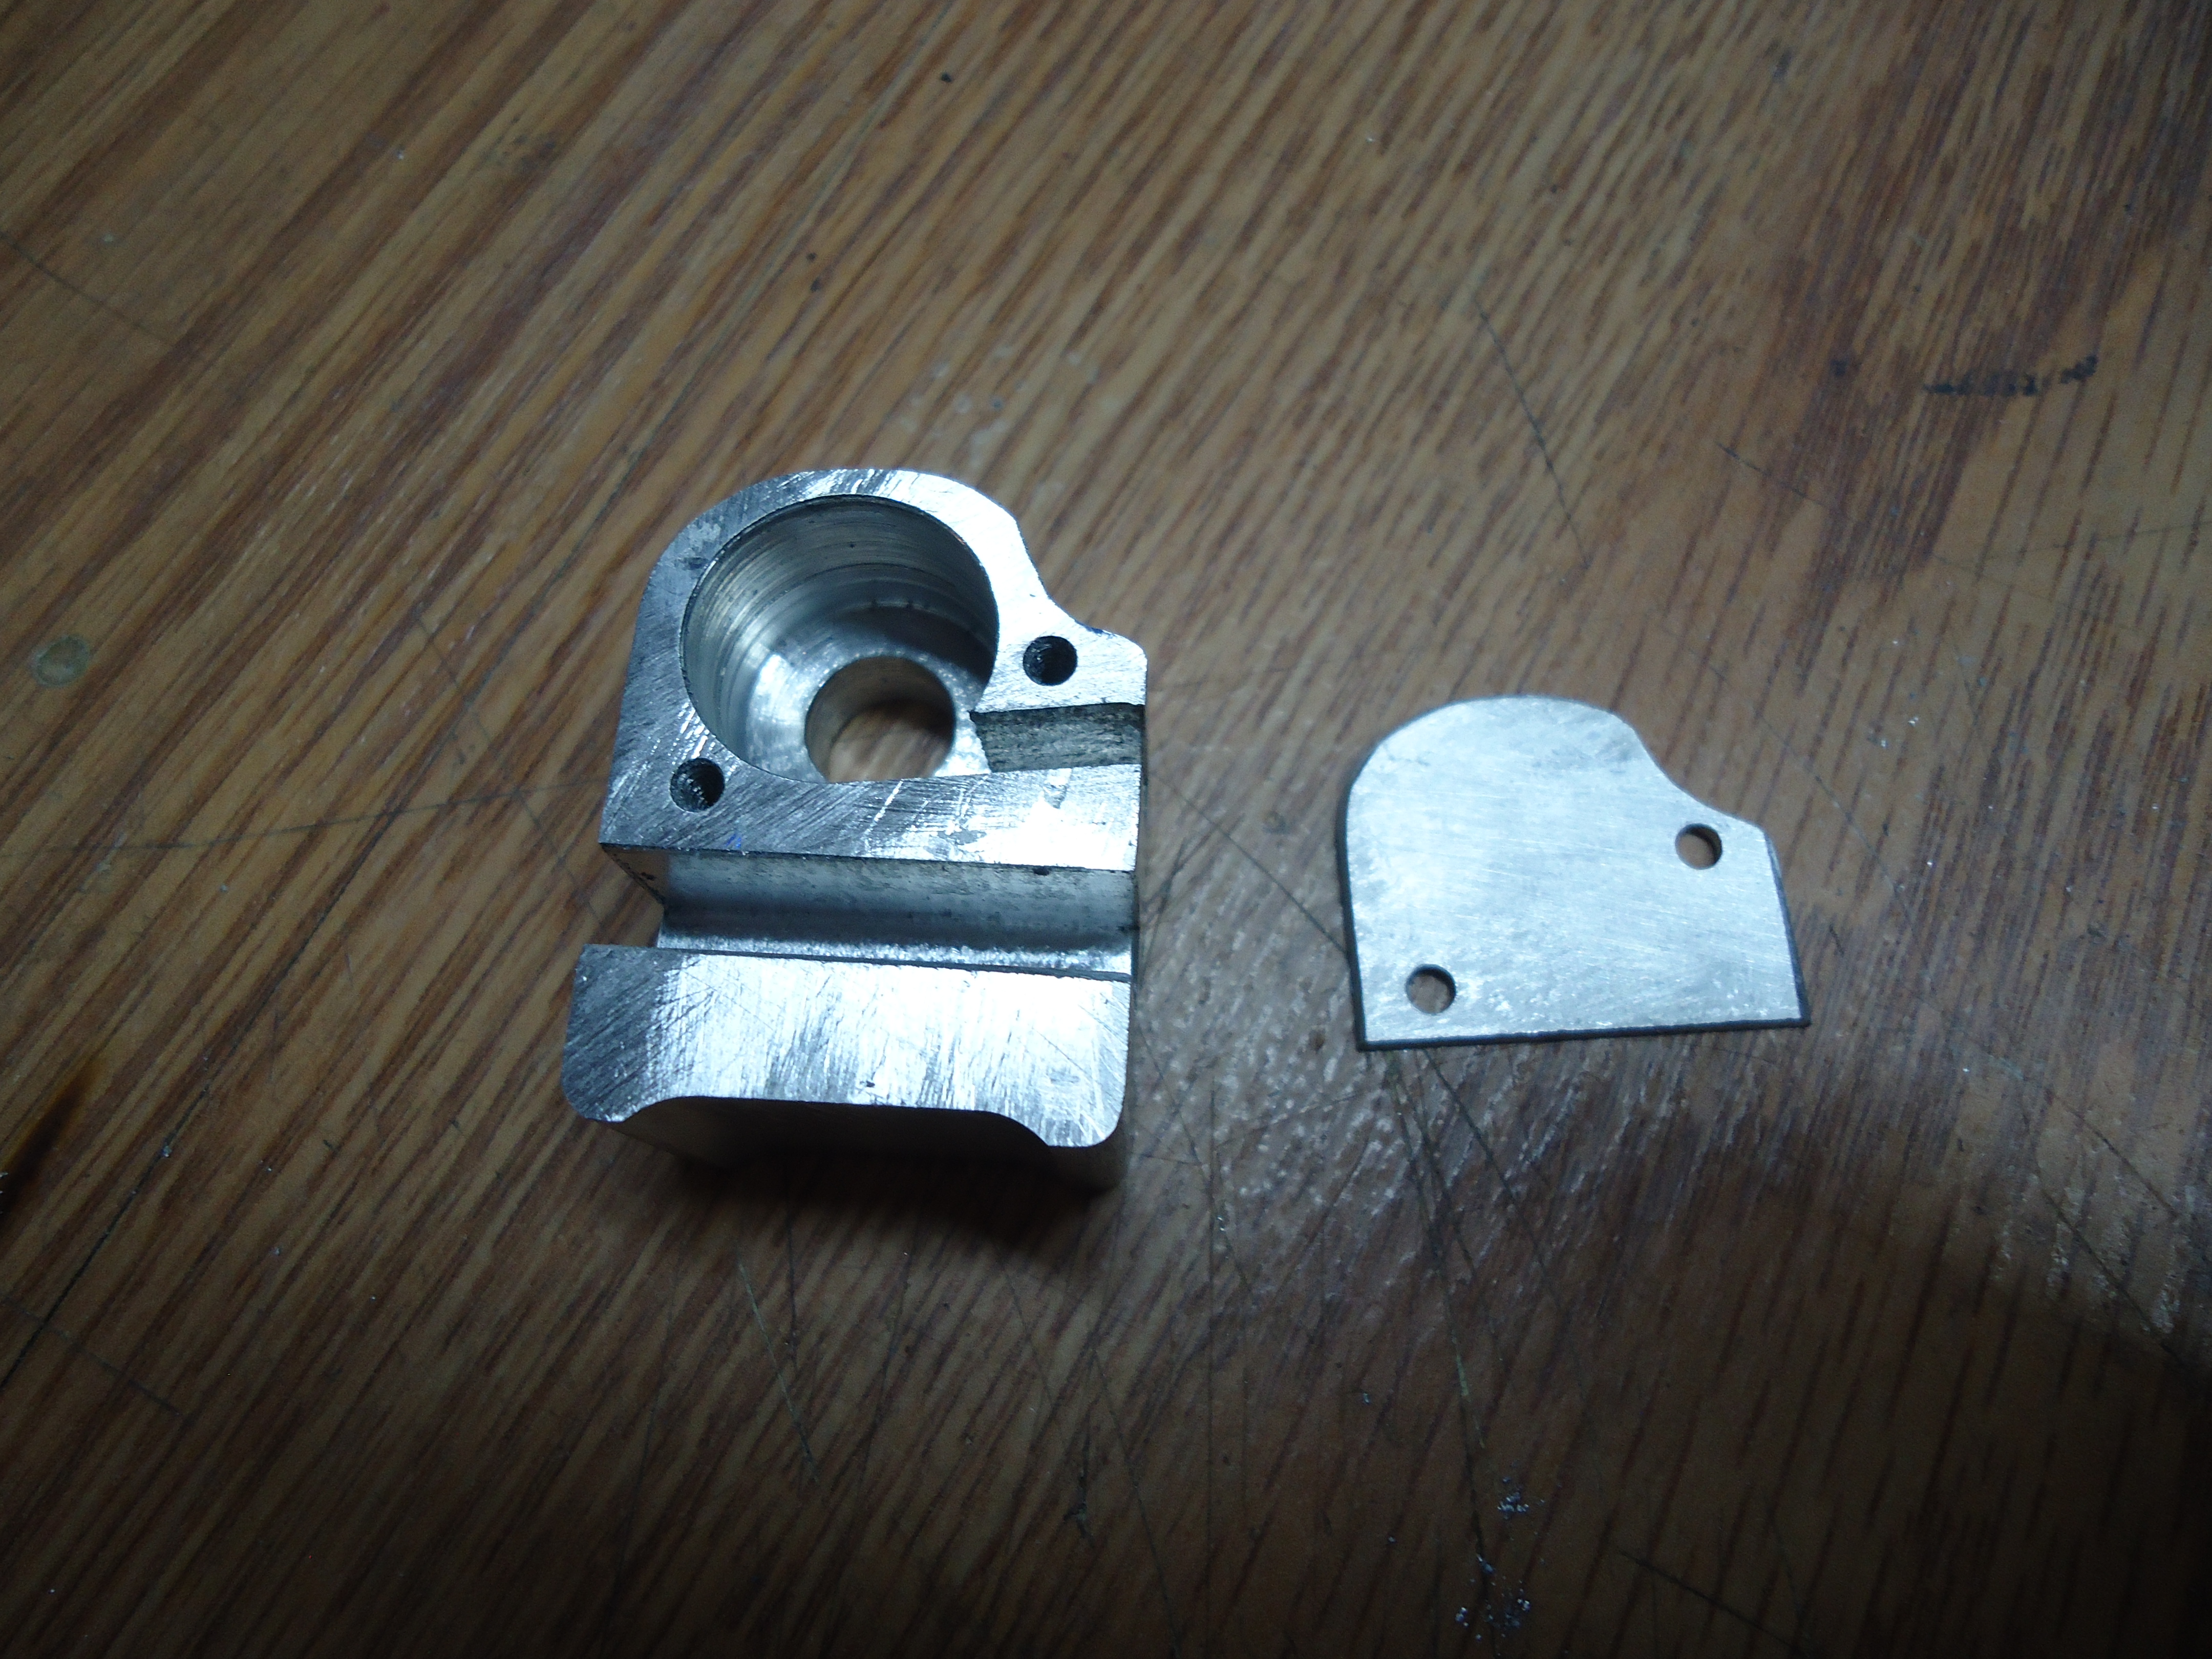
Okay, now I see what you’re talking about. That’s great. Now, get out of my post!
We have to hurry up before the Peanut Gallery starts butting in again.

That cover keeps the turning bit in its little house so that it can’t escape.
All that’s left is to install the handle.
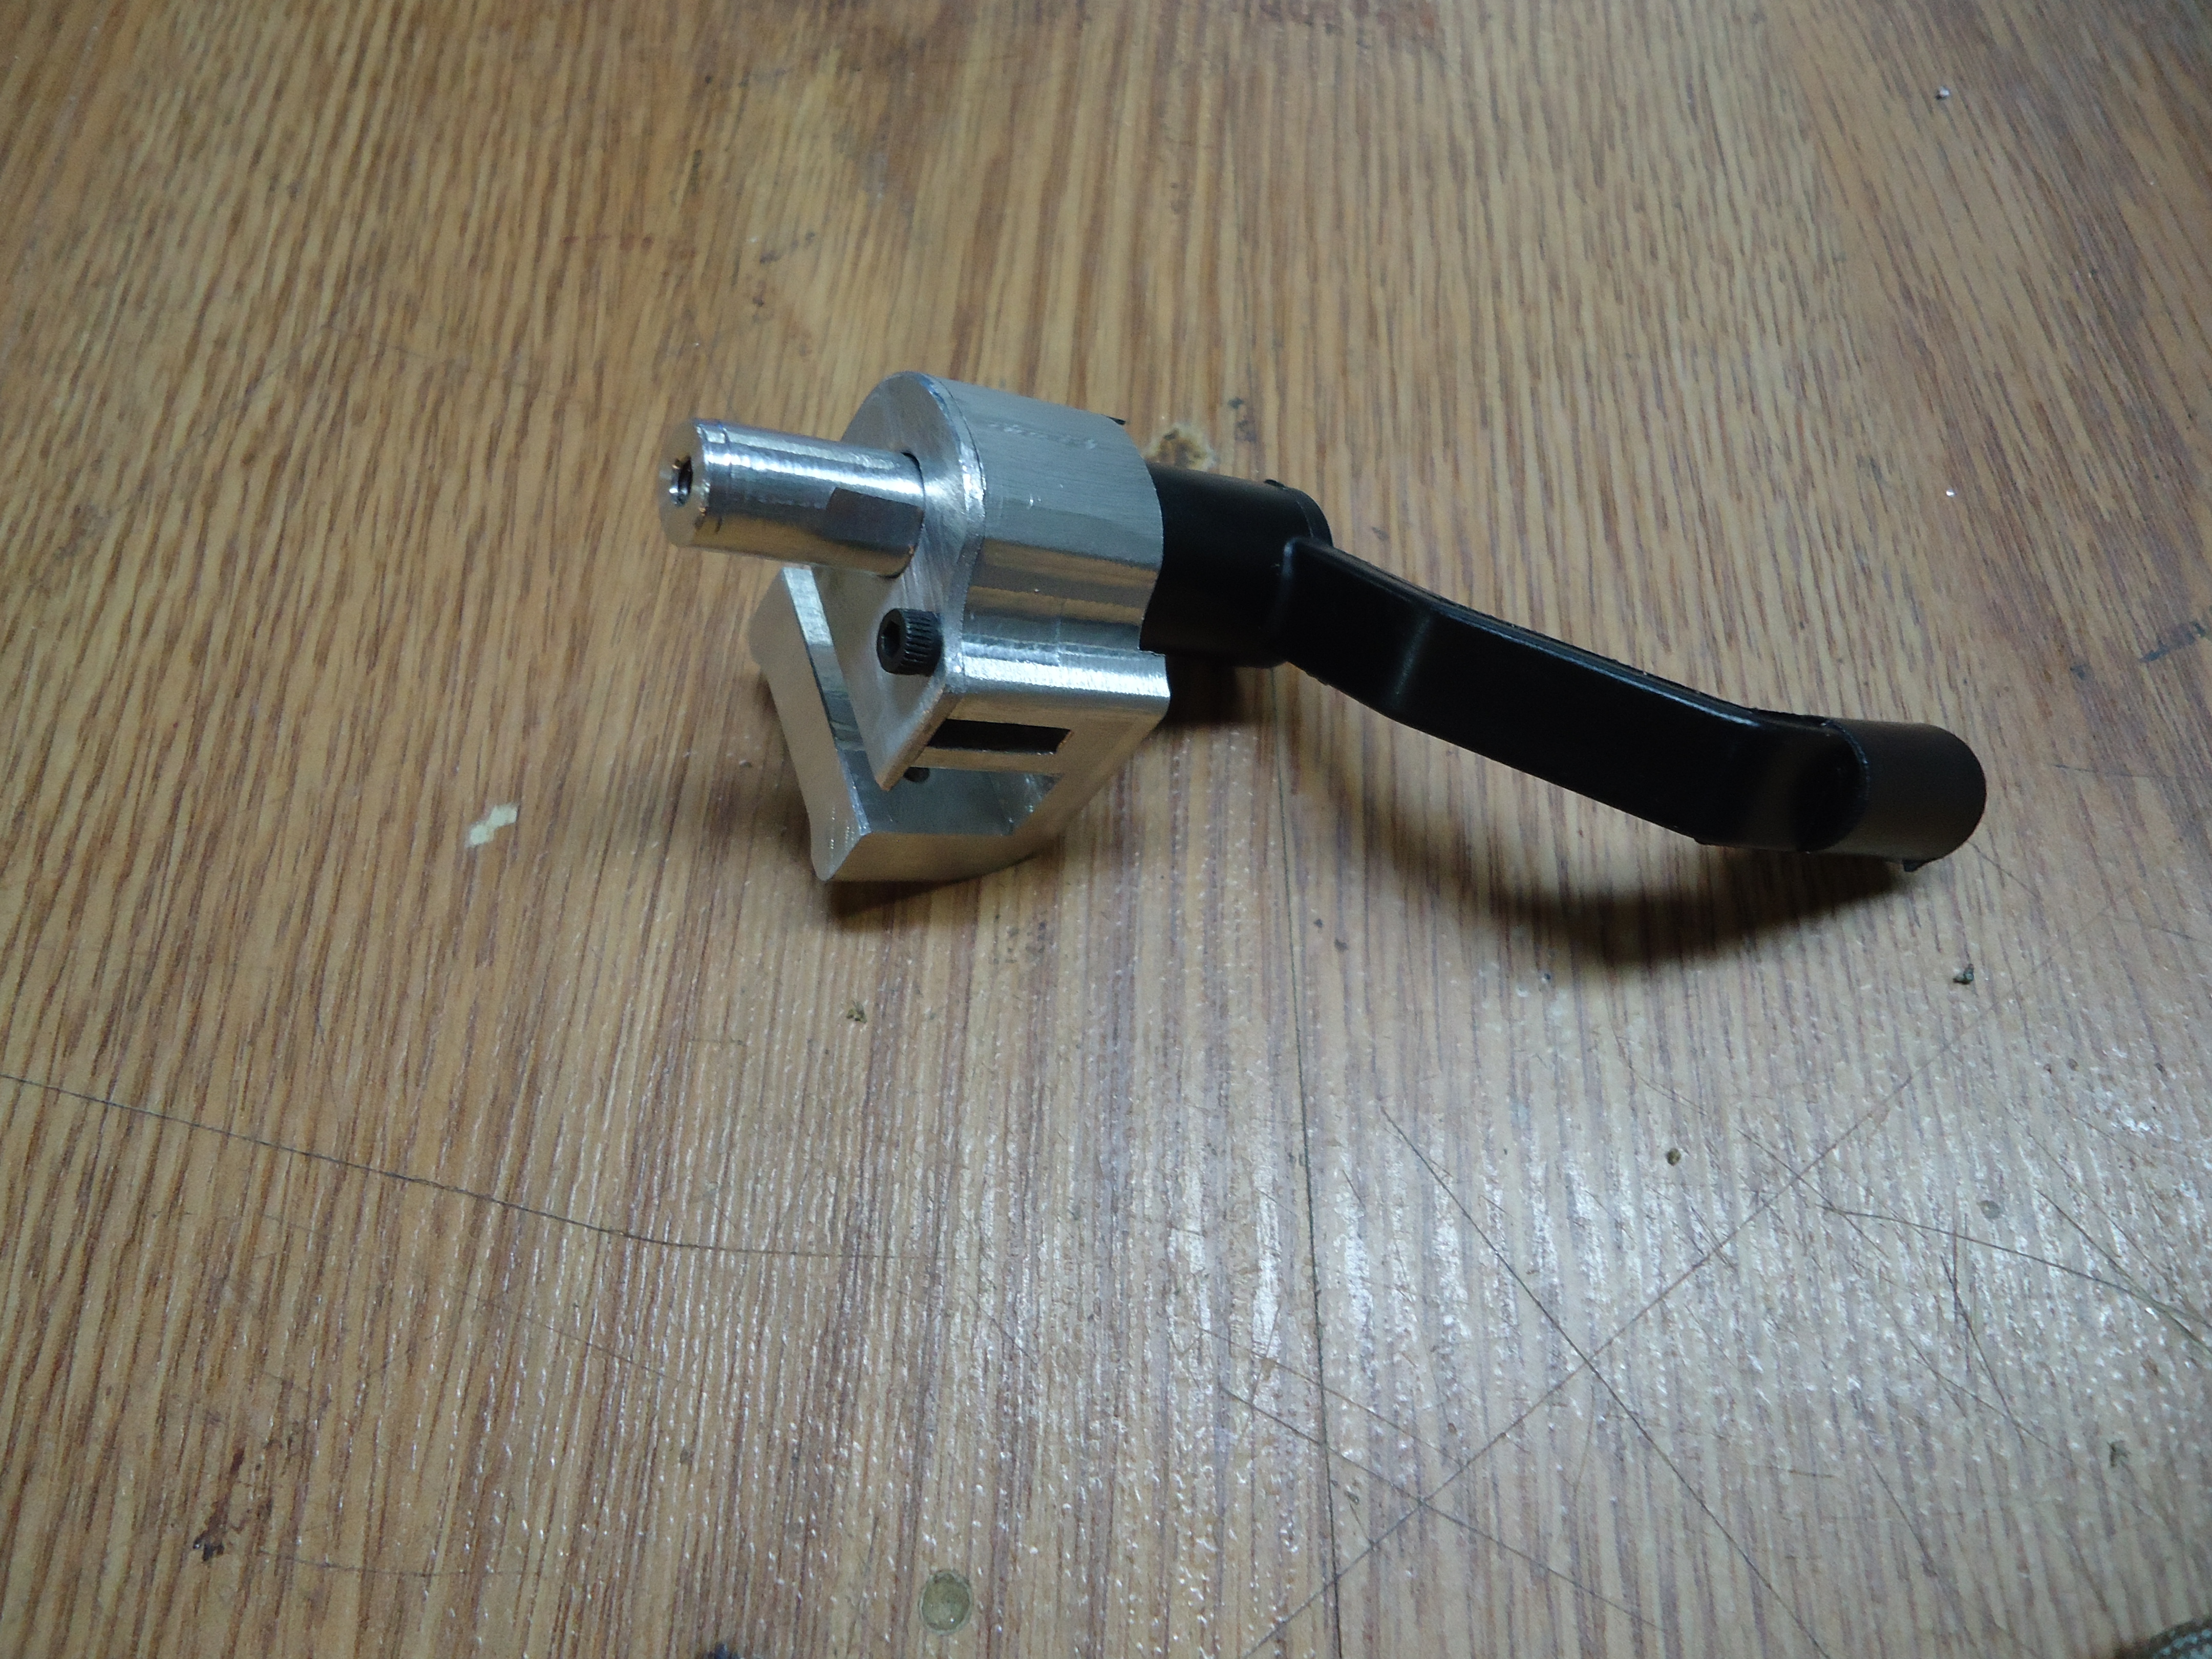
Voila! A completely assembled Cranky Thing!
That’s it. We’re actually done with this post. Now let’s get out of here before that annoying whisperer comes back!
