Do you hear the ecstatic roar of the crowd? The cheers, the whistles and the fireworks all going off at the same time? Maybe that’s just in my head.
It’s done!
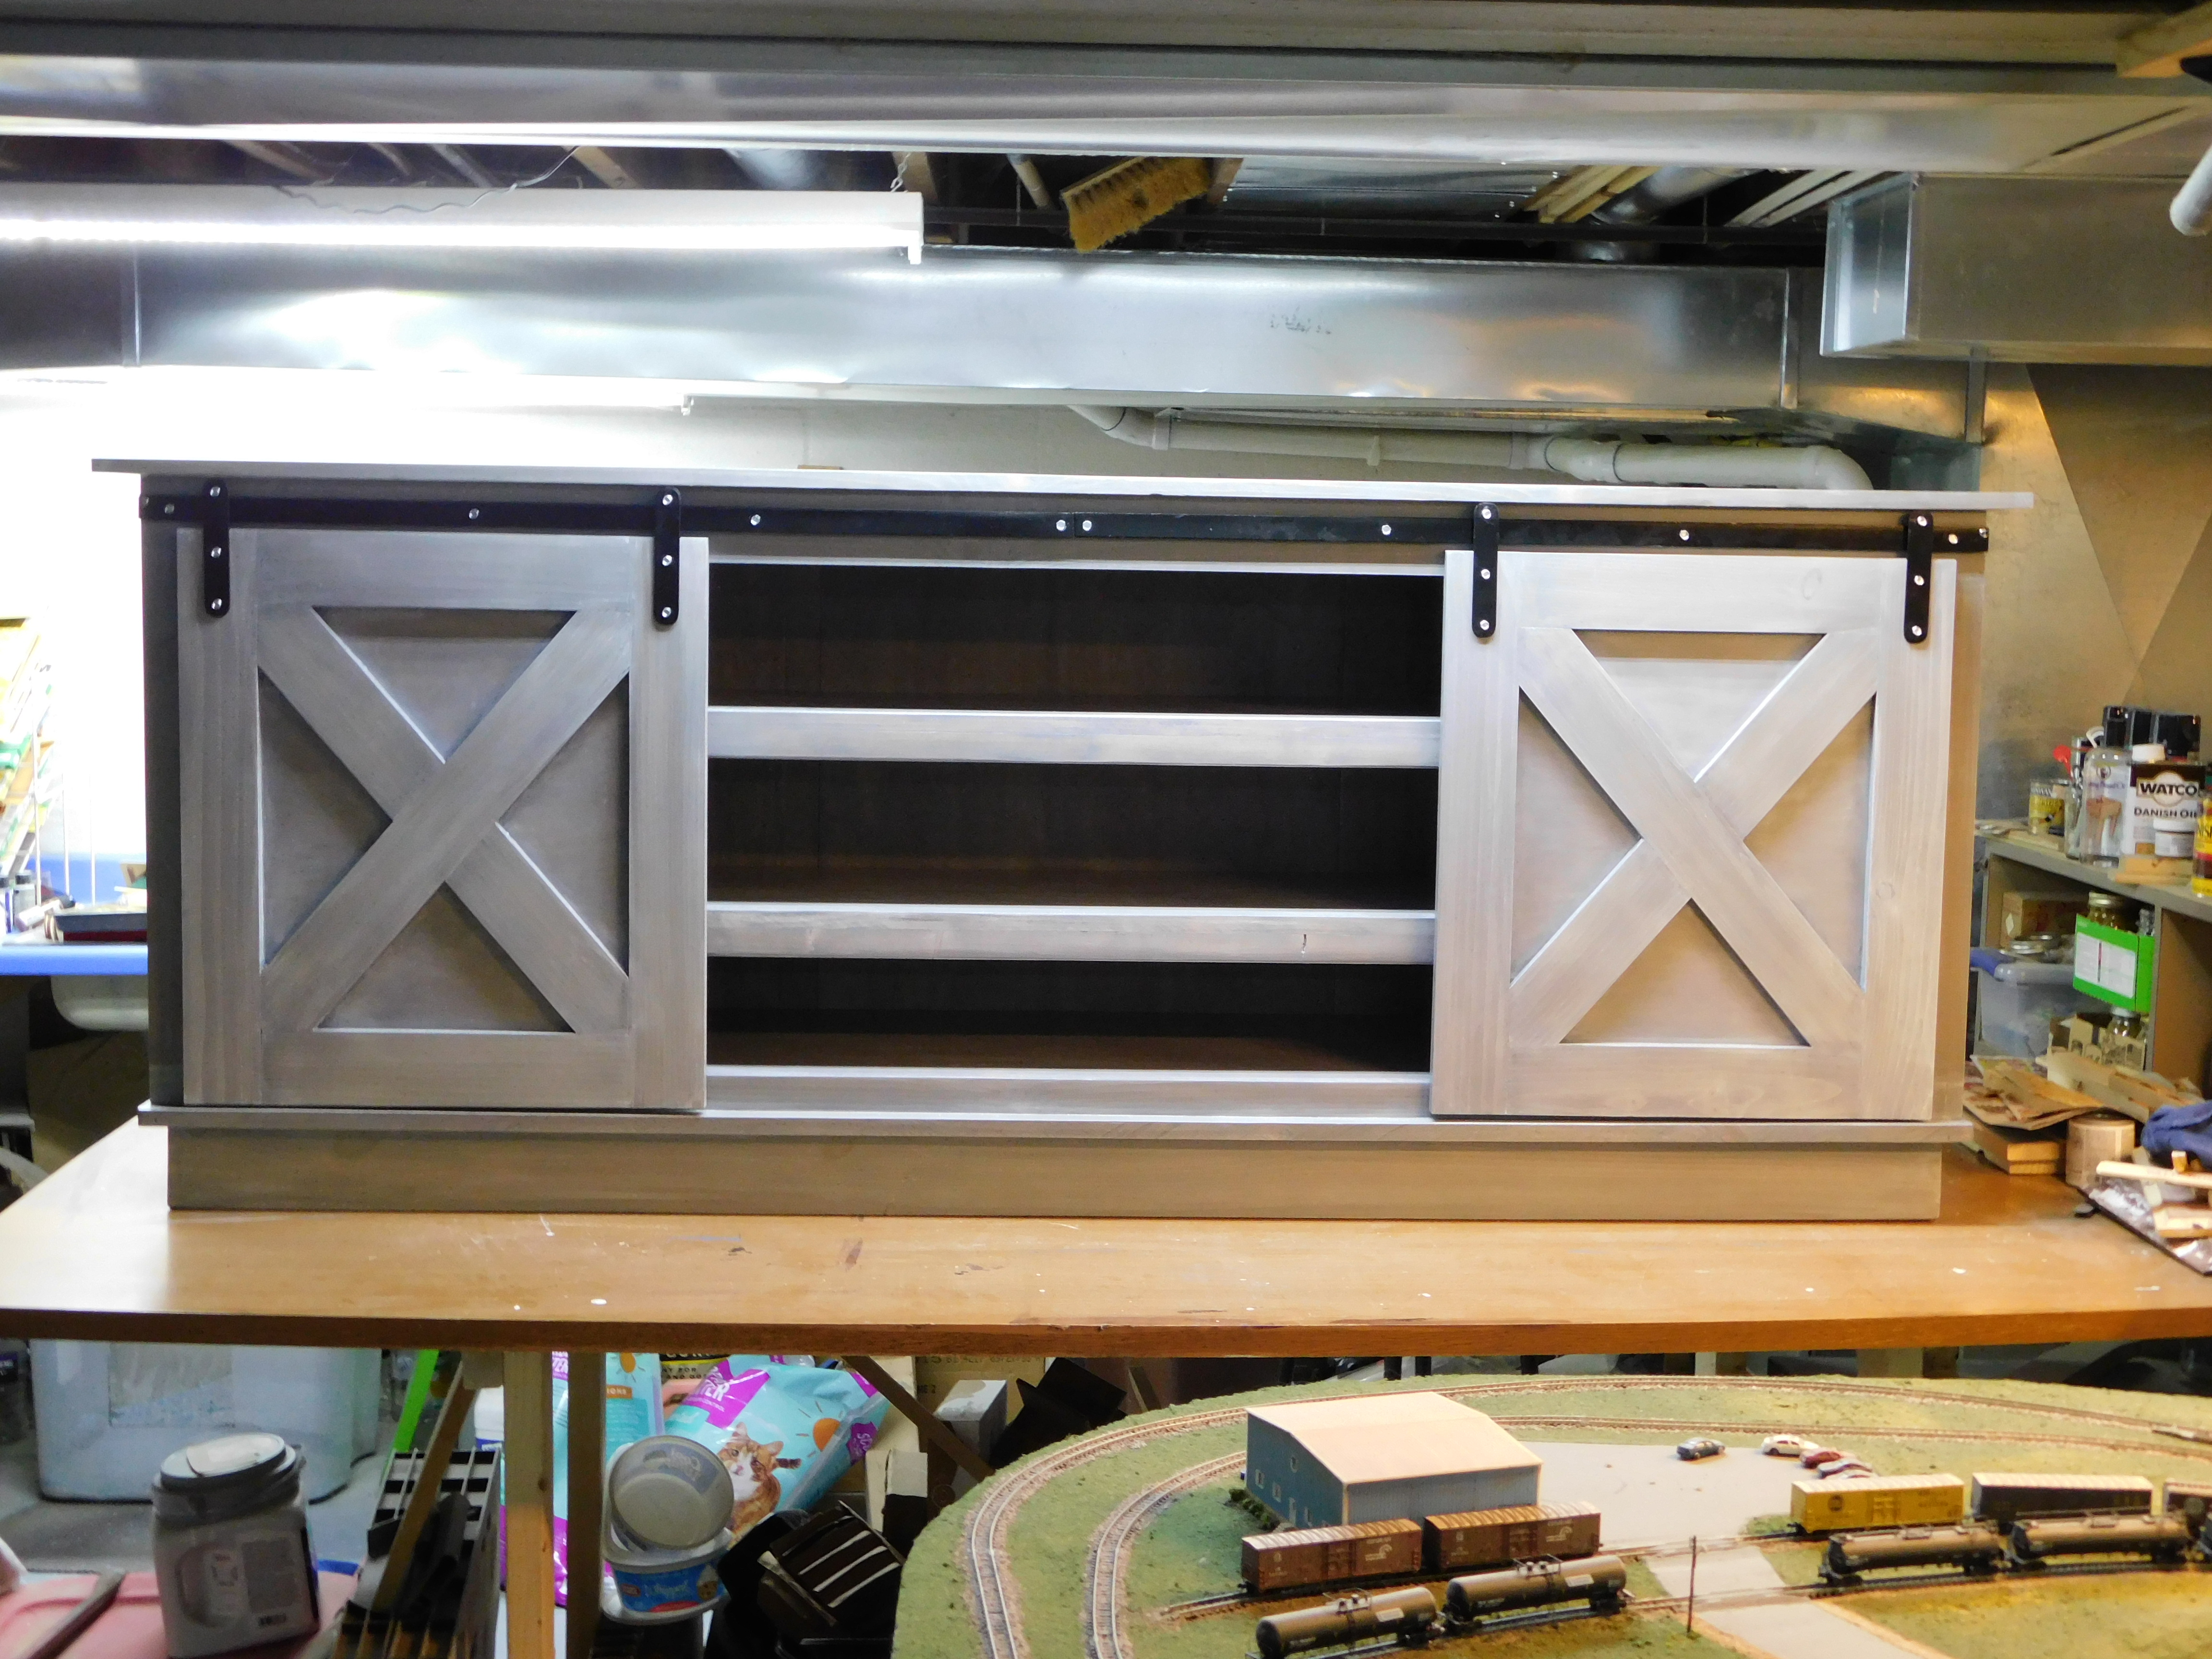
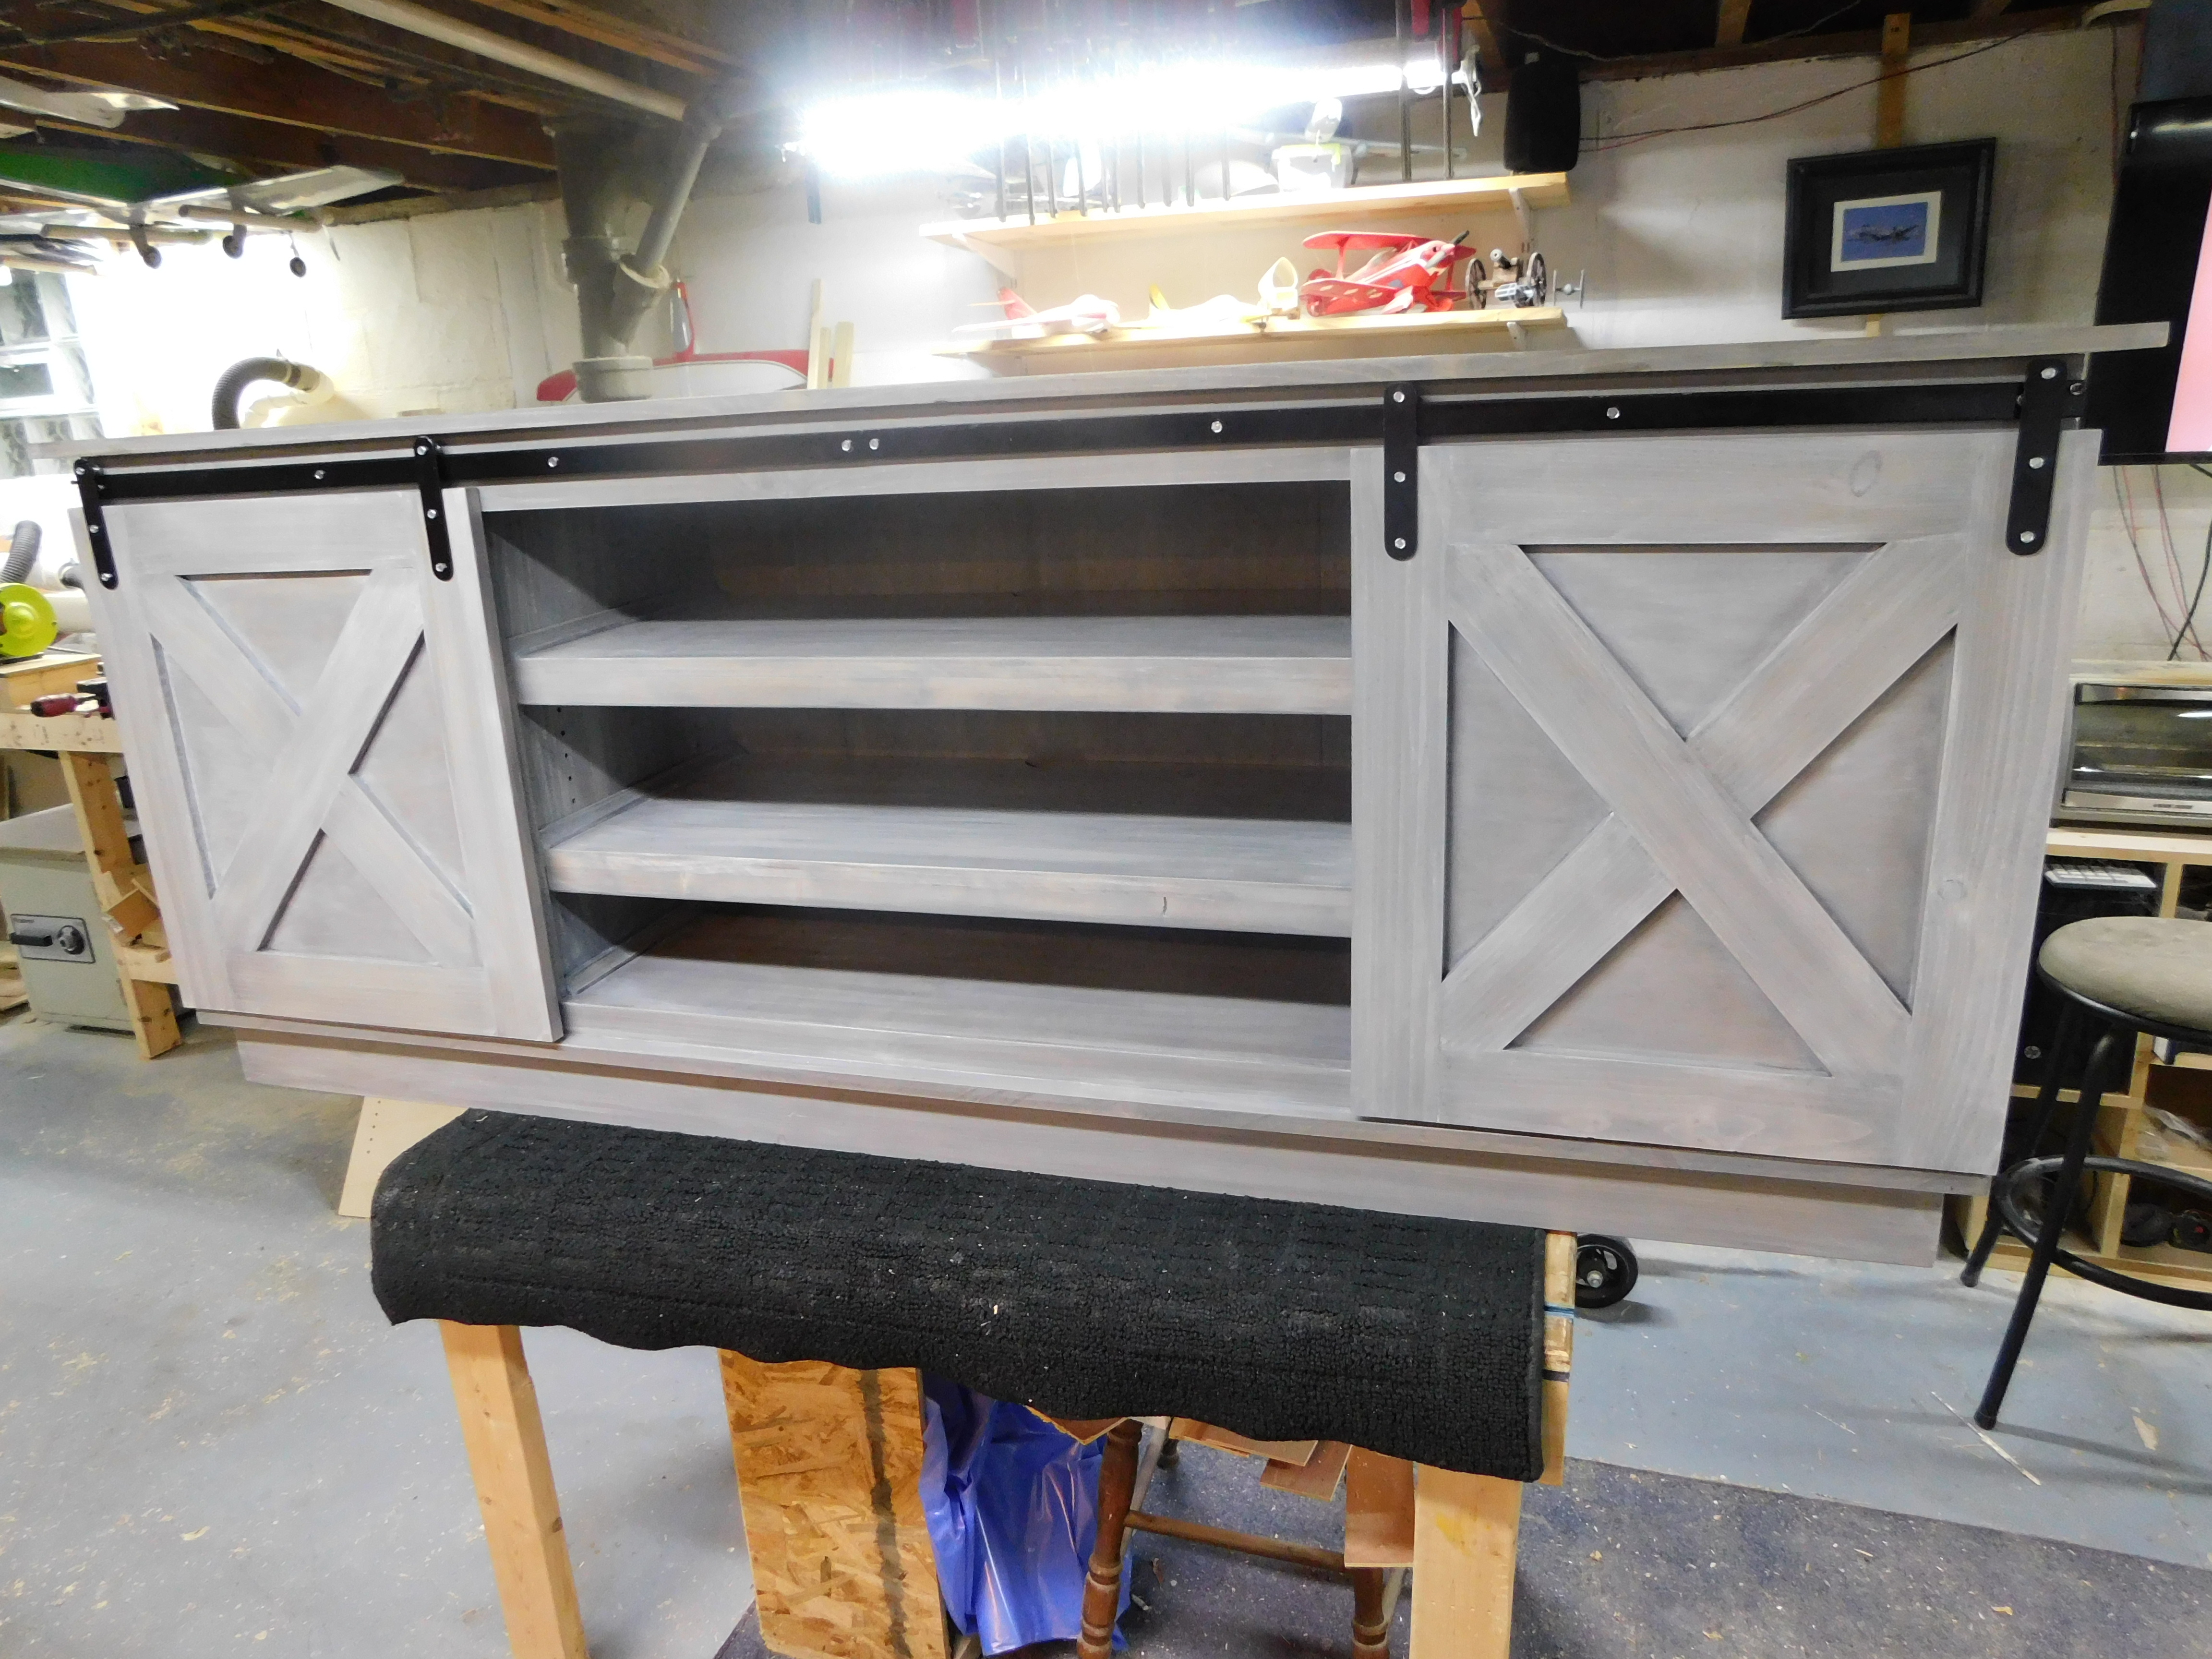
Can you believe it? I definitely can’t! I think it turned out really nice.

The pictures definitely don’t do this justice. I tried my best, but I’m not a photographer so this was the best I could get.
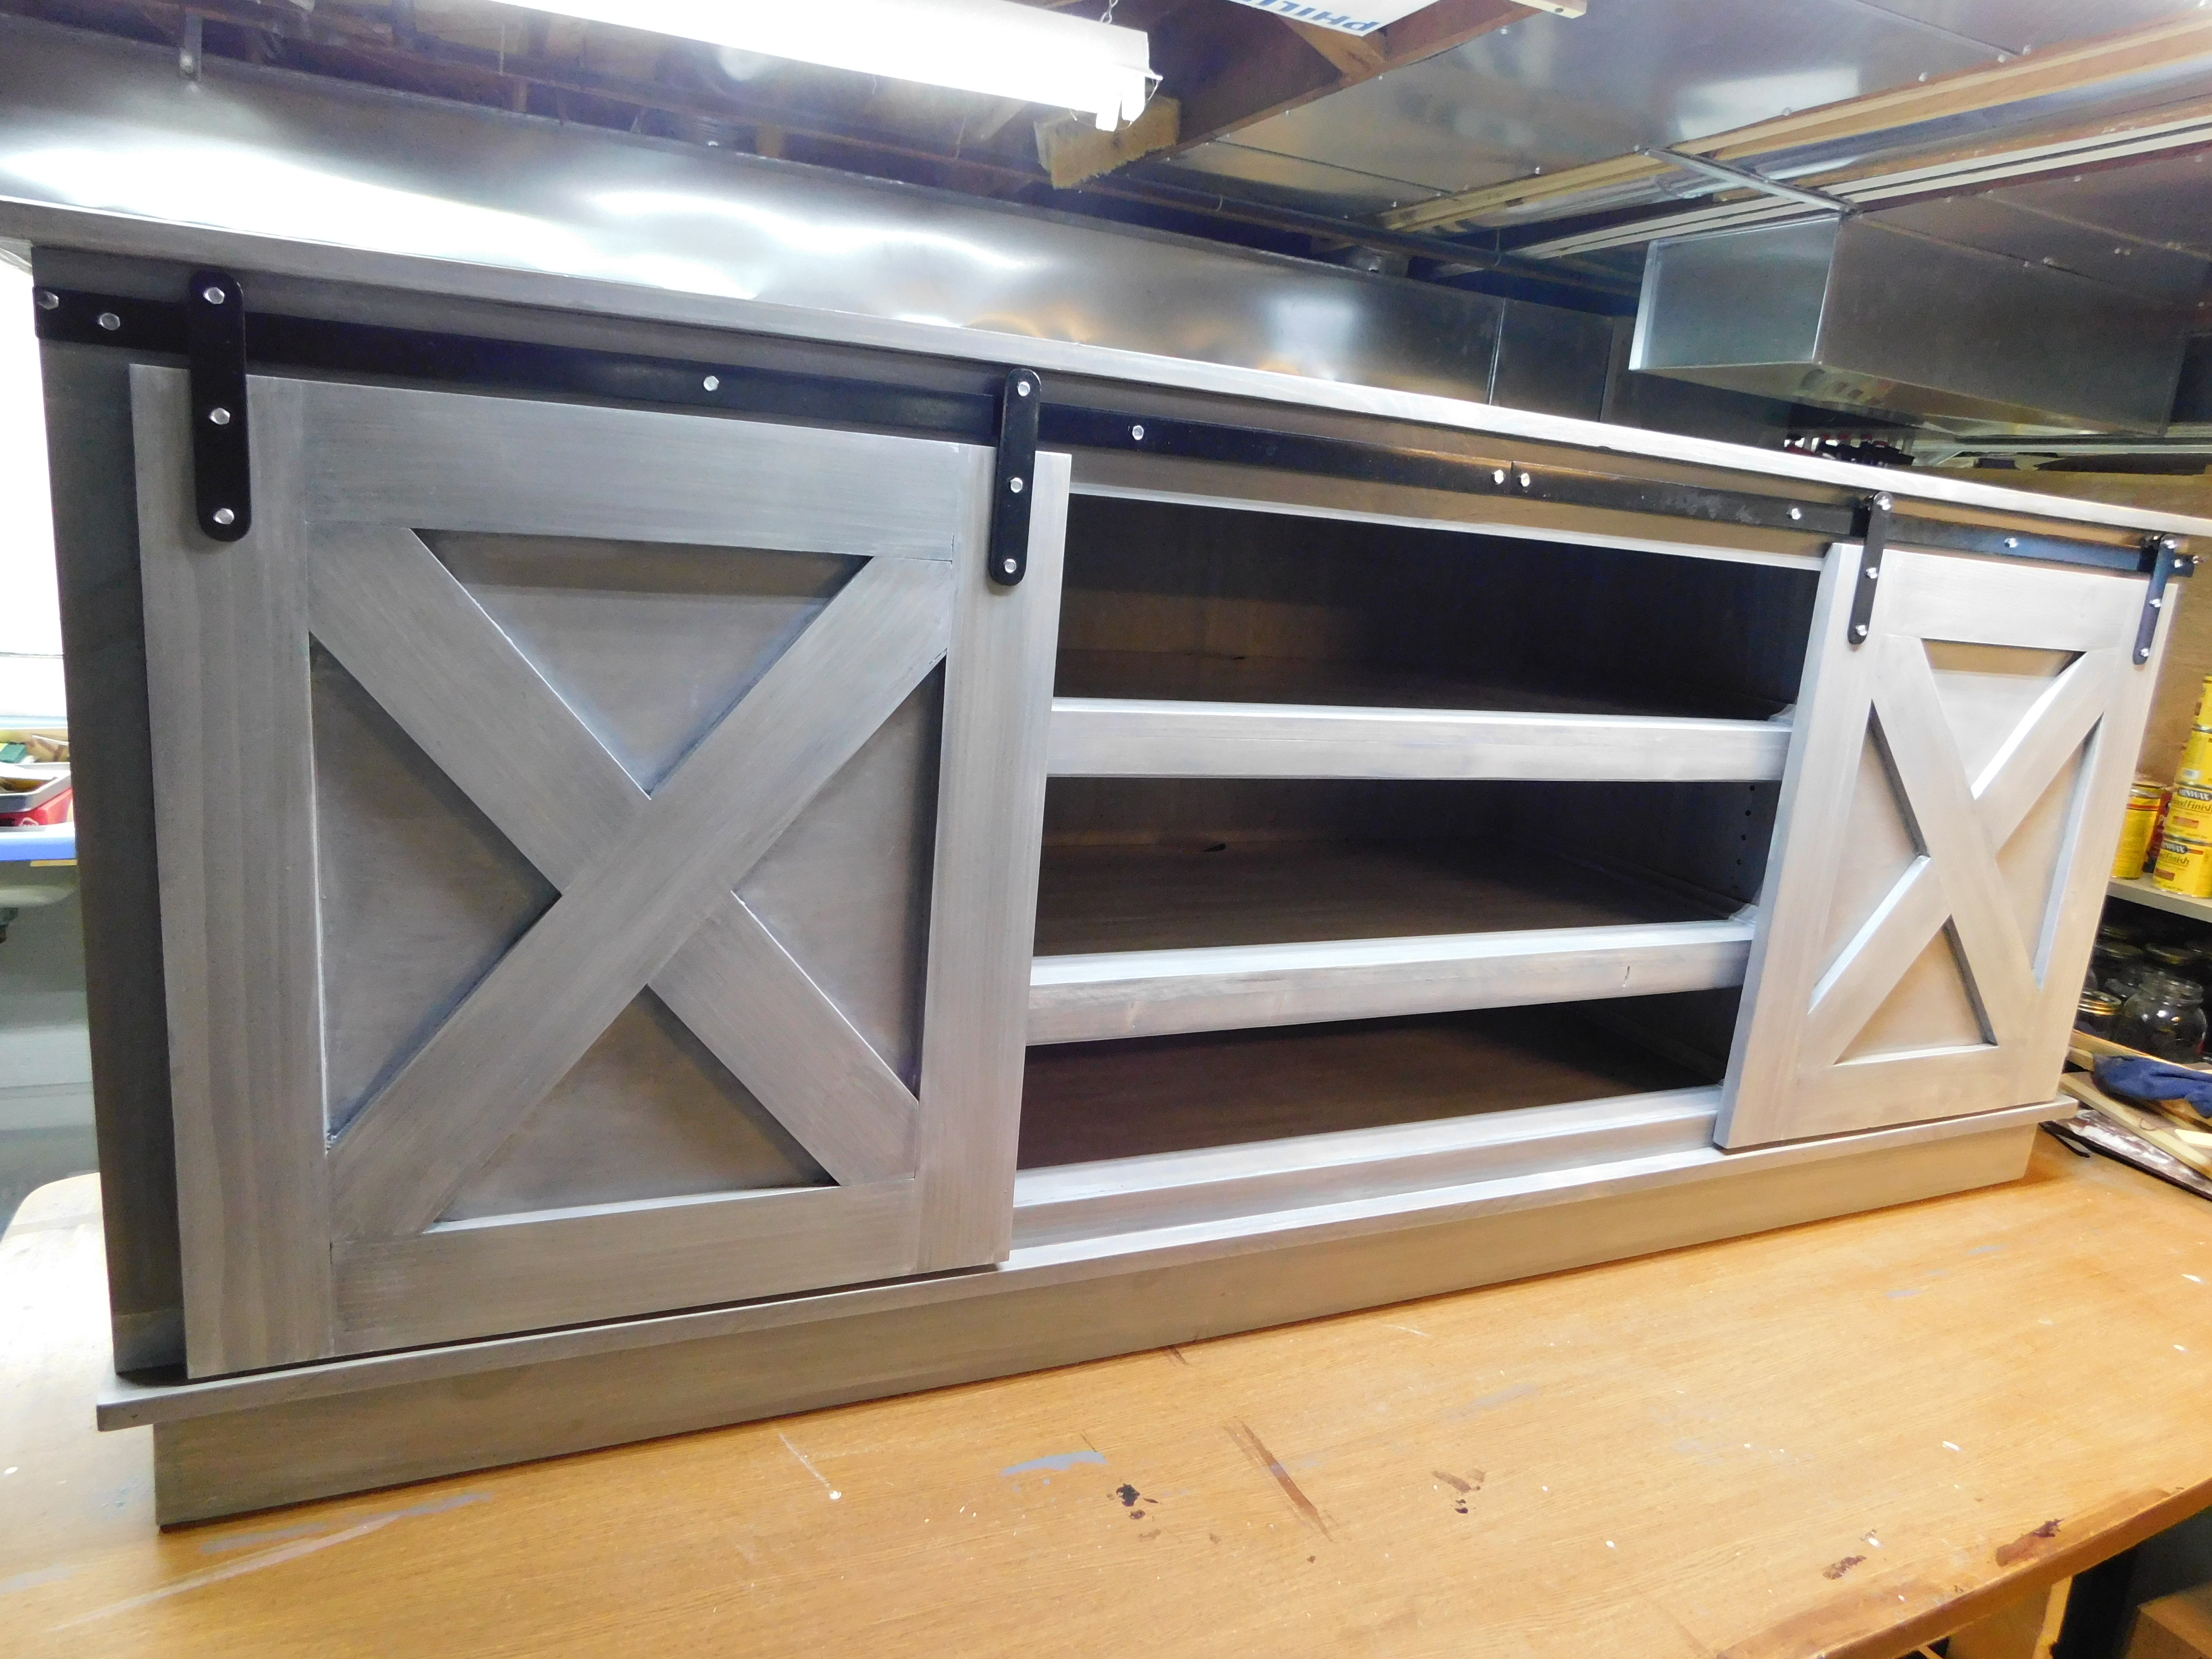
We used the pattern in Wood Magazine as a guide, but Jay did all of it without actually using the plans. He just used it to verify some measurements and to see how they assembled the sliding doors. The finished project measures 75″ W x 30″ T x 18″ deep (per Jay).
This was a new type of build for us so I asked Jay some questions about the project.

Did you learn any new techniques or try something for the first time on this project?
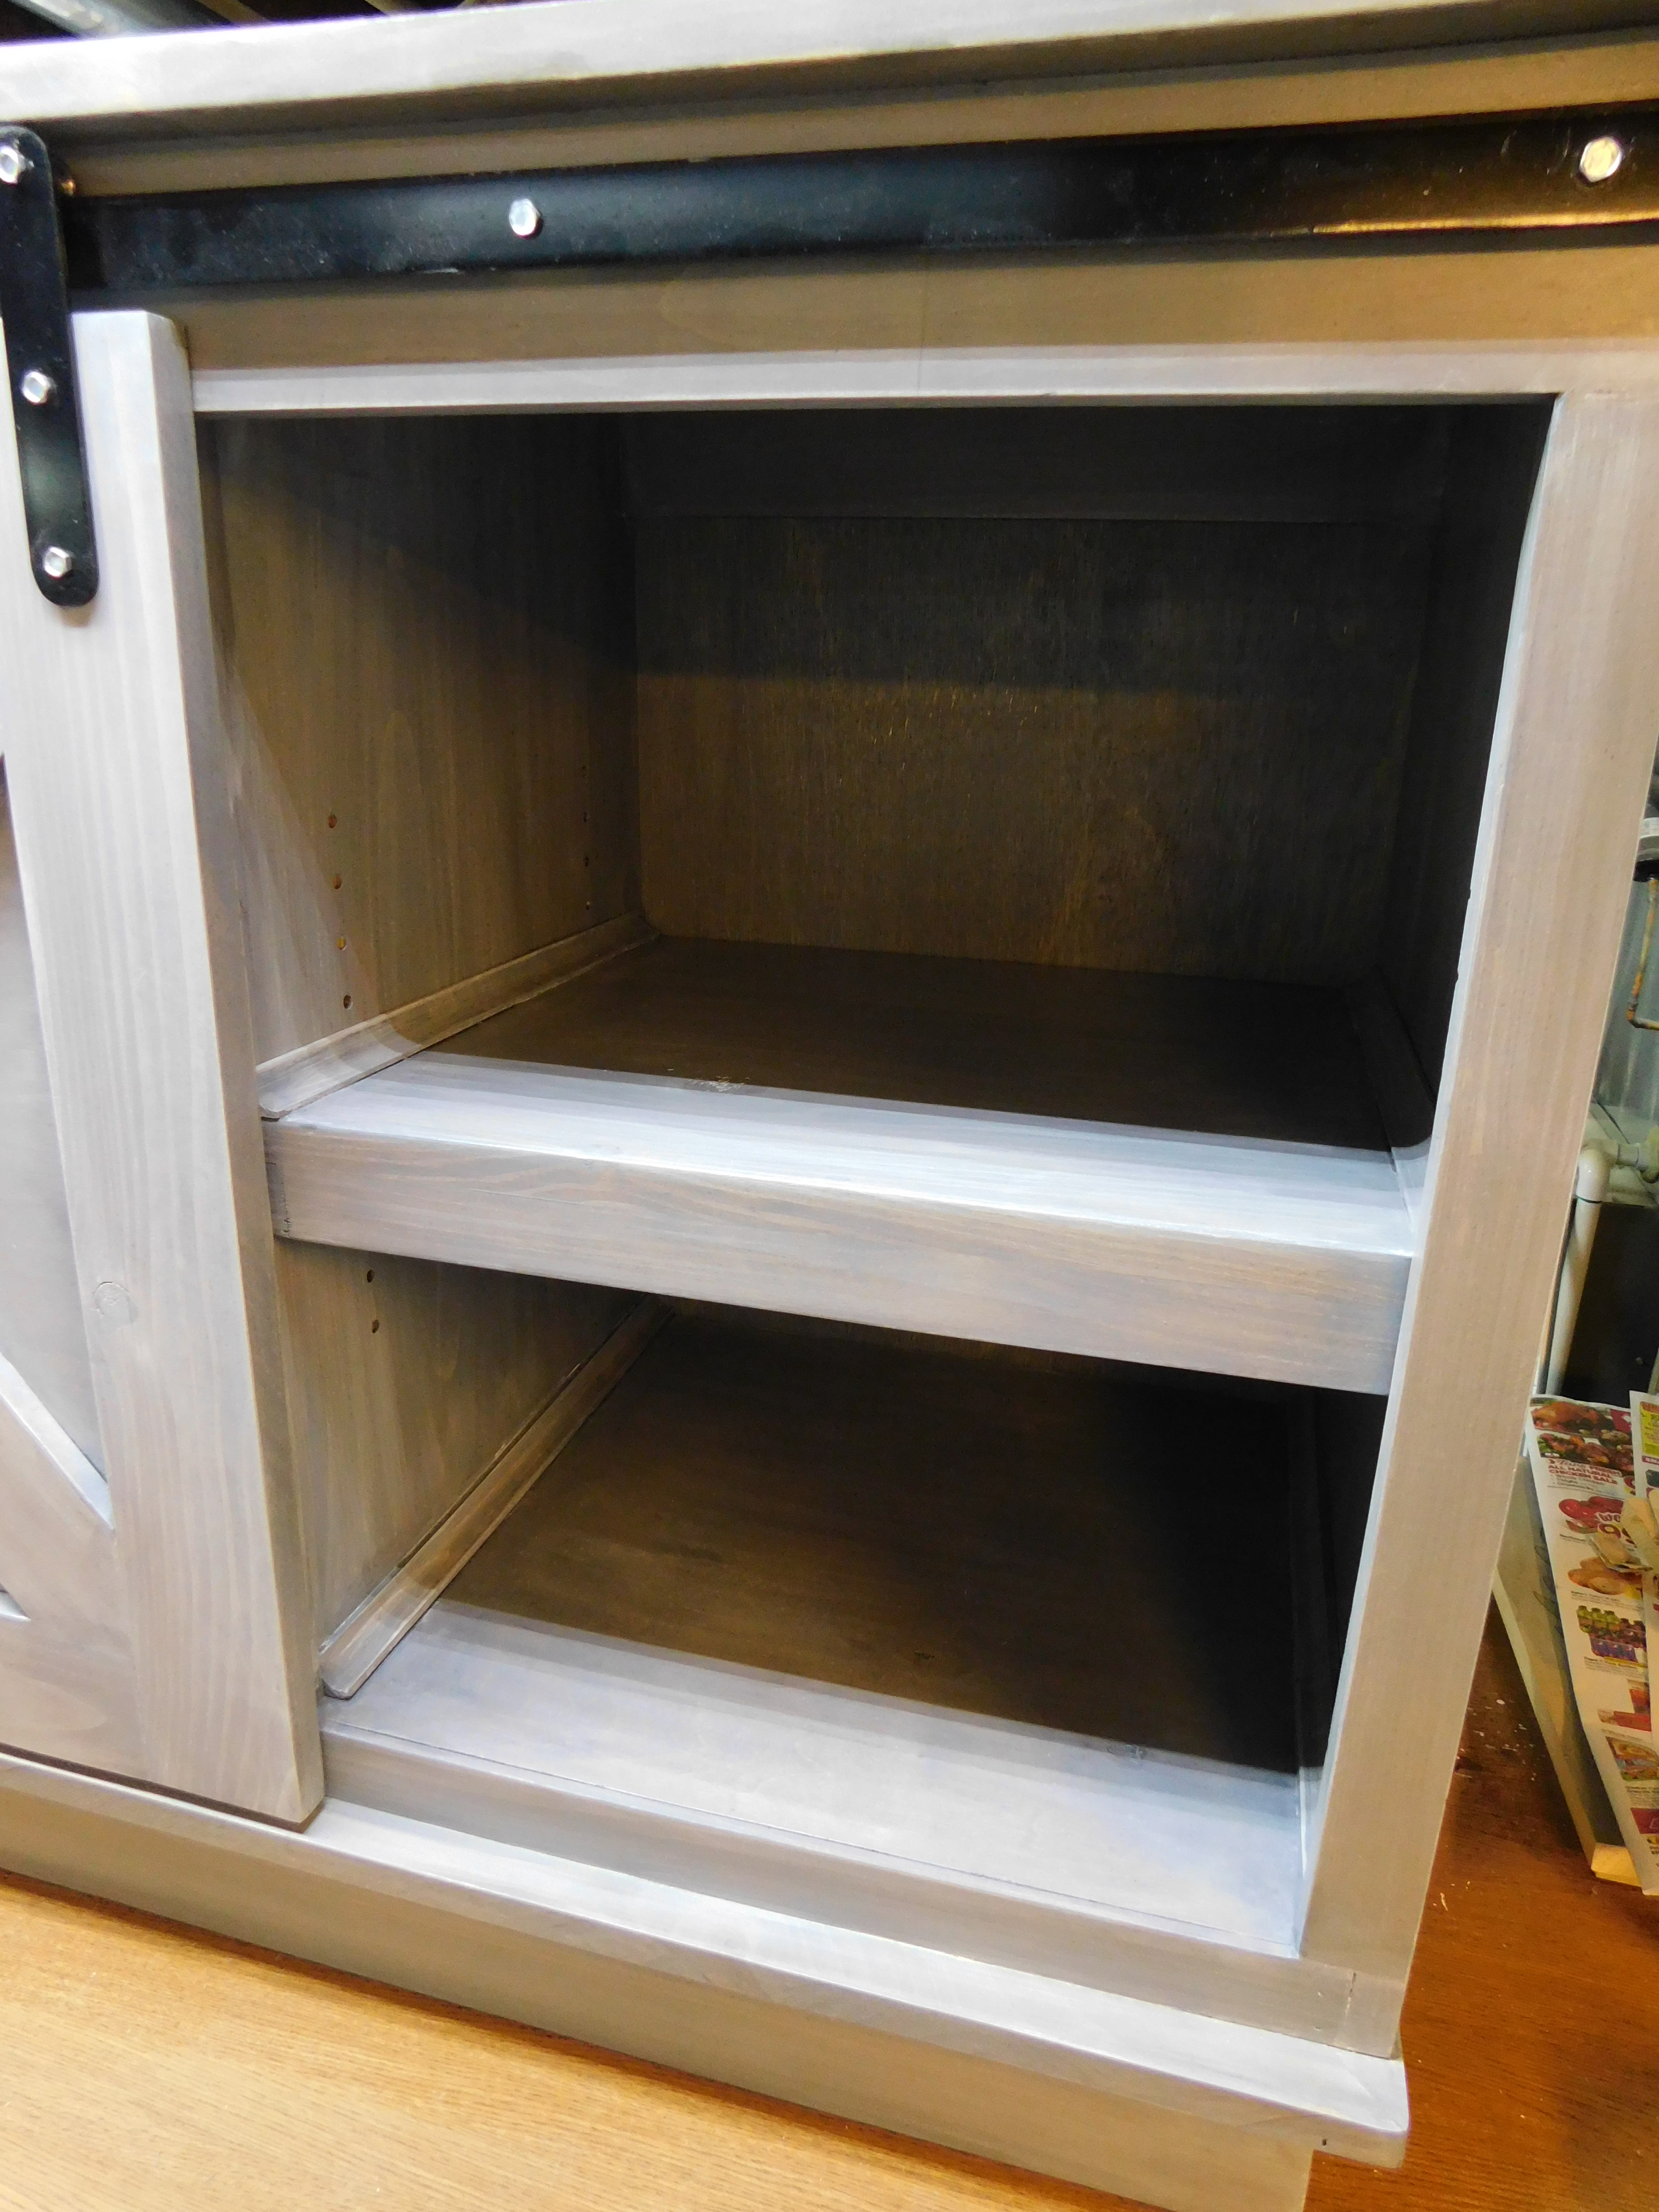
“It was the first time I’ve ever built a base for a cabinet to sit on. That was new to me. The other thing I learned, or maybe I should say that it was reinforced, was you need to make sure your sides are straight and square. The inner core dividers had a bit of wave to them (due to the quality of lumber available to us at the time) and this affected how the shelves fit into the cabinet.”
What was your favorite part of this build?
“Making the hardware for the doors; the spacers, the bearings, etc.”
What was your least favorite part of this build?
“The top. Trying to construct it was a pain due to the fact that it was too wide to fit through the drum sander when it was glued together. I had to build two halves of the top, sand them smooth, and then glue them together.”

Would you build this again, and if so, what would you do differently?
“Yes, I would build it again. The next time, though, I would make sure the lumber isn’t wavy for the internal sides and I would drill the holes for the shelving pegs before gluing the sides in.”
Overall, Jay said that it turned out exactly as he thought it would and he’s really happy with the end product. The only tip he would give somebody who was thinking about building this is make sure that you have plenty of room where you are building it and that you will be able to get it out of that area when it’s done! (This will actually have to leave our basement through our outside doors as it will not fit around the corner to go up the interior stairs.)
I suppose I should answer the same questions that I asked Jay.
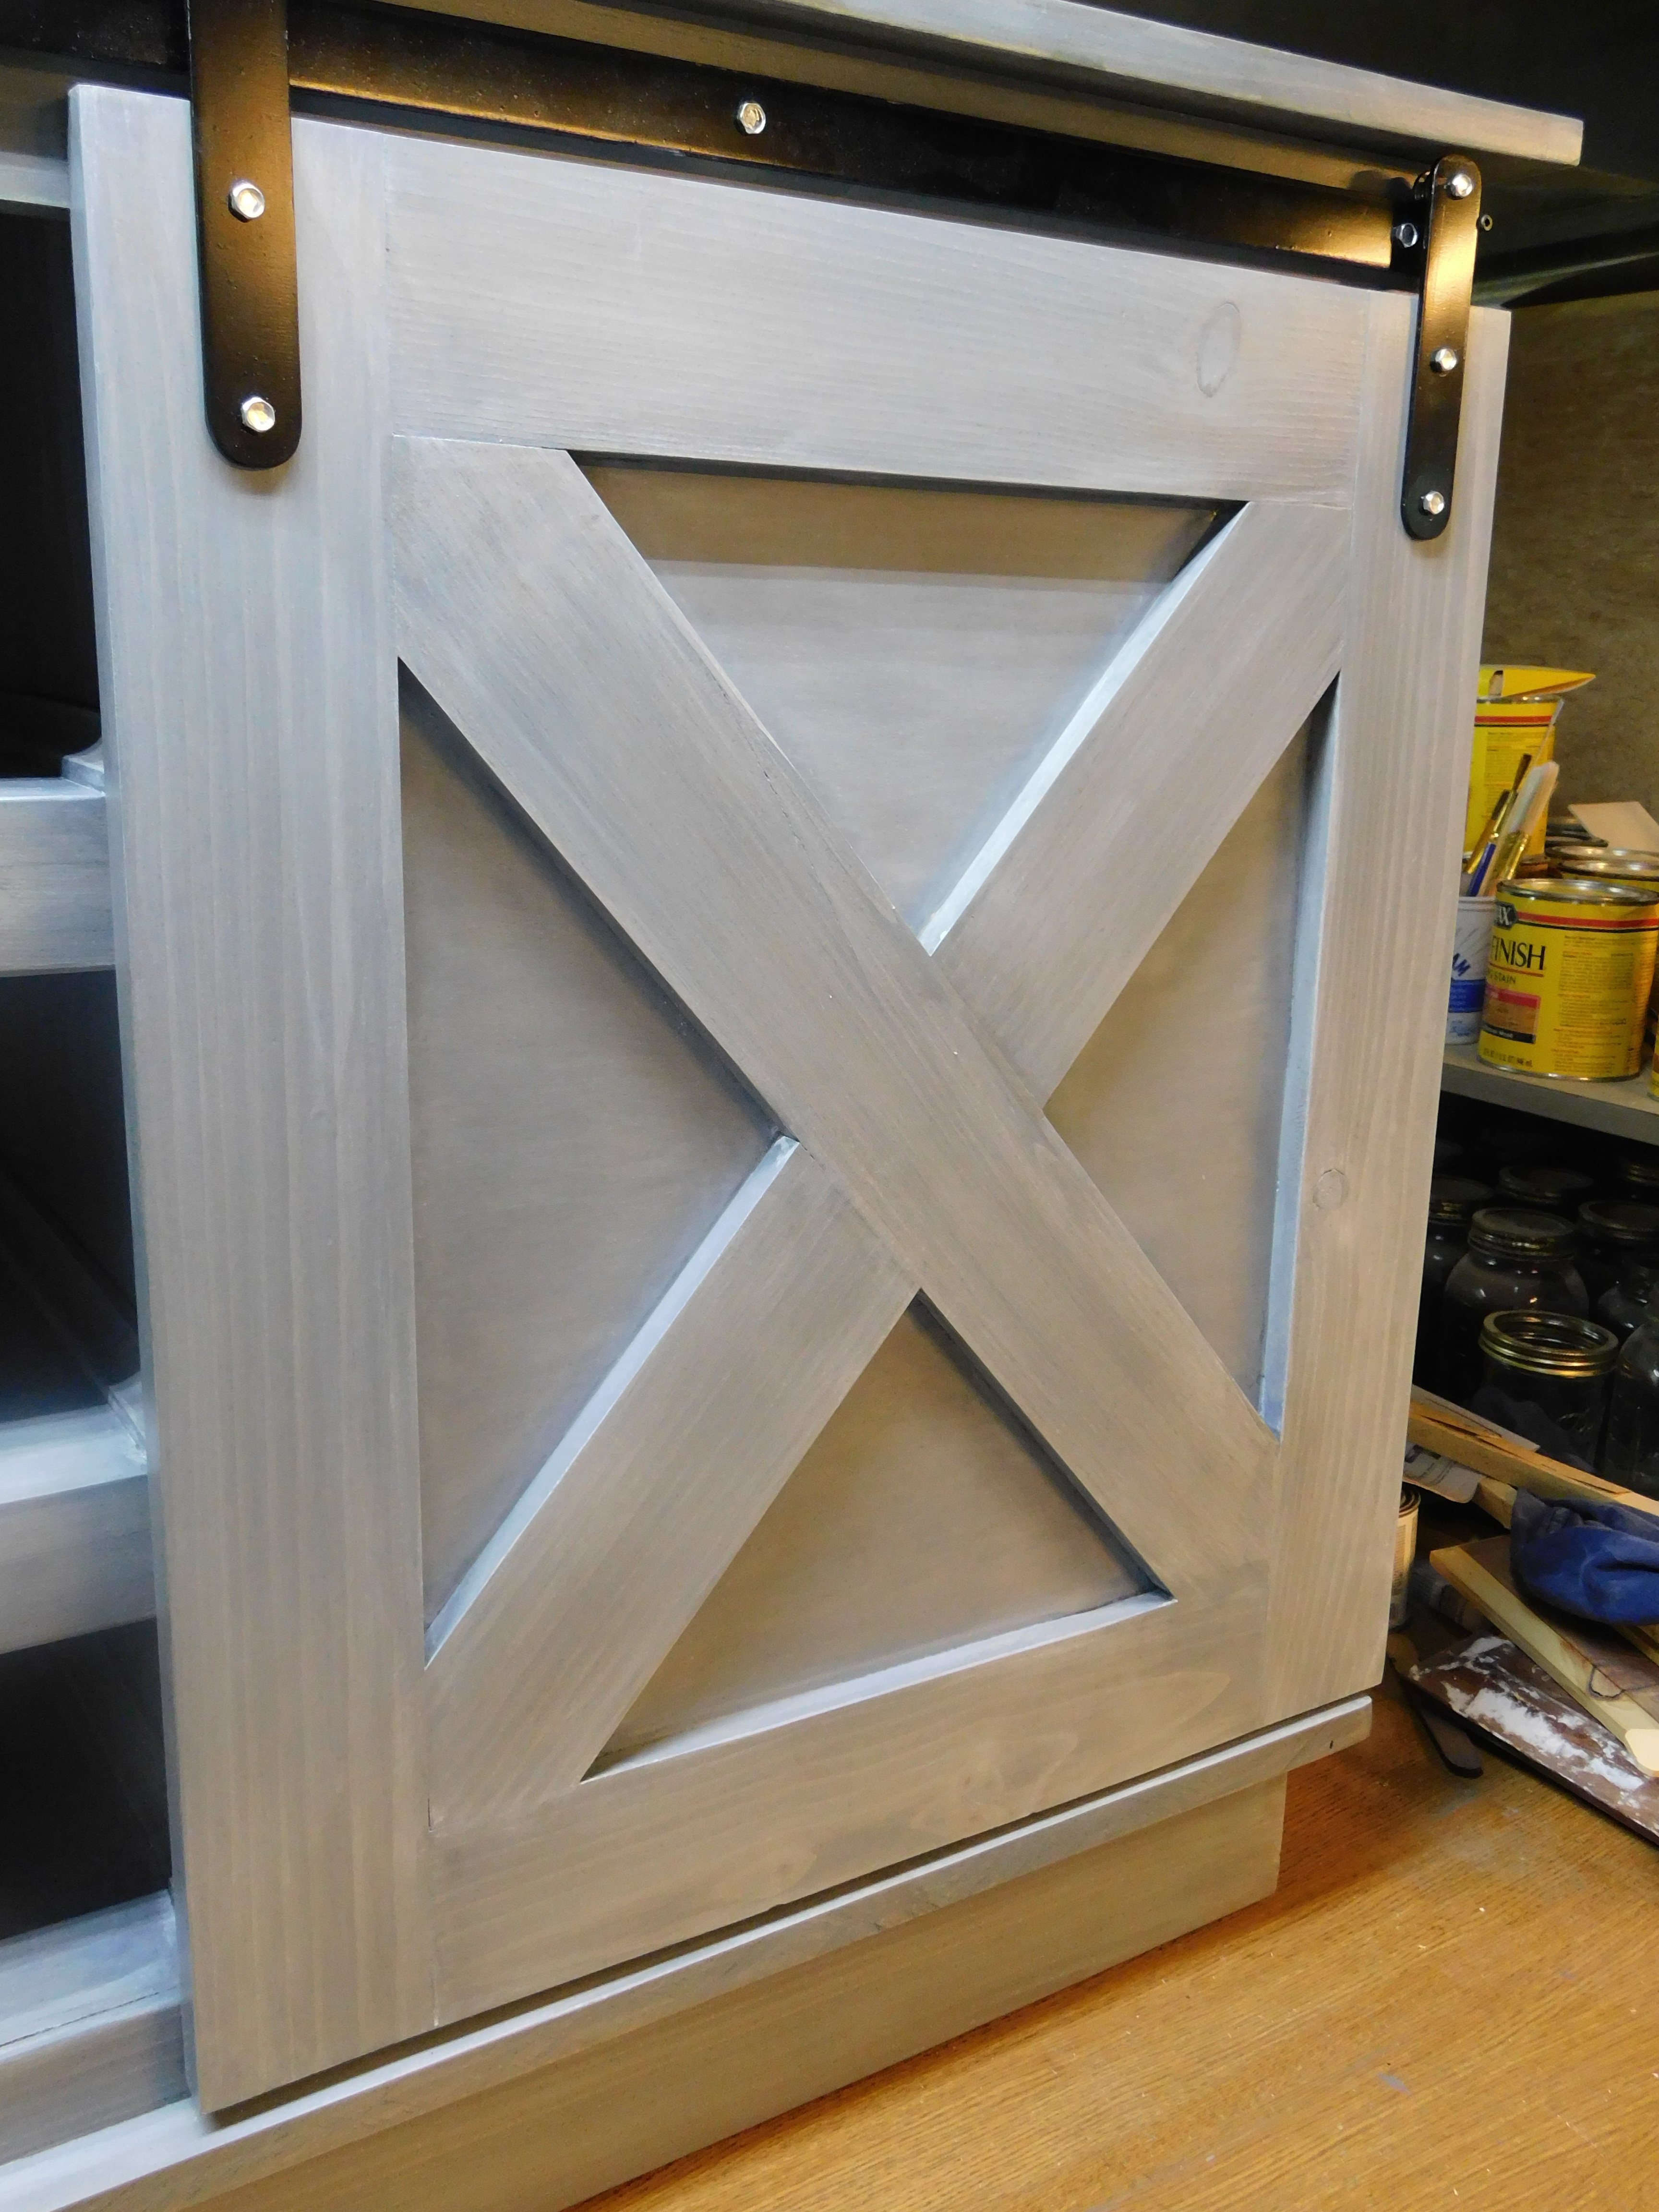
I learned two things on this build: 1. How to do a faux barn wood finish. 2. I’m NEVER buying Varathane brand stain every again.
My favorite part of this project was knowing that I didn’t have to do a very thorough job sanding the pieces before applying stain. Rustic was okay on this project.
My least favorite part was the top white wash layer. I was always afraid that if I didn’t do it correctly on every single piece that it would look odd when it was all assembled.
If I can help it, I would never do this type of finish again. Can I do it? Yes. Do I want to? No.
Despite all of the curse words, anger and glares that I threw at this piece I think that in the end it turned out really nice. Jay’s sister and brother-in-law came over to see it and they seemed pleased. Now they just have to find a place to put it!