
It’s not done, but it’s close!
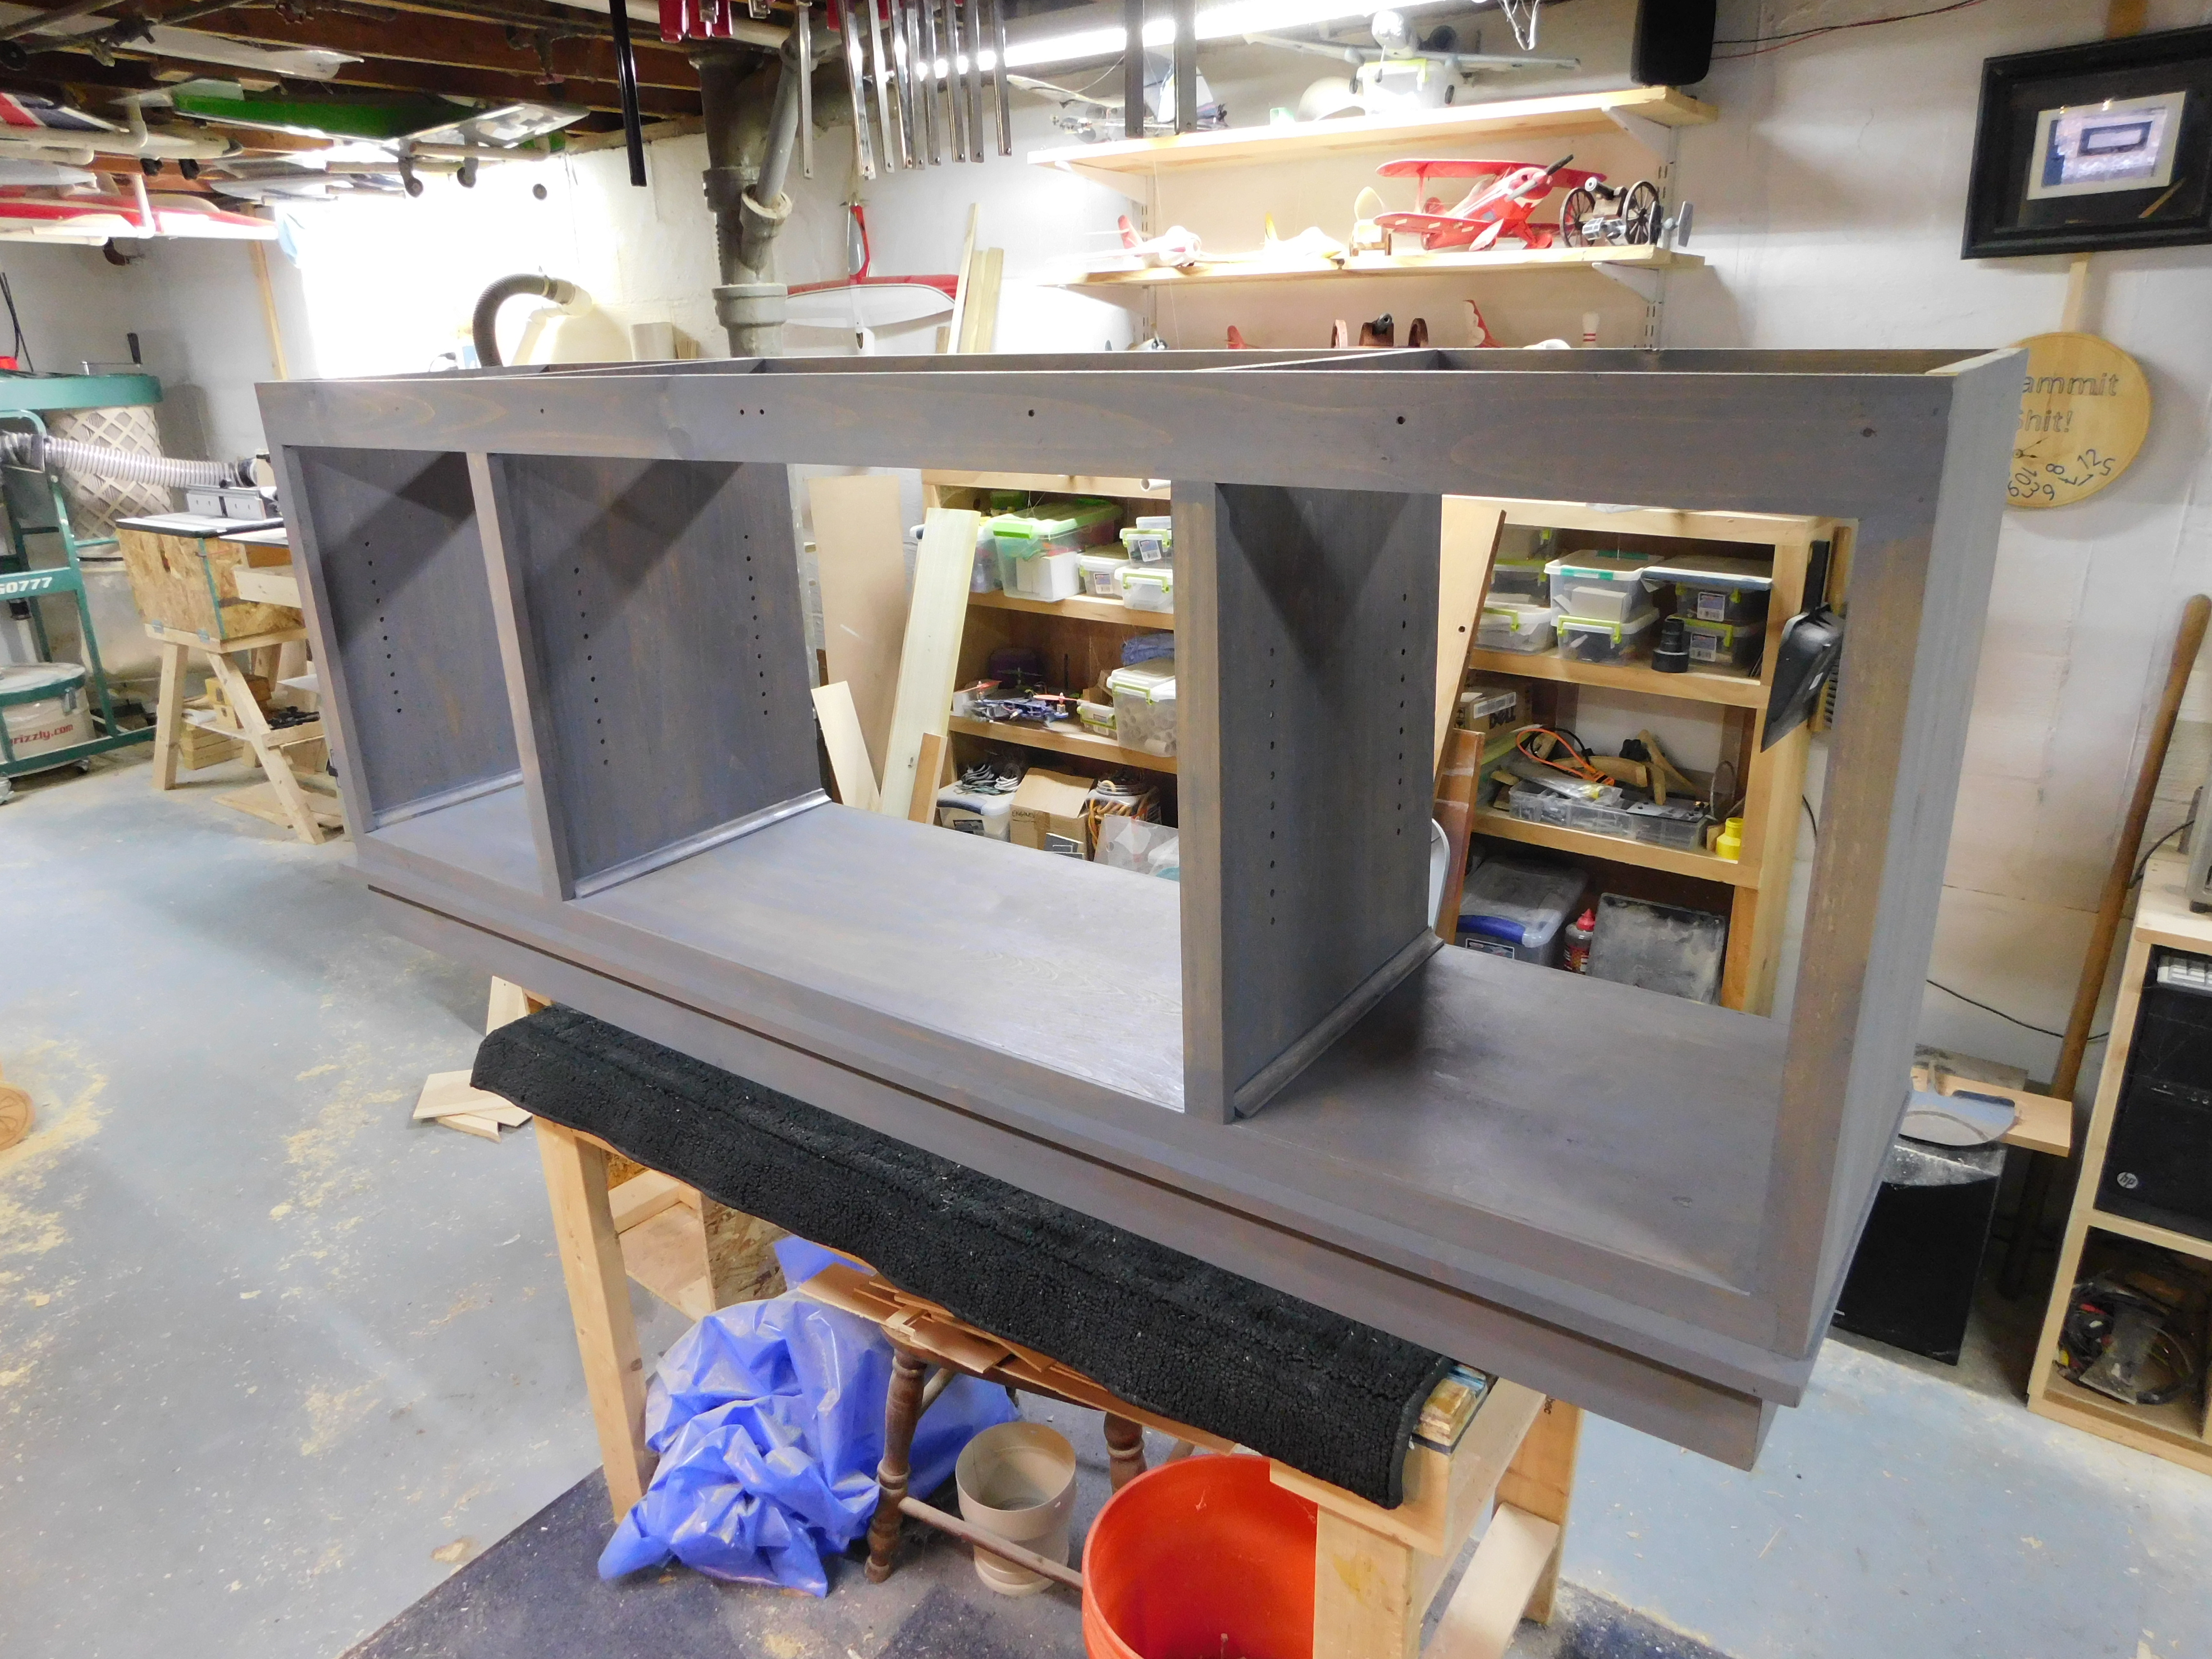
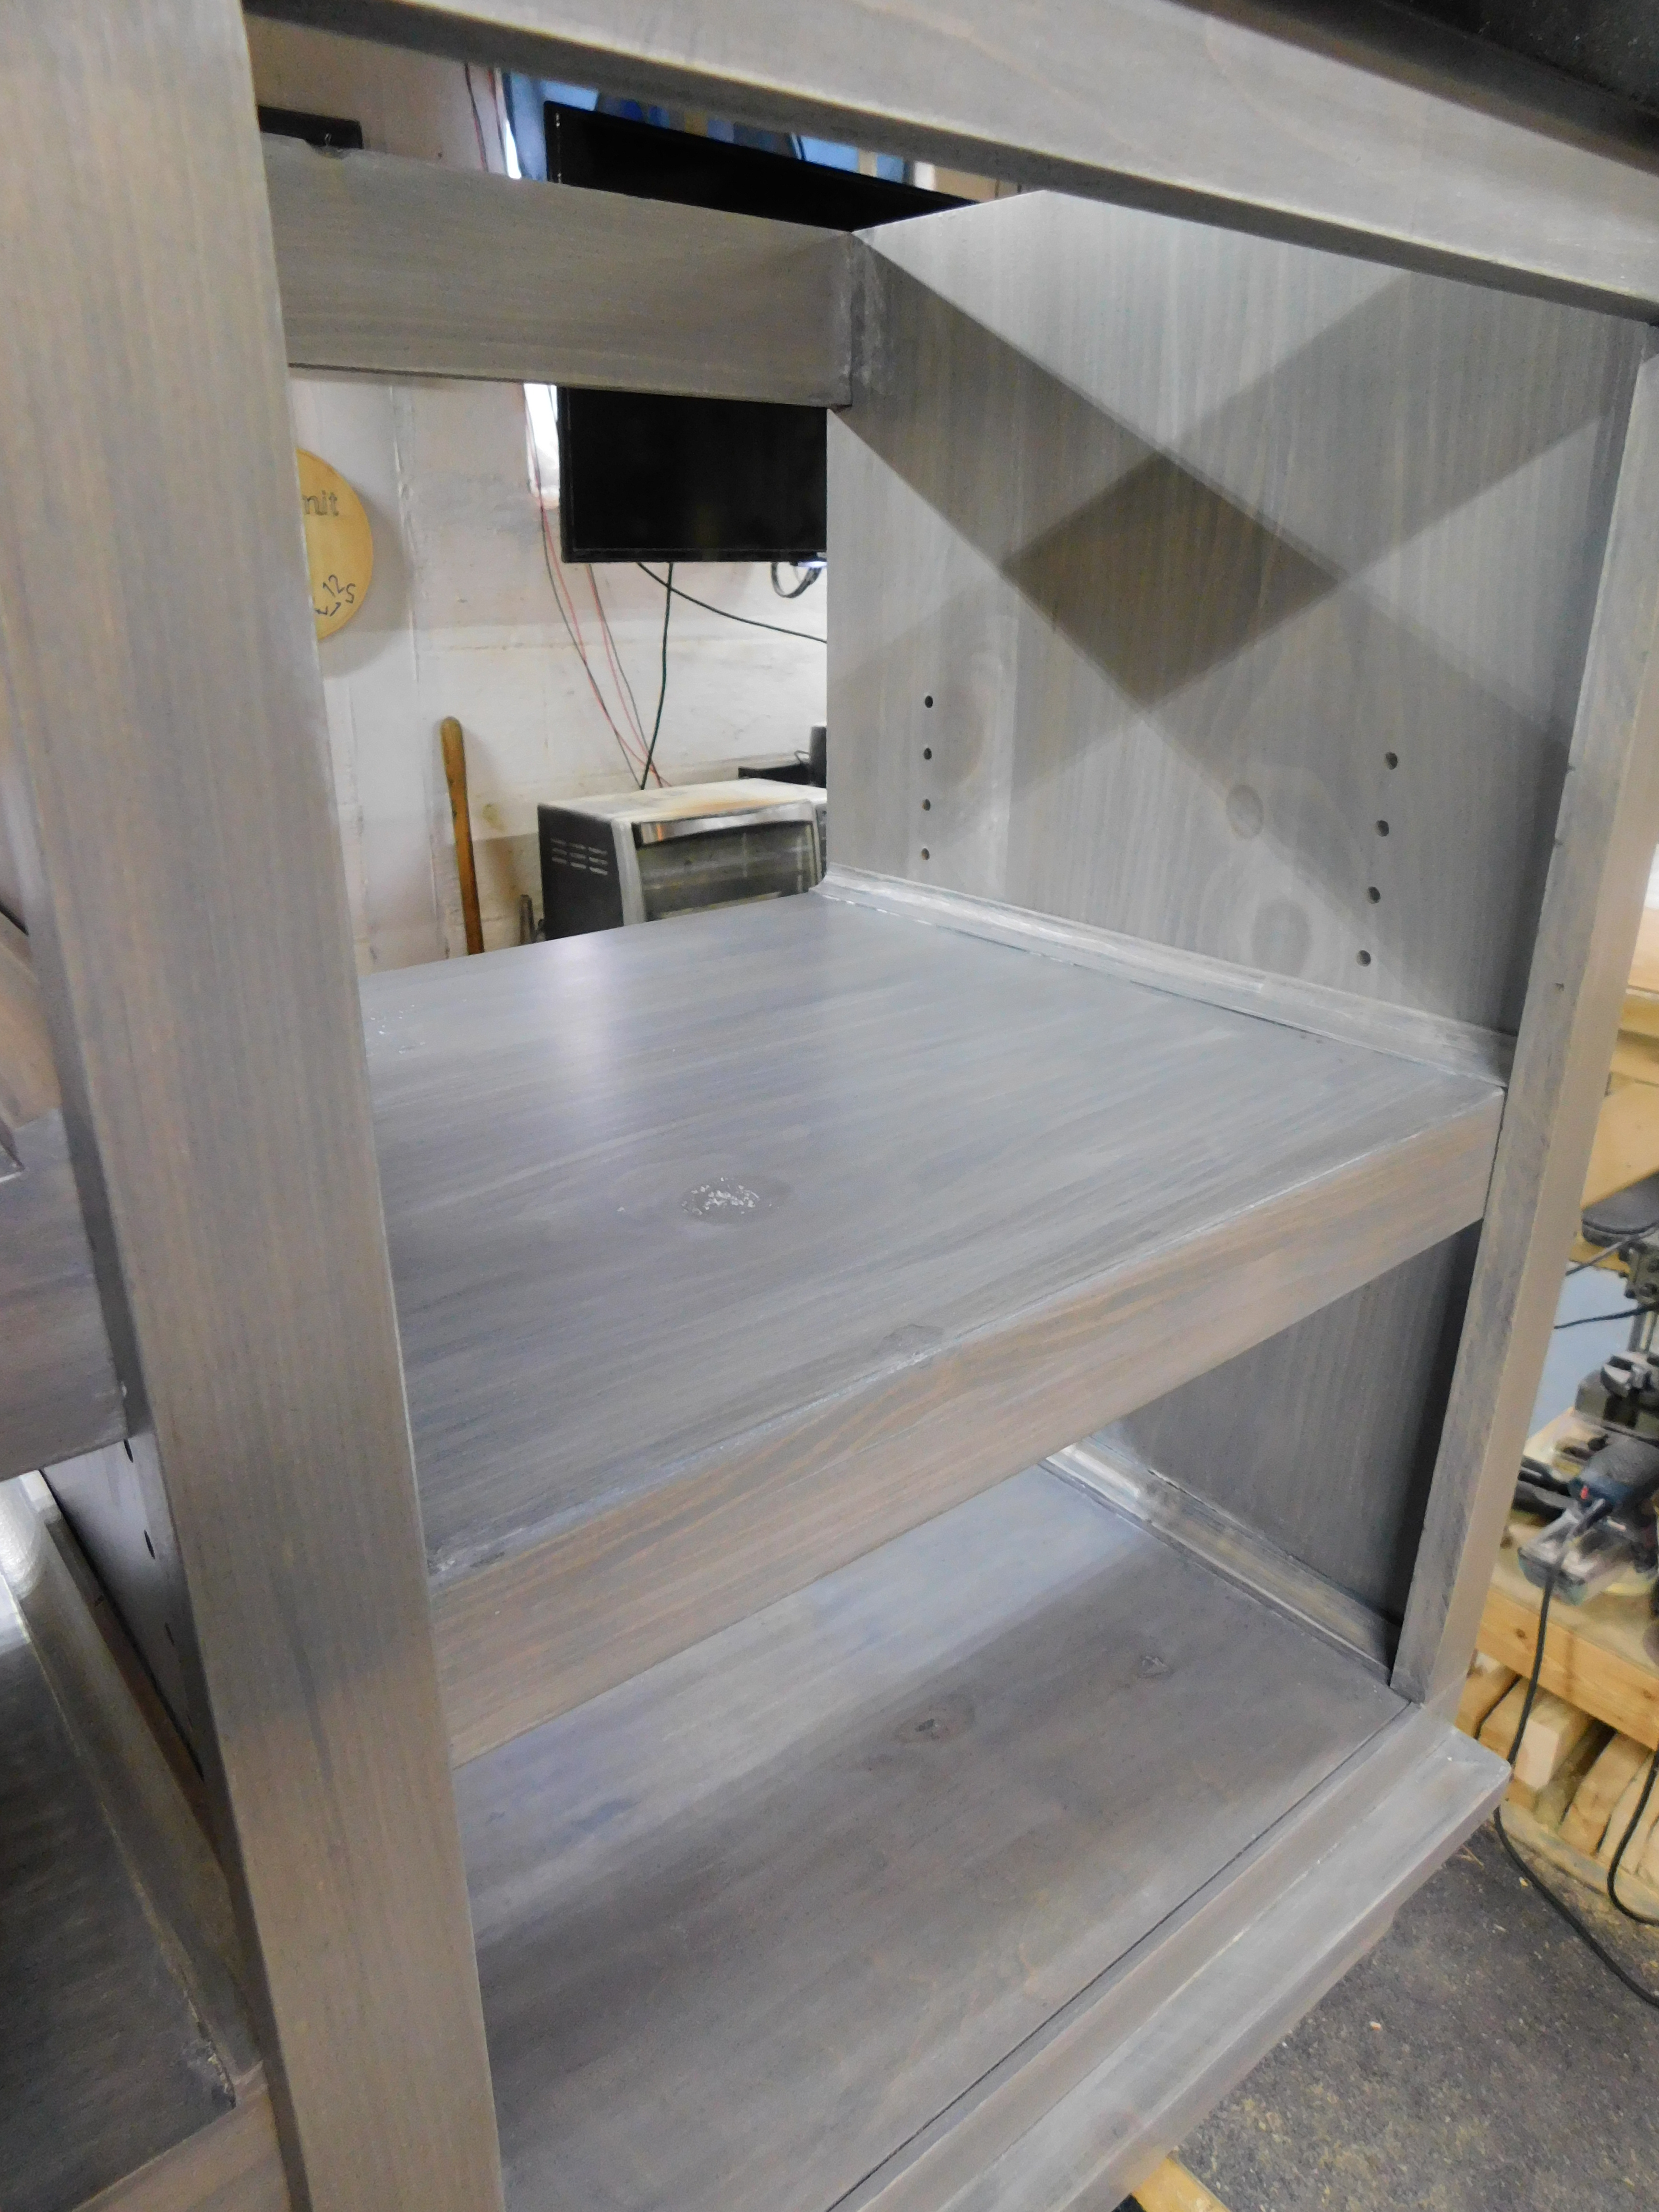
This part of the project has taken so long because it has had to be done on my workbench, and I only have so much room. For instance, here is the top of this piece:
This one piece alone takes up almost my entire bench. You should have seen it when I had the cabinet carcass laying up there!
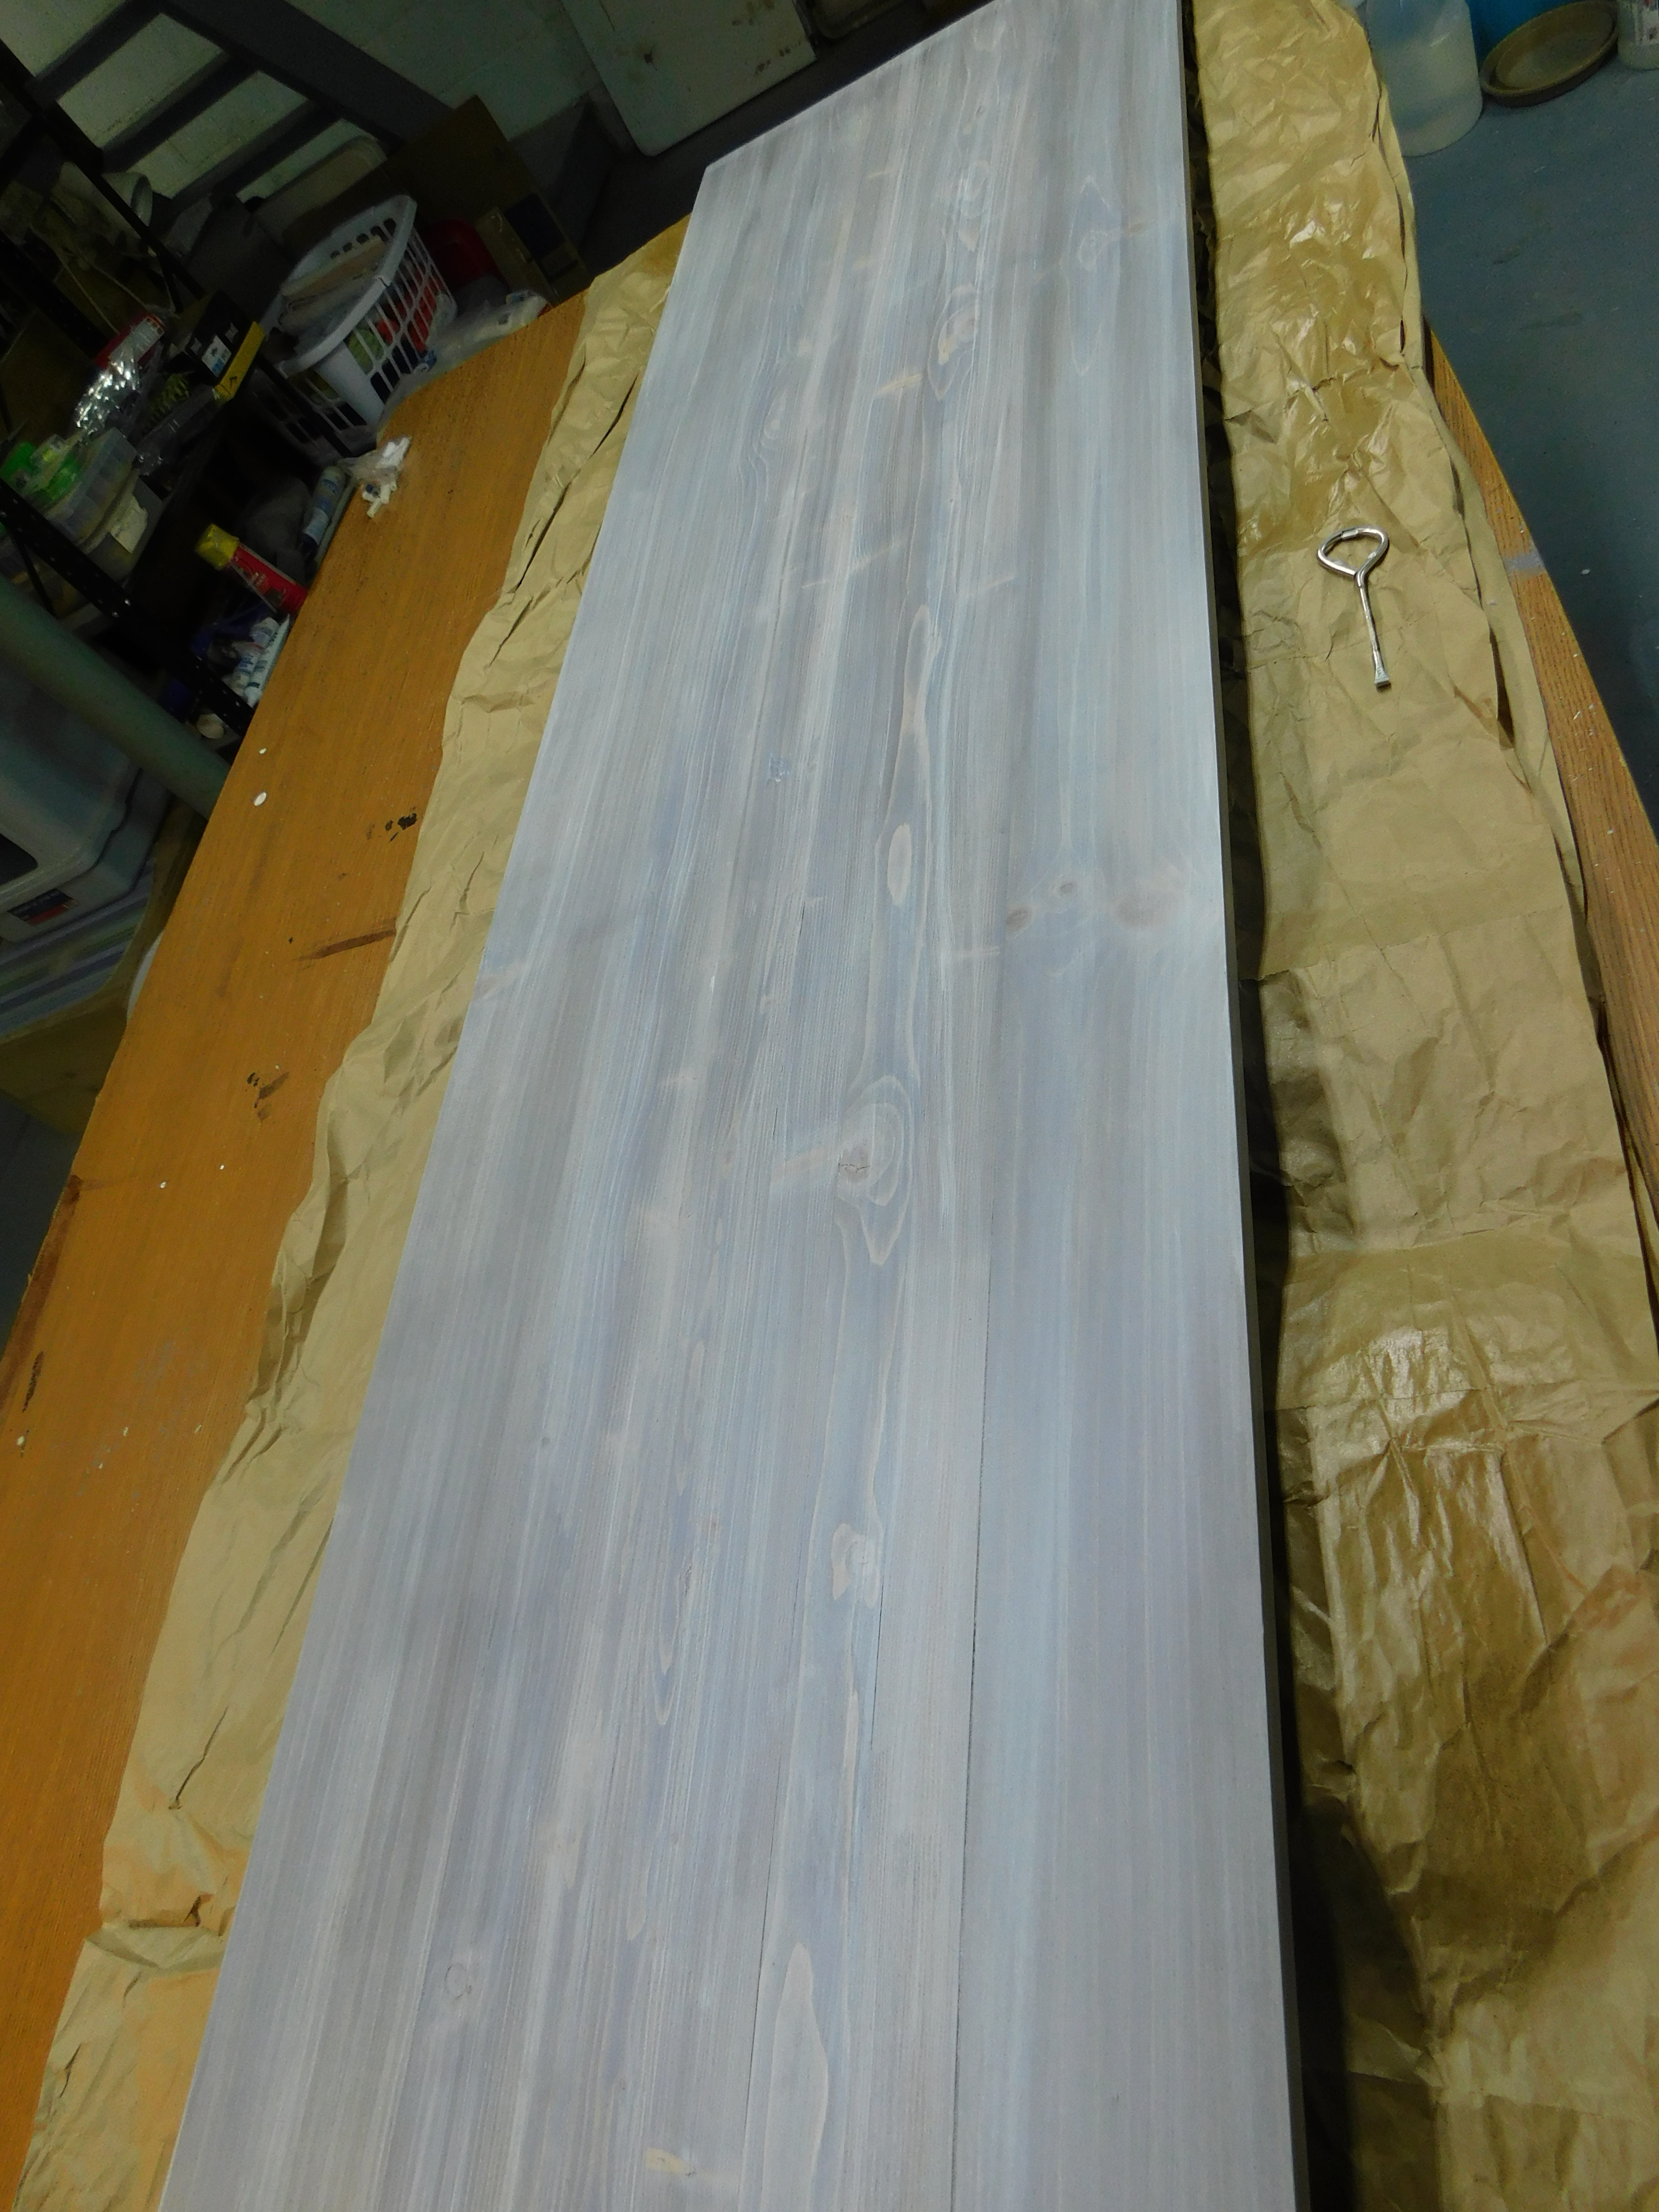
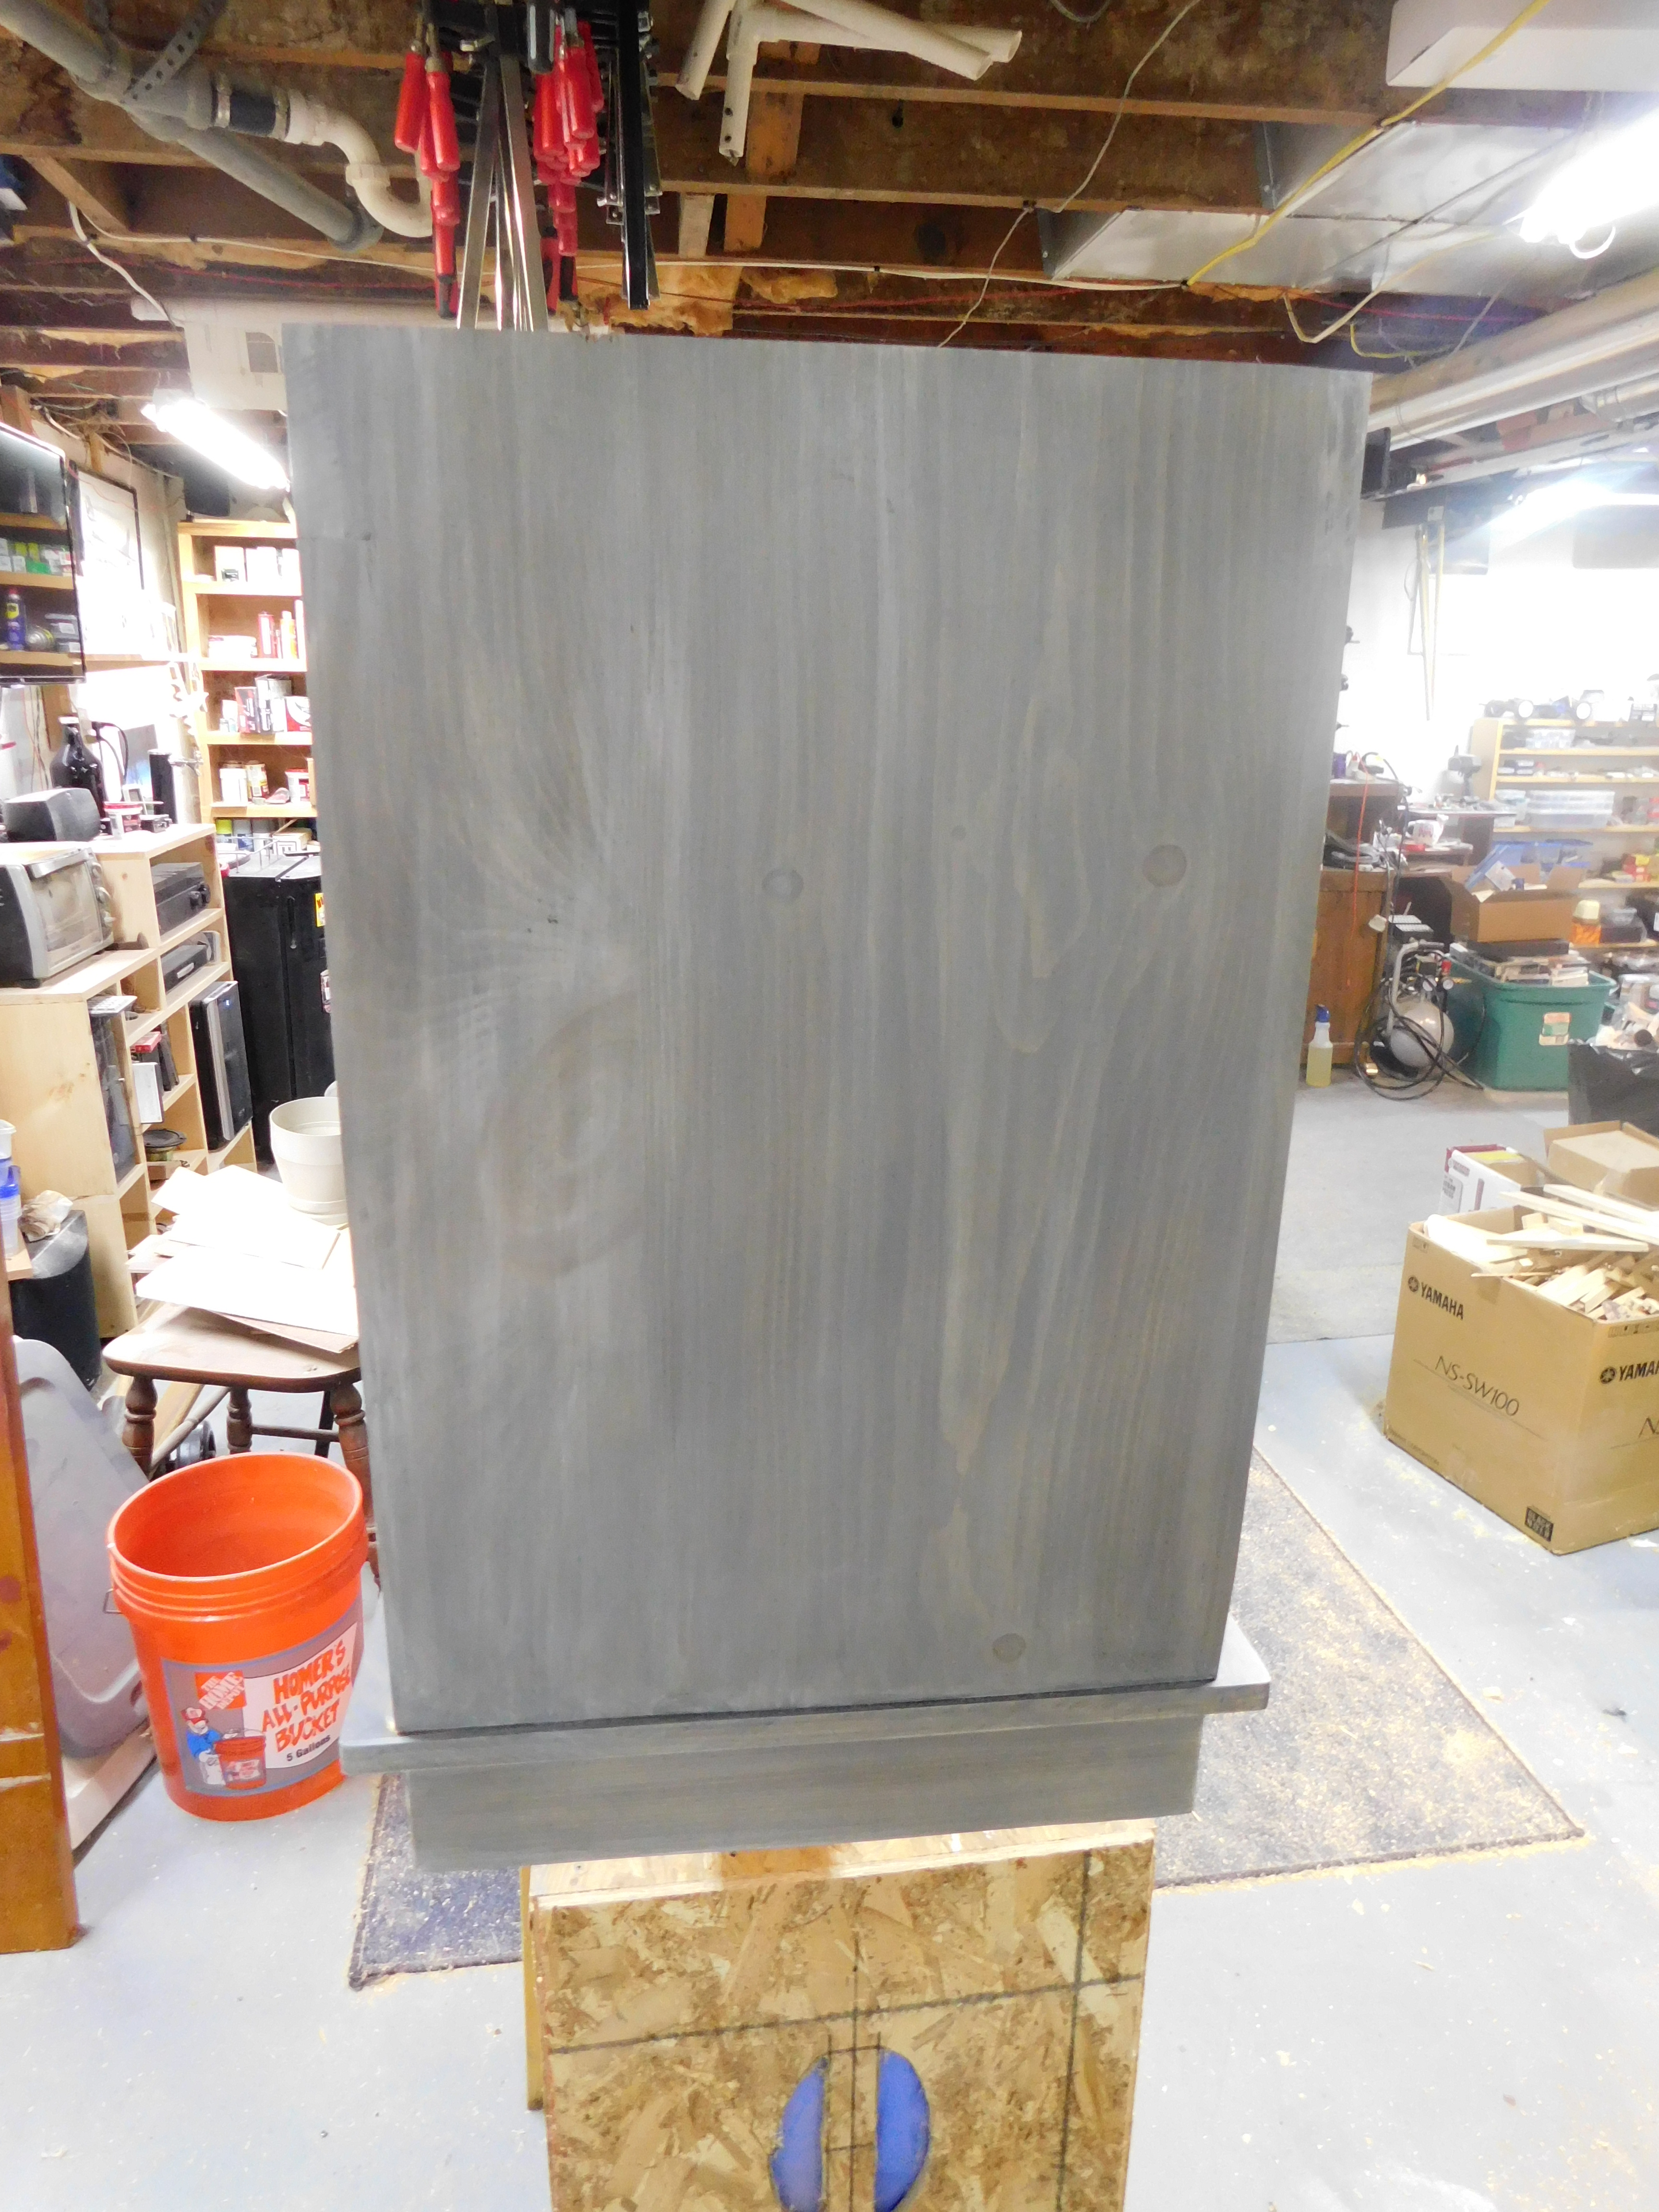
In this picture you can see the finish and how it’s turning out. It looks like weathered barn wood, right?
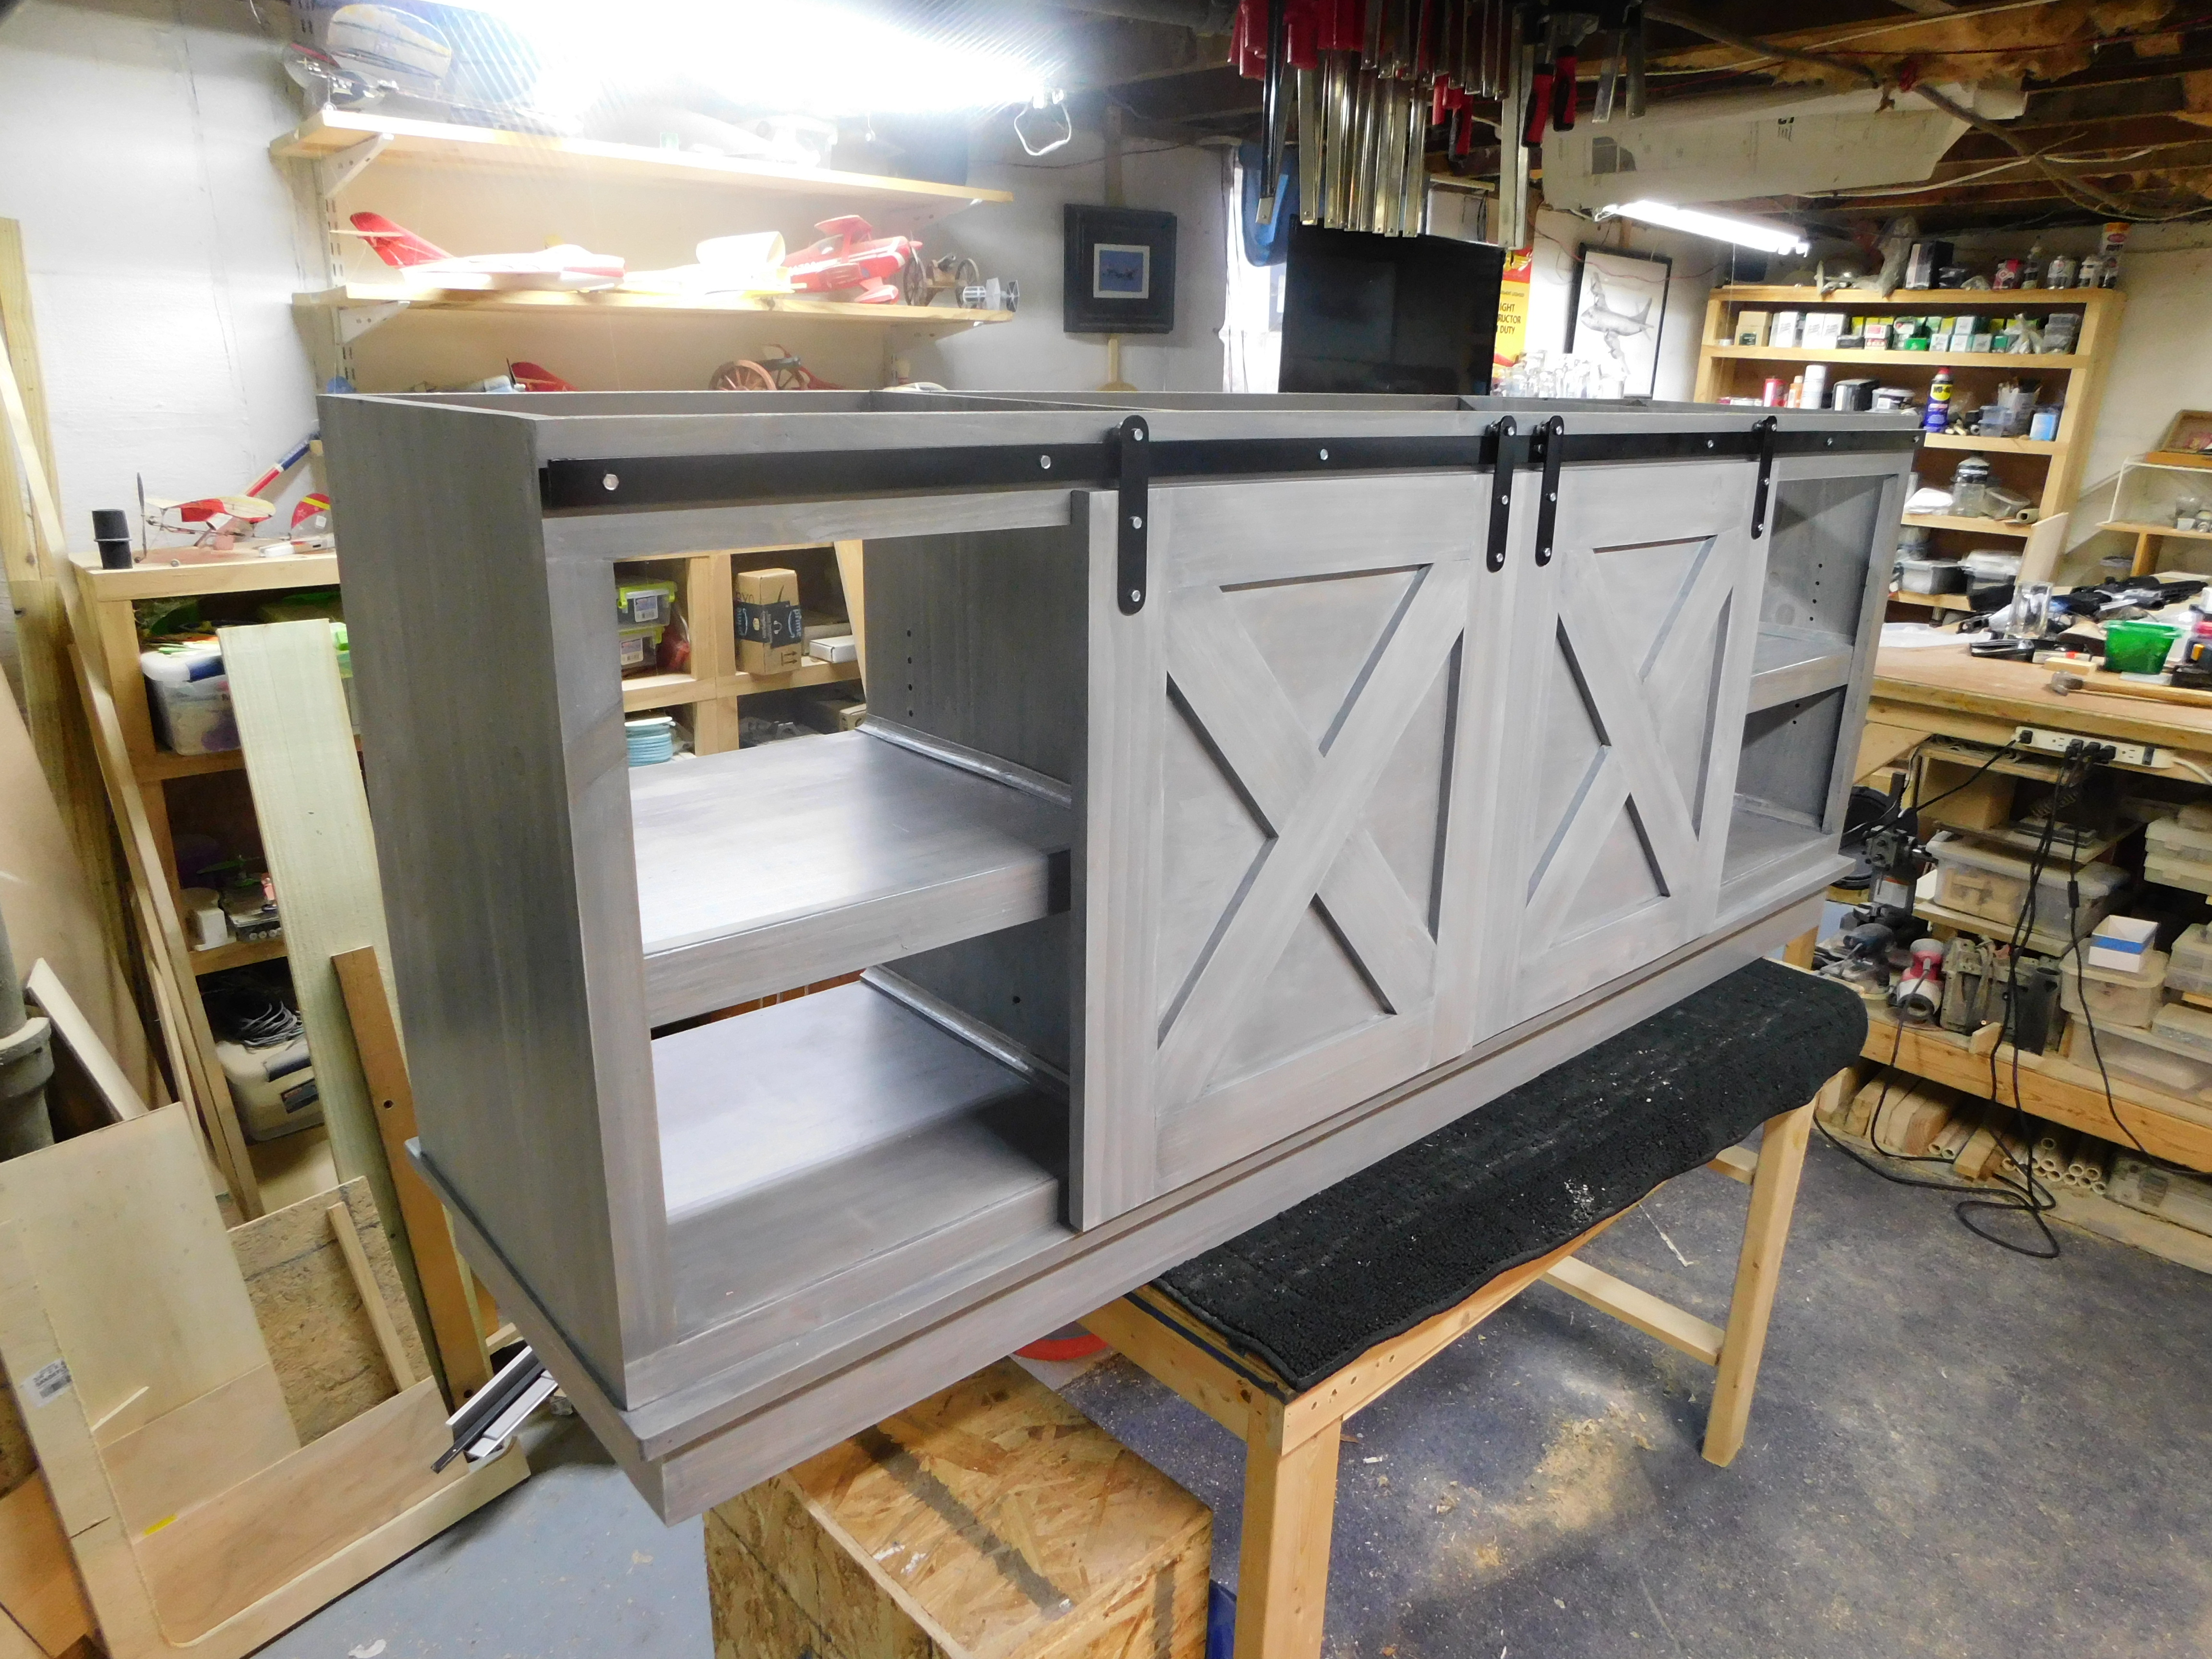
Would you like to see how the carcass looks with the shelves and doors installed?
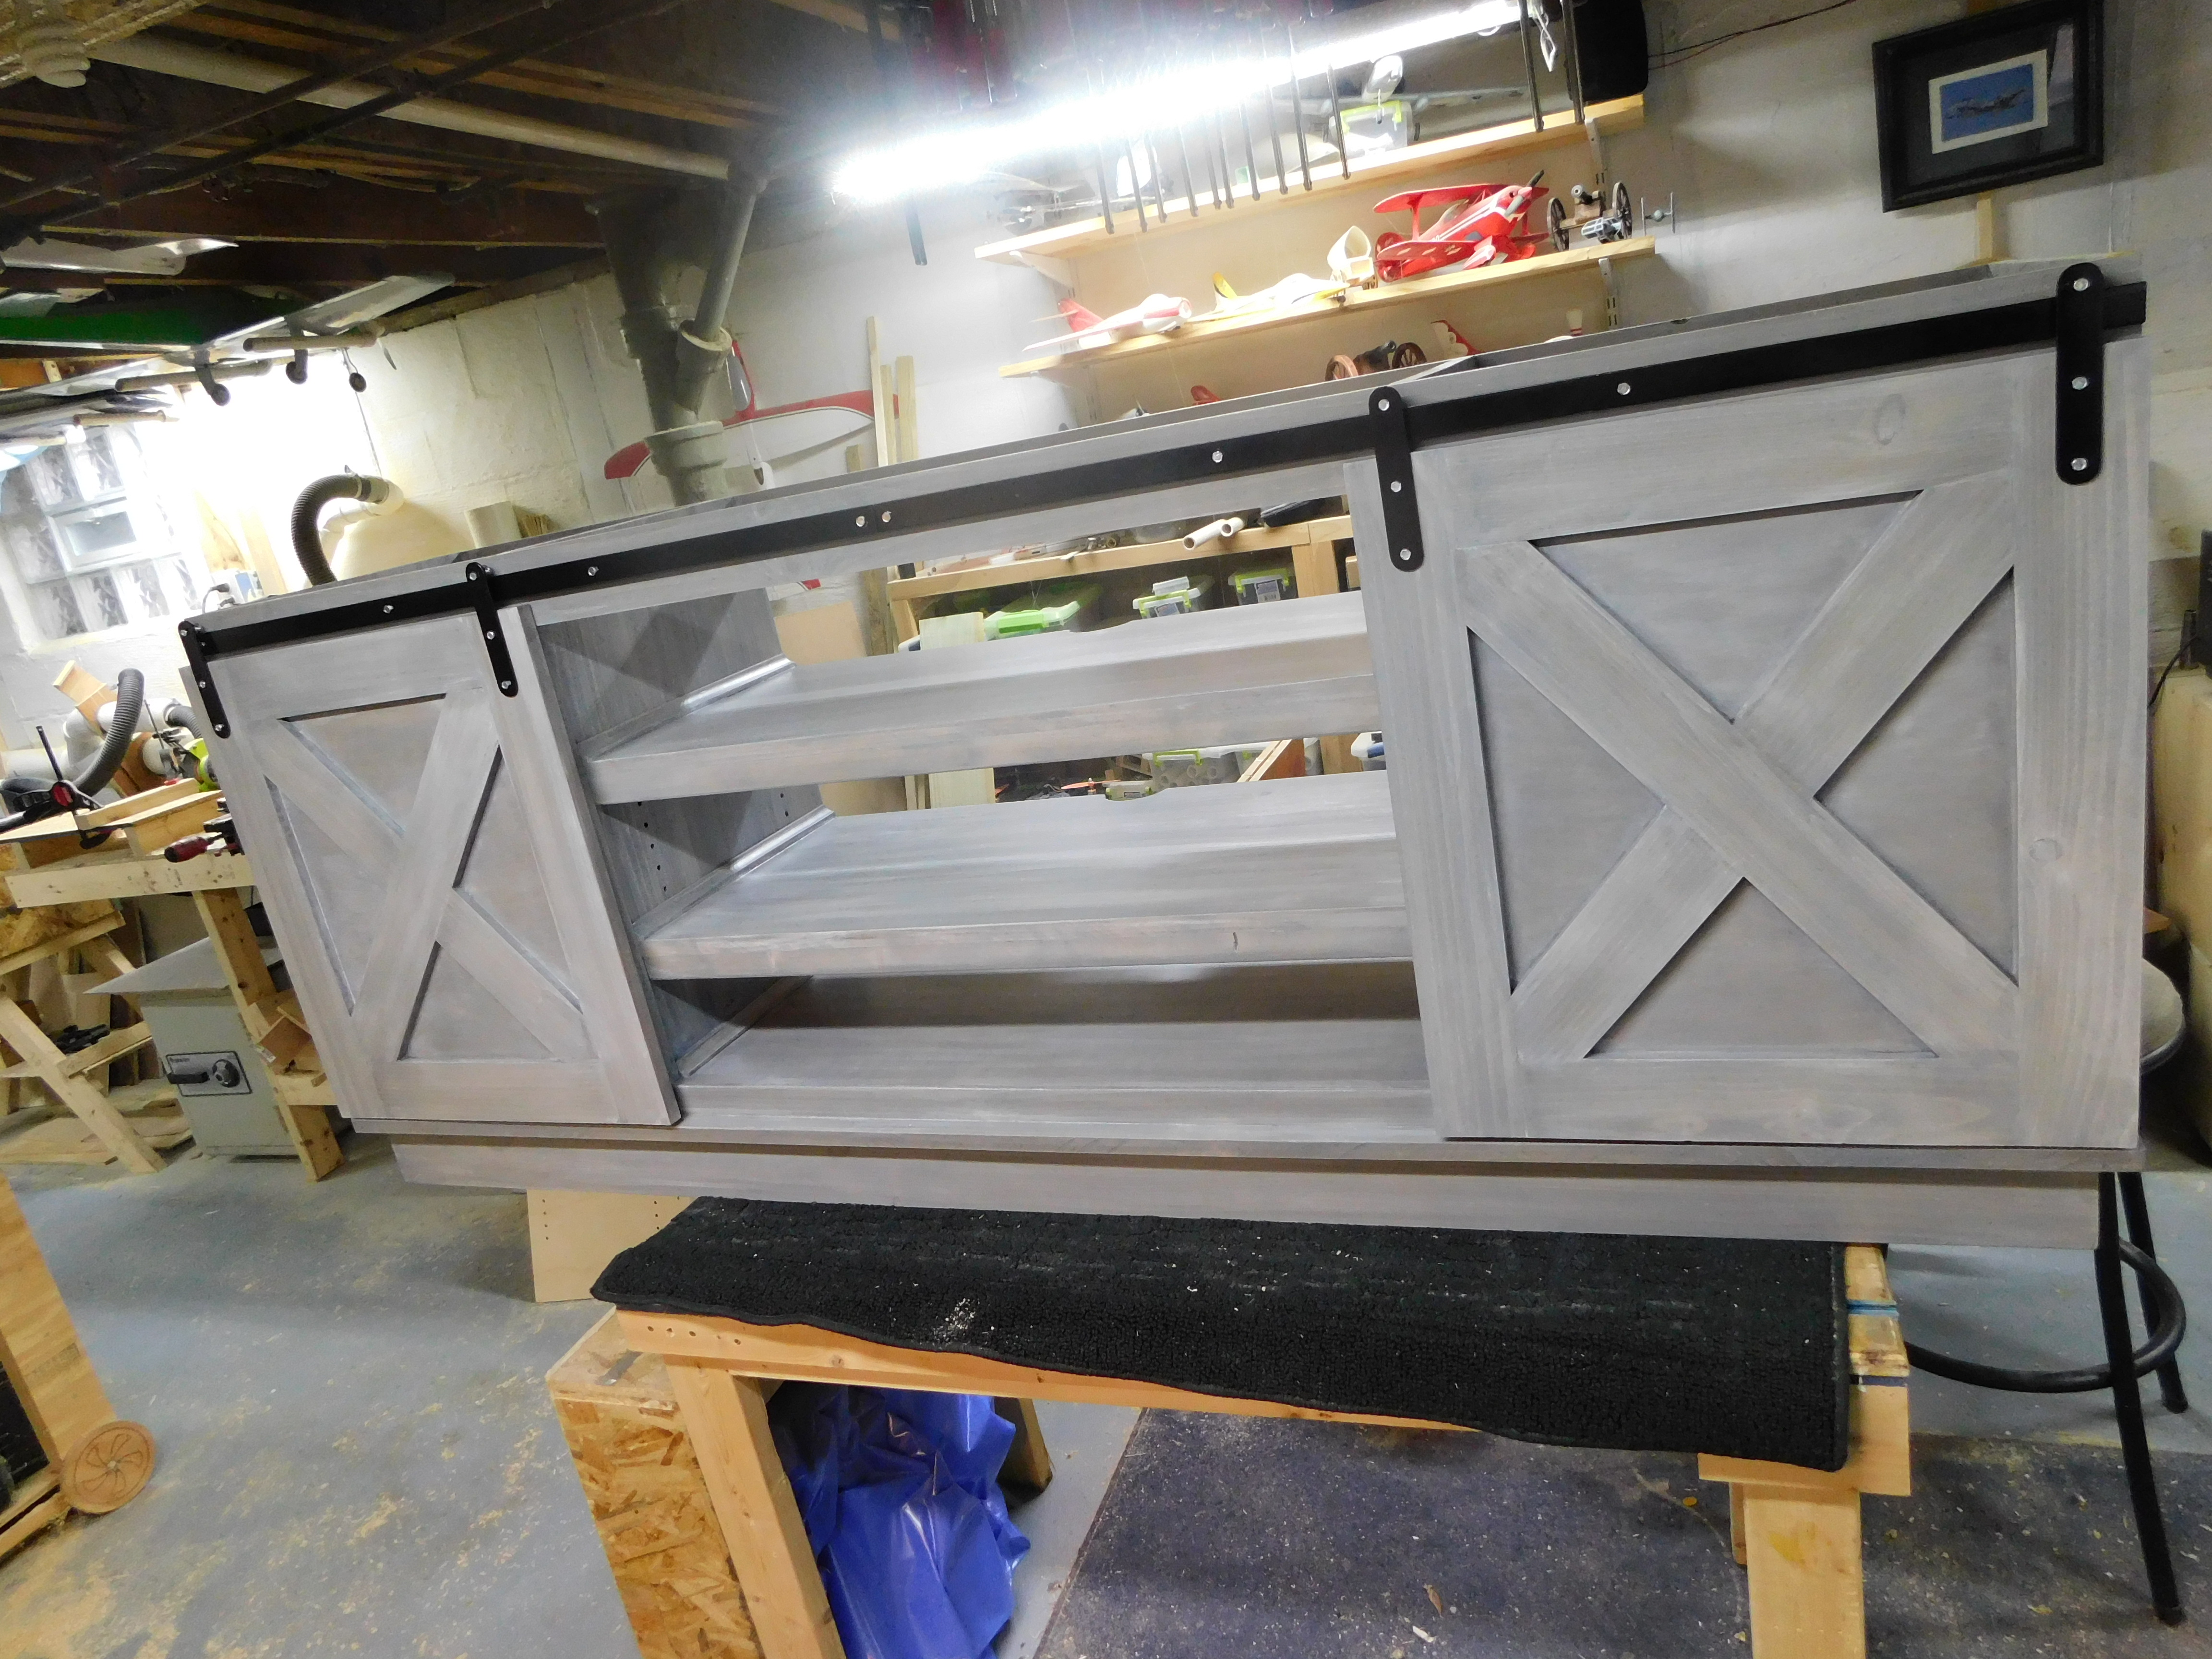
My fear was the doors and shelves would look odd once they were installed on the carcass since I had to do the finishing steps separately. I know that you don’t need a consistent finish, since barn wood will look different depending upon how the elements hit it, etc. I just didn’t want the colors to be too off.
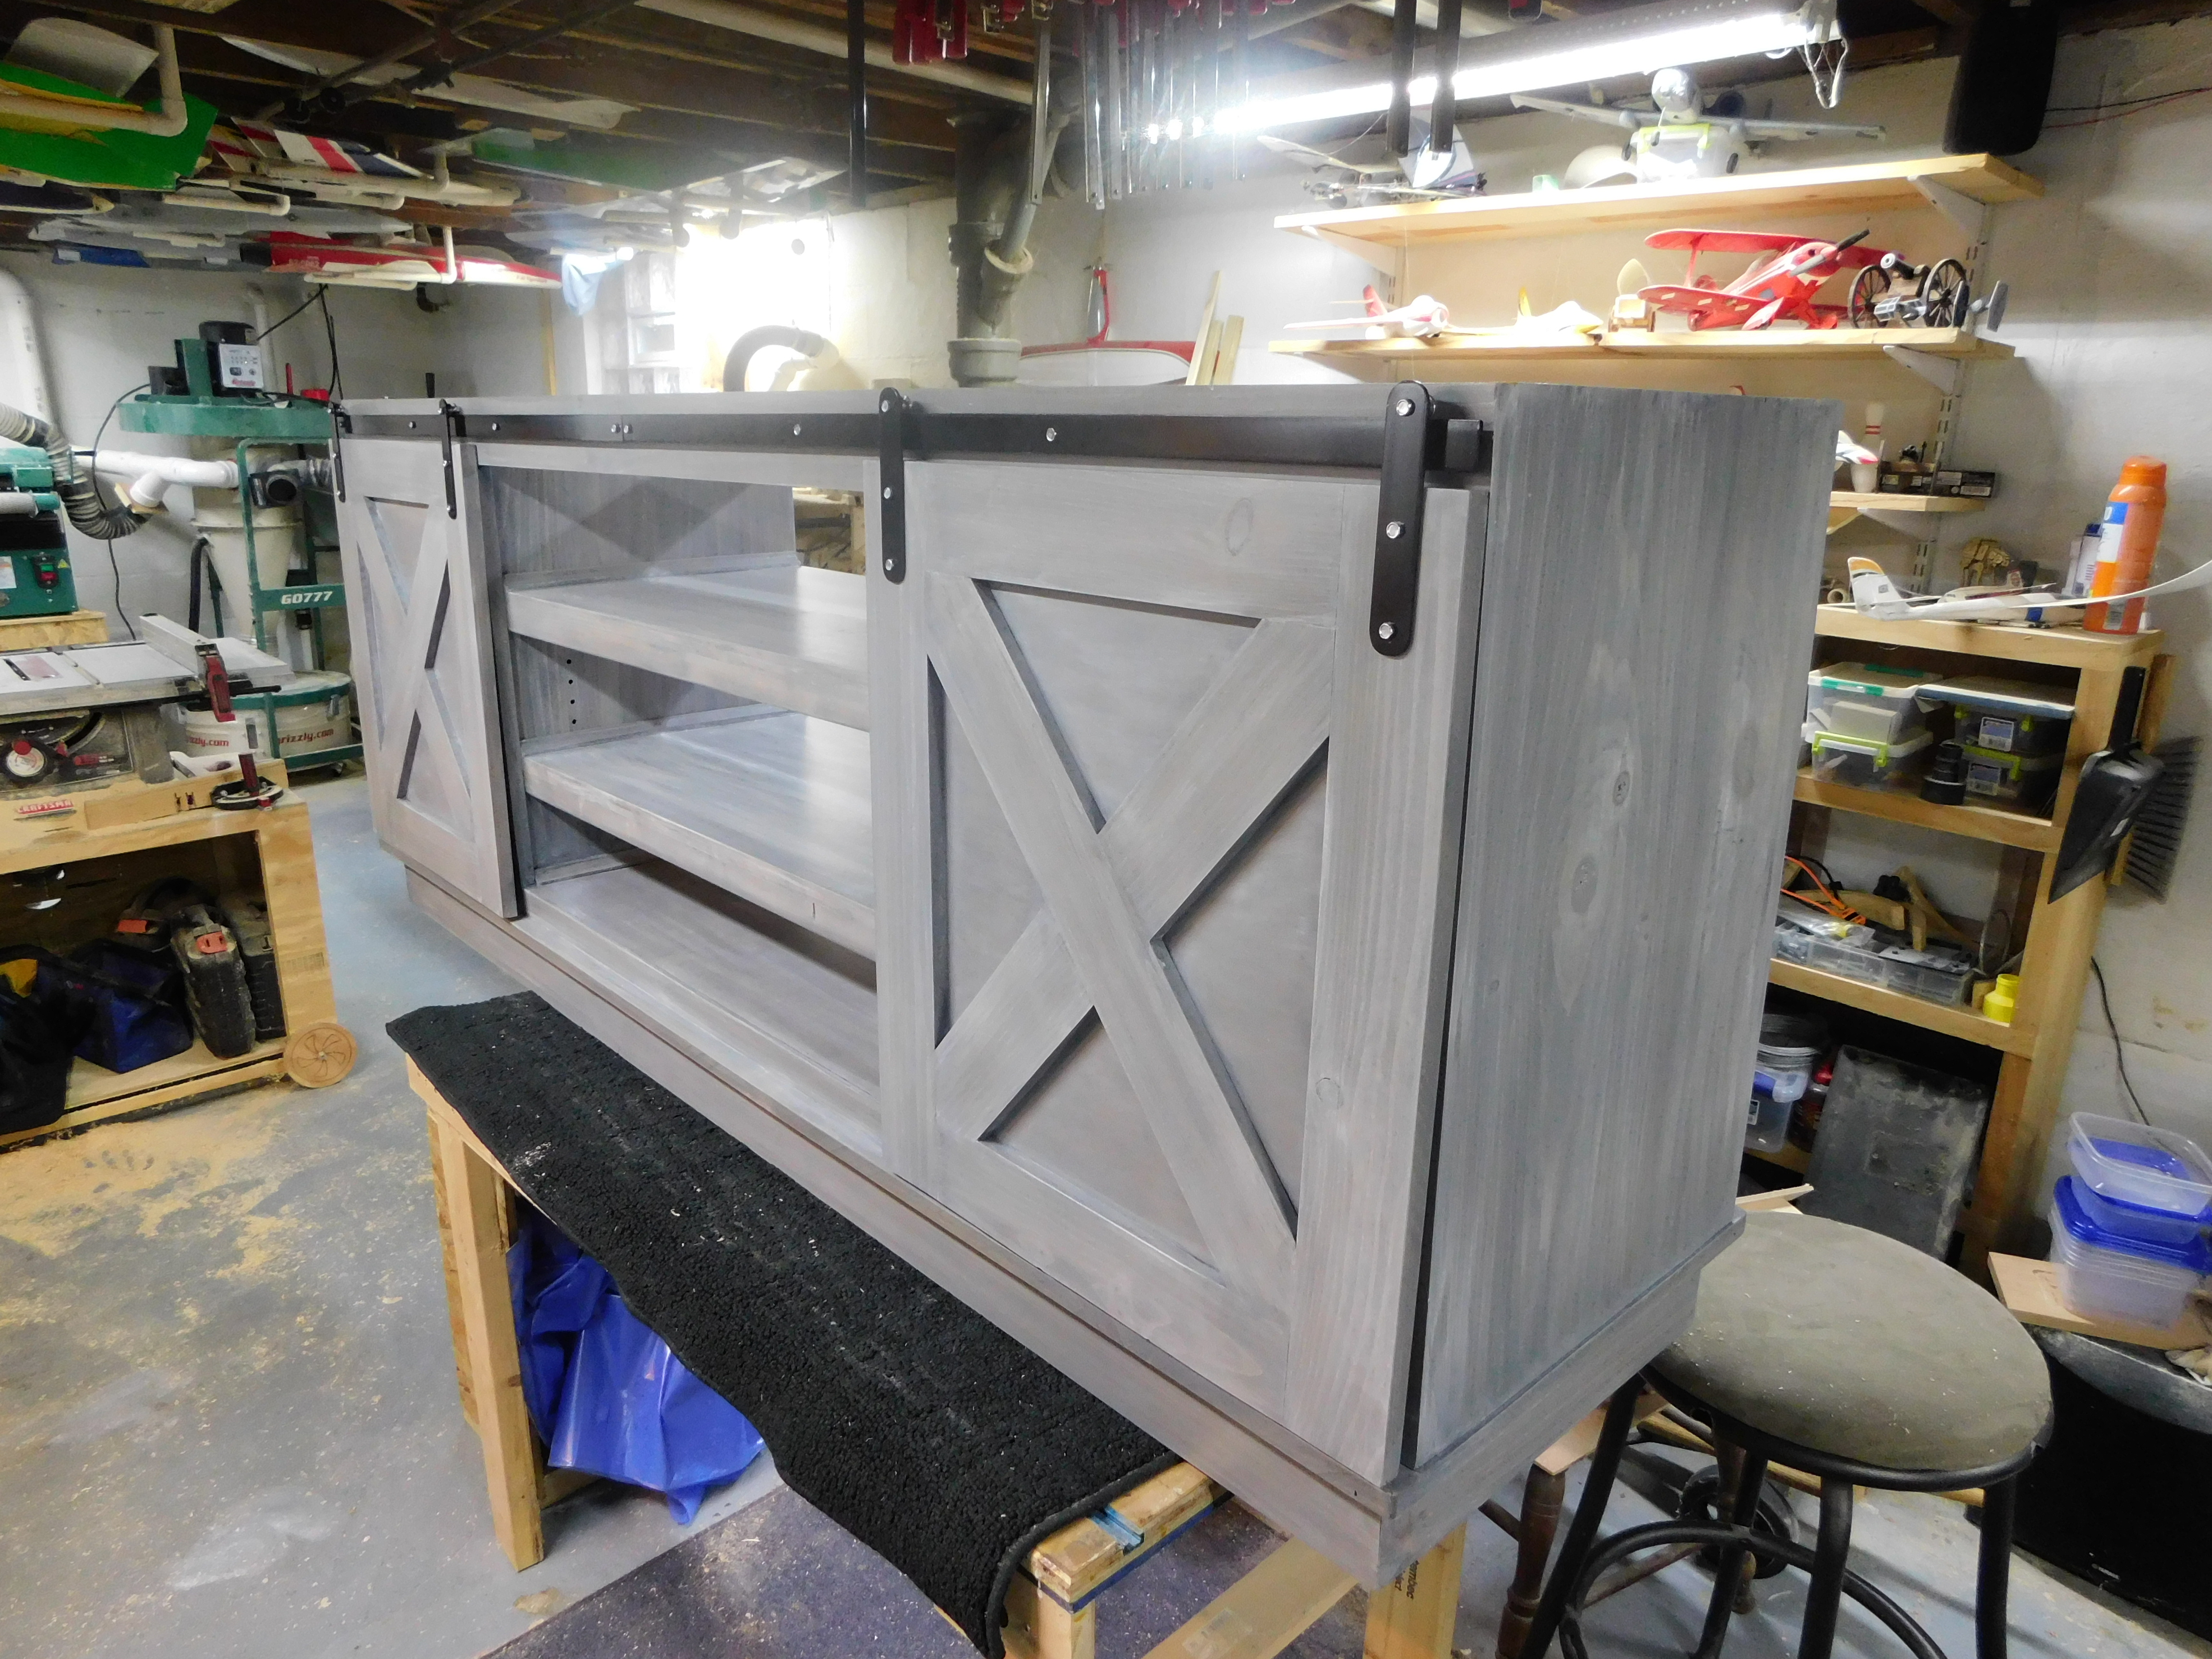
You can see a better shot of the carcass side next to the door. Not too bad.
I’m using a poly with a satin finish for this piece. Gloss would have looked odd and I wanted something with a little bit of a sheen. Matte would have been too flat. I need a tiny bit of bling.
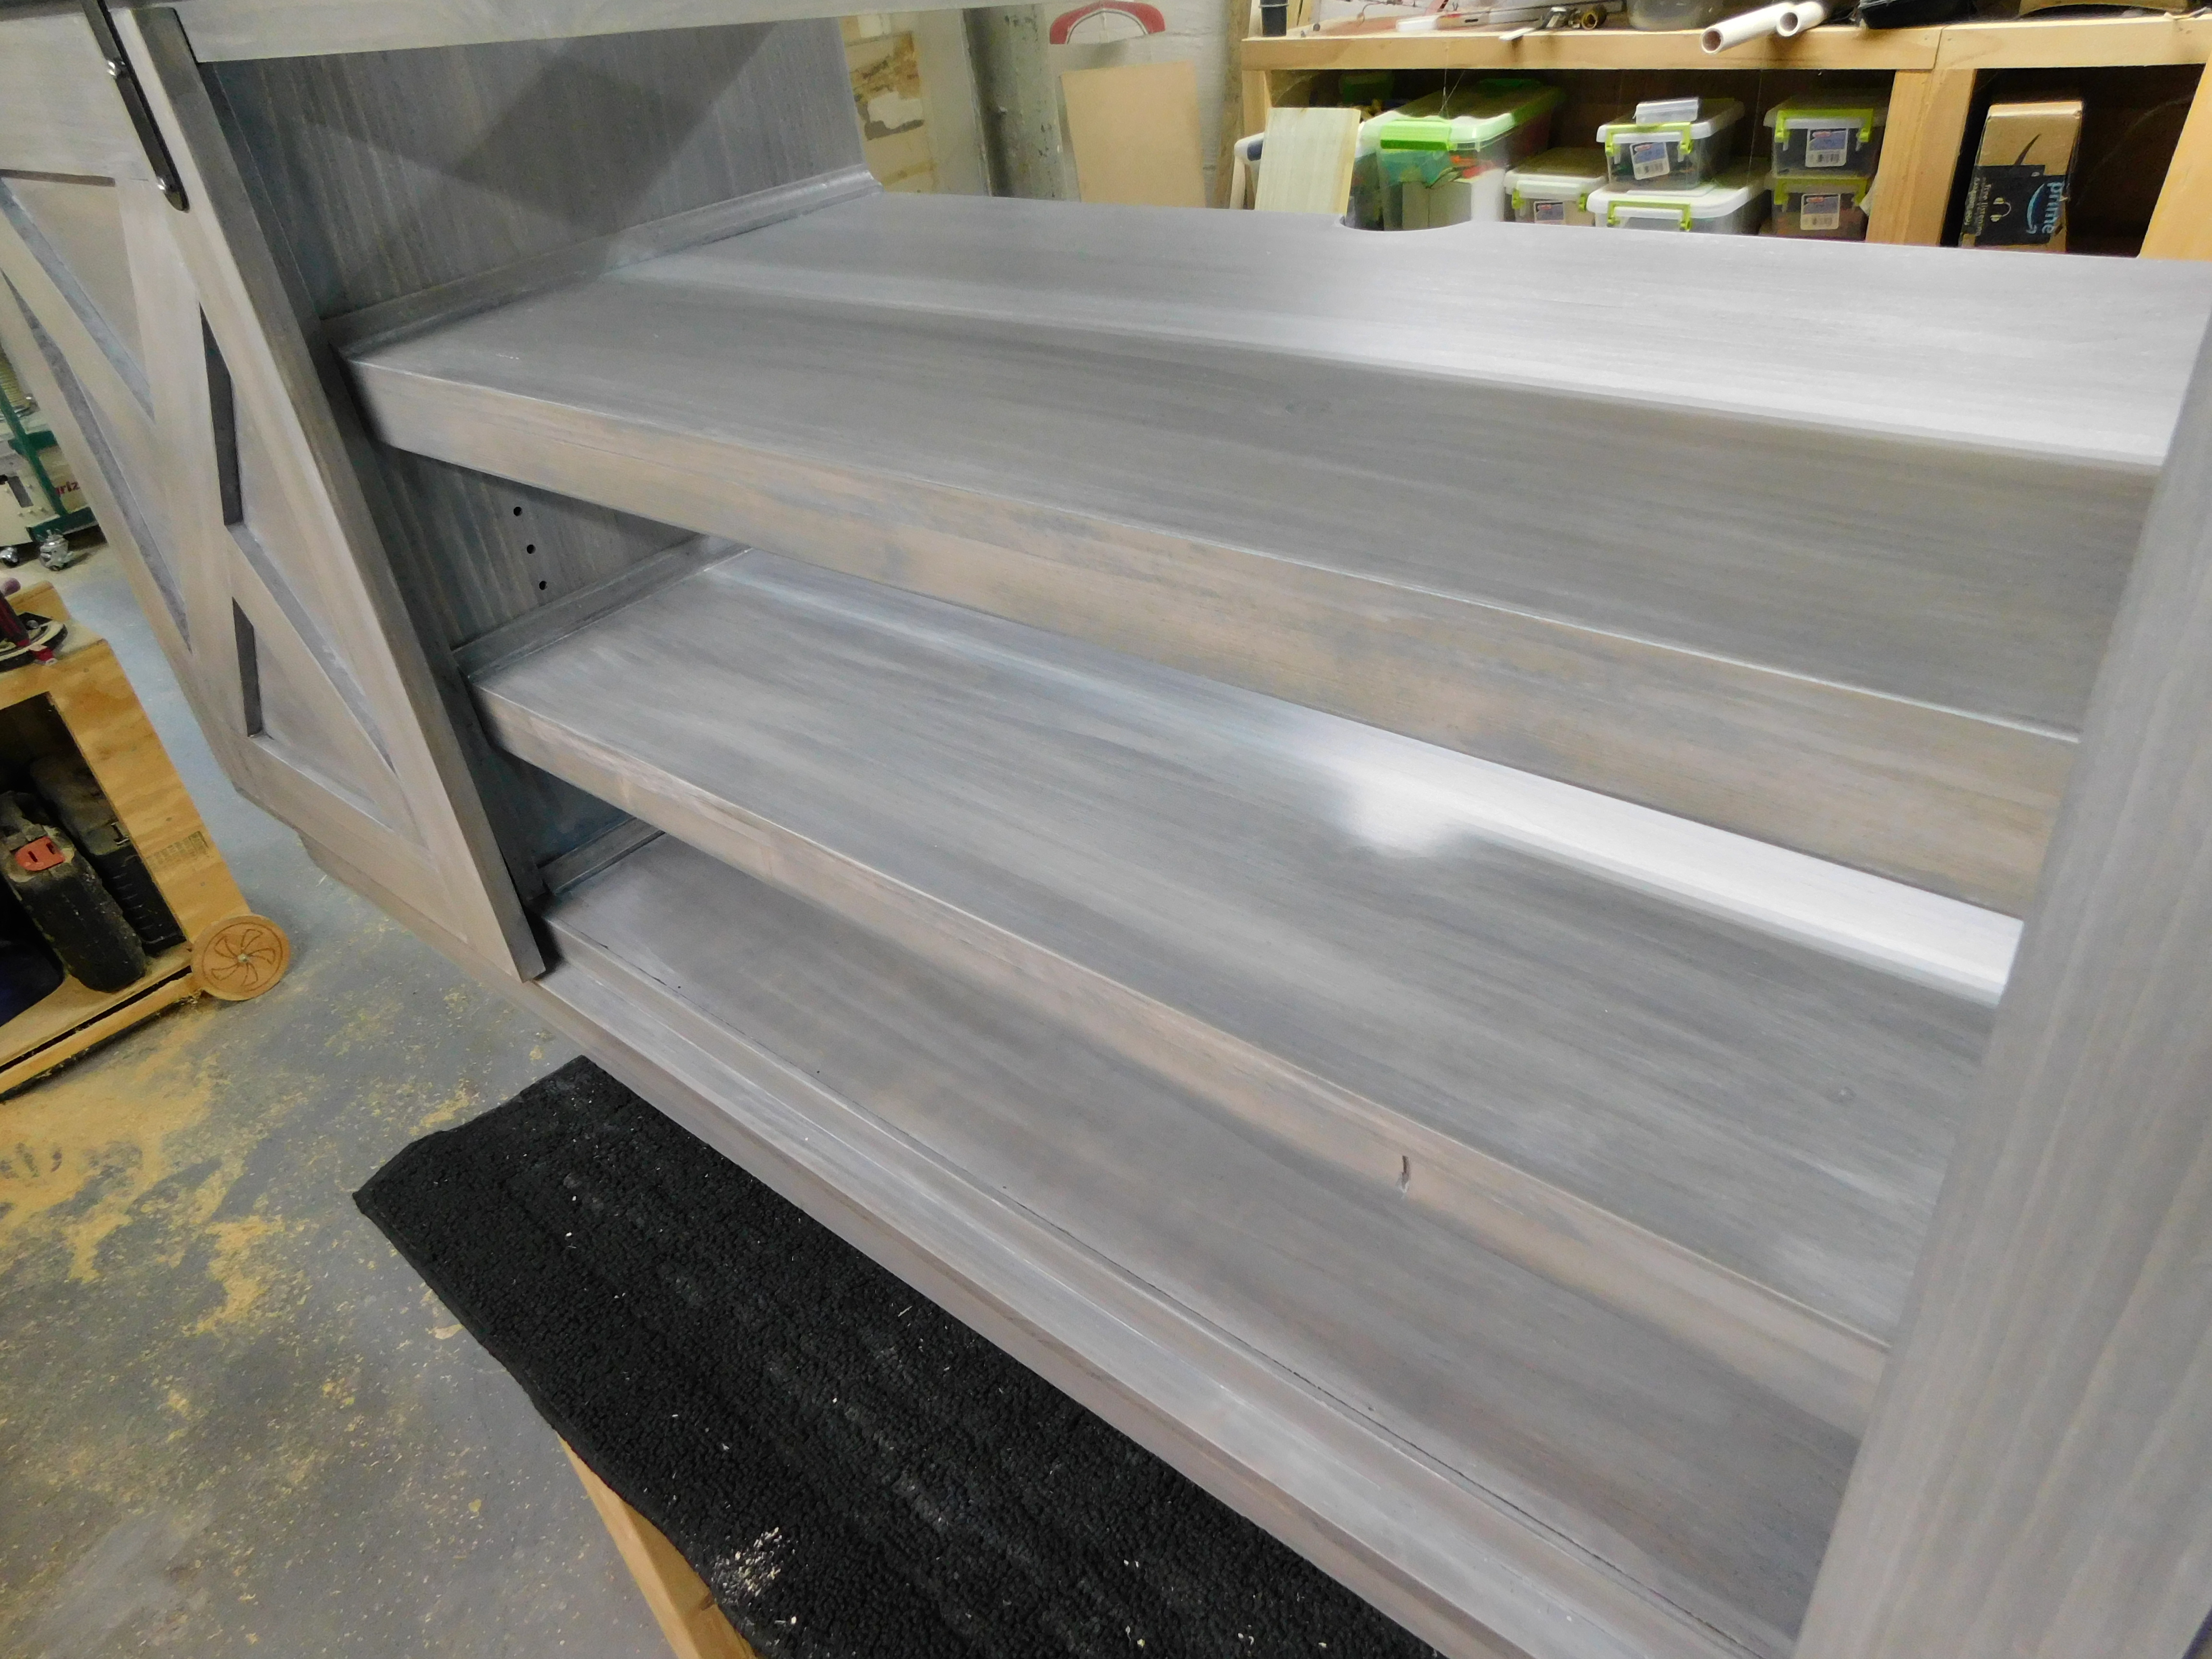
The nice thing about this piece is that I have not had to do a lot of sanding. Usually I spend a LOT of time sanding before I finish it so that the surface will be as smooth as possible. You can see the chunk in the front of this shelf. I’ve also left a lot of the saw marks, too. That makes it more “authentic”.
I guess Jay texted a picture of it to our new brother-in-law to prove that it’s still in the works, and he supposedly really liked it. I sure hope so.
Jay has admitted that he wasn’t excited about the finish when we started, but after seeing how it’s coming together he is starting to really like it. I told him I am NOT finishing a piece like this for us. It may look nice, but it will look even better in somebody else’s home.
The next post you see about this piece will be the reveal of the finished product. I can’t wait!
