
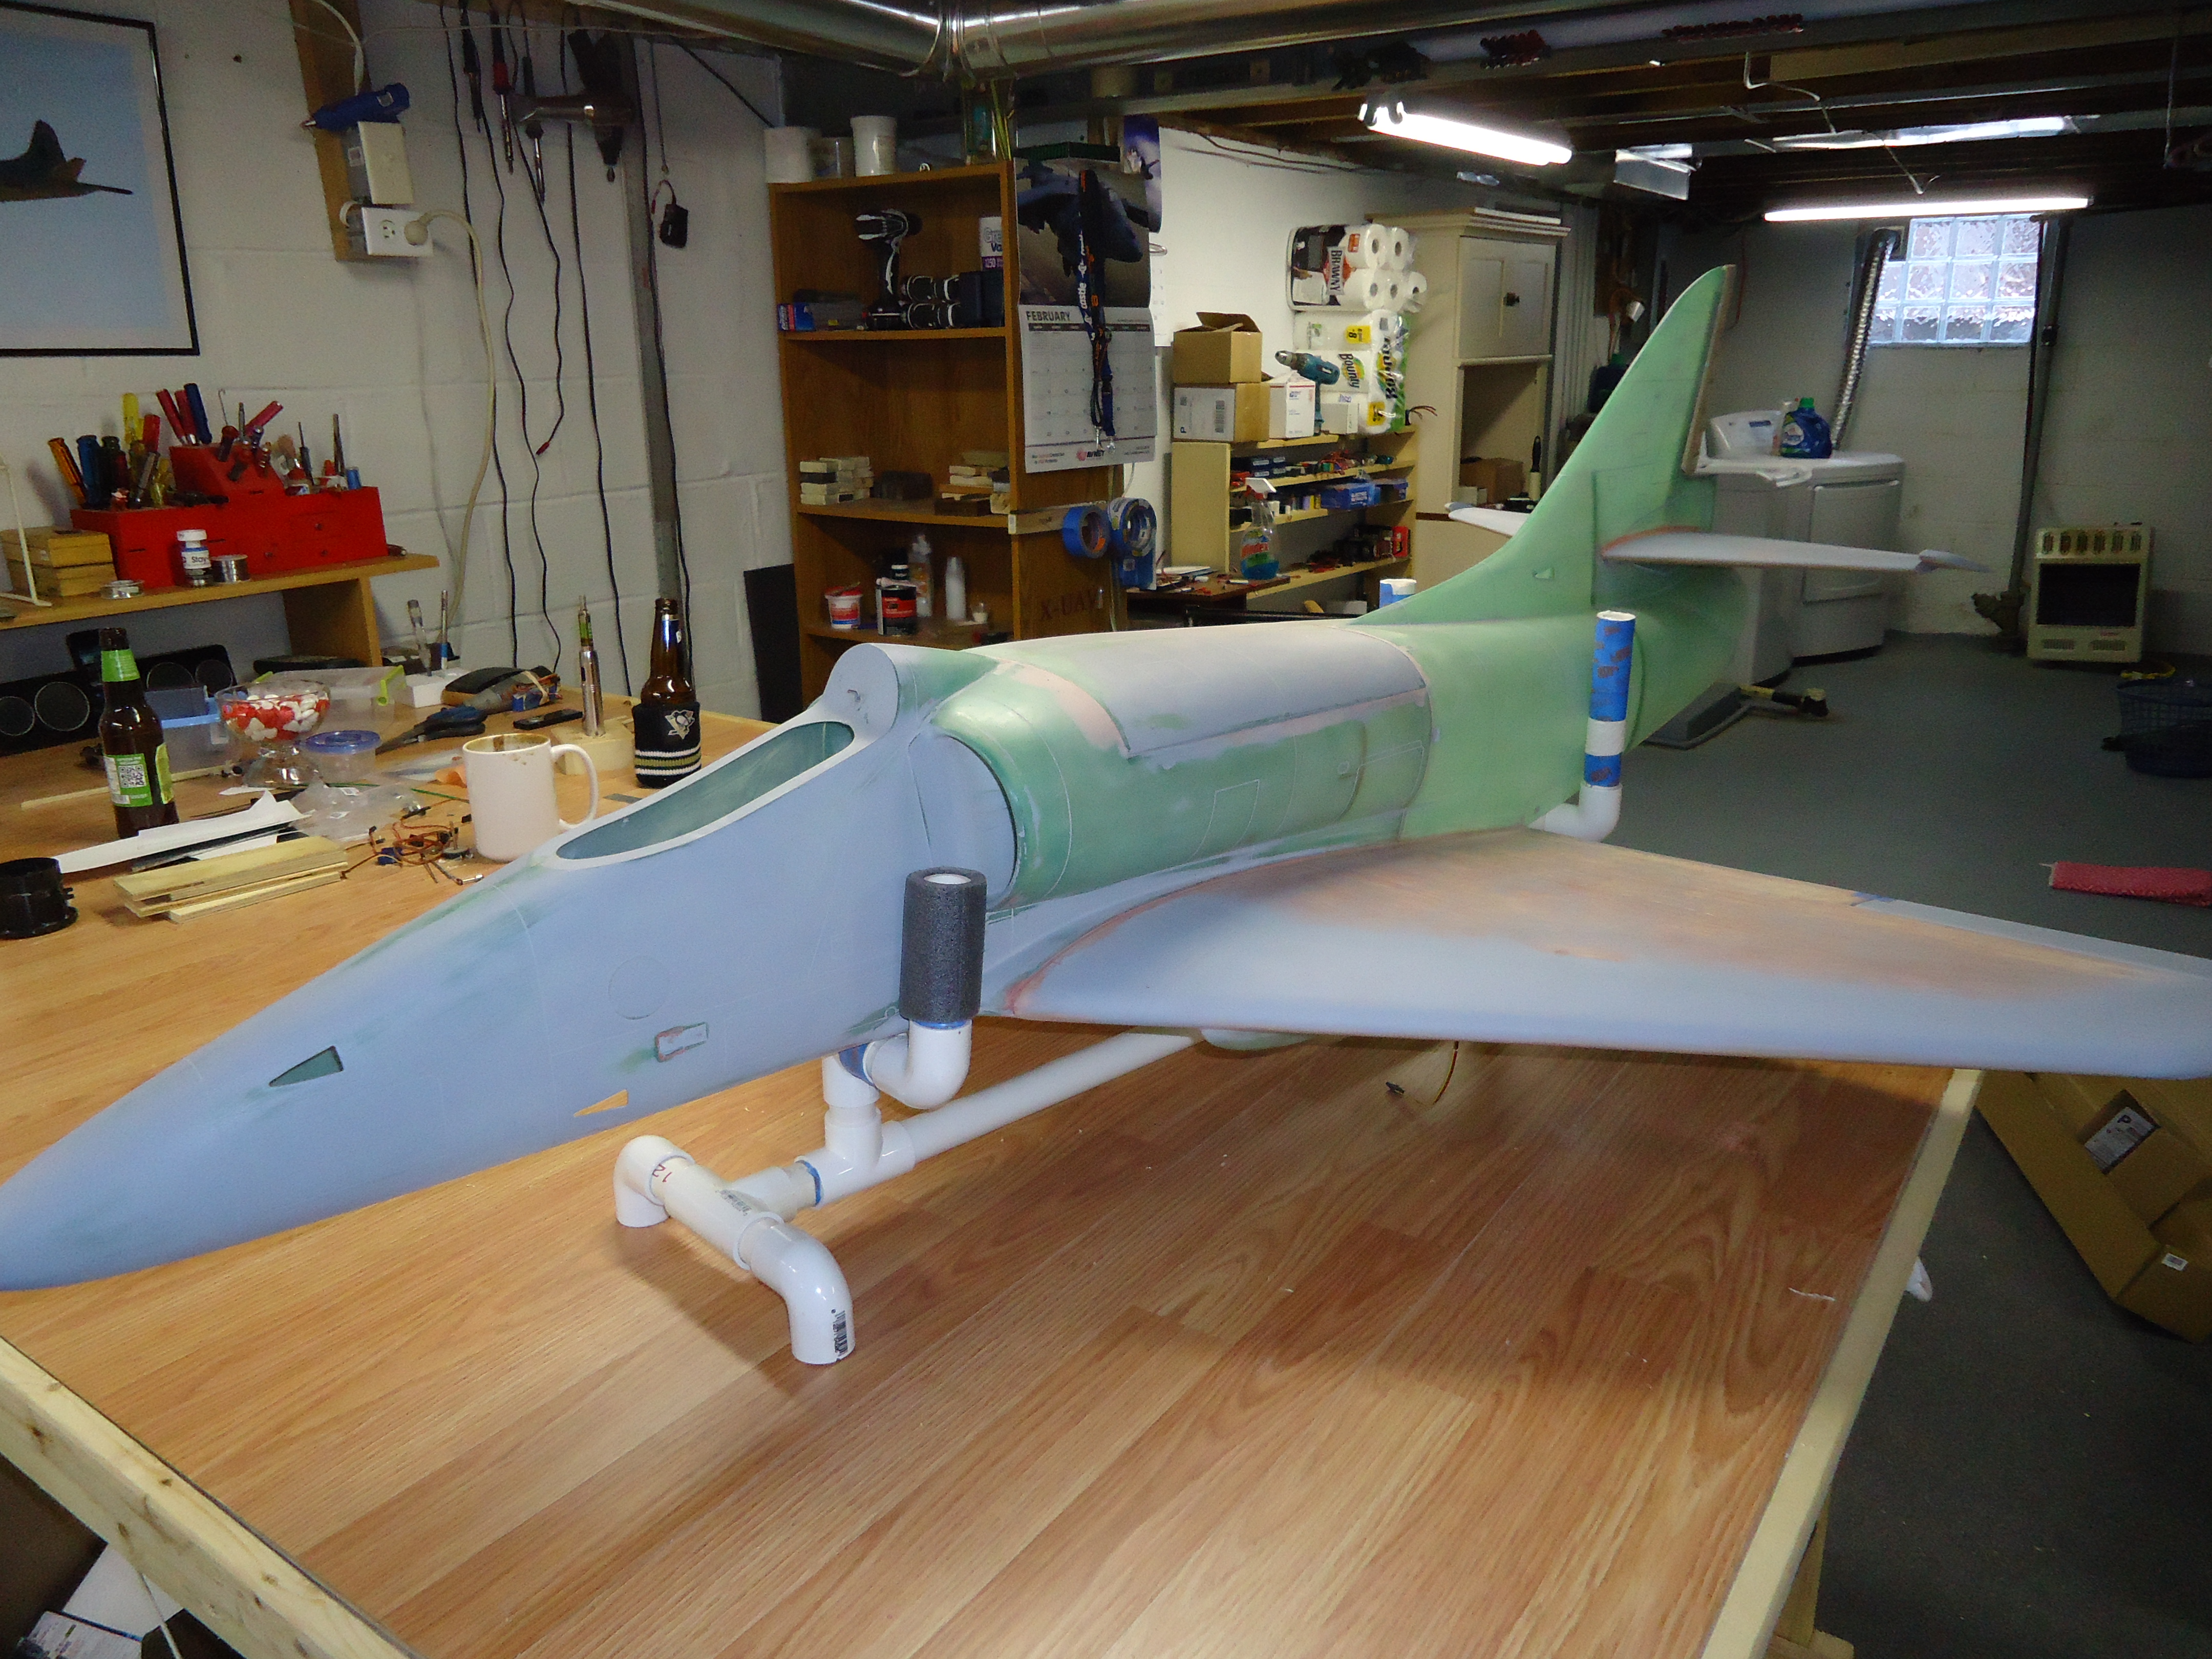
 Here we are, back with the A4 Skyhawk. It’s really starting to come together!
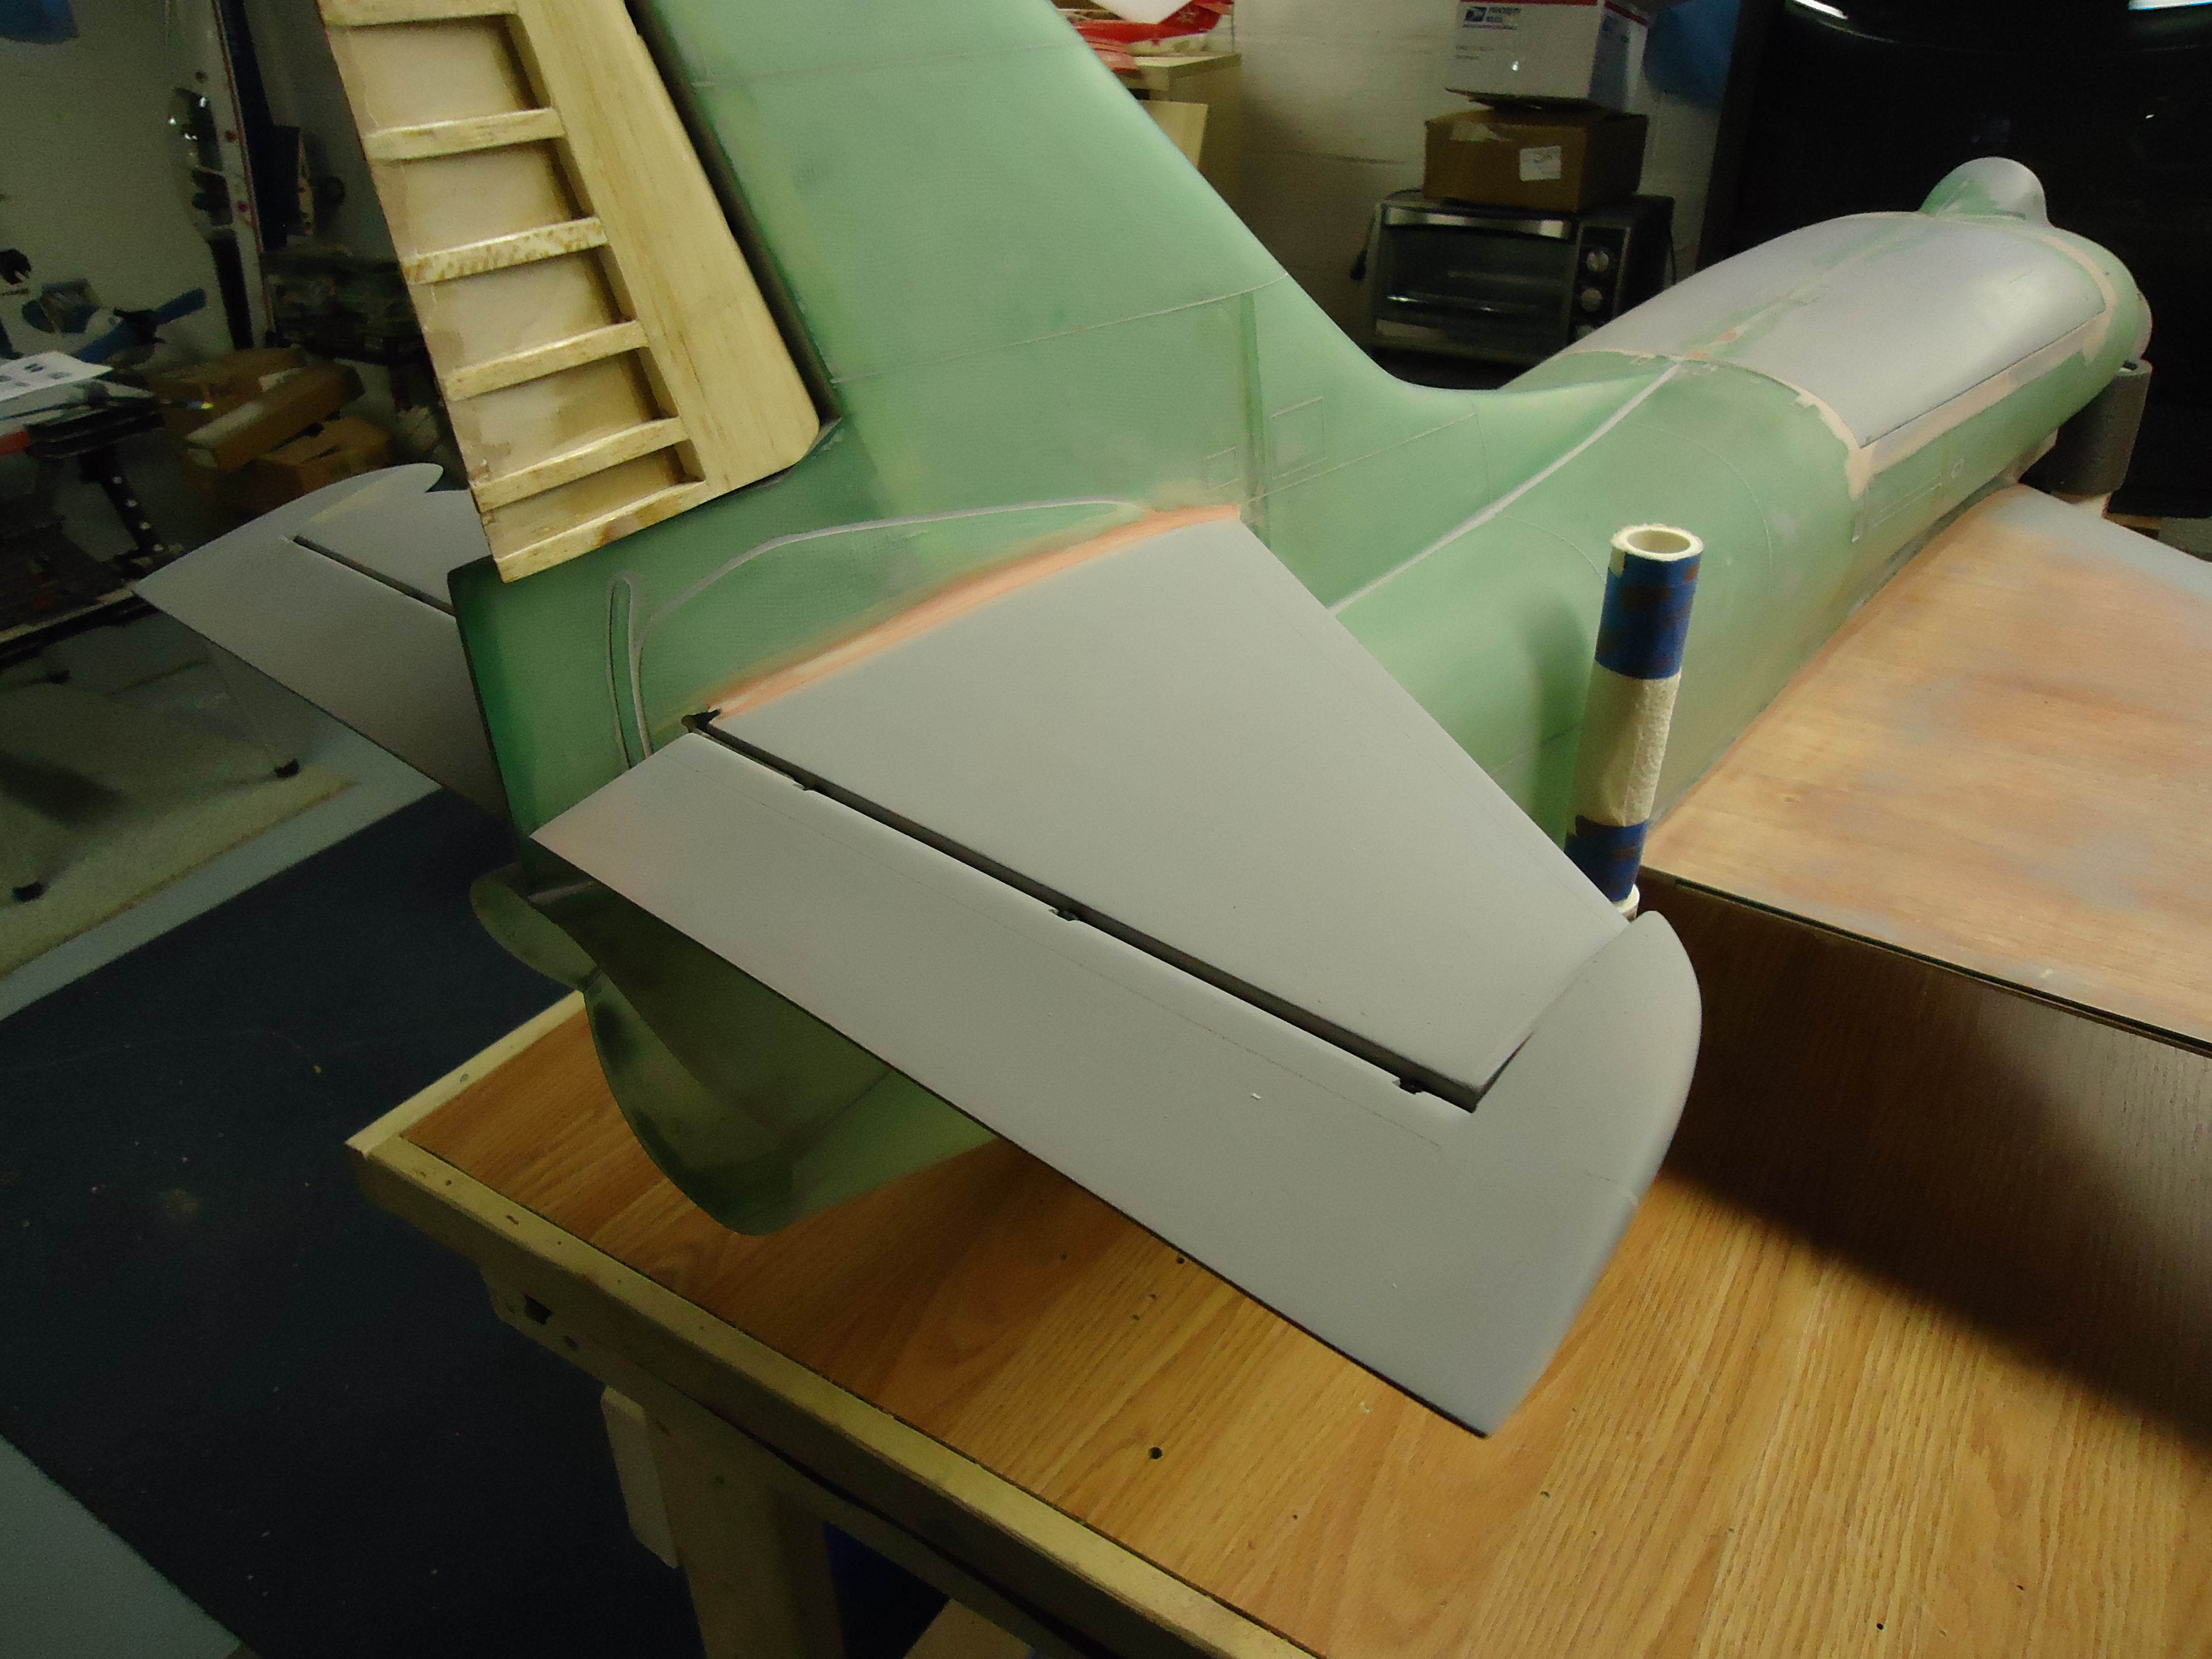 We have glued the tail on after priming it.
Then we did some caulking along the seam.
We promised it that if it behaves we’ll take it out flying this summer.
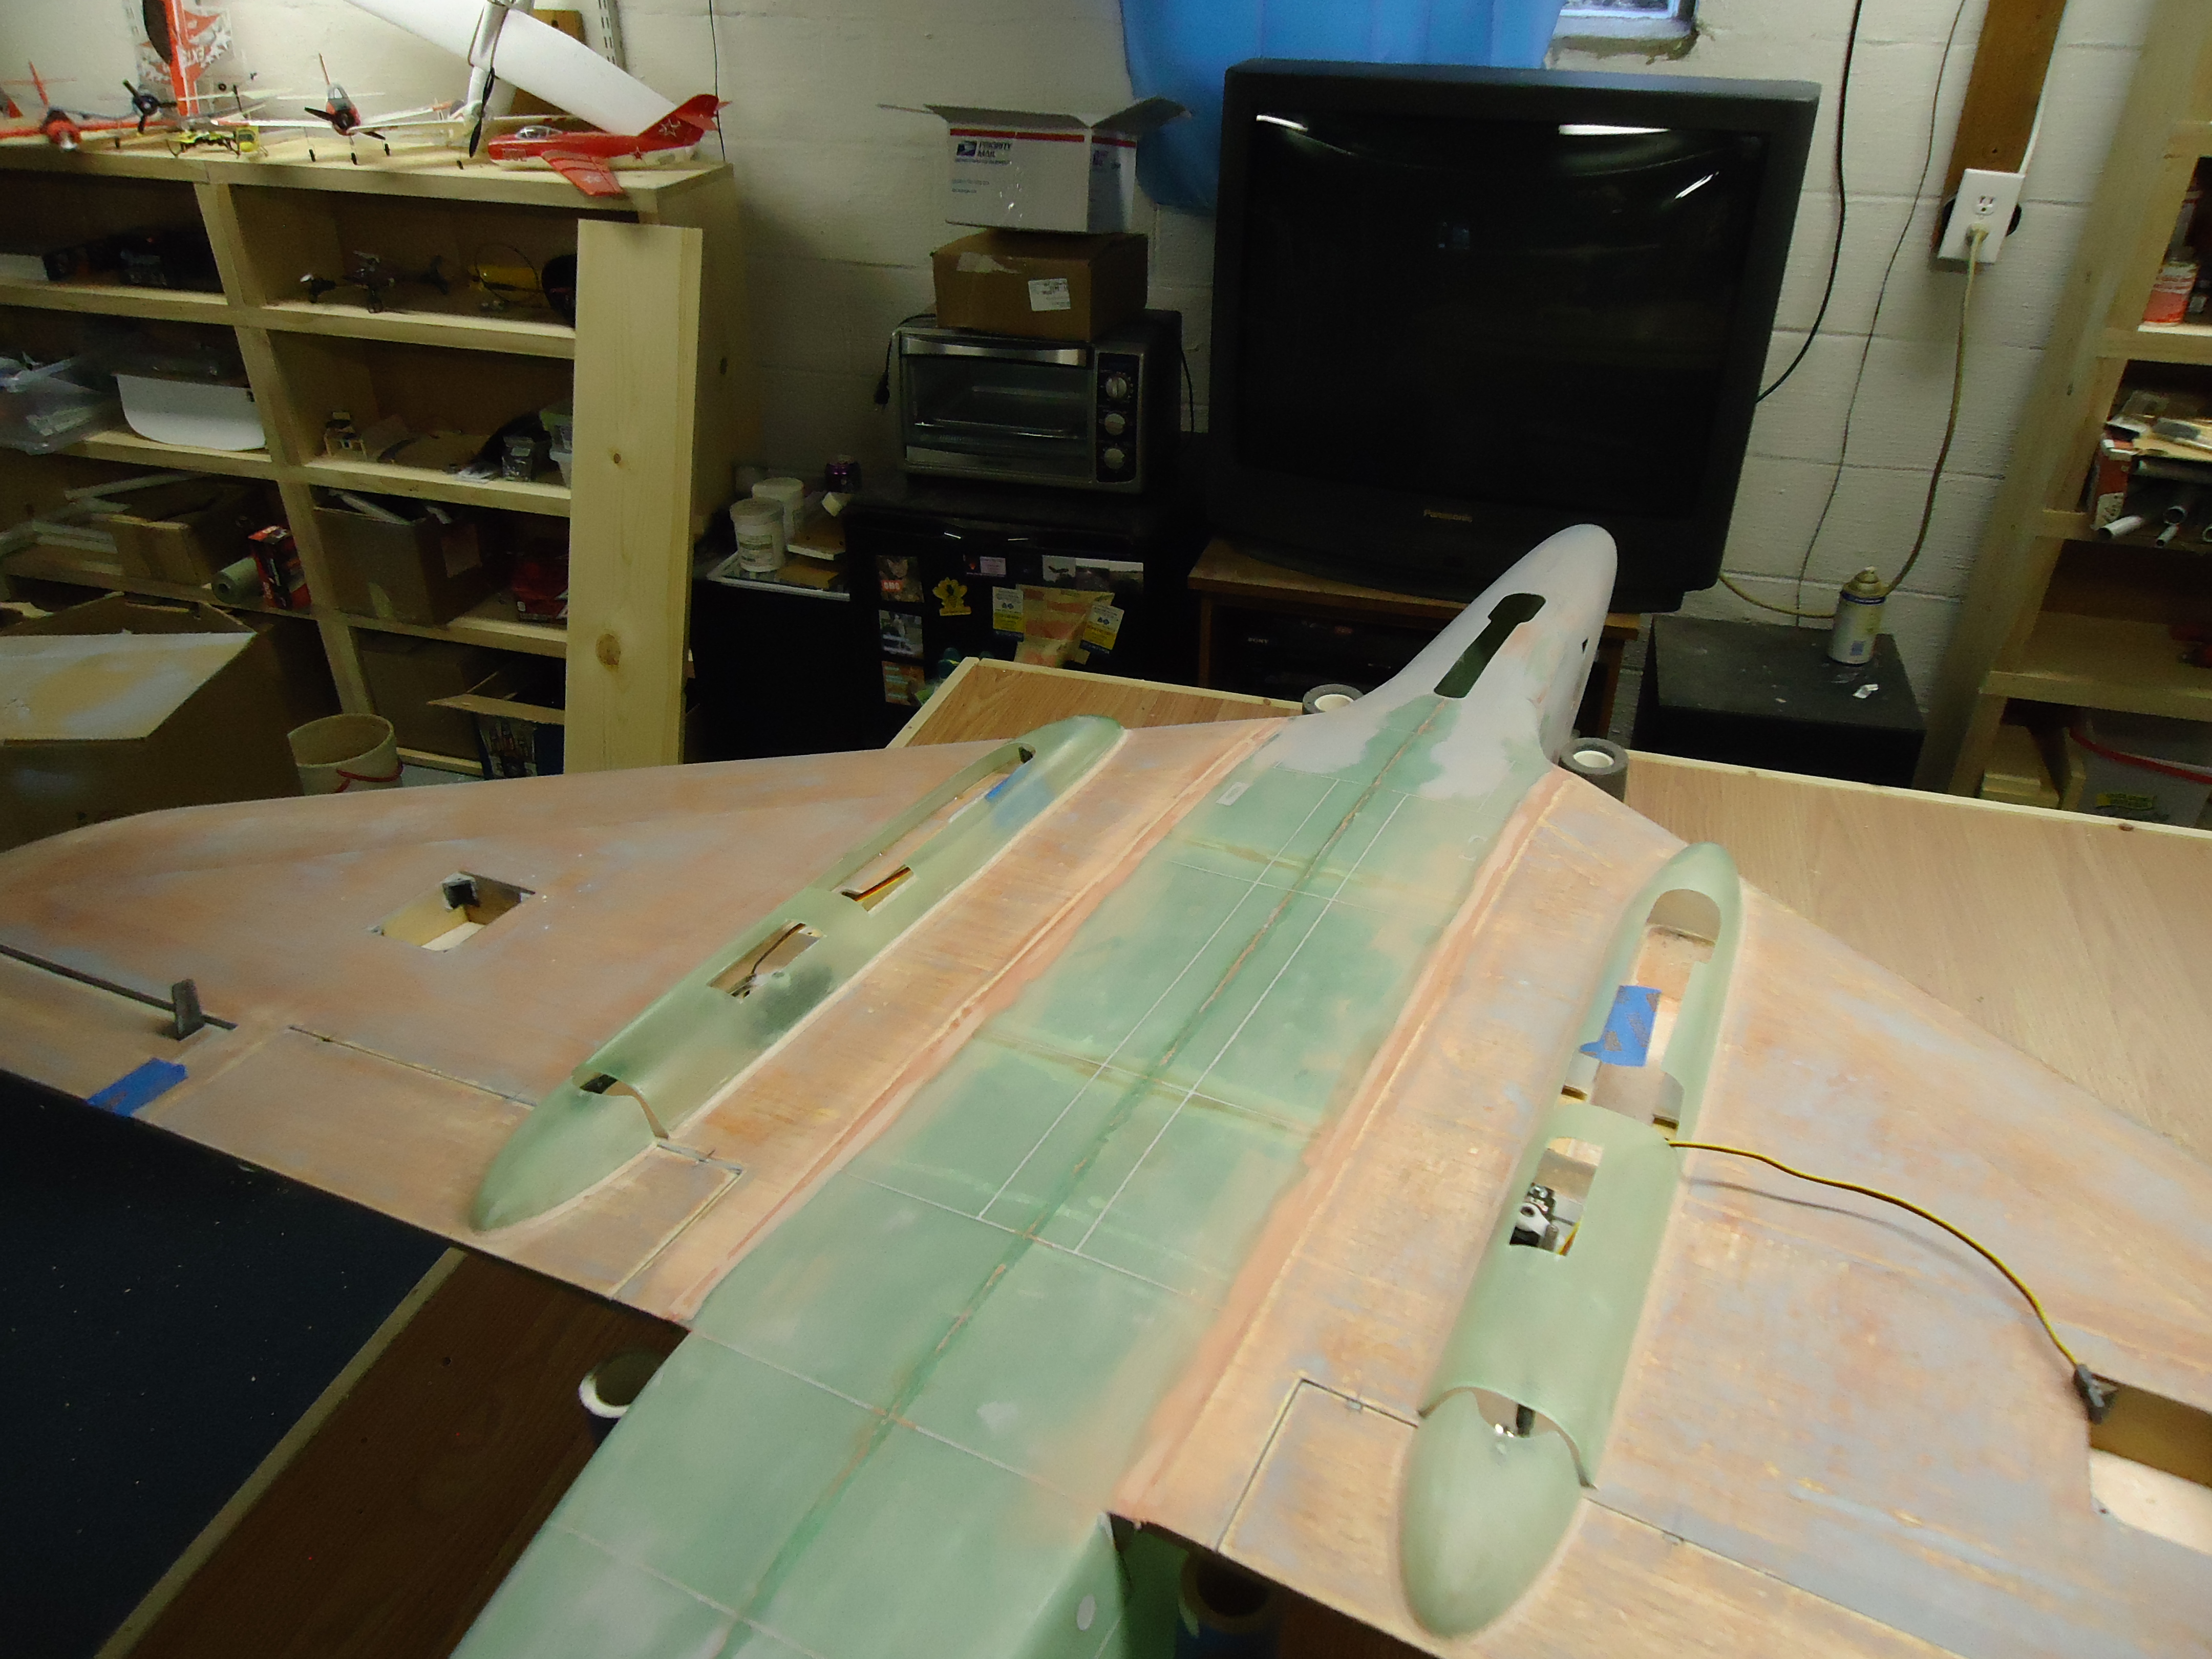
 Carefully we glued our wings on after doing a bit of priming on them.
The jet wanted a racing stripe, but Jay had to insist that the racing strip doesn’t go along the joint of the wing. Poor little jet!
 And now it’s time for a belly rub!
Who’s a good jet? Hmm?? Who’s a good jet?!!? That’s right! You’re a good jet!! Yes you is!!!
 While the jet is napping we will begin making some legs for it to stand on. This will be mostly in girl-language, so if you’re a guy who is reading this you might want to get somebody of the female persuasion to translate for you.
First you want to put the metal rod in the big holding-thingy on your lathe. Make sure that you have the metal rod marked where you want to make your cuts.
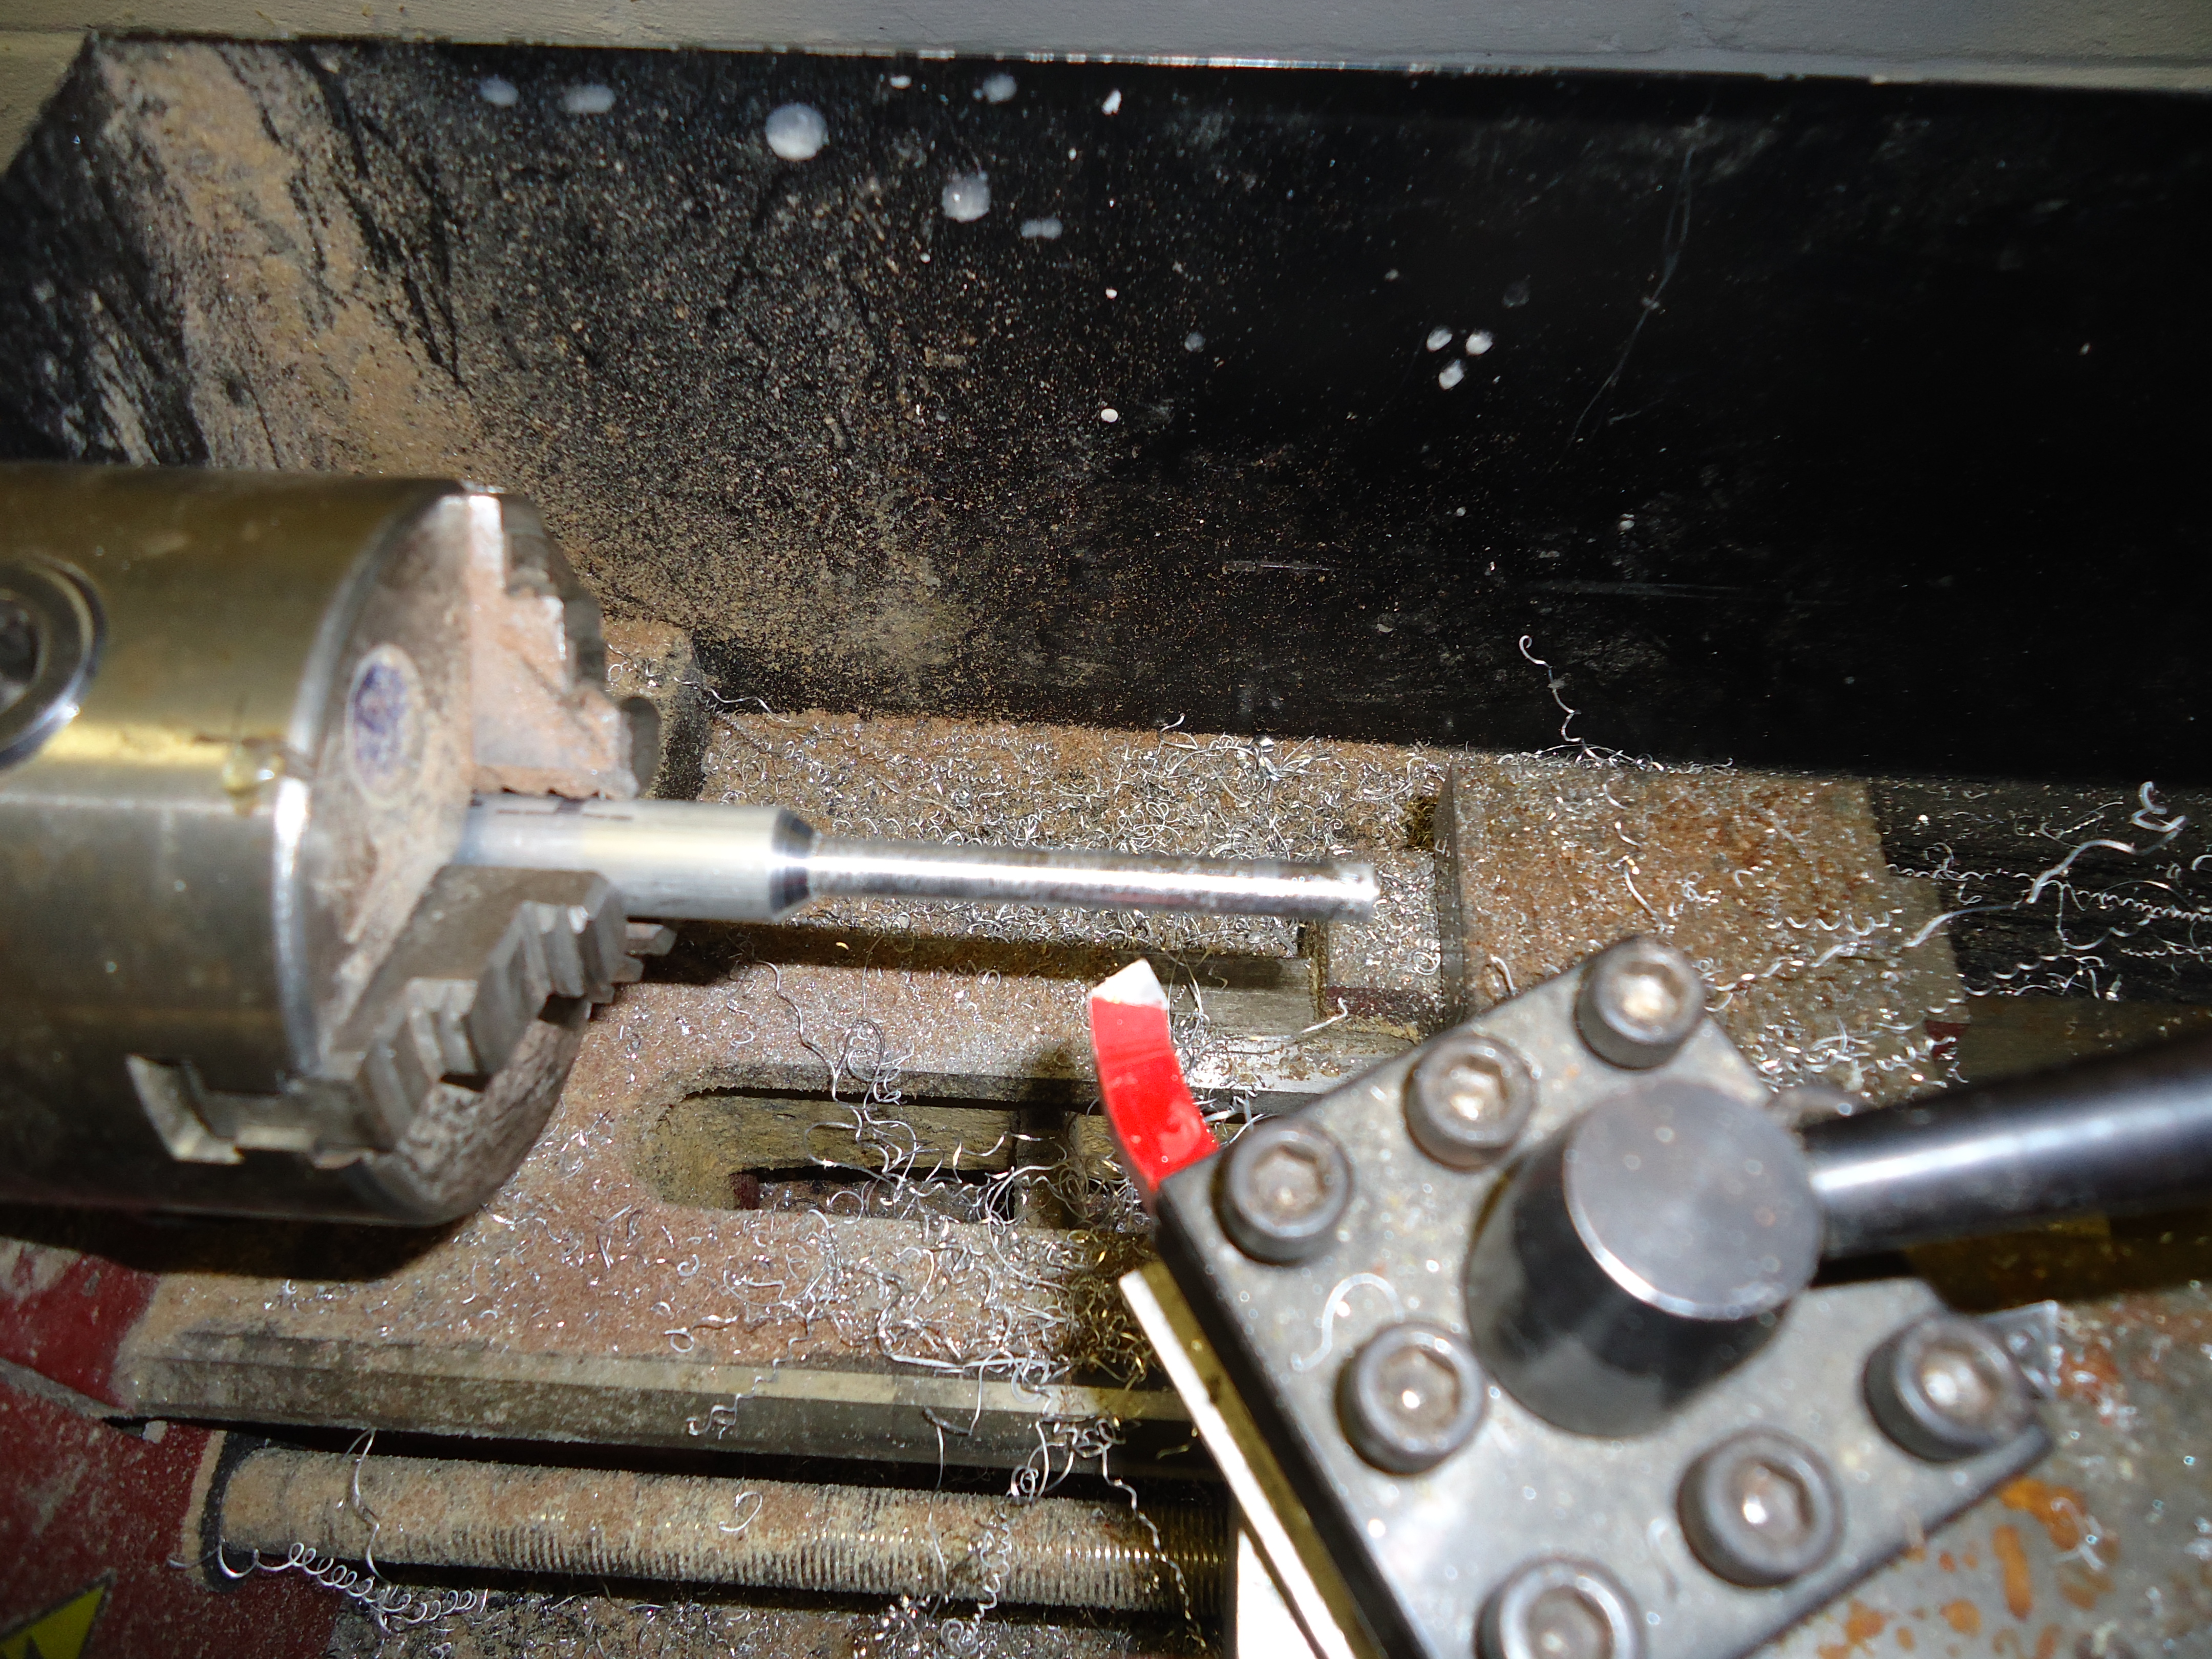 After you have made a series of passes with the pointy-red-thingy you will begin whittling it down so that you are tapering the end that goes from the big end of the rod to the little end.
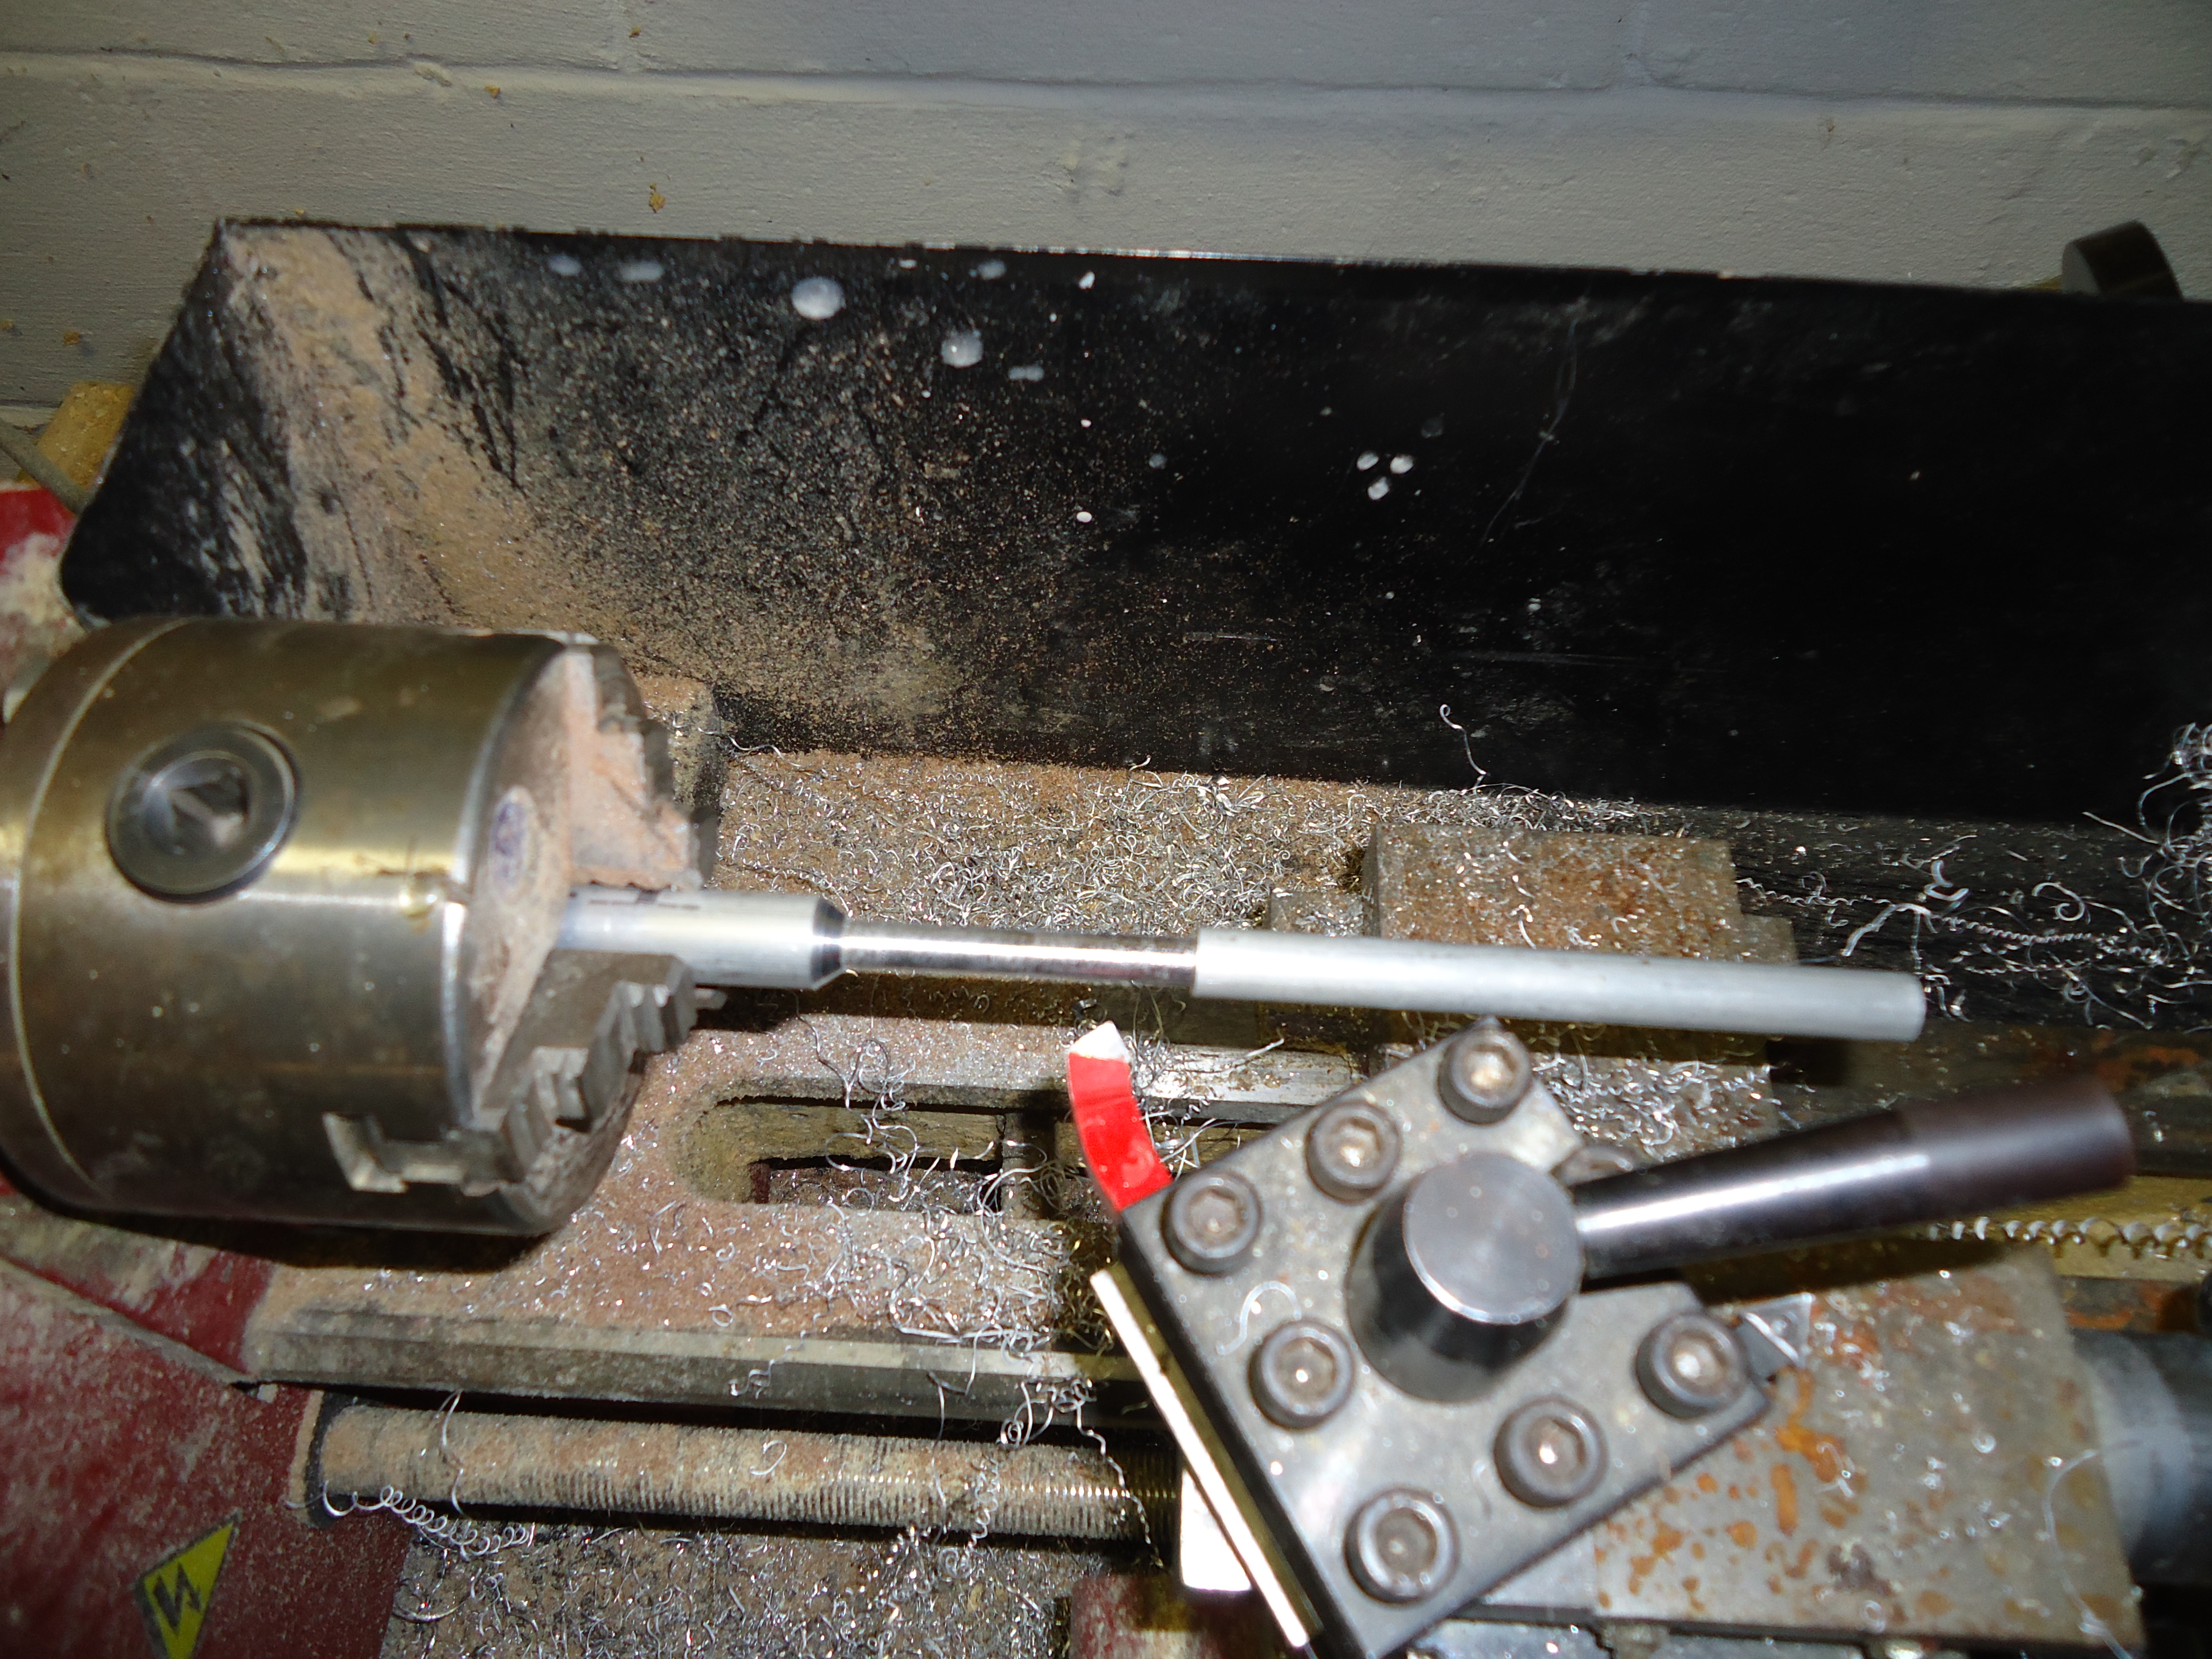
Make sure to do a dry fit with the other piece that will slide down over the rod you are milling so that you know when to stop.
 Voila! You magically will end up with something that looks like this –>
I might have missed a step or three… Hmm..
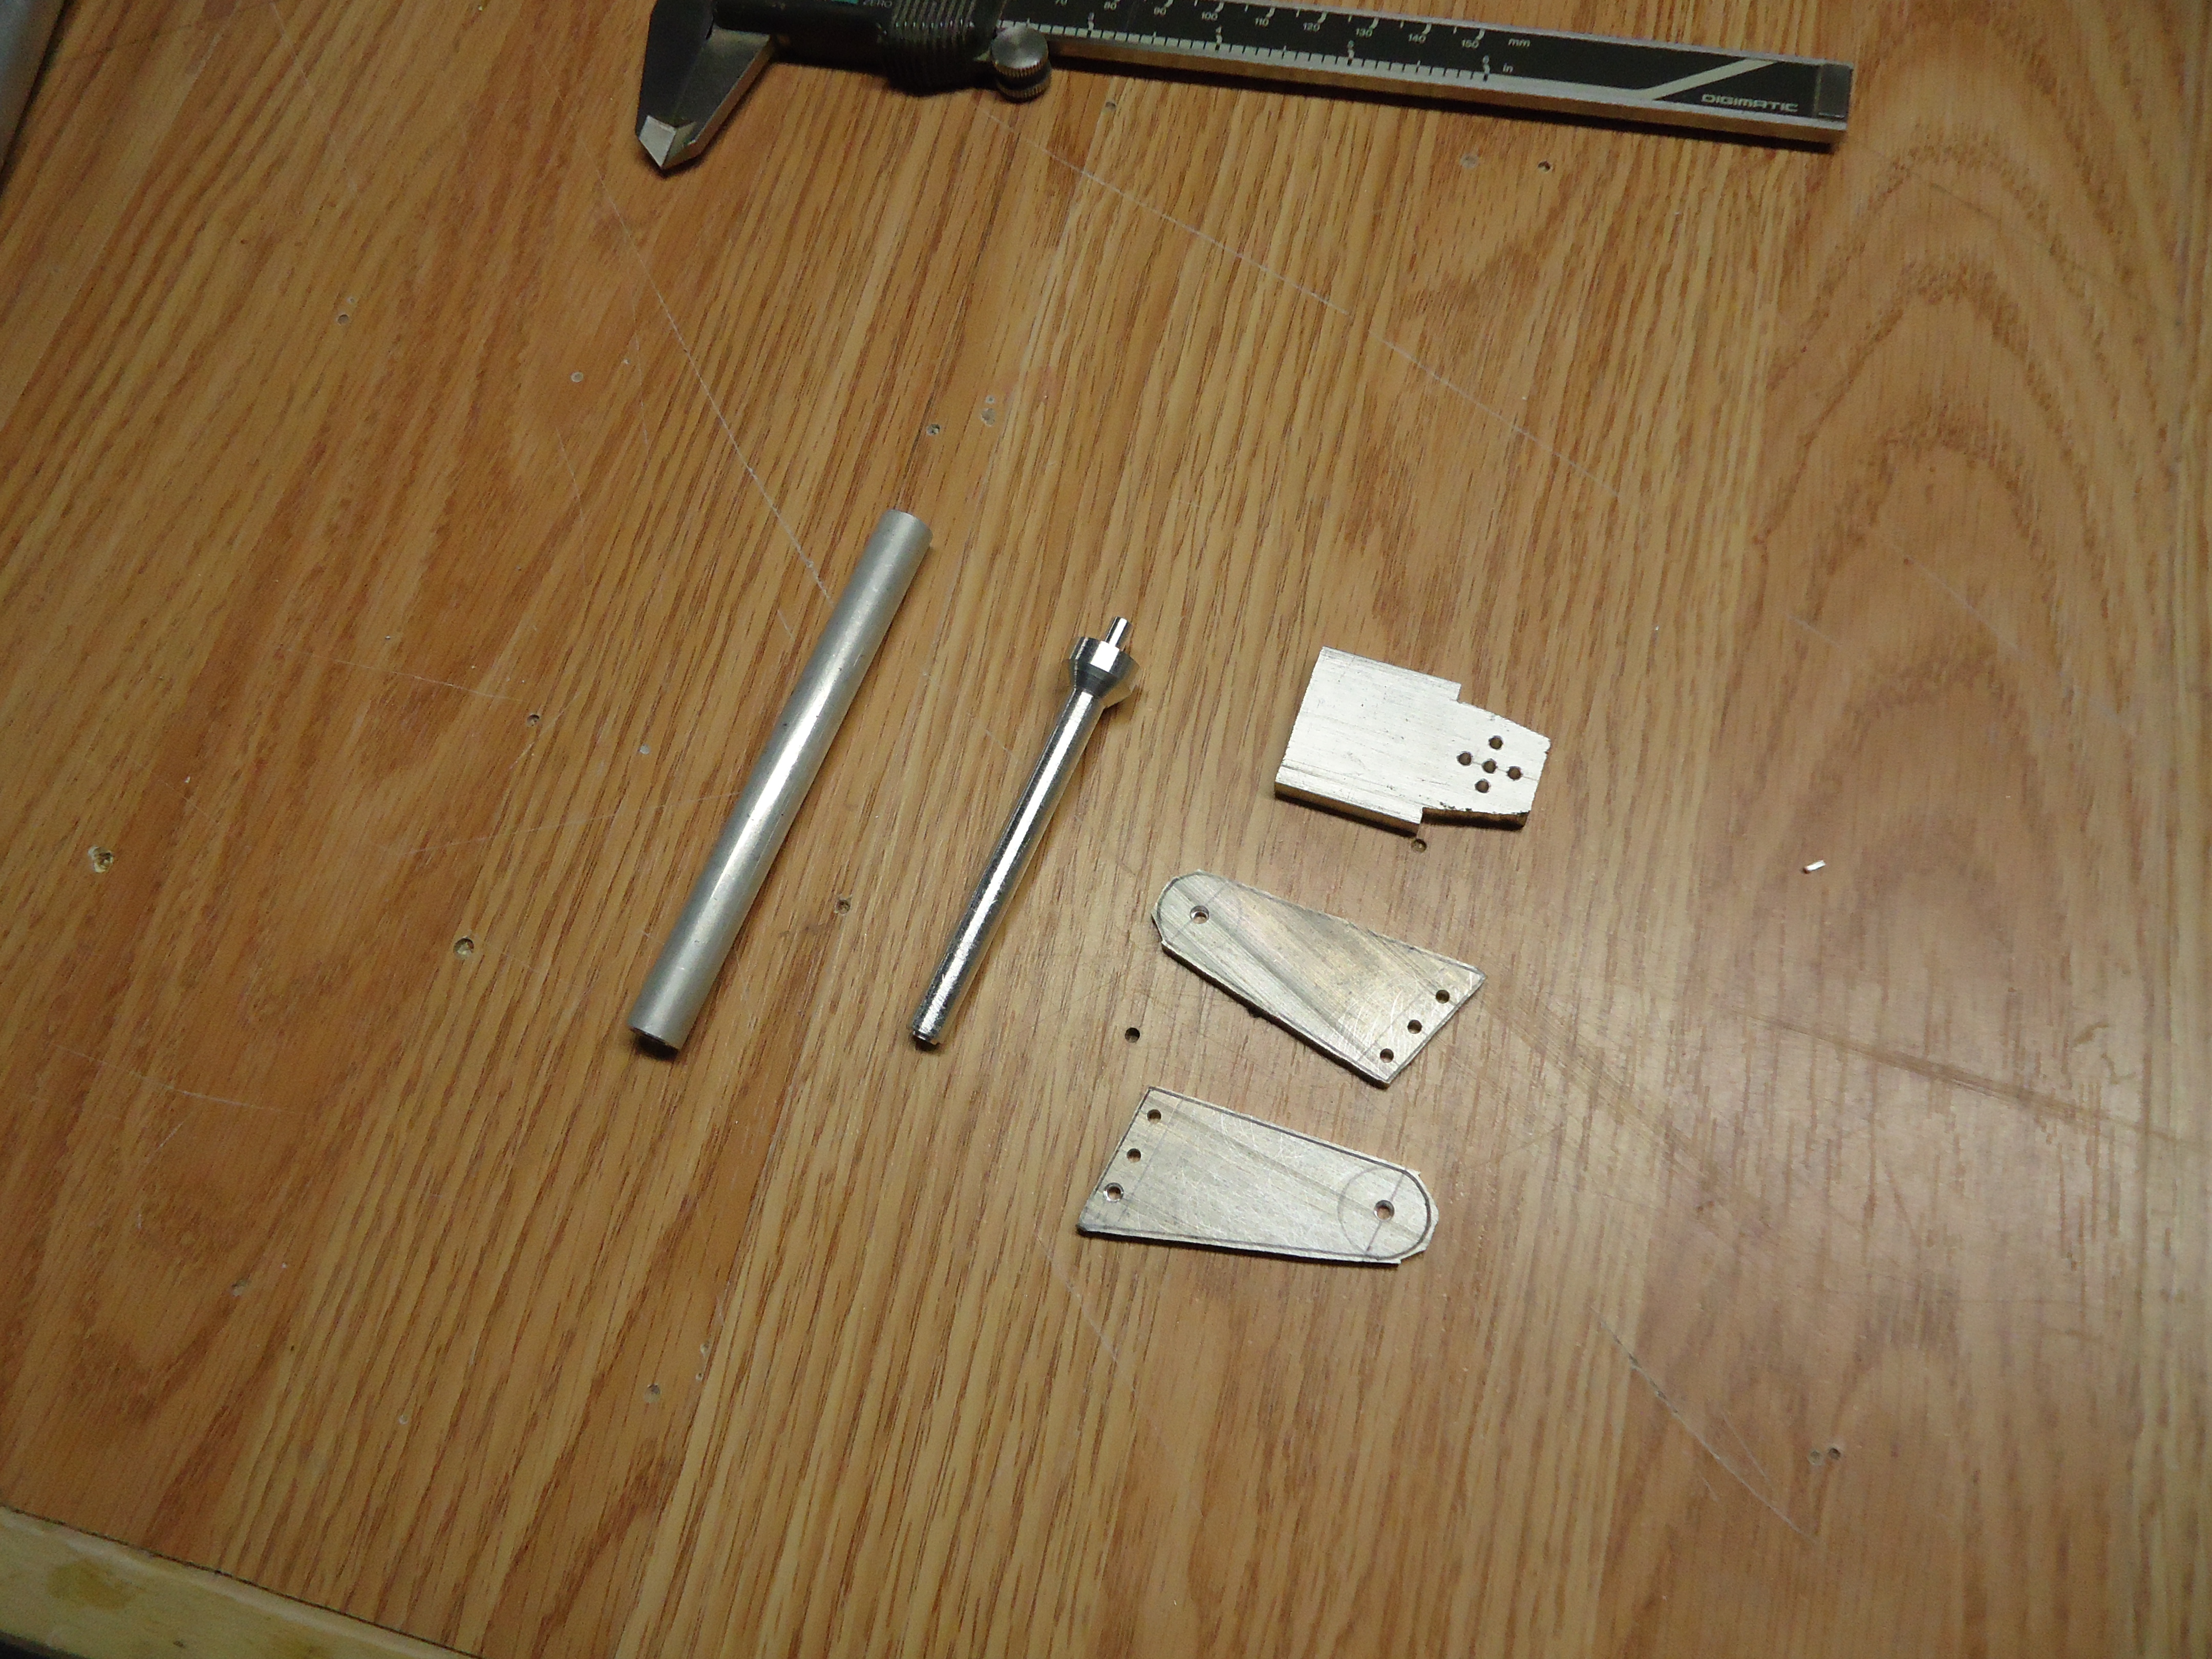 Hopefully at some point you will end up with pretty pieces like these ones. If not, don’t worry. Just call up Jay and ask him to make you a set. I promise that I won’t narrate that process for you, if you do call.
Jay likes to build his own landing gear because typically they are sturdier than the silly little wires that come on the landing gear. Also, it gives him a chance to design something and use his lathe.
It’s a short post this time, but we’re getting close to the end. At least, I’m at the end of the pictures at my disposal. Stay tuned for more!
