
 This past April my very dear husband was pining after a 110″ SIG Rascal. He very badly wanted one so that he could make it into an electric plane that would blow the wheel pants off of our friend’s Rascal (which is gas).
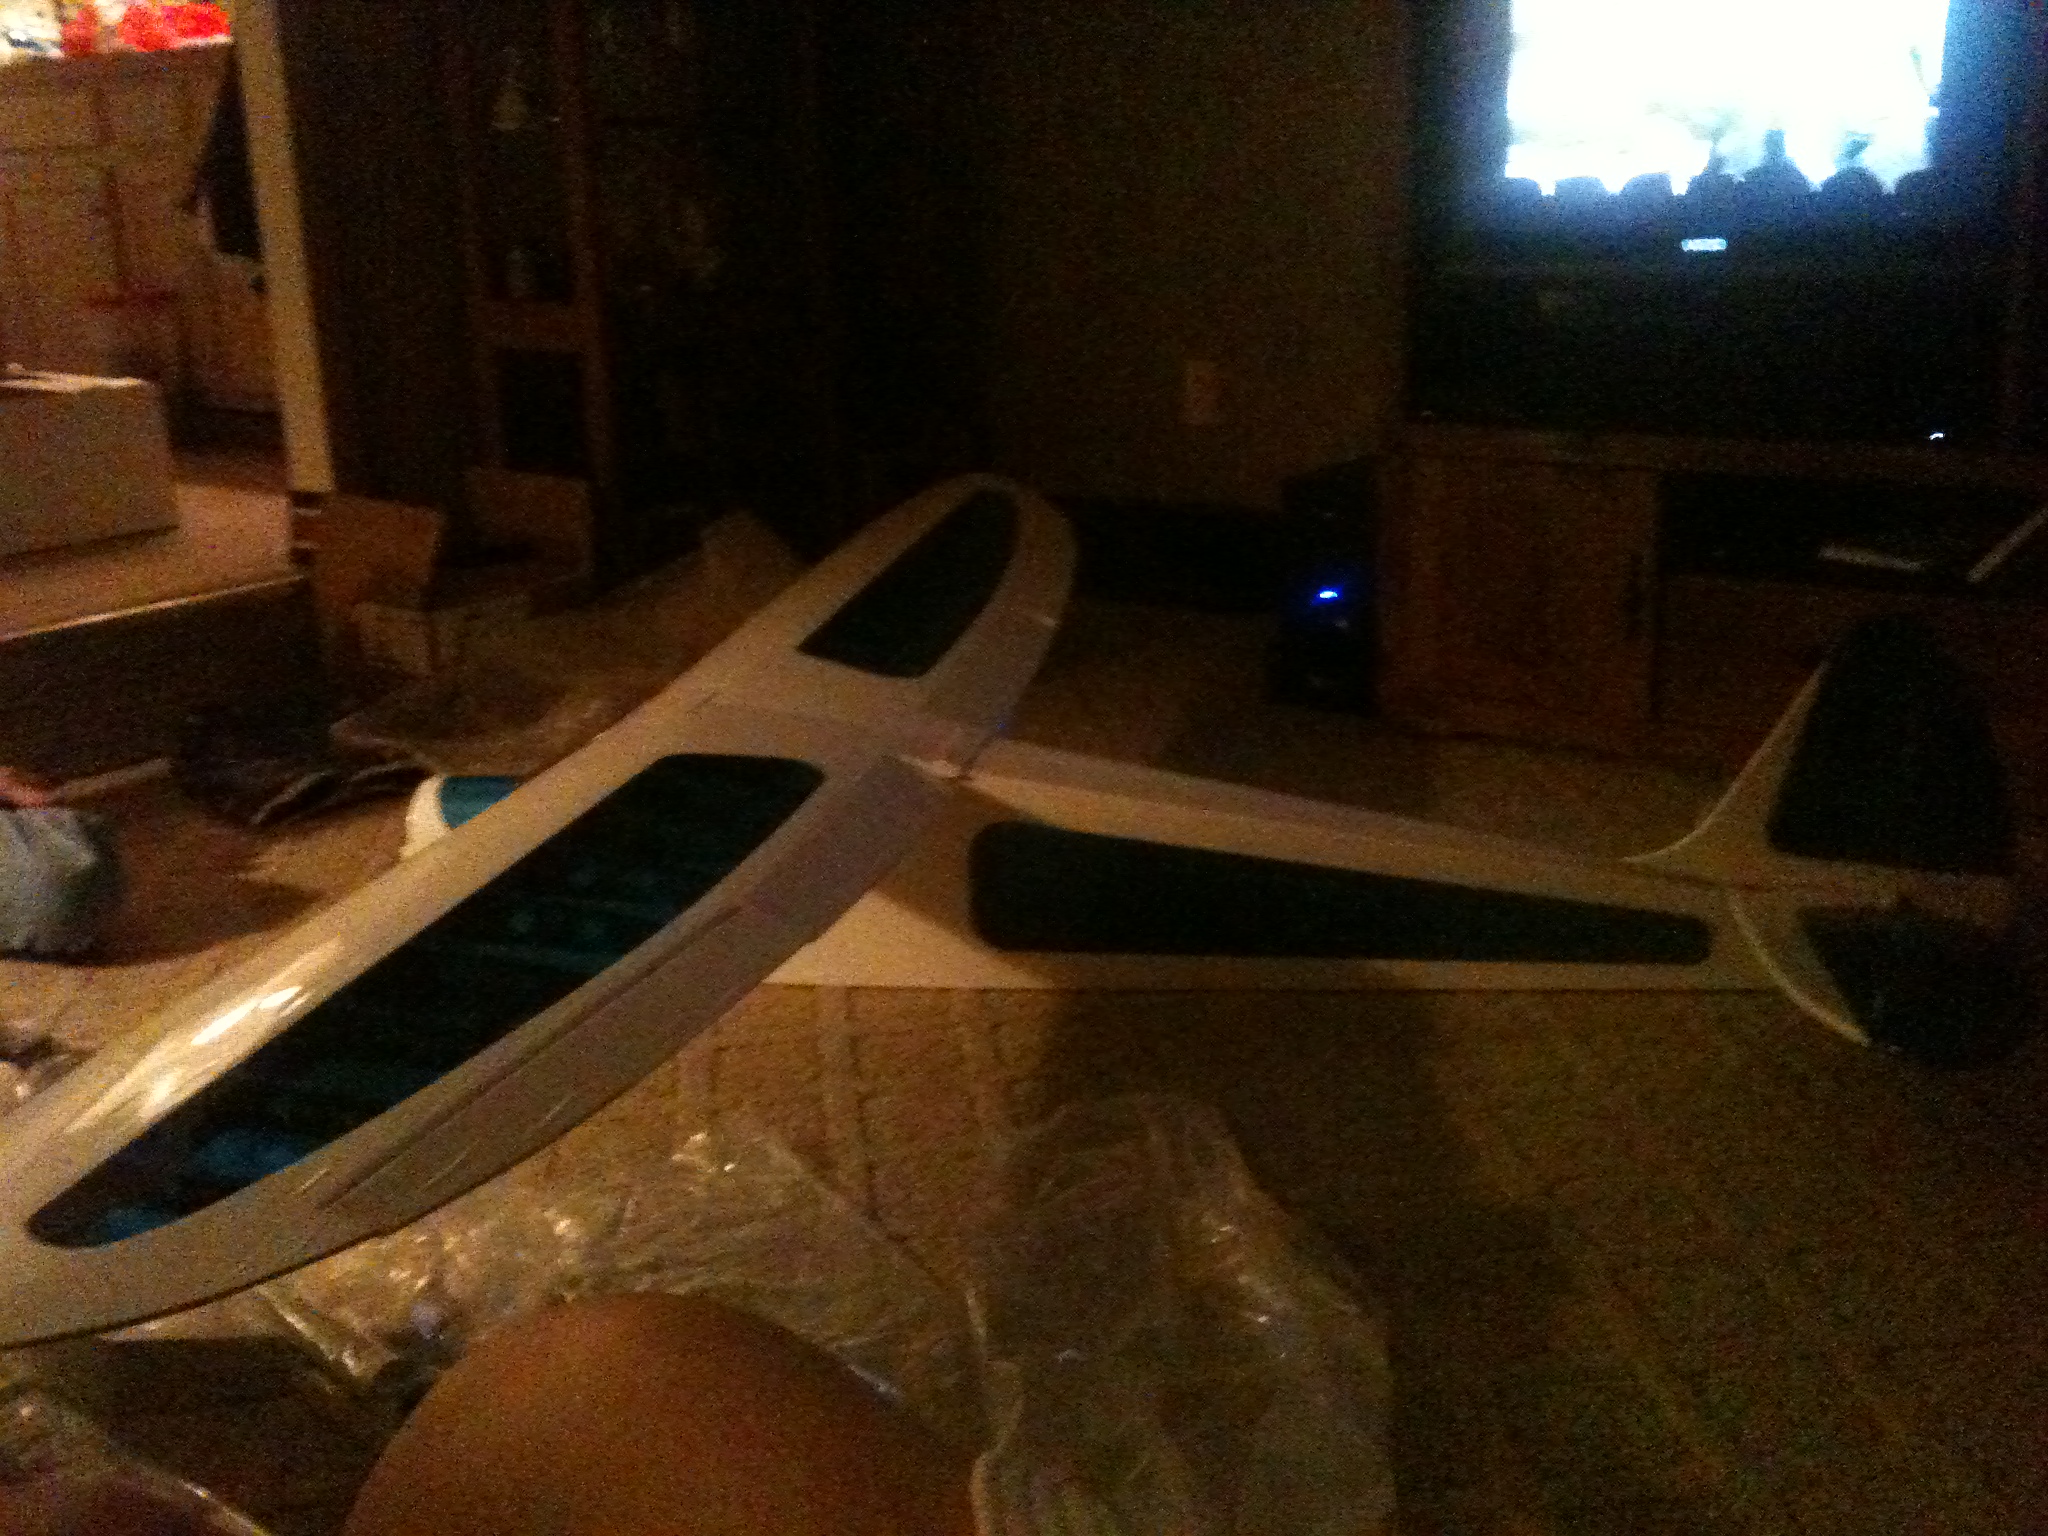
These wings are huge. Obviously with a 110″ span they are going to be! The blue part of the wing is transparent covering so that you can see the inside of the wing. Well, when you transport this plane it’s inevitable that the wings are going to get banged around a bit. If that transparent covering were to get a hole in it then it would be quite the job to recover it. To protect the wings a bit you can purchase wing bags, but they aren’t cheap. So Jay asked if I would be able to make a set for the Rascal. I’d never made wing bags before, but it couldn’t be too hard… right?
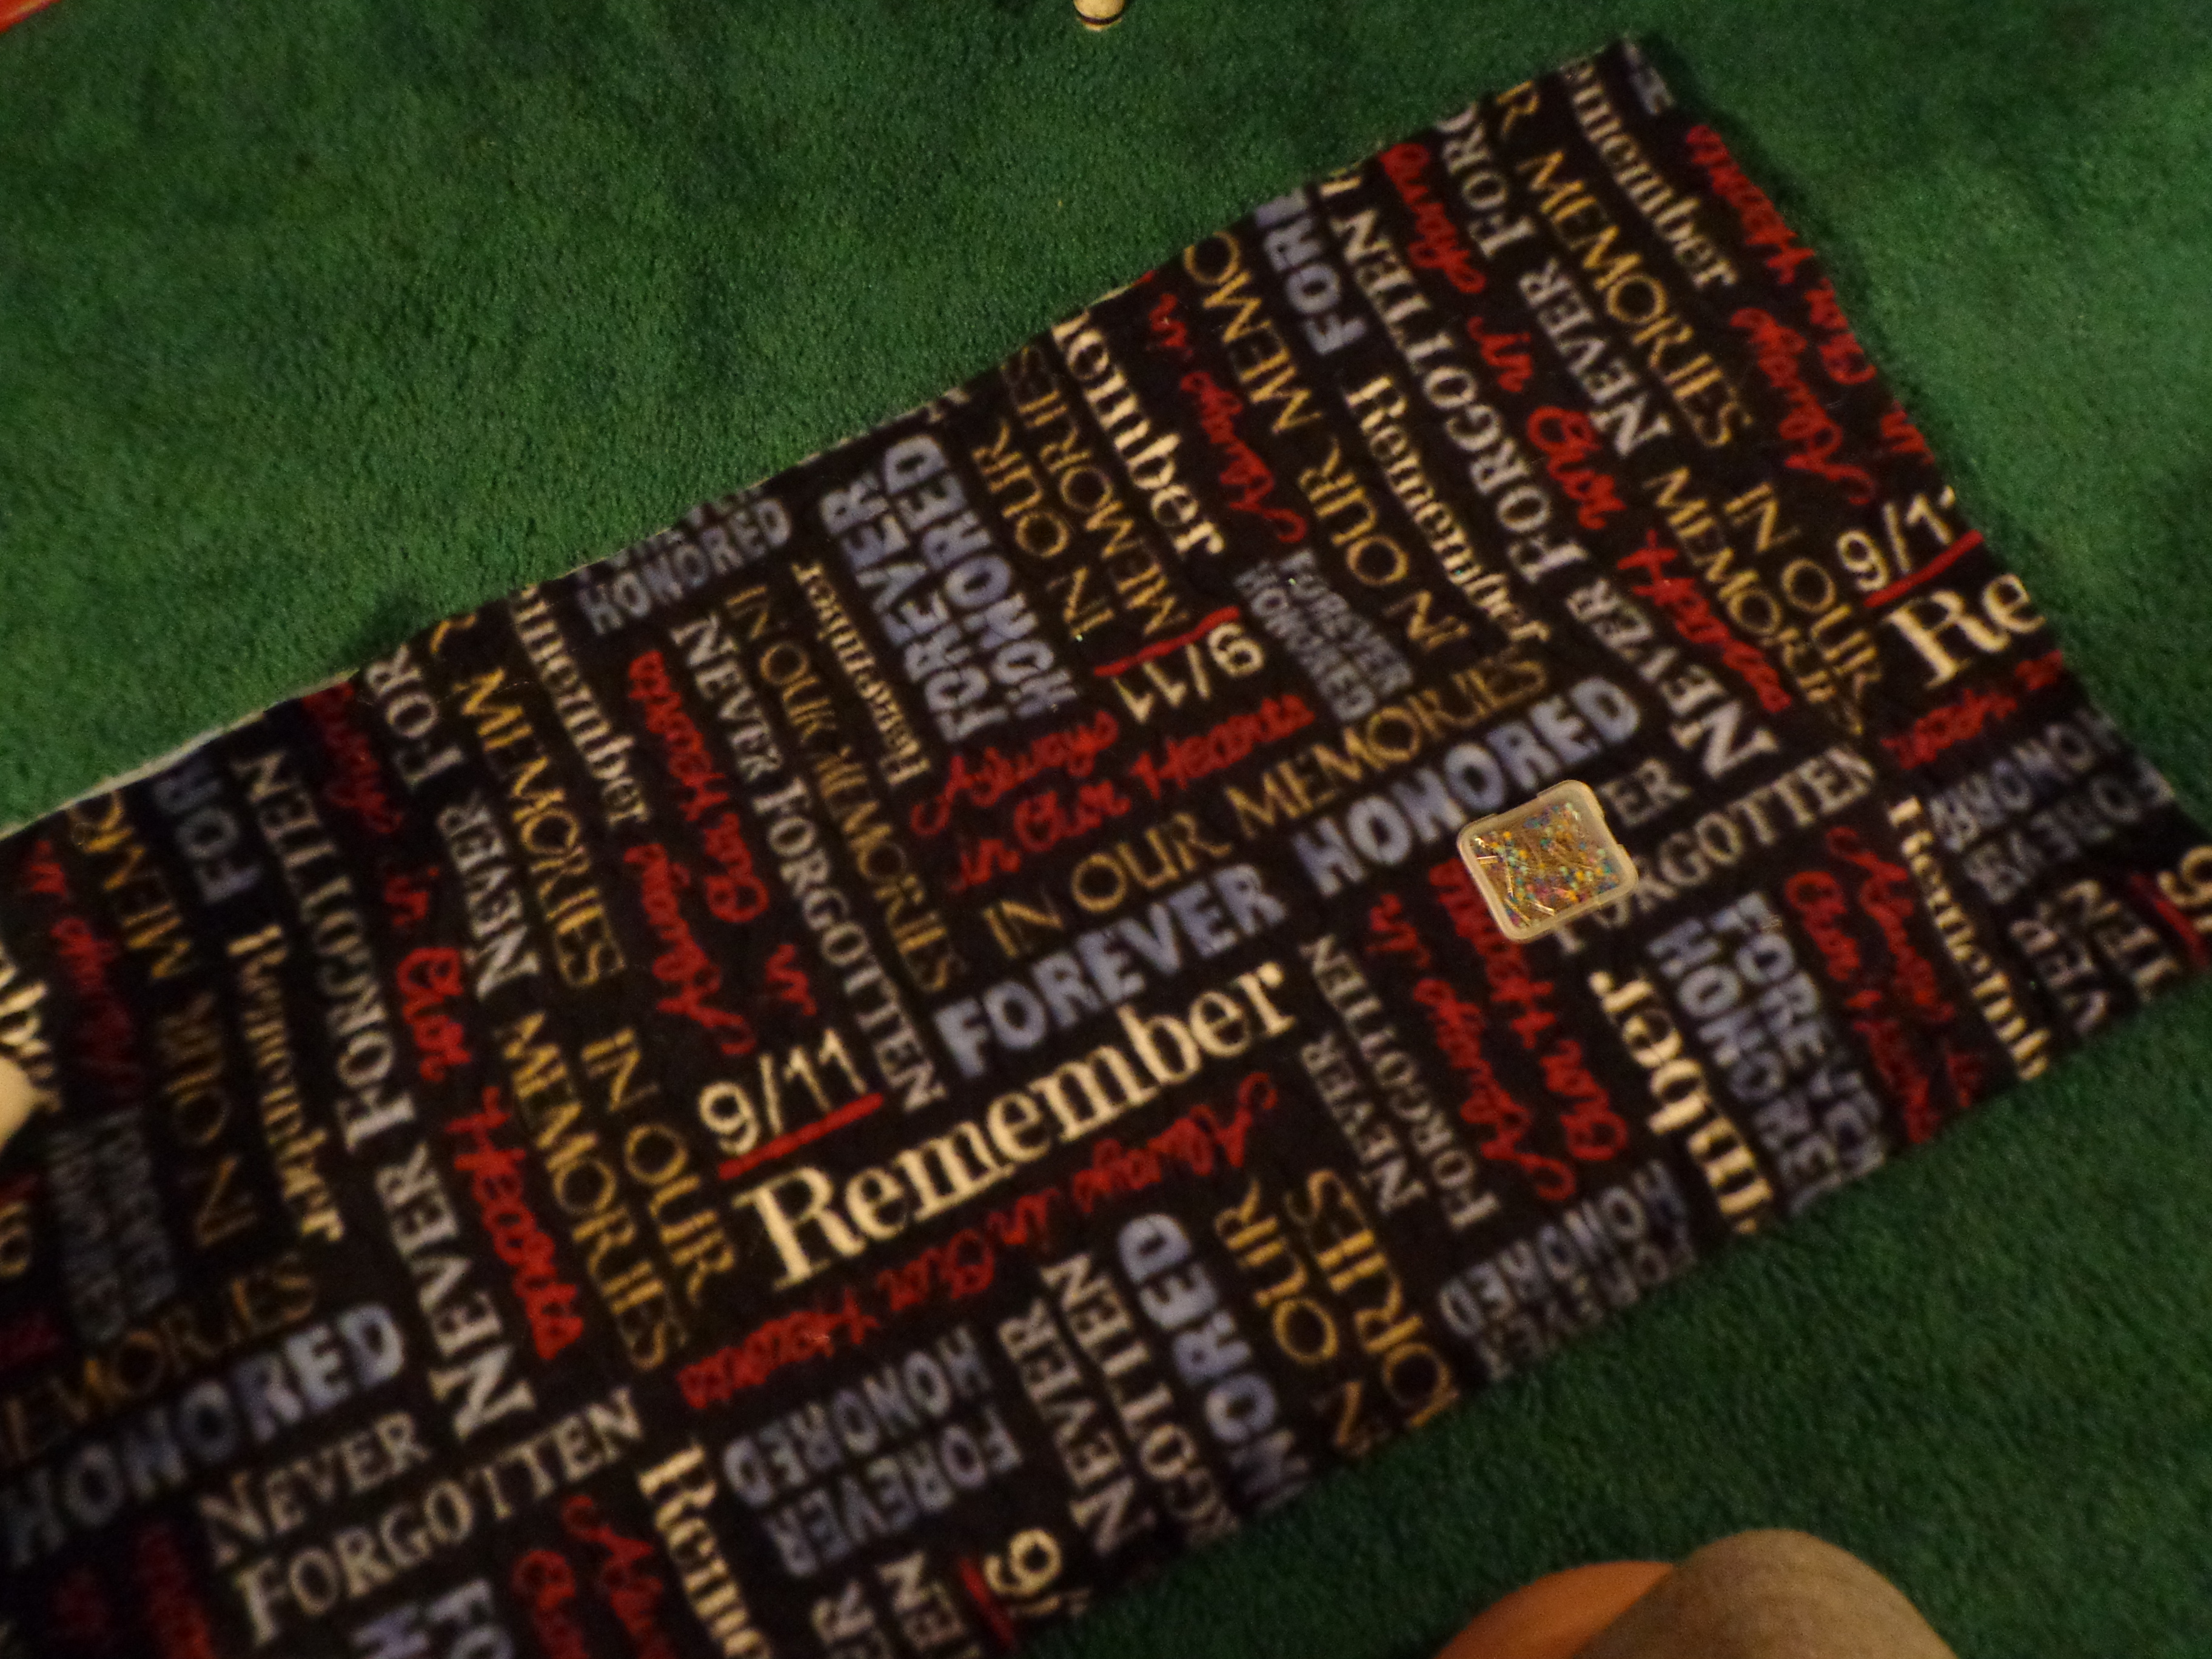
 I went to the local fabric store and found some fabric that was big enough plus it was on sale. Since these wings were so long I needed to use the fabric in the most efficient way. My wings were about 16″ wide, so when you double that and add a little bit extra for depth and the seam, I figured that I would need a piece of fabric that was at least 36″ wide. I knew that I wanted to quilt two fabrics together in order to give it a little more padding, so I had to find two different bolts that were wide enough. I found a nice fleece for the inside and a flannel for the outside. Remember that you want a lighter color on the outside so that it doesn’t absorb the heat and warp the wings. Because these pieces of fabric were so large I asked my mom to quilt them for me. She has a long-arm sewing machine and I figured that she could use this for practicing one of her patterns.
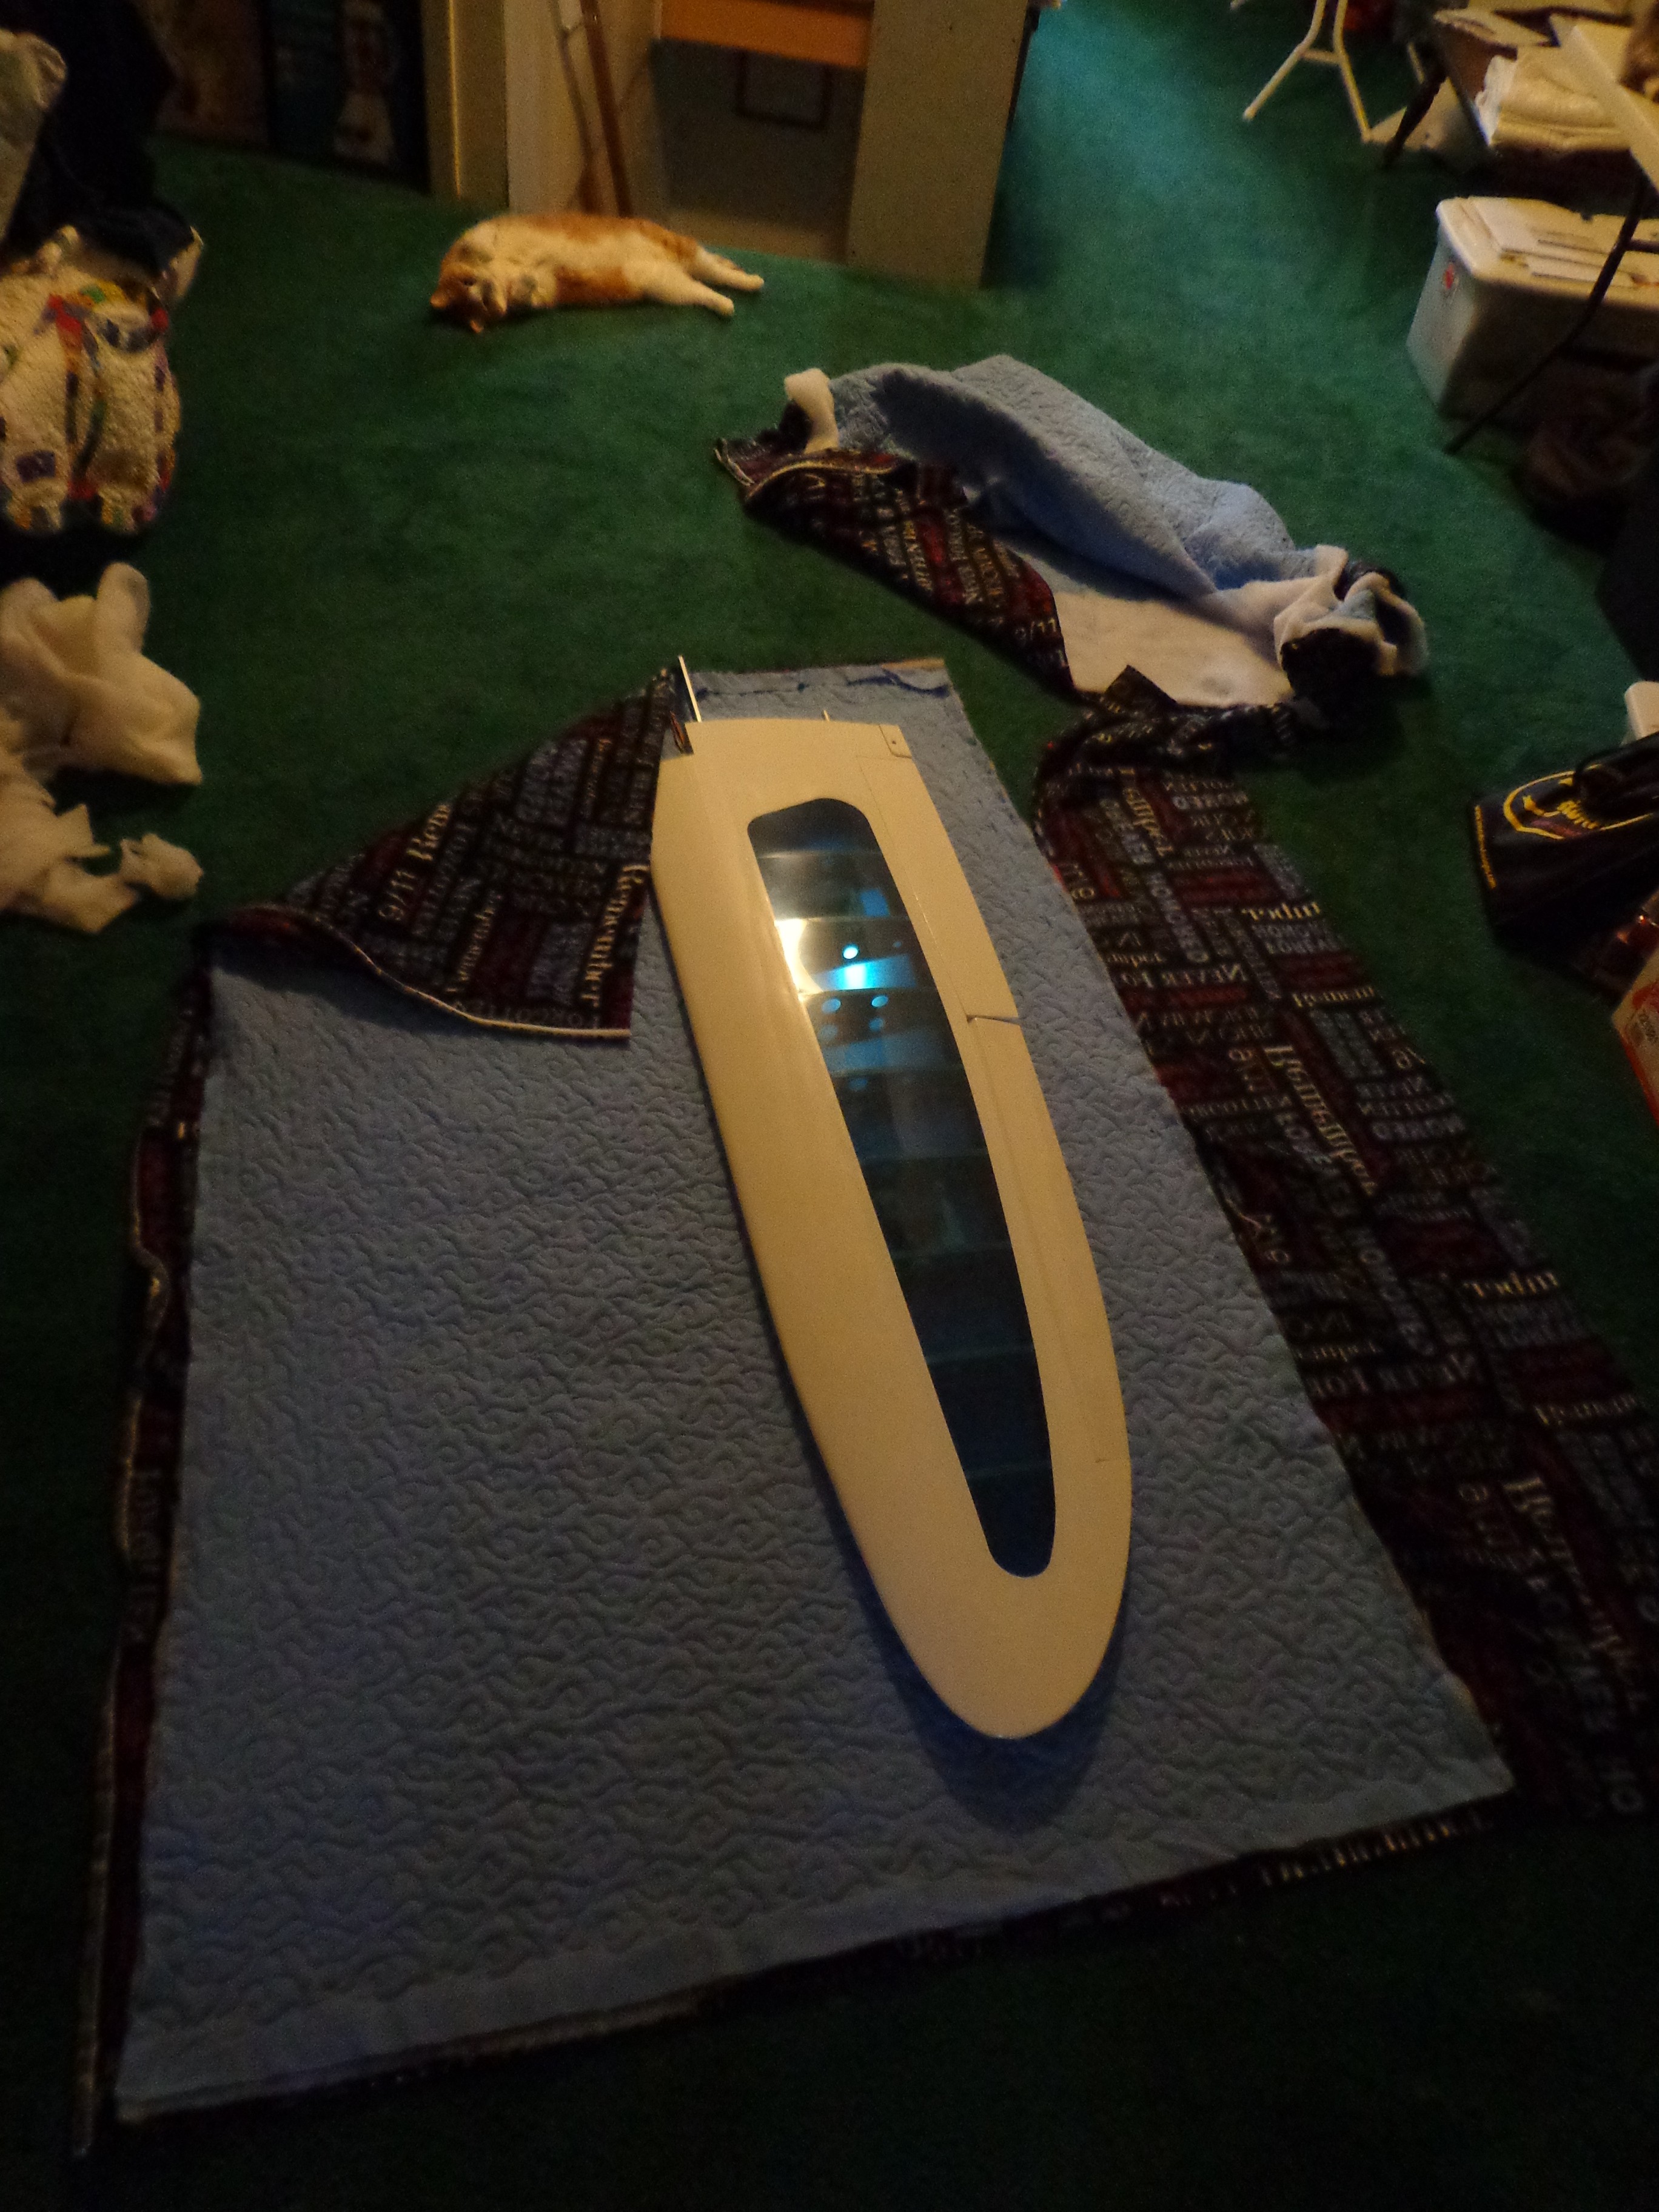
Once you have your material, lay it out with the wing laying on it. Having a furry supervisor is not necessary, but definitely helps. I didn’t have a pattern for this, so I was ‘winging’ it… hahahahaha….
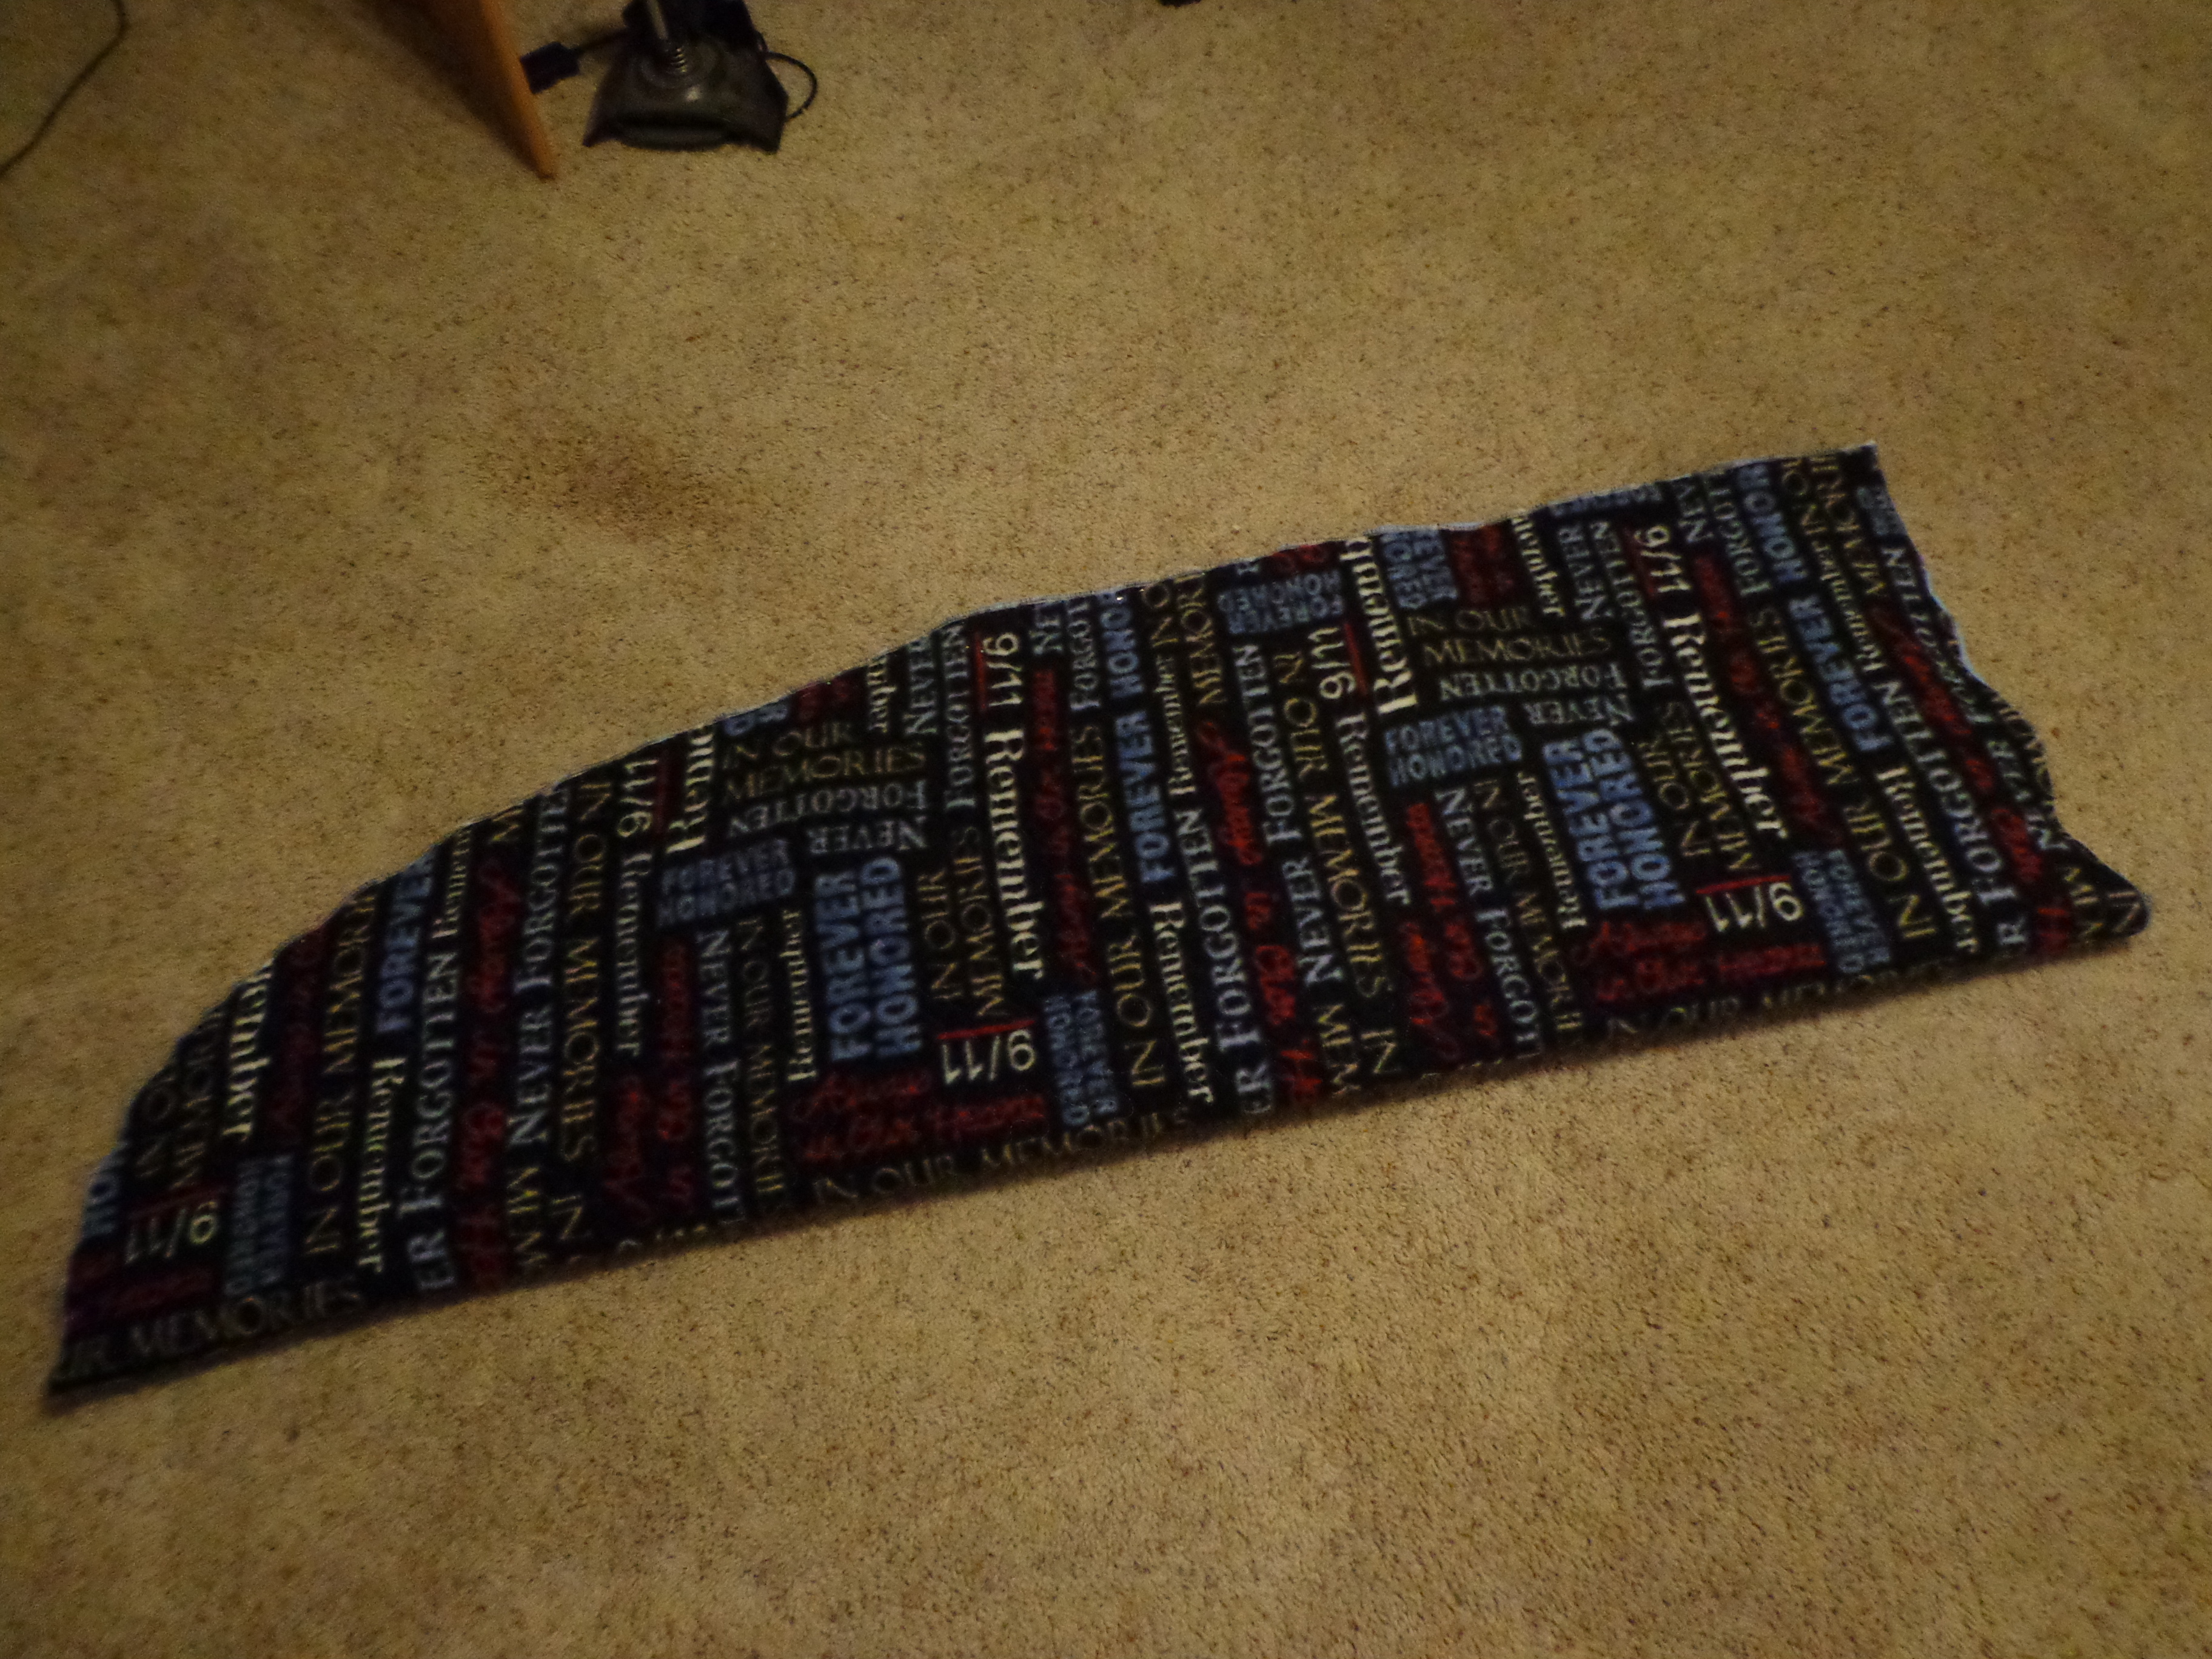
 You are going to essentially follow the shape of your wing, pinning as you go along. You want the wing bag to take the shape of the wing so that it doesn’t have a lot of room to shift around. My inside material was so dark that it was hard to show you what I was doing, but I did my best. You can somewhat see the curve of the wing on the right side of the fabric after I’ve pinned it and left about a 2″ space between the wing and my pins. I wanted to make sure that I had enough material because I was going to serge the edges and then sew the material together. You don’t want to make it too tight to the wing.
 Once you have one cut out and the edges serged, use it for a pattern for the second wing. Why? Well, theoretically the wings should be the identical size and shape. Just keep in mind that the piece you’re using as your pattern is the size that you want it to be when you go to sew it together. You don’t want to cut the other piece right close to the edge otherwise it will be smaller. Give yourself about a 1/4″ padding all the way around. Serge the edges of the second wing bag.
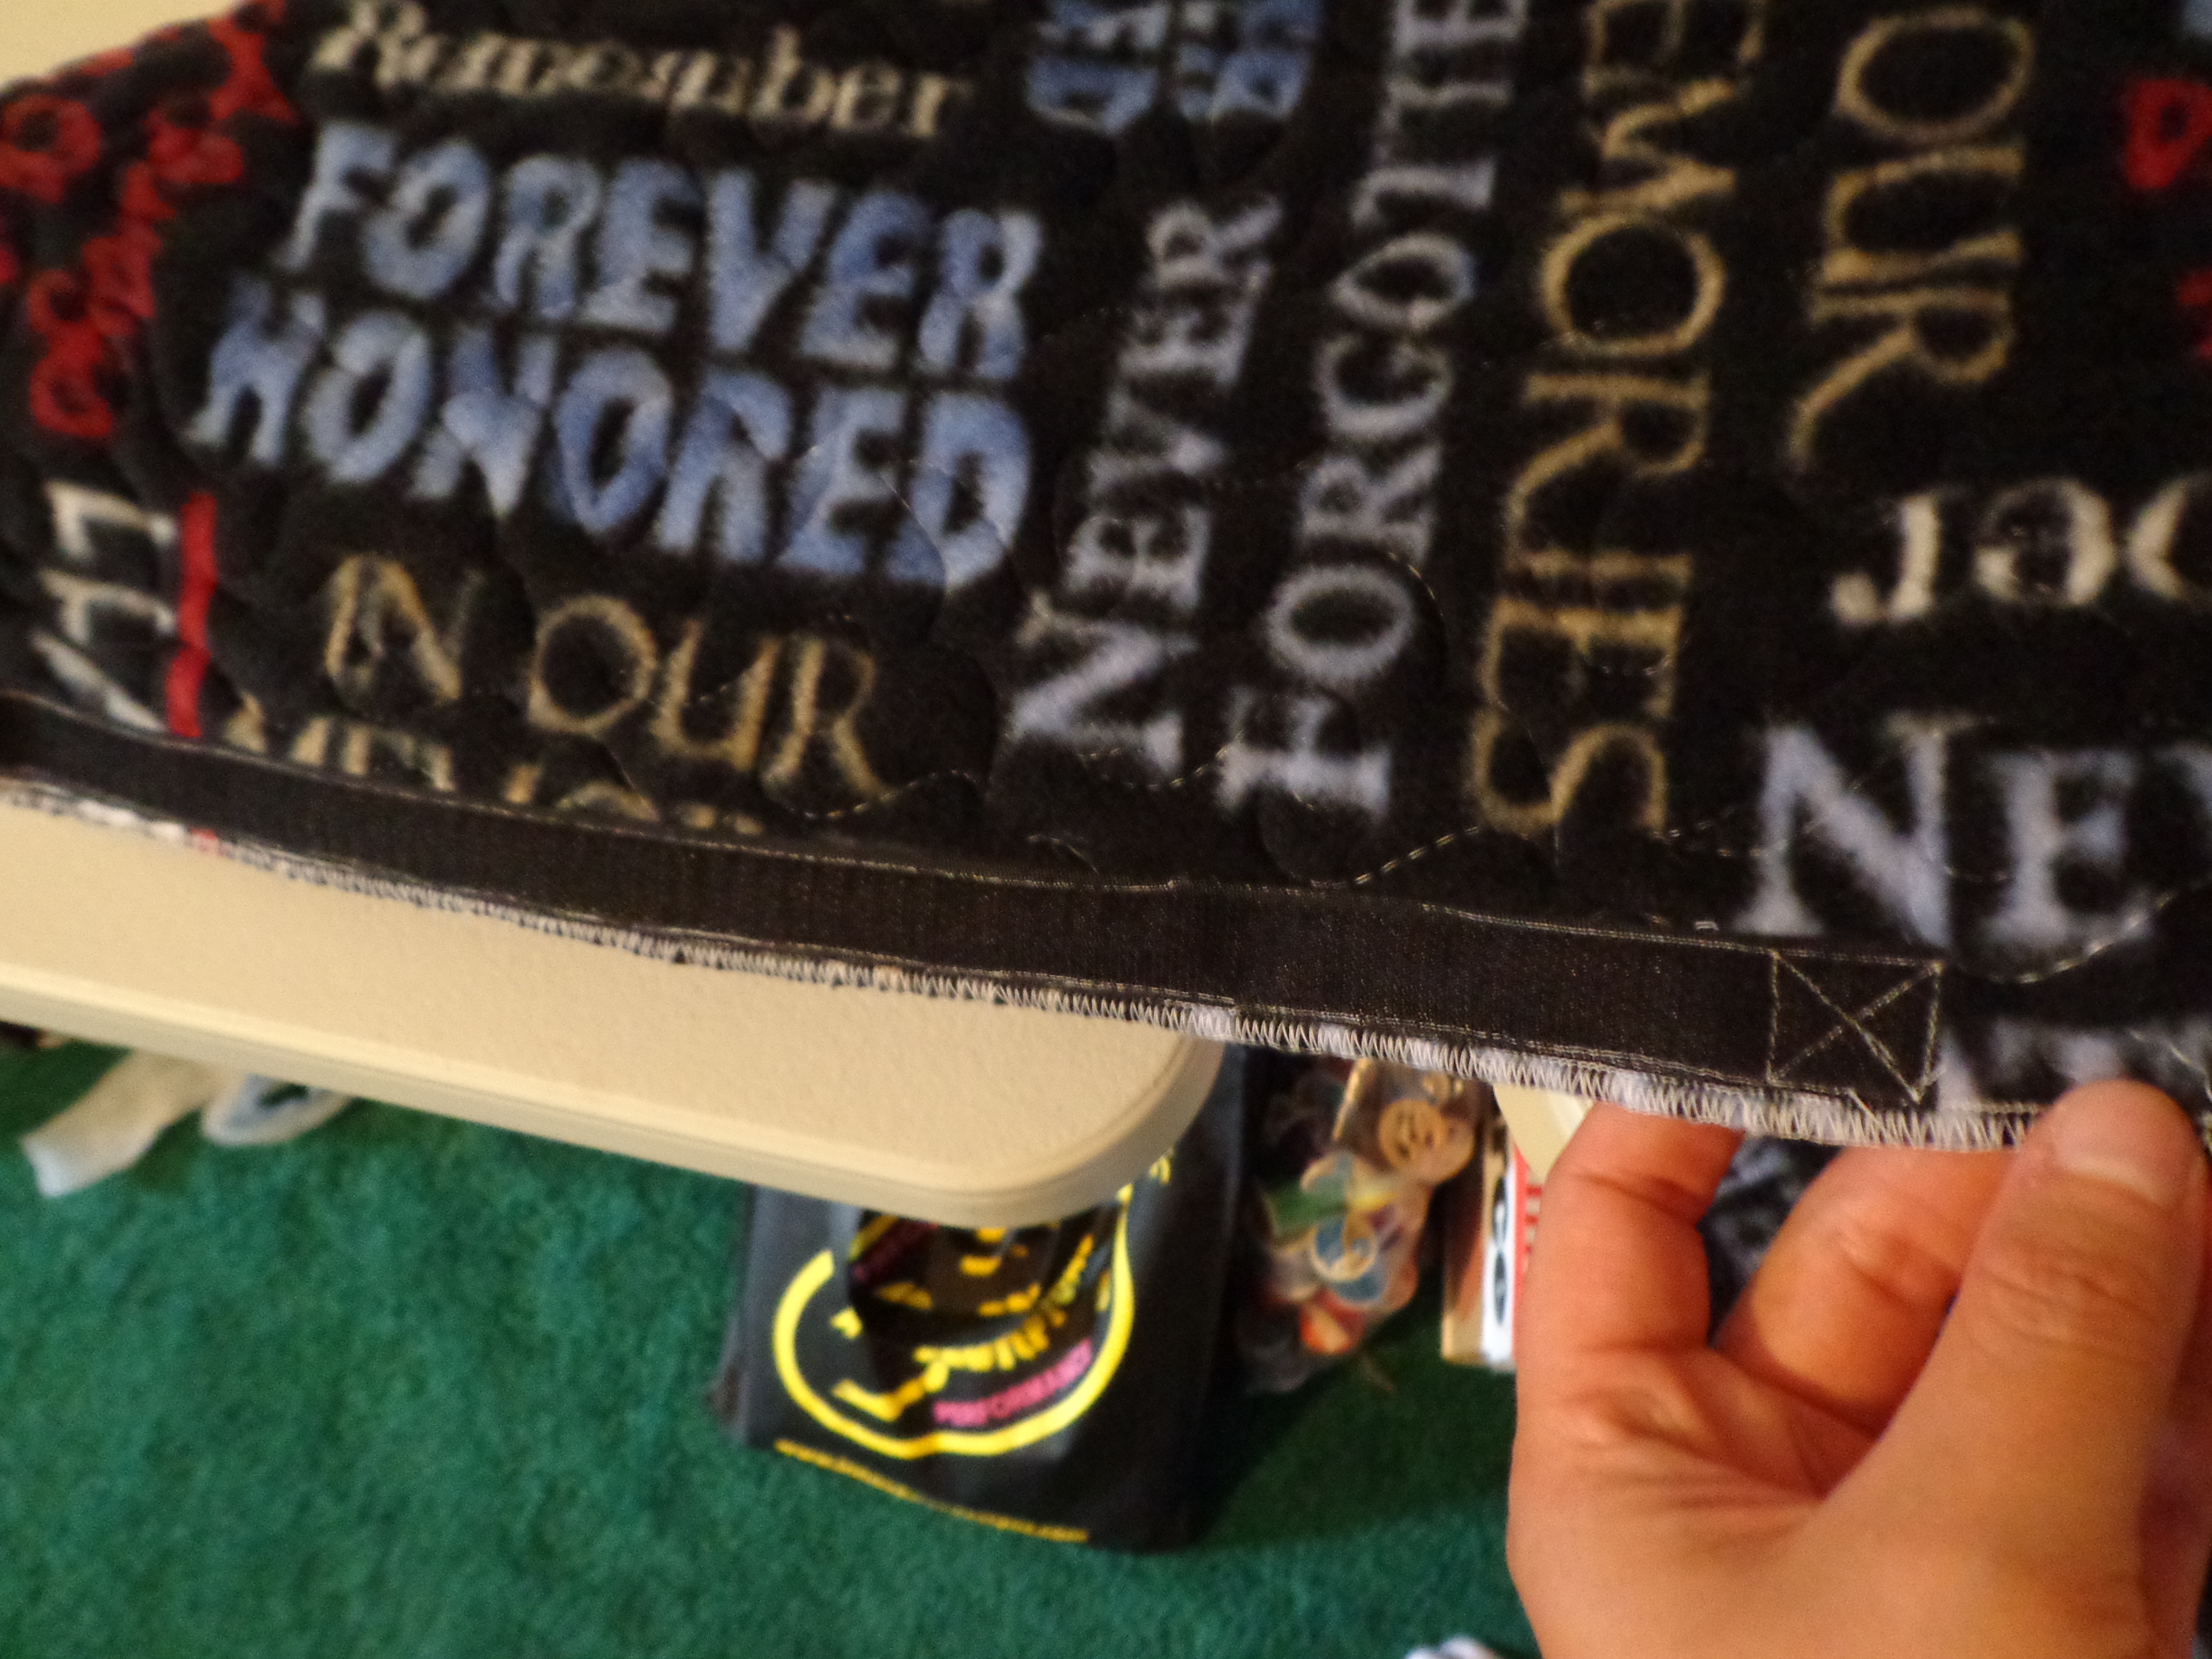 Before sewing the wing bag together you’re going to want to sew on the Velcro. Cut the Velcro to a length that works for you. I decided that I would make mine the entire length of the opening so that there wasn’t any chance that anything could leave that bag. Also make sure to really sew down the ends of the Velcro so that it stays put when it’s opened over and over again.
 Most wing bags have handles. It’s easiest to sew them in place when you sew the bag together. Keep in mind, though, that you want to place the handle in a spot that will make it easiest to carry it; too close to either end and the wing will automatically slip the opposite way when you pick it up. To find the best place for my handles I wrapped the wing up in my fabric taco and then picked it straight up (as if I was going to carry it off). By moving my hands I could find out where the weight gets distributed. Mark the spots for each end of the handle with pins. Set the wing aside (in a safe spot where the cats can’t practice their wing-walking) and use it to mark the spots for the handle on the second bag.
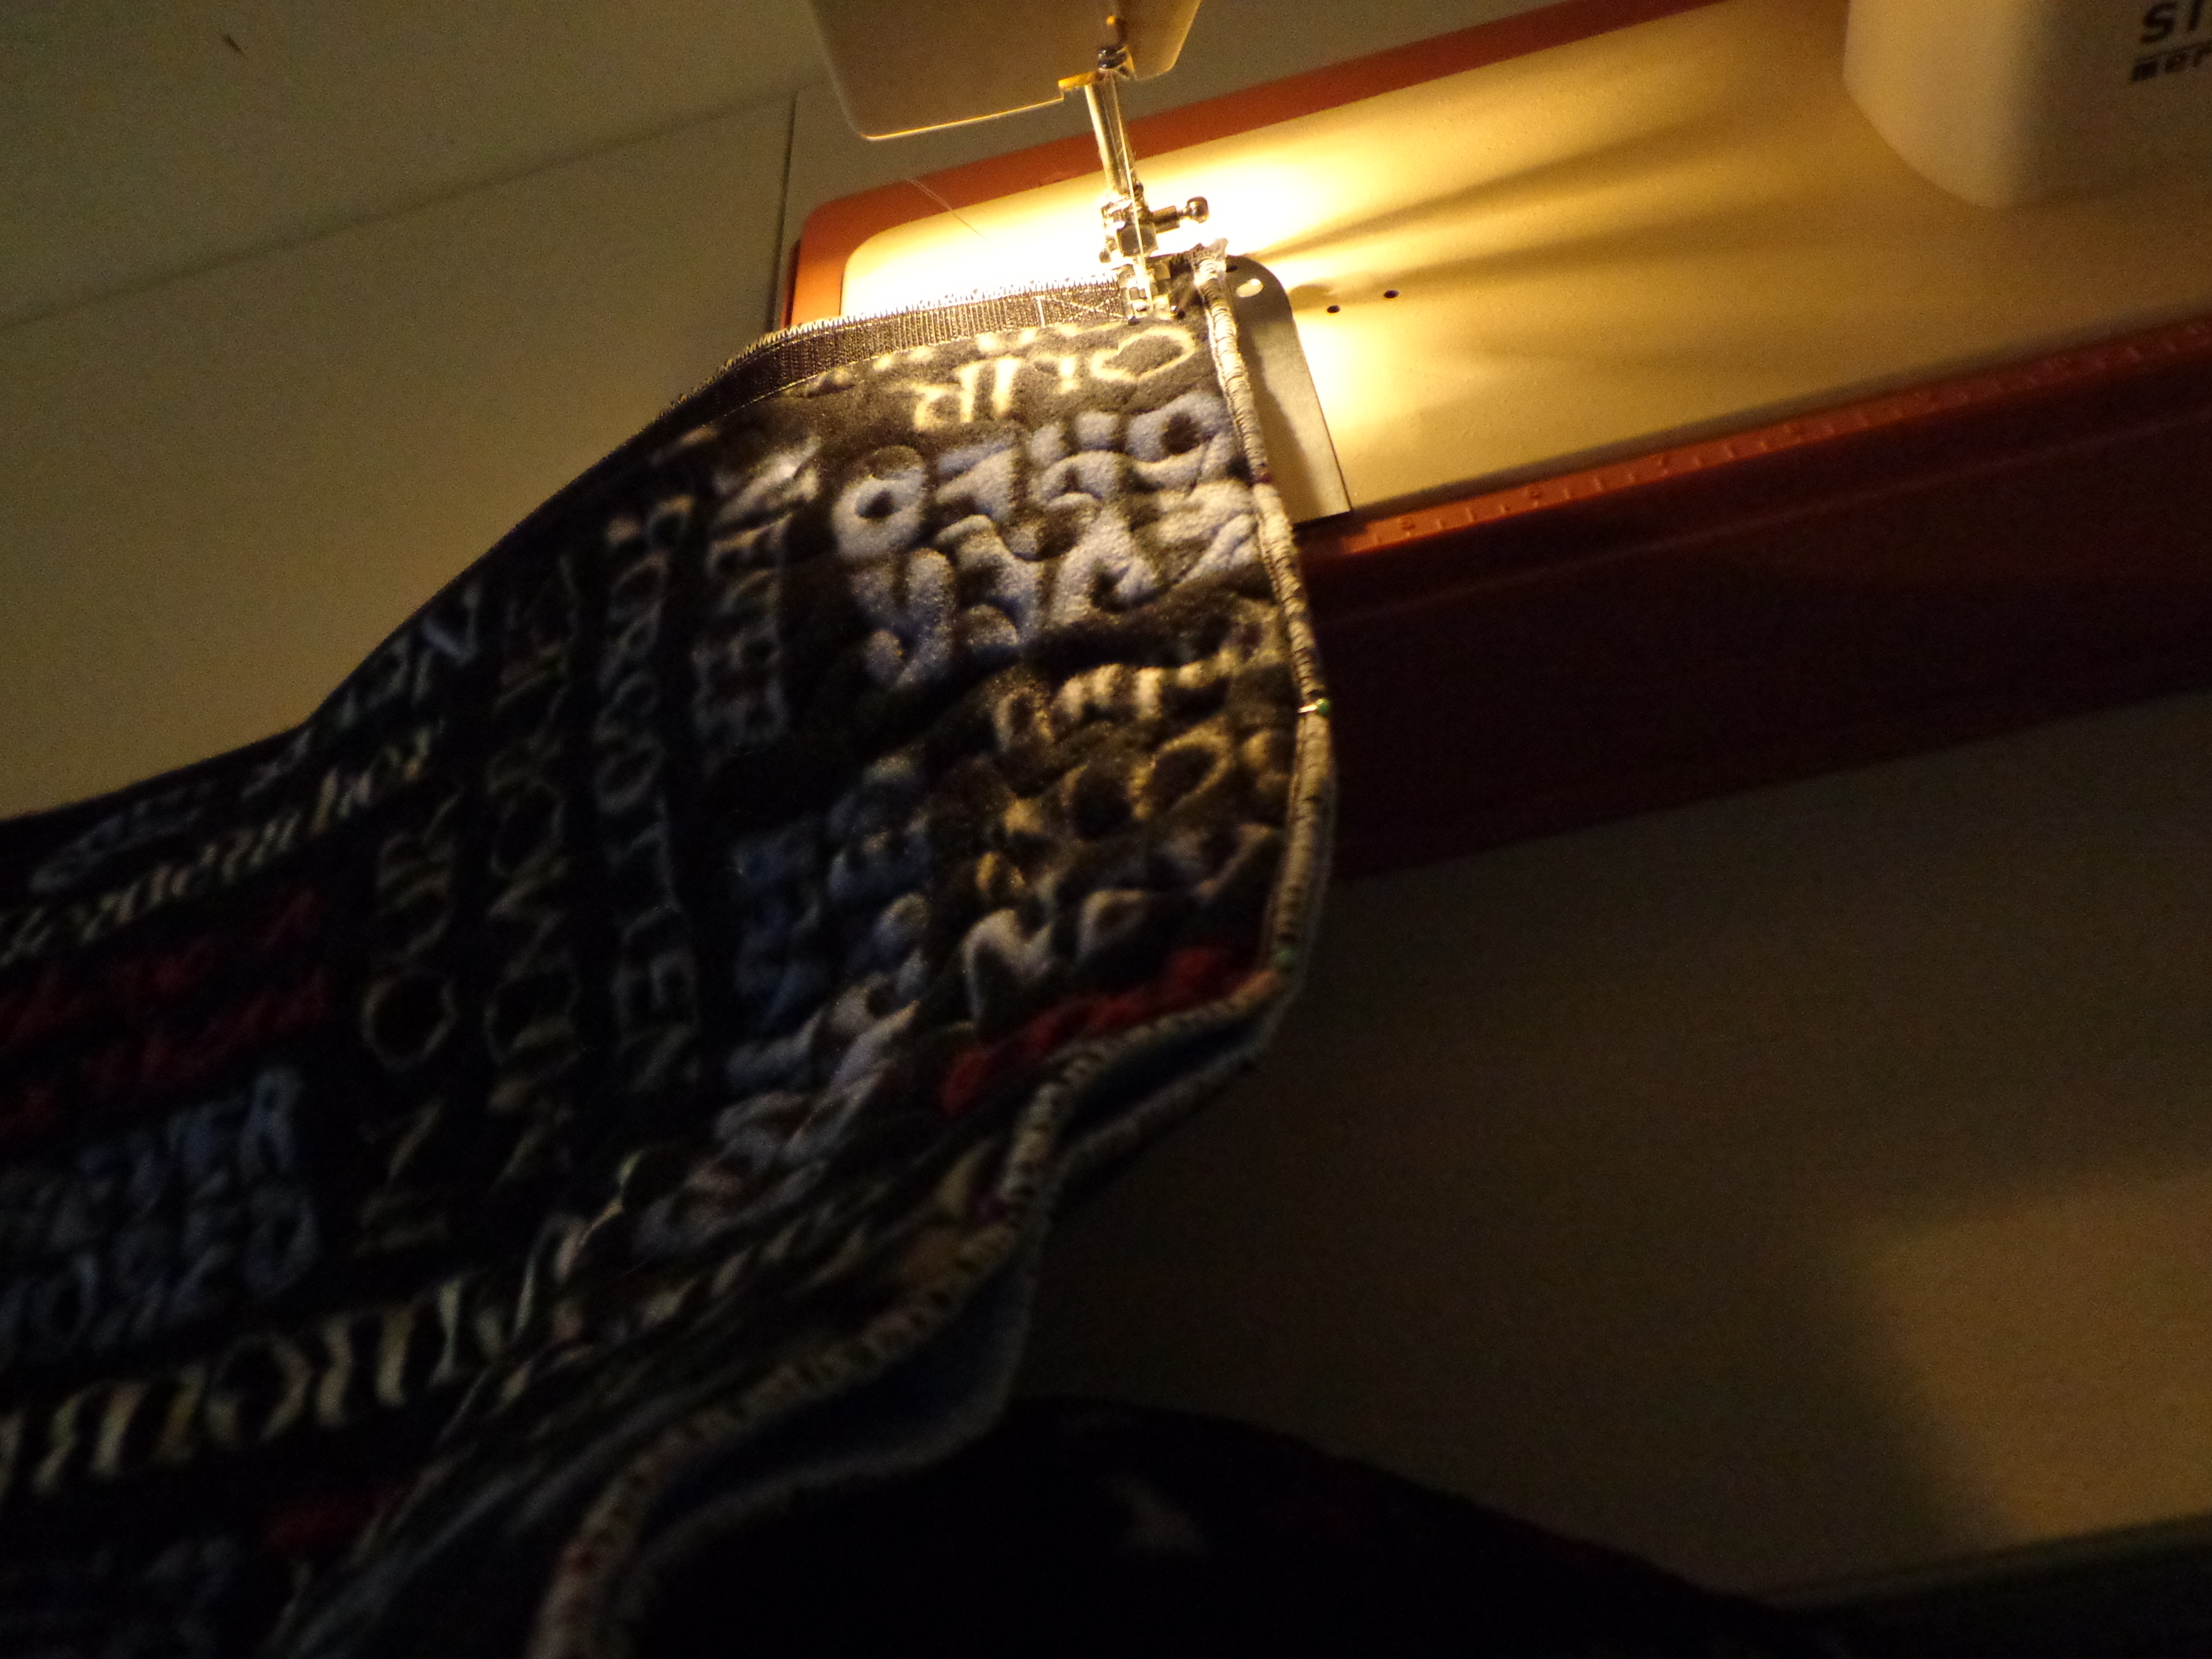 Pin your bag together all along the edges, making sure to match them evenly. Decide how long you want your handles, and then pin the ends of them in place. Make sure that they aren’t twisted and that the rest of the handle is out of the way of your sewing. You won’t be able to see the actual handle when you are sewing because it’s on the “inside” of the bag. You want it this way so that when you turn the bag right-side-out the handle will be on the outside of the bag. I used about a 1/2″ seam, with a small straight stitch. One note of caution… be sure that you have good thread when you’re sewing this together. Apparently the thread that I had was of inferior quality and it was breaking a LOT. Once I switched to a better thread everything went together so much better.
 Even though they are just wing bags, you will want to press the seam open. This helps to give you a crisper seam on the outside, and it should be common practice for you if you sew a lot. Remember to set your iron for the temperature of your most sensitive fabric.
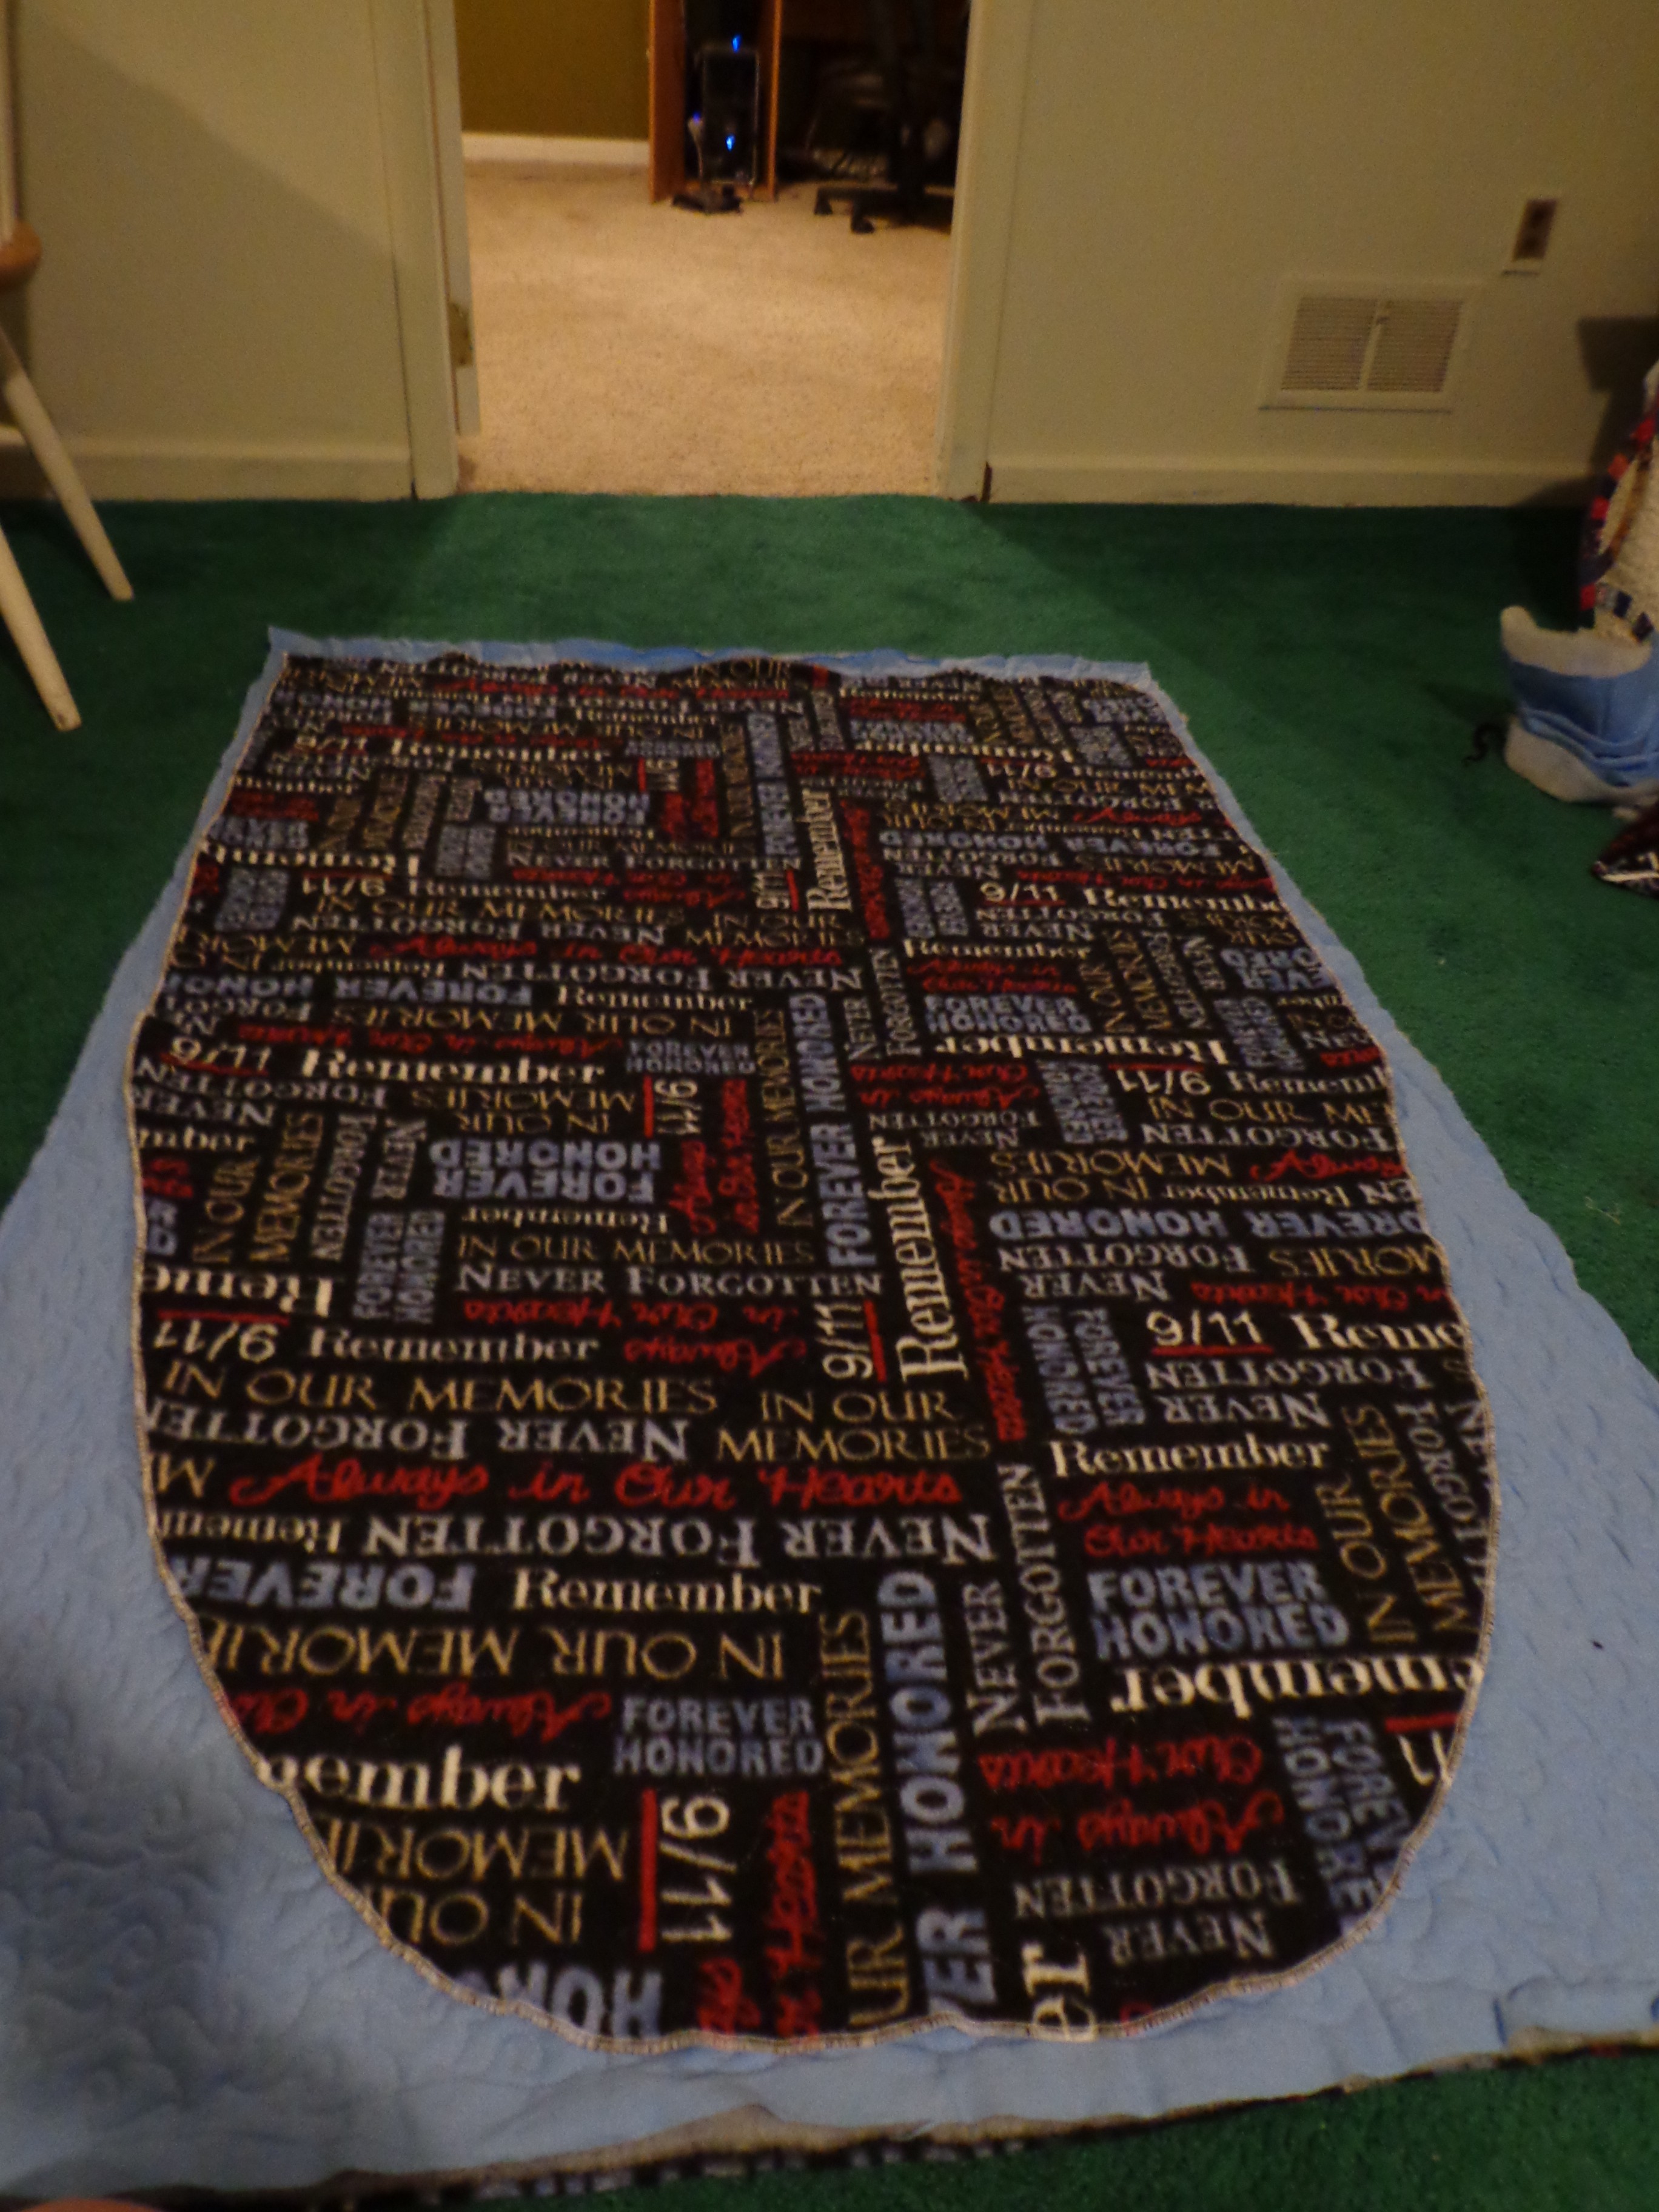
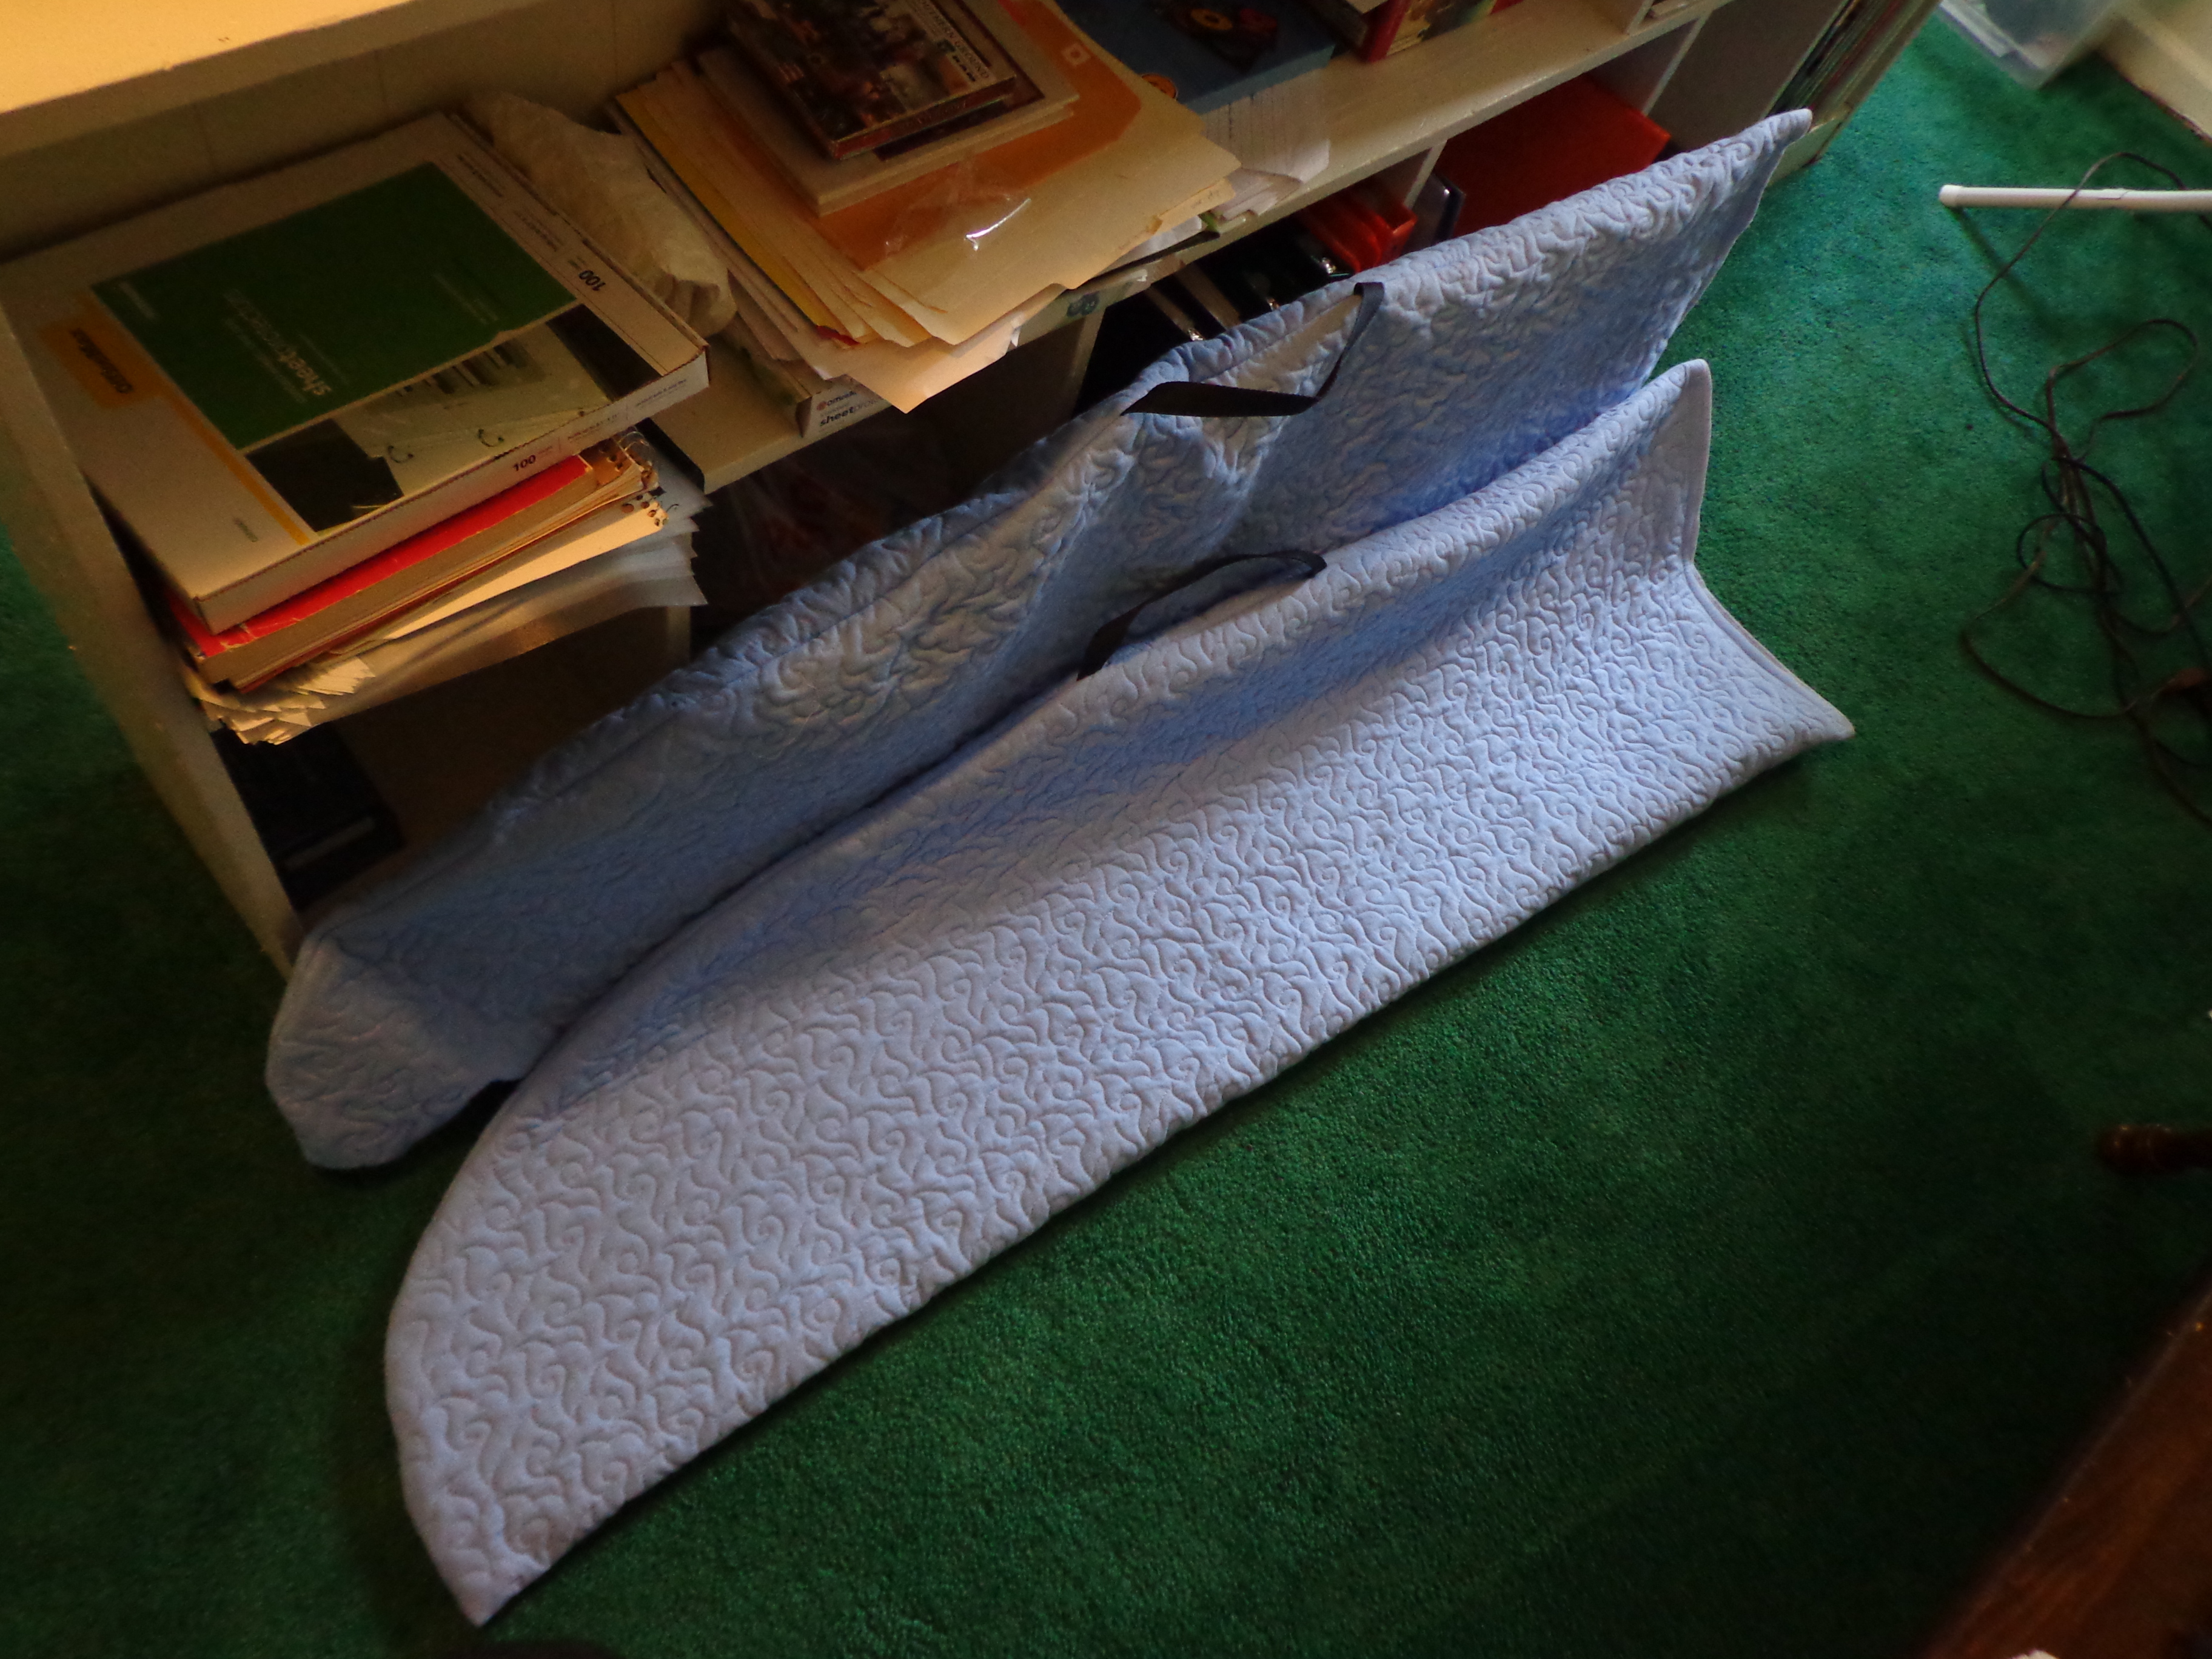 And that’s it! You’ve just made a set of wing bags! I still have to hand sew the pockets on the inside for the wing spar and tube, but that won’t take me long.
All in total I probably have $50 worth of material and 5 hours of my time. I’m not sure how long it took my mom to quilt the fabric, but you don’t necessarily have to go down that path. There are many different ways that you could take to do these bags. All that matters at the end is if they do the job that they are supposed to do. Jay says that he loves them, and that’s all that matters to me.

Pingback: Wing Bags – NSM 9-5-15 | Kerry'd Away