
Yes, it has been a while since I’ve updated my blog. I’ve started a new job and I’m not allowed a lot of internet access… even during my lunches. The only time that I have to do personal things online is at night, but now that nicer weather has arrived I spend a lot of time working on other projects. Including my bathroom. You see, I’m tired of having the contents of my linen closet taking up the middle of my living room. Luckily we are almost there! I can see the light at the end of the tunnel.
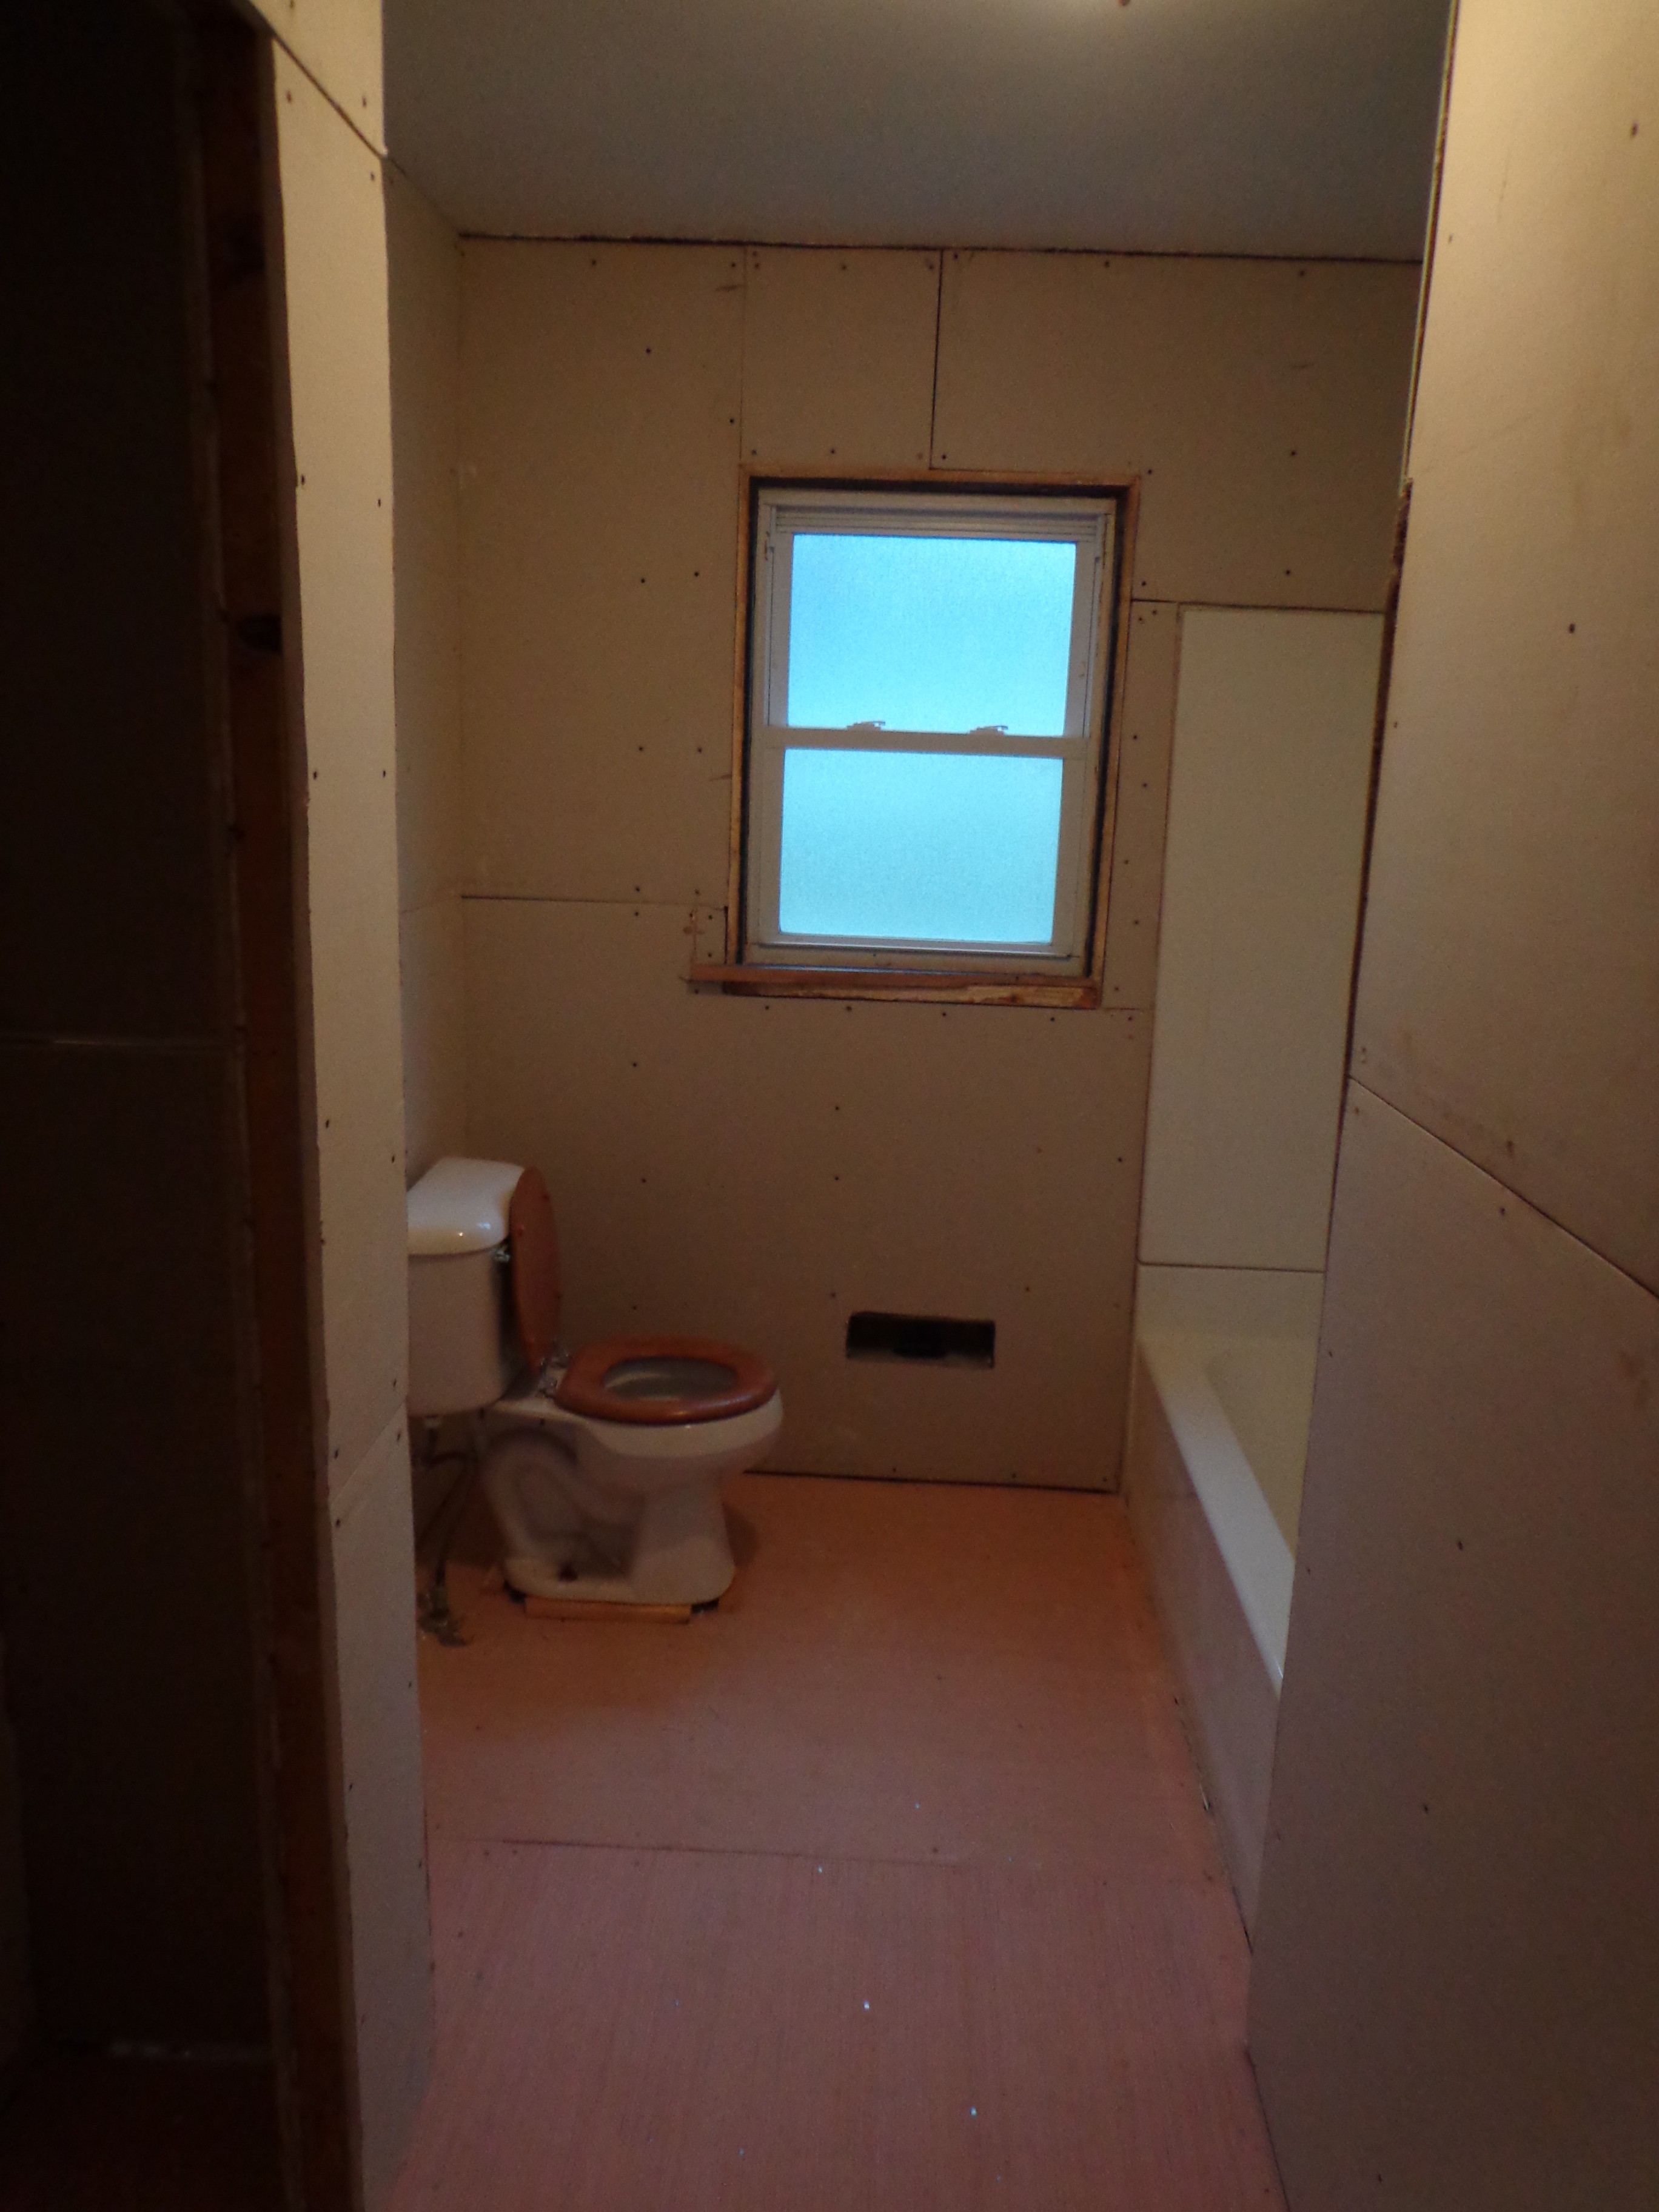 If you recall, this is what the bathroom looked like after the contractor finished. I literally cried. The drywall seams were horrible and I didn’t think that I would ever be able to cover them up.
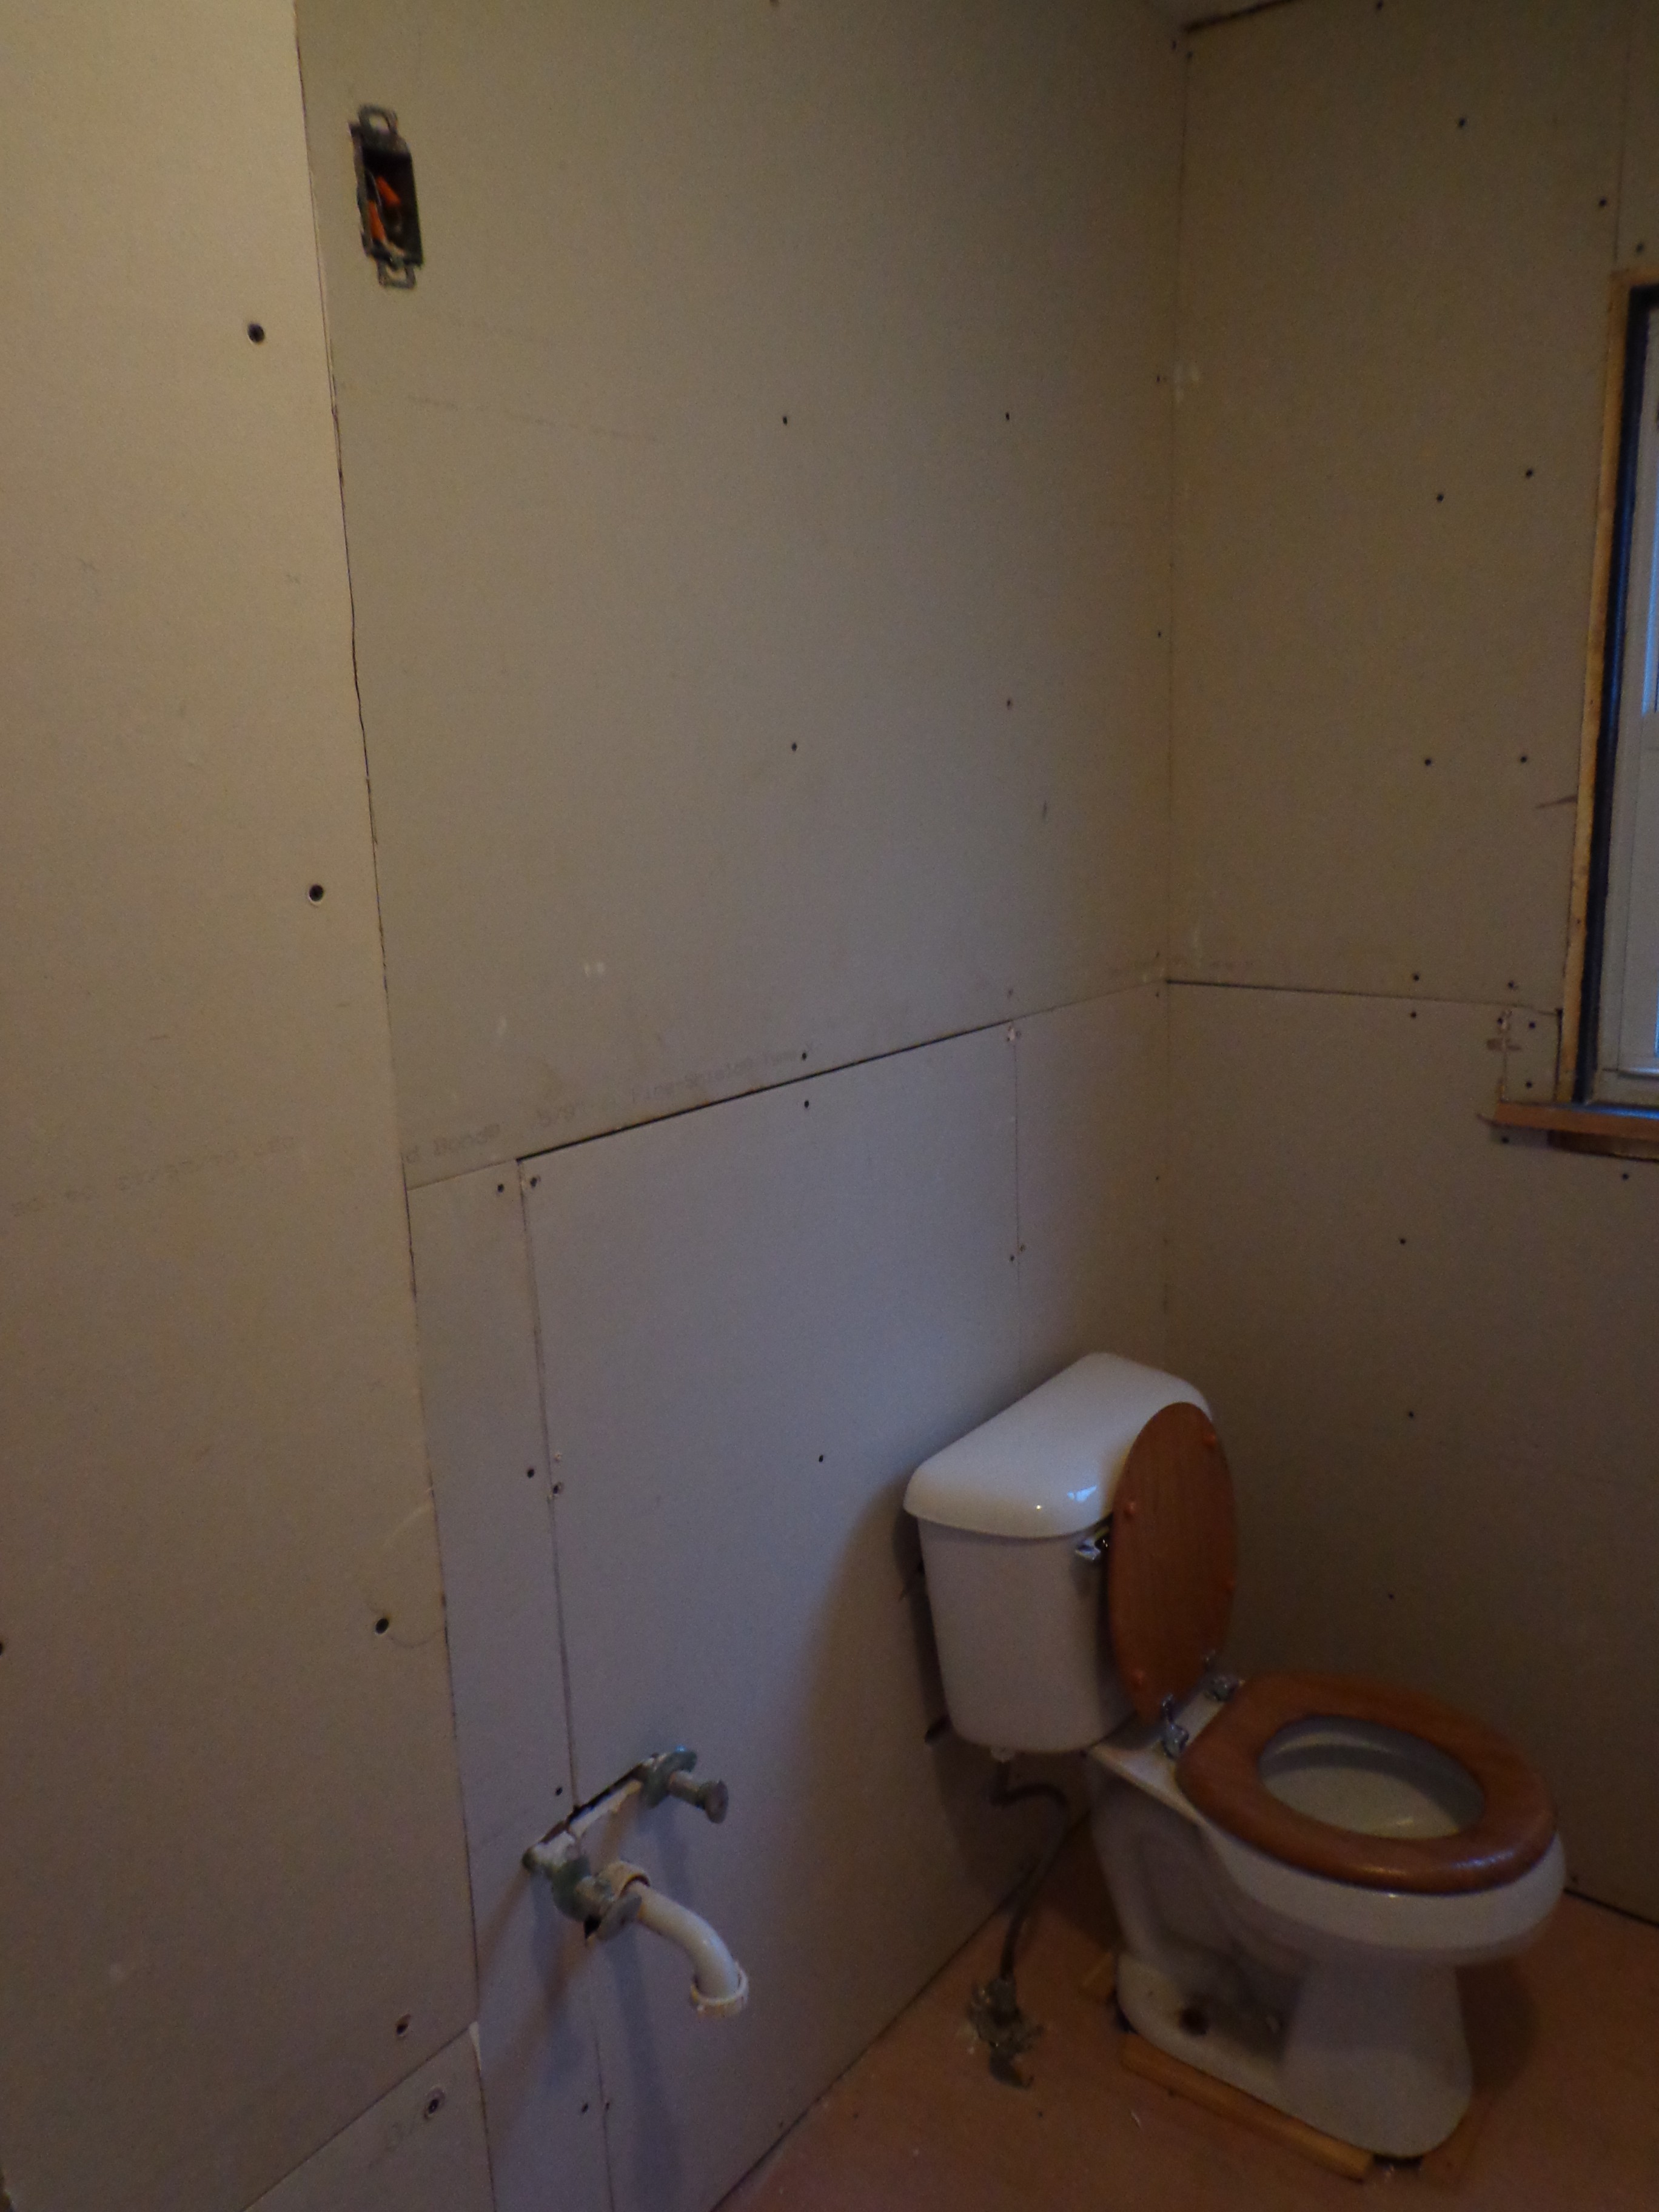 There was so much that needed to be done that I didn’t know how we were going to fix it. I’ve helped my parents remodel houses, but I’d never done it myself and I really doubted my ability to be able to make it look good.
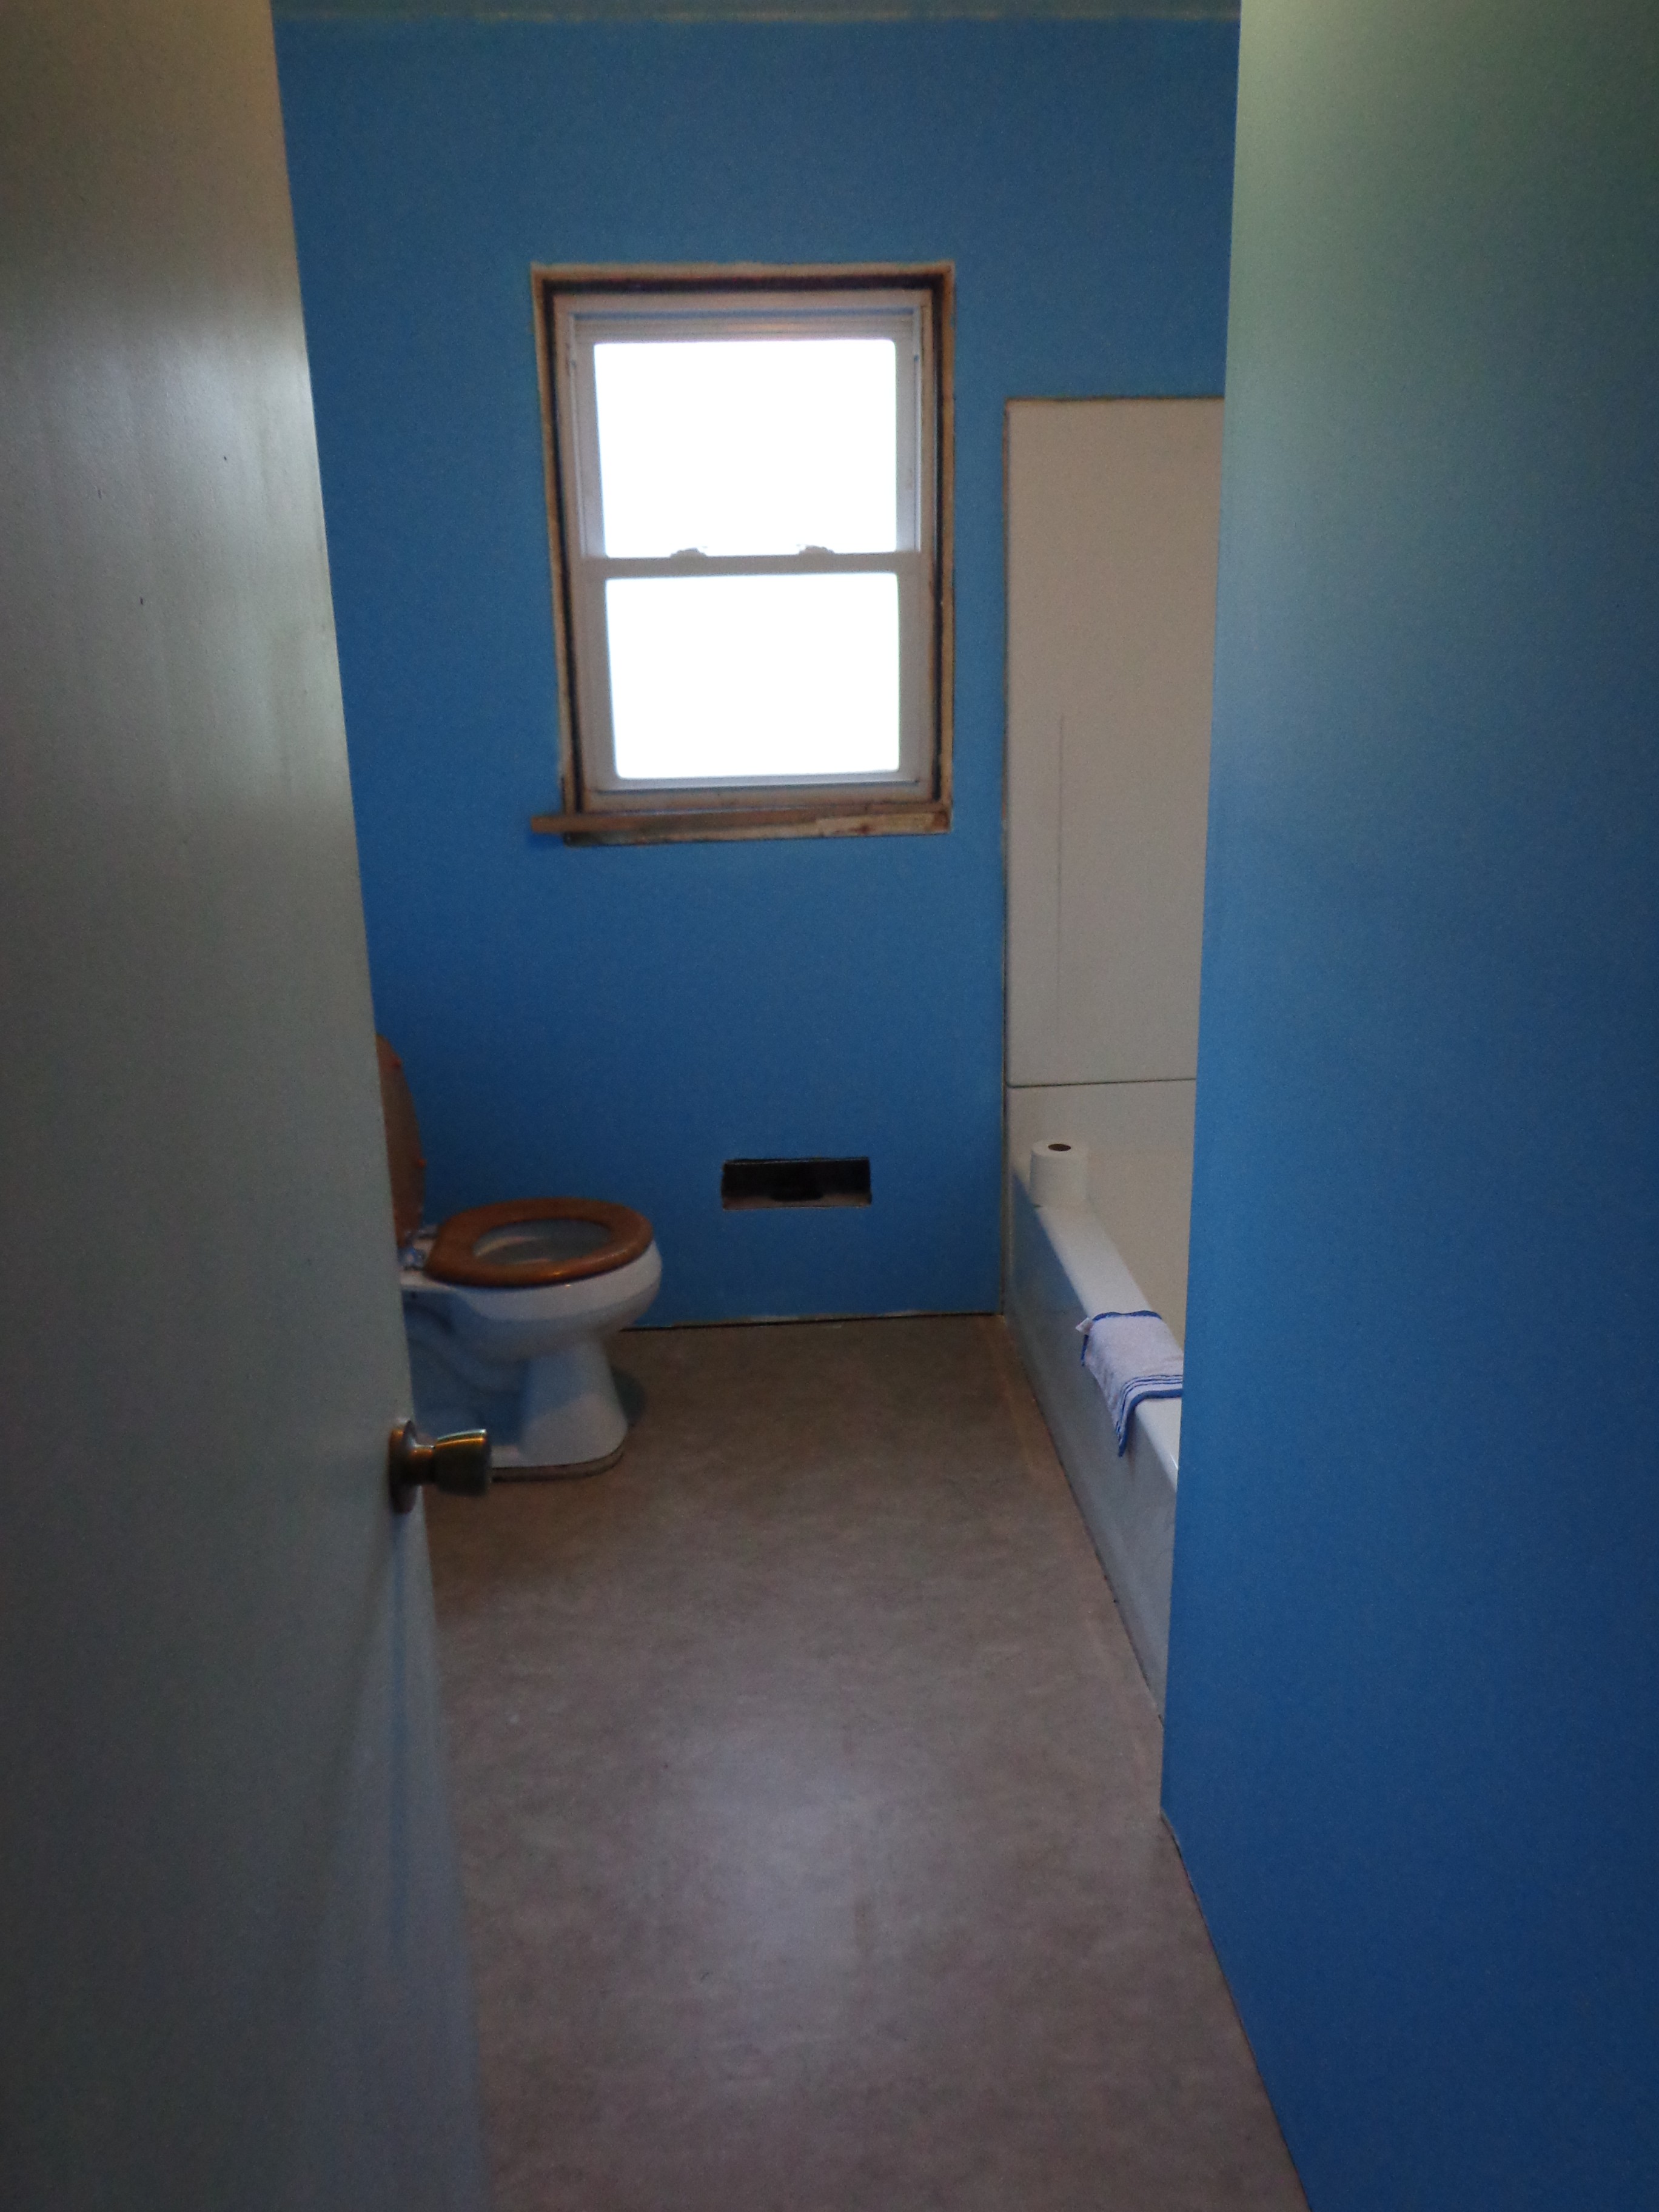
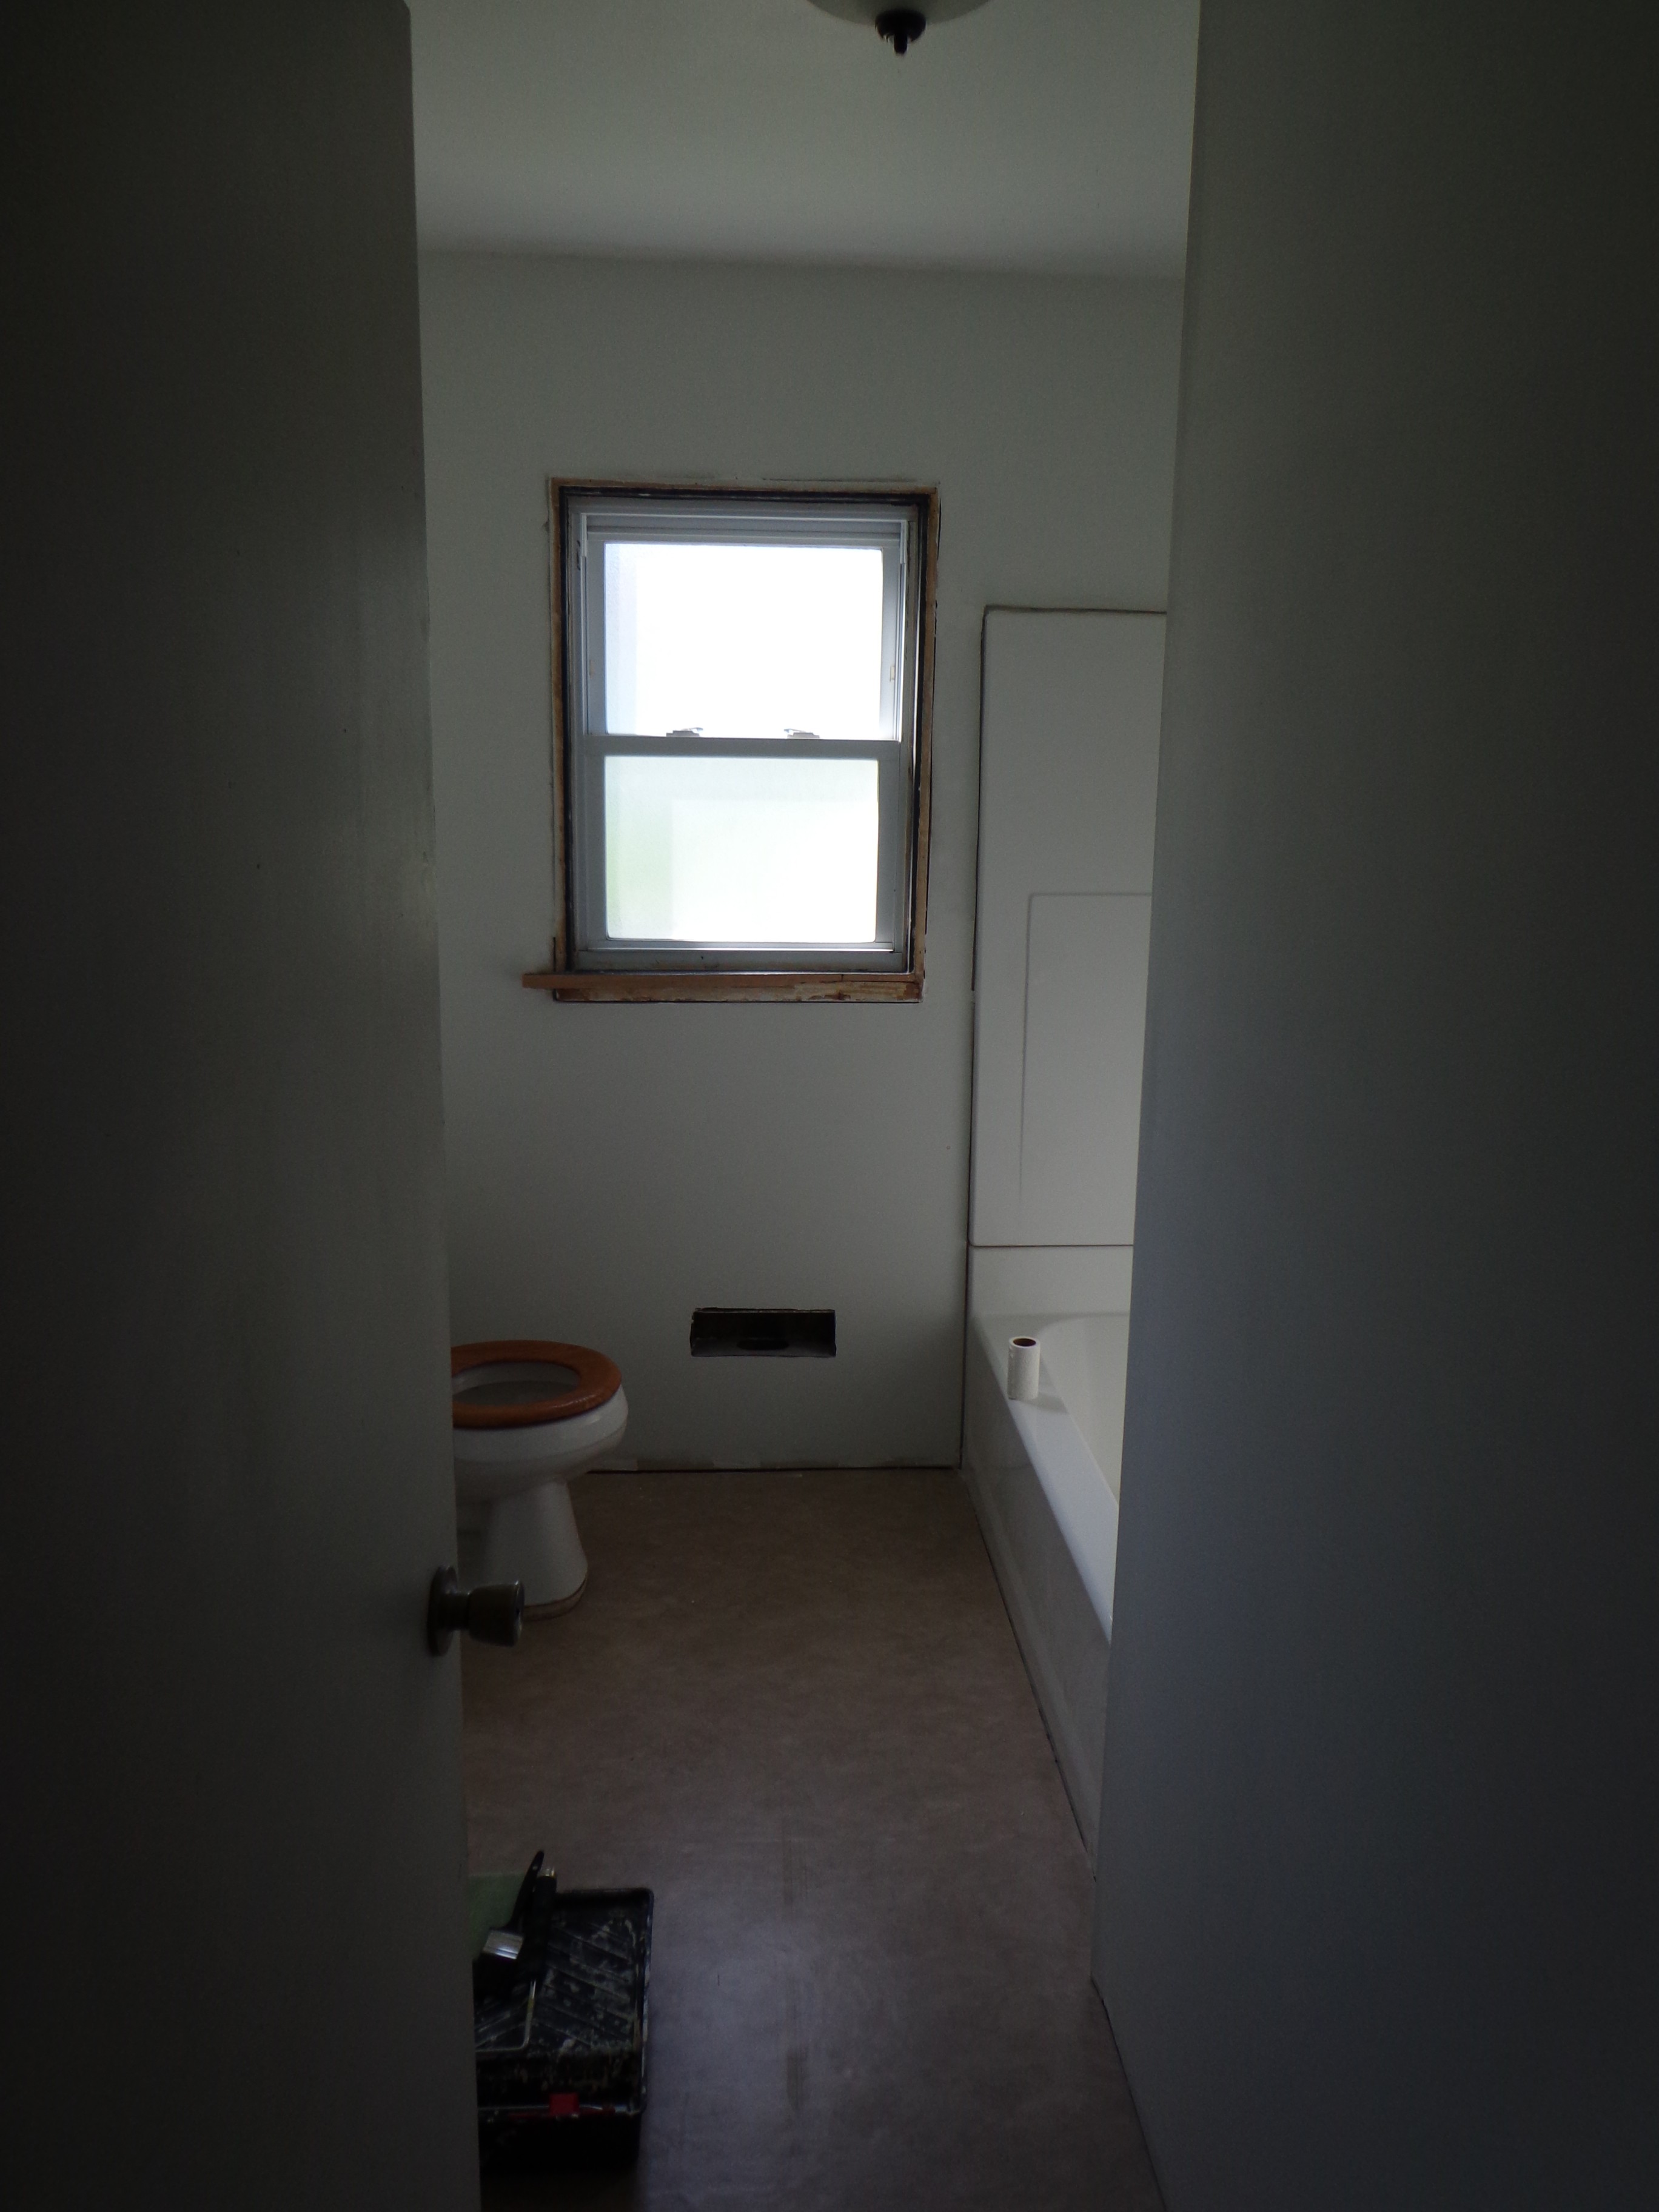 It was amazing how much better it looked after we finished the joint compounding and had a layer of primer on the walls.
I sent Jay to the floor store around the corner and told him to get some linoleum without a pattern. He came home with this vinyl, which was browner than I wanted but I knew that we could make it work.
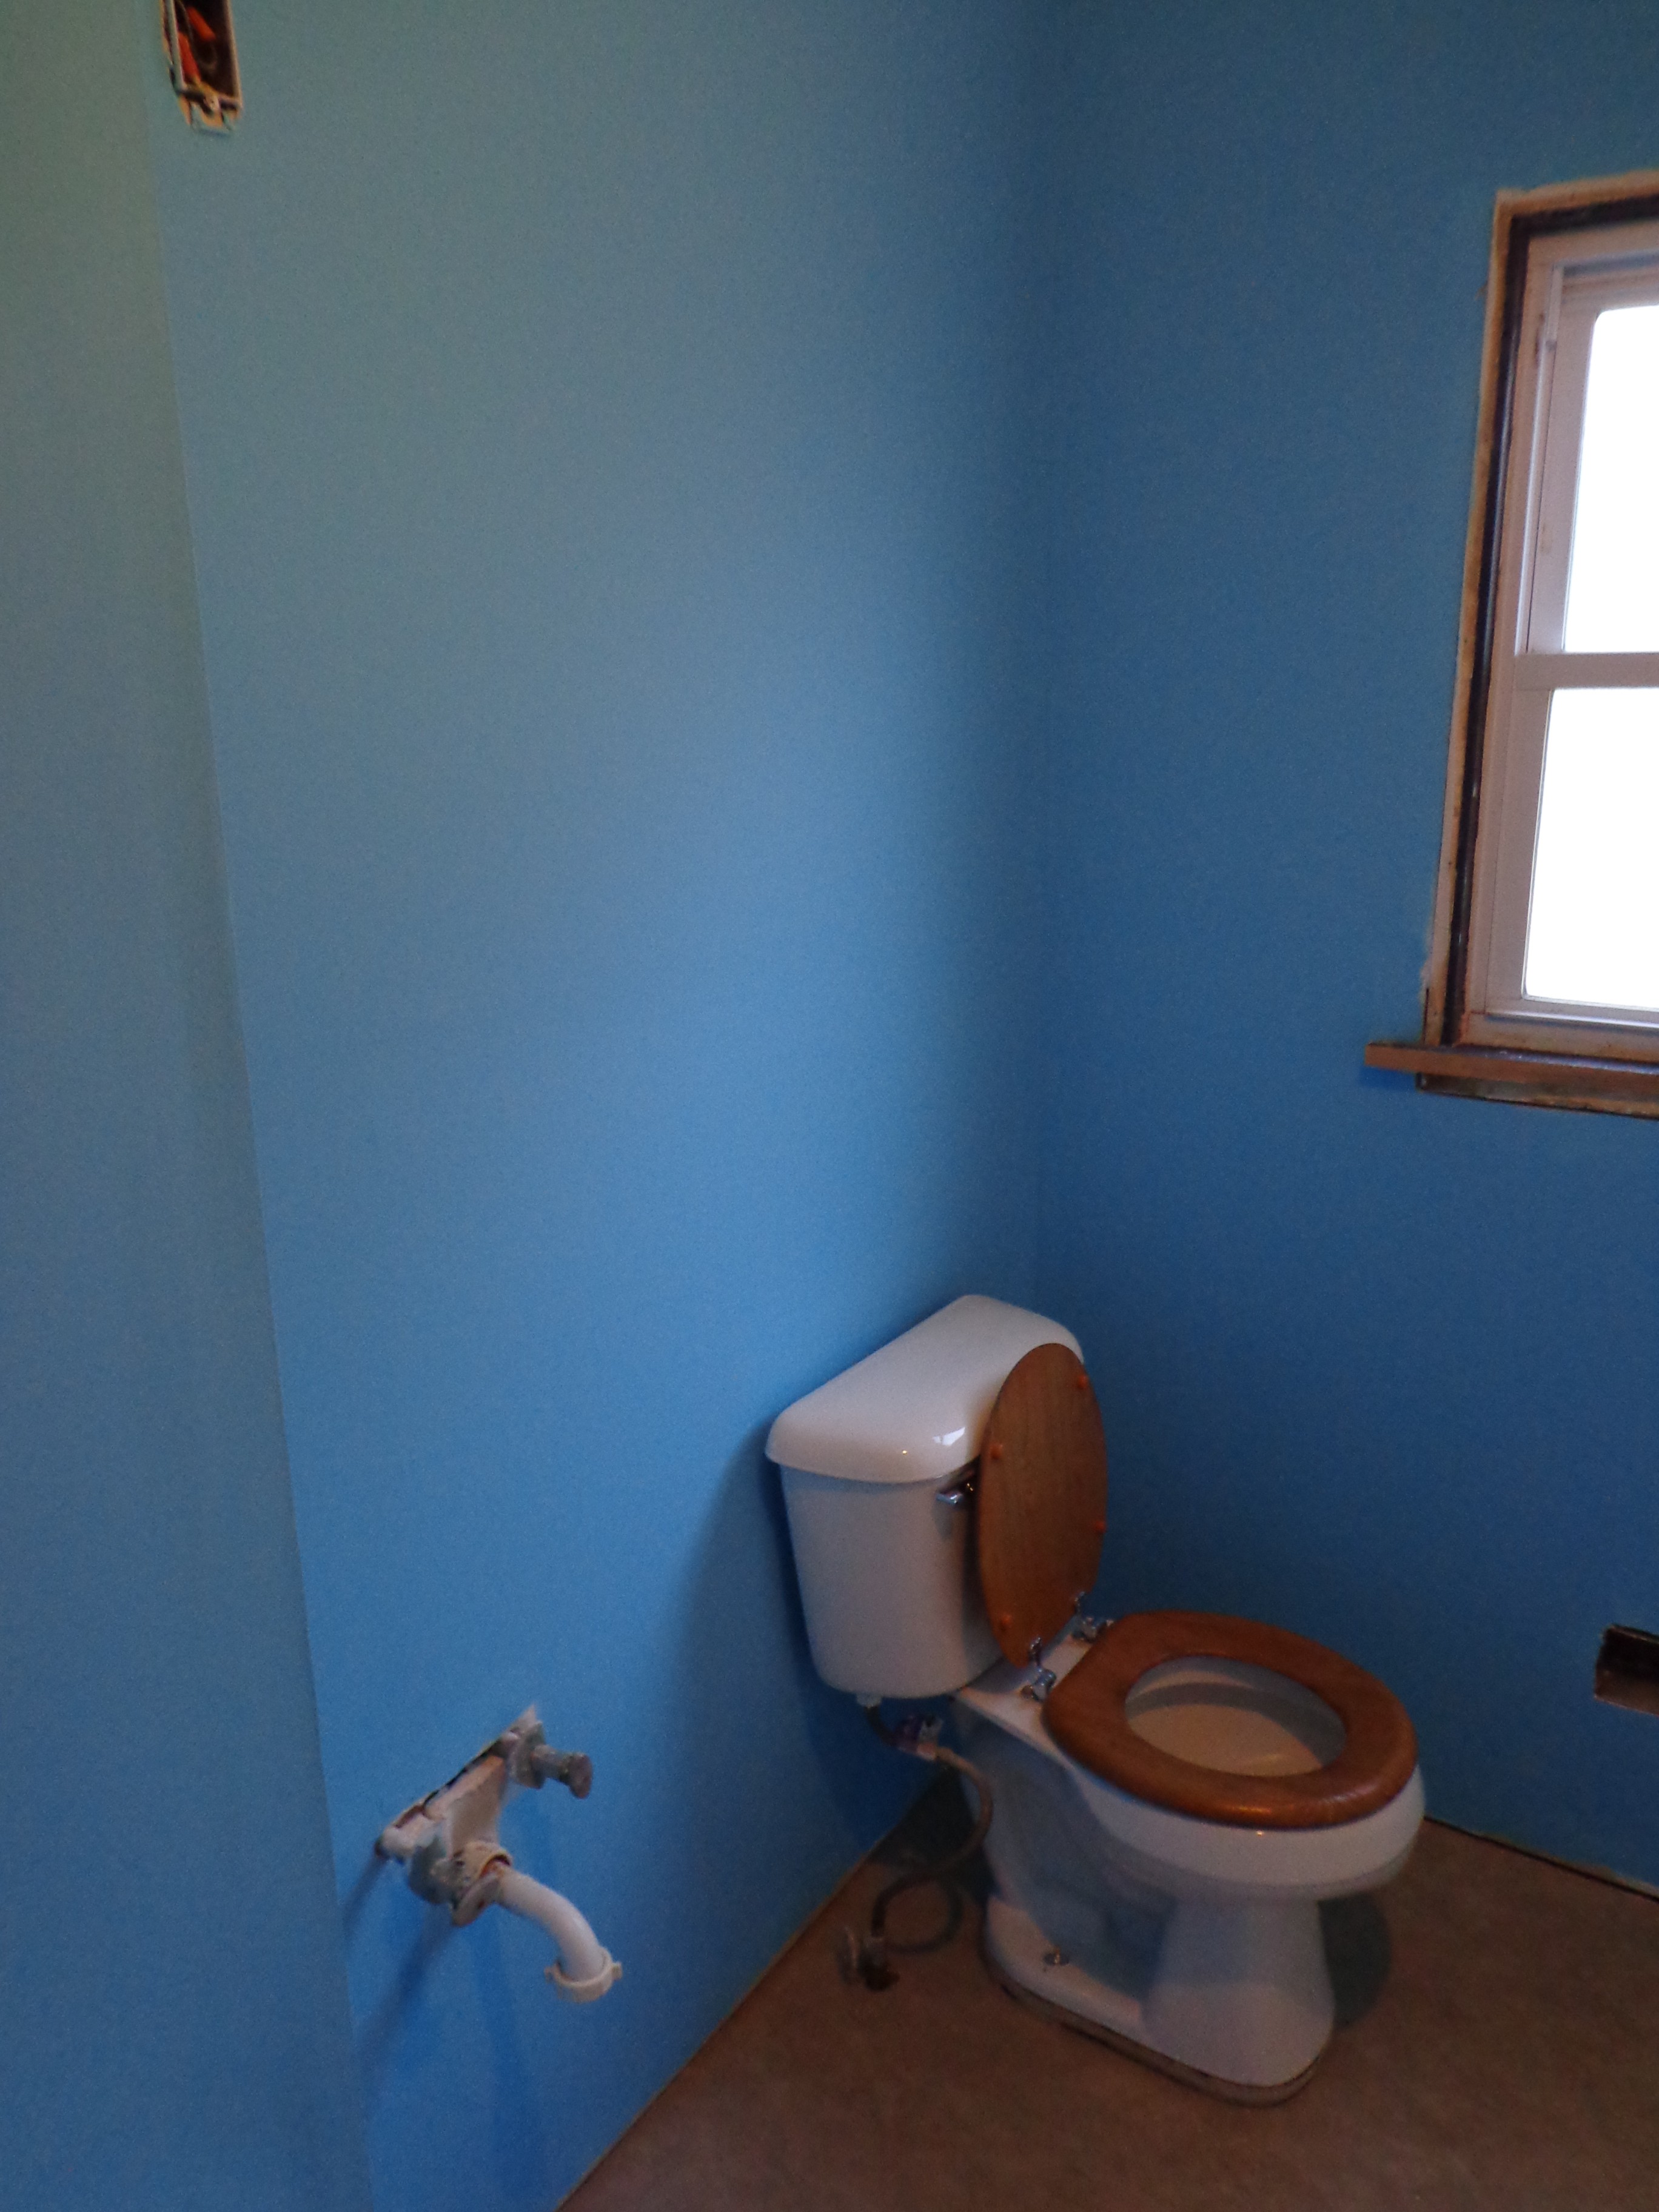
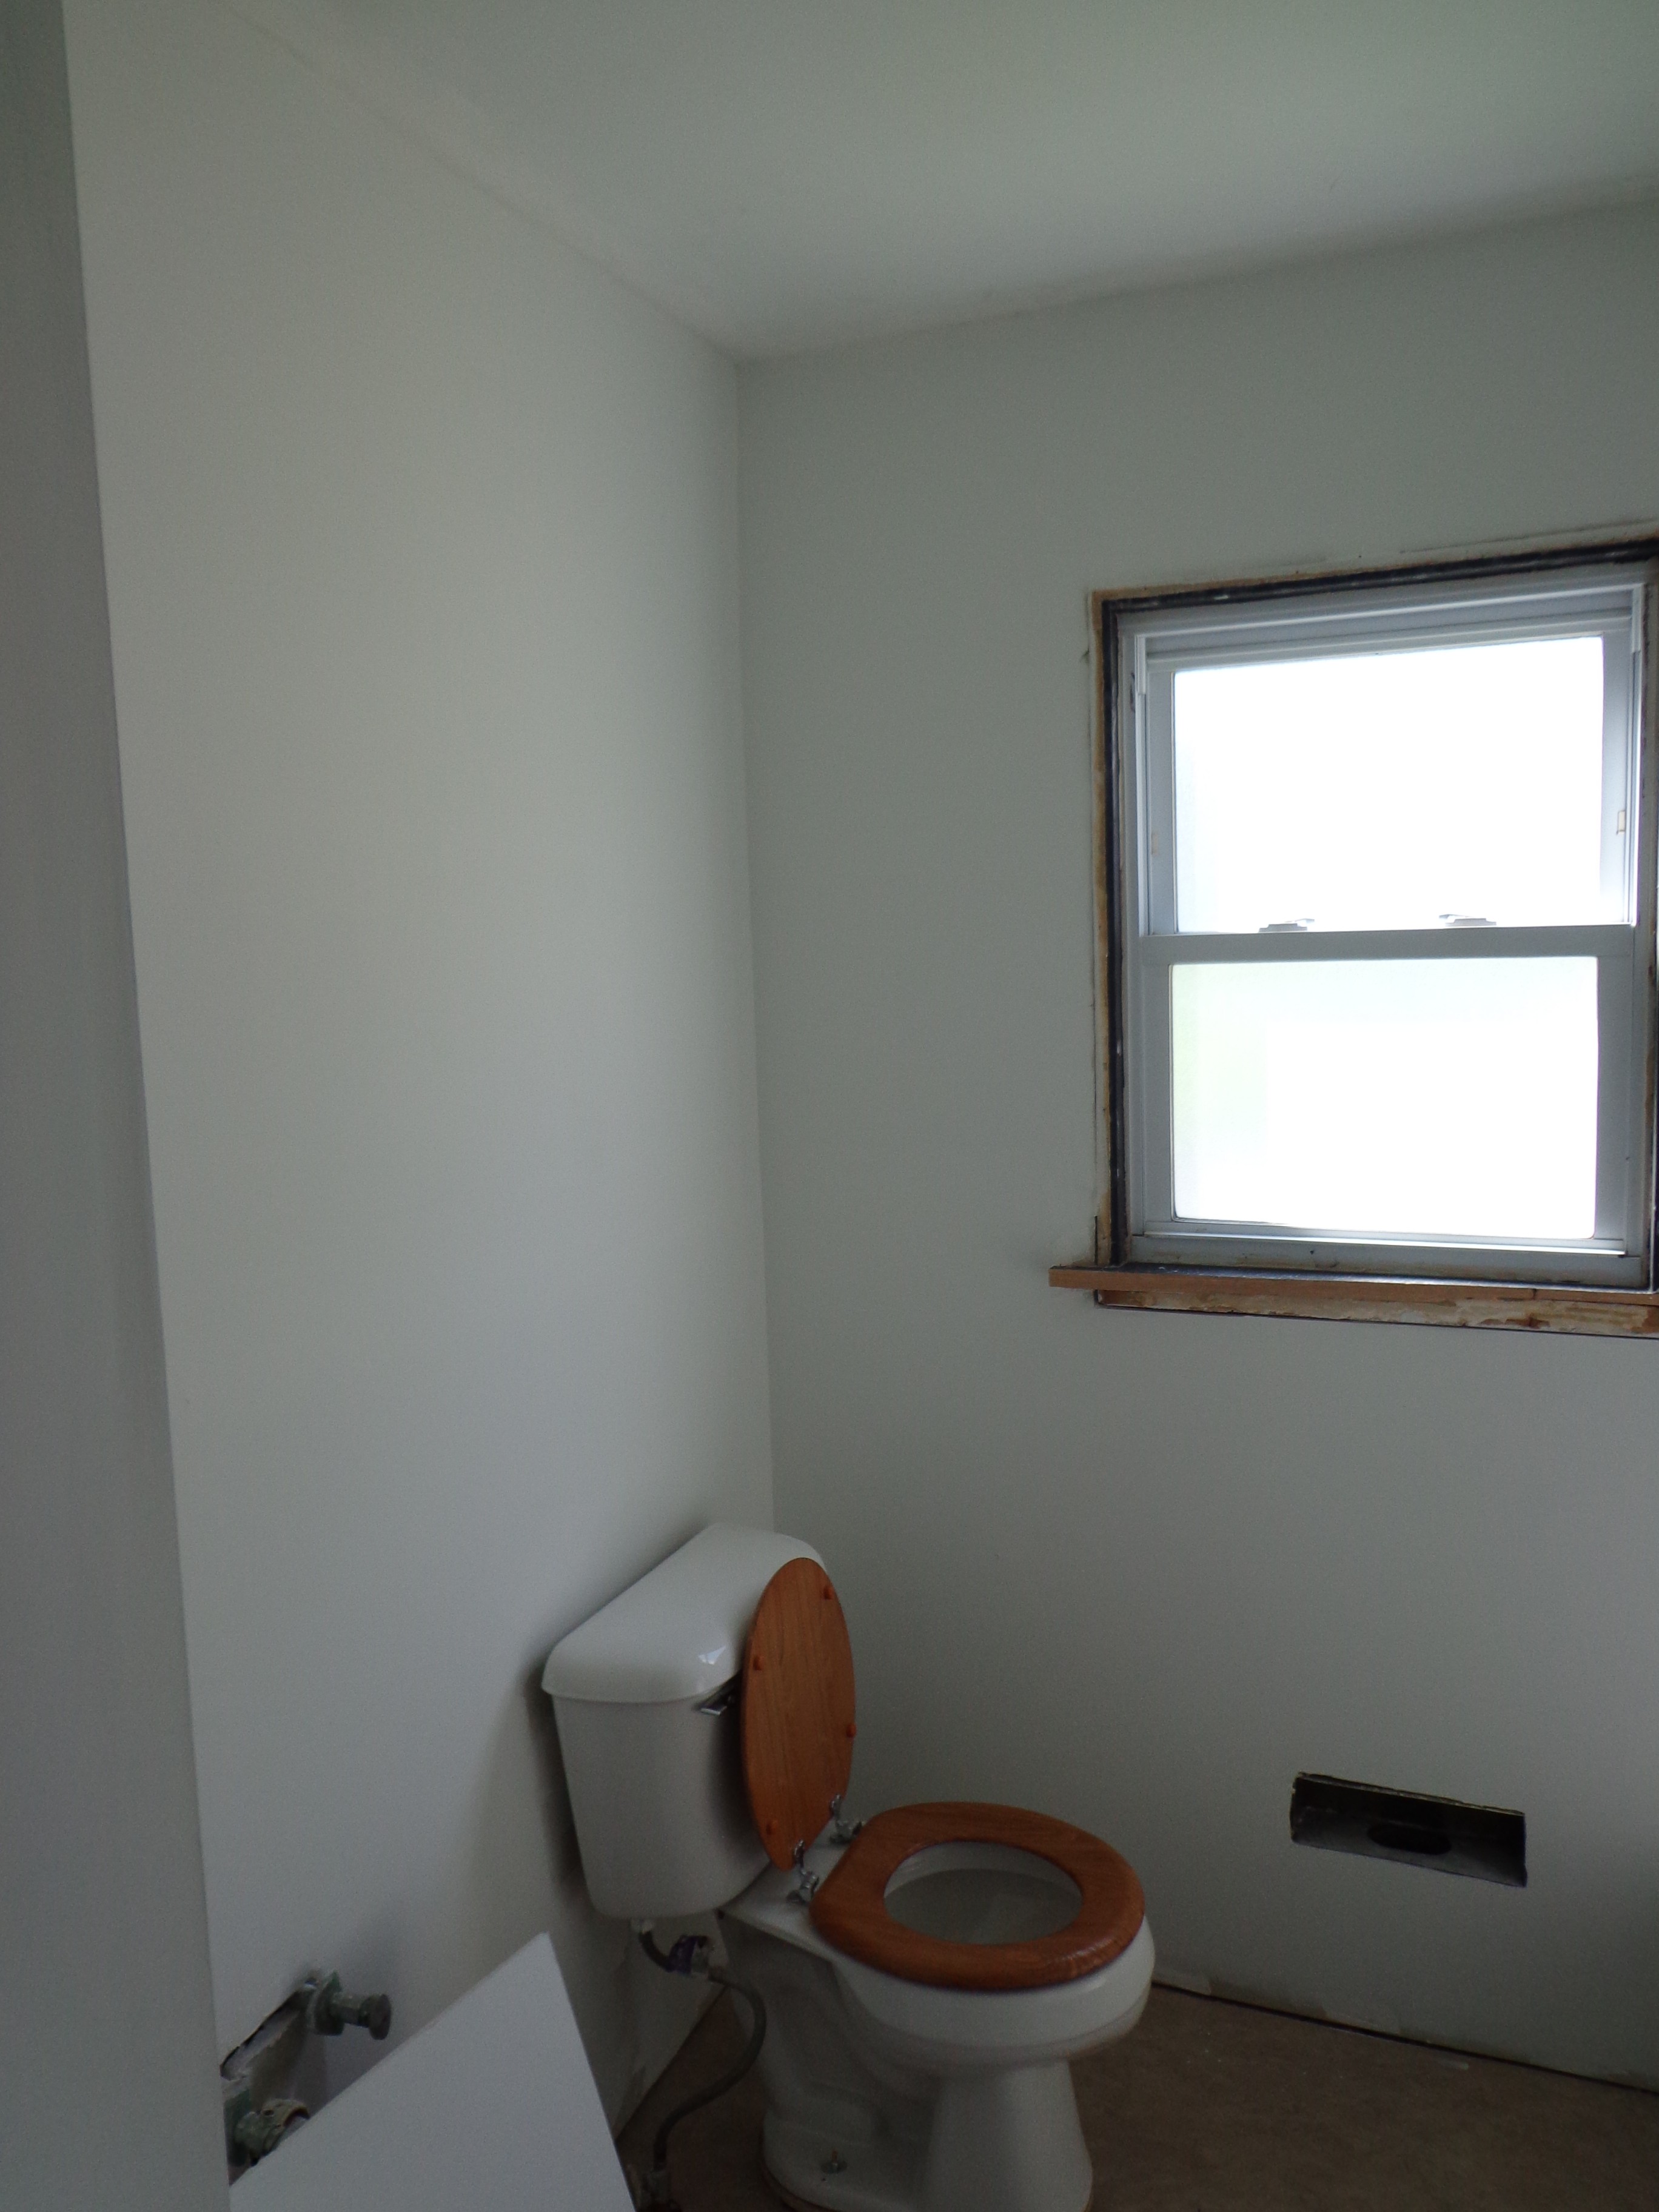 The walls weren’t perfectly smooth, despite our best efforts, but we got tired of being covered in dust and decided that it would have to do. The white looked nice and clean, but it was too sterile and bright.
 I had some paint left from my previous house and decided that I would use that for this project. My thought was that since our shower curtain has blue in it that this blue would work.
WOW.
You can’t really appreciate just how BLUE this color is in person. It looked like I had killed a bunch of Smurfs and smeared them across the walls.
 My other worry involved the floor. How in the world was I going to make the brown of the floor work with the blue of the walls?
Due to the fact that the walls weren’t perfectly smooth I knew that I would have to use a painting technique to hide those flaws.
 My original idea was to paint the lines on the wall that you get when light is reflected off of water’s surface. You know what I mean… like when you’re inside and the light hits a pool of water and you can see the water’s reflection moving on the wall.
This seemed like a really neat idea, but execution was going to be tricky because I am not artistic. At all. The other problem was the fact that it’s a small space and I didn’t want to be overwhelmed with the “reflection”.
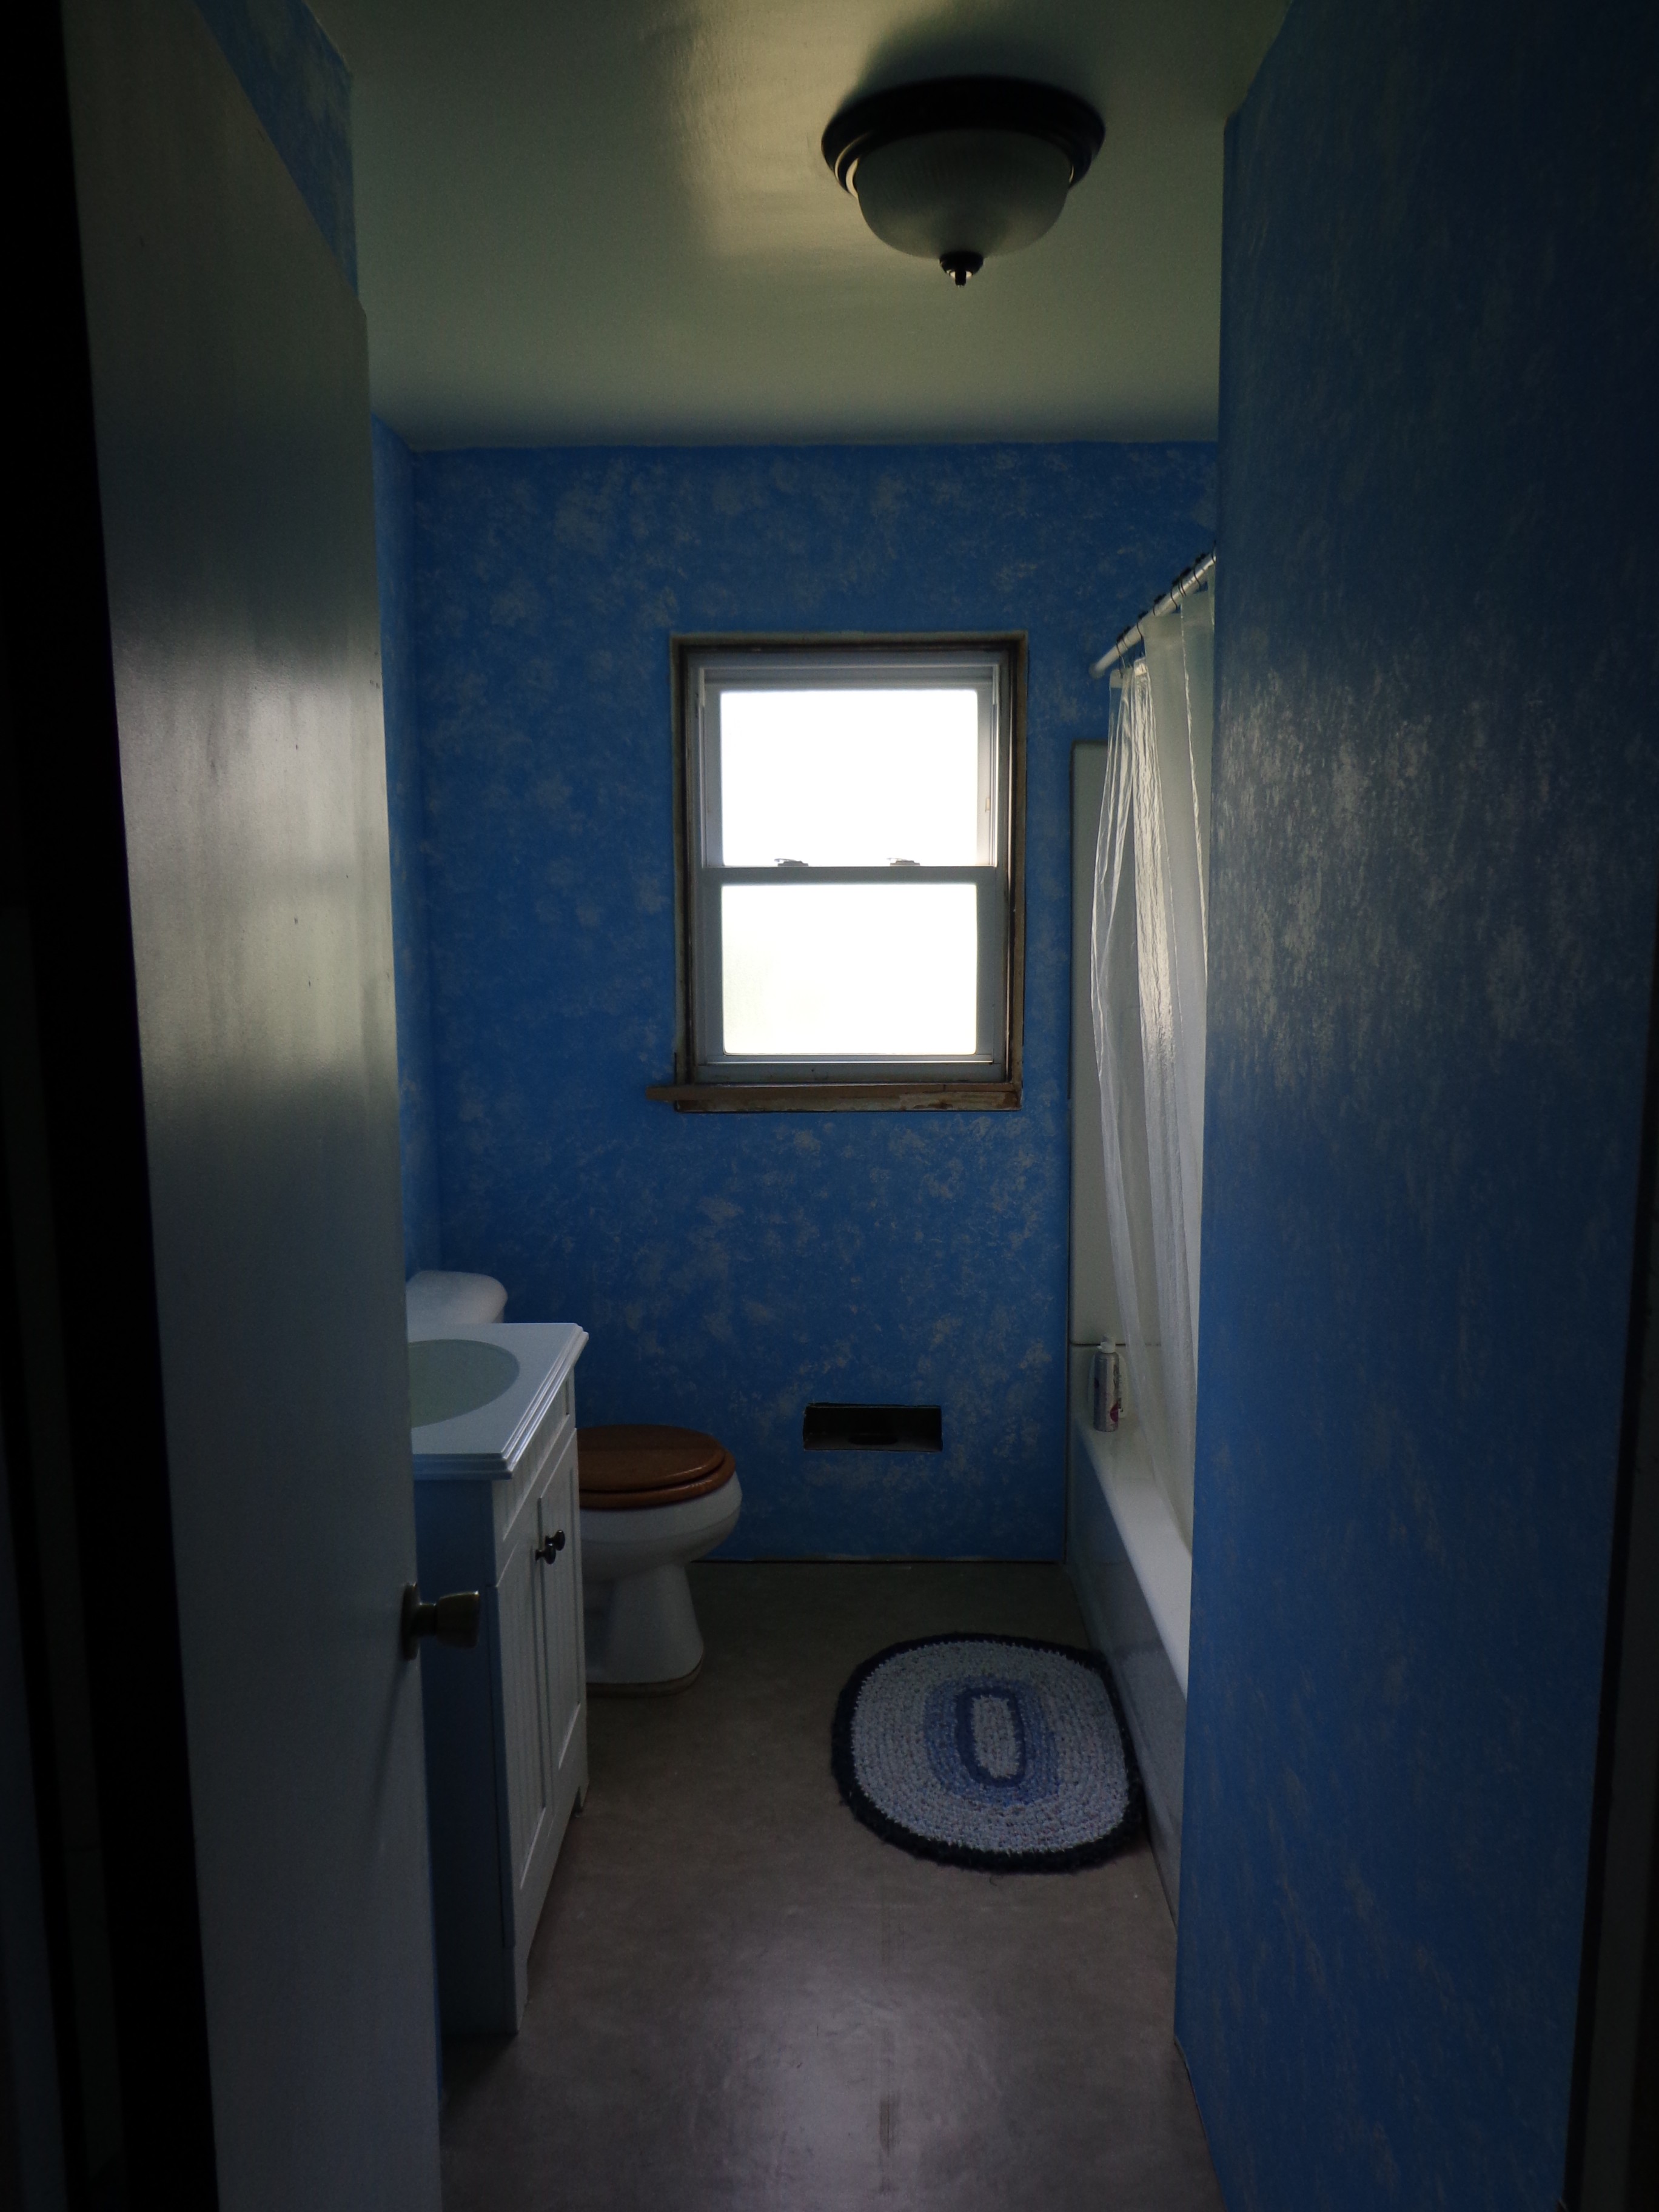 I knew that I had to tone down the blue, and since the toilet, shower and sink are white I figured that was the obvious choice. I did a rag painting technique where you use a plastic bag instead of a rag. I had practiced on an extra piece of drywall before trying it on the wall. Then I had Jay tell me which one he liked best.
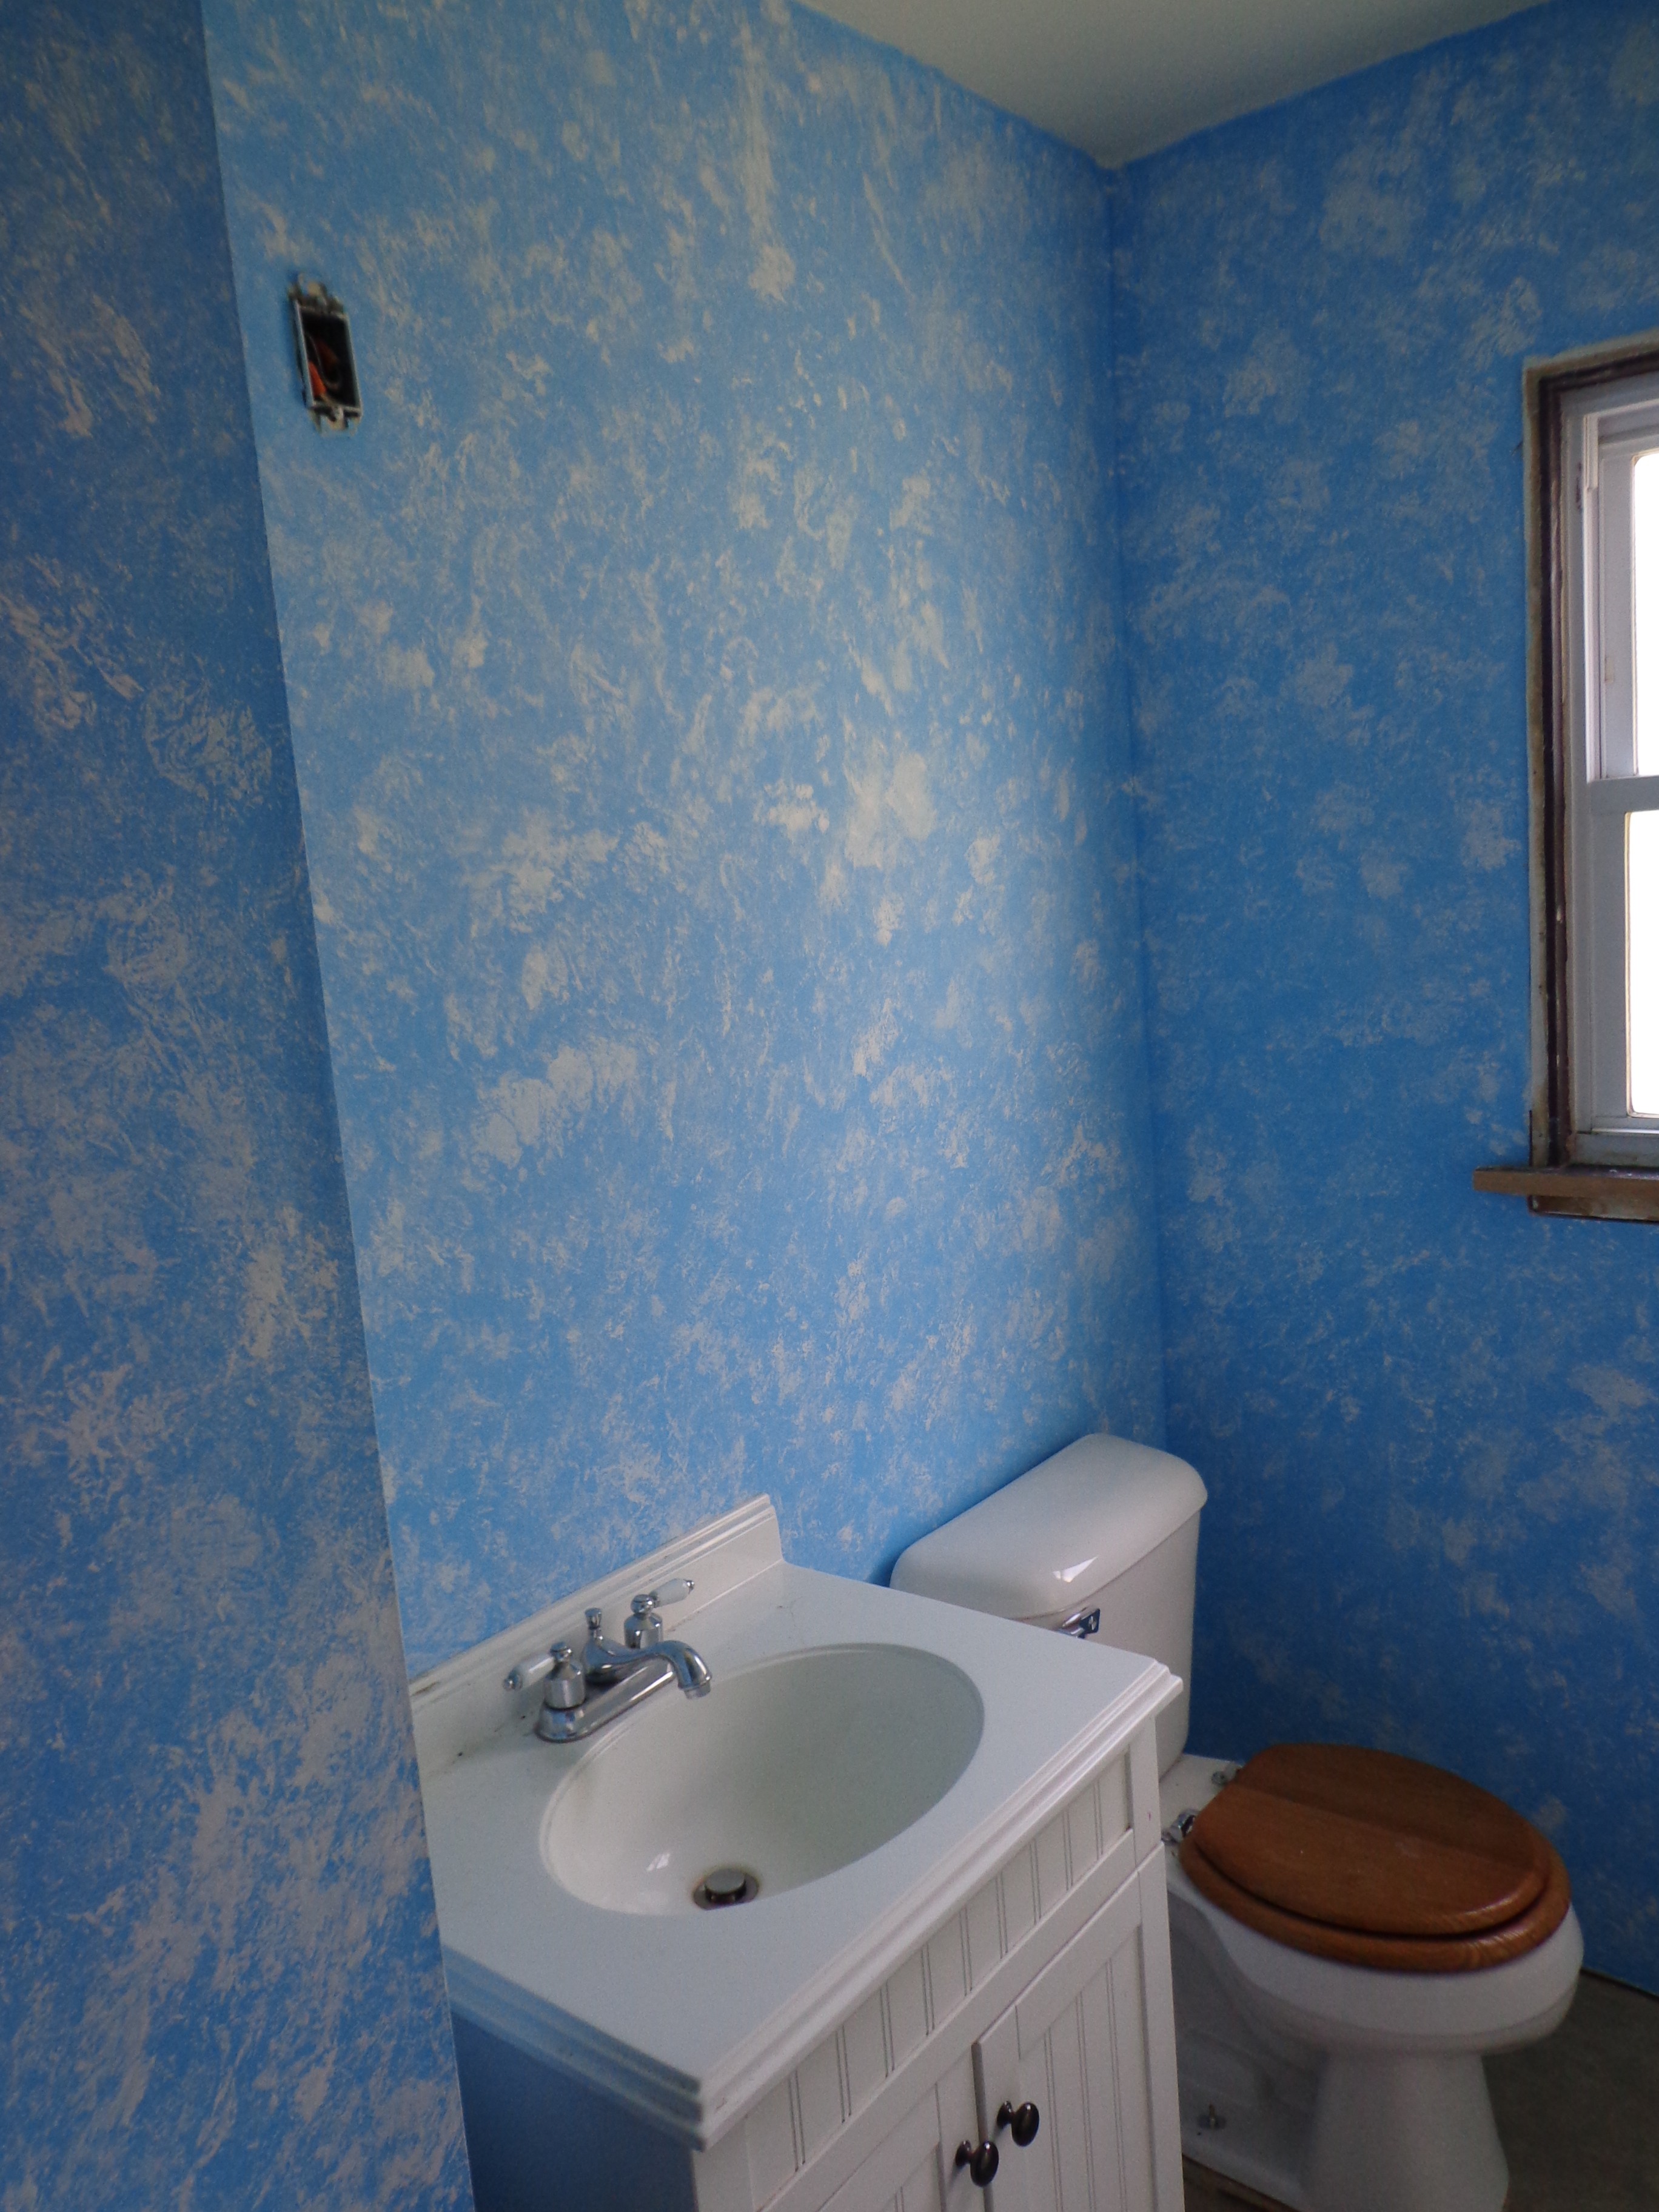 After I was done I was still worried that this would be too much. I wanted to tone down the blue, but I didn’t want to create another problem.
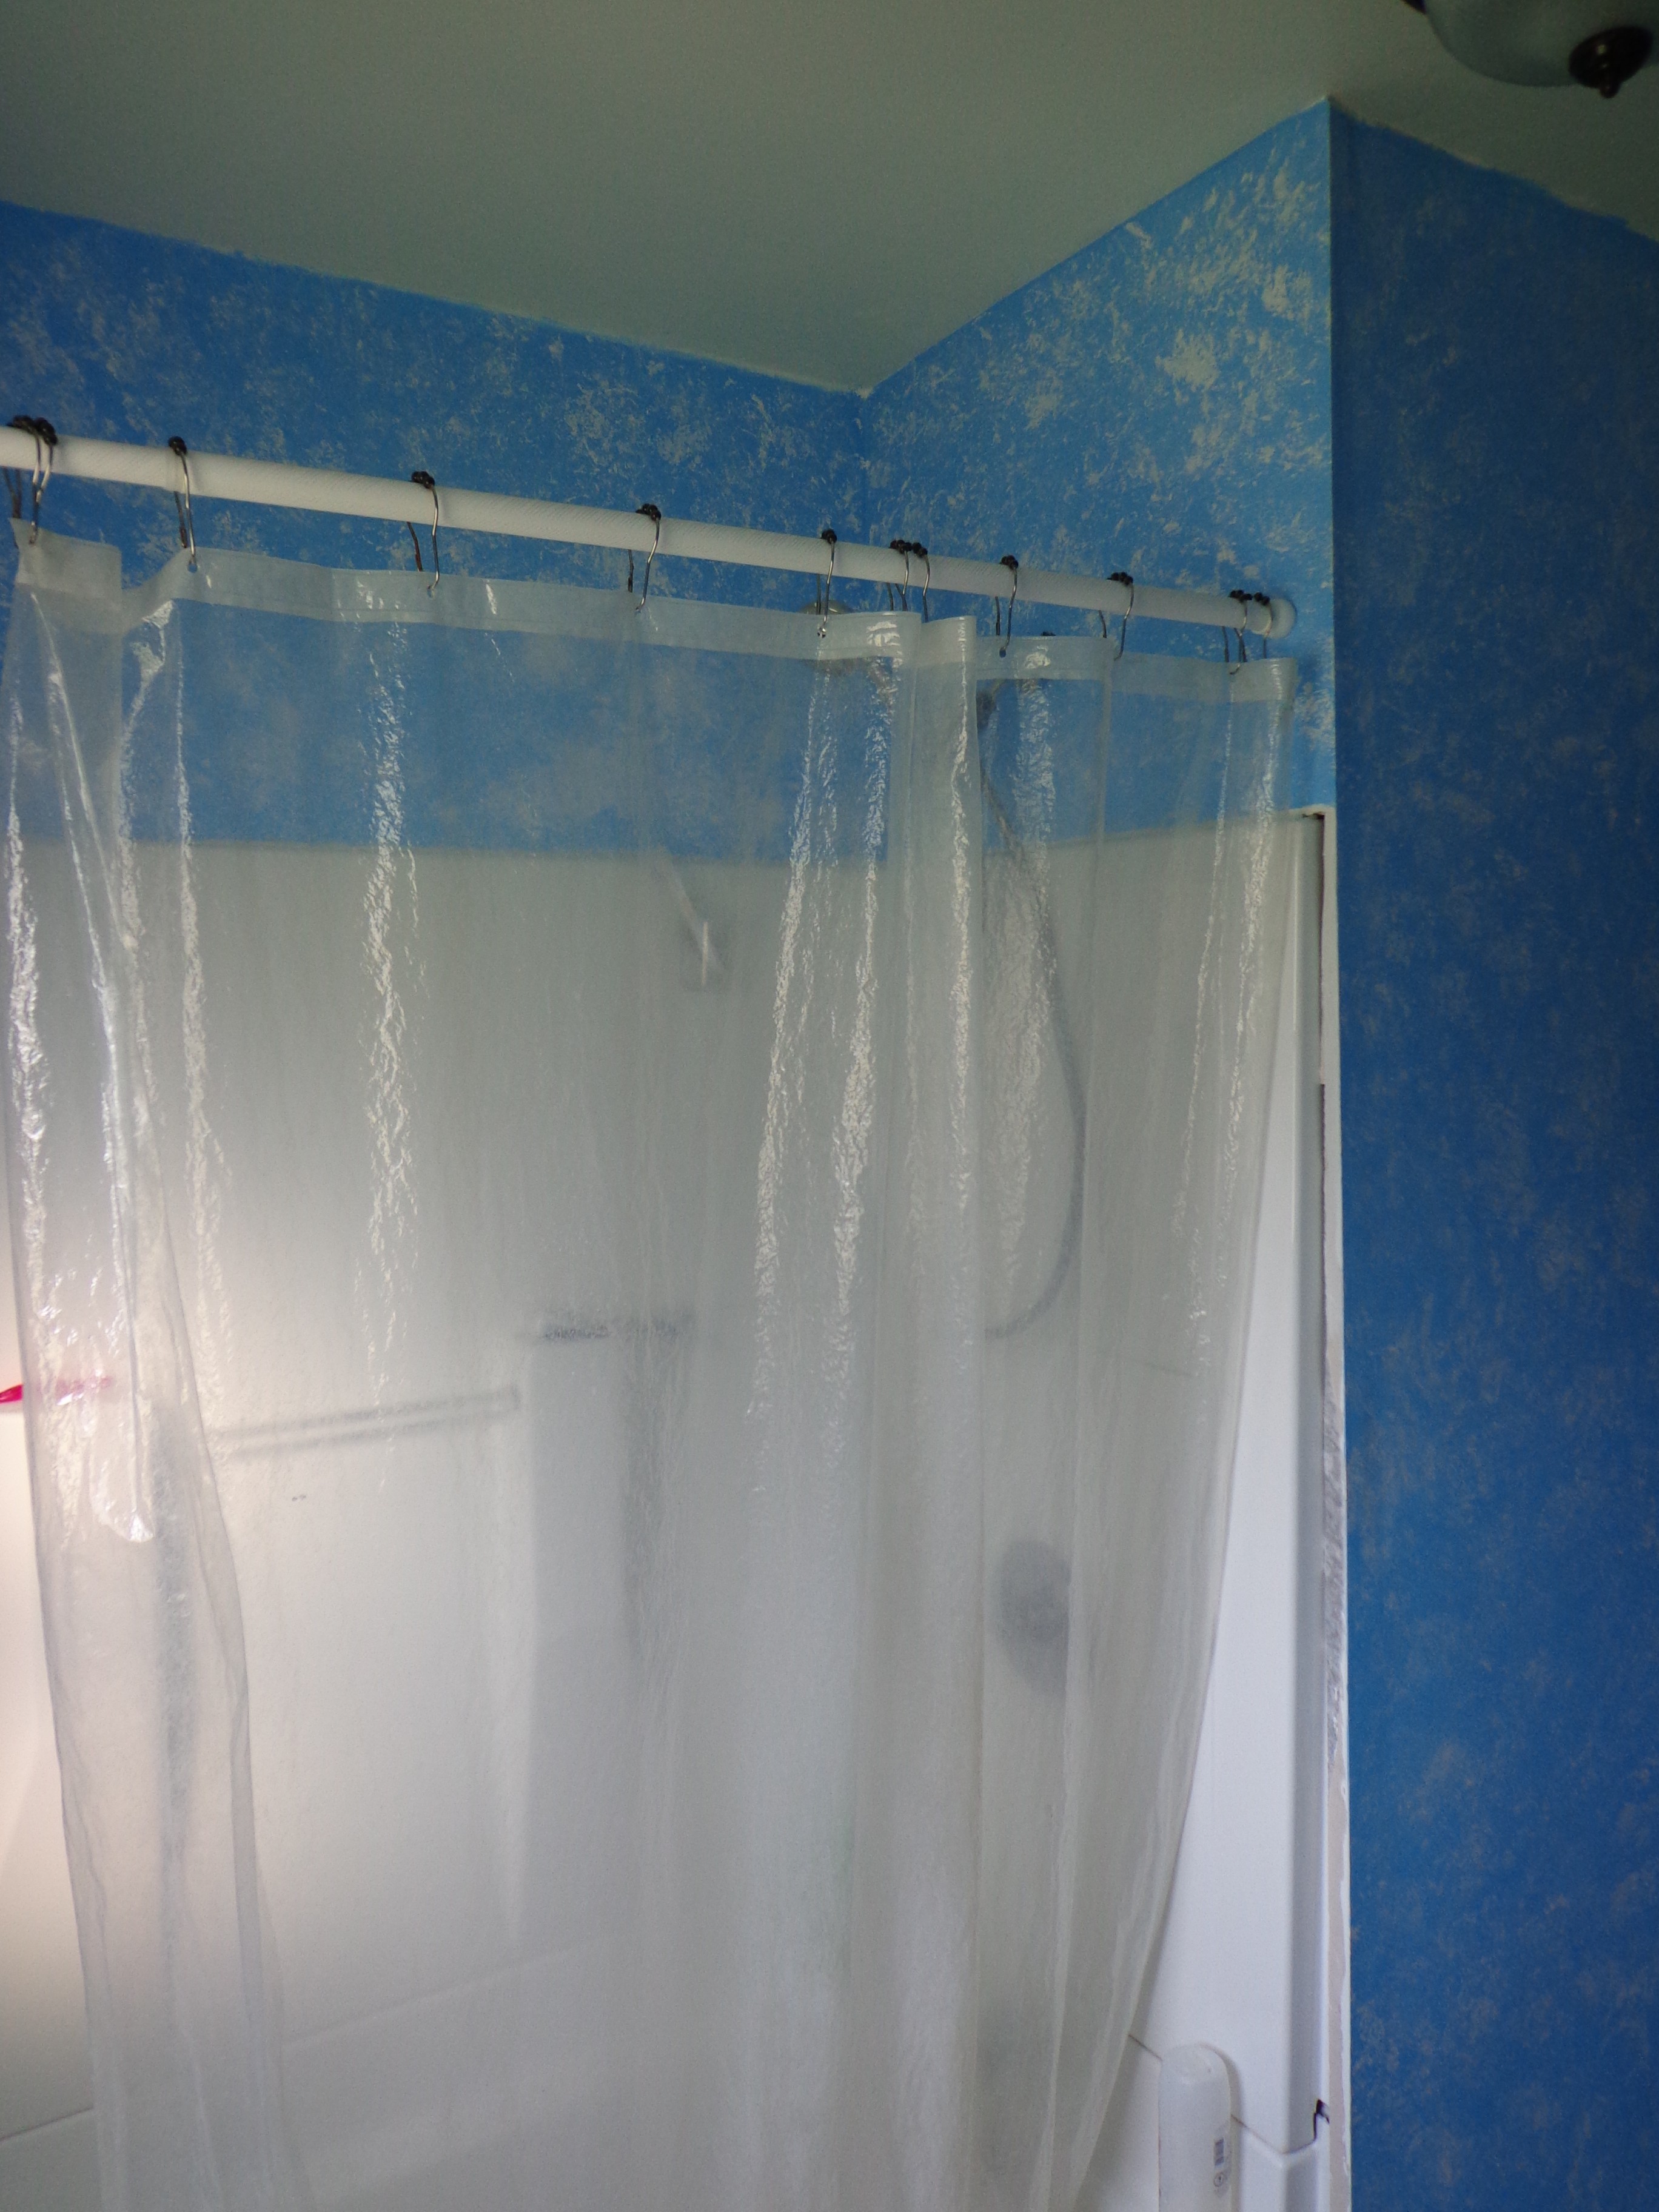 At this point we were still using the clear shower curtain because I didn’t want to hang the other one up until we were all done with all of the painting and trim work. This tension rod worked great because I could simply take it down when we were working on the room, and then it went back up when we needed to take a shower.
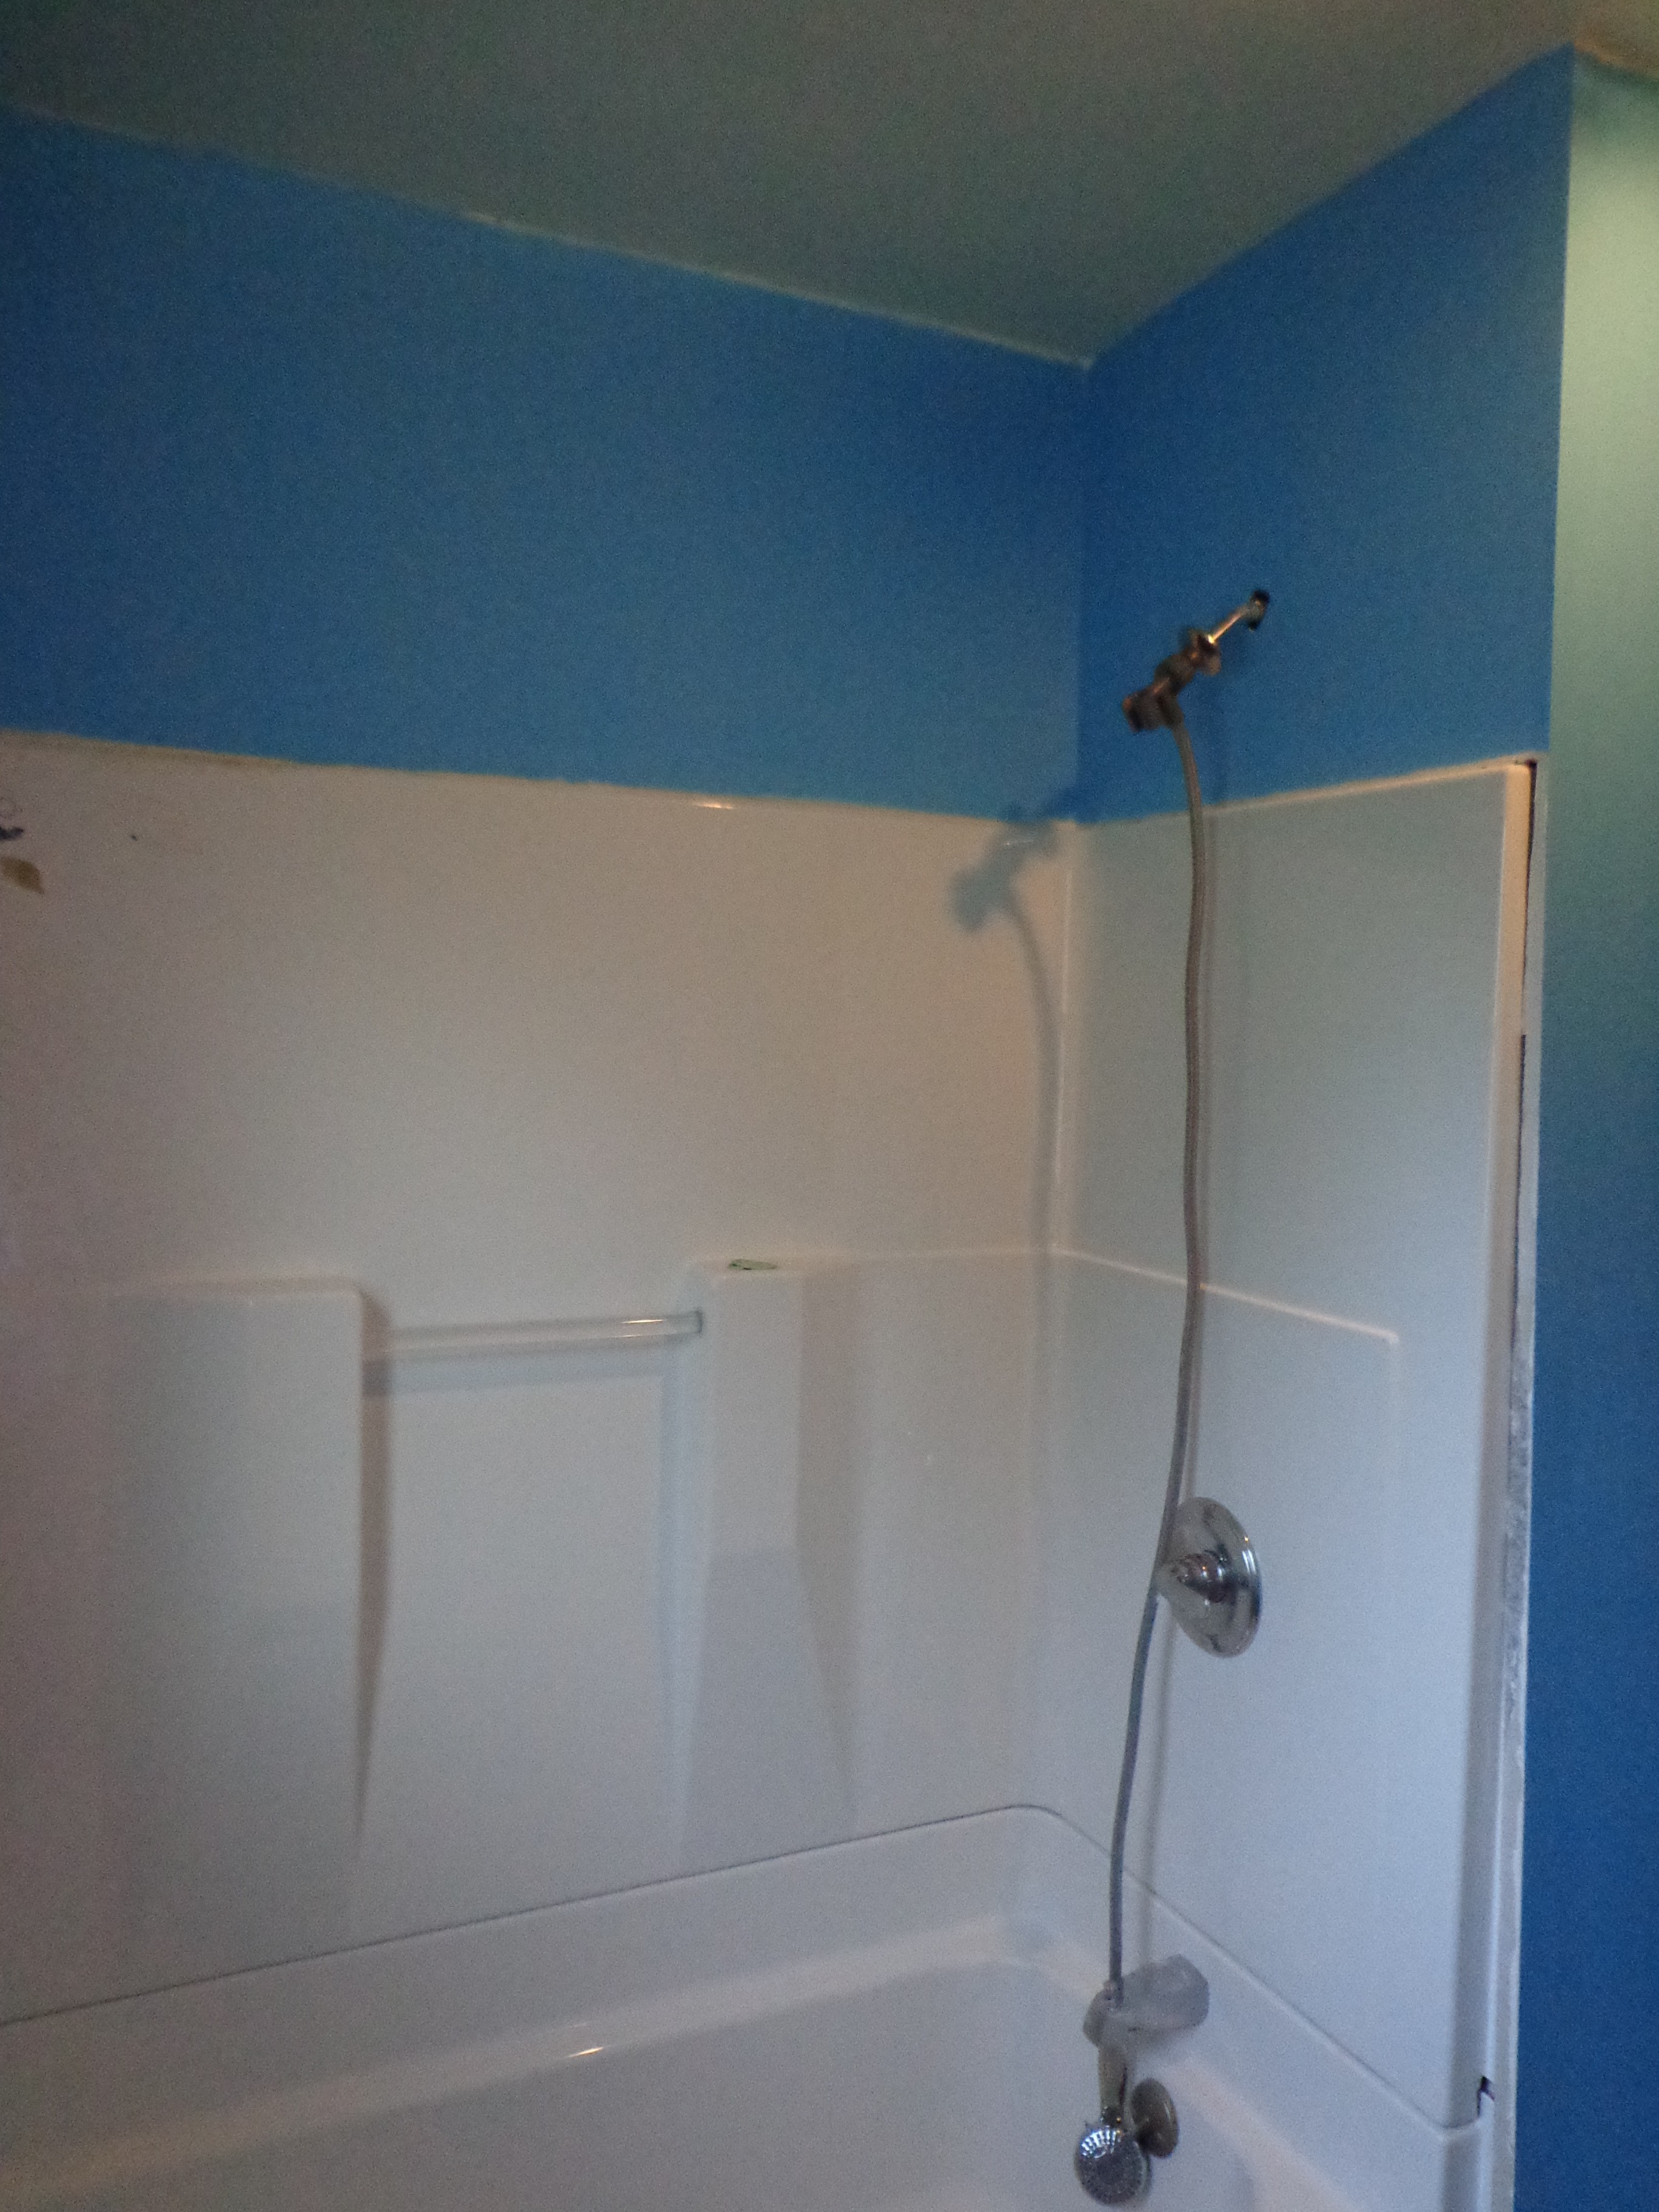
We discovered that even though we only lost an inch or so of shower space (due to the new fiberglass surround), with the curtain blowing in on us it really caused the shower to quickly shrink. I found a solution to that, however.
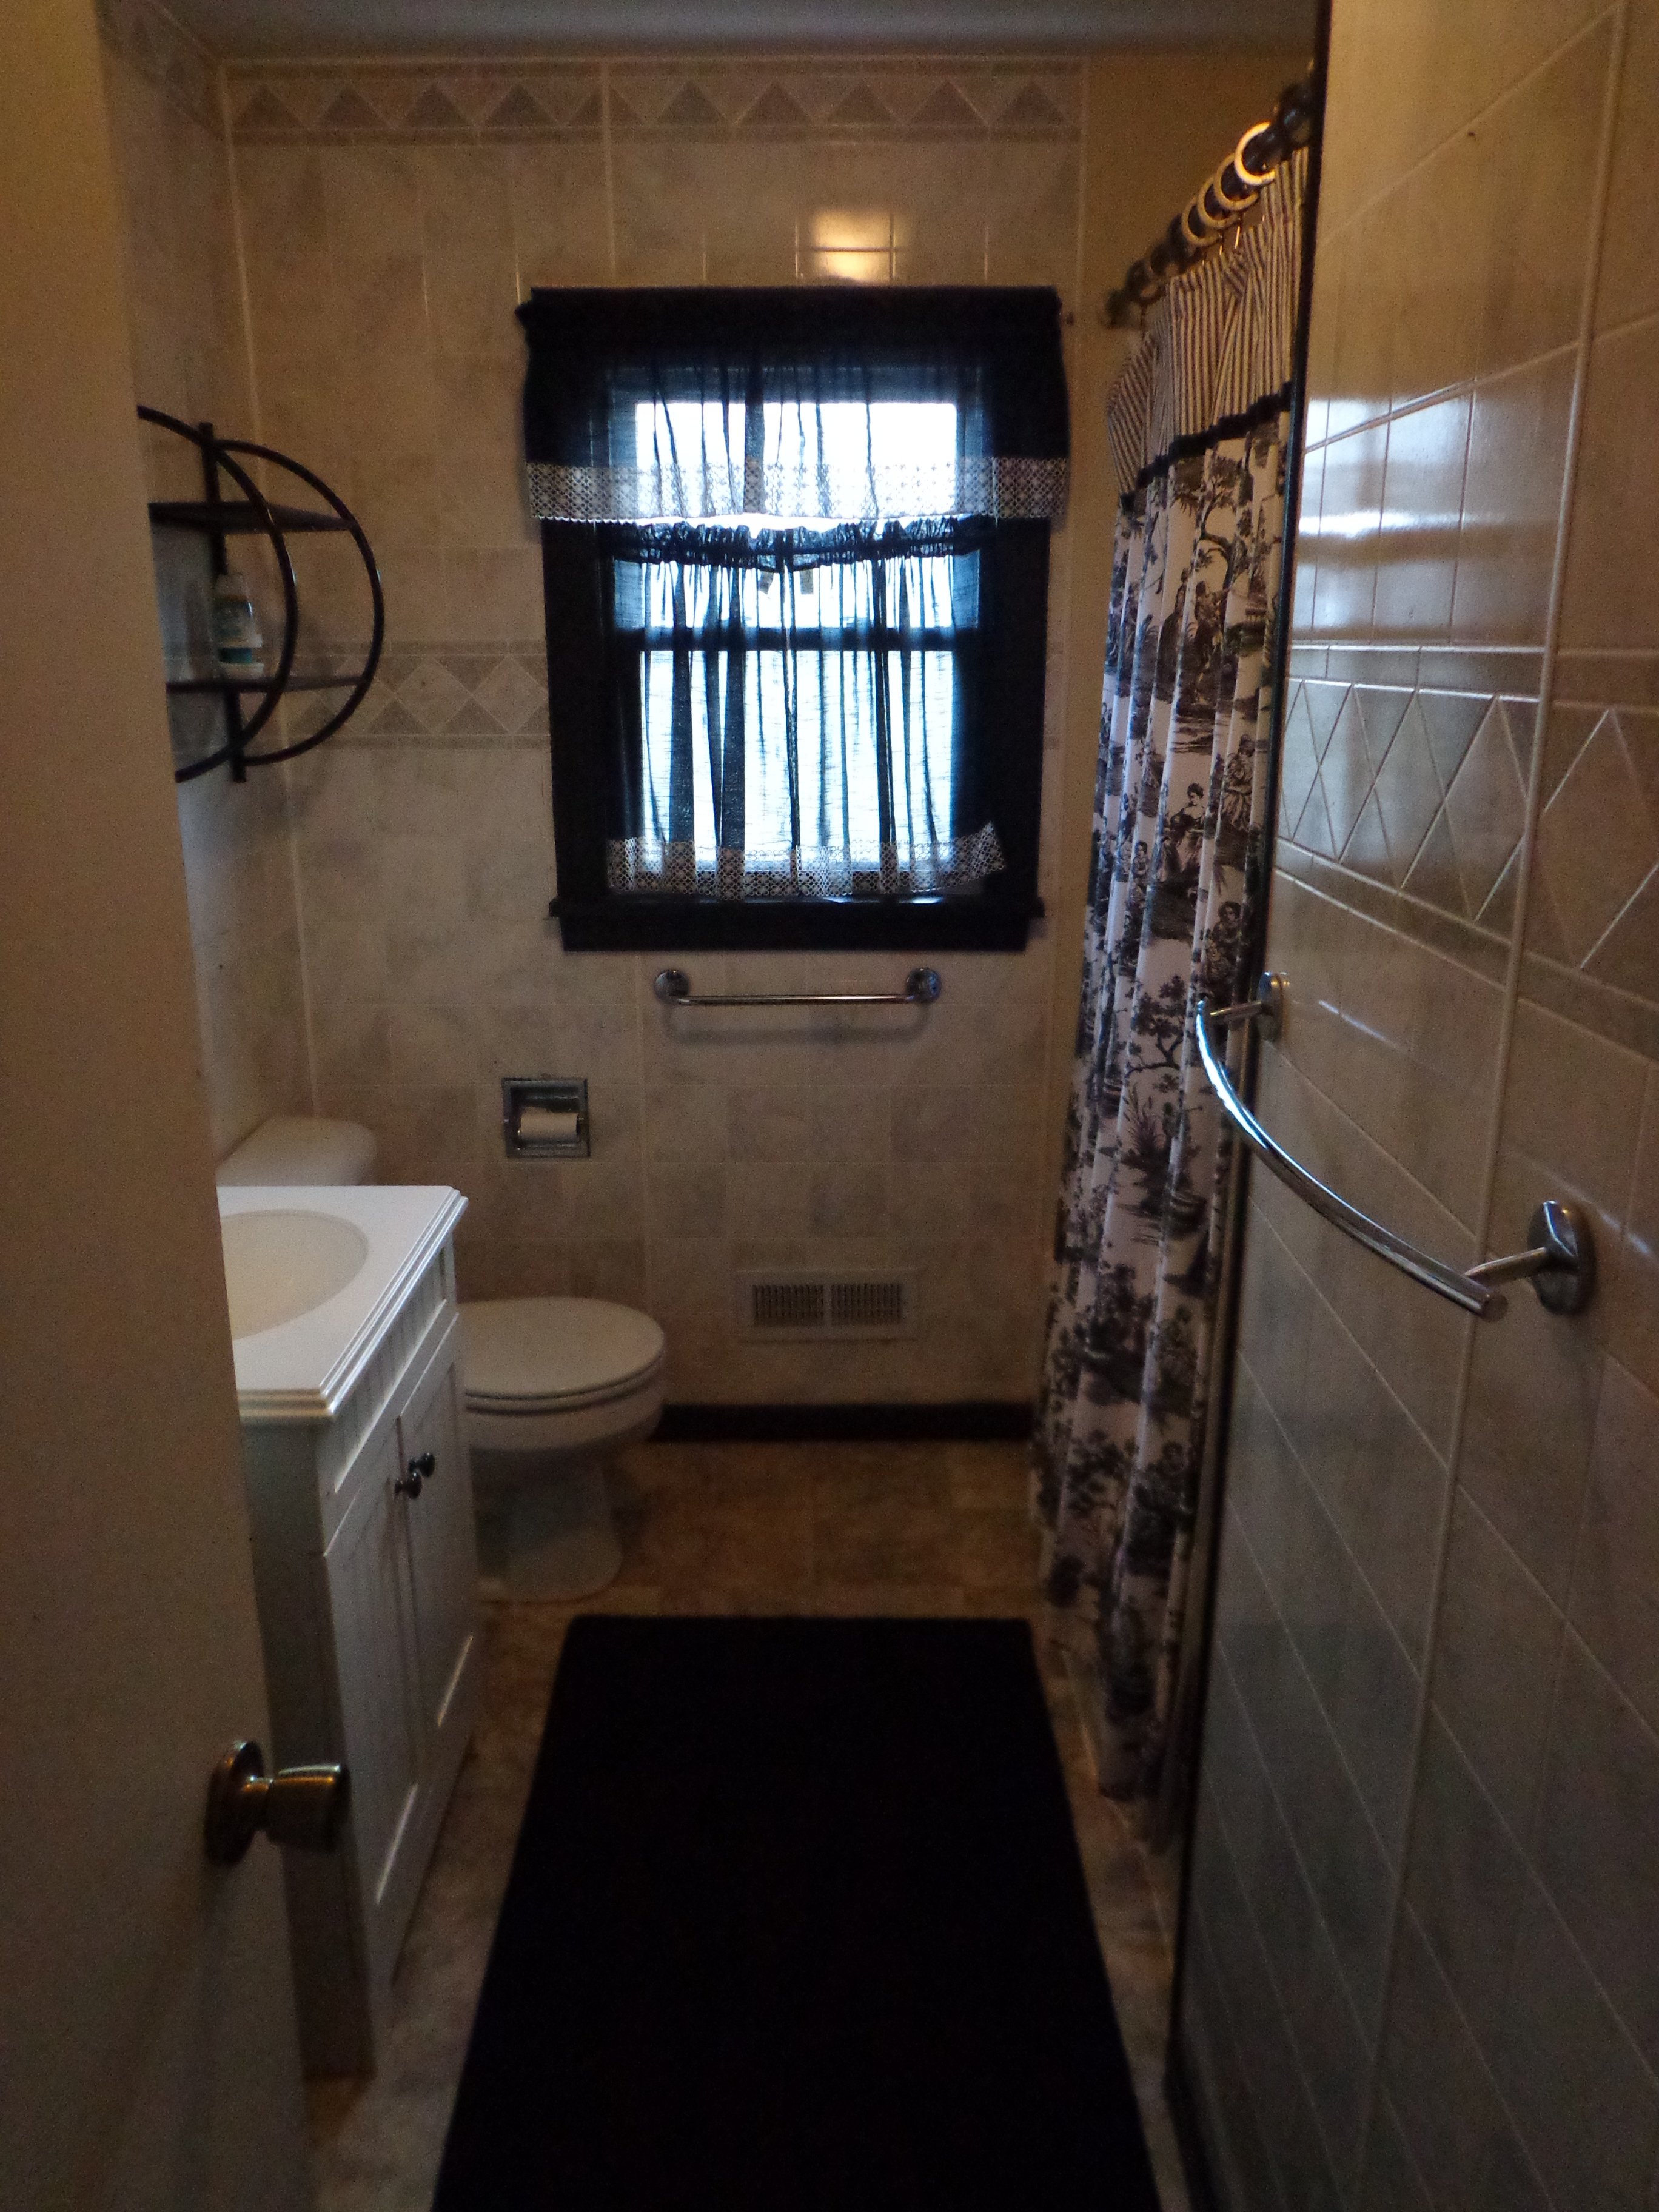
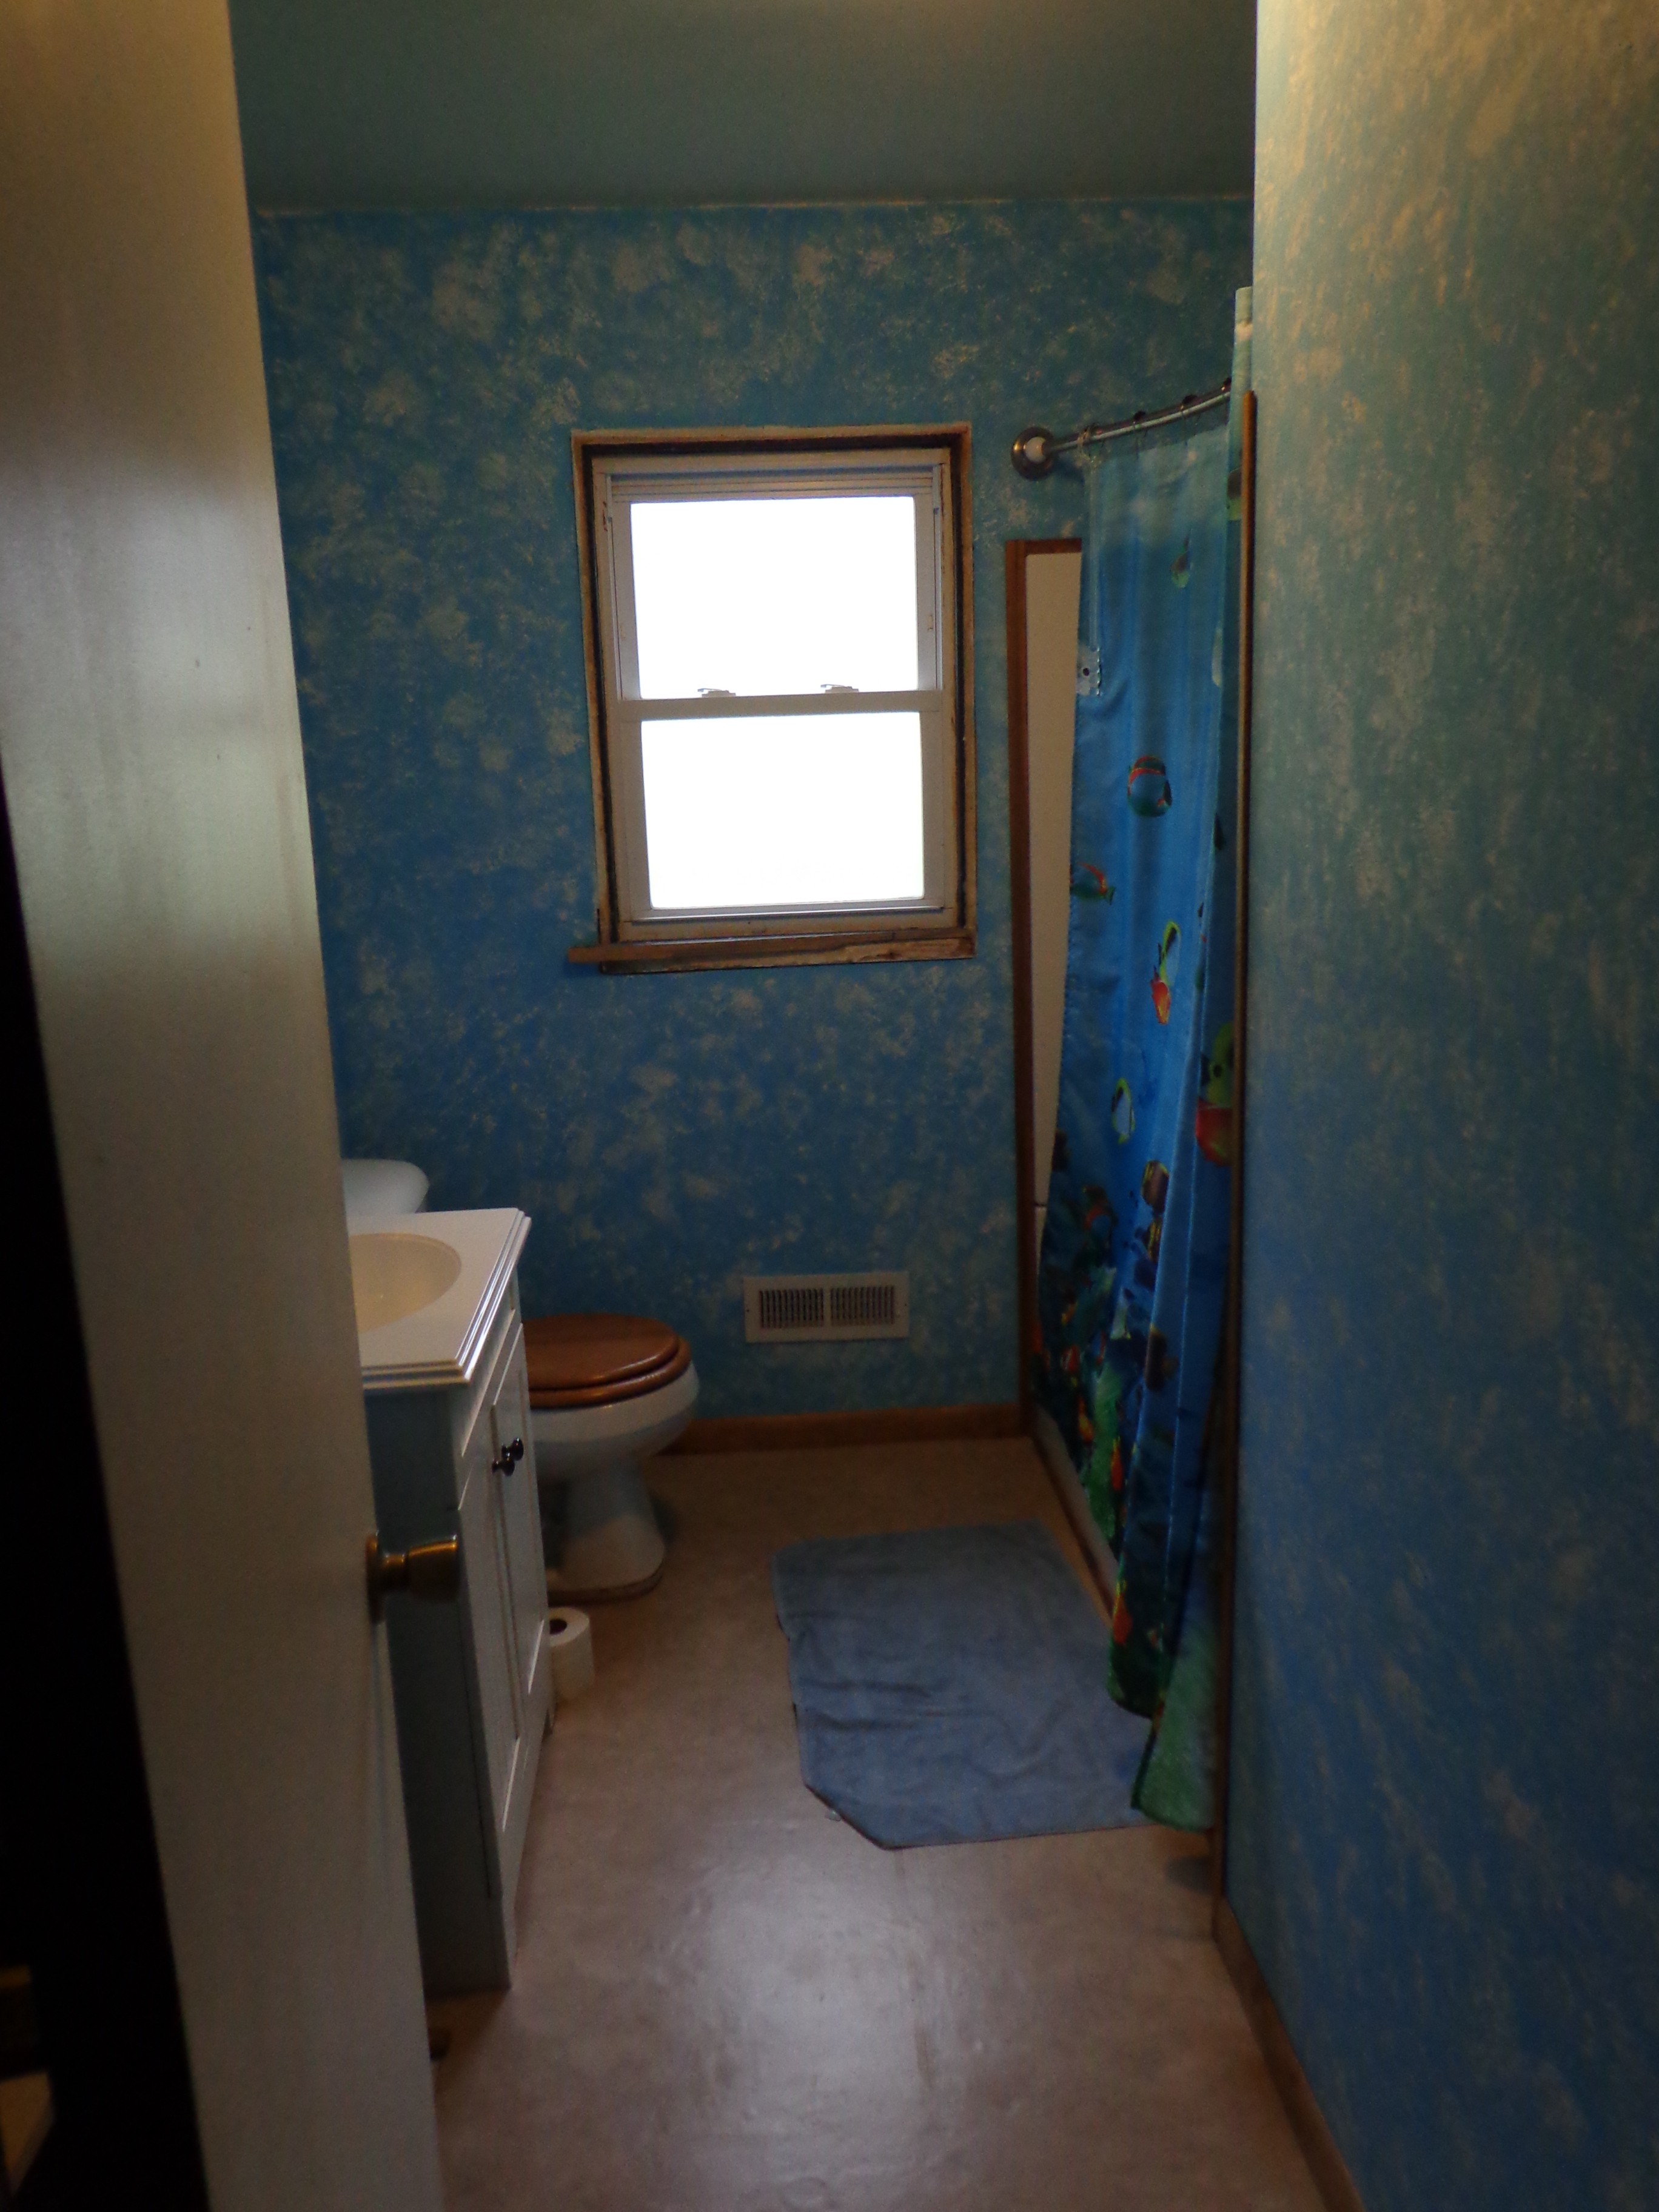 Here is our bathroom now… almost done! You can somewhat see the trim that we put up. Plus the regular shower curtain is hanging.
I have to admit that once most of the pieces were in place that it all came together a lot better than I expected.
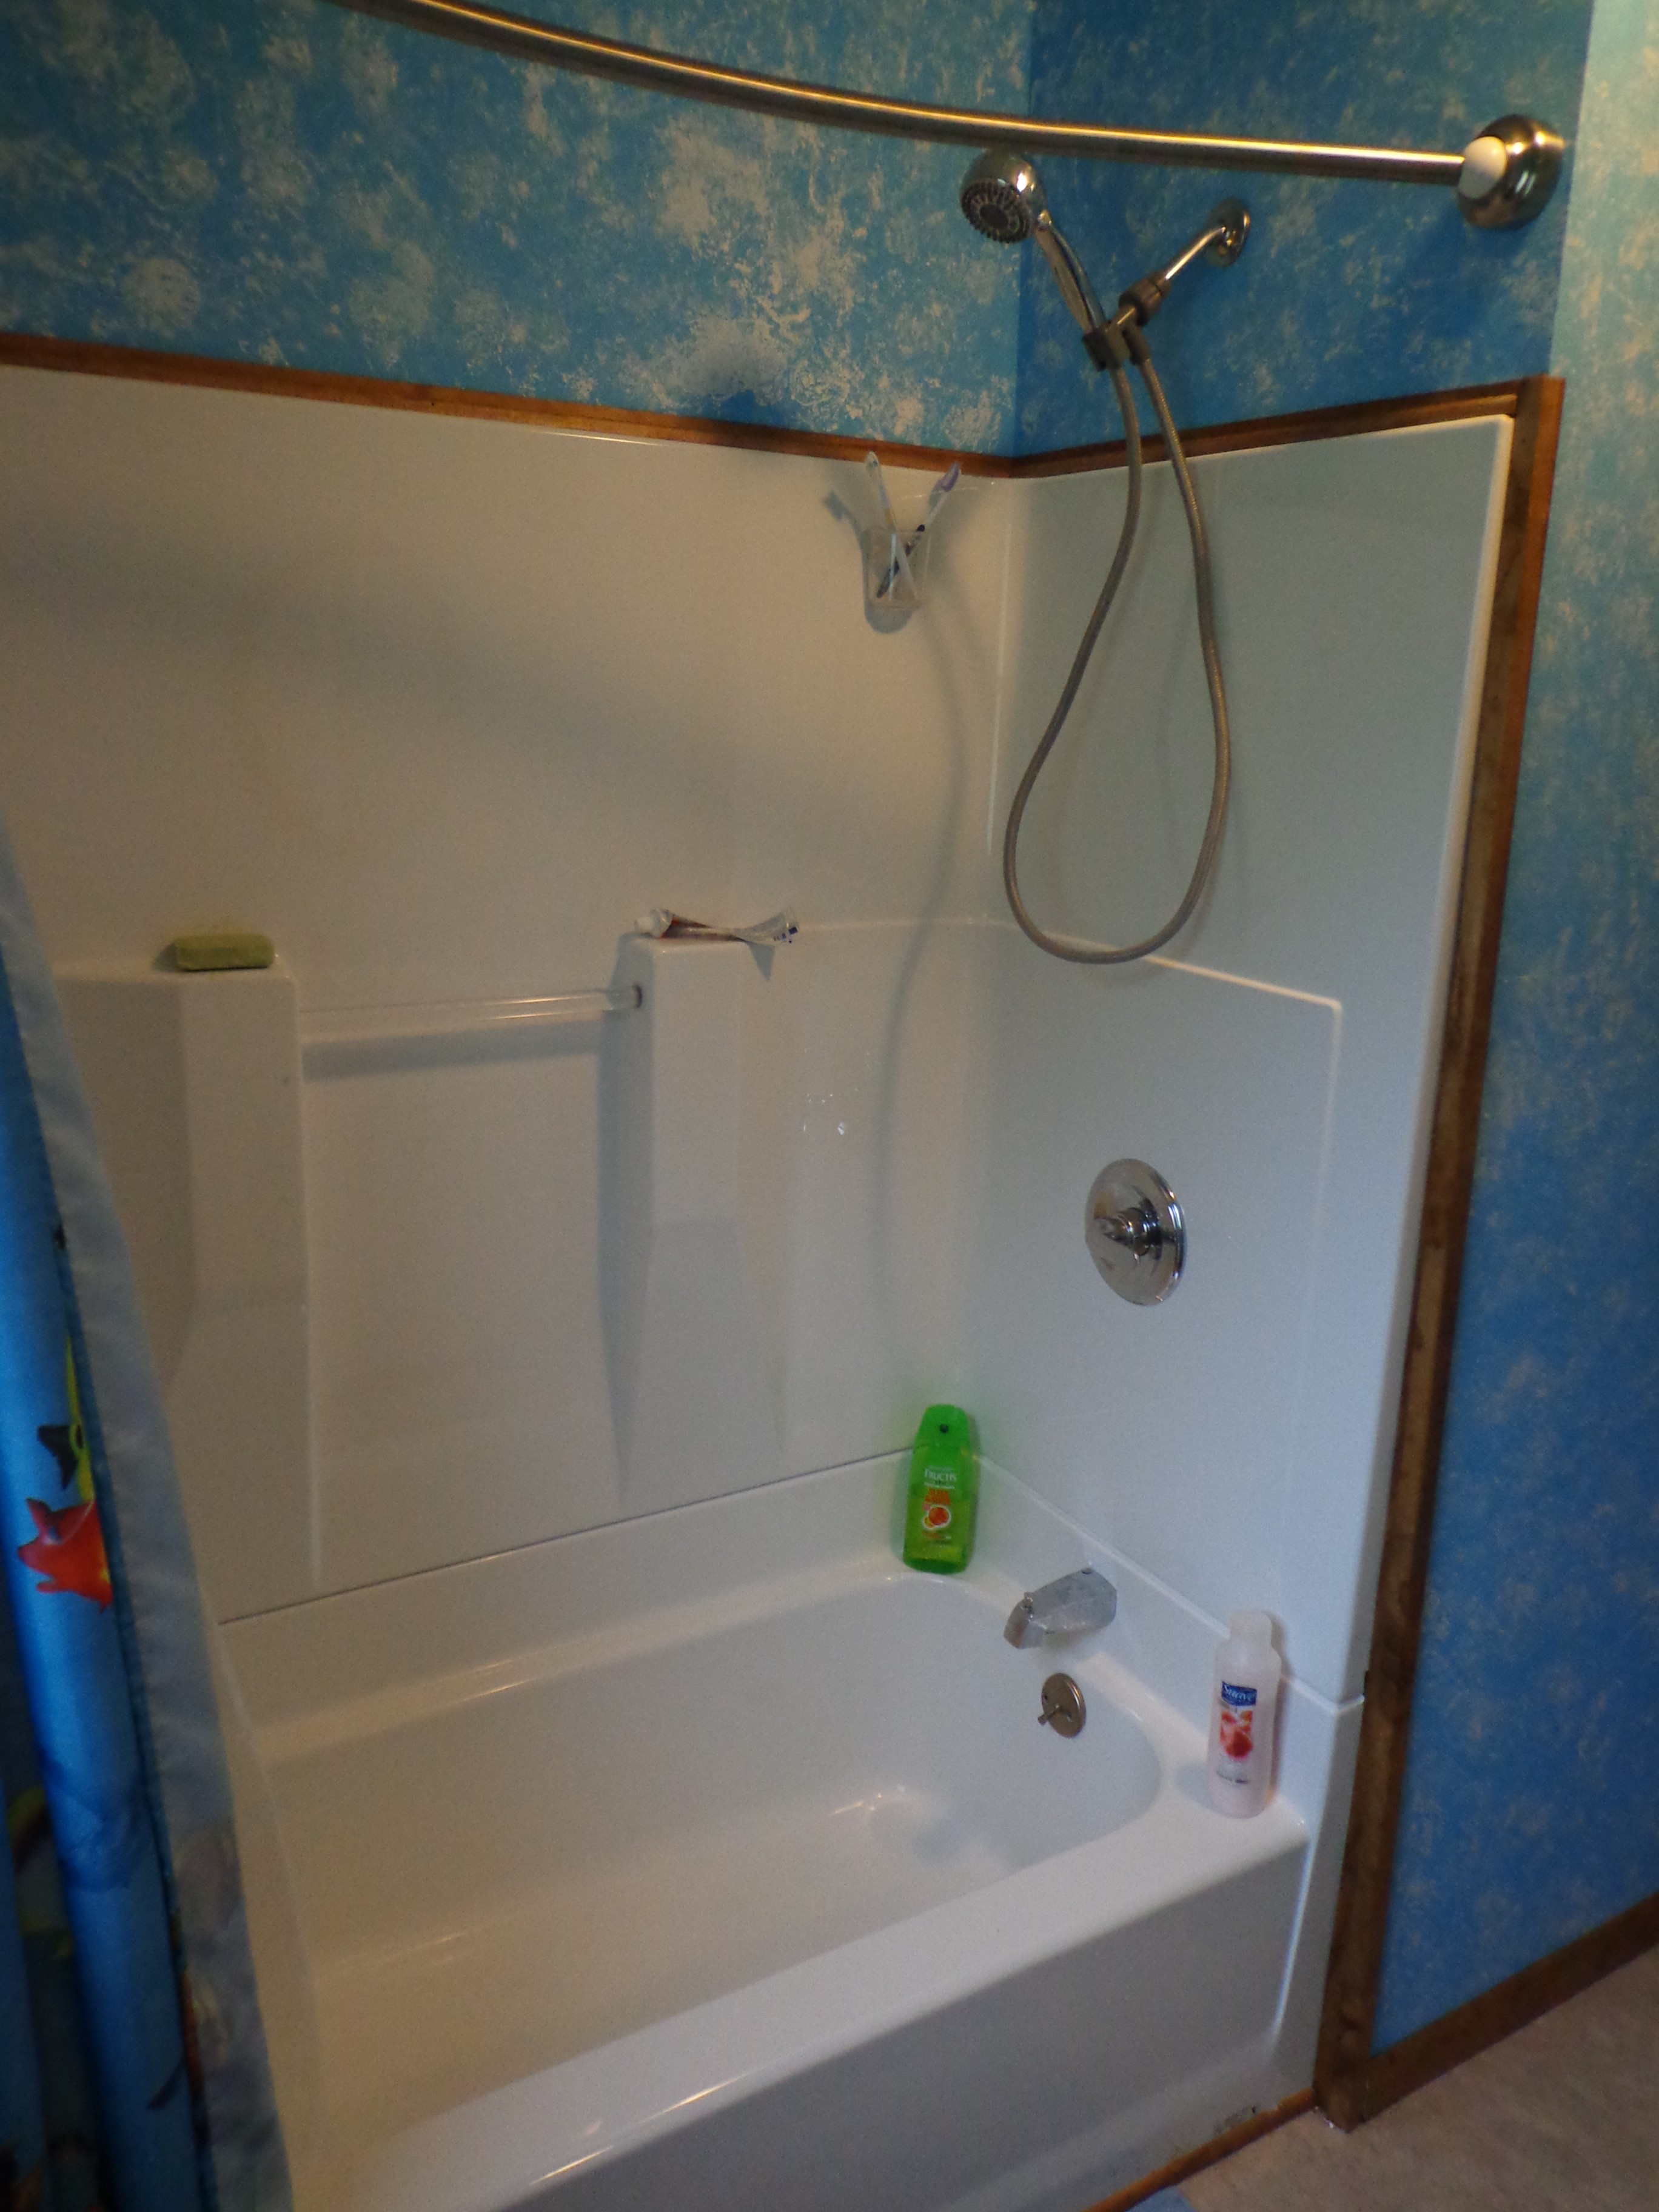 It was Jay’s idea to use stained trim instead of painting it. At first I was skeptical, but then I recognized that it would help pull in the brown of the floor with the rest of the room. Jay did a great job of trimming around the bathtub surround so that you can’t tell that we really had to monkey with it to make it look right.
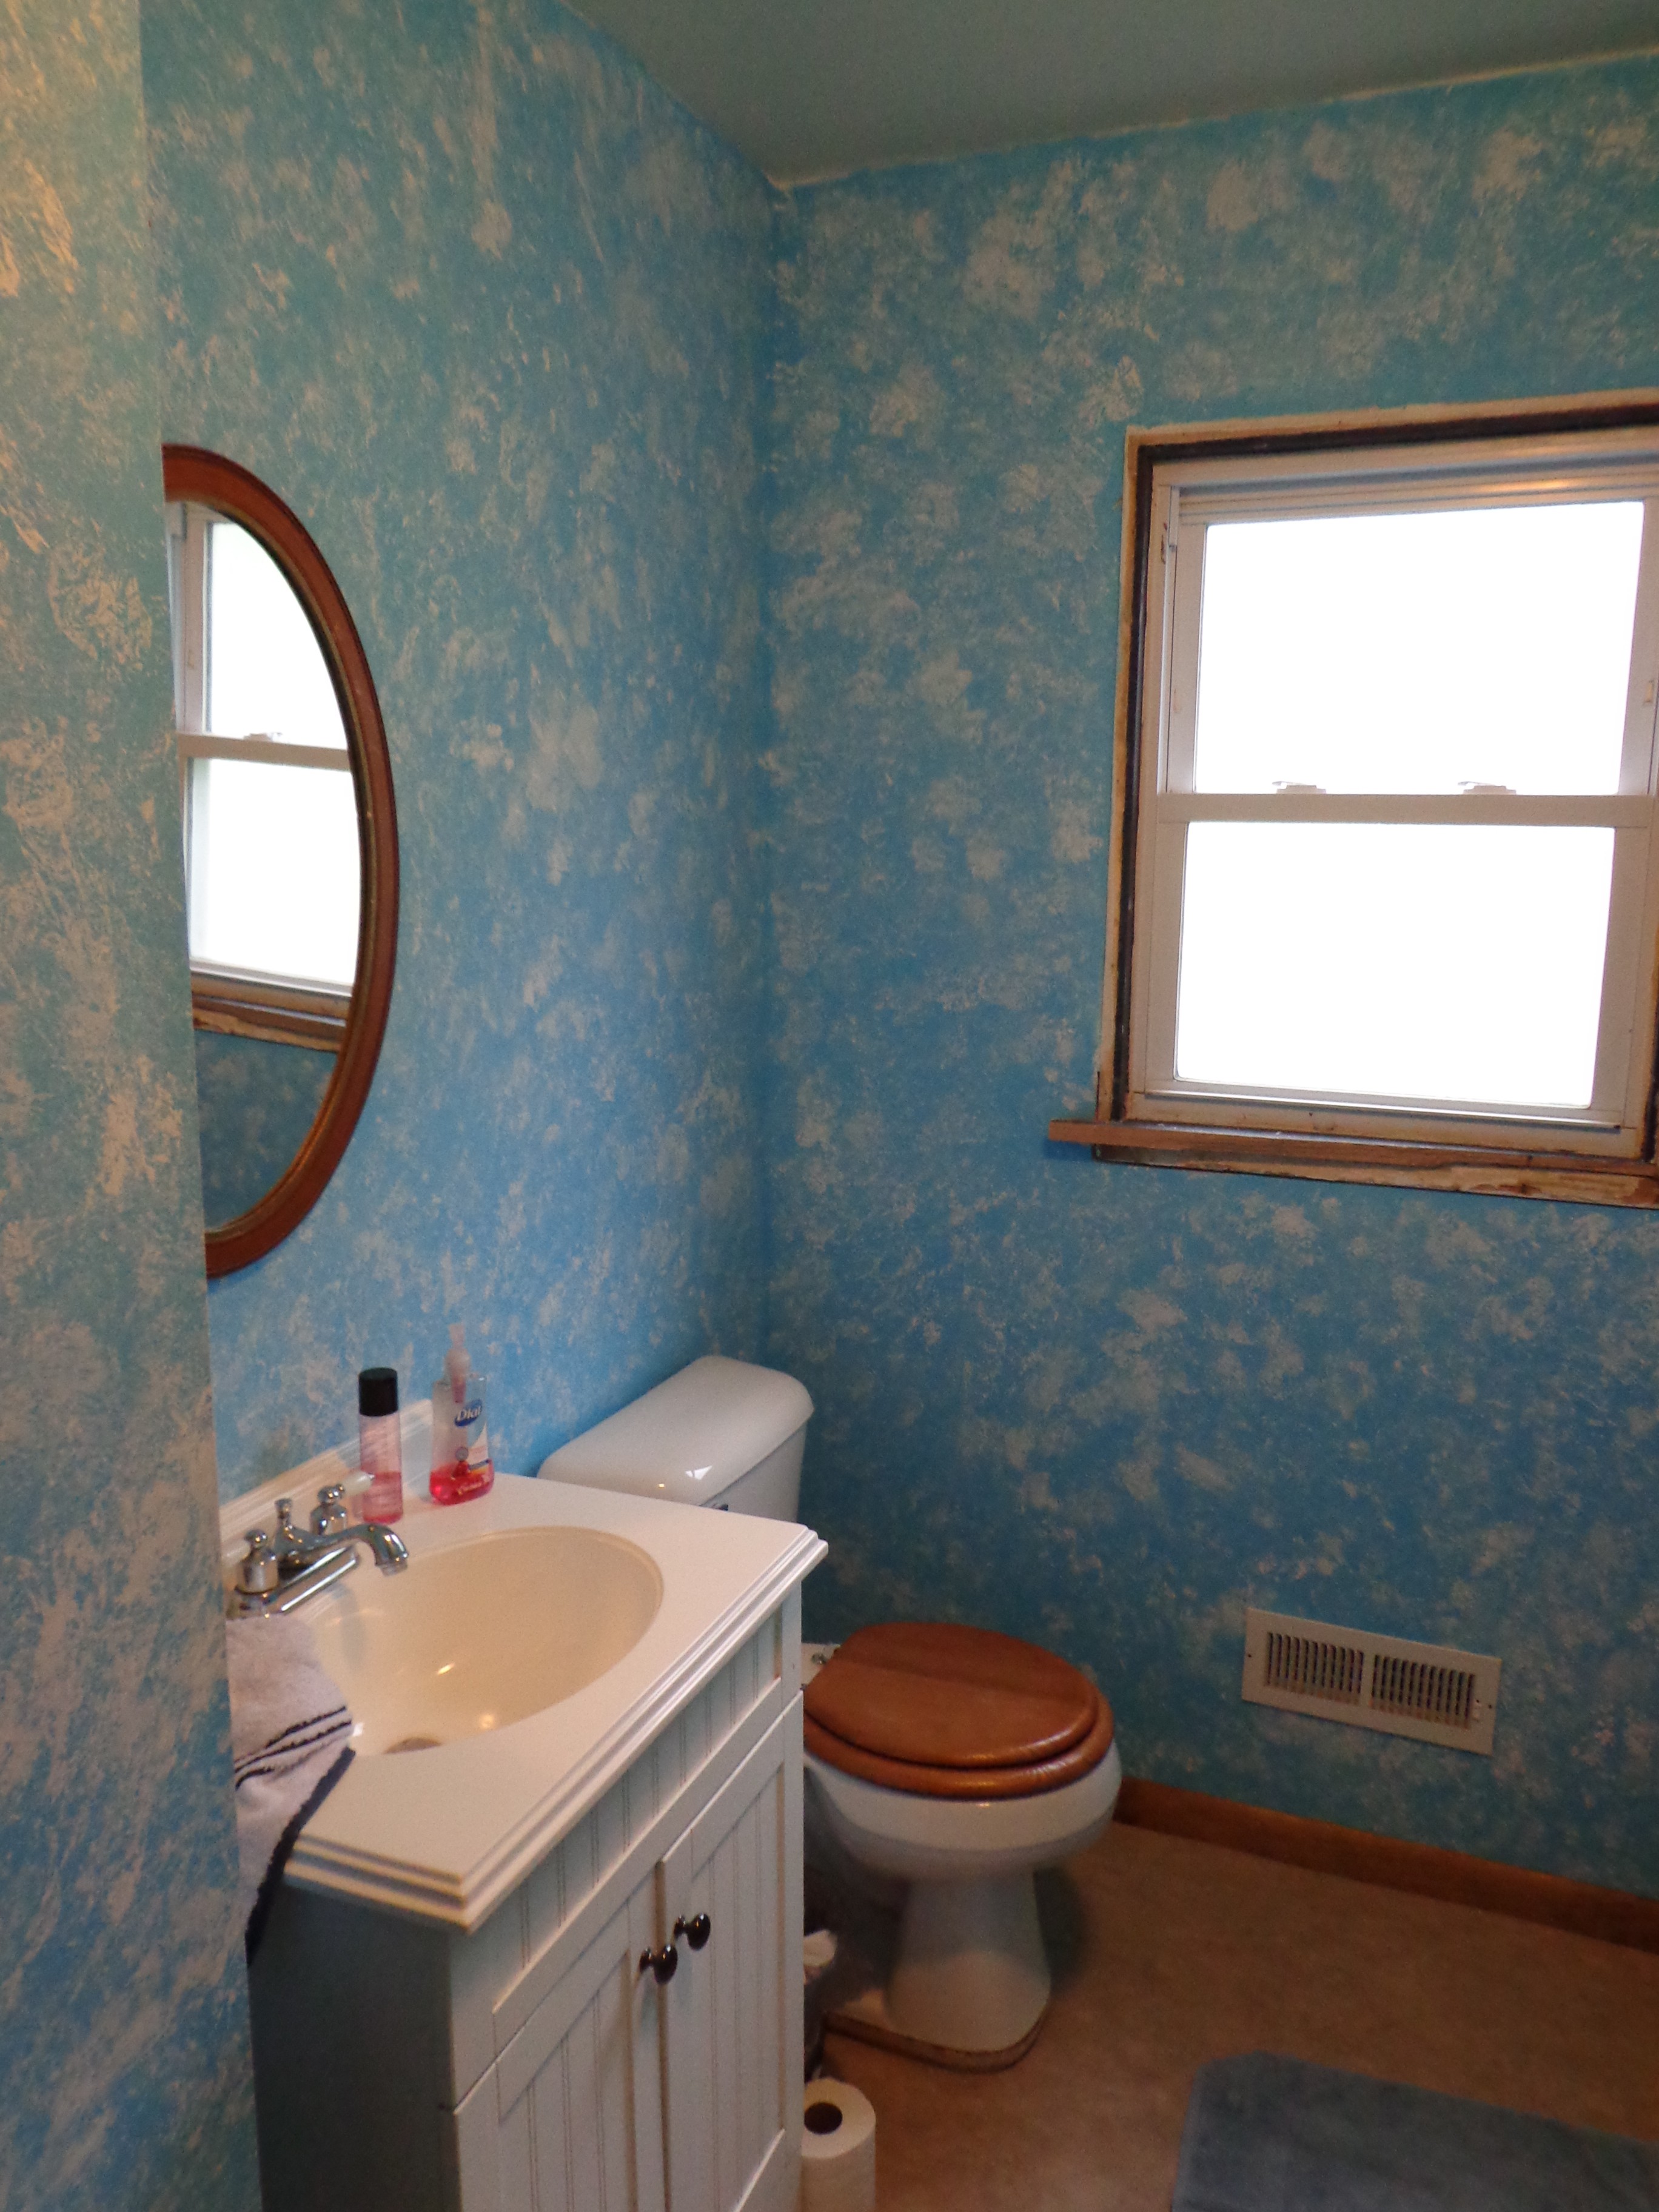 We couldn’t use the mirror that was hanging when we moved in because it was a medicine cabinet and the contractor hadn’t made a hole for it when he put up the new drywall. We really didn’t want to cut a hole in the drywall, either. Then I remembered that I had one of my grandma’s mirrors from my old house that I hadn’t known what to do with it. This mirror has a brown frame around it, so it works out perfectly.
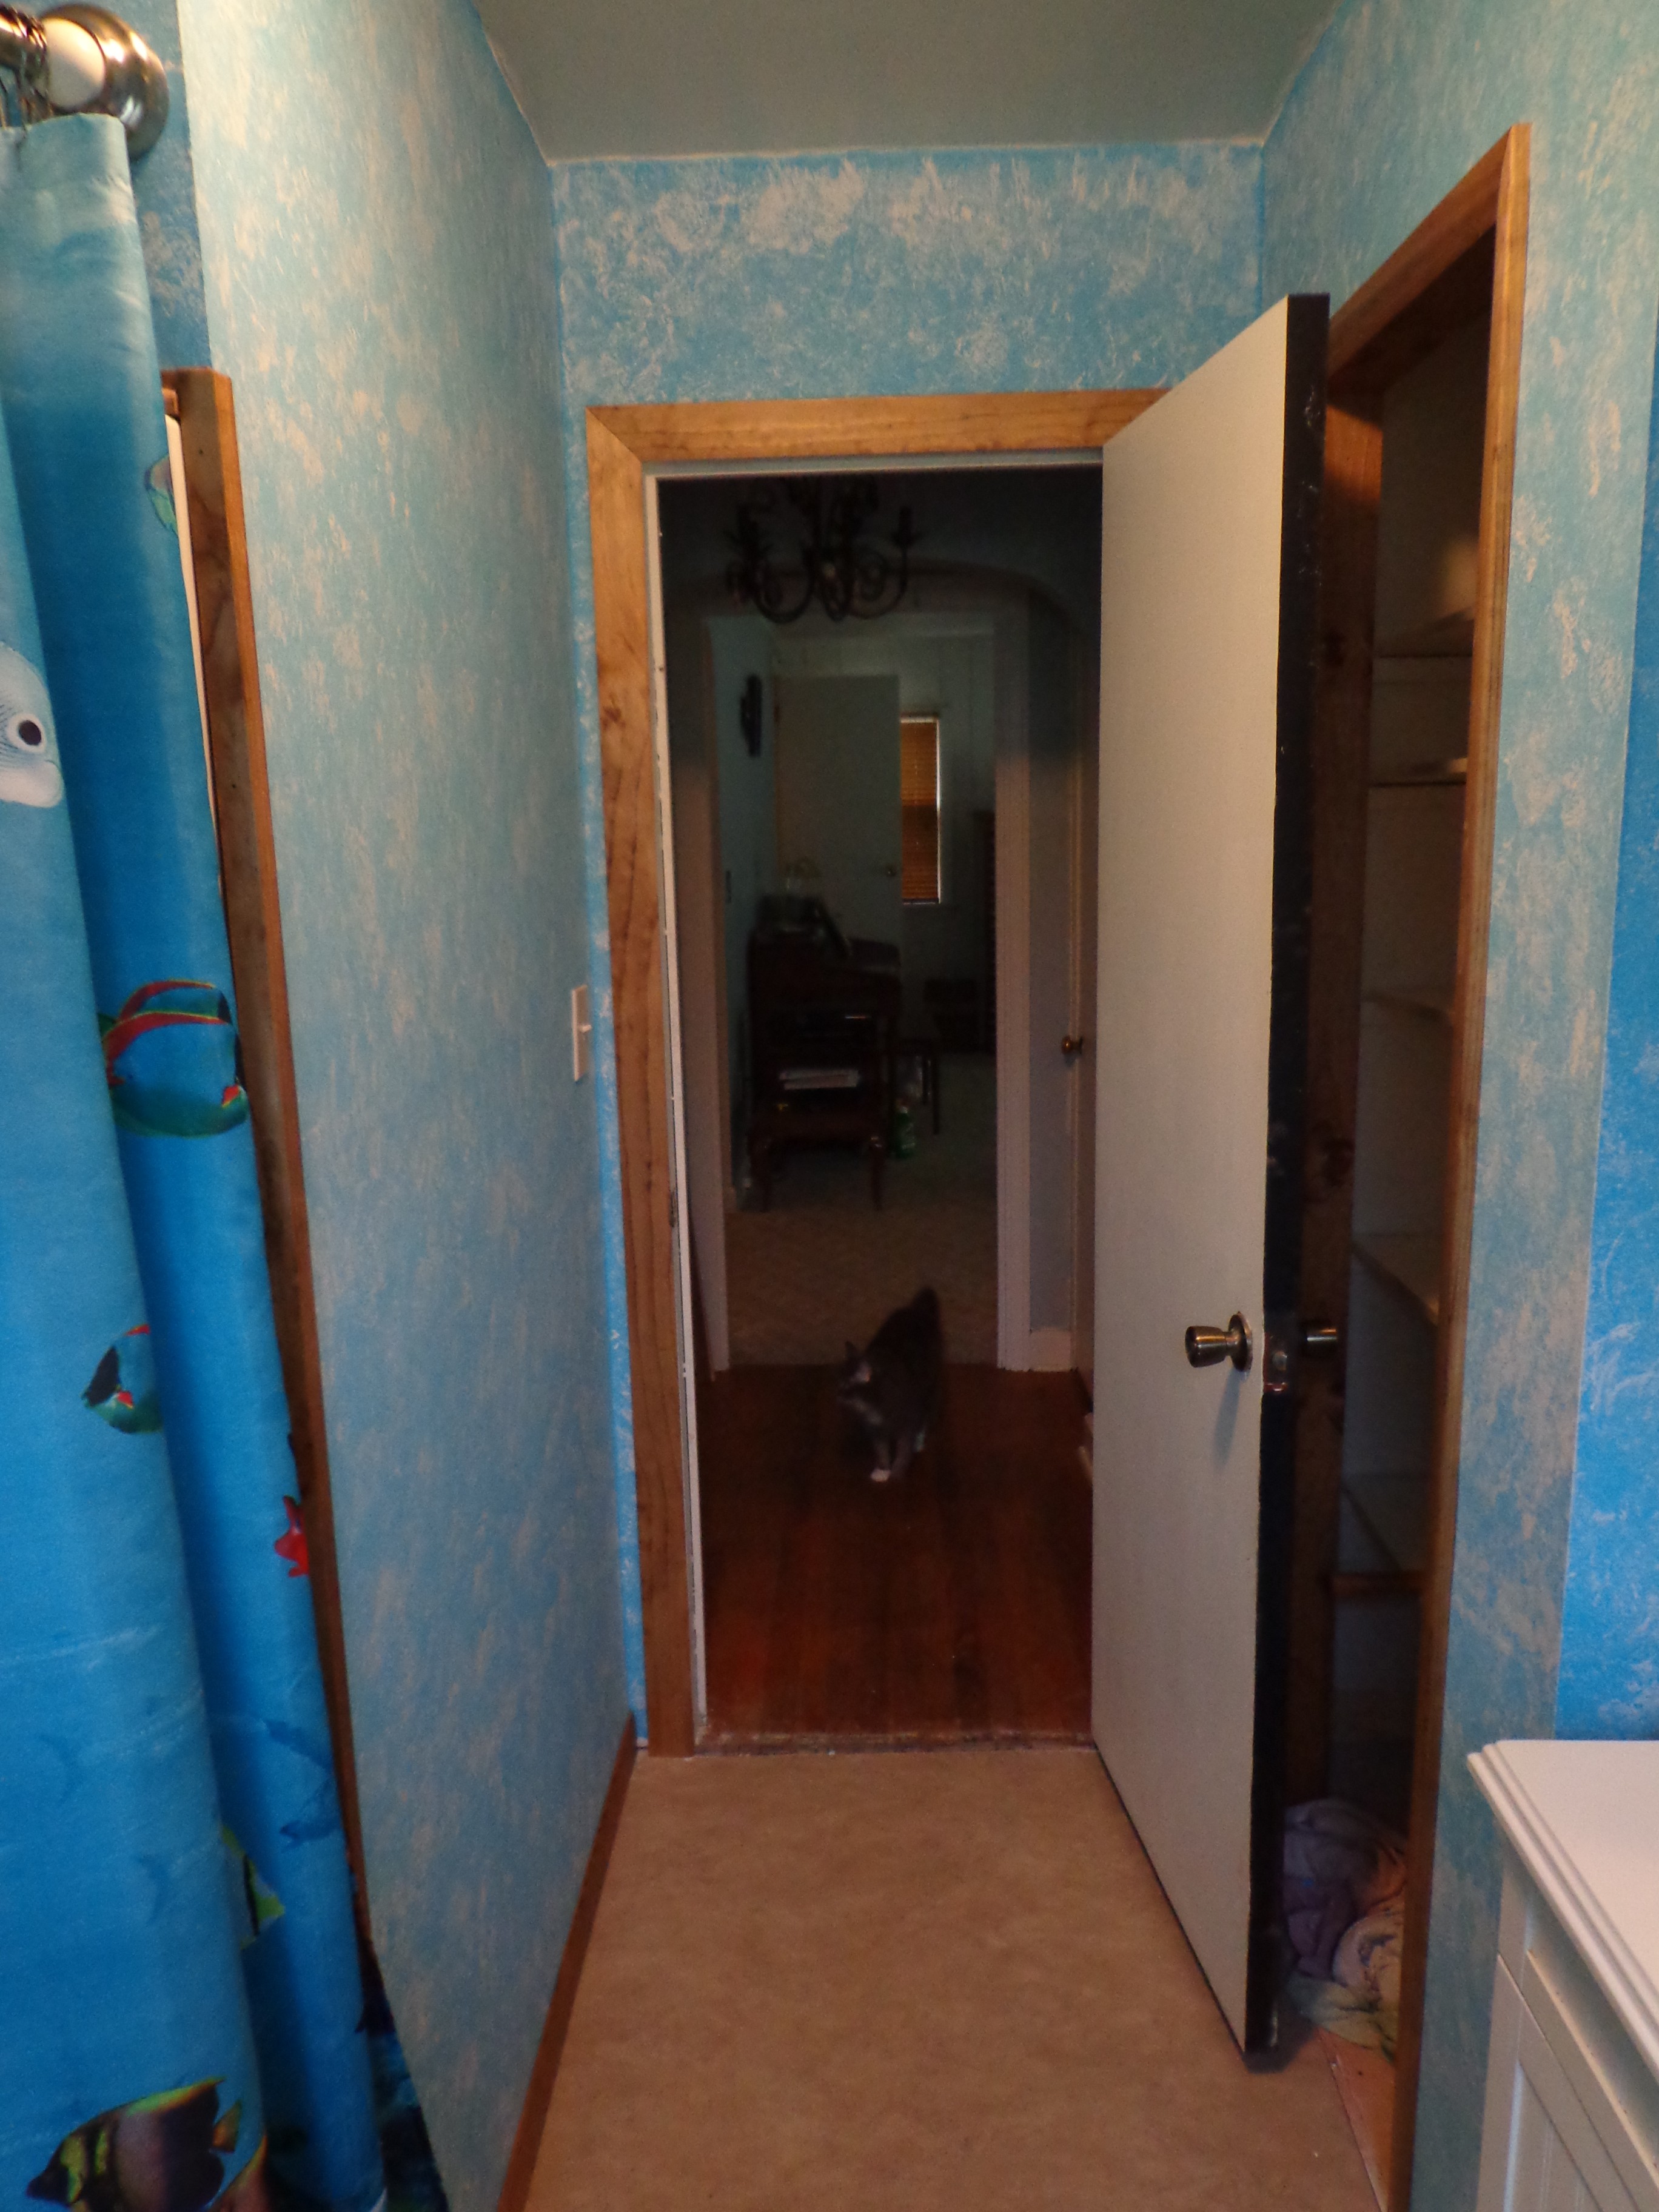 The back of the door is still painted black, but Jay claims to have an idea for that. I also still need to paint the inside of the closet, too.
I wish that you could see it in person because I’m really excited about how it is turning out. We still have to fix the window sill, but that will get done. We need a few more fixtures, too (towel racks, toilet paper holder, etc).
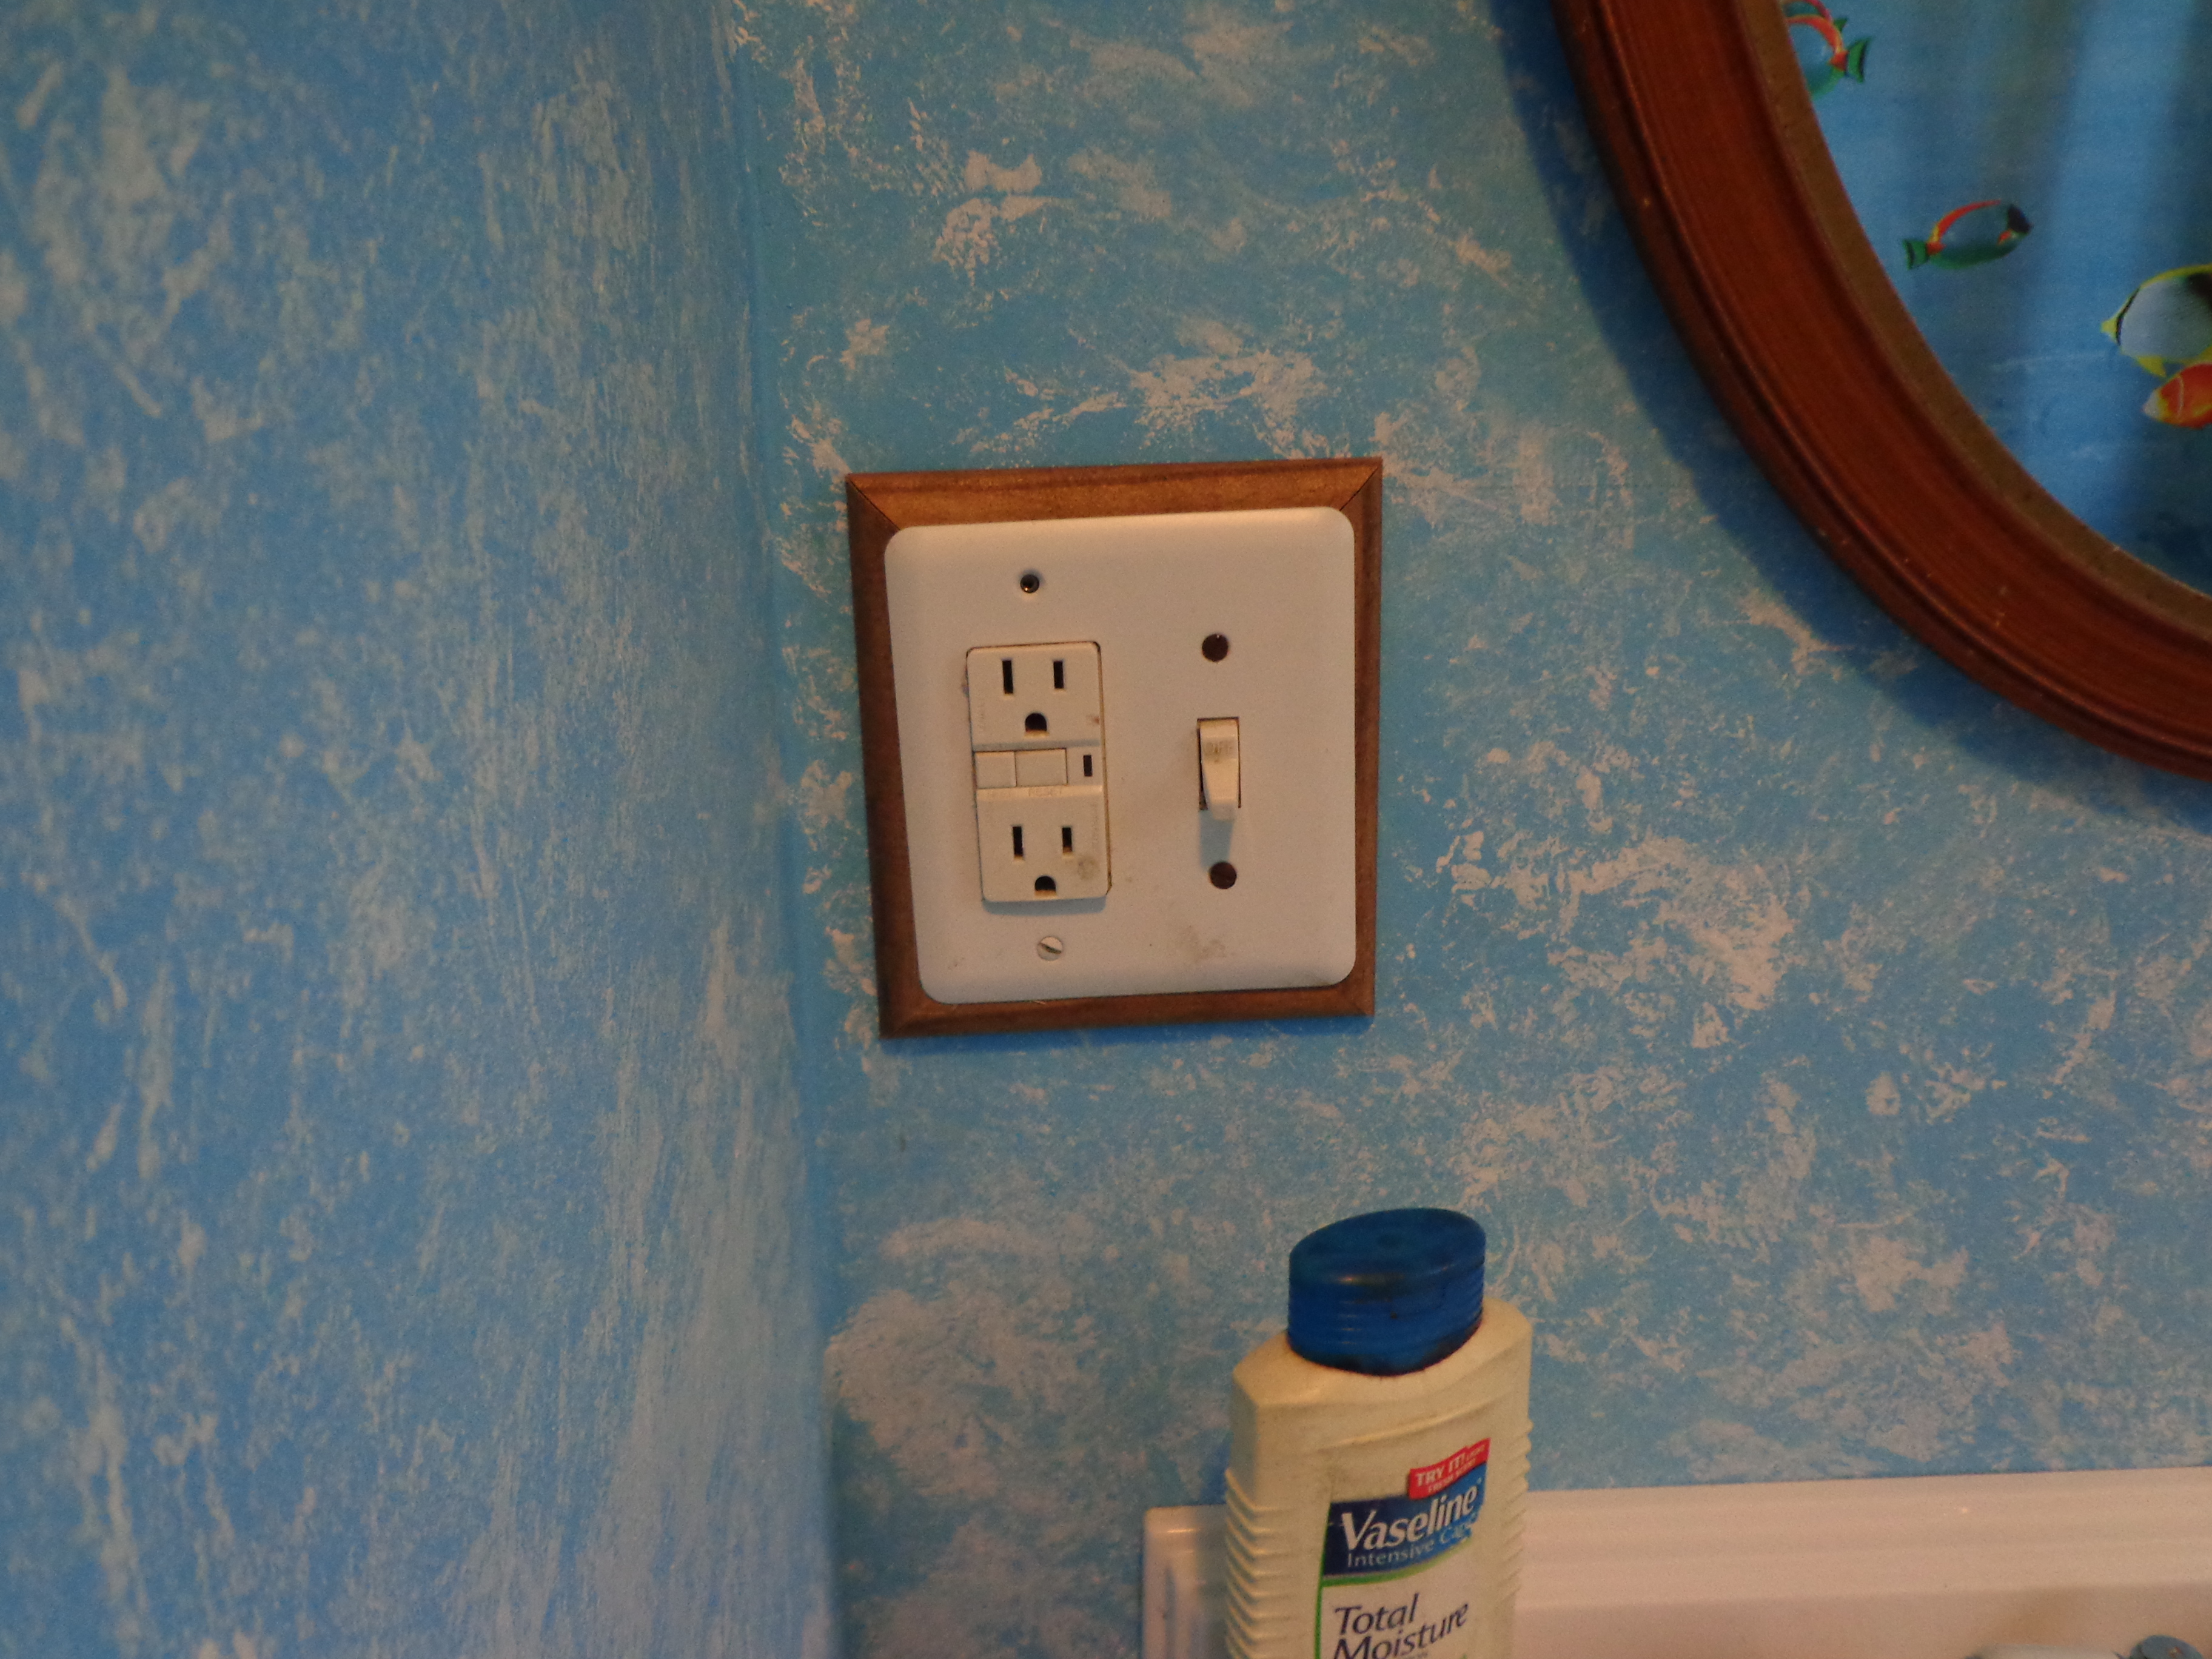 Jay even had to customize a wall switch plate mount. Due to the old plaster being much thicker this box stuck out of the wall further. We couldn’t put a face plate on it because it would have REALLY stuck out. So Jay used some of the trim that was stained and made this mounting piece. It looks really great!
 One of my favorite features, though, is our new shower curtain rod. I love those rounded ‘hotel’ rods and had one at my last house. My fear with this bathroom, though, was that while you were using the toilet you would have to push the shower curtain off of your knees. My bathroom really isn’t very big and I didn’t want the curtain causing it to feel even smaller.
That’s when I went on Amazon and found a shower rod that rotates! When you’re not using the shower the rod can be flipped in so that it hangs over the tub. This makes it nice if you have something drip-drying on the rod because then it’s dripping into the tub.
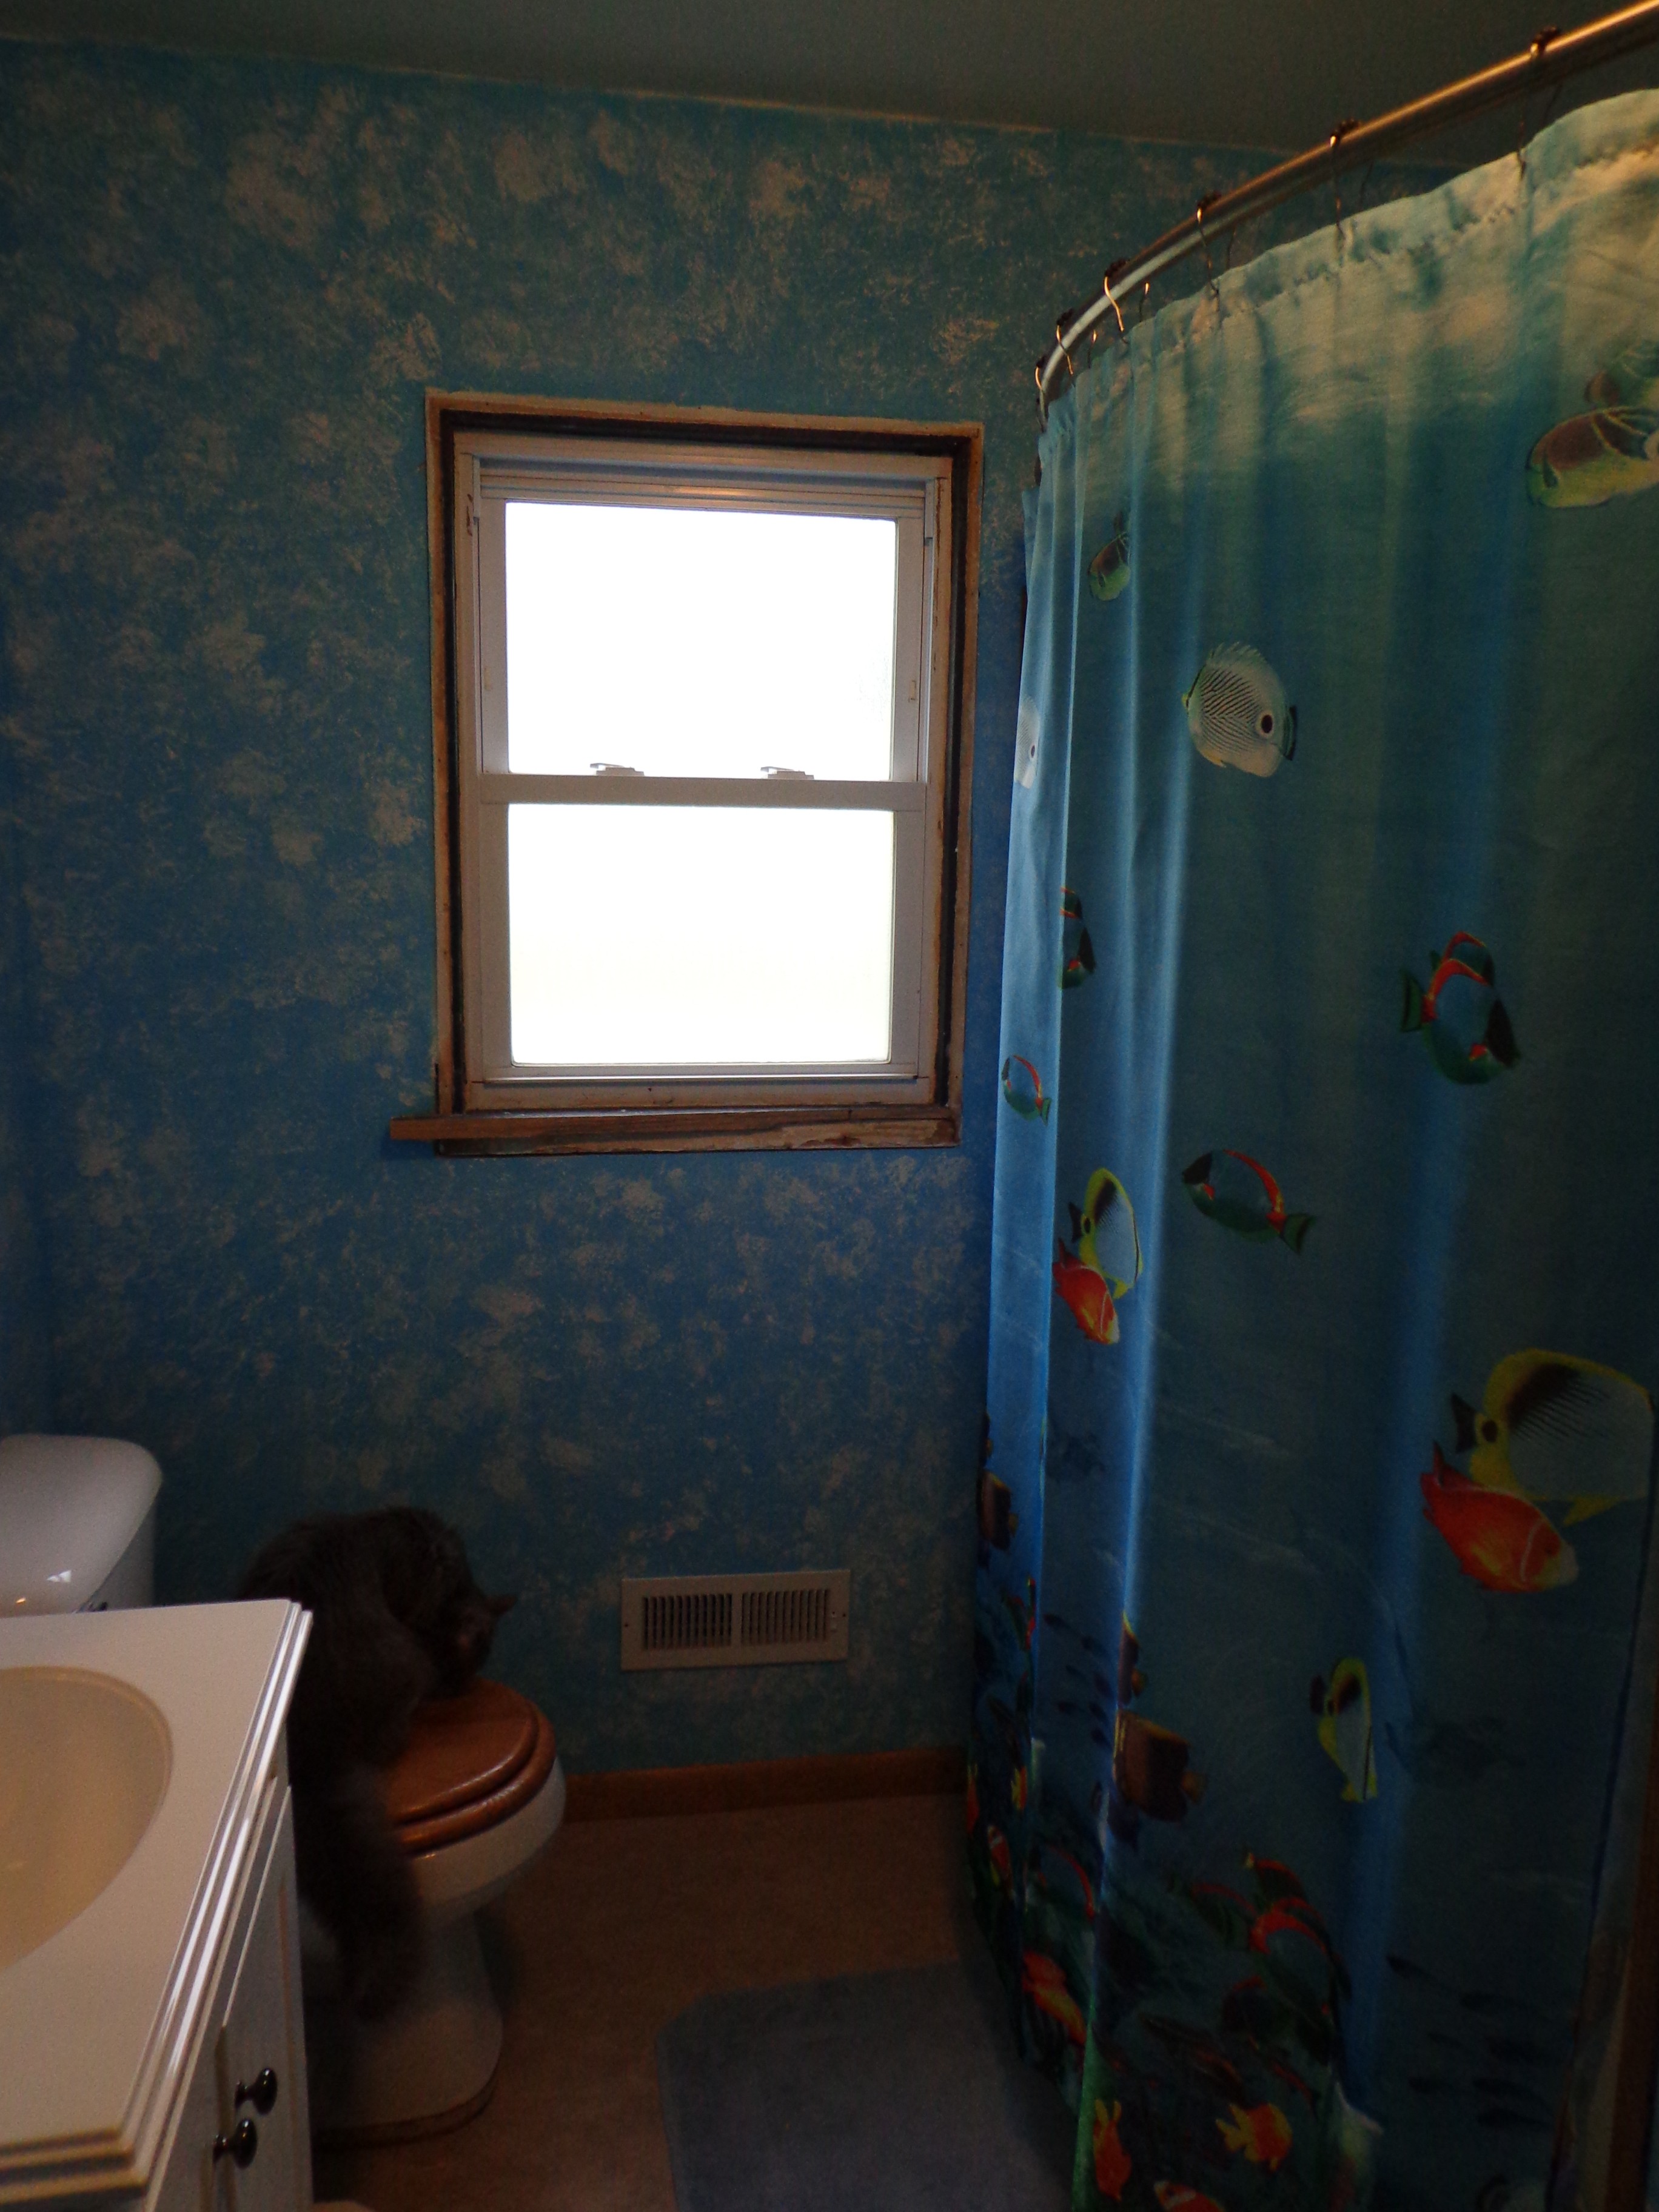 Then when you want to take a shower you just flip it out and wa-laa! Can you see how much room the curtain takes up? Maybe it doesn’t look like a whole lot in these pictures, but when you’re standing there it sure does. Plus the shower rod comes with a plastic wand that you hang from the rod so that short people can flip it. Since I’m so tall I don’t have to use it. 😉
So that’s our bathroom remodel, for the most part. I just wanted to show you some before and after pictures…
 Before… what it looked like when we moved in.
After… with a little more work to be done.
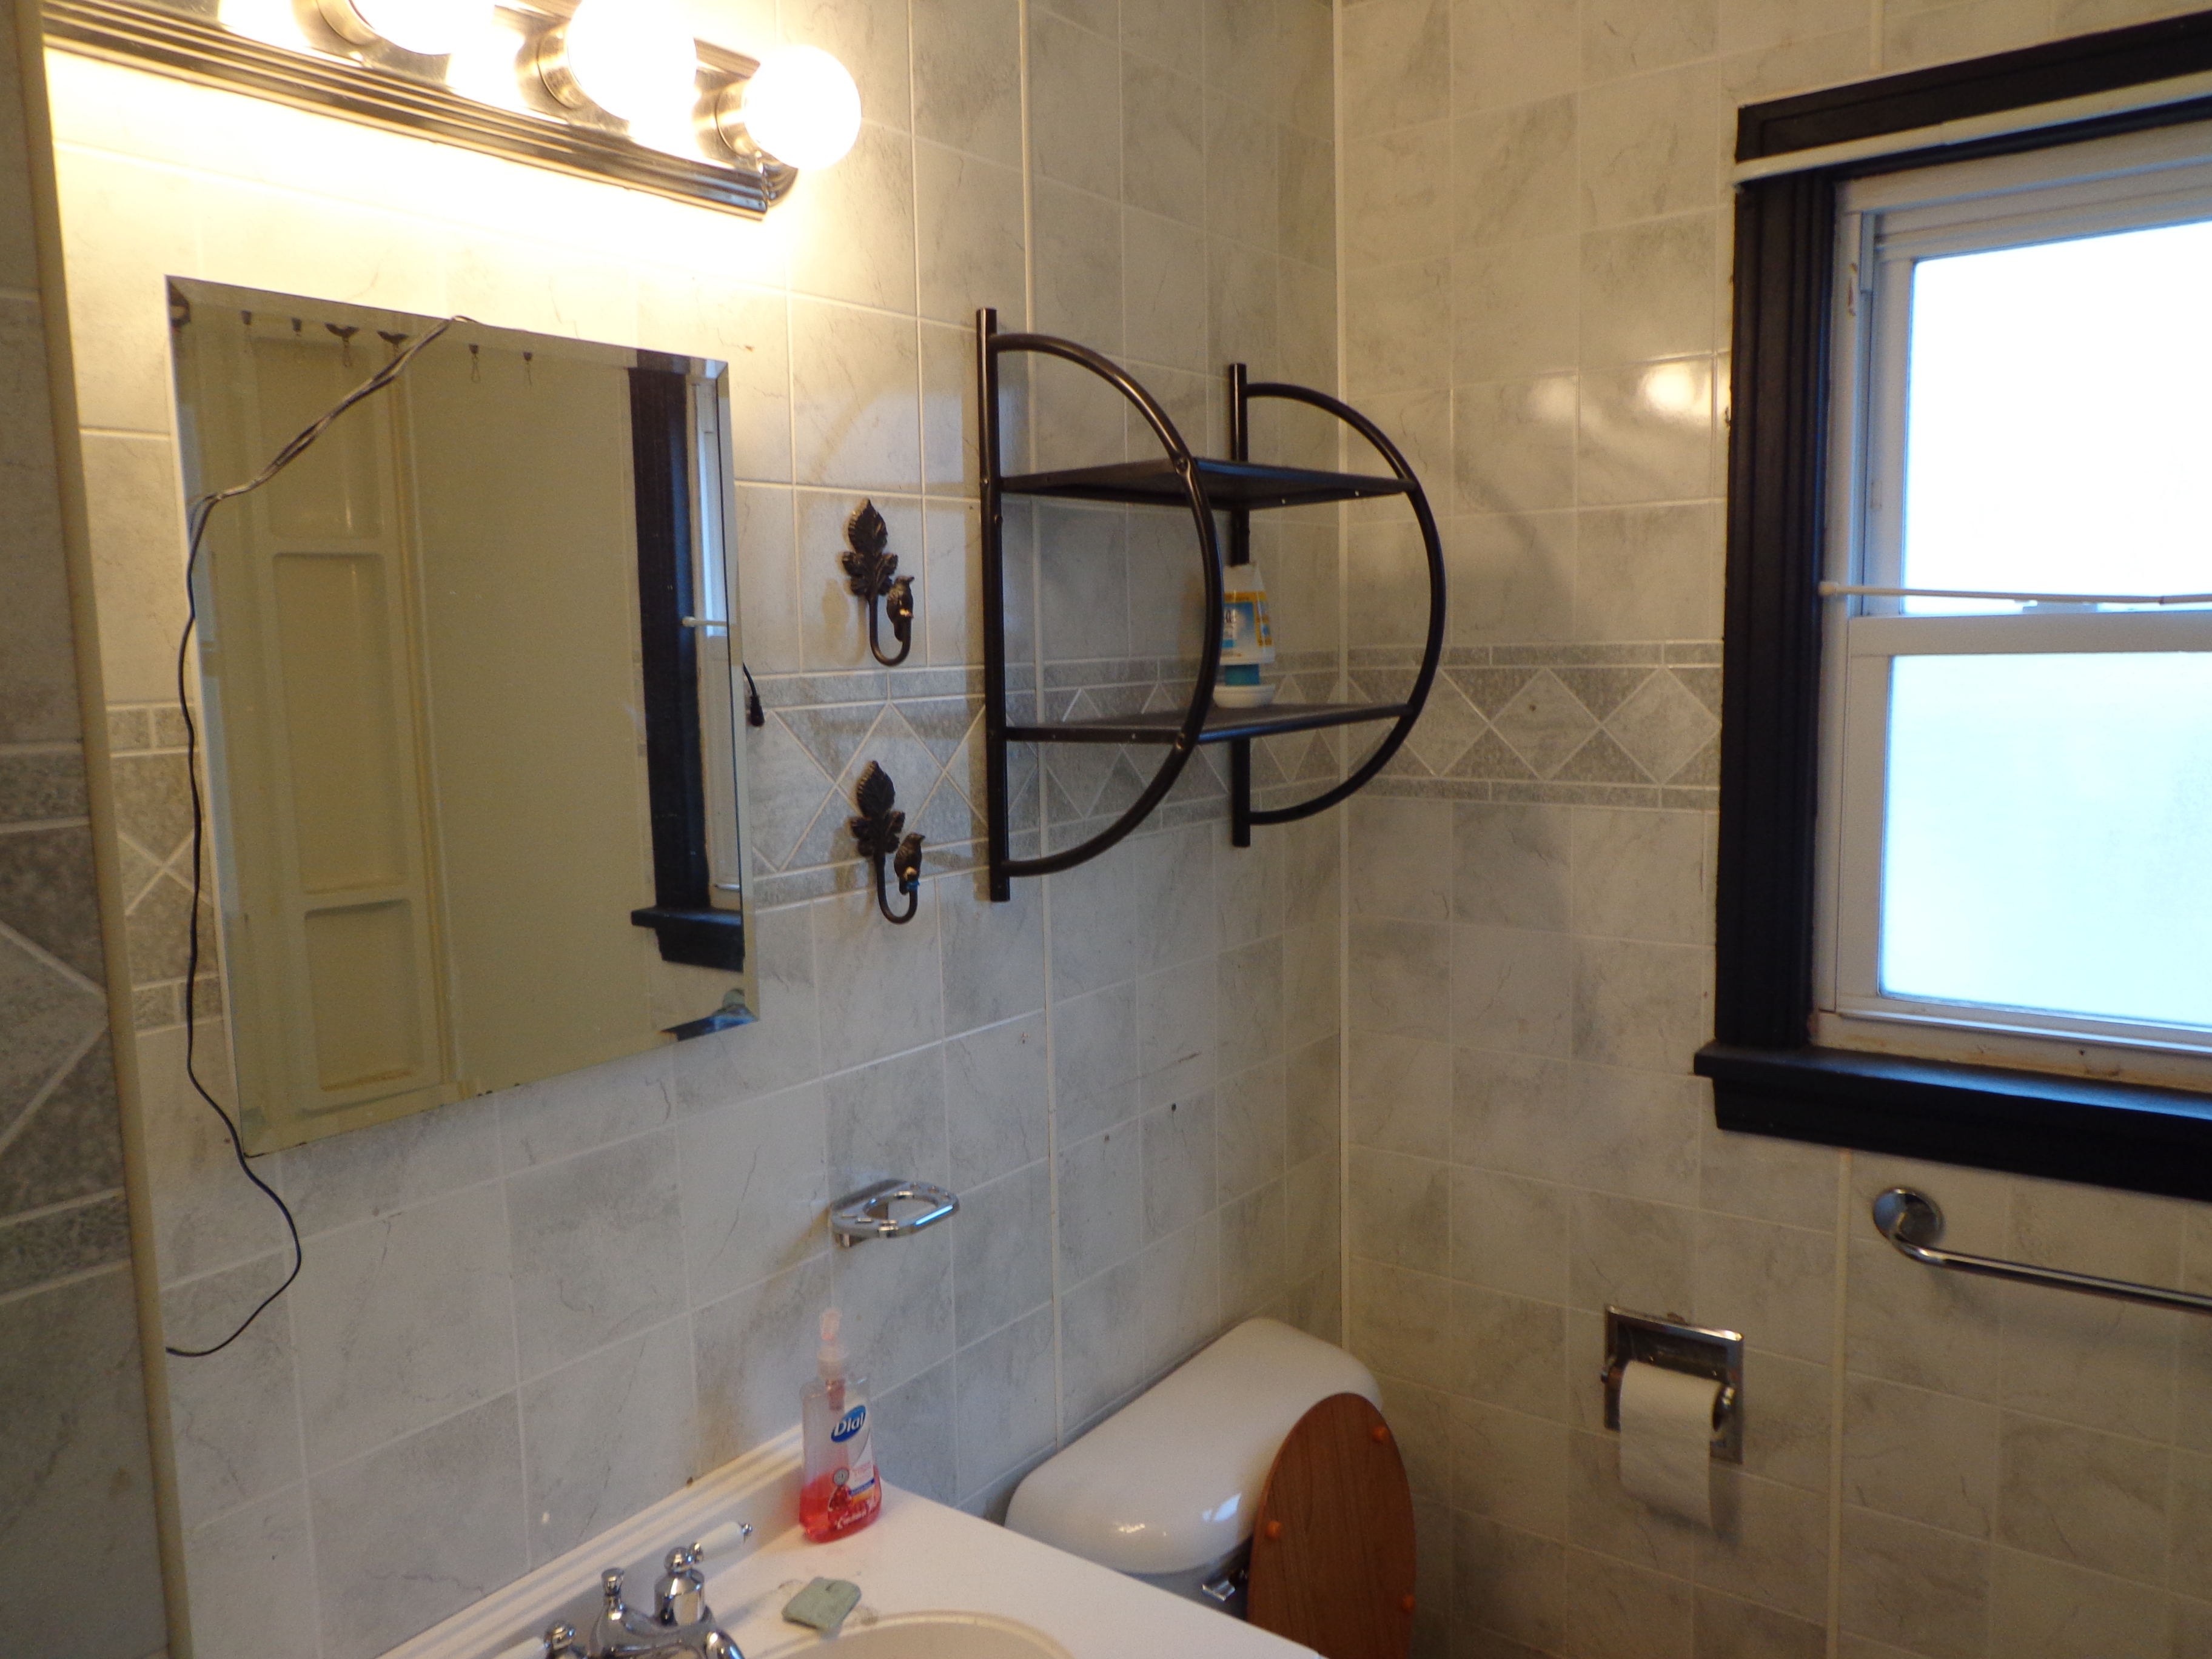 Before… with that horrible gray “tile” paneling, the black trim, and the sunken toilet paper holder and medicine cabinet.
After… a little bit lighter and simpler. It might not look as elegant as it used to, but that’s okay with me. I’m not one who likes to decorate a bathroom with a lot of extra stuff.
I hope you enjoyed seeing pictures of this project!

Wow! I love it! The wood trim does a great job of bringing the floor and the walls together, and it looks so much brighter. Awesome job! (Incidentally, I have never seen a flipping shower rod before – how awesome is that?!)