
Is it really 2015 already?? Where in the world did the time go? Wasn’t it just June? Wow. Either I’ve been very busy or else I have been completely oblivious to the time passing before my eyes.
I haven’t had a chance to update my blog since the beginning of December because my time was taken up with choir duties (more to come on that in a later post) and trying to get ready for Christmas. If I didn’t have a full time job getting in my way, I would be able to make more progress on my various projects!
With Christmas fast approaching I wanted to use Jay’s talents to make some homemade gifts.
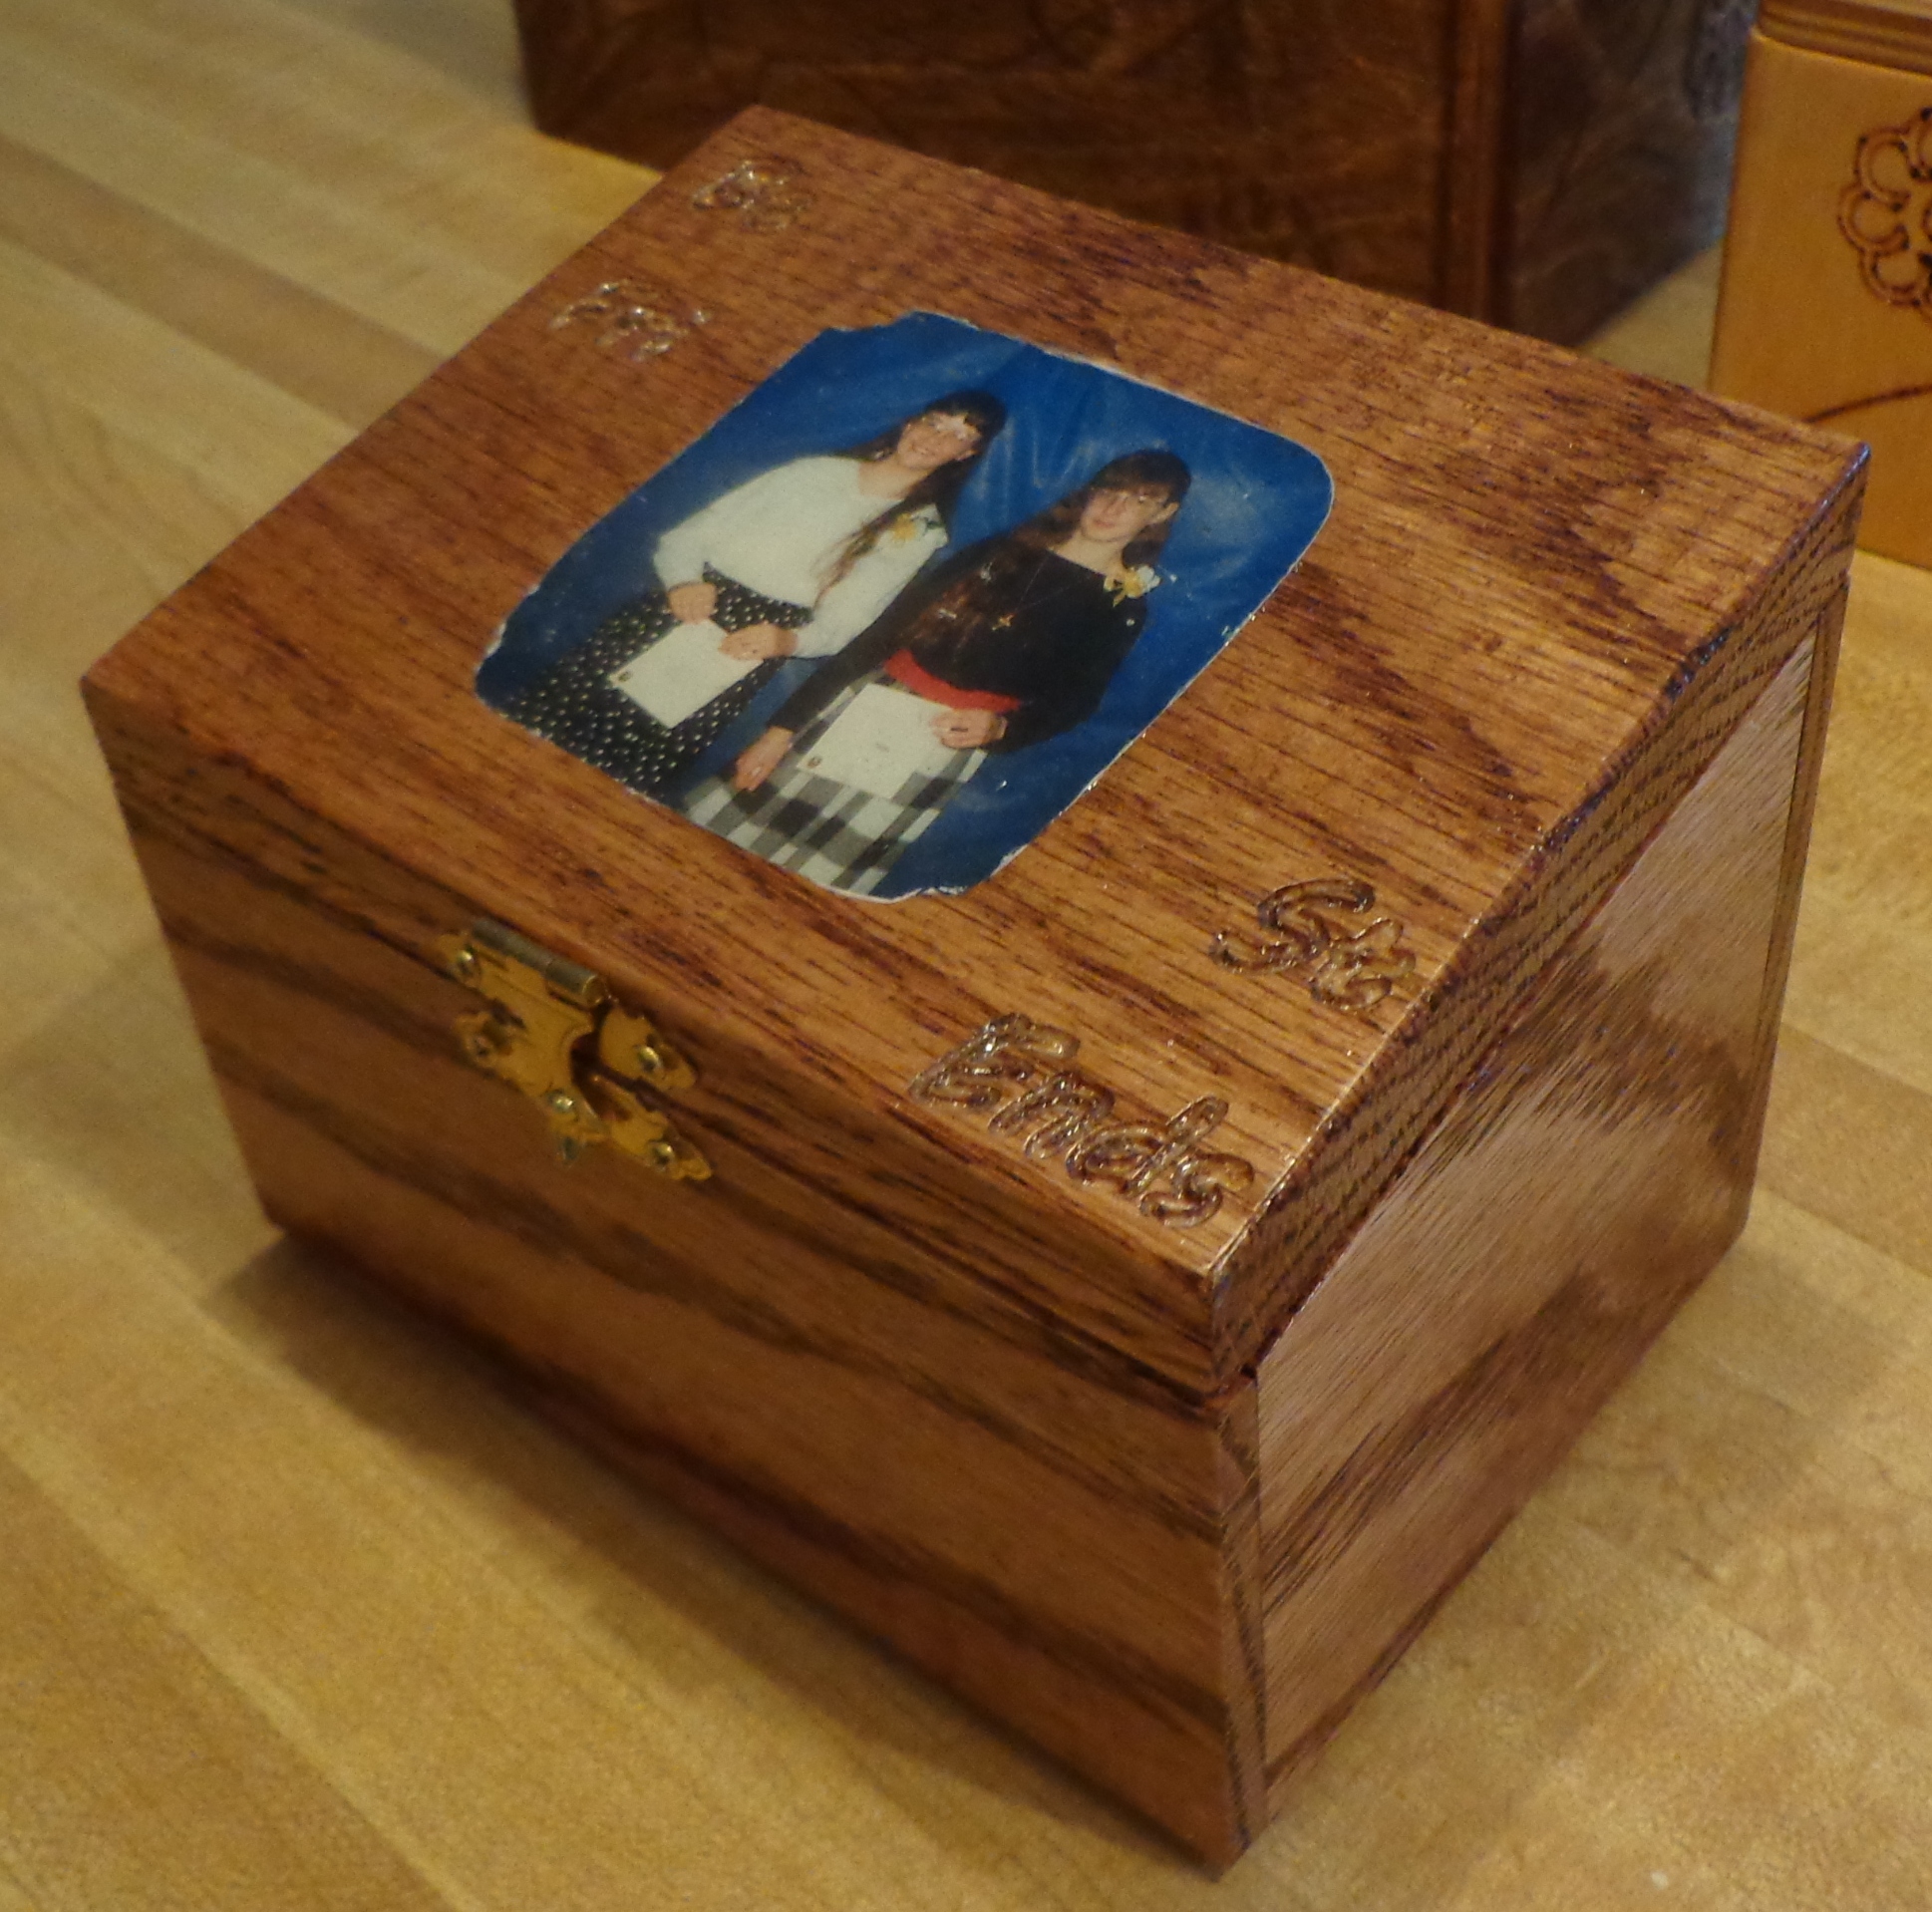 I decided to give my best friend, Pauline, a little box. Jay drew up the box, cut it out on the CNC router and then I took over from there.
I stained the box and put three coats of poly on it.
For the first time ever I used Modge Podge to transfer the picture to the top of the box. It didn’t come out the best, but it wasn’t bad for my first try.
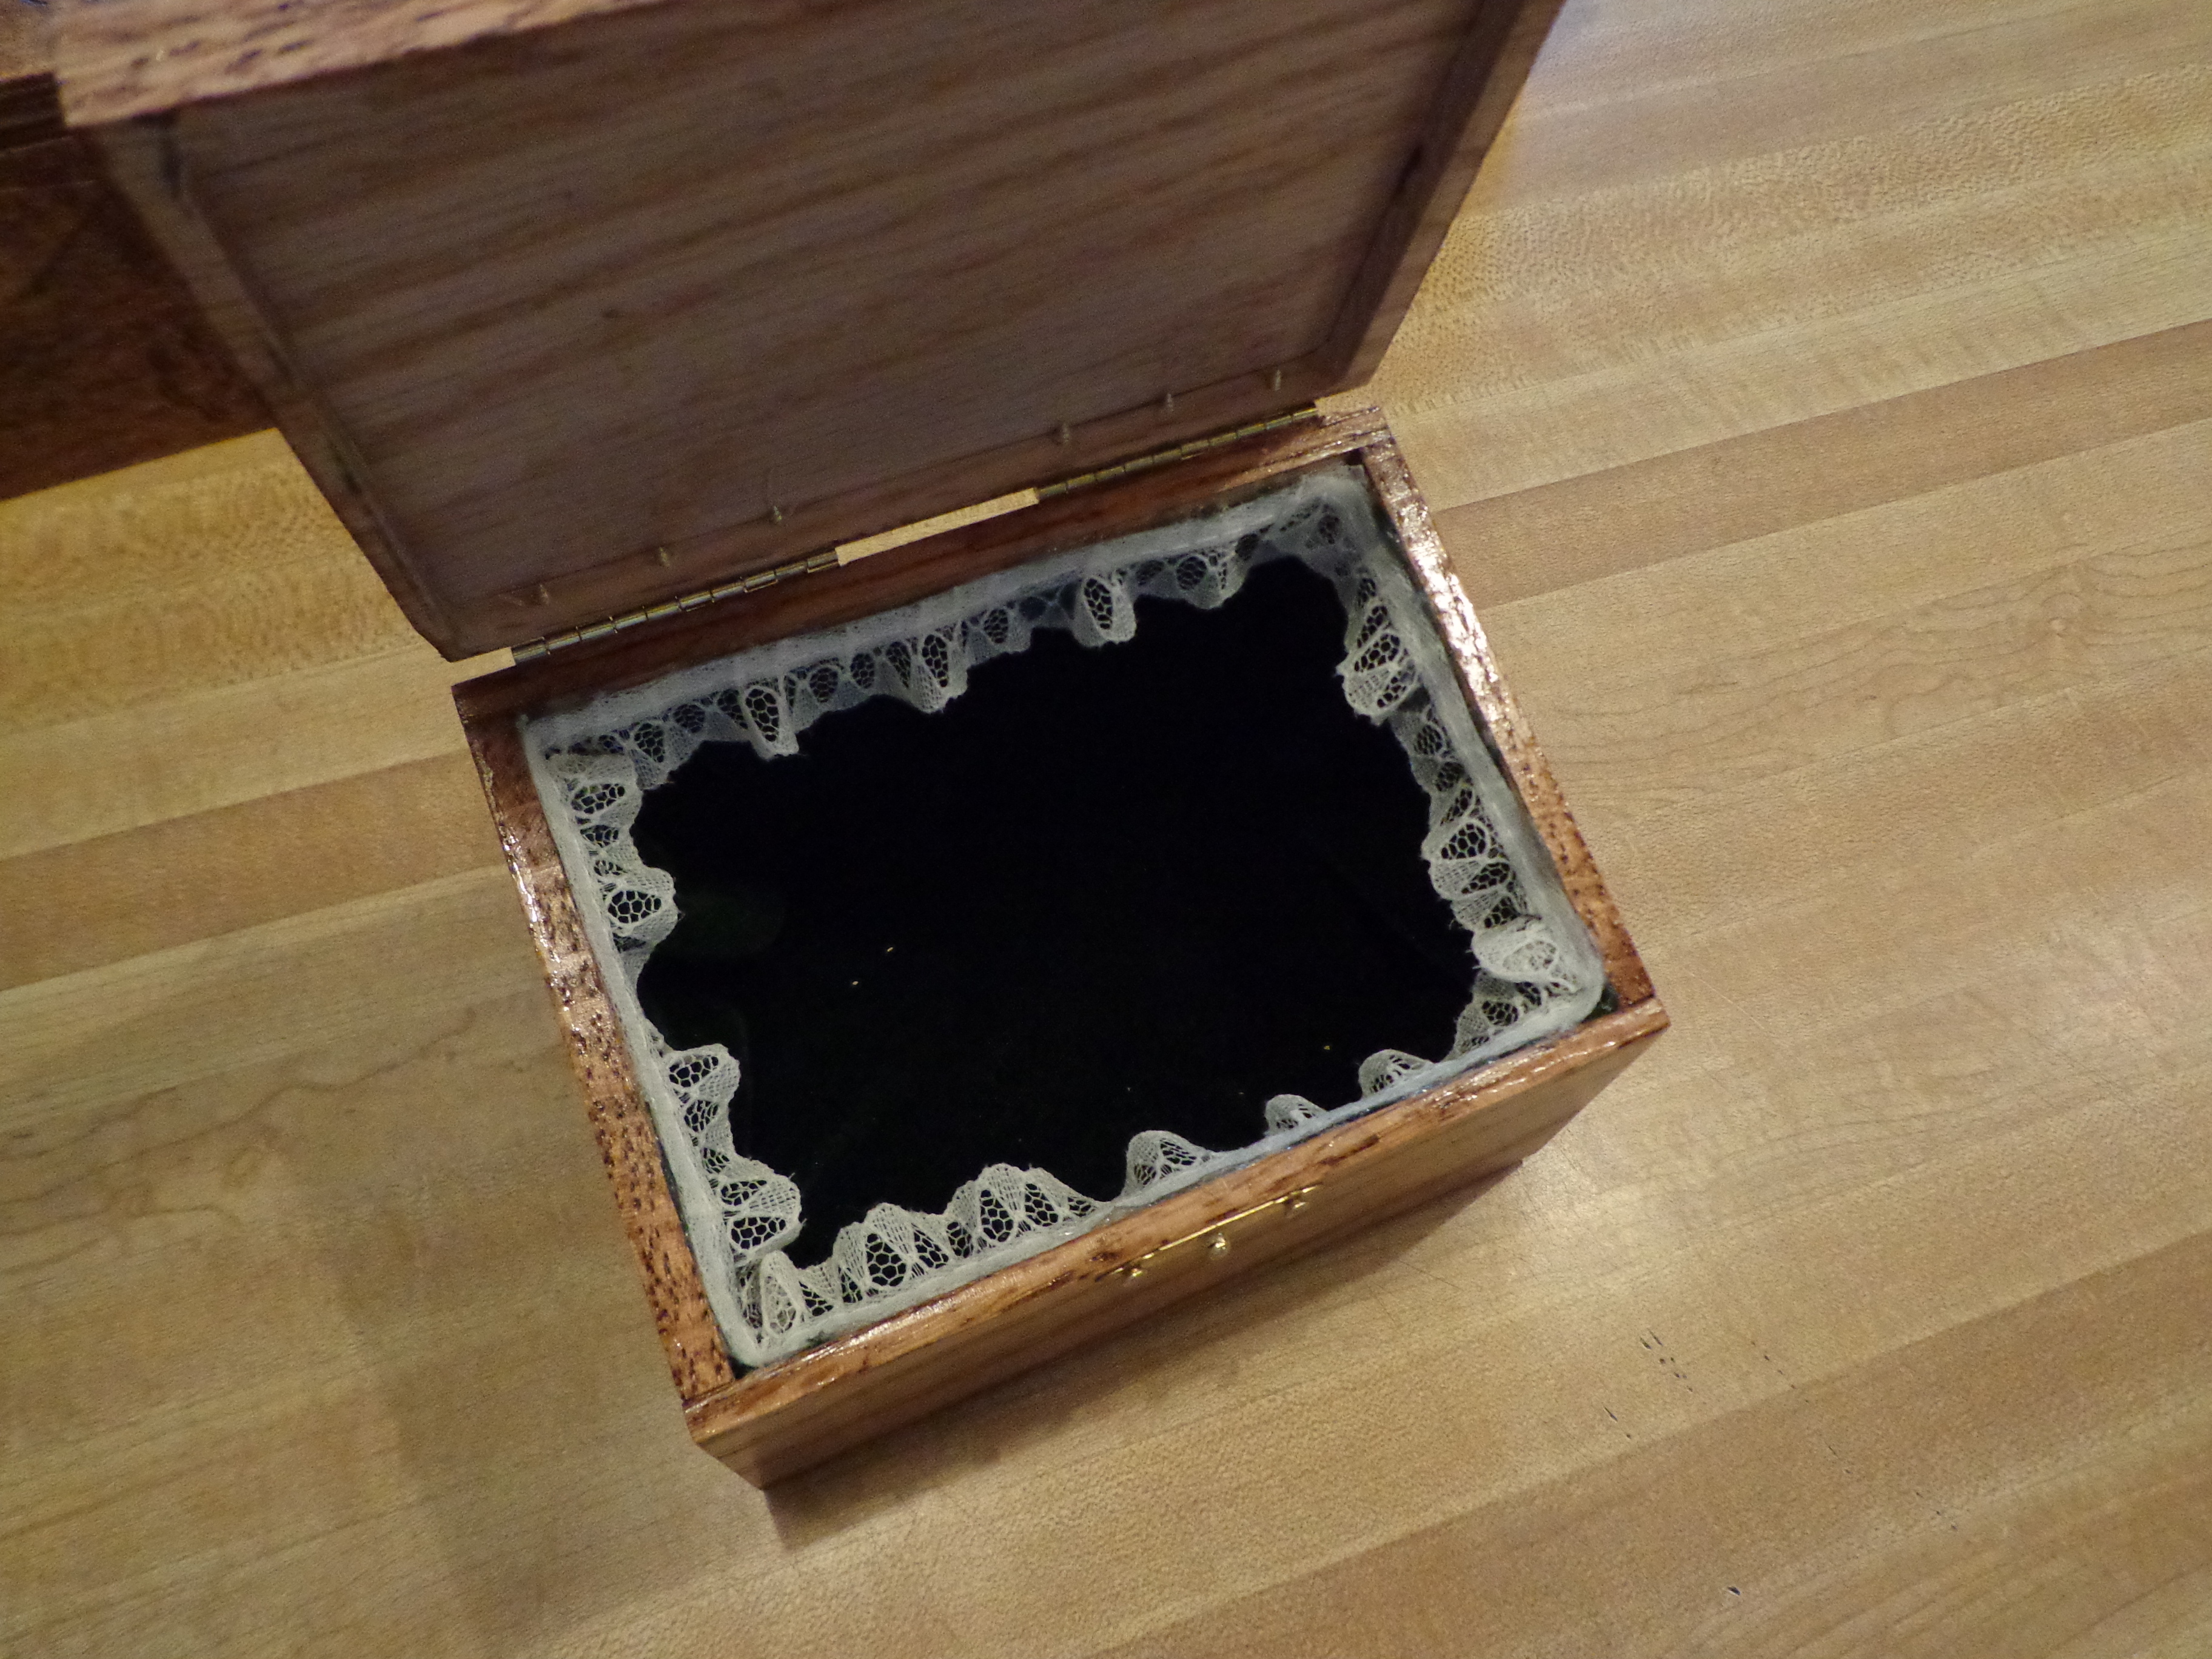 Then I lined the inside with some green velvet that I had and used a little lace on top. It looks a little goofy, I guess, but I’m not very good at visualizing these final little details.
 Here’s a slightly different view of the inside.
Pauline seemed very happy with it, so I guess that’s all that matters. I think that I need a better plan of attack for the next one.
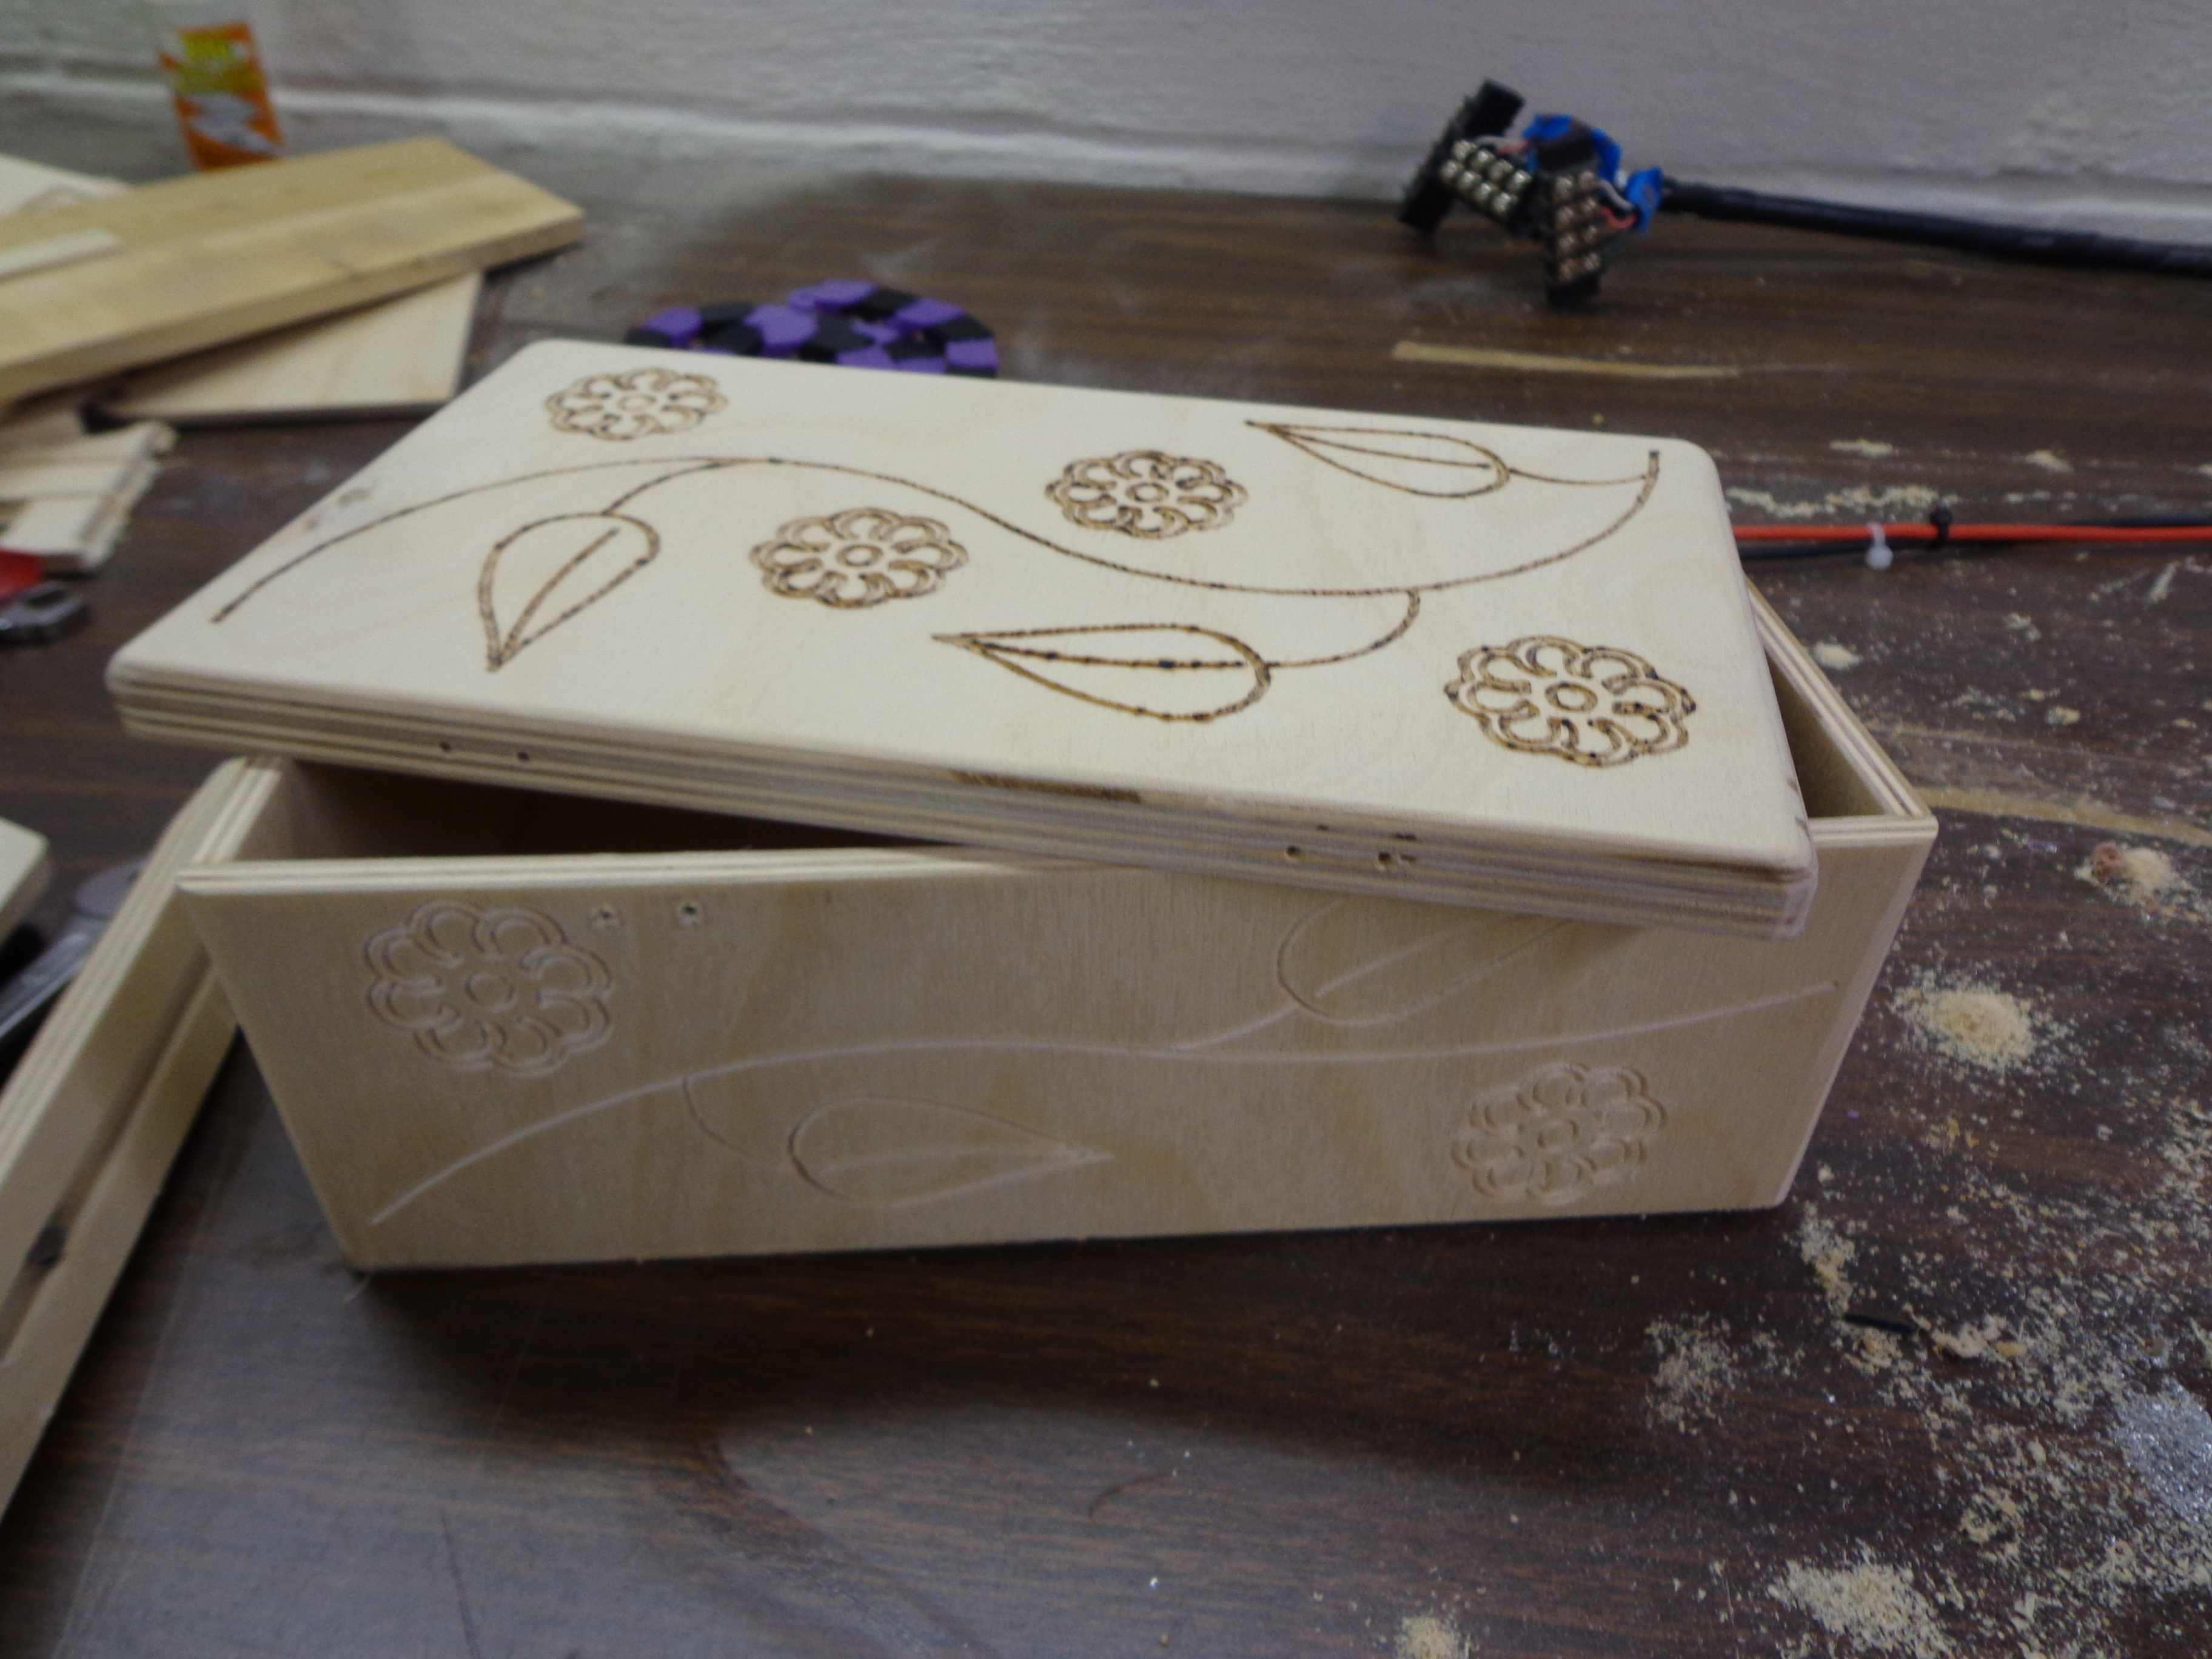 While I was staining and polying the box for Pauline I decided that I should finish the two jewelry boxes that Jay had made this past summer.
I wanted to experiment with the stains so I chose a dark and a light color to see how the high grade plywood he was using would take it.
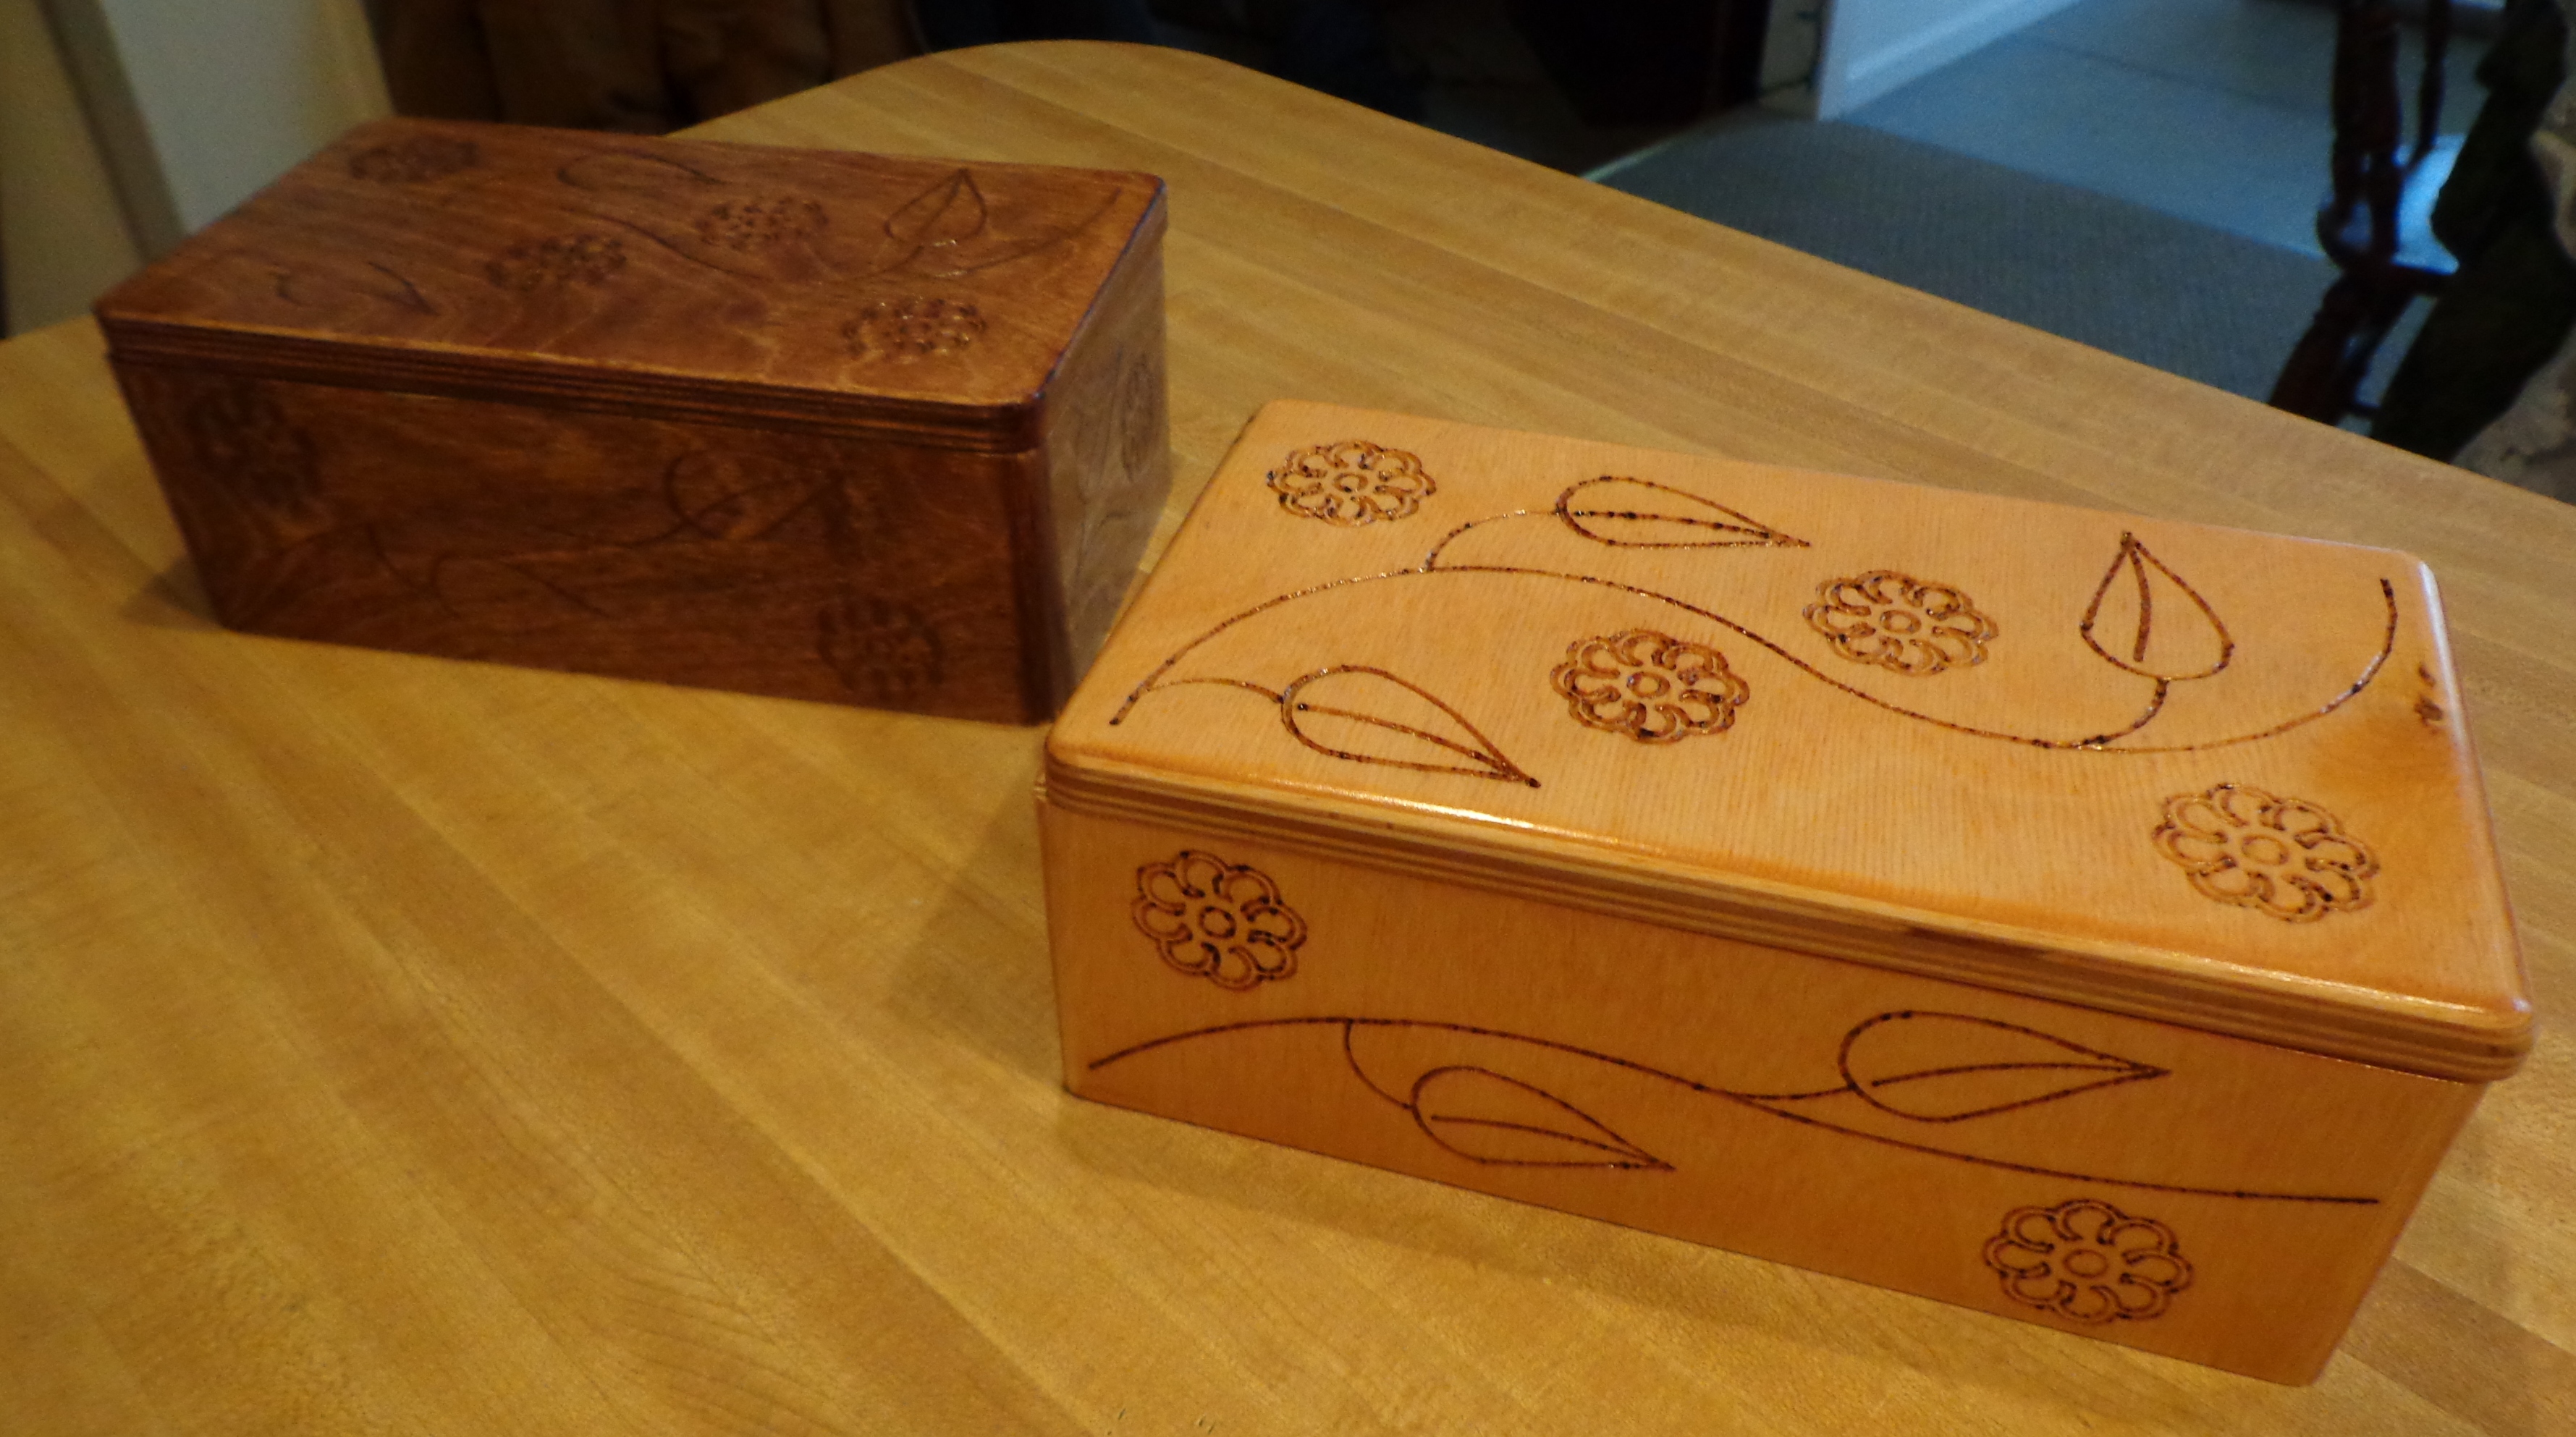 This picture definitely does not do them justice. They turned out really nice!
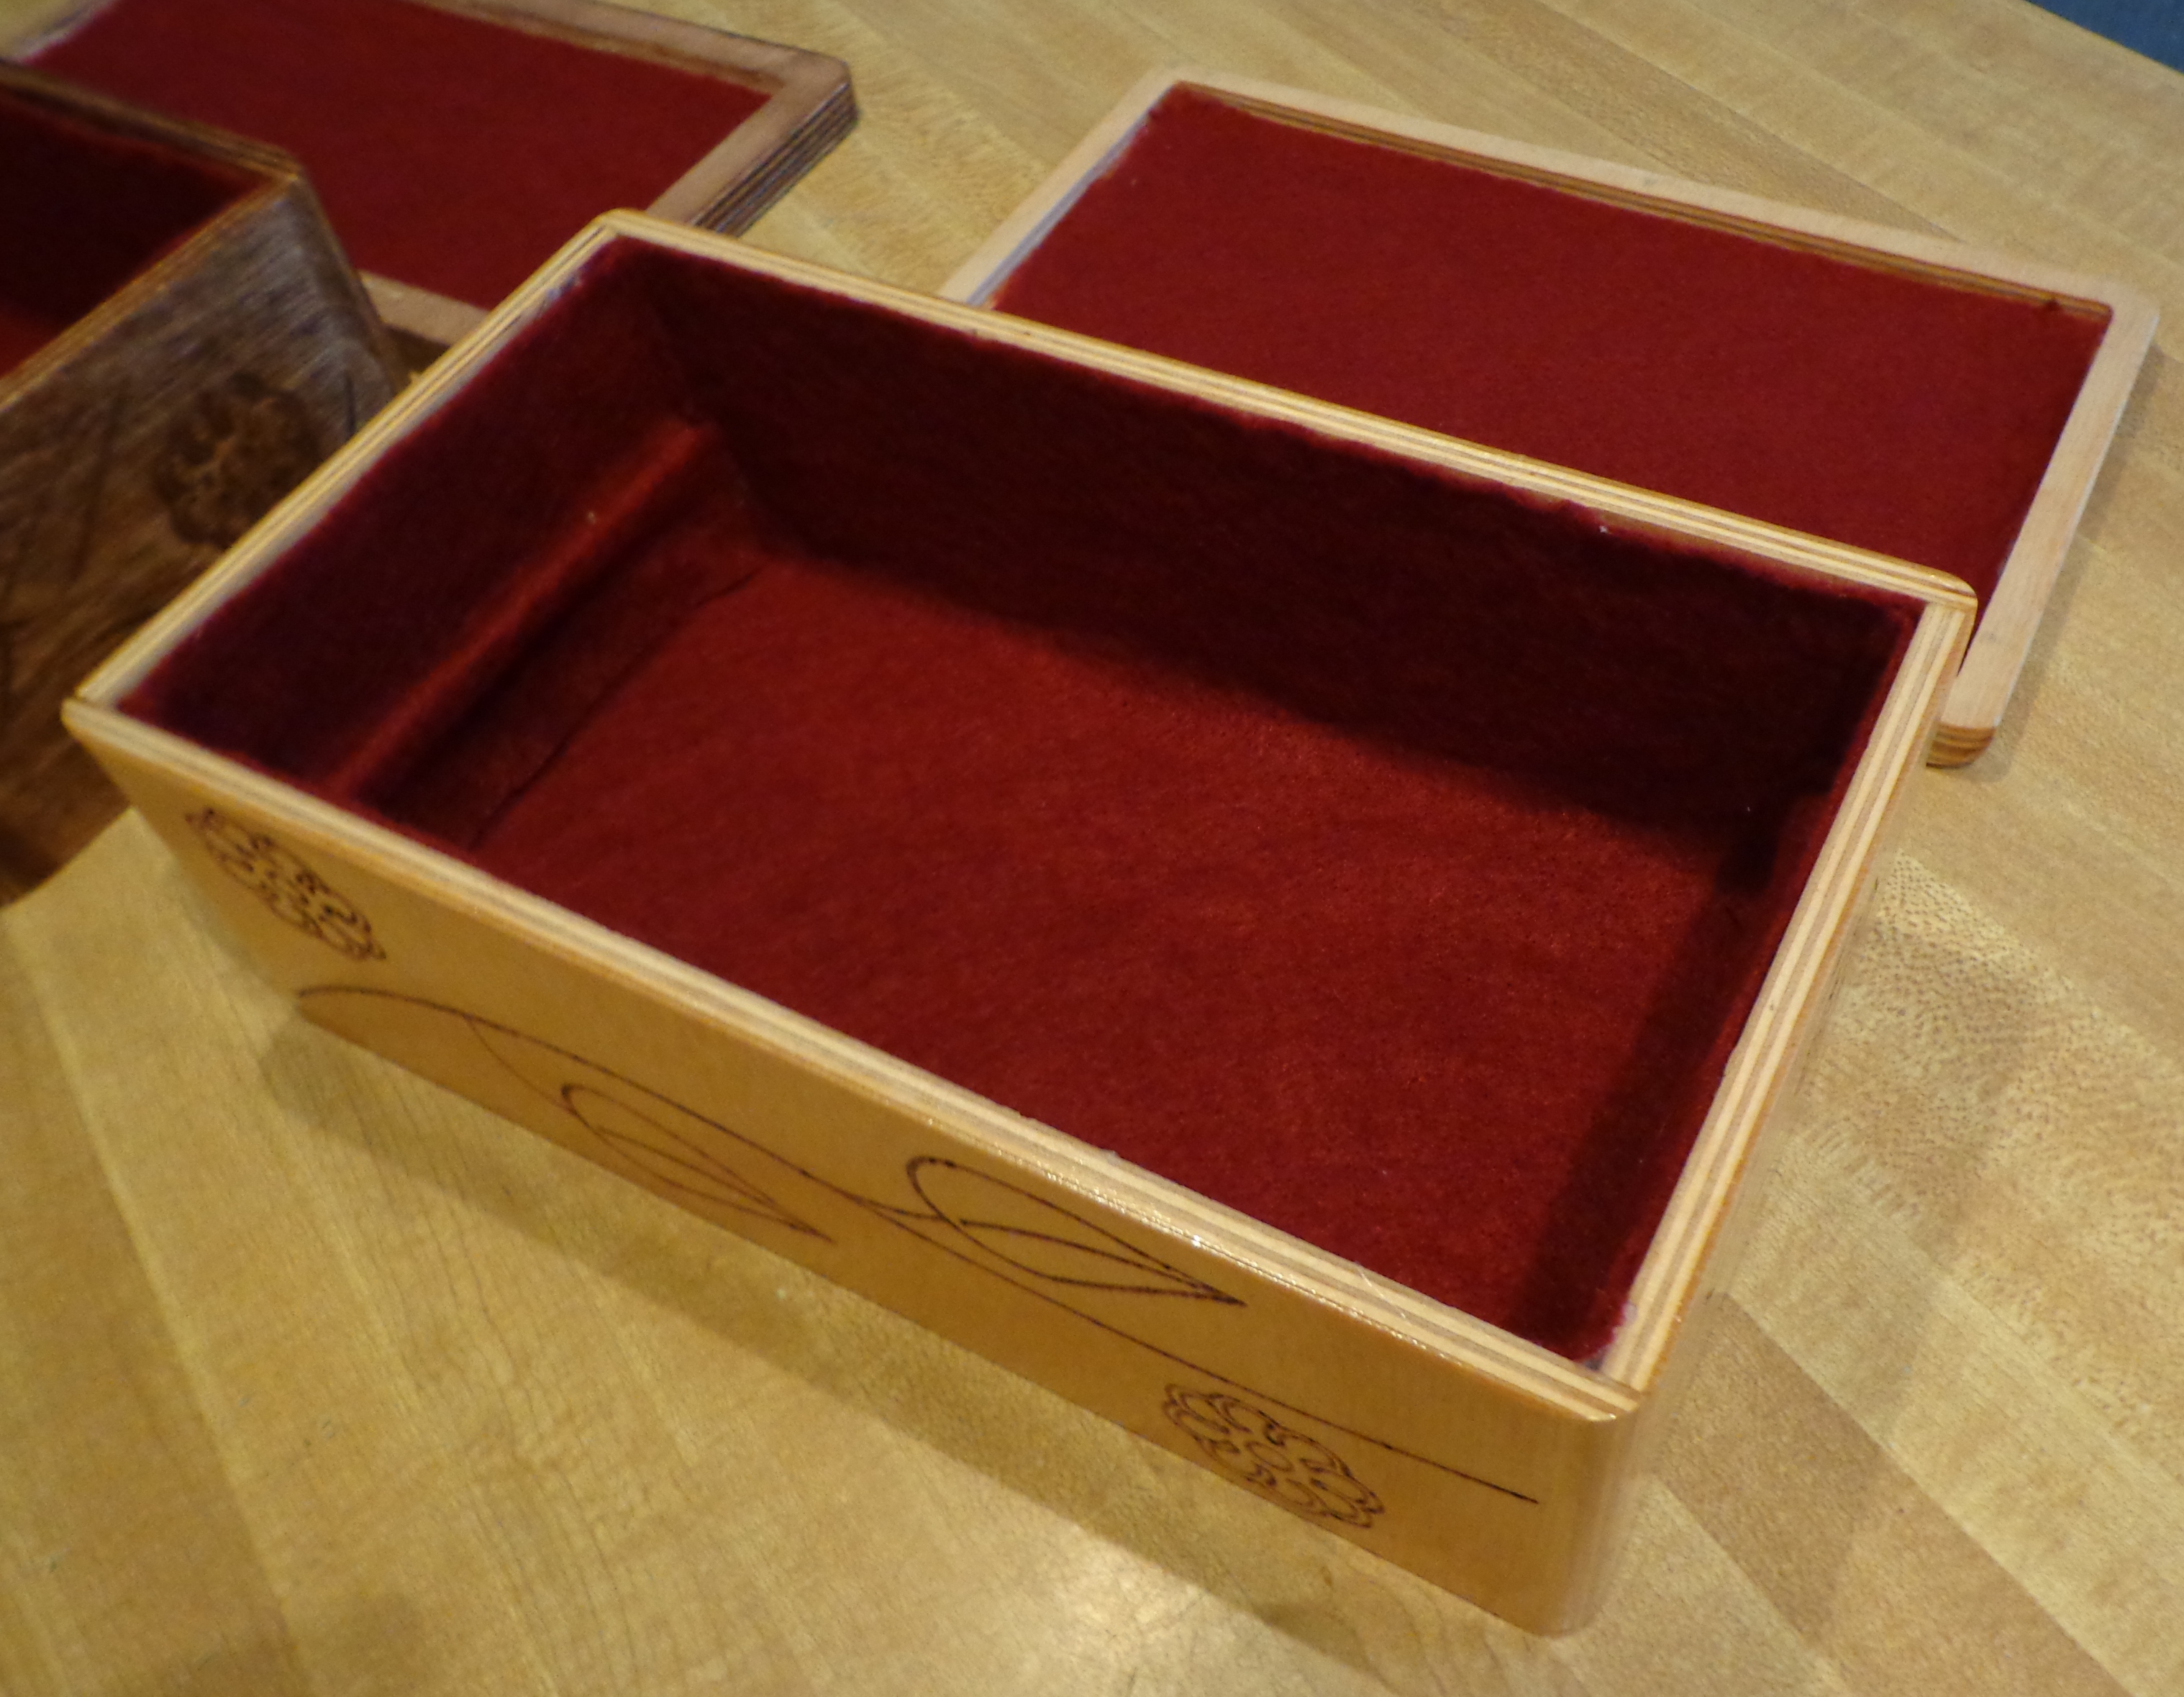
 This is the first jewelry box that he made for me. To add a little bit of decoration he used his soldering iron with a fine tip to burn the wood. This was a long and tedious process so he decided that he wouldn’t do that again. In order to really show the burned decorations I used the lighter stain with three layers of gloss poly.
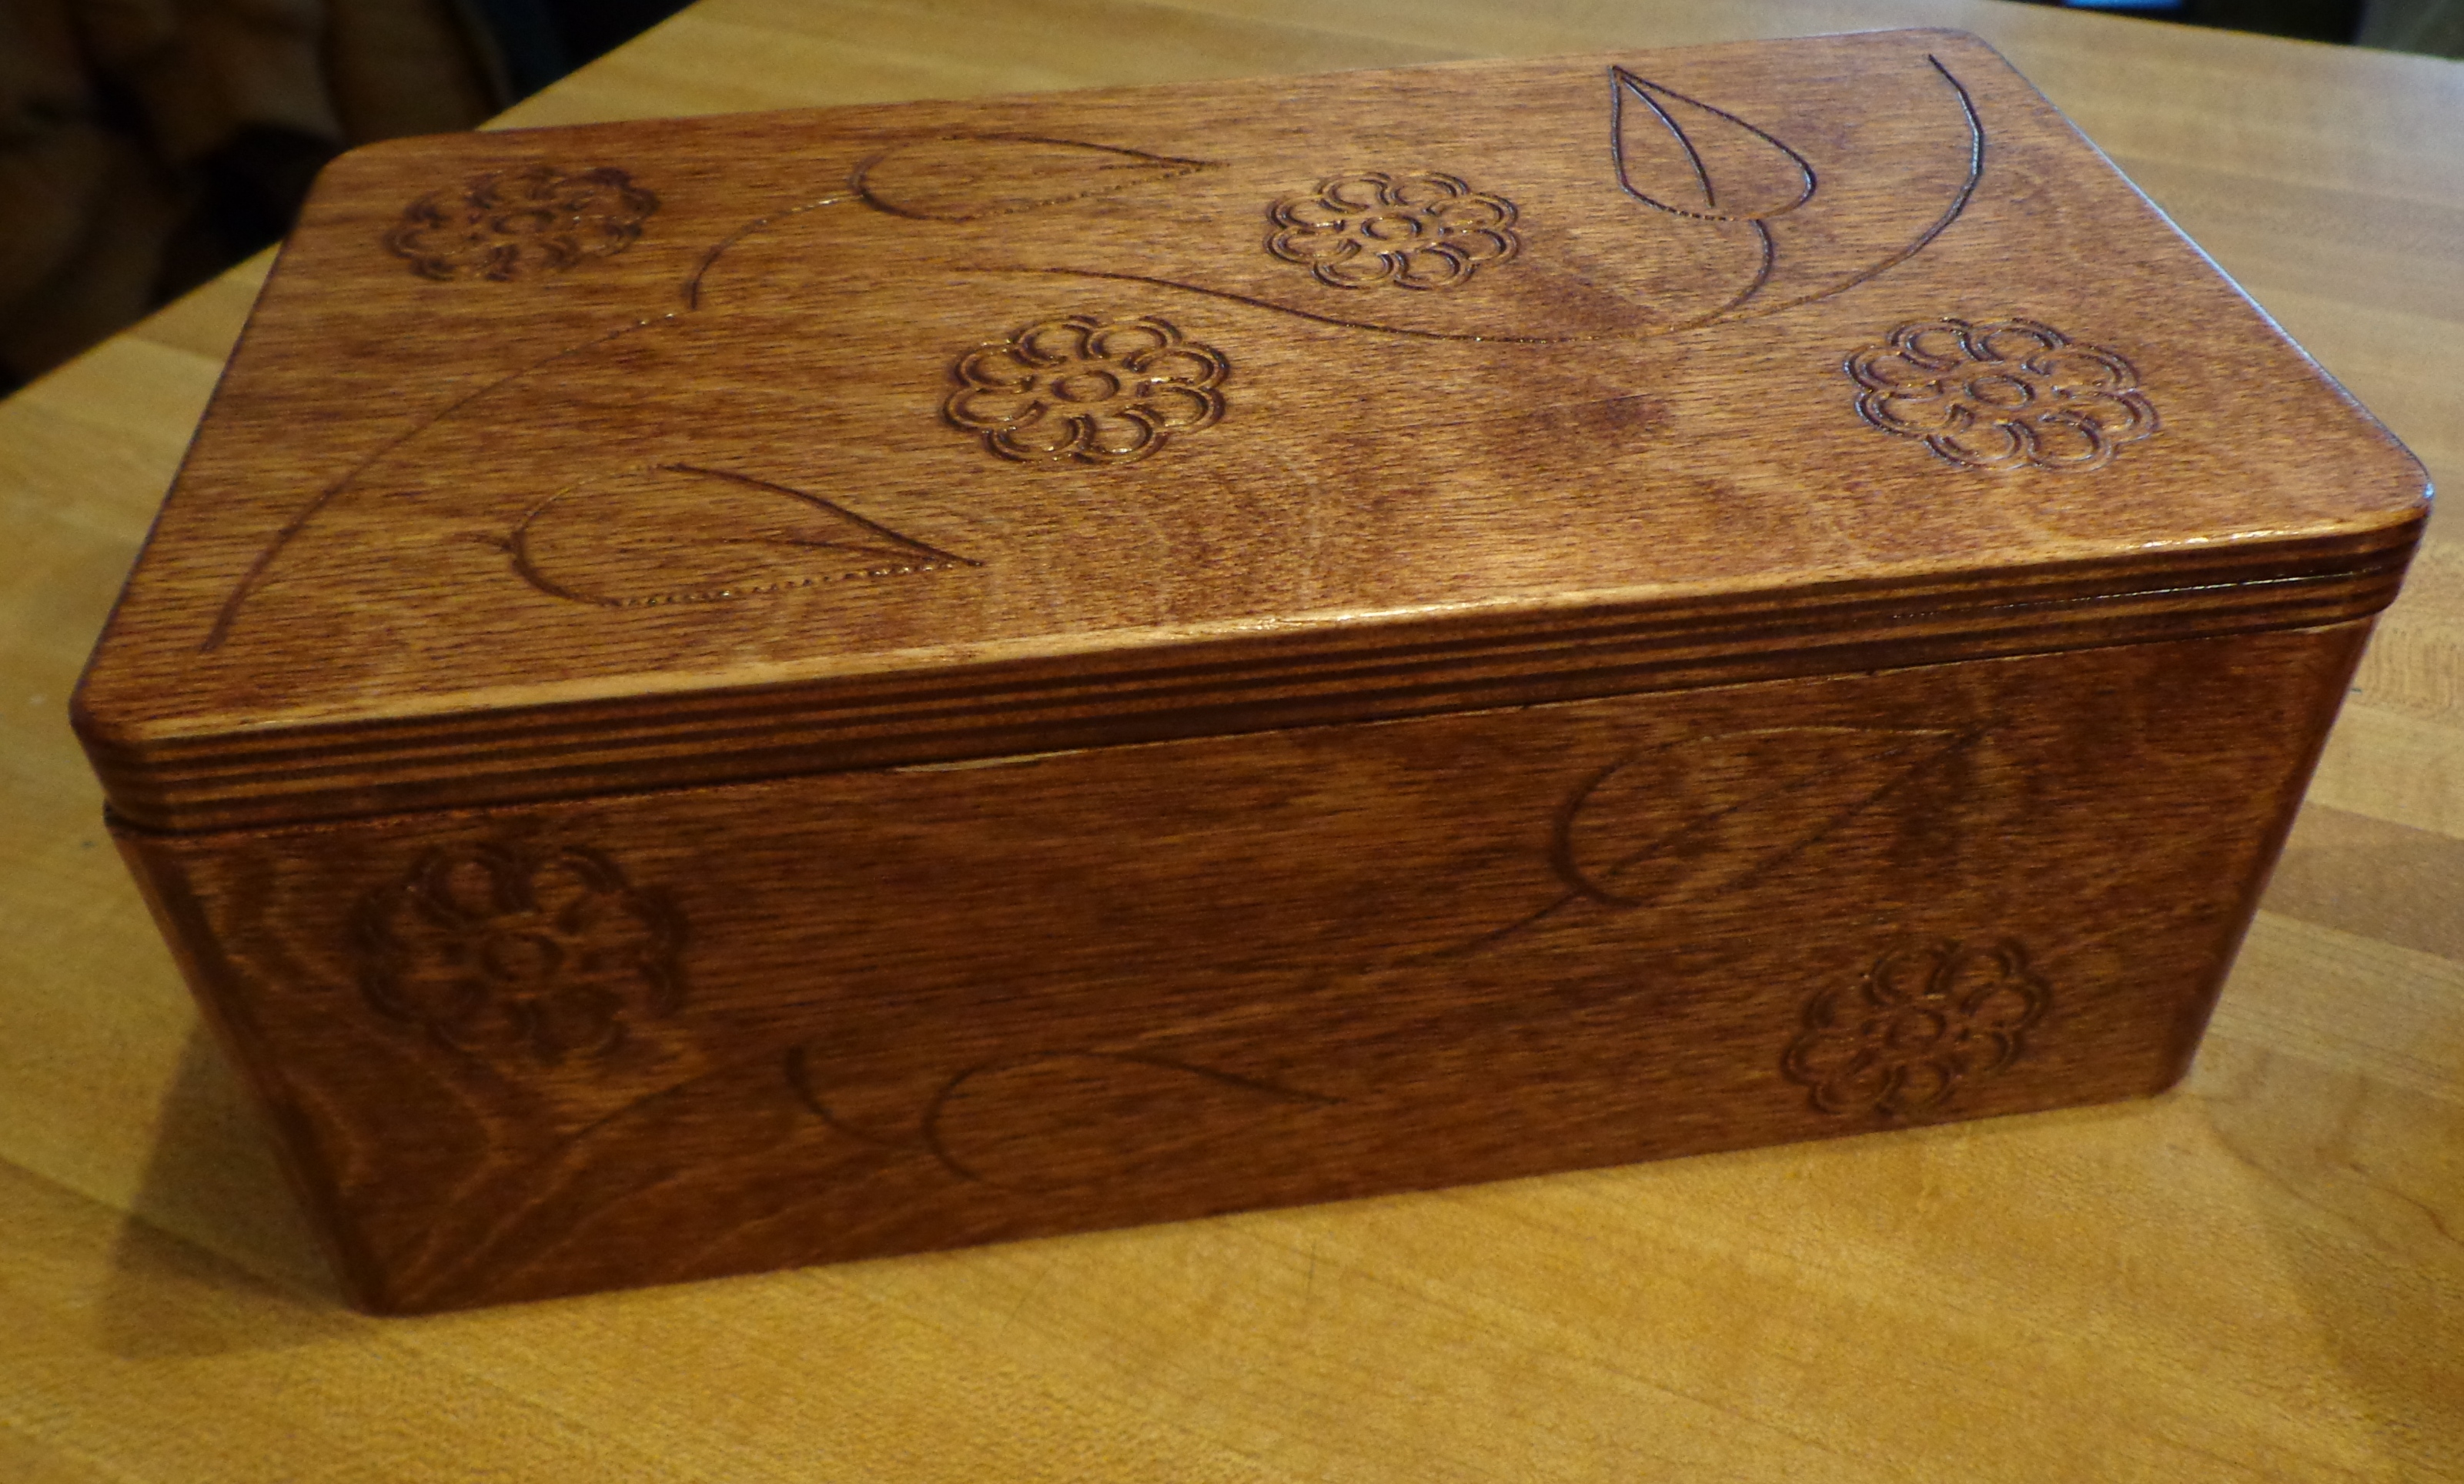 The other box we didn’t do anything with the decorations. They were part of the program when the router was cutting them out so I decided to see what would happen when I stained this one with a dark stain. Not only did it really bring out the grain of the wood, but it also helped to bring out the carving, too.
 I then lined the inside of the box and the lid with felt. It’s a good thing that you can’t get a close-up look because I was NOT precise when cutting the felt.
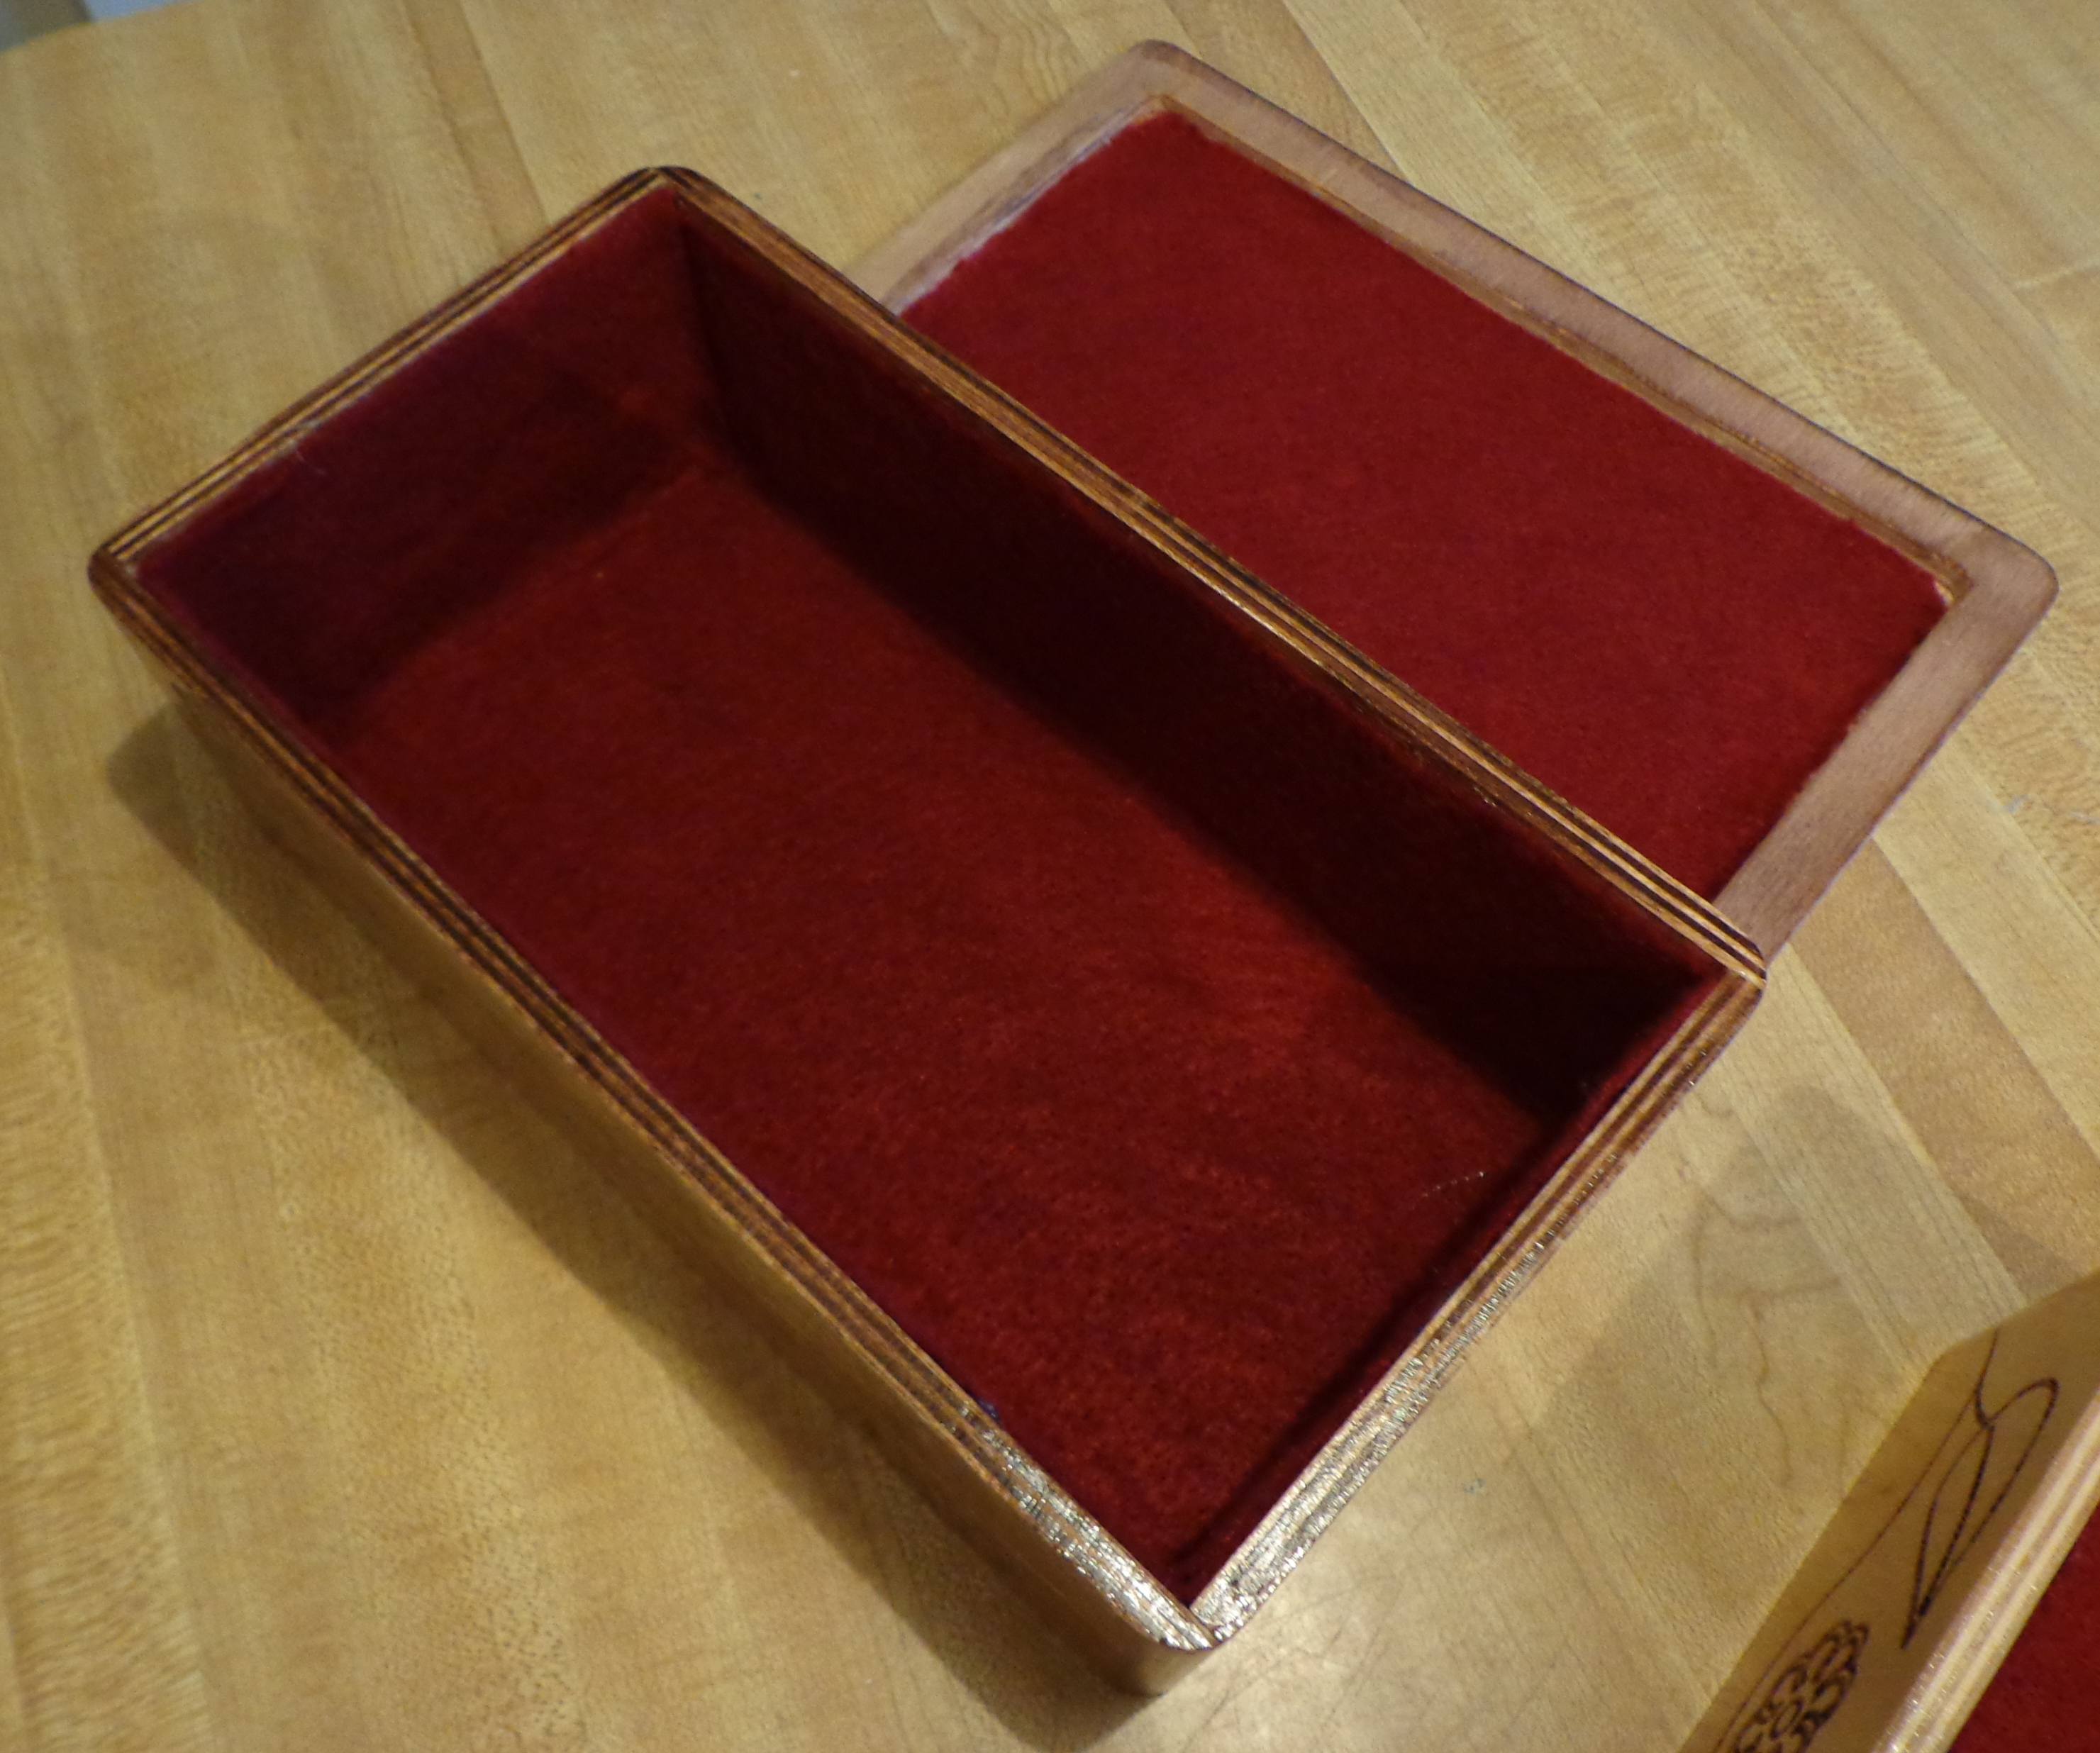
 This one has a little bit of a ledge inside because there is a tray that sits down in it. I still have to finish staining and polying that, but it will have to wait for now.
All that’s left is to put the hinges on them and maybe do something with the seams on the inside. They turned out nice!

Beautiful! Isn’t it nice to have talented men around? 🙂
Also, someday I would like to have your patience and skill for staining wood!
Pingback: Sewing With my Singer 301A | Kerry'd Away