
Are you rolling your eyes yet? I know… yet another project that Kerry is undertaking! If you think that you’re rolling your eyes you should see poor Jay! Although, he’s so used to me starting projects that I don’t think it even phases him anymore. So what’s my latest project?
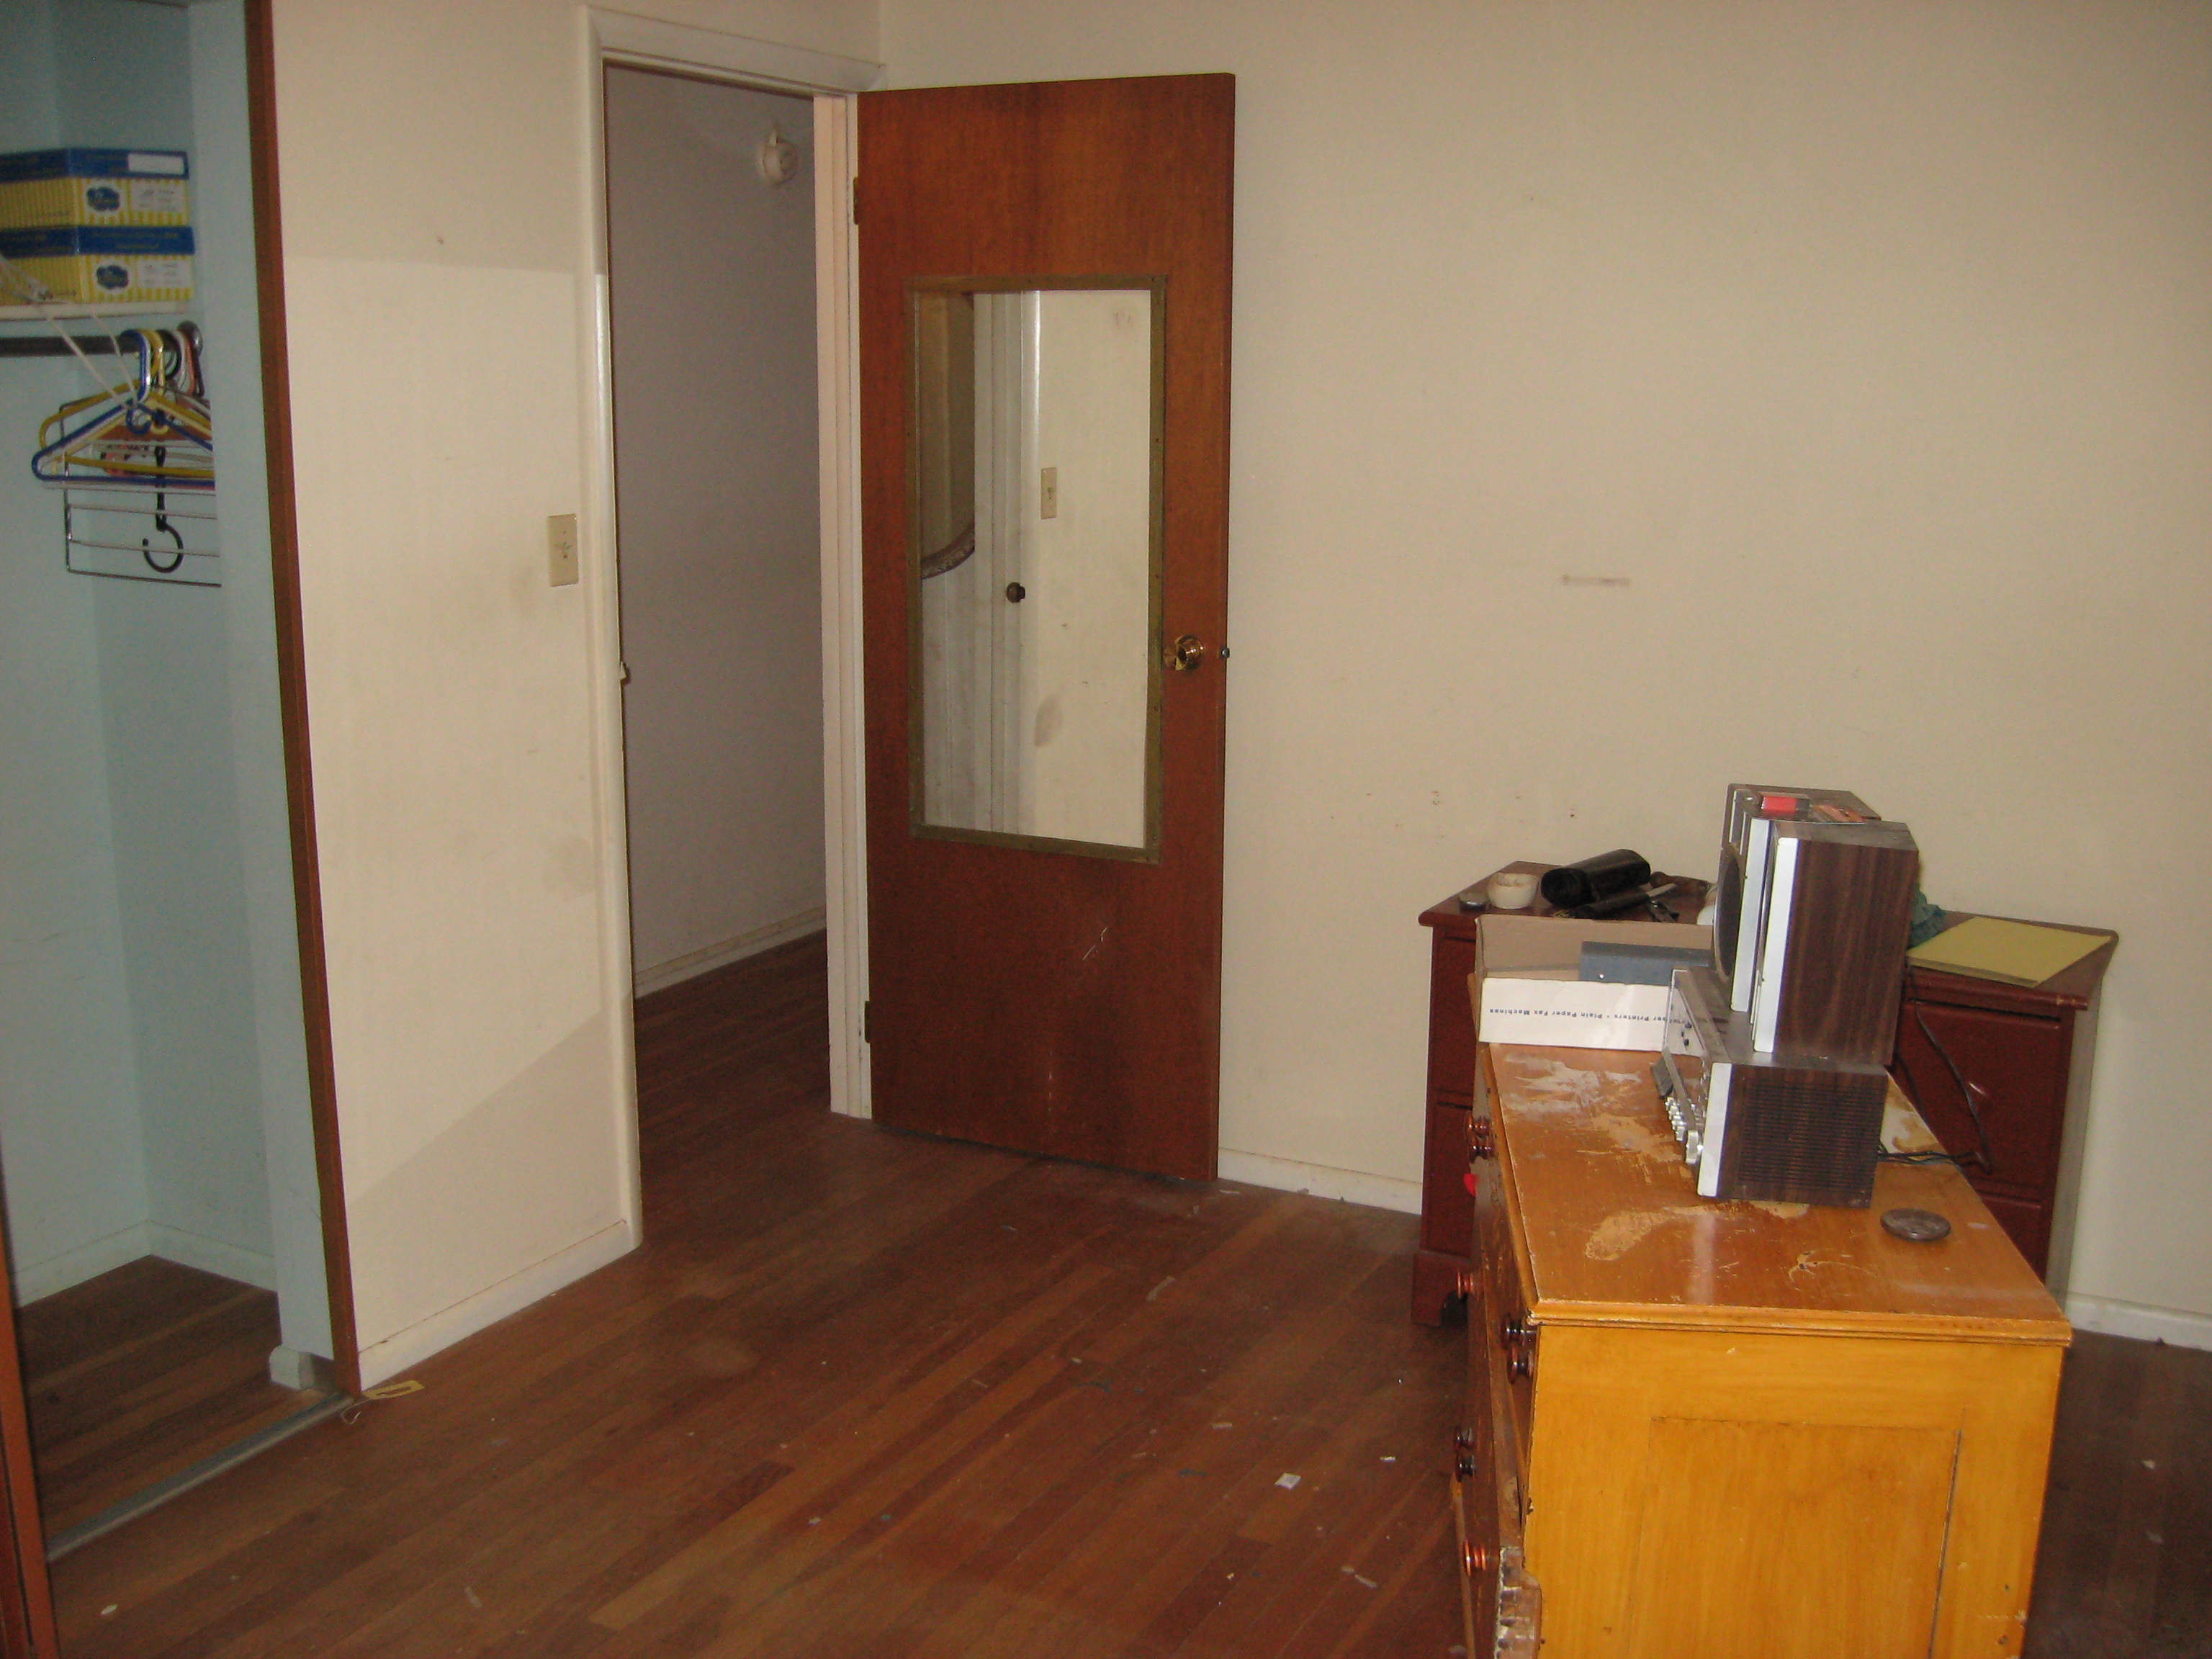 I need to get better about taking ‘BEFORE’ pictures! Do you see that dresser in the picture? The light one in the foreground? That’s my current project. This picture was taken in the house that I just sold. It used to be my grandma’s house and this dresser was one of the things that was left in the house for my use.
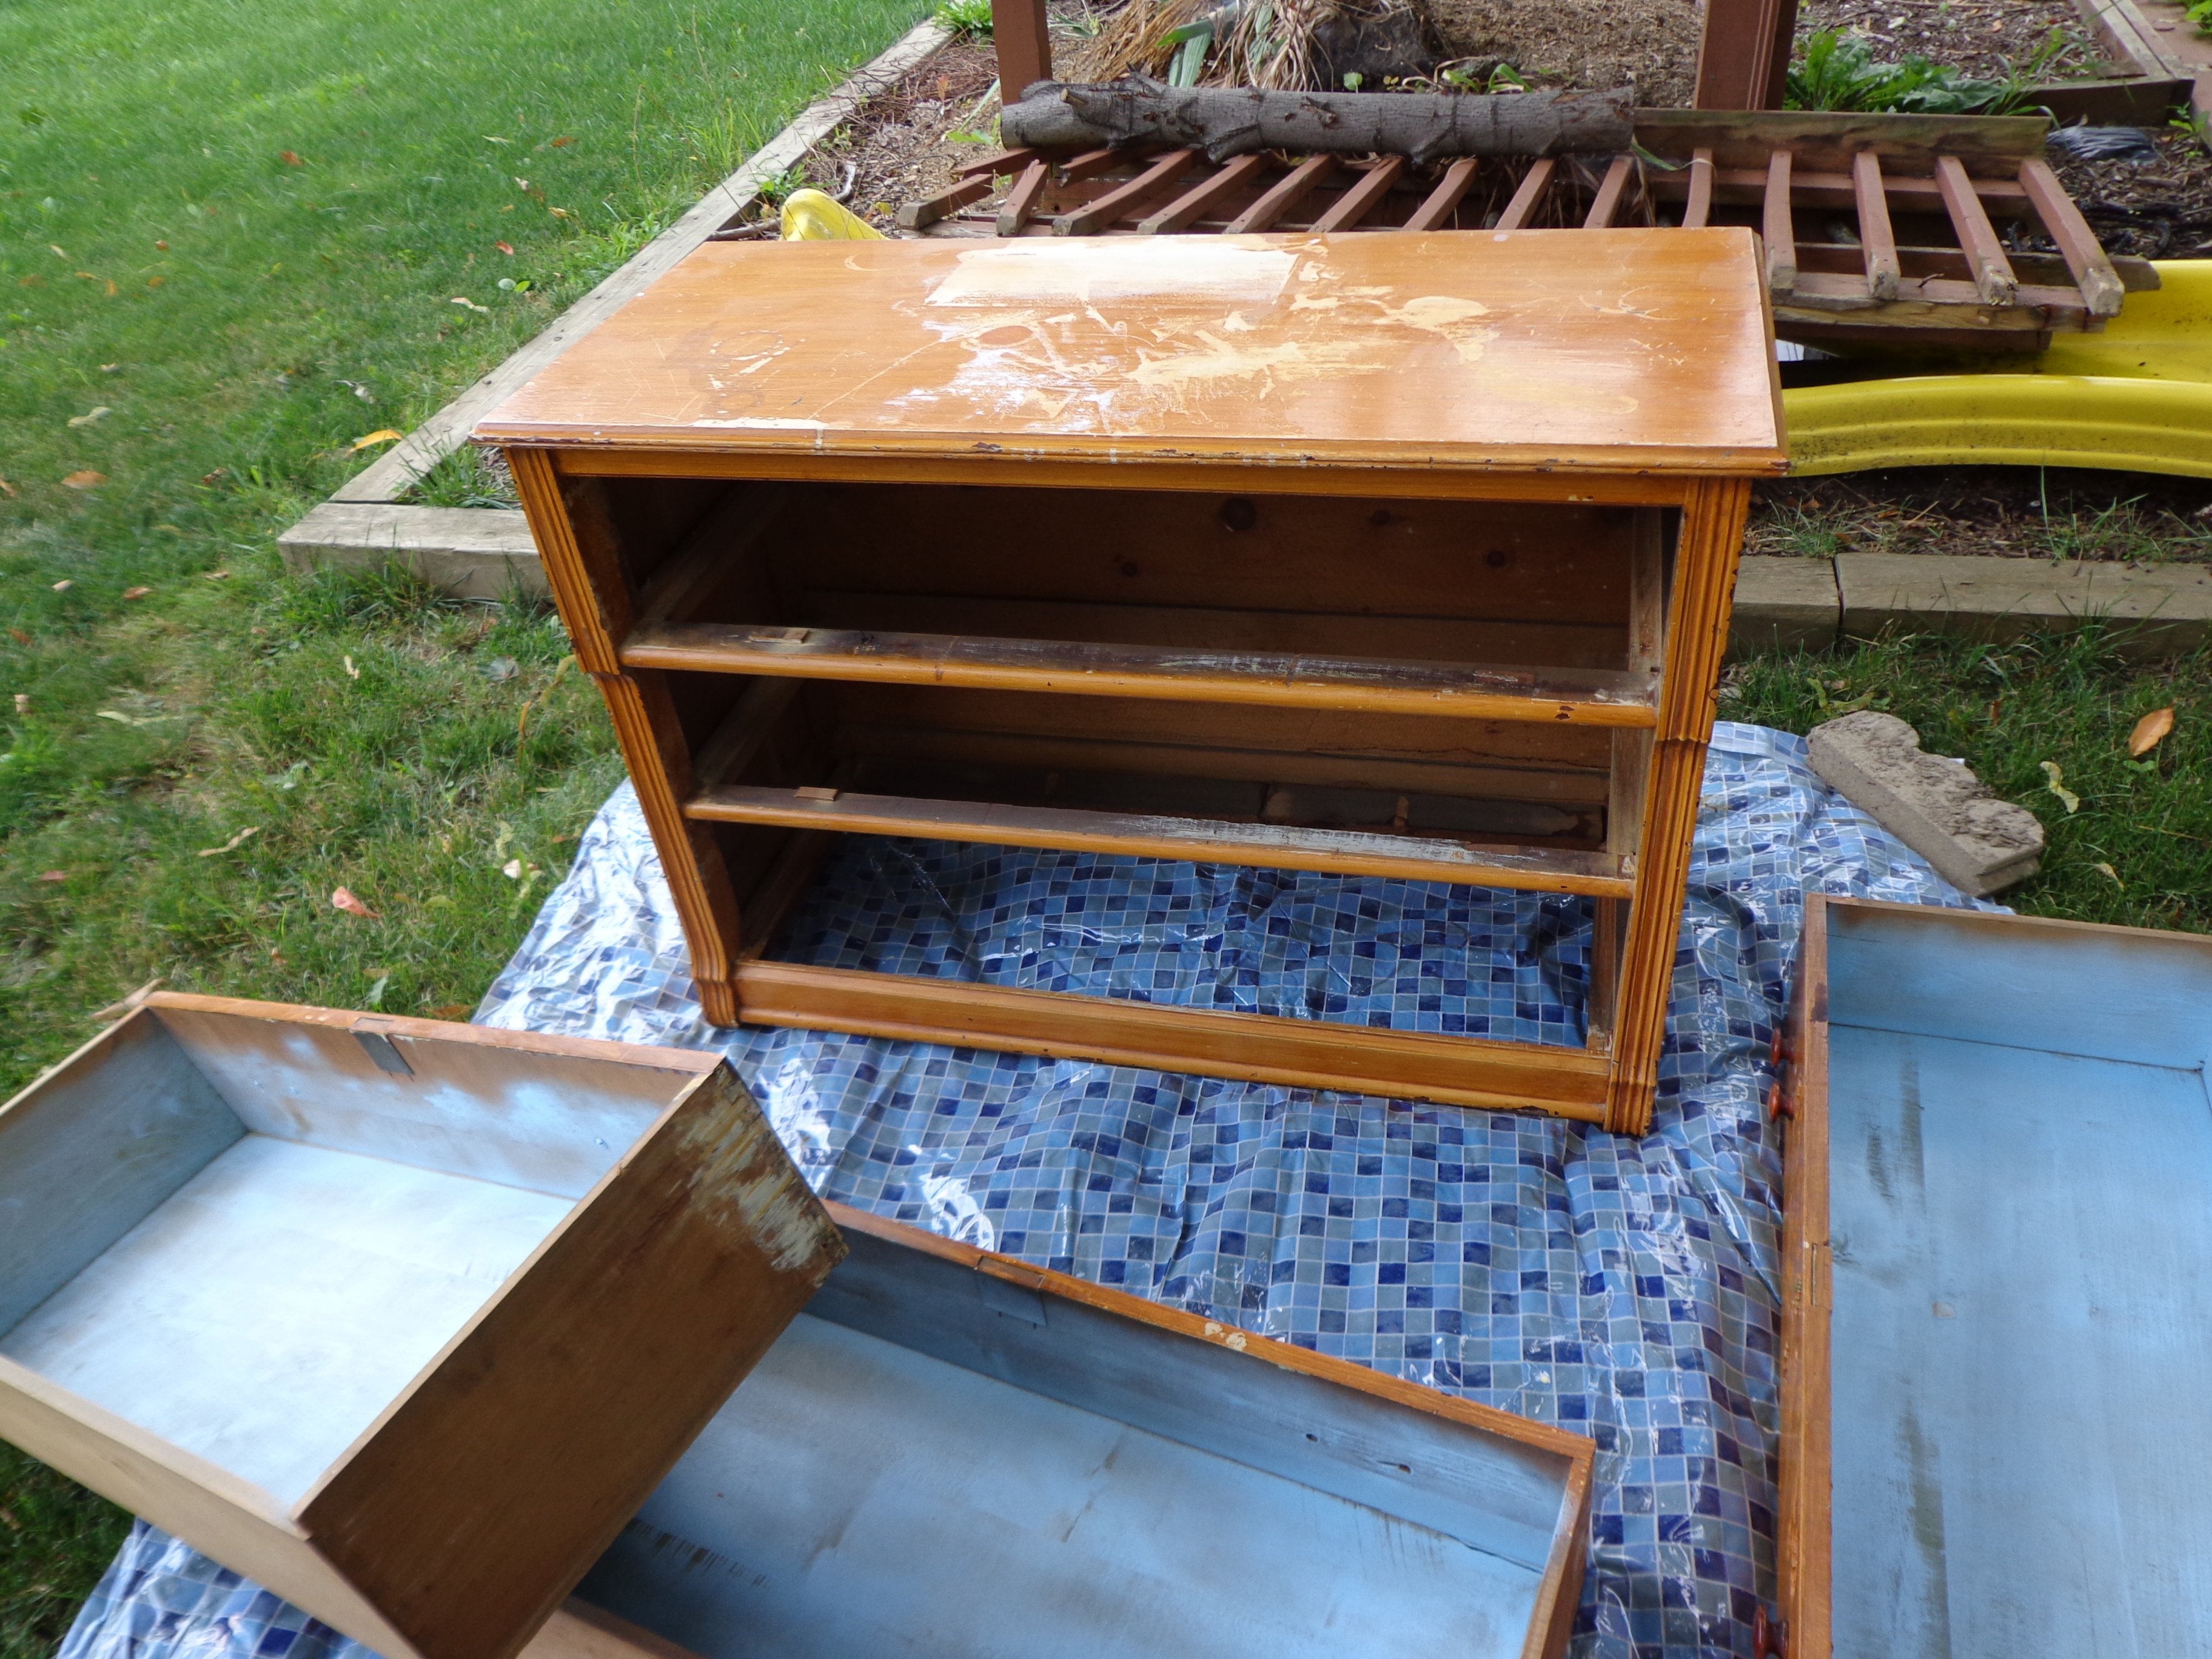 I did take pictures as I was getting ready to do the first layer of stripping! I kept this dresser because it was a nice size and I could tell that it was real wood. I knew that underneath that scratched-up paint there was a gorgeous dresser aching to get out!
 It just needs some TLC…
 I had to move the dresser inside, but the stripper that I’m using doesn’t give off horribly noxious fumes so it can be used in the house. Thank goodness!
The first layer of stripper only took off a little bit of the paint. I didn’t know what I was going to find under the top most layer. I hoped that it would be something beautiful.
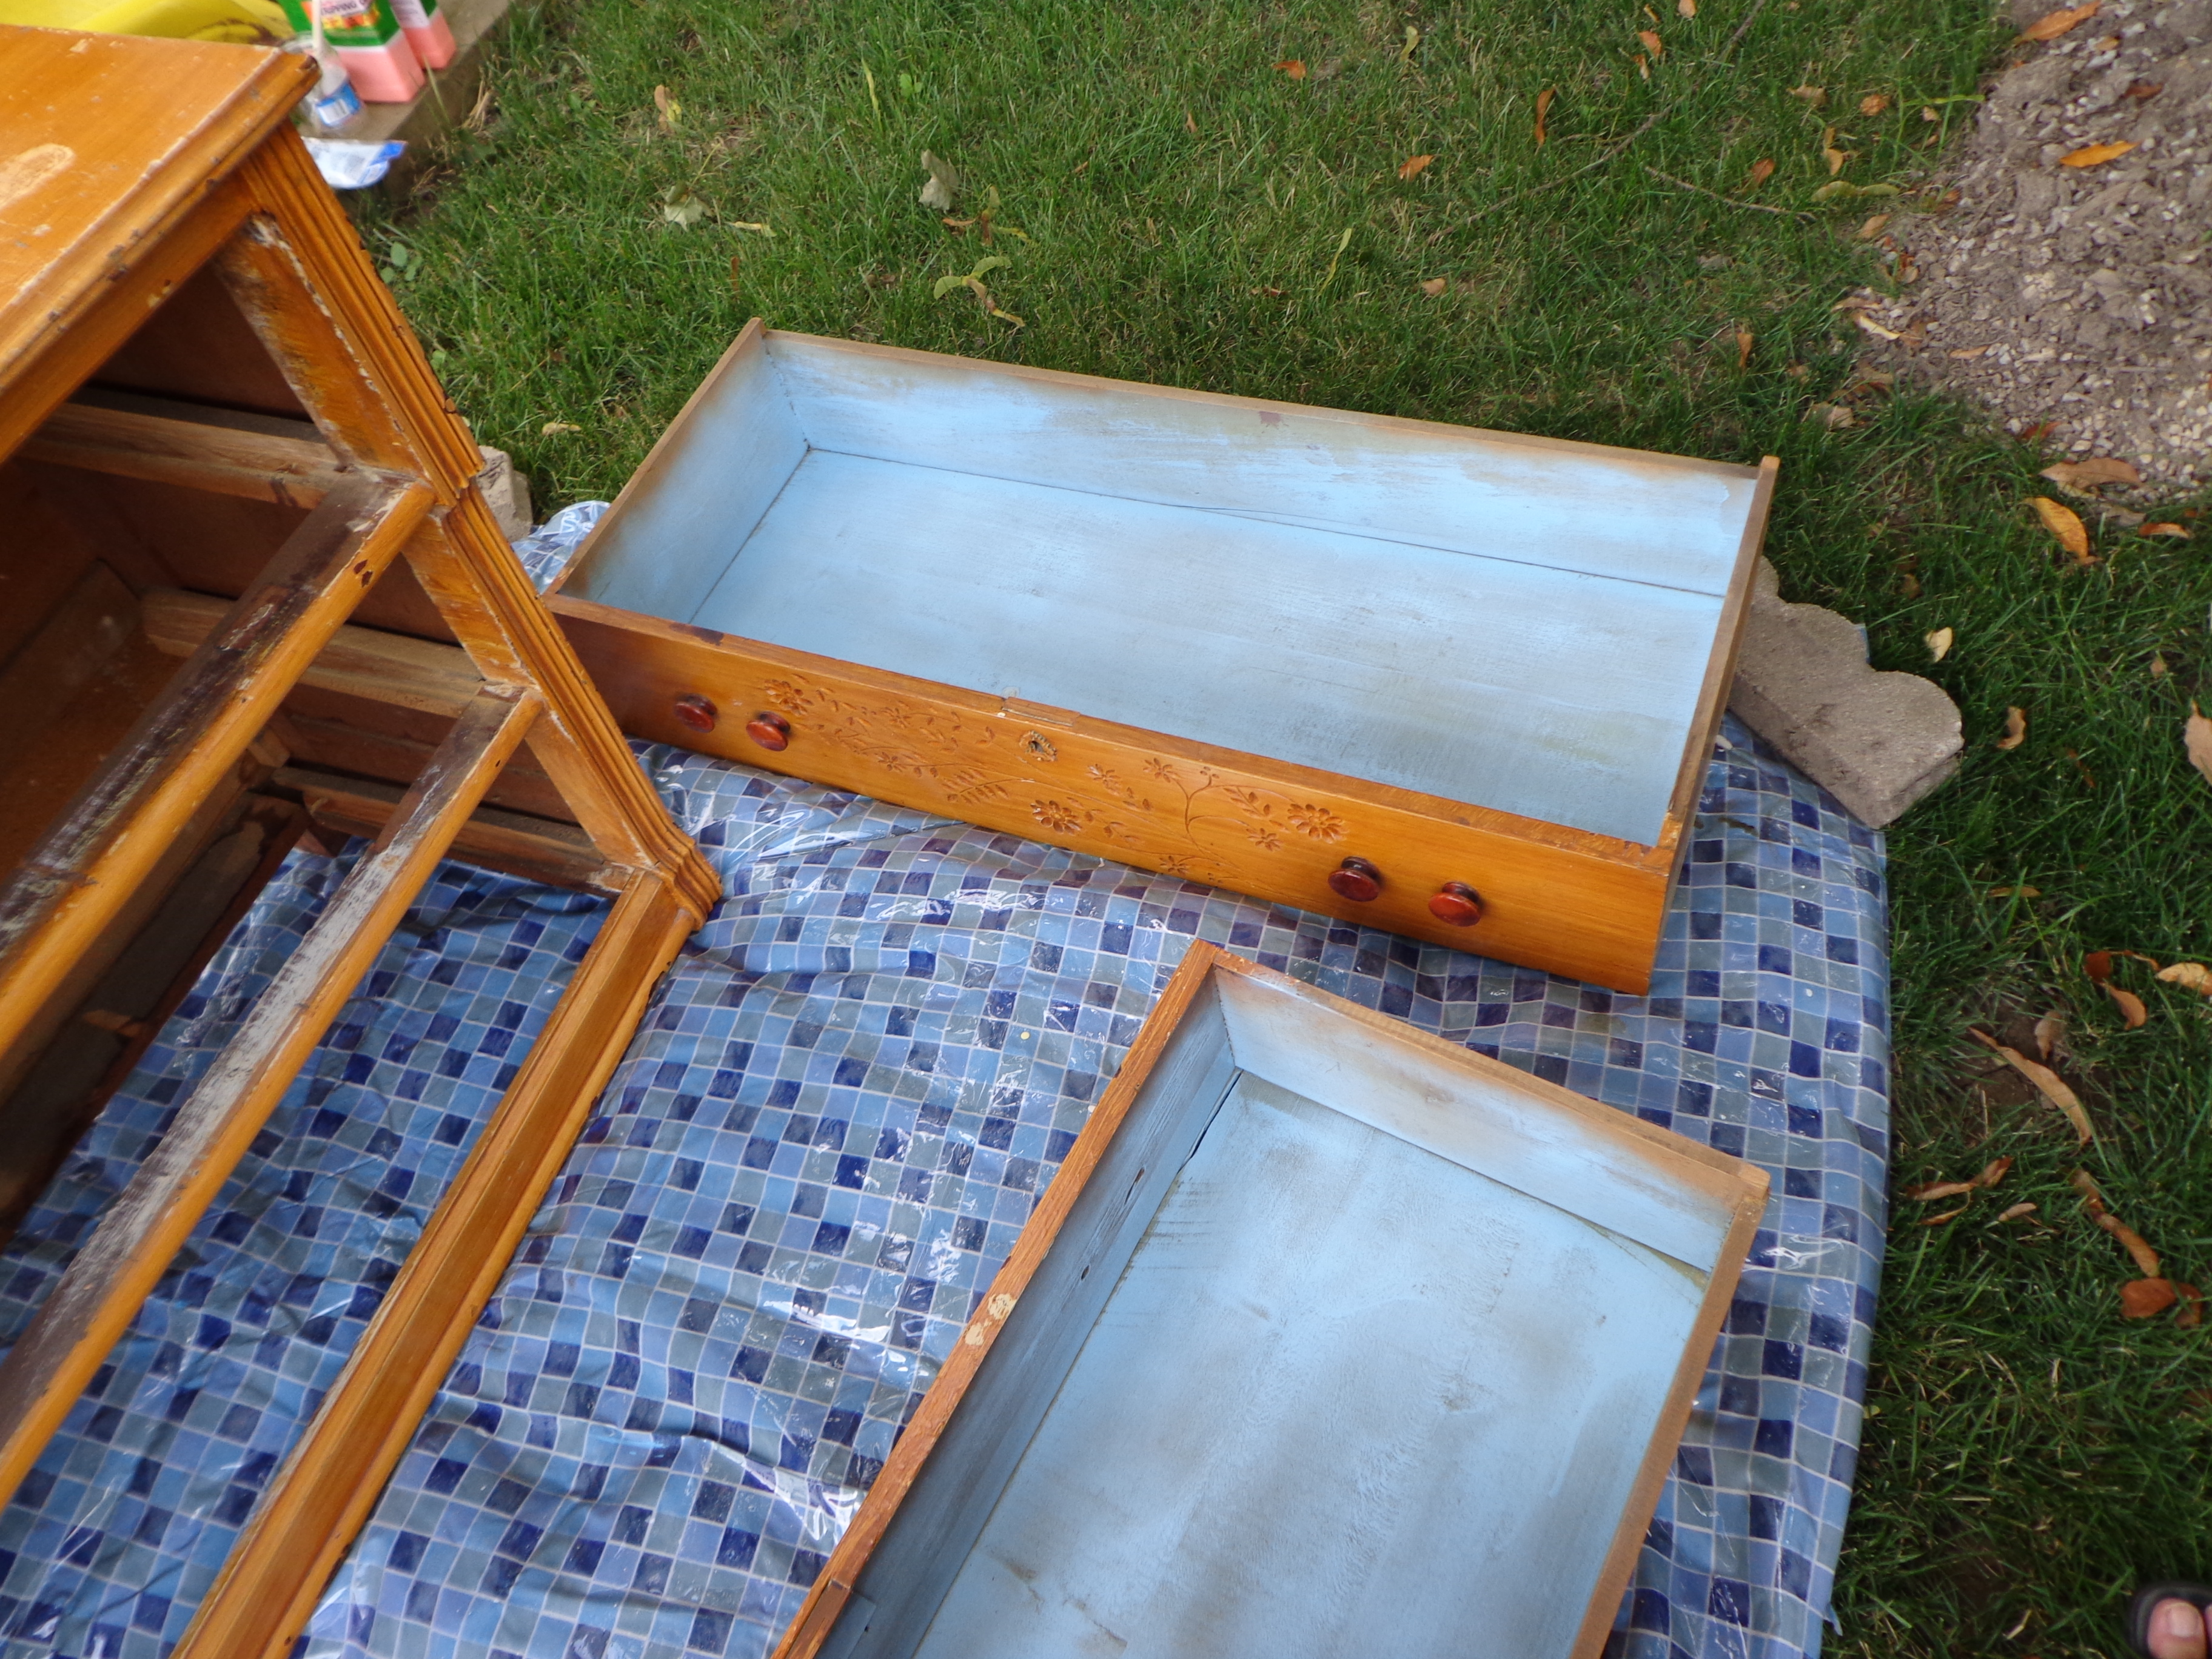
 When I took off the first layer on the drawer I knew that I had something good. I was horrified that somebody could have covered up such a beautiful color on this dresser! The top layer was a very light brown, almost as if it was supposed to look like maple. Underneath that was a layer of white paint… then some very old varnish and almost a mahogany stain.
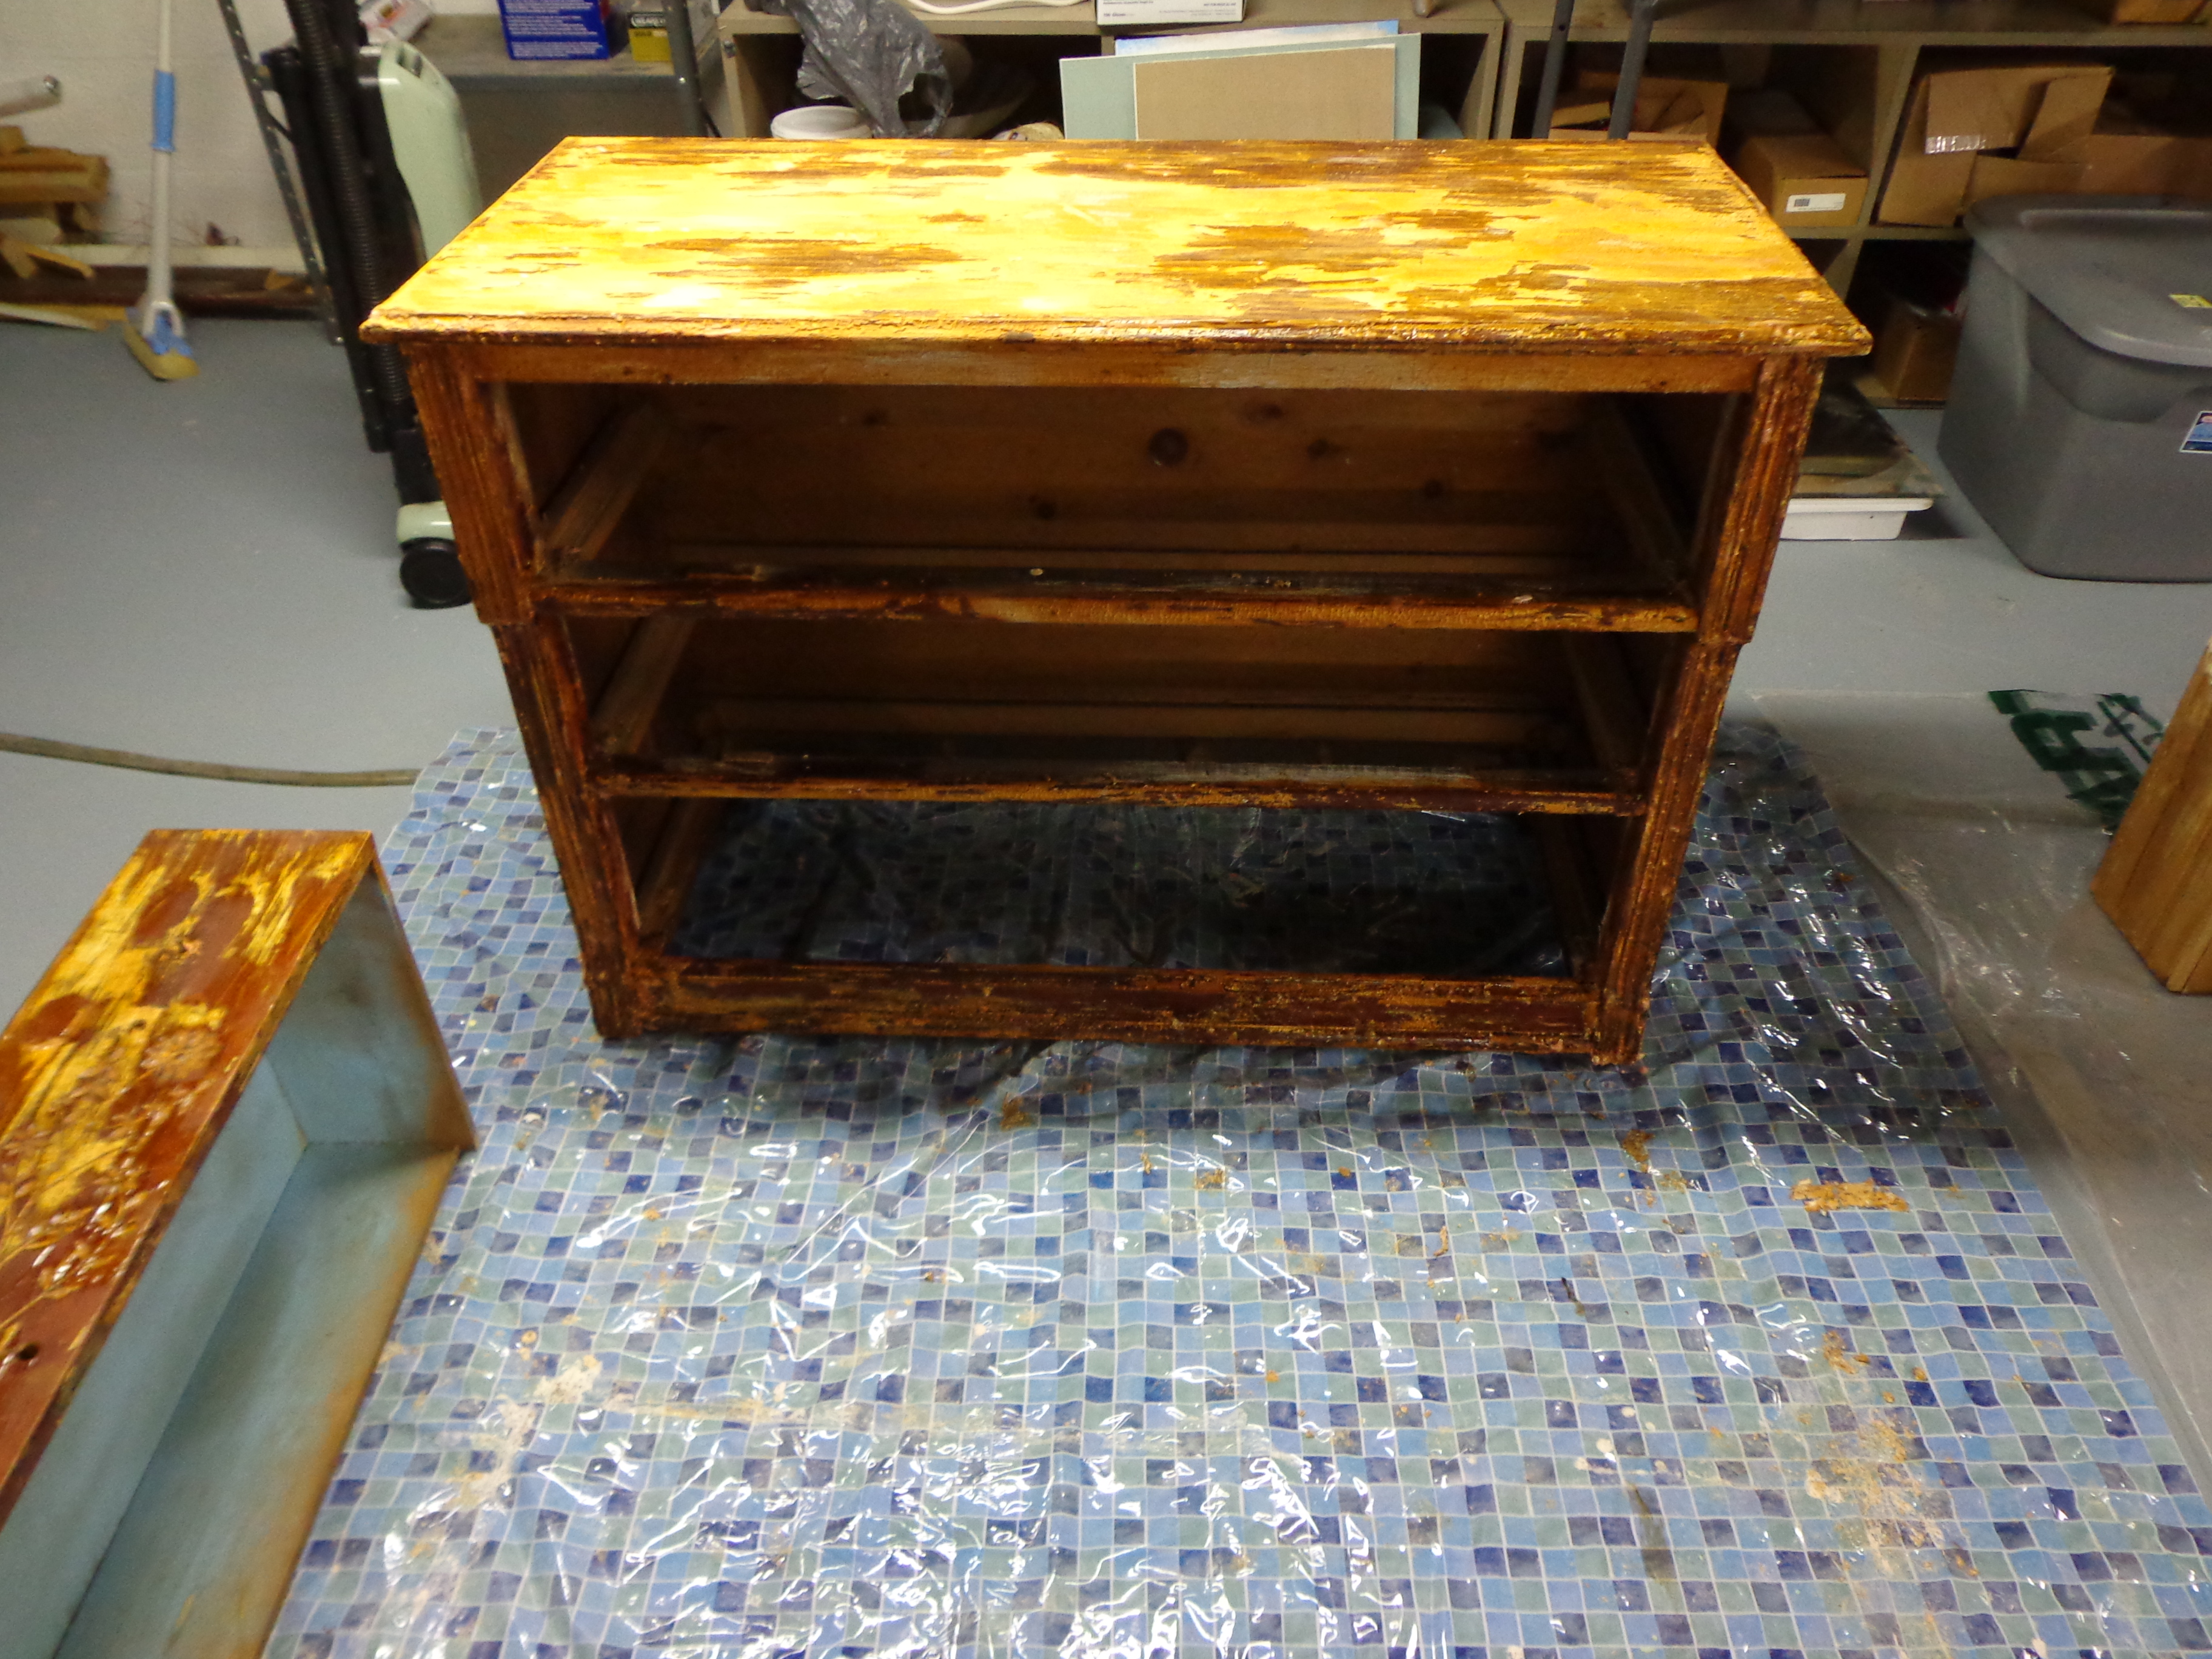
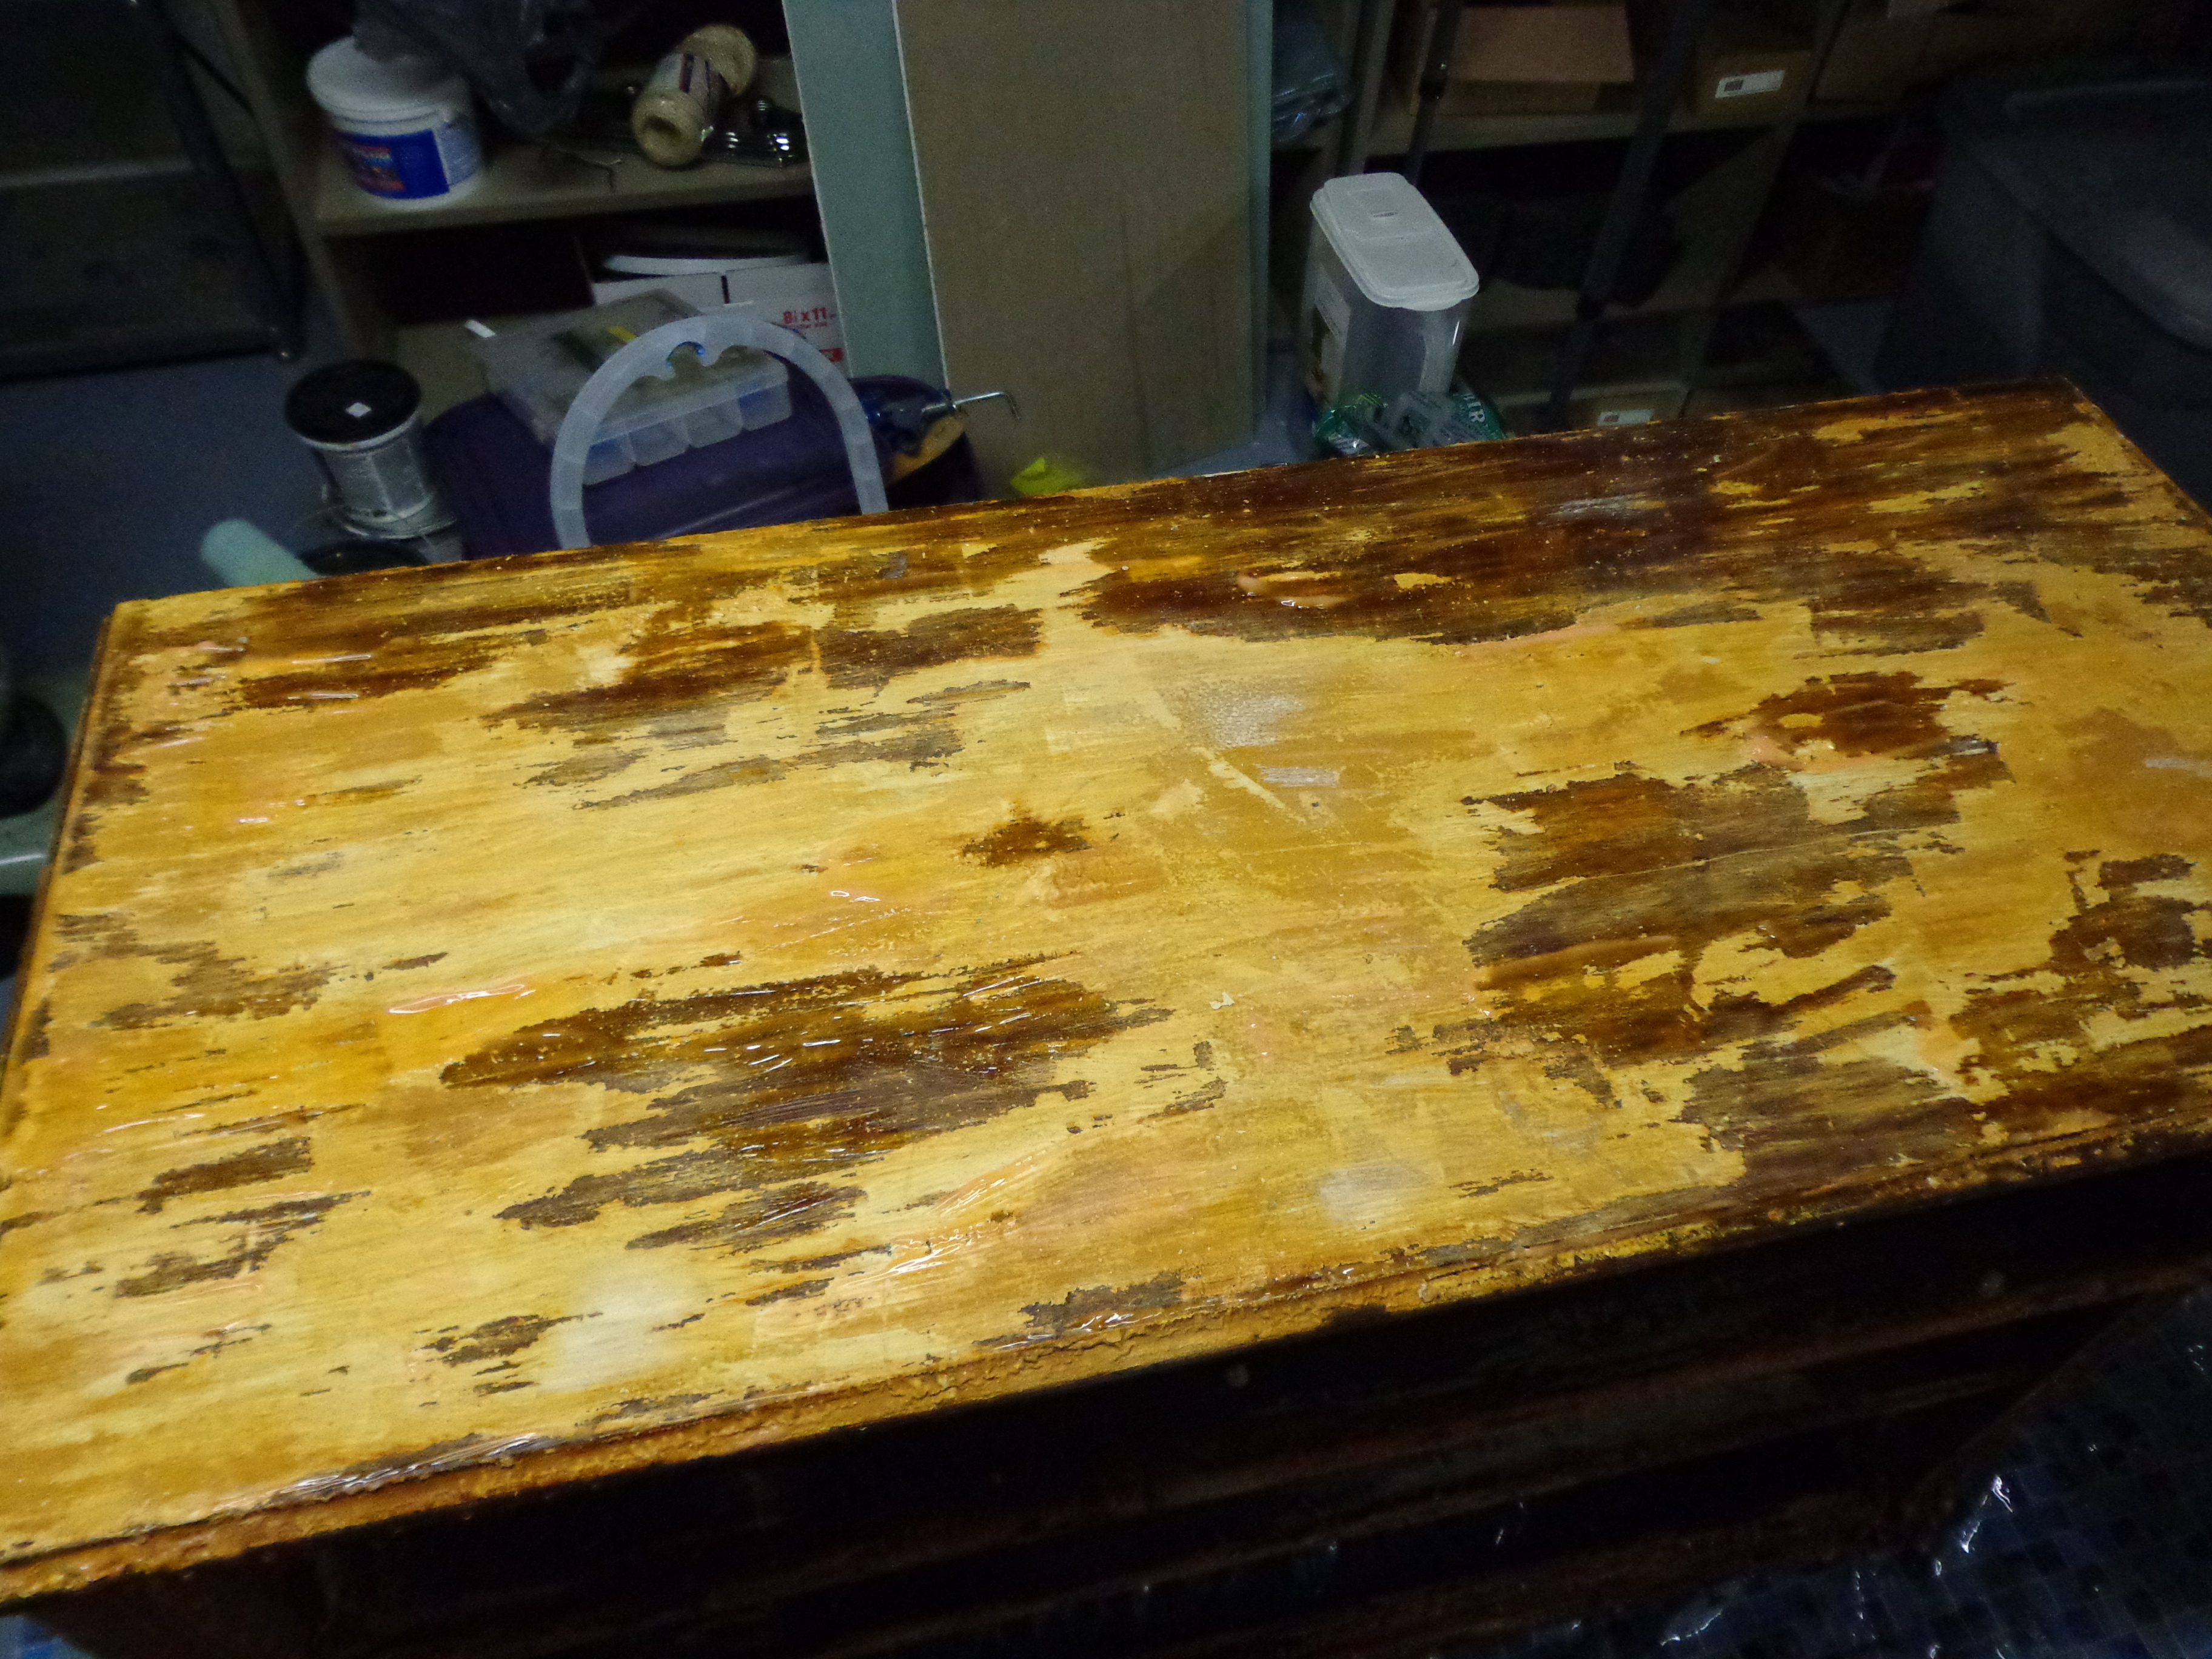 Looking at the top of the dresser I figured that they had painted over the original stained finish because the top was very badly scratched. Also, one of the back legs isn’t in the best of shape.
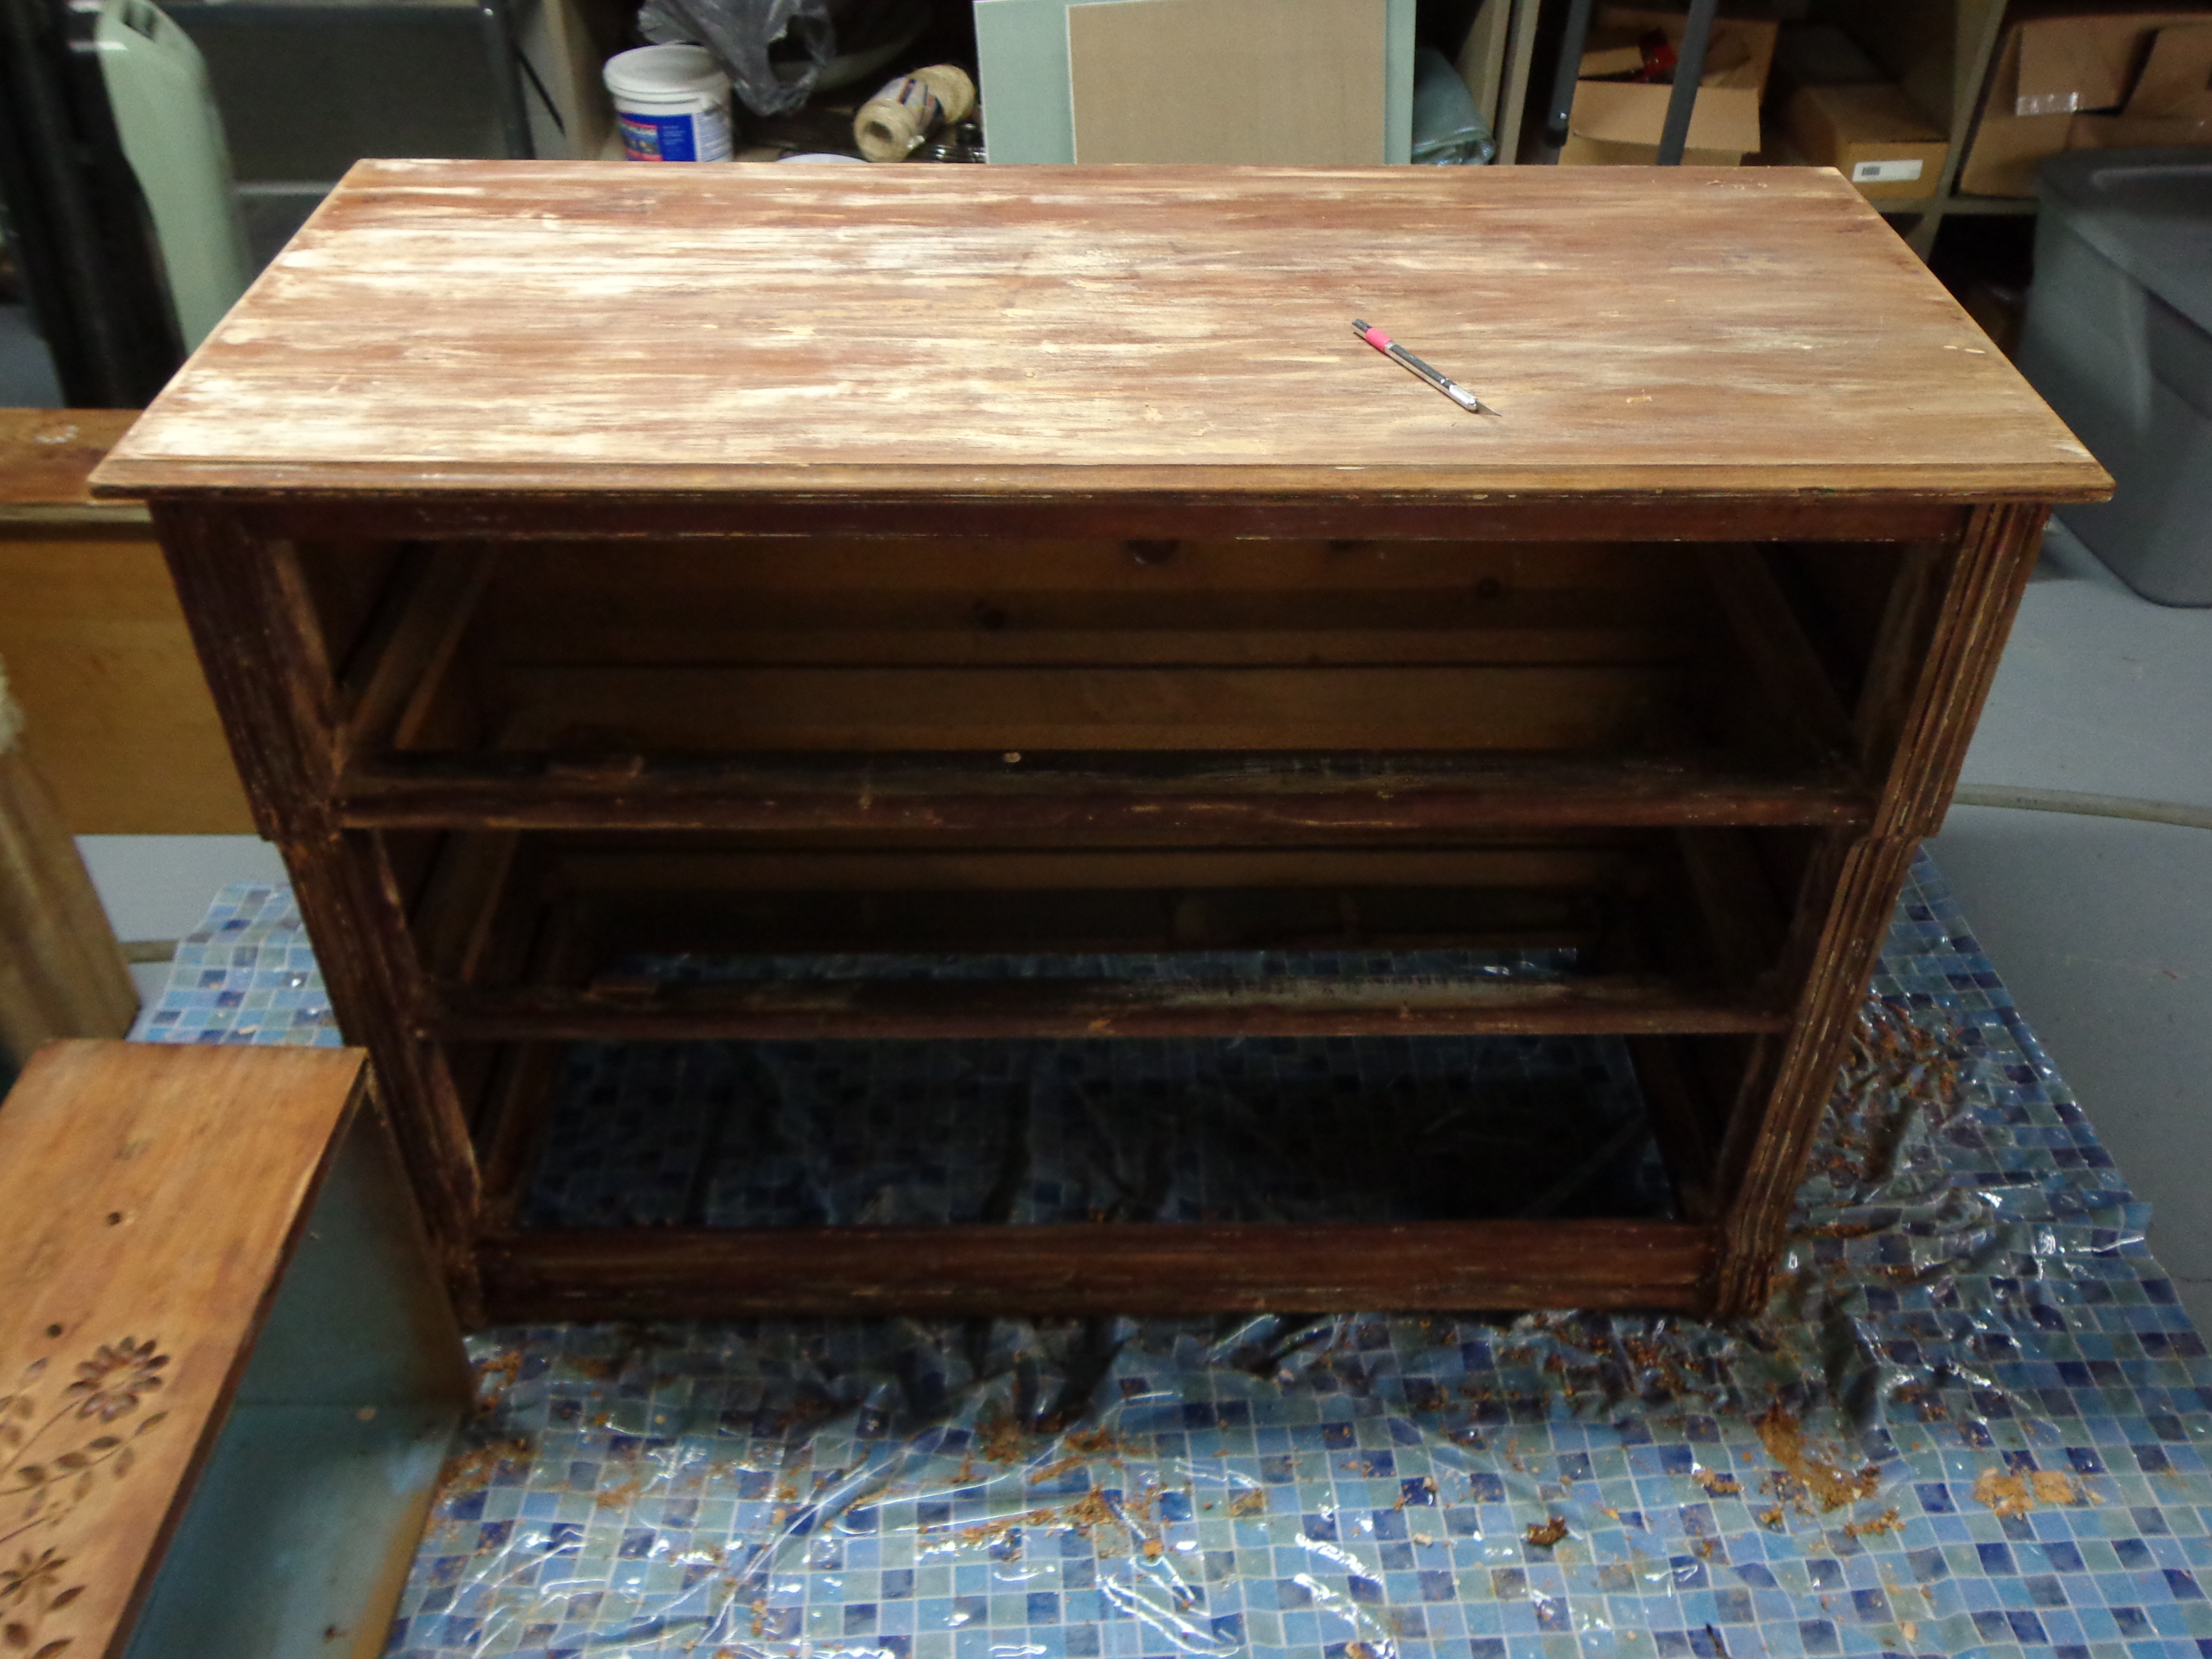 I’m not going to give up, though. I’ve managed to remove most of the paint and varnish. It’s just the old layer of stain that is giving me problems. I need to get it down to the original wood so that I can restain it with the same color that I used for my bookshelves in the library.
 I am really happy with the drawers, though. Again, I have more stain to remove, but you can see the beauty of the piece and the carvings. I concentrated on the carvings on the drawers this weekend. They are going to really be what draws your eye so I wanted to make sure that they were as clean as I could get them.
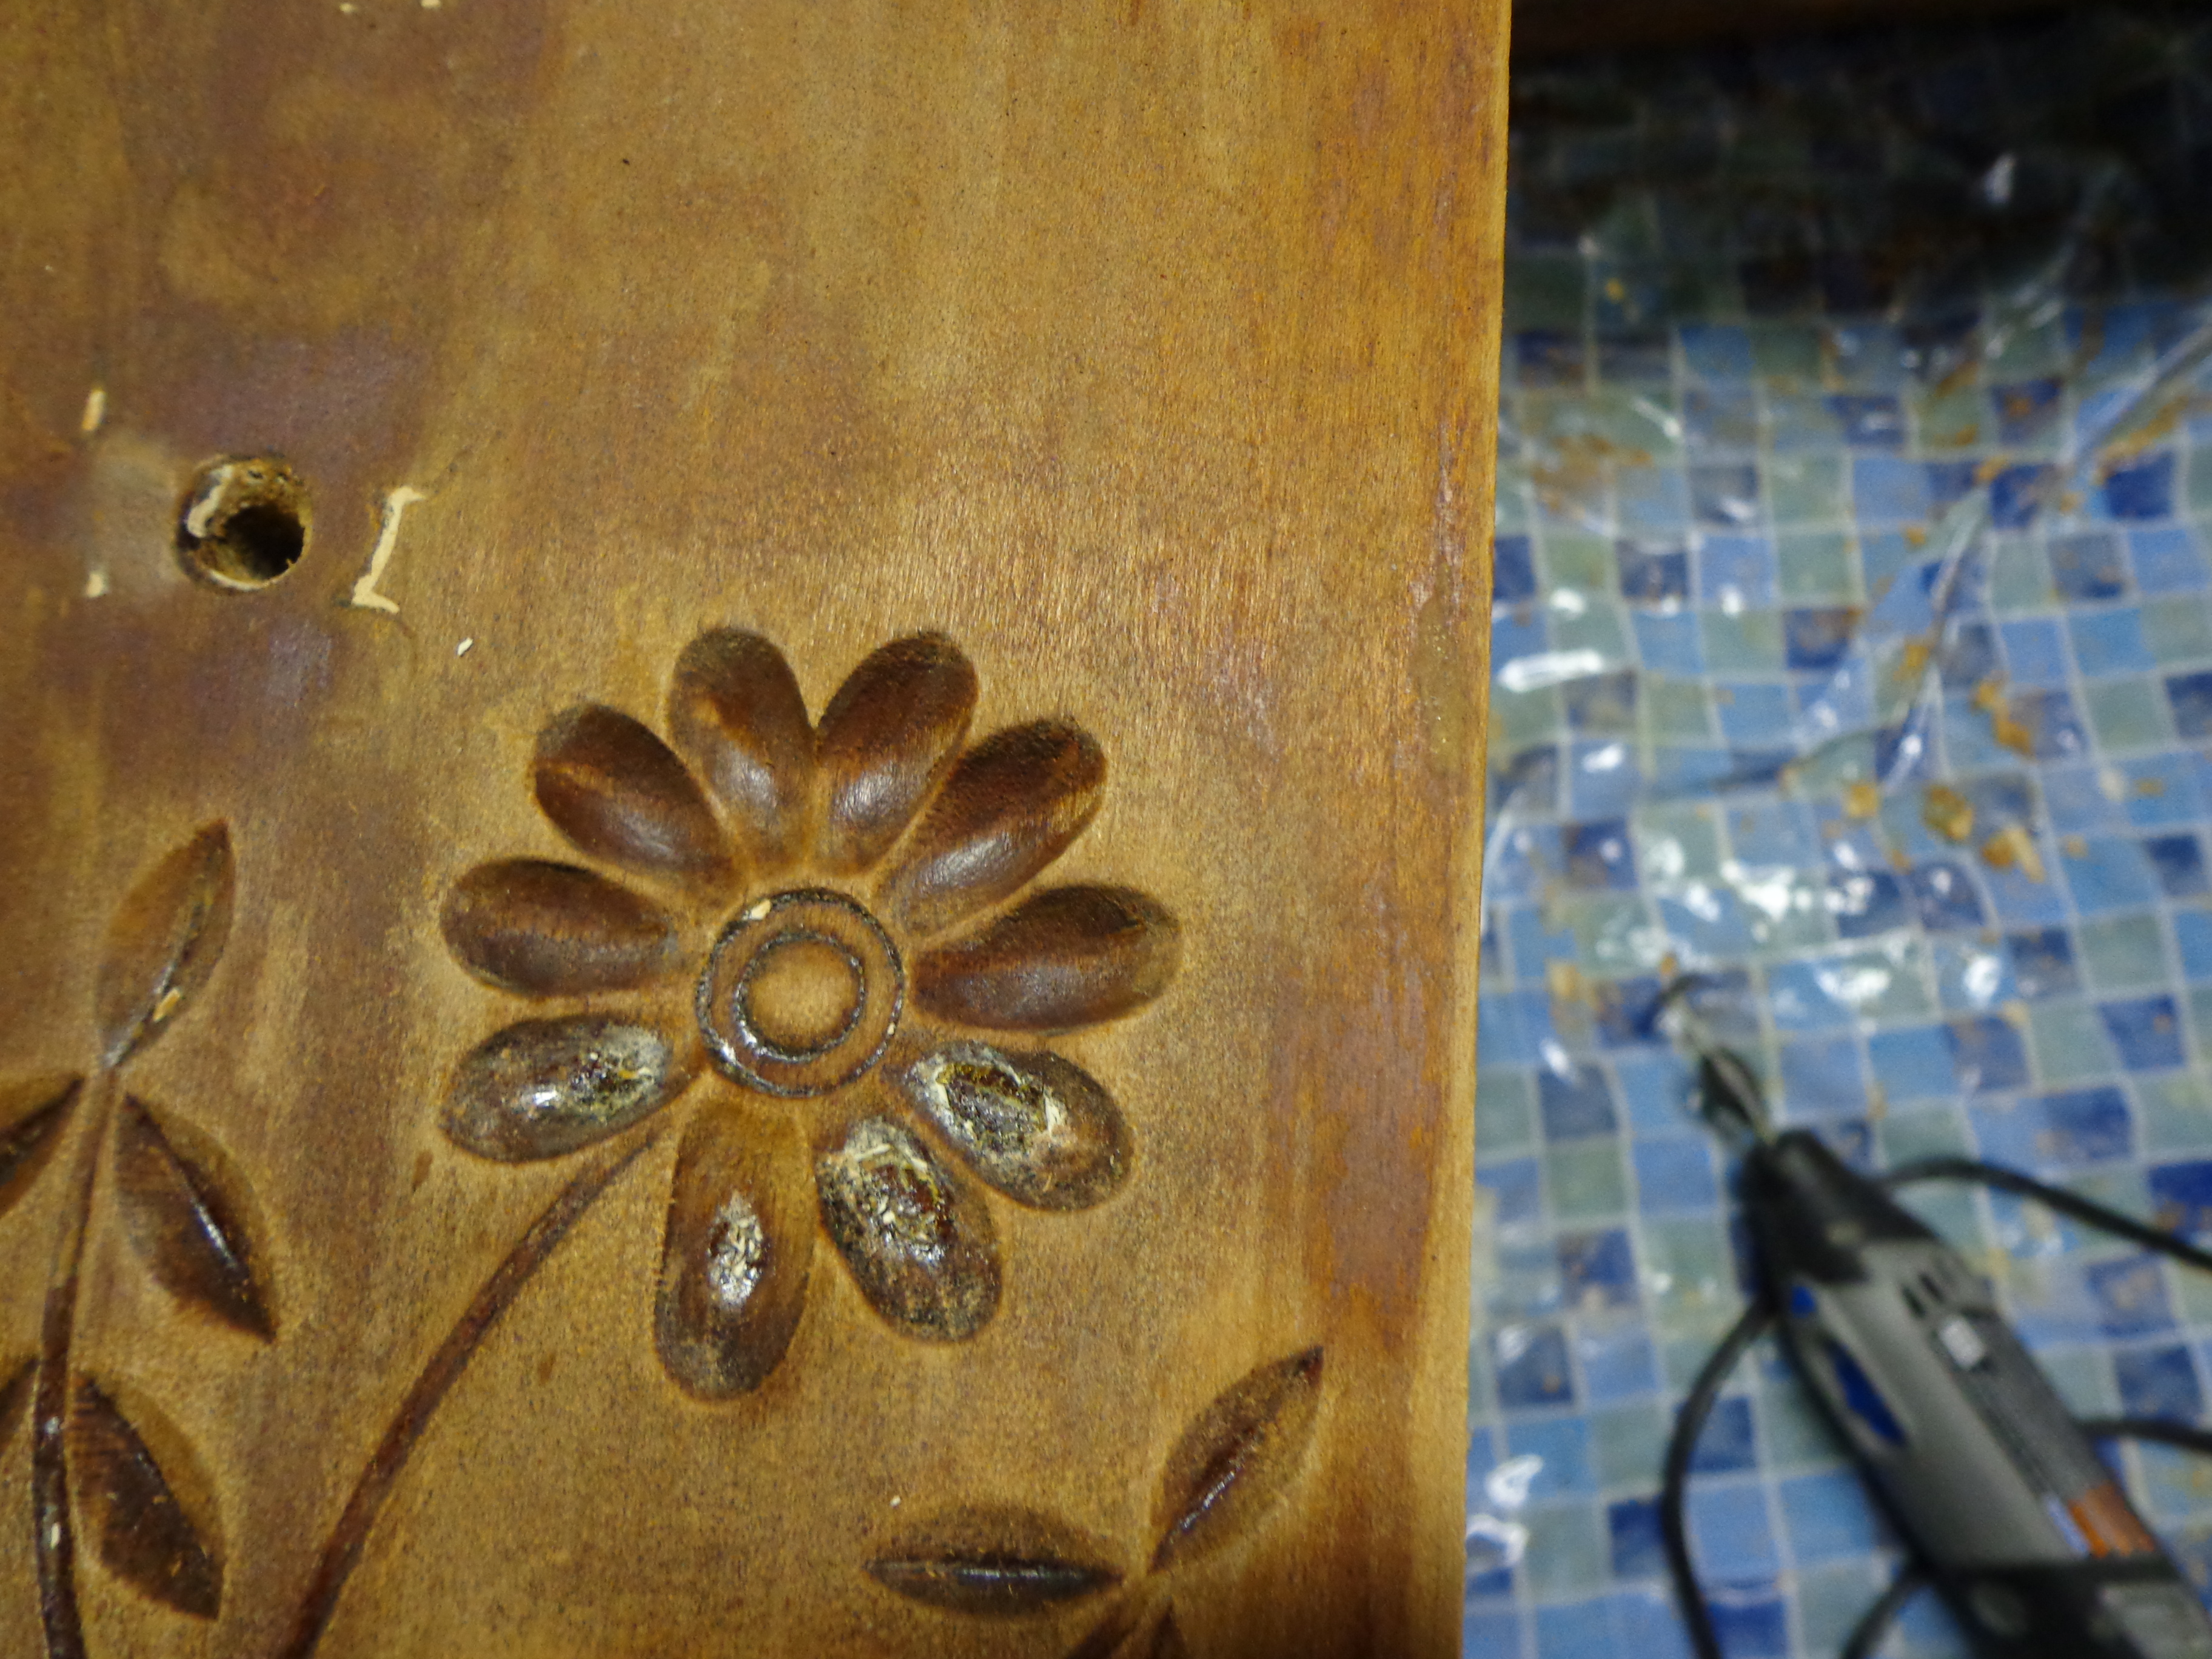 Despite the fact that I piled the carvings with stripper, I couldn’t get all of the old layers out. My husband has a Dremel tool with a special wheel that would remove the layers without hurting the carvings. I didn’t want to use sandpaper because this is a soft wood and is easily marred.
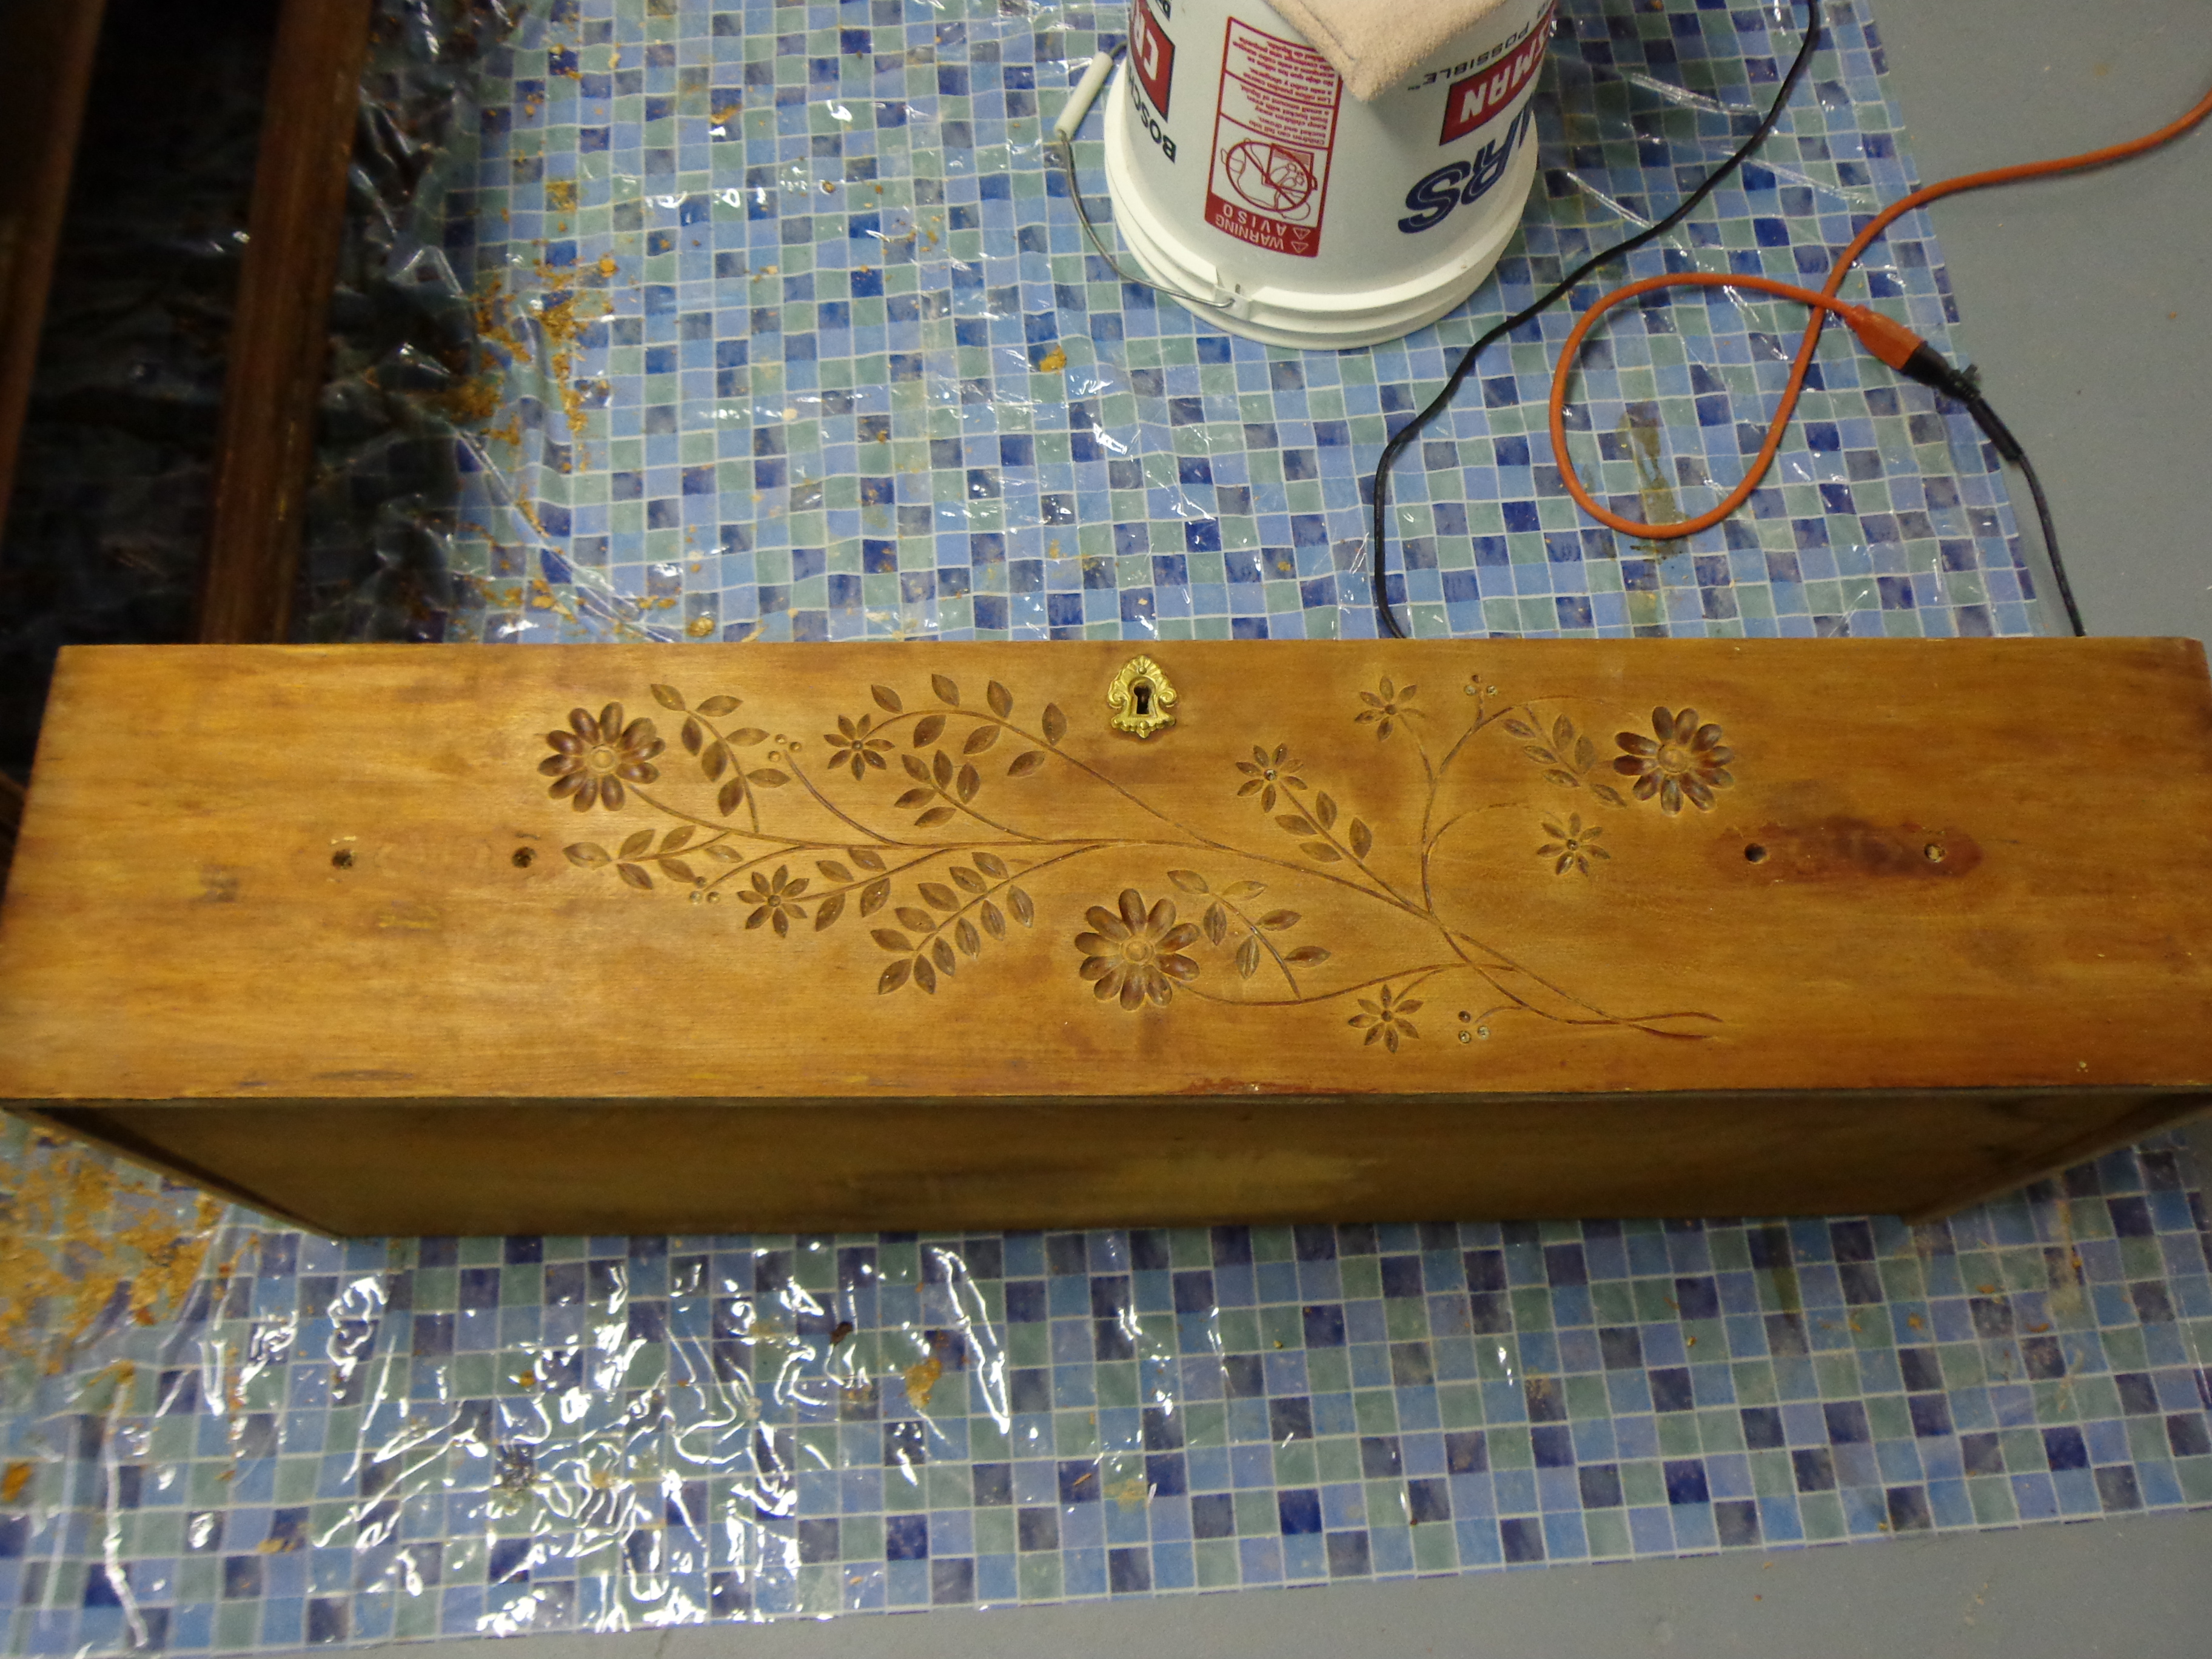 It’s really cleaning up!! I just have to be patient with removing the stain. I know that once I can get it all done that it will be a gorgeous piece for my living room.
Hopefully the next time that I post about this dresser I will be showing you pictures of a naked dresser!

How beautiful! That is going to be such a wonderful piece when you’re done with it!