
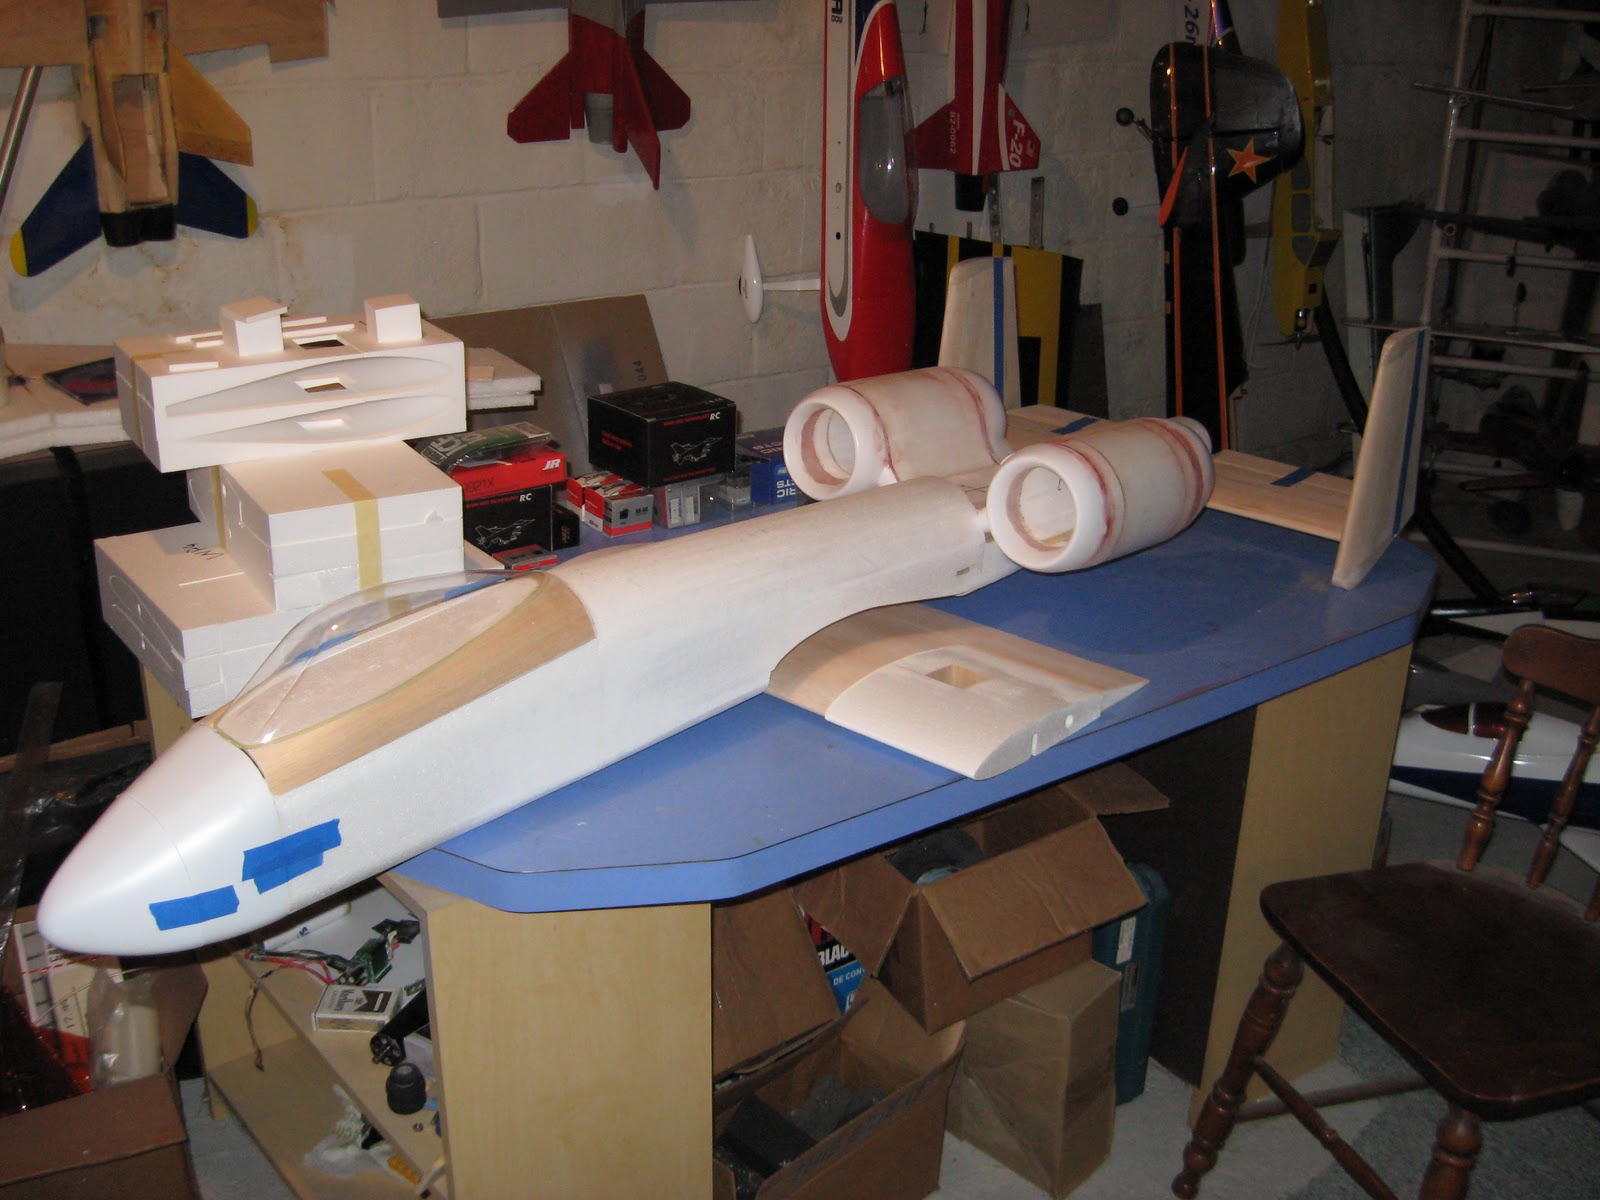
Another week has gone by and there has been more work done on the Warthog! Woo-hoo! This week was spent exclusively on the wings. Are you ready to see some pictures? This is how we left it last week:
Remember, only the wings were worked on this week:
It might not look like there was a ton of work done, but I hope that I can show you just how much work. Here’s another picture of the wings from last week:
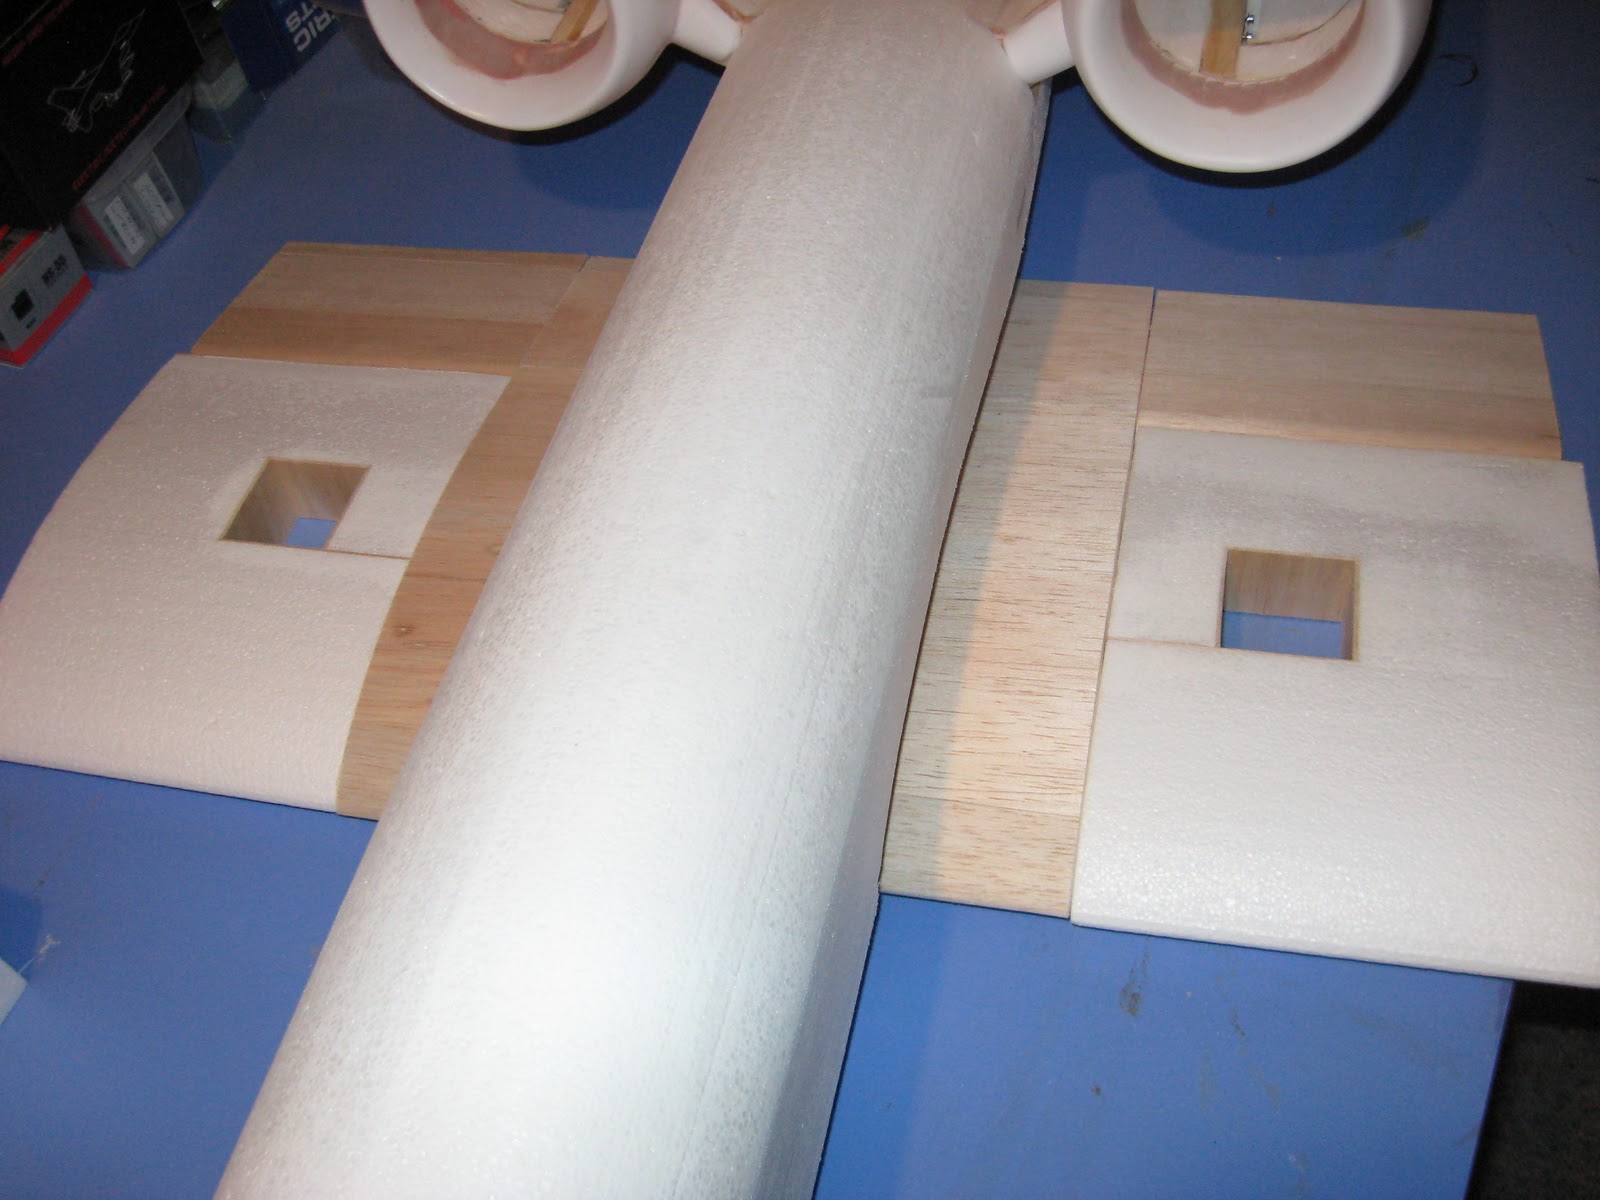
Here is a somewhat close-up view of this part of the wing after it was completely covered:
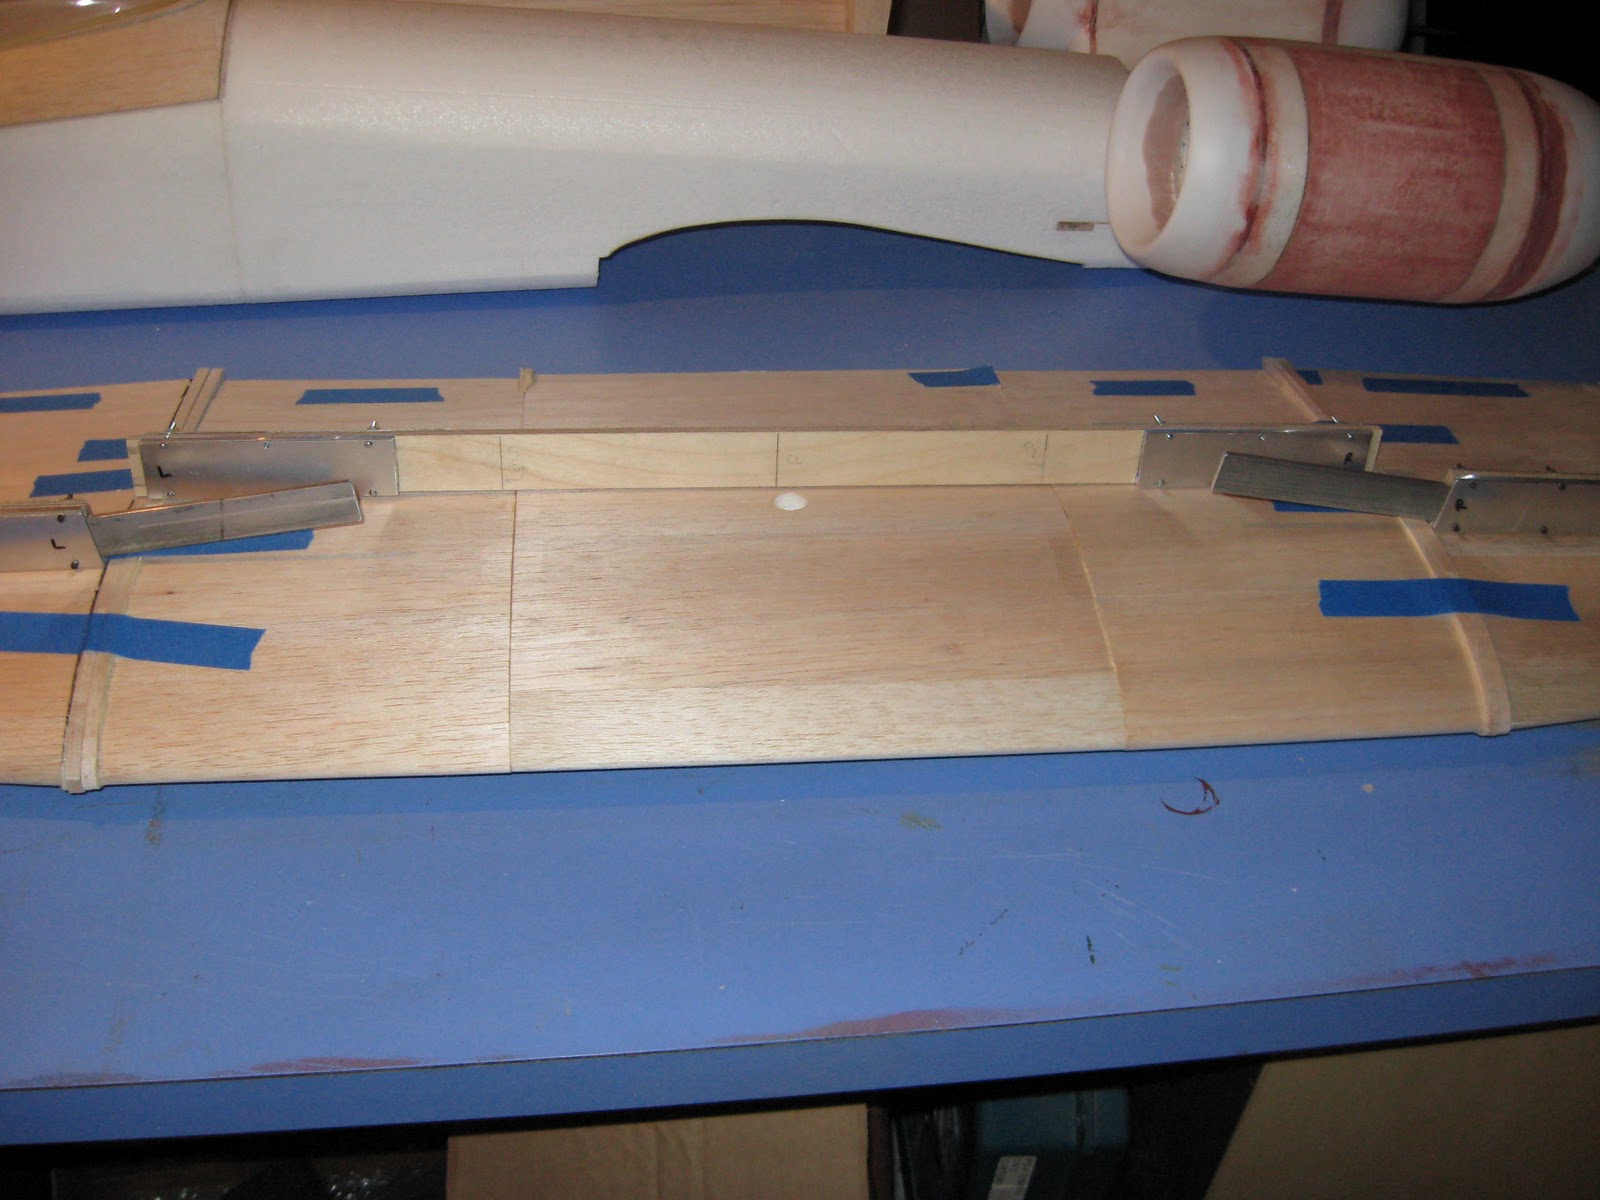
This picture is also showing the wing spar that Jay designed and built for this jet. You see, the instructions say that you’re supposed to construct the wing all in one piece. What?! How in the world are you supposed to store or transport this jet if the wing is all in one piece?? I was helping Jay mock the wing together and the darned thing was taller than me, and I’m 5’10”. I had Jay put his arm next to the wing so that you can kind of get an idea as to how long just half of it is (he refused to get completely in the picture because he didn’t want my female friends beating down his door and trying to woo him away from me… lol):

They say that the length of your arm from your fingertips to the middle of your chest is about three feet long. So, that shows you how long just one wing is. This thing is going to be huge!
Anyway, I was talking about the spar. Here’s another picture of it close up:
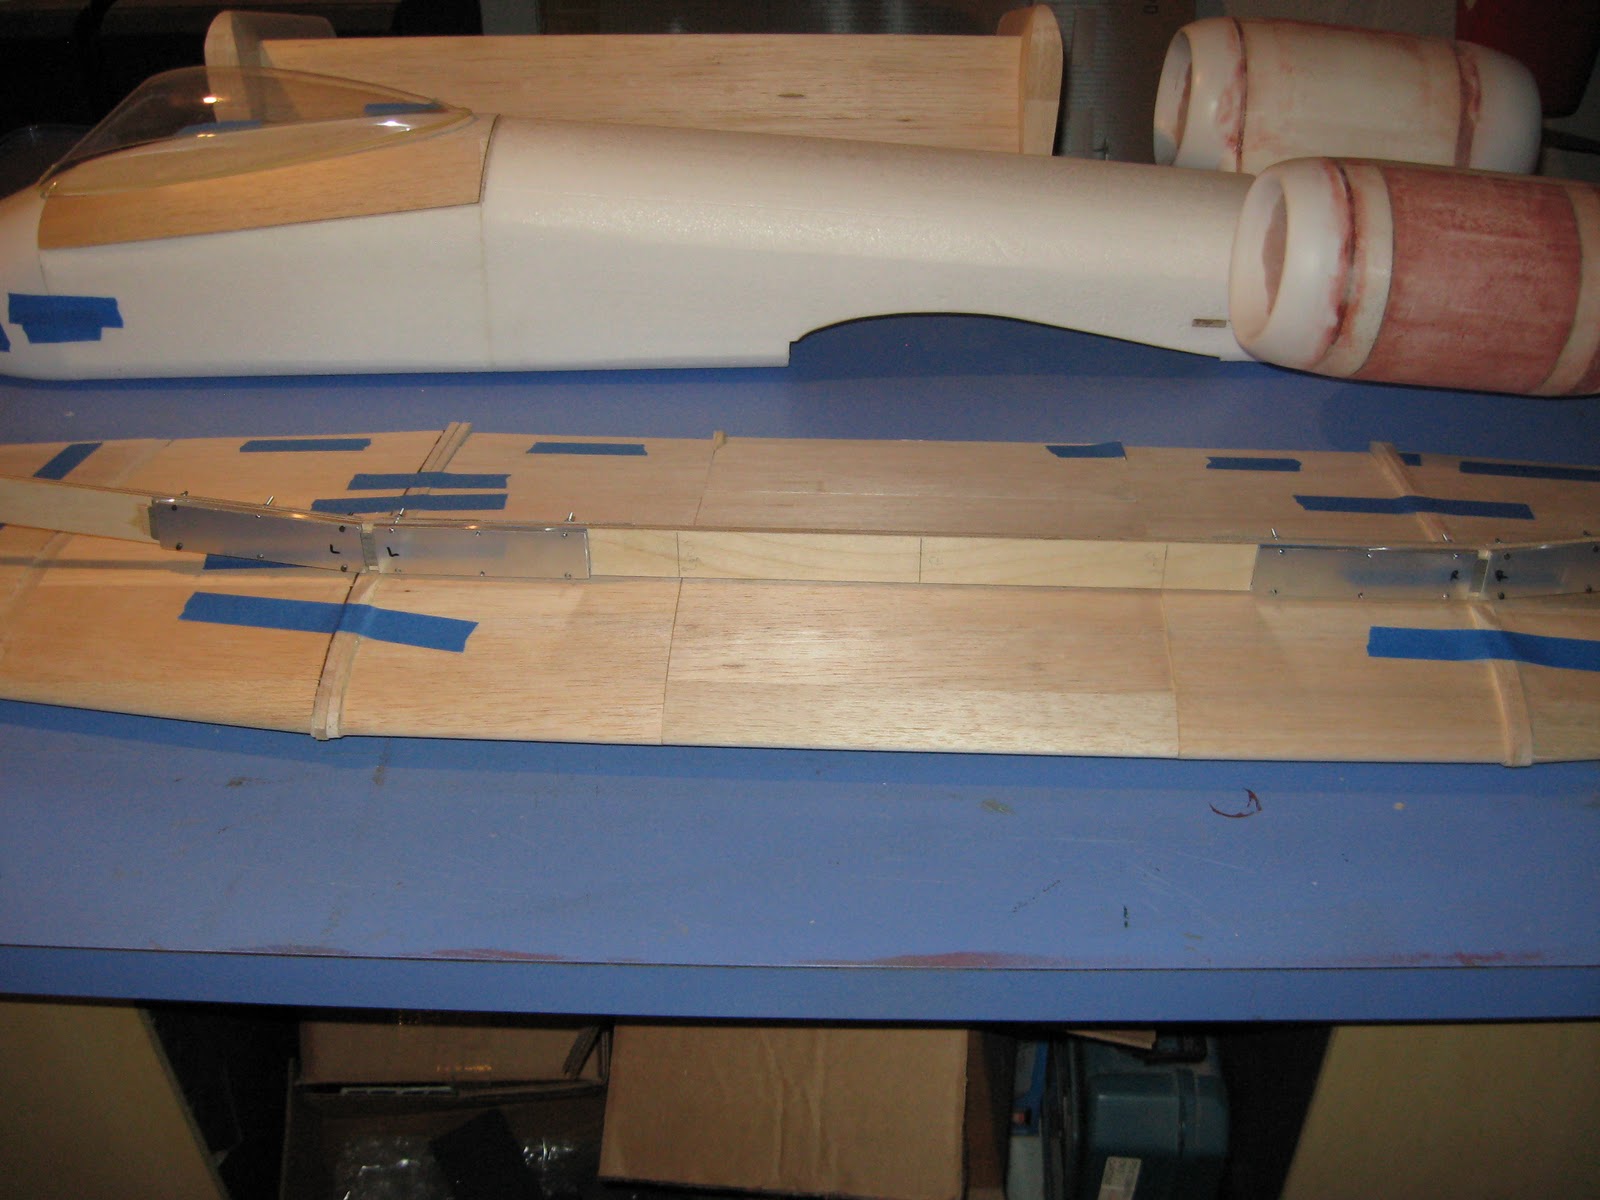
In this picture it’s all together. If you scroll back up you can see that it’s in three different pieces. You have the long piece that fits into the section of wing that goes directly under the fuselage (not sure if I spelled that correctly), and then a piece in each wing that will slide into the main part and connect them to each other.
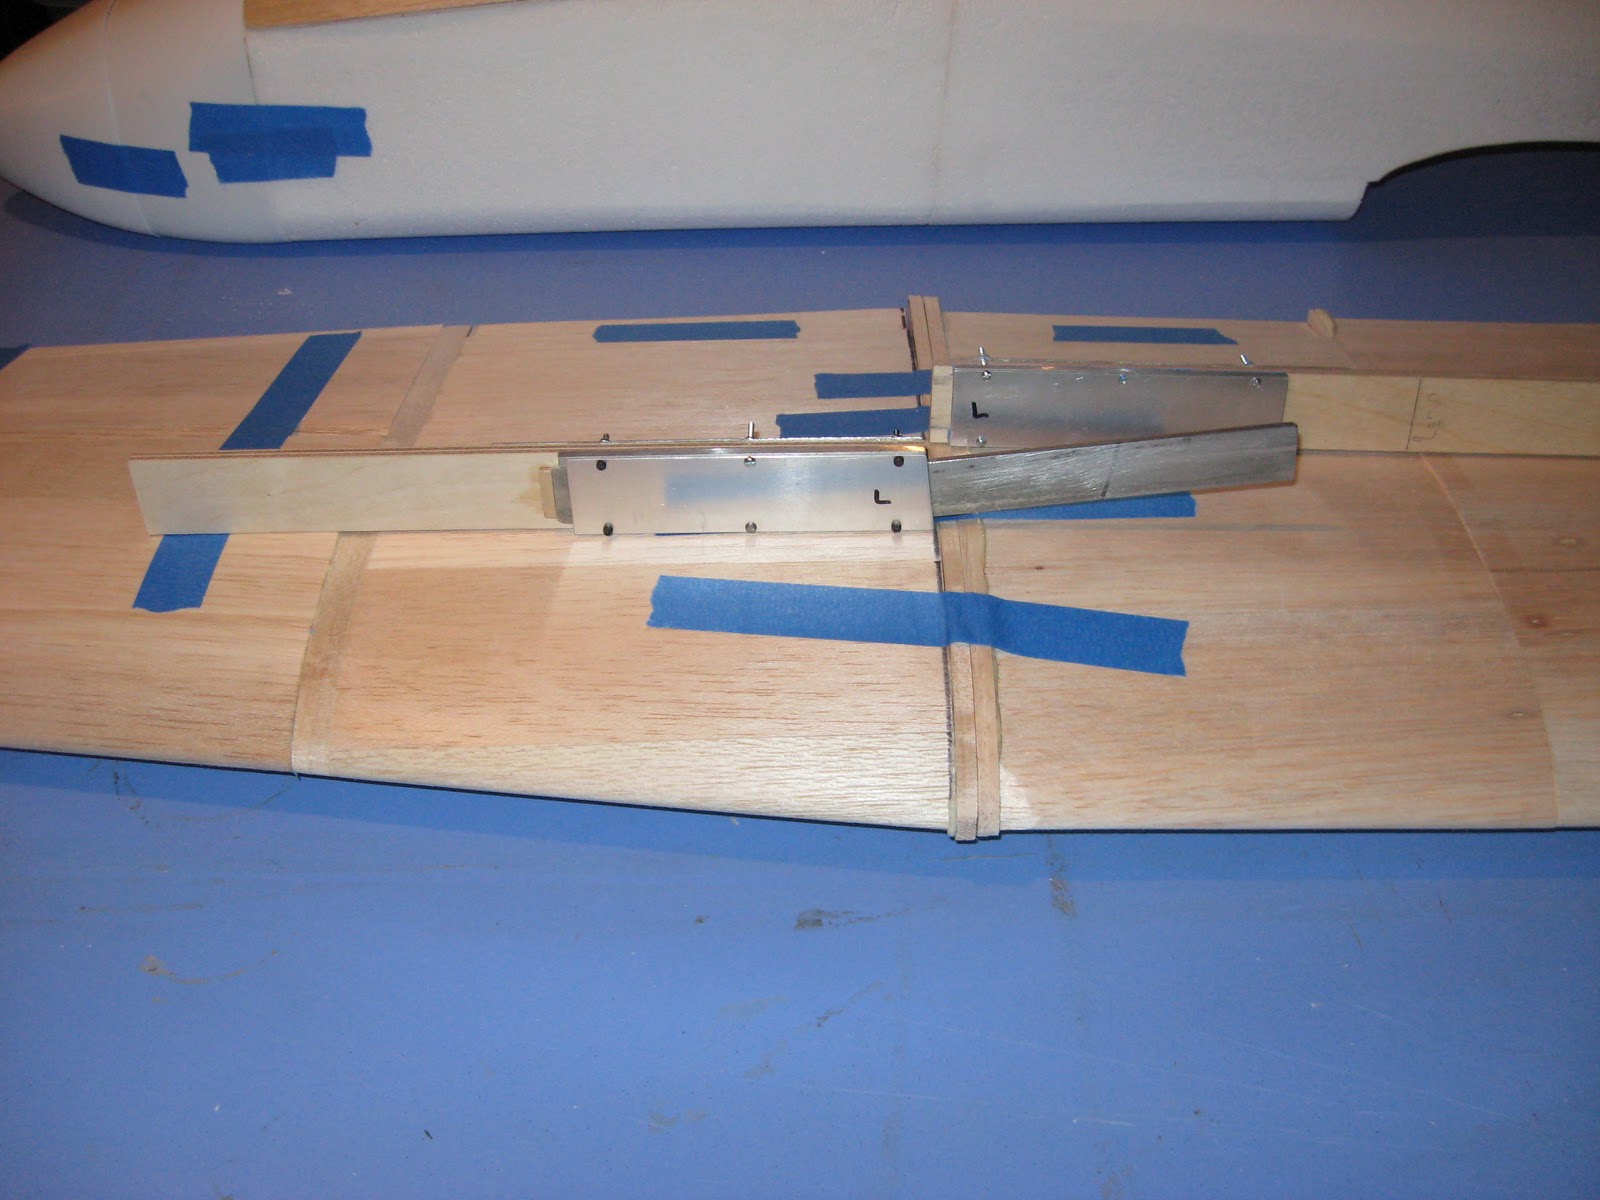
See how that will work? The long, thin part that is sticking out over the middle of the wing fits right into the bracket of the spar:
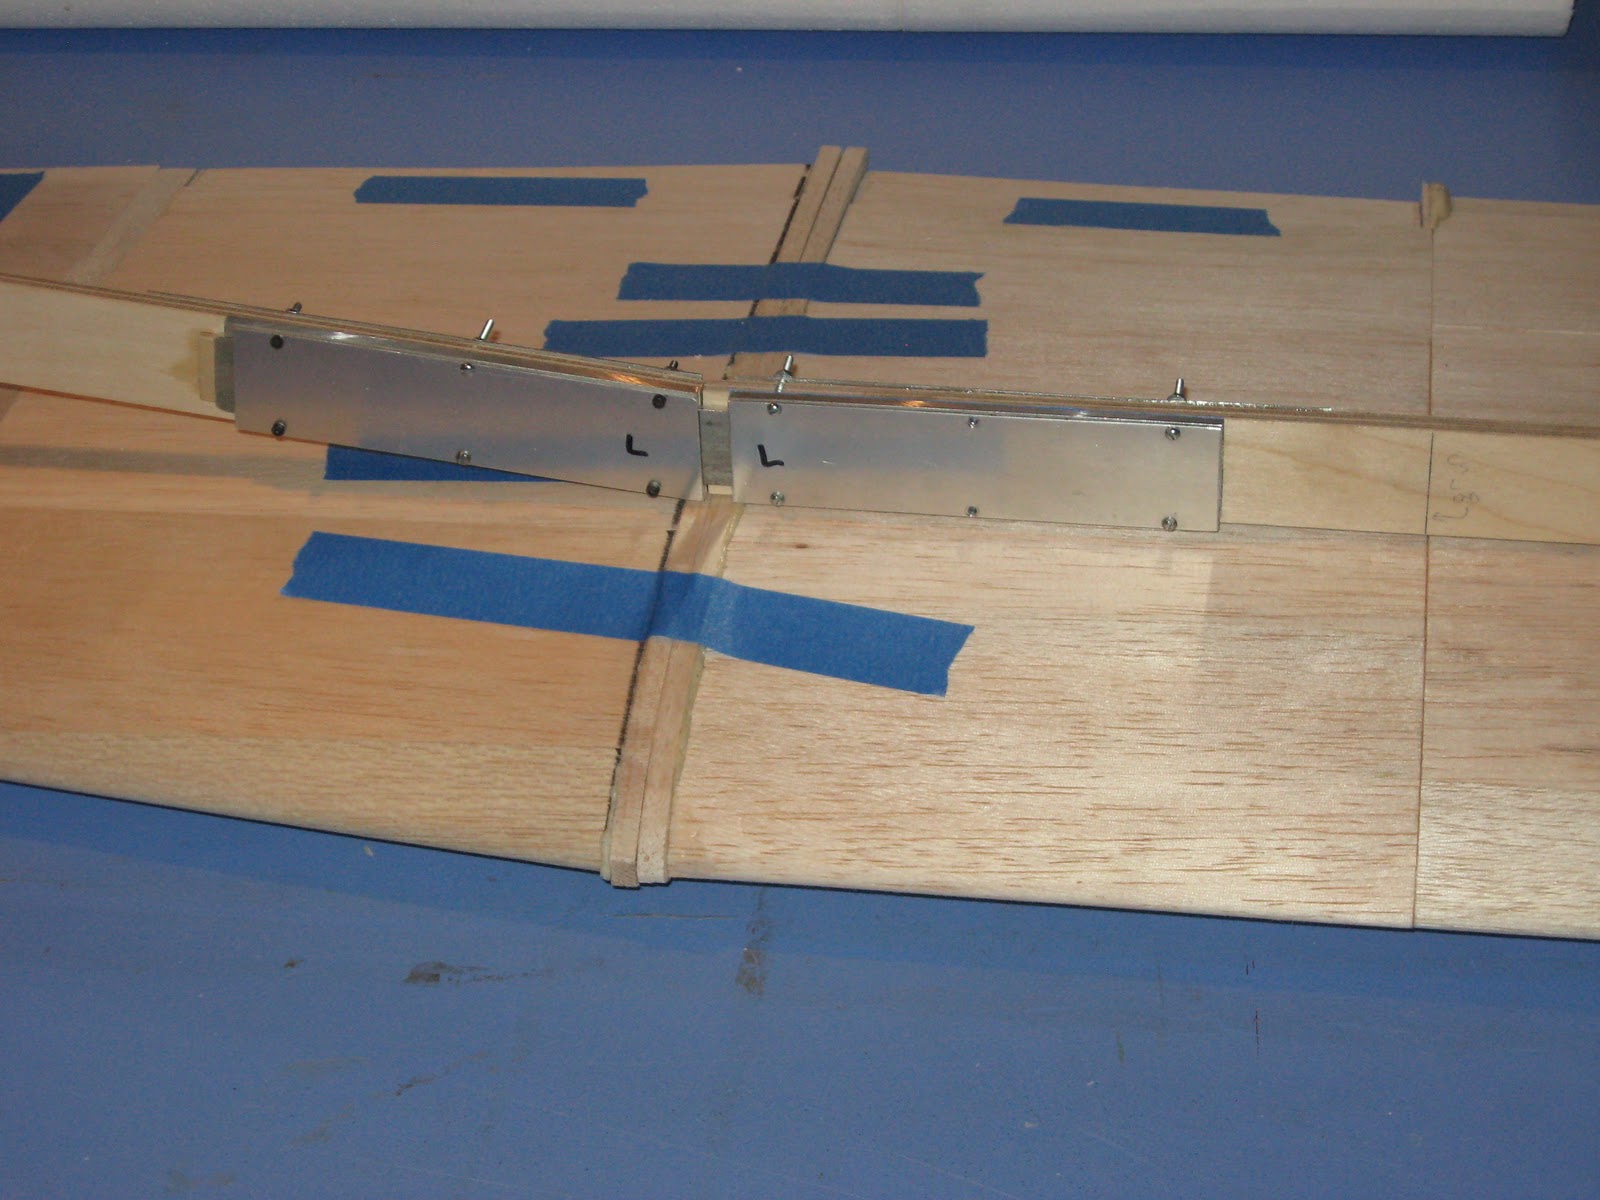
Isn’t that pretty?? Isn’t Jay so smart!
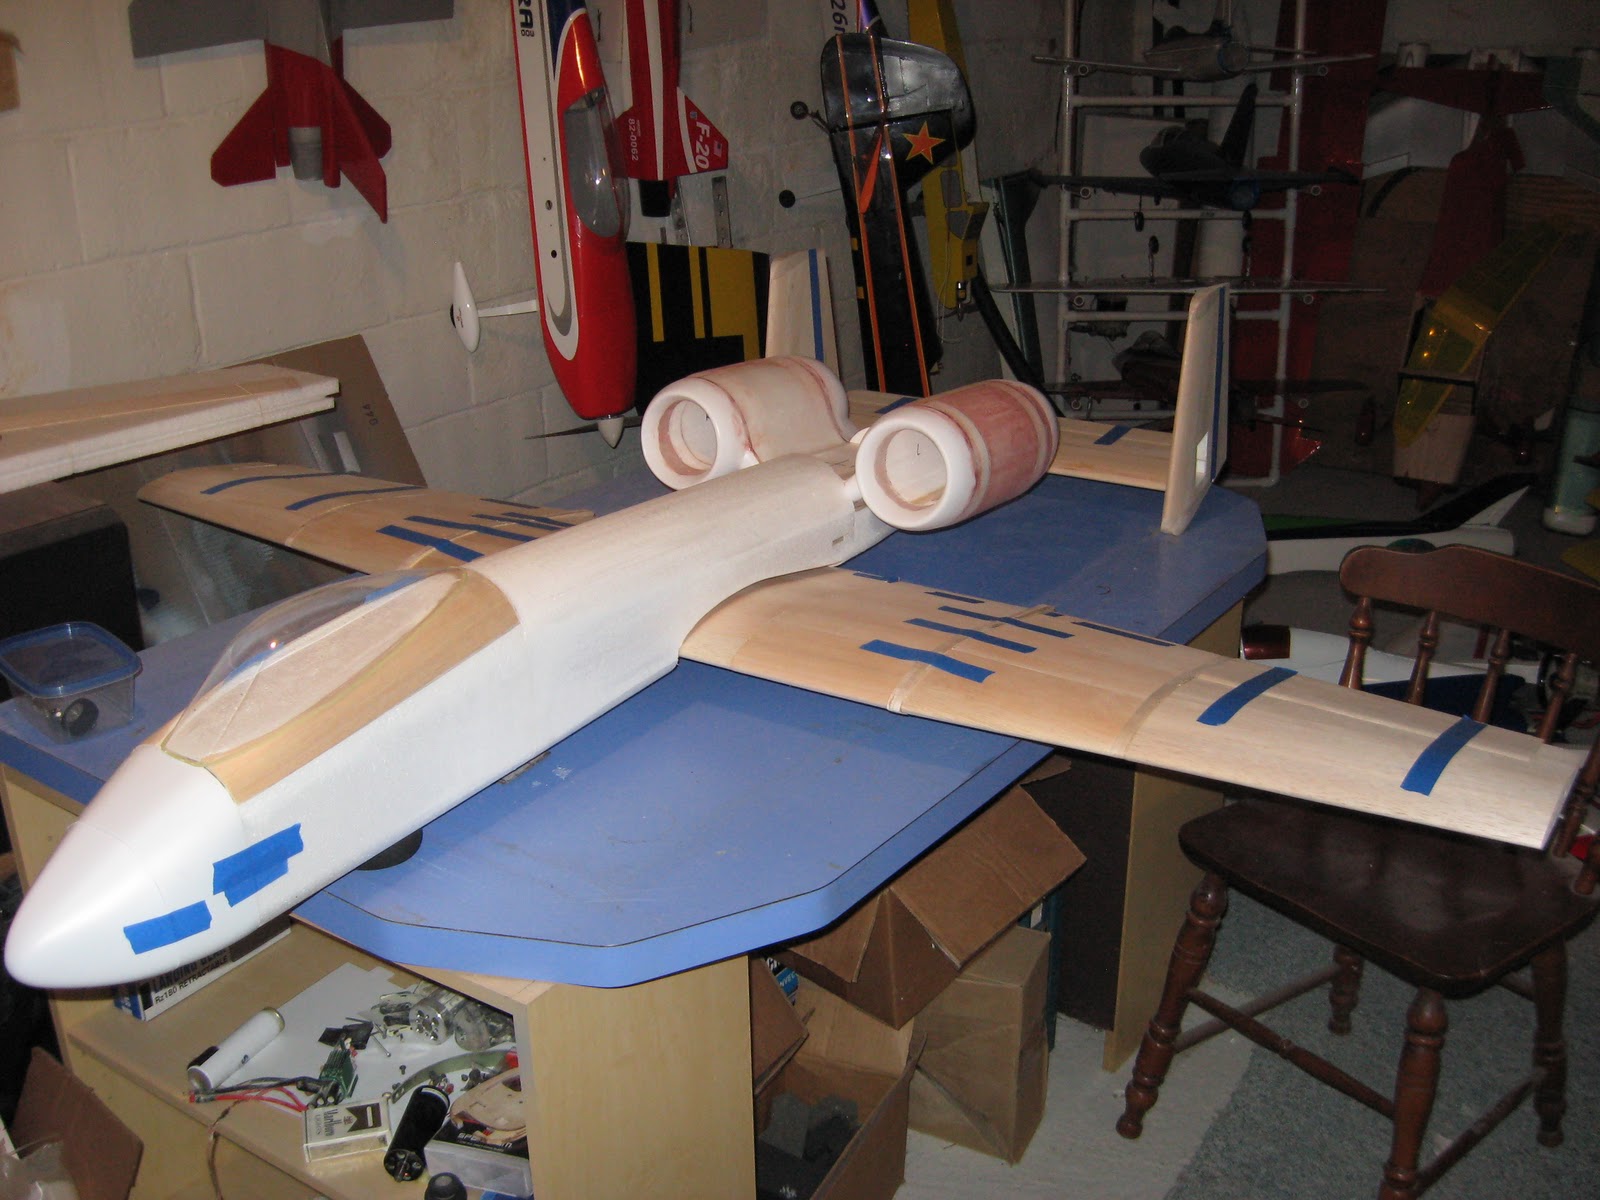
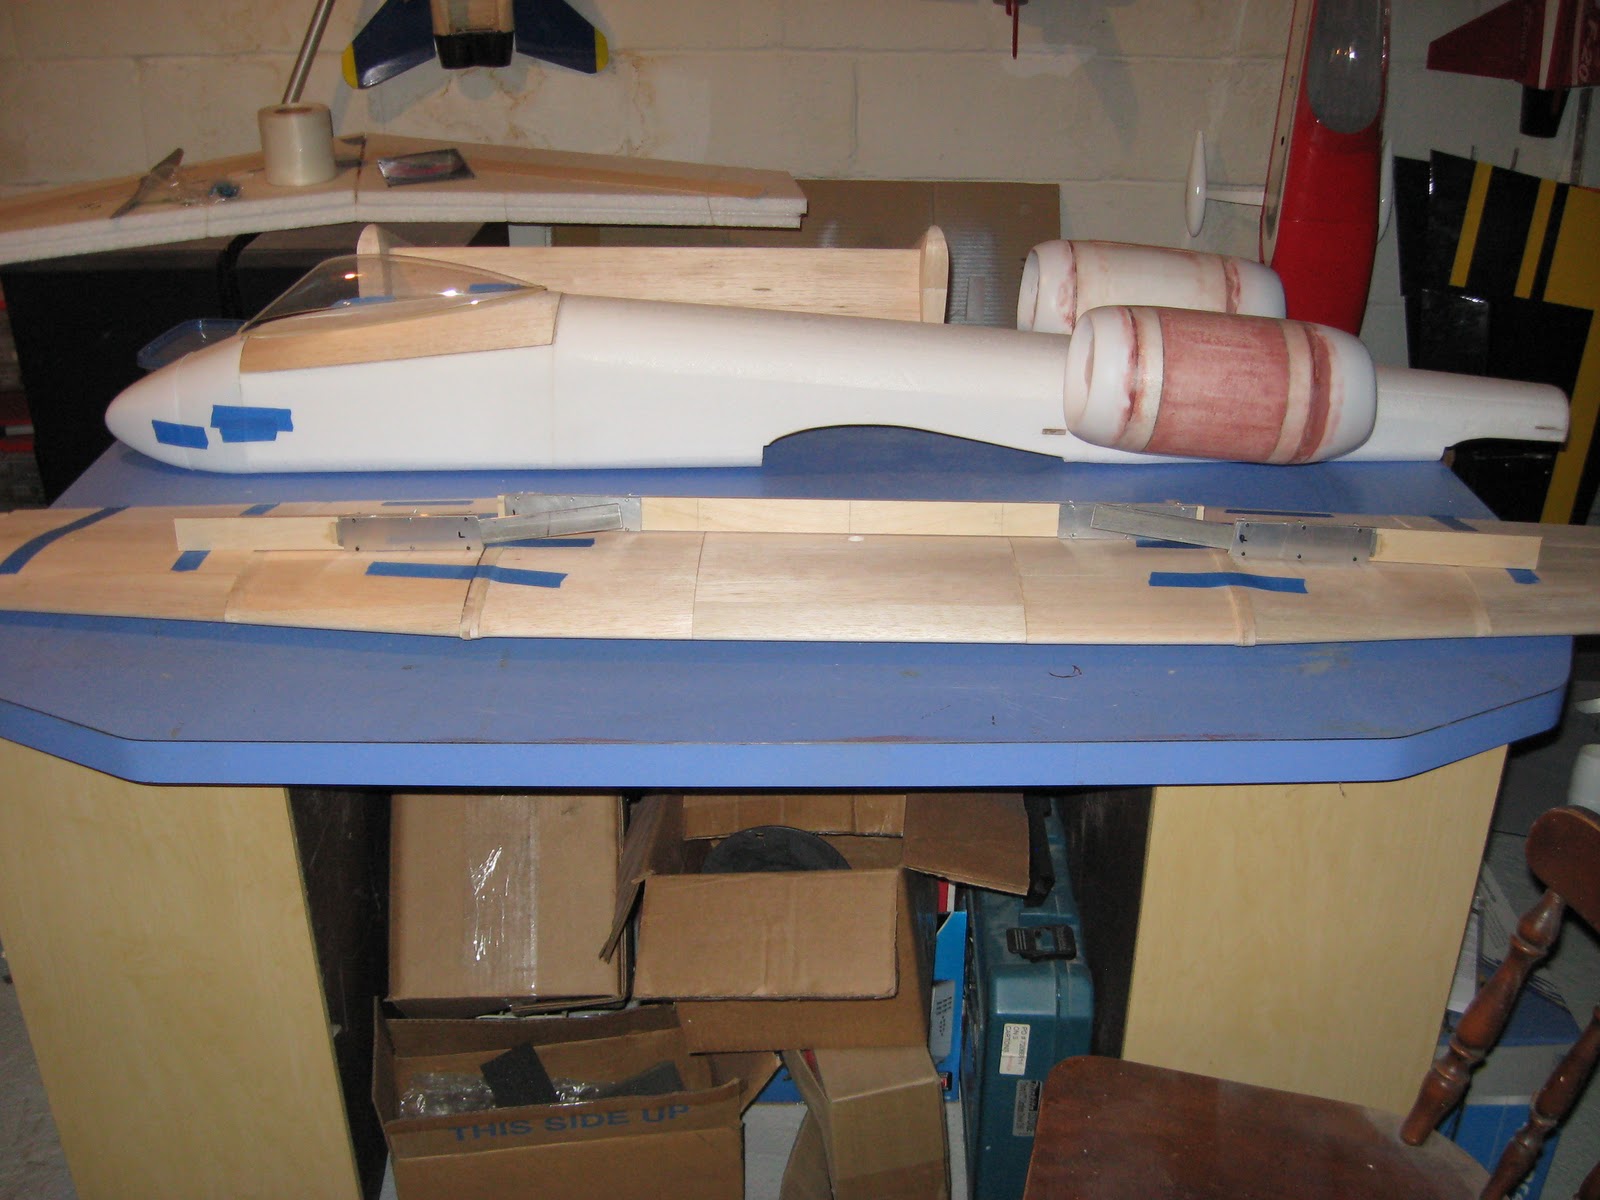
Here’s how we left it tonight:
I can’t wait to see what next week’s post will hold!
