
Work on the Warthog has continued all week. I want to remind you that this jet is not one that you pull out of the box, perhaps use a little glue, and then you’re off flying it. This project is basically a block of Styrofoam that has to be lined with wood, shaped, glued, epoxied, and what-have-you before it’s fiberglassed and taken to the airfield for the maiden voyage. I will post the Warthog pictures like I do my stitching; first a picture from last week and then an updated picture this week. That way you can really get a good sense of how much work was done.
When we last saw the Warthog it looked like this:
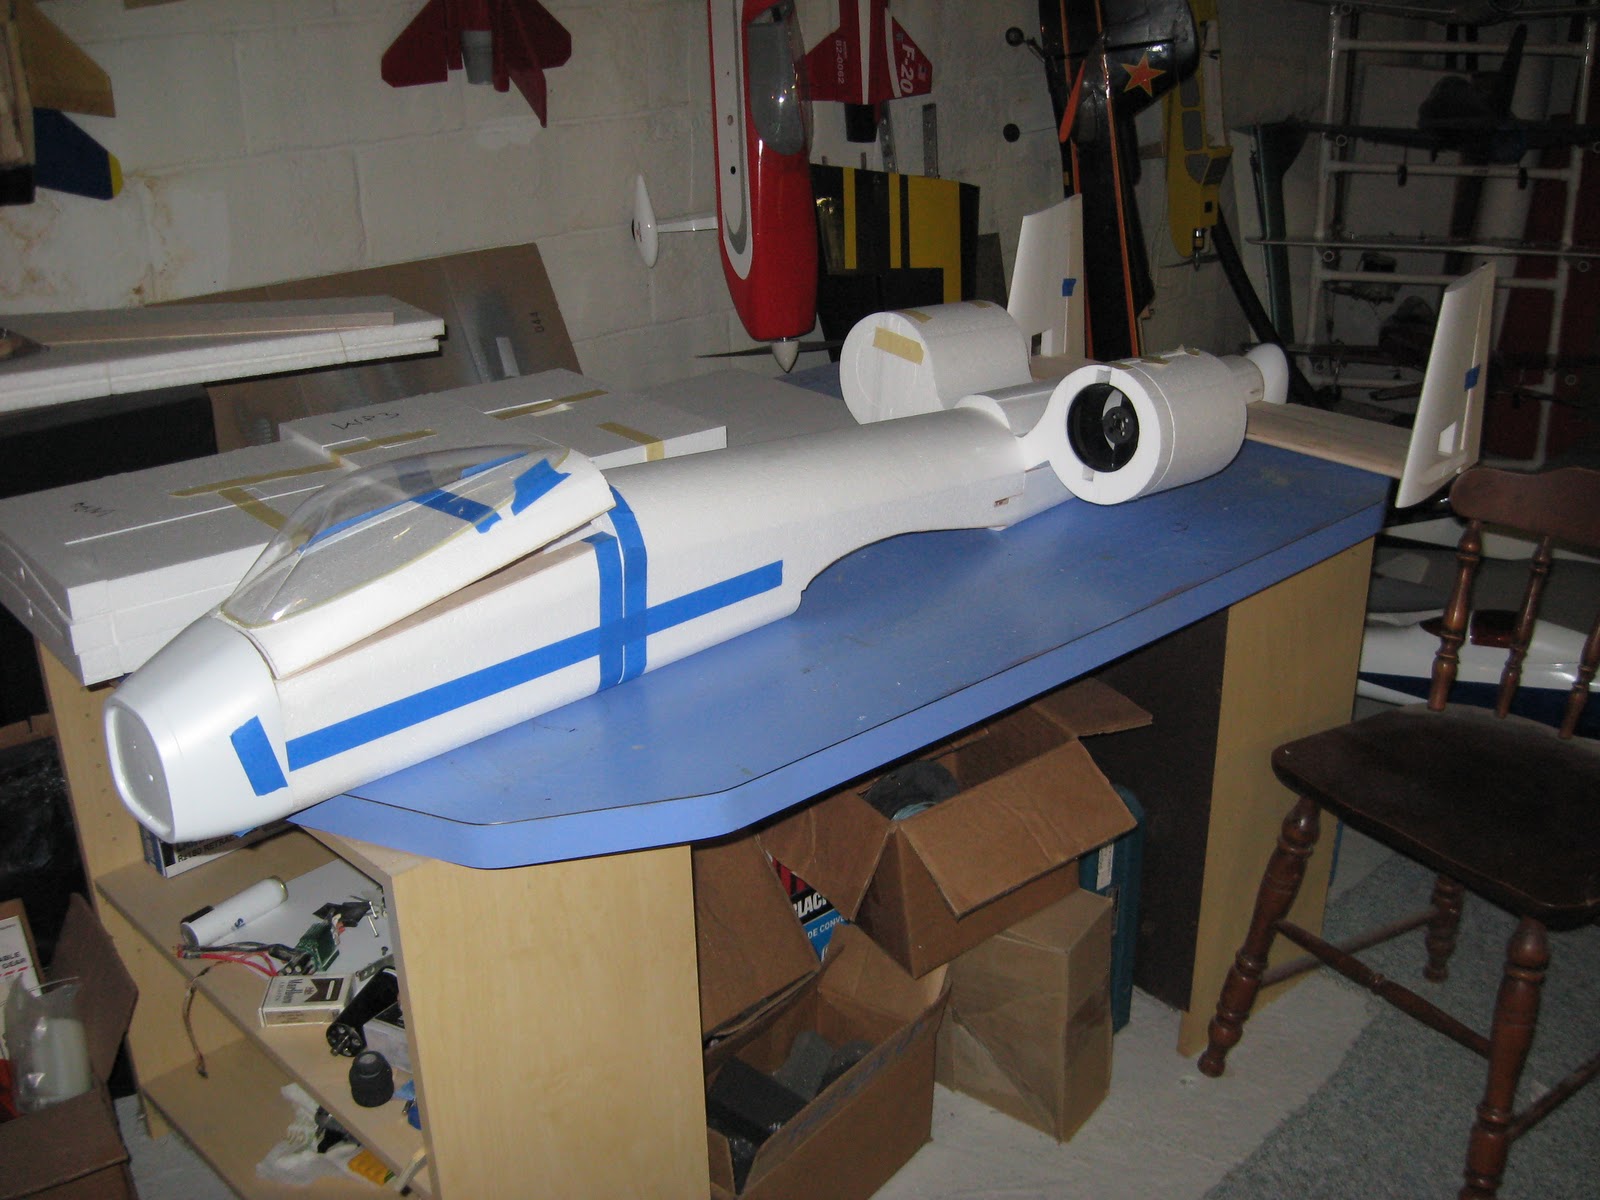
It was just beginning to come together. A few of the parts had been lined and glued. Now, here it is a week later:
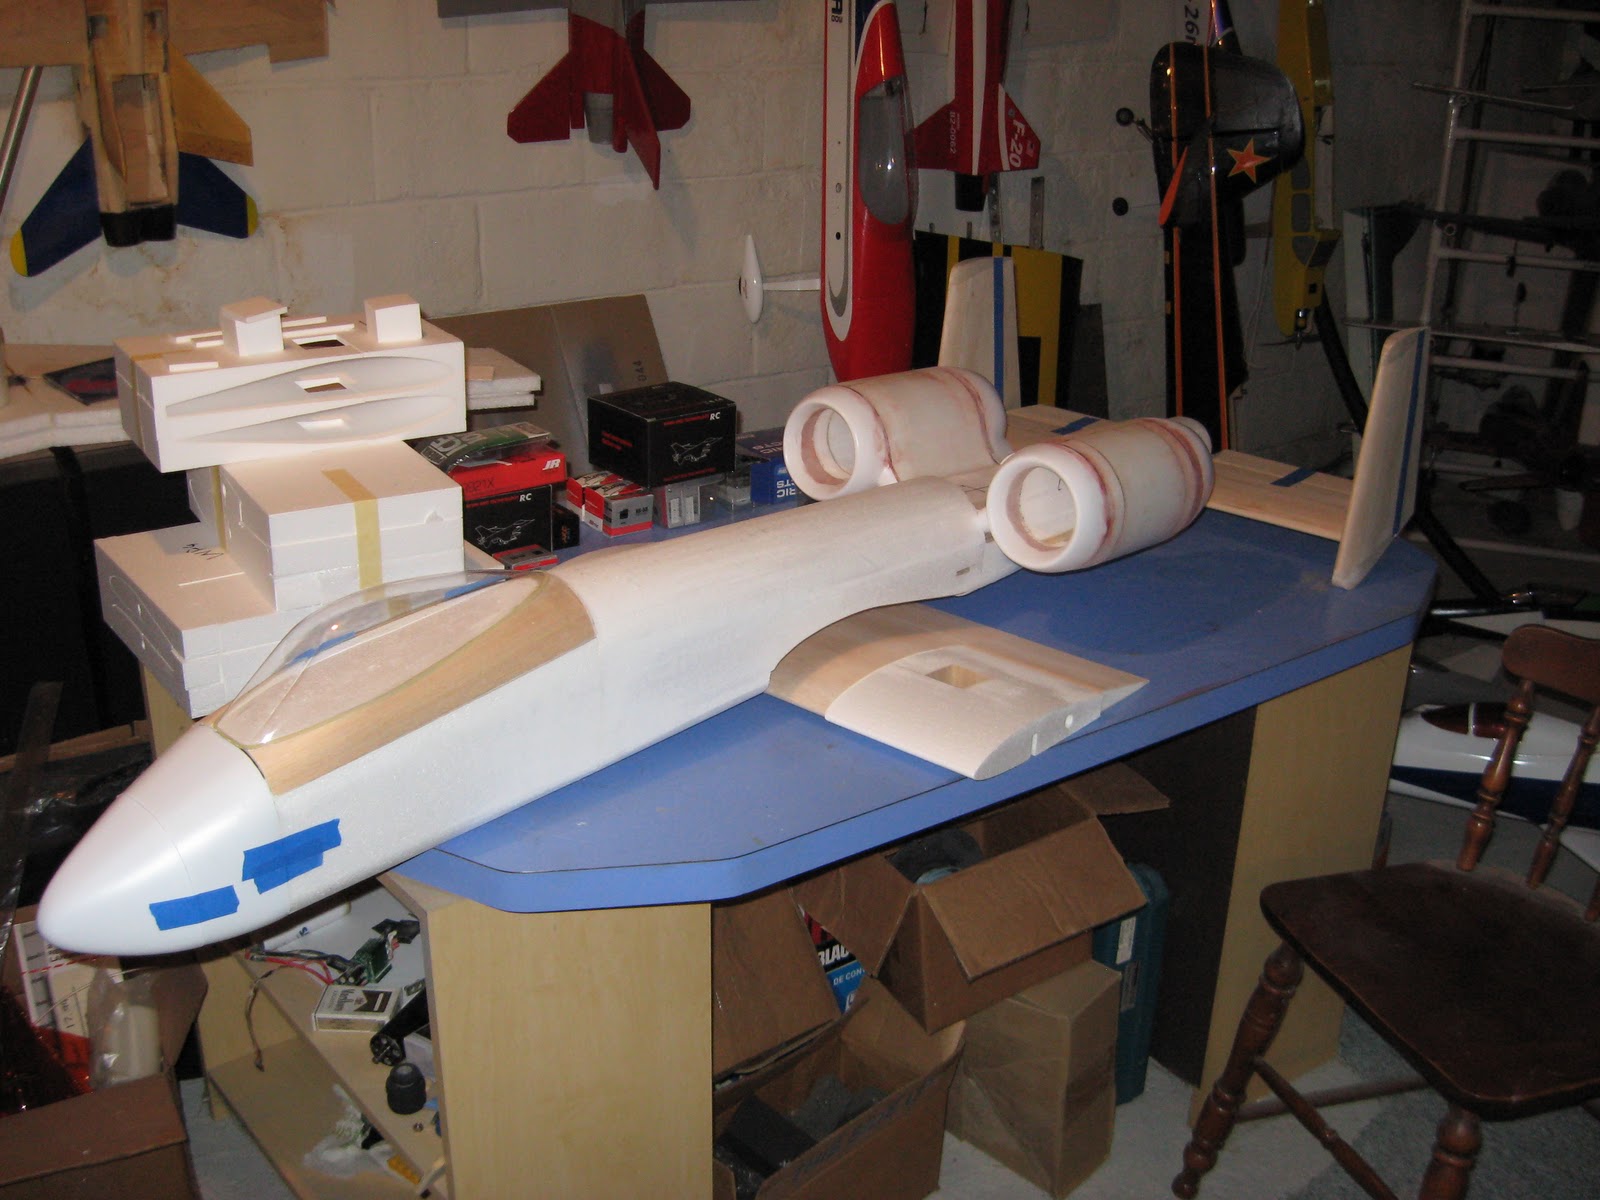
We have the beginning of the wings, the fan housings are built up, and there’s more wood showing. This weekend there was a lot of sanding going on as well. This thing is massive. I’ll have to take a picture of Jay standing next to it so that you can get a better idea of the size.
We’ll start at the front and work our way back. Last week’s cockpit:
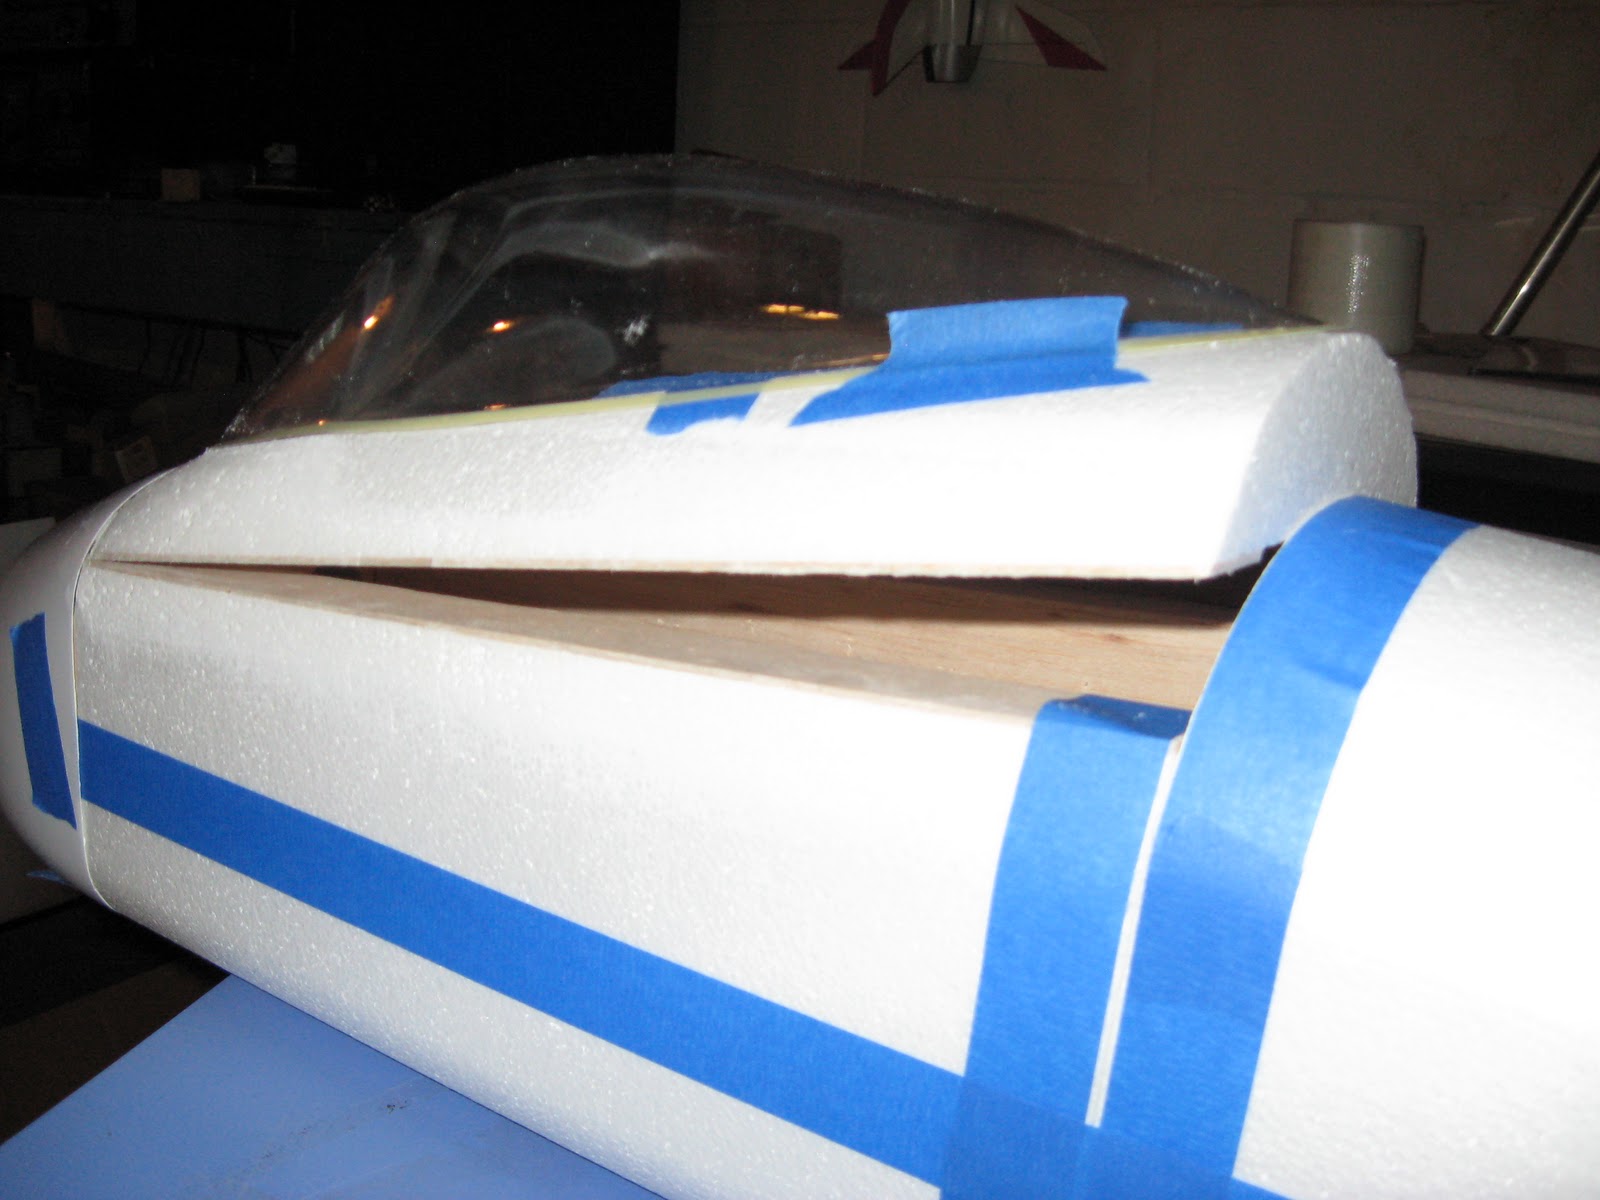
Nothing too impressive. You can see that the inside is lined where the batteries will sit. Here is the cockpit this week:
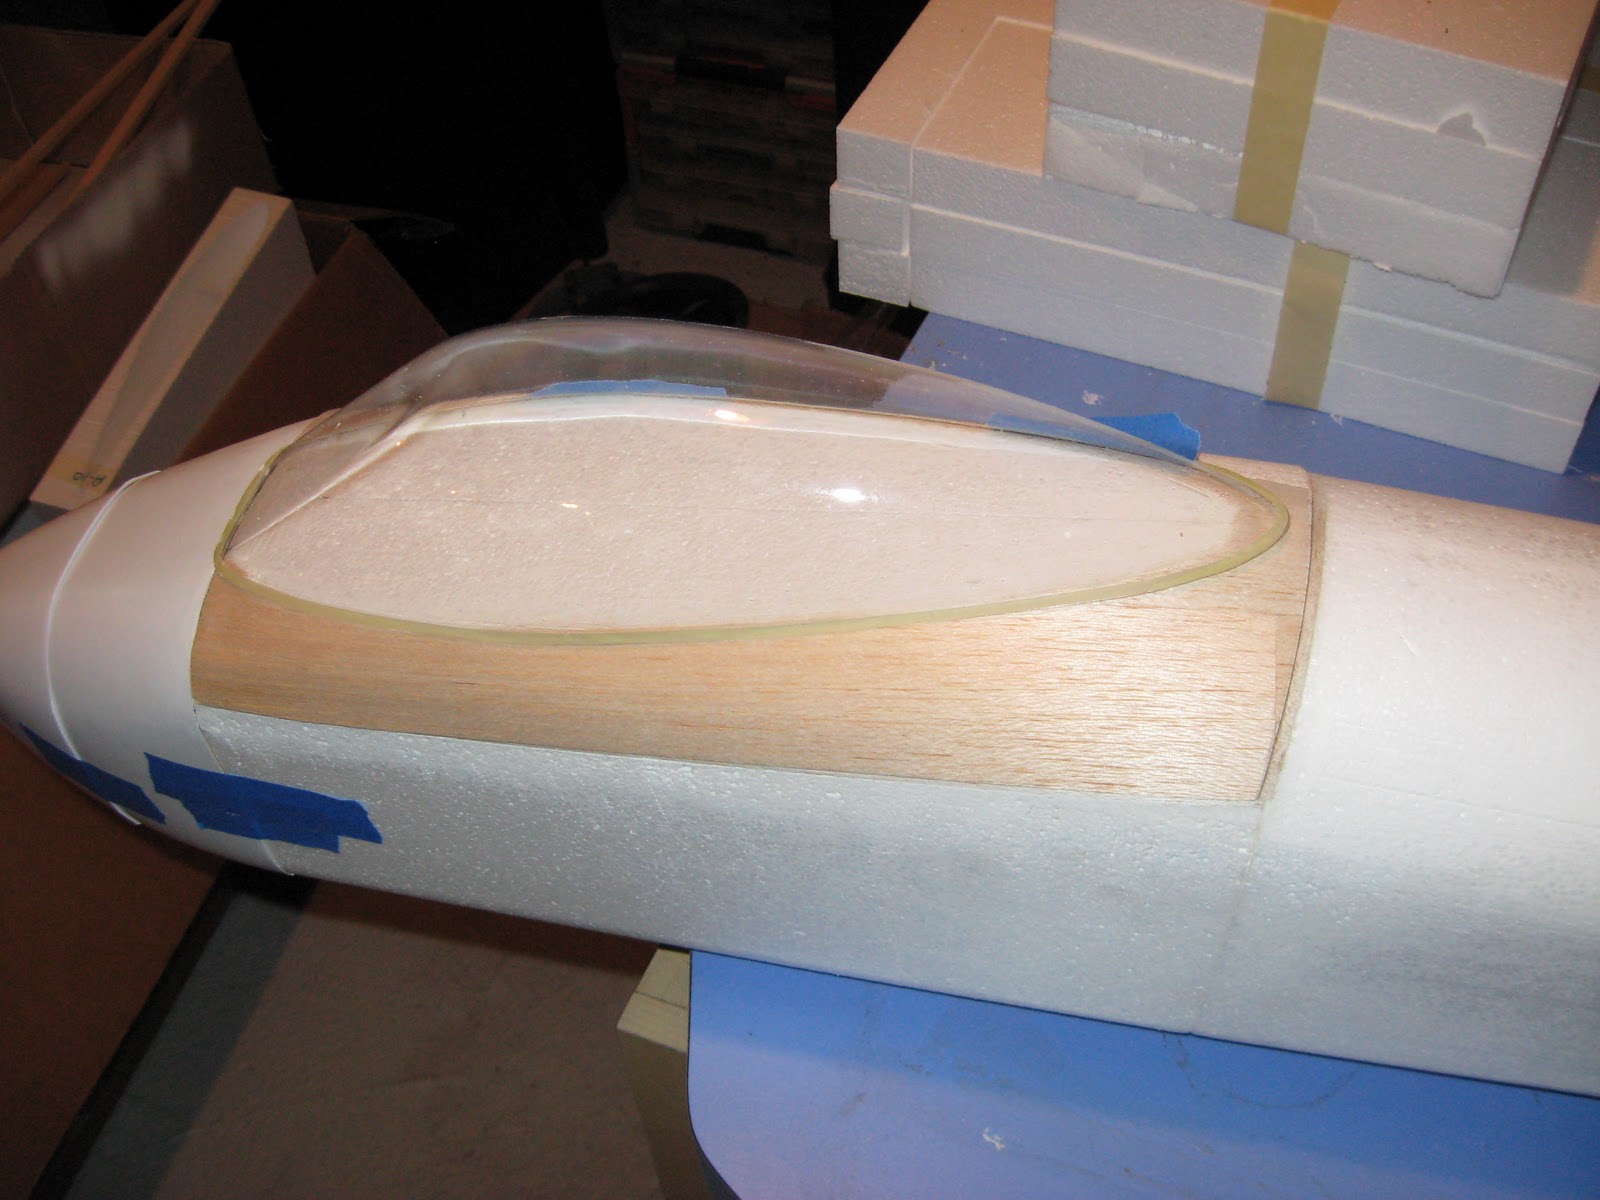
Isn’t that pretty?? Also, you can see that the nose has been taped on as well. It doesn’t look quite as much as its namesake, with the stubby nose.
Like I said, this week the back half had a lot of attention paid to it. Here’s a better picture of what it looks like now:
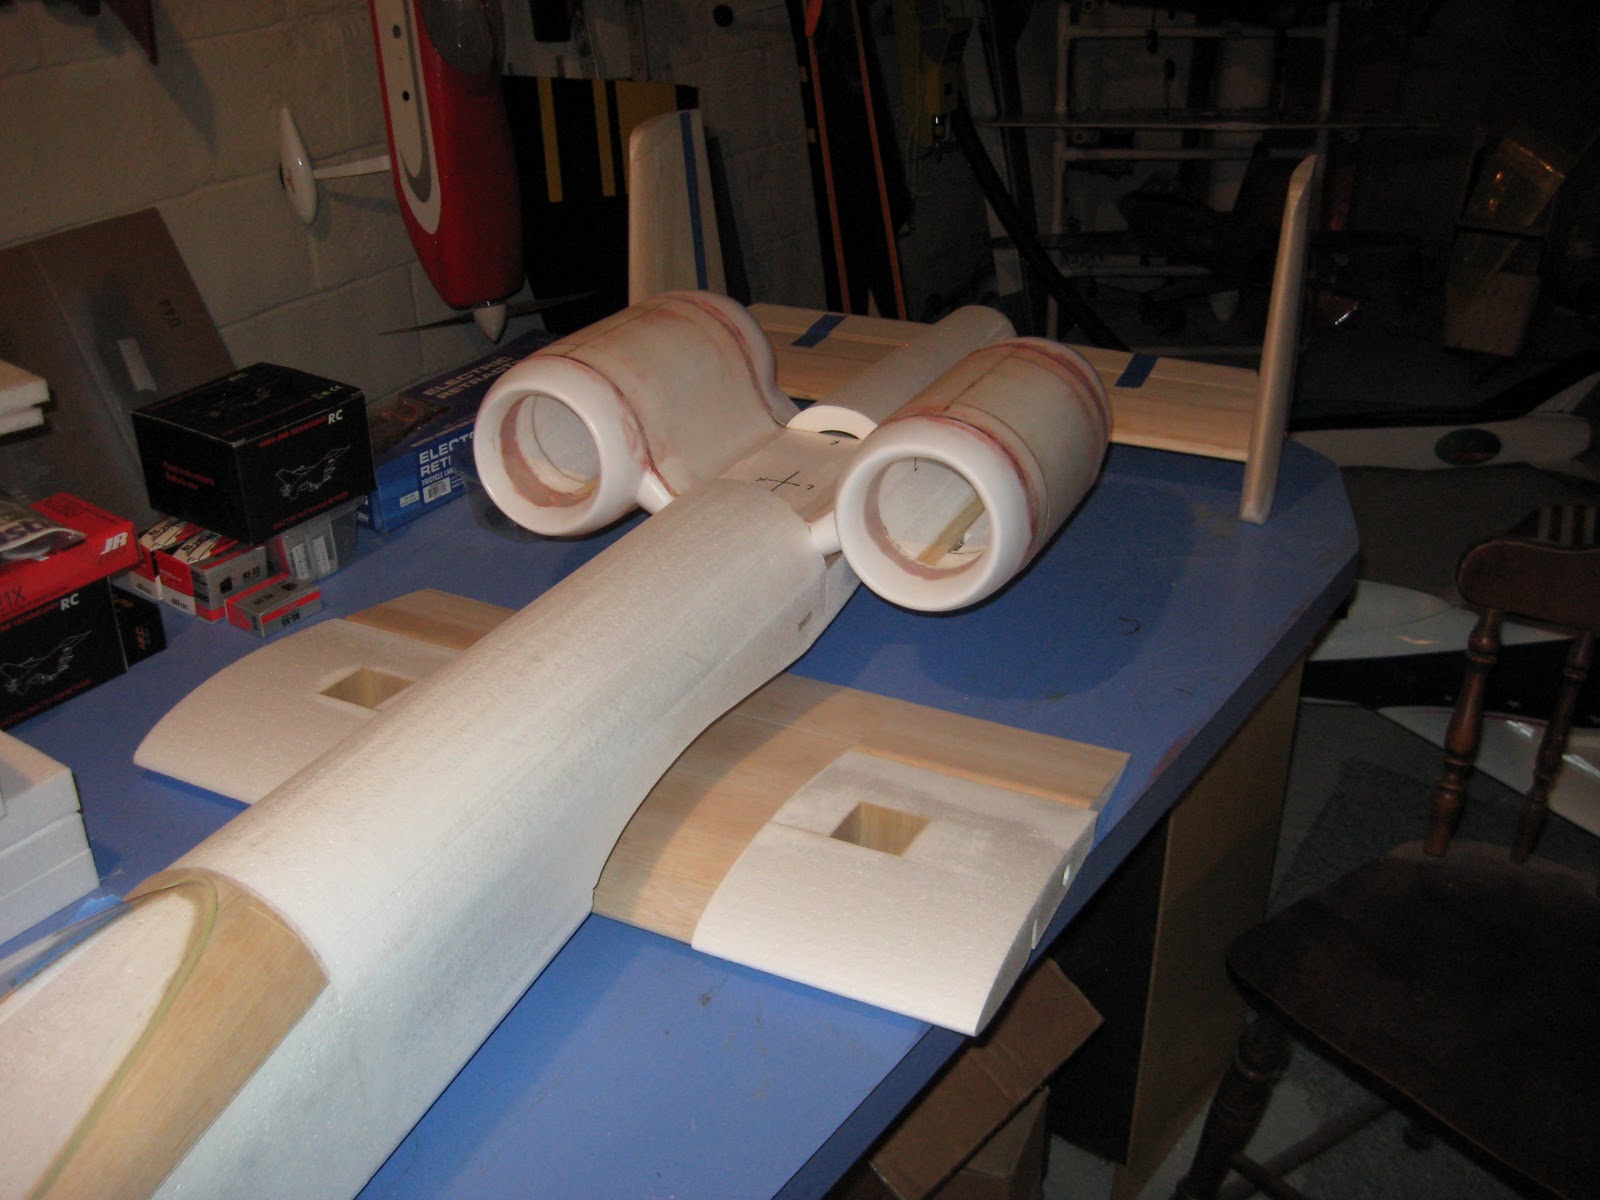
You can see that parts of the wings are slowly being added, not to mention that the holes where the servos will go have been lined. Here’s a better picture of the wings:
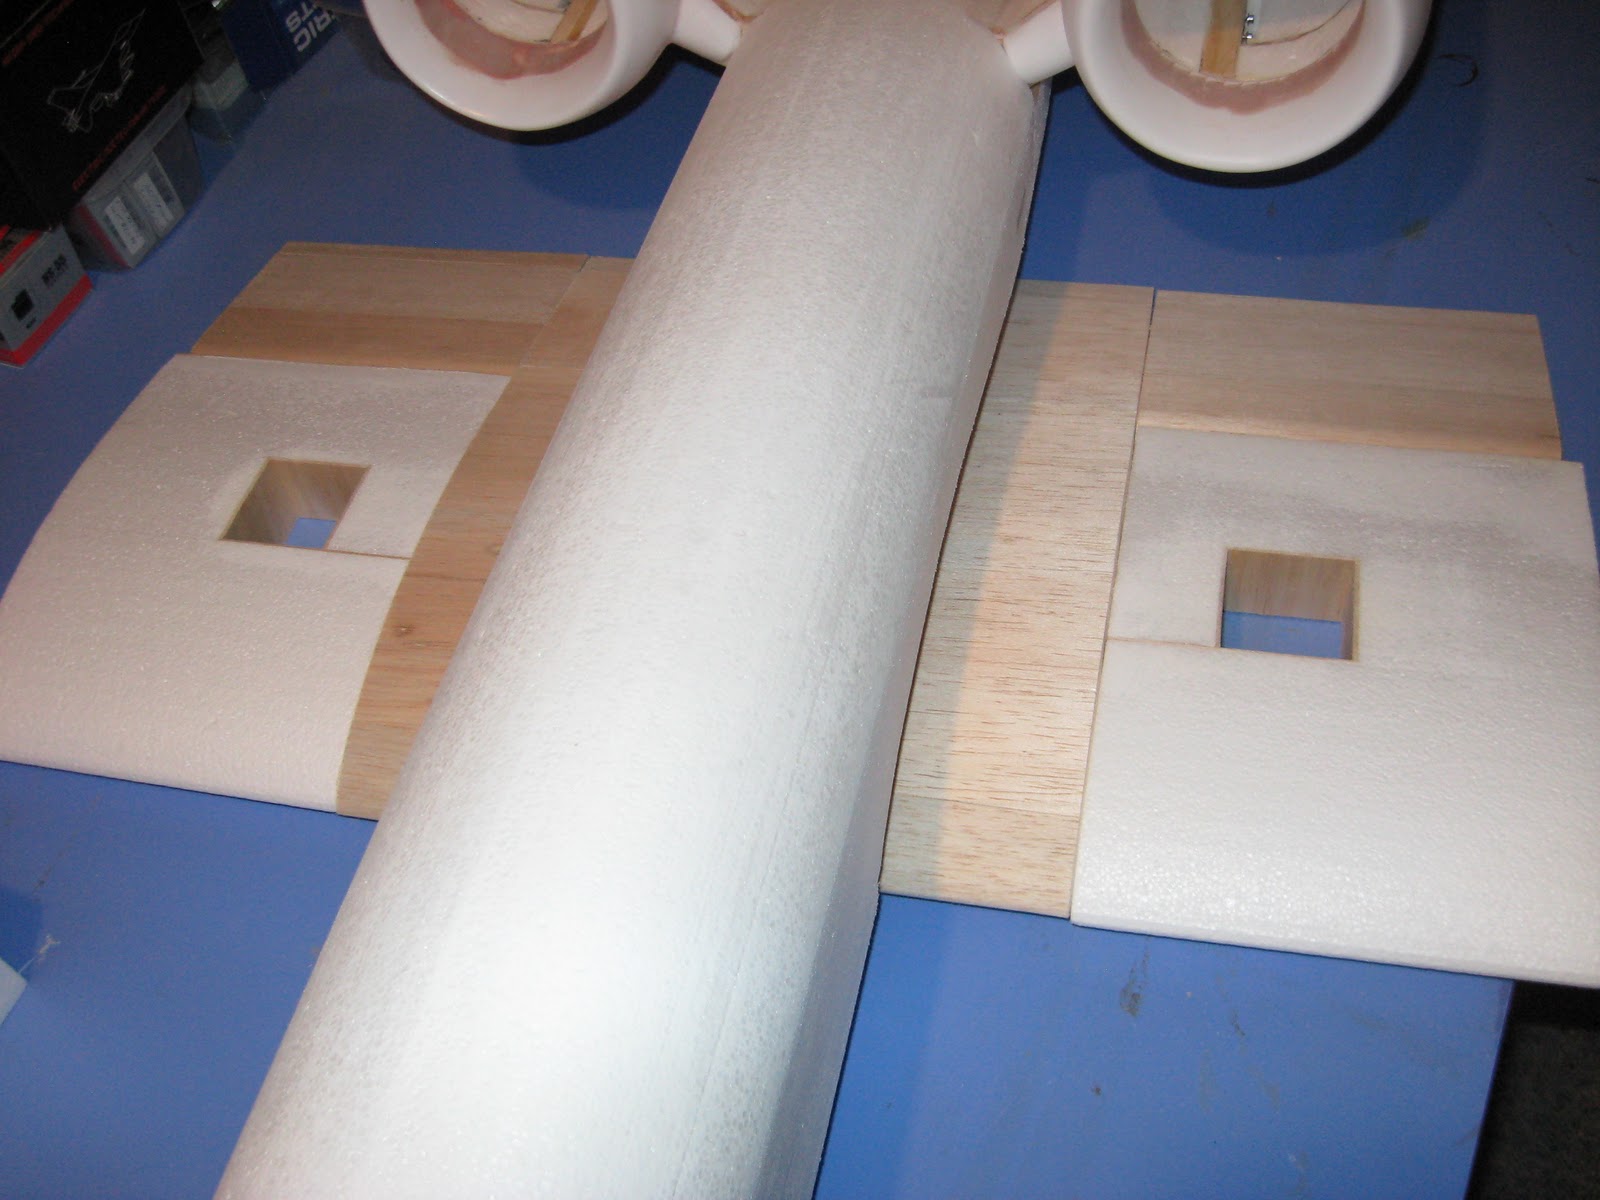
I wish that you could see how Jay does this. He takes a piece of styrofoam and cuts the size of wood that he will need. Then he glues it and sets it aside until it is dry. When the glue has dried he then sands all of the seams smoothly and does any shaping that needs to happen. This will all be covered in fiberglass when it’s all said and done.
The last couple of pictures involve the tail part of the plane. Here is how they looked last week:
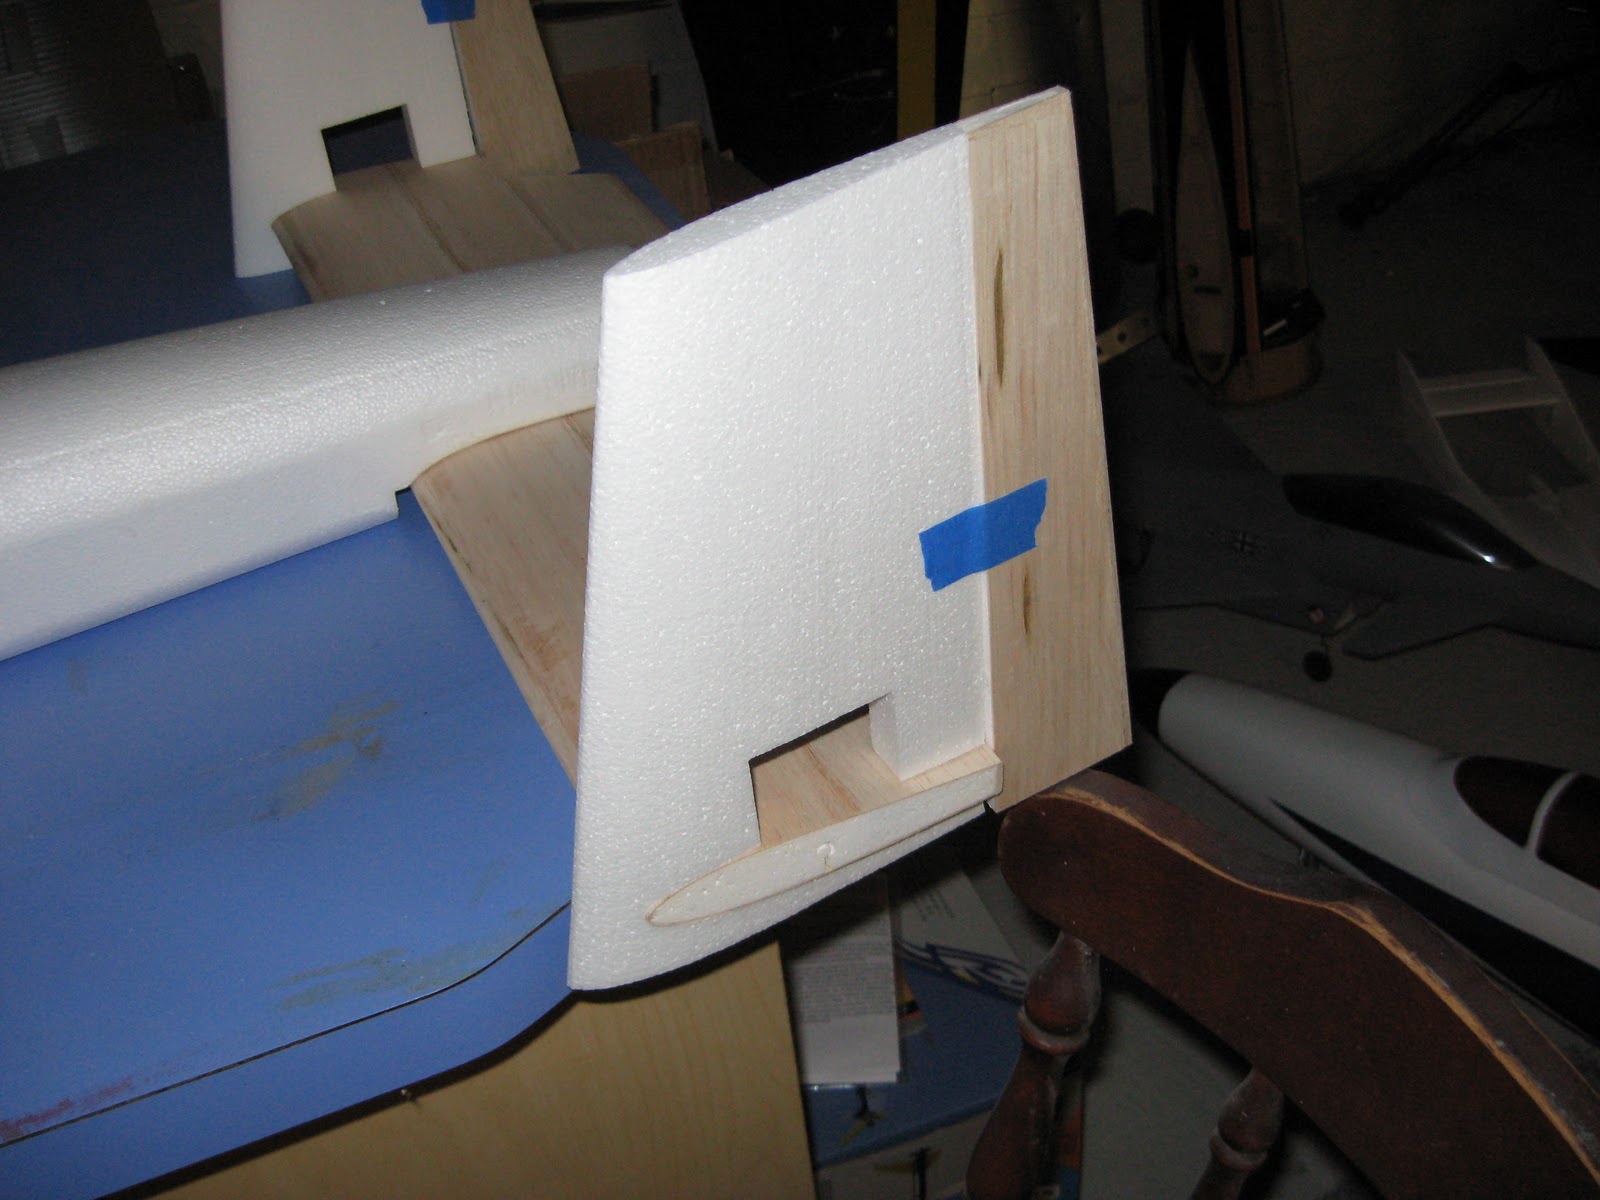
And now this week:

Isn’t it impressive how much nicer the wood looks? I wish that you could see it in person because it’s beautiful. The work that is done to get these just perfect looking is astounding. Jay really is very talented.
Now, I want to show you a picture of some of the electronics:
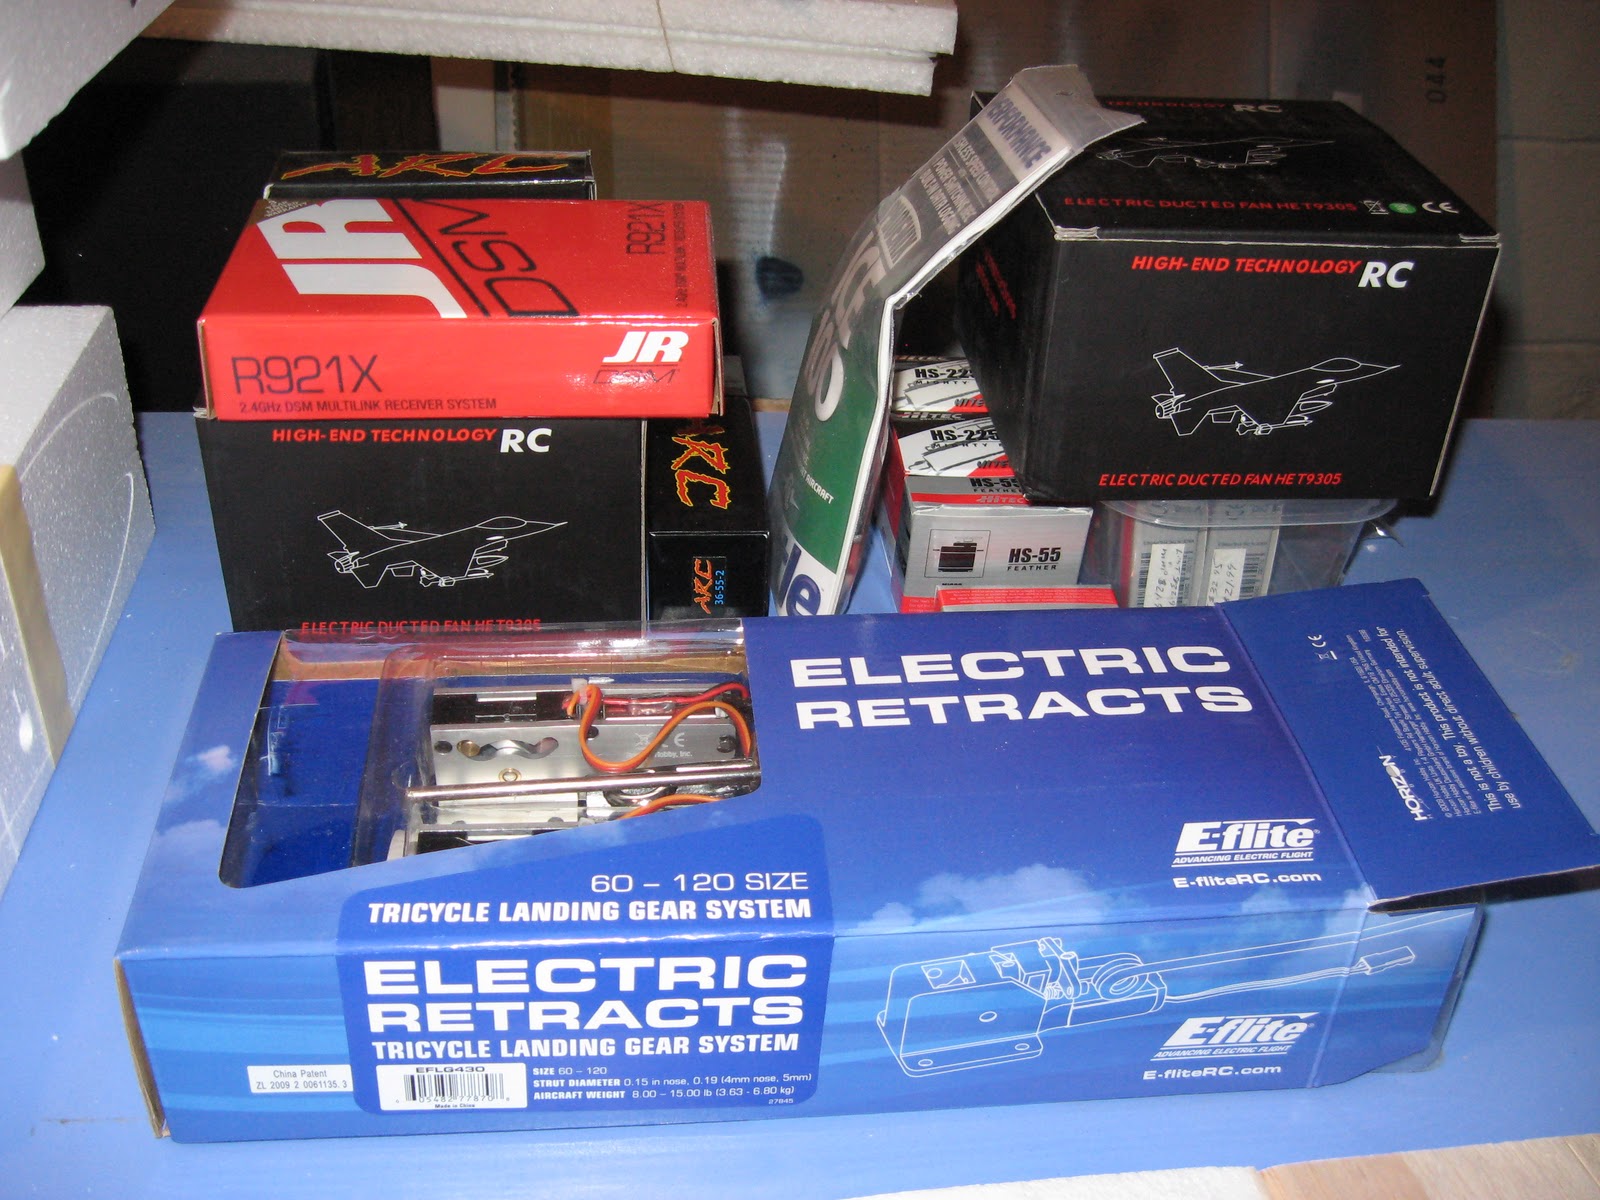
I can’t tell you what all of these do, but I can tell you that there are several hundreds of dollars sitting in that pile. The thing is, I don’t think that’s all of what he will need to fly this thing. At the very least, the batteries are not included in this pile.
Many people might not understand why a person would want to do this. After all, isn’t the point of a remote controlled plane to fly it instead of building it? Maybe to some, but to others half of the enjoyment is flying an aircraft that they created themselves. I am actually quite amazed by the whole process and the oodles of talent that is needed in order for this to look awesome. And I know that it will. I hope that all of you continue to look forward to the progress of this project. I know that I can’t wait to see it next weekend!
